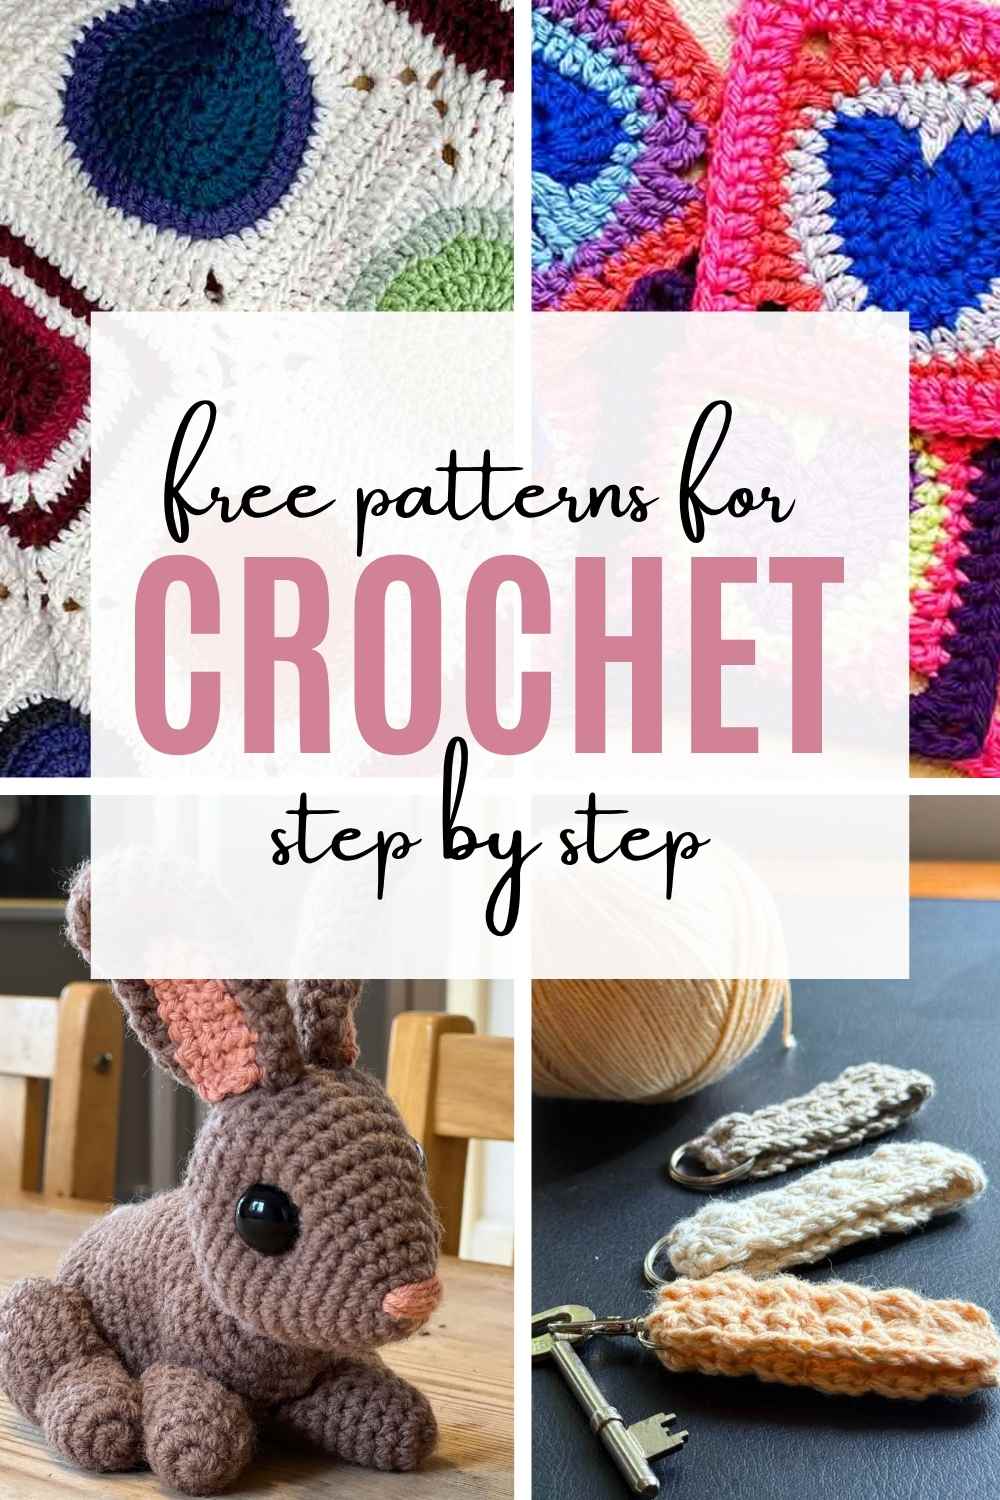
All My Free Crochet Patterns: Toys, Blankets, Accessories & More!
I have an absolute passion for producing crochet patterns, and it tends to come in bursts. For a period of a few weeks I will be obsessed with designing pillows, then I’ll be in detailed amigurumi mode for a time, after that I’ll be on a blanket mission. This means that I have a huge haul of free crochet designs to share with you from a rather large collection of styles, including:
- Amigurumi (toys and plushies)
- Blankets
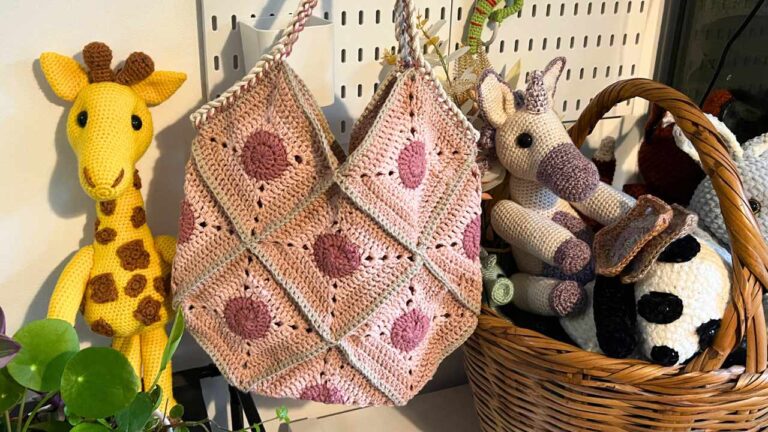
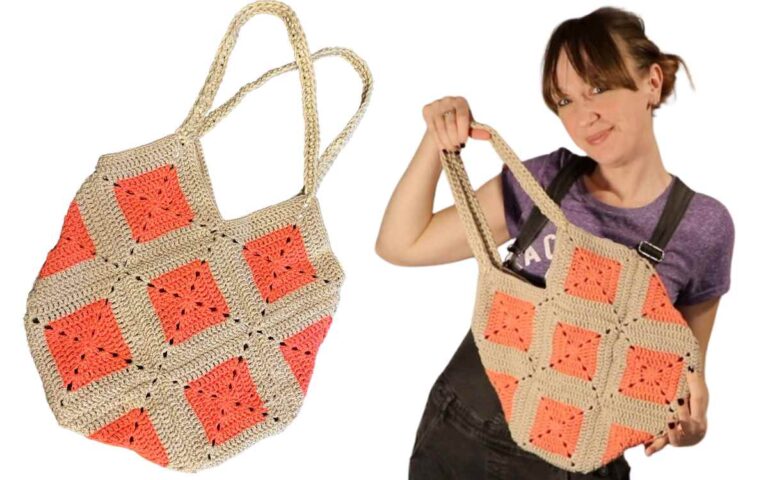
- Bags
- Garments
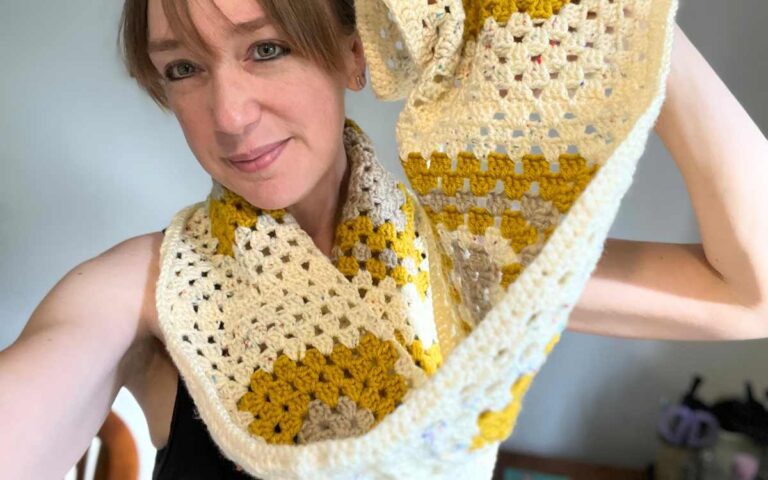
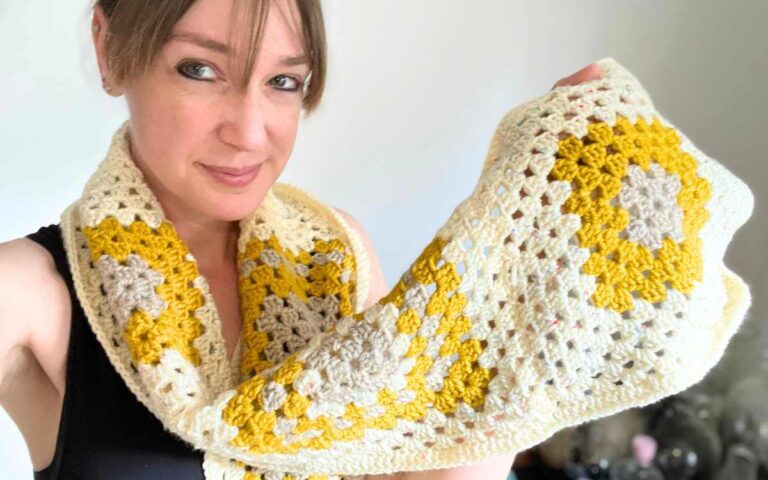
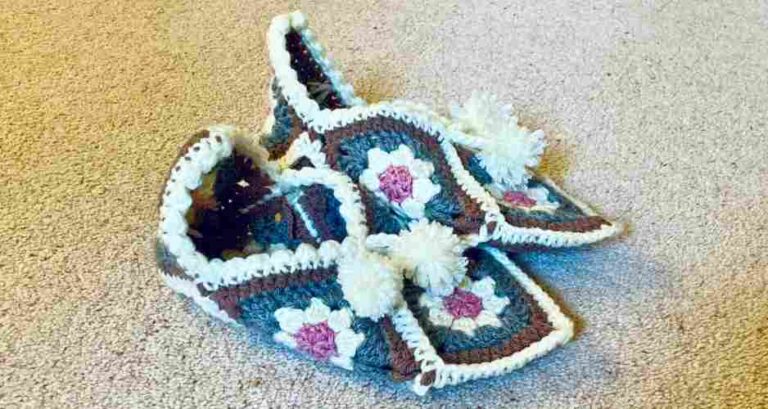
- Accessories
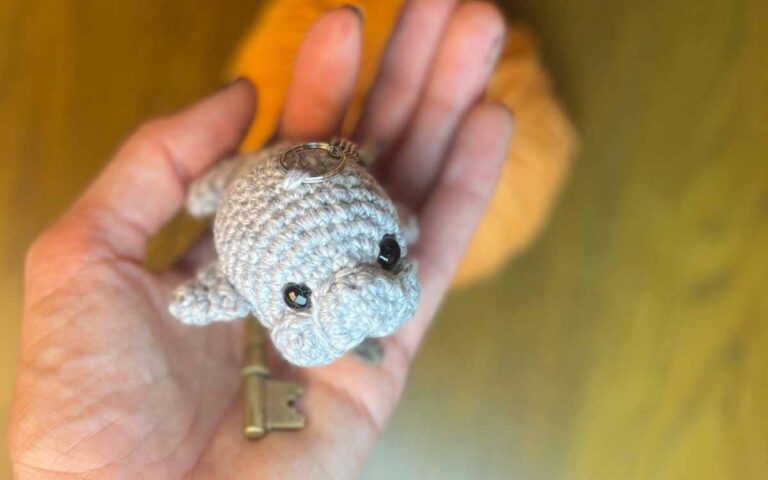
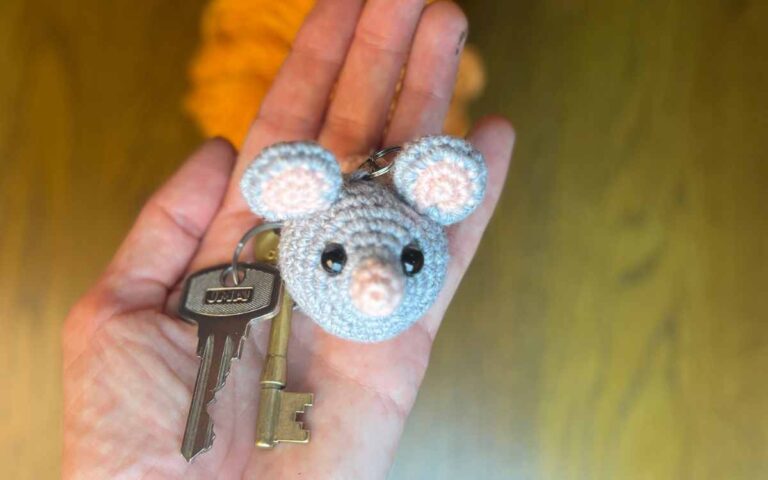
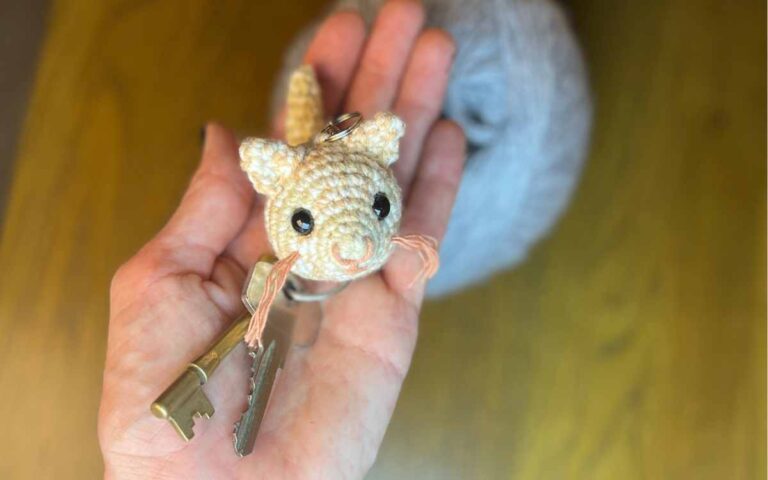
- Keychains
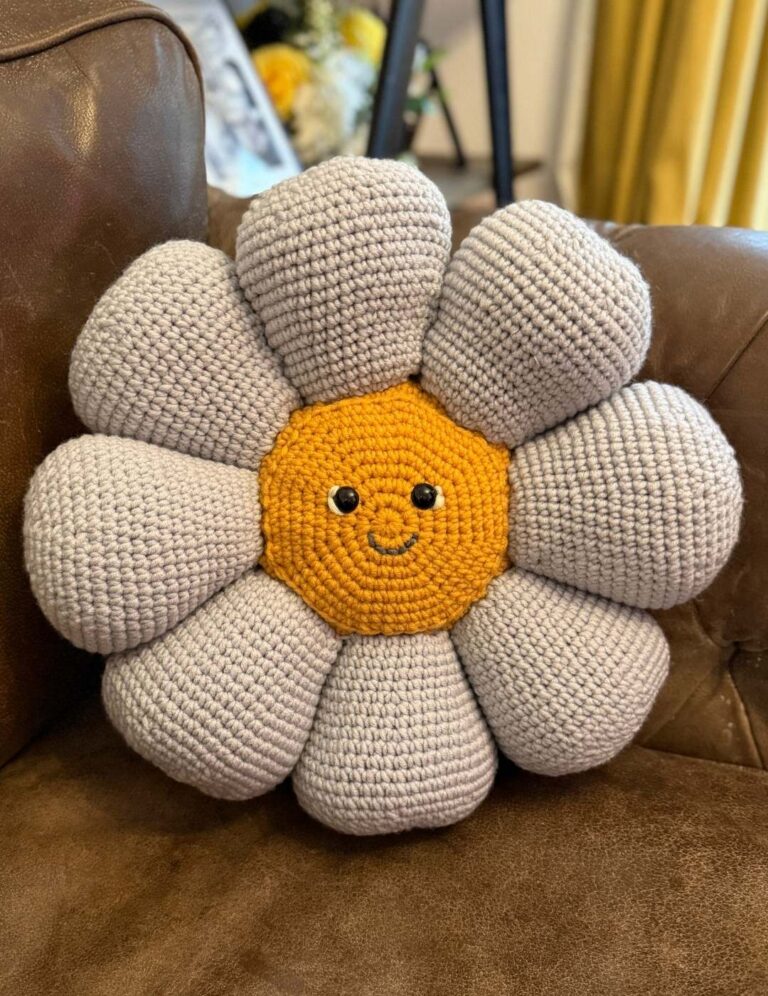
- Pillows
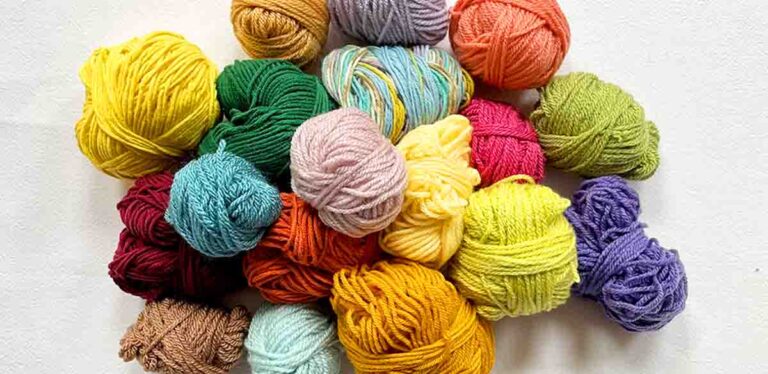
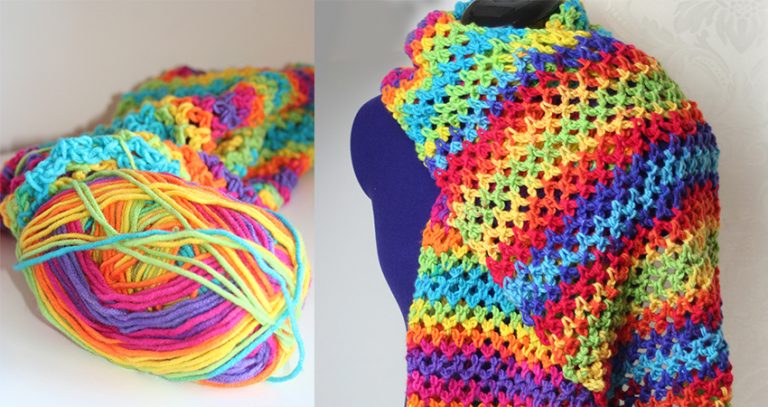
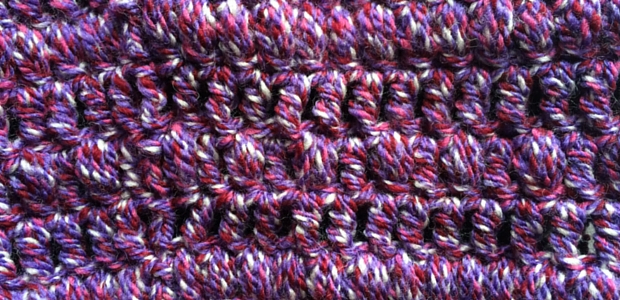
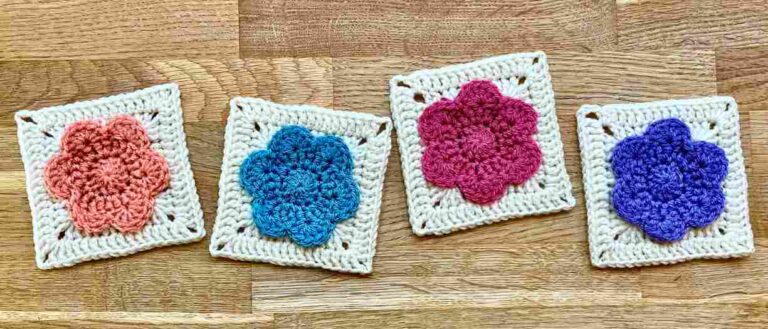
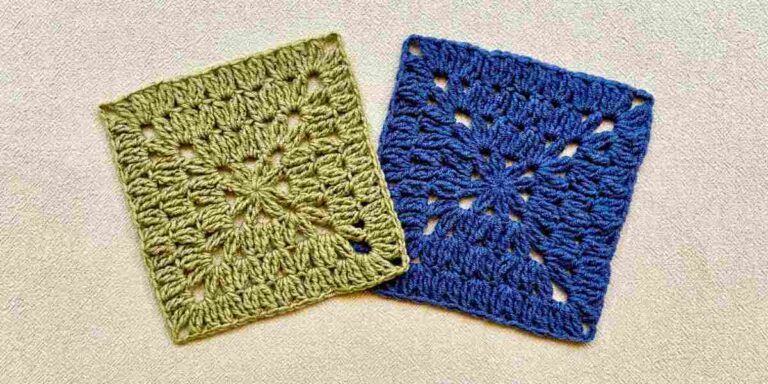
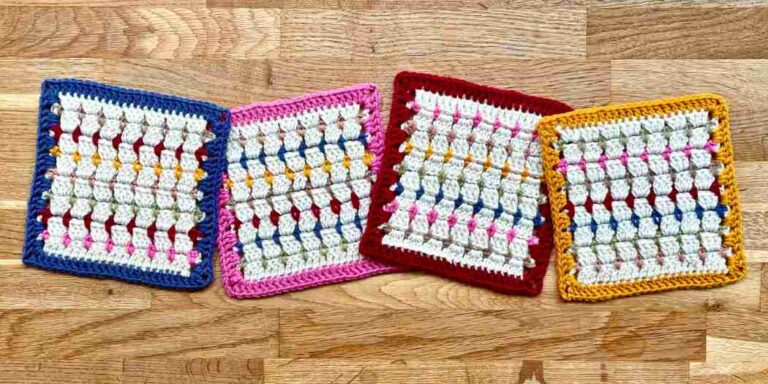
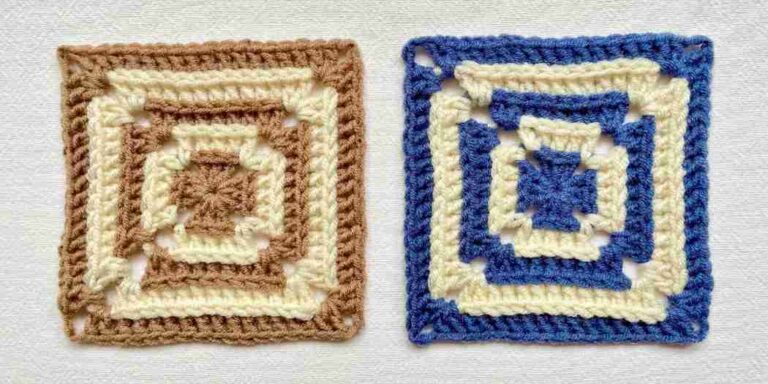
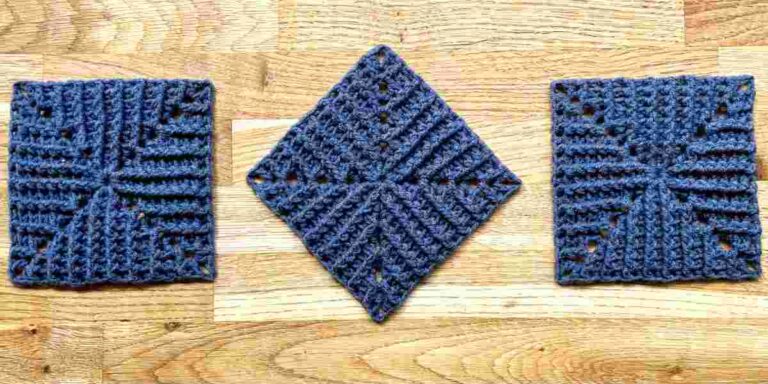
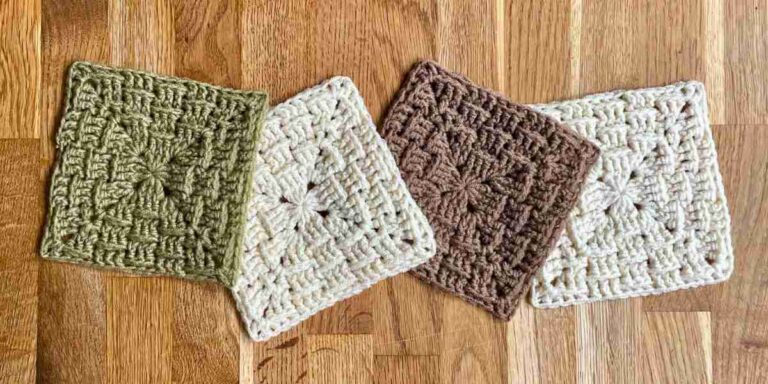
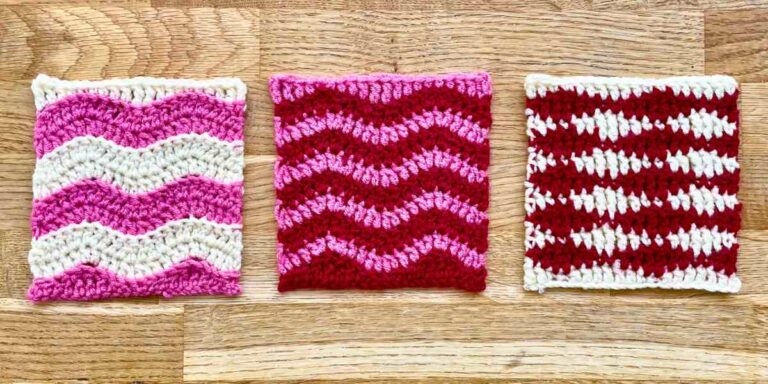
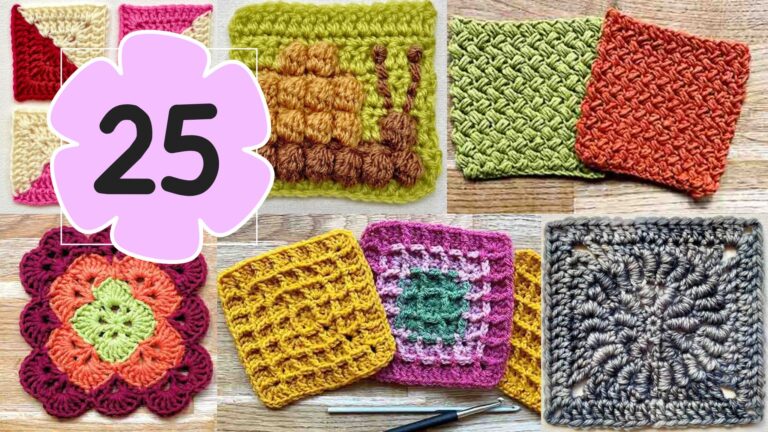
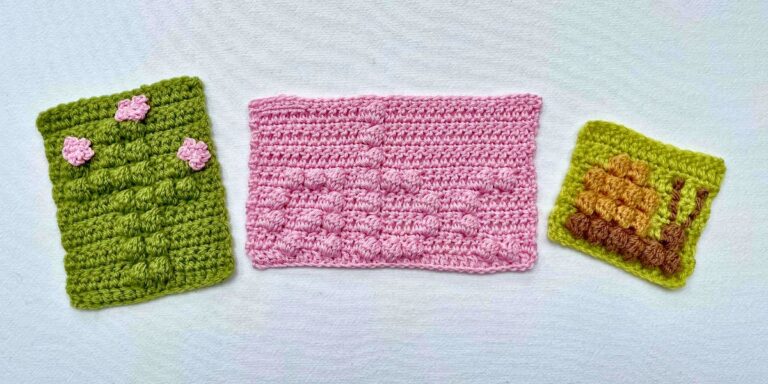
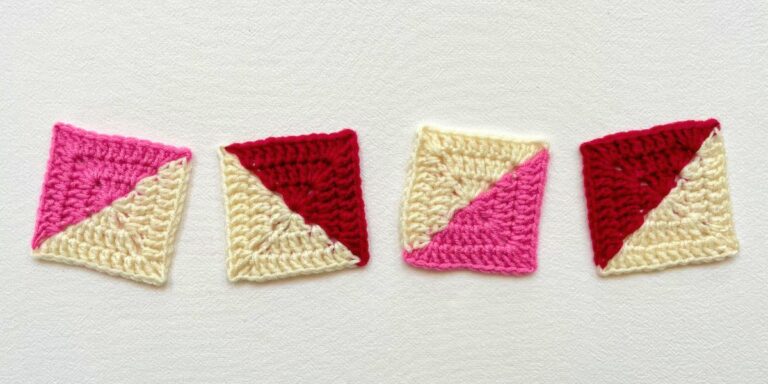
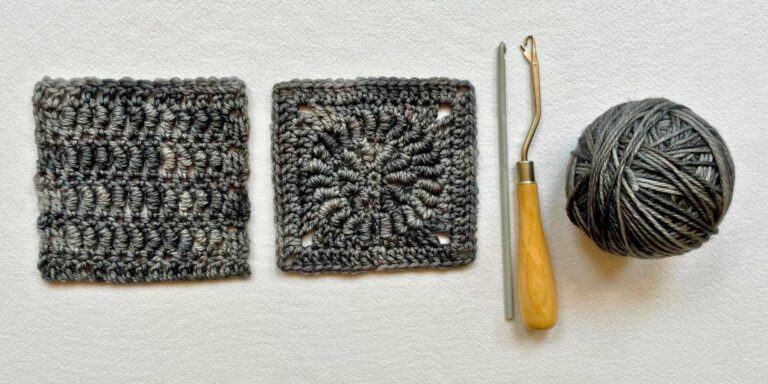
I have also shared a wealth of stitch guides and a variety of different ways of producing that old crochet favorite, granny squares.
Experience Levels
My crochet patterns range from beginner friendly to advanced, with more of them falling somewhere around the confident beginner to intermediate level. At the start of each pattern I let you know how tricky I judge them to be, but remember that there is huge variation in what a person considers to be easy or hard. Take a look at the stitch guide section to see whether the skills and techniques that will be used are ones you are comfortable with, and pick a pattern with no more than two new things to learn in it and you should do just fine.
I also aim to make any difficulty of pattern as easy to understand as I can. Crochet patterns are just blueprints for designs, and all of my patterns allow you to follow these blueprints accessibly as possible by including detailed stitch instructions, descriptions of abbreviations, written tutorials and where possible videos too.
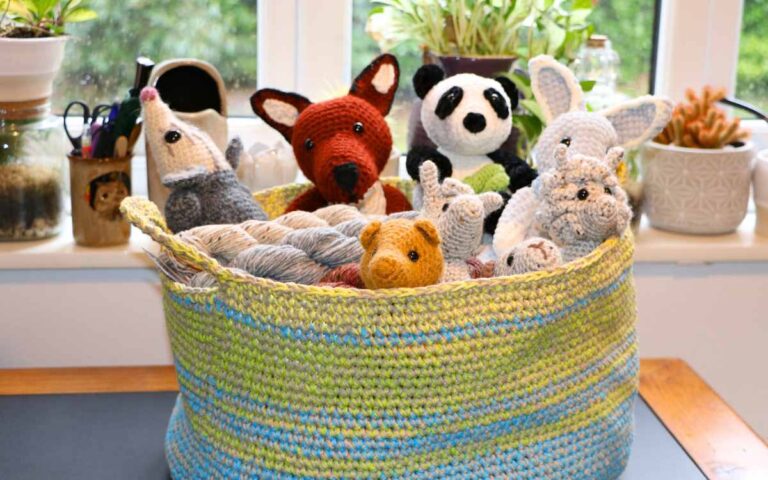
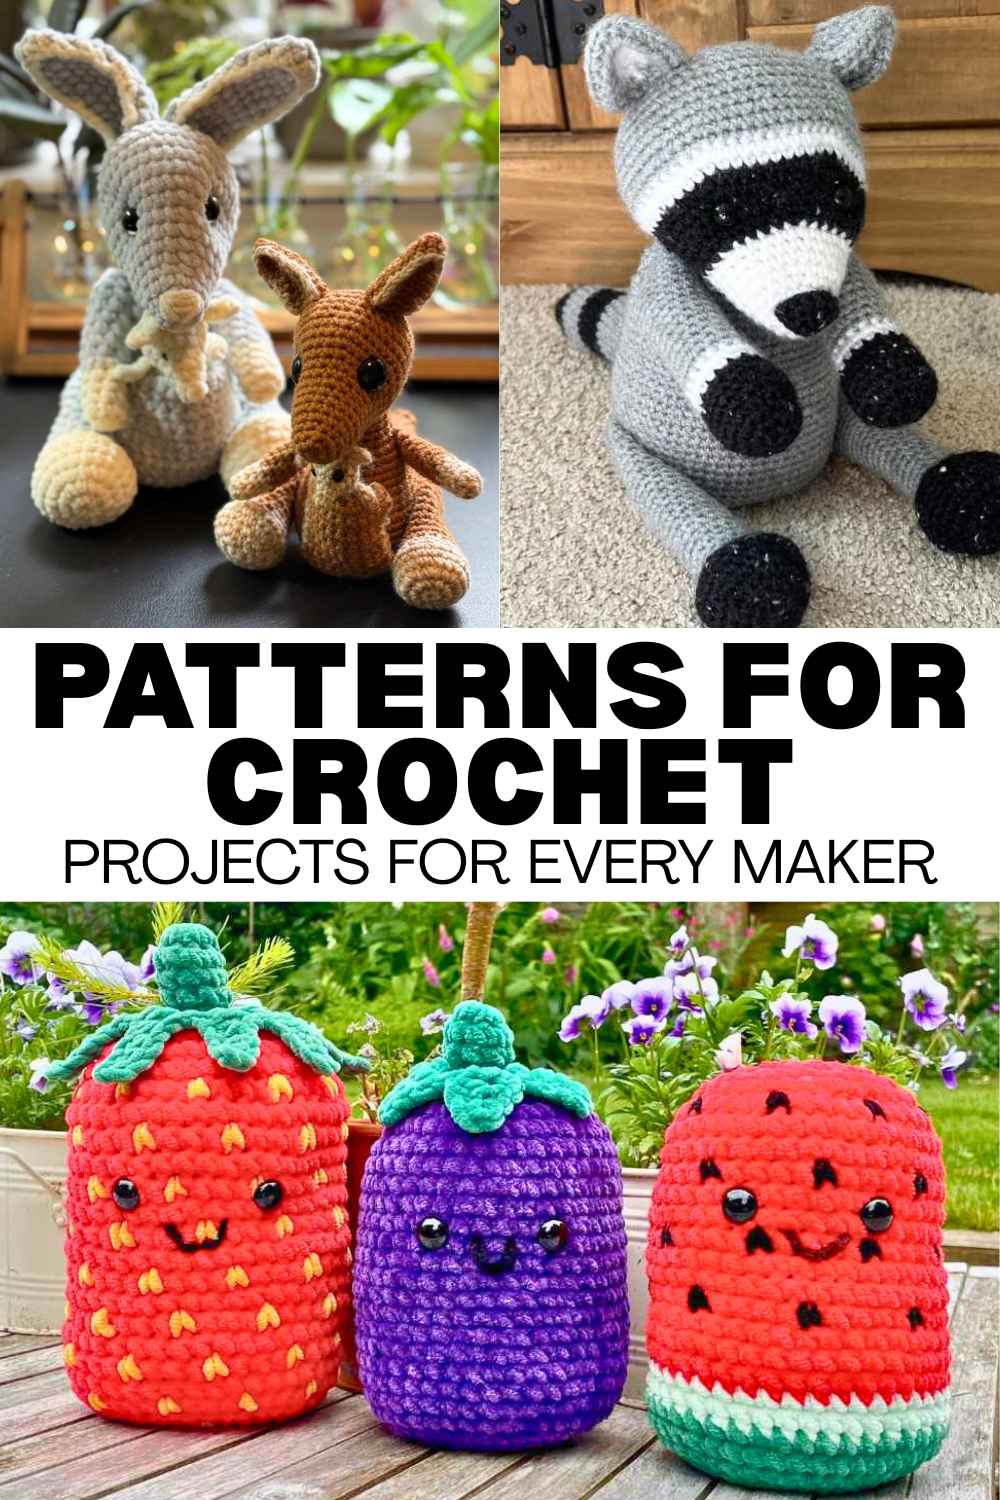
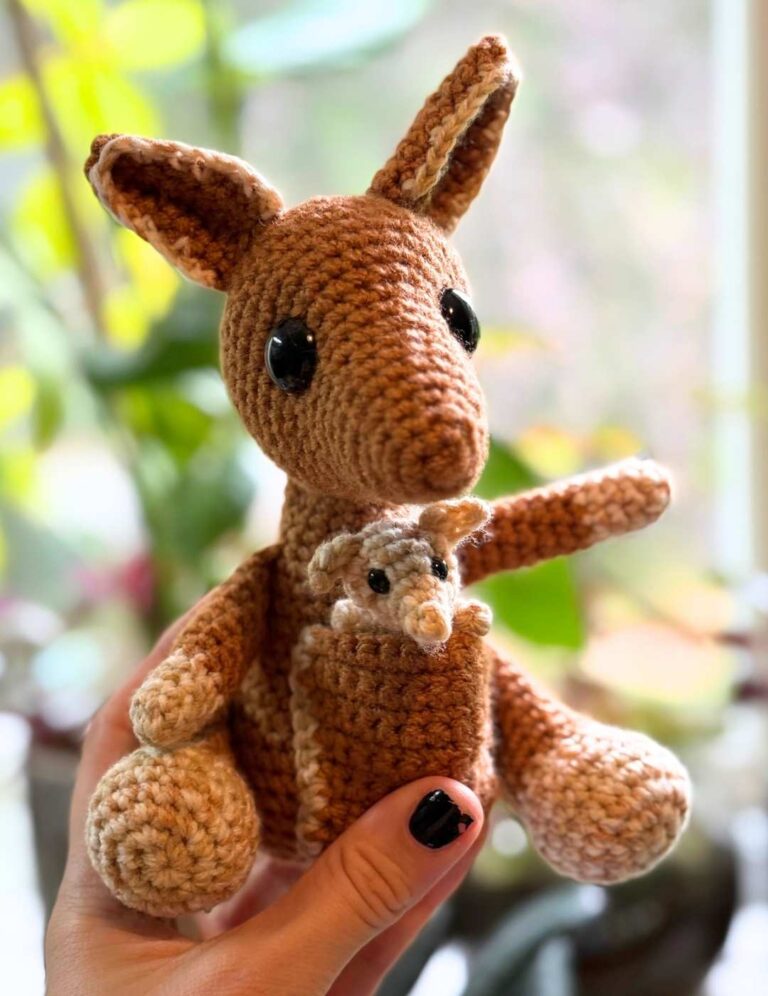
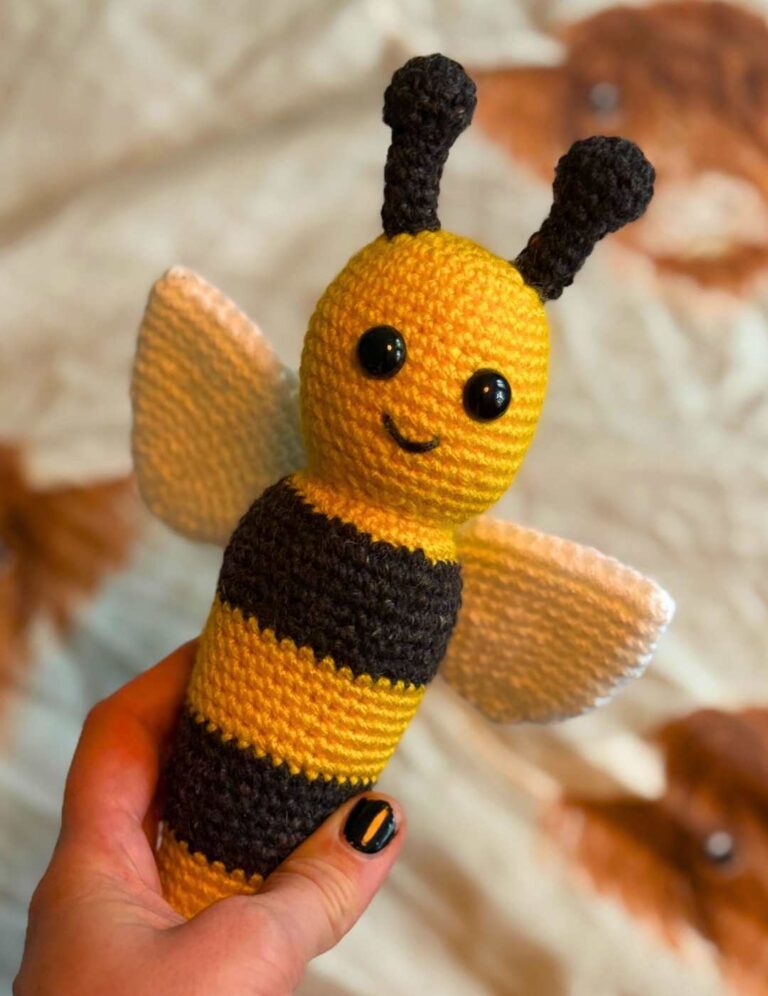
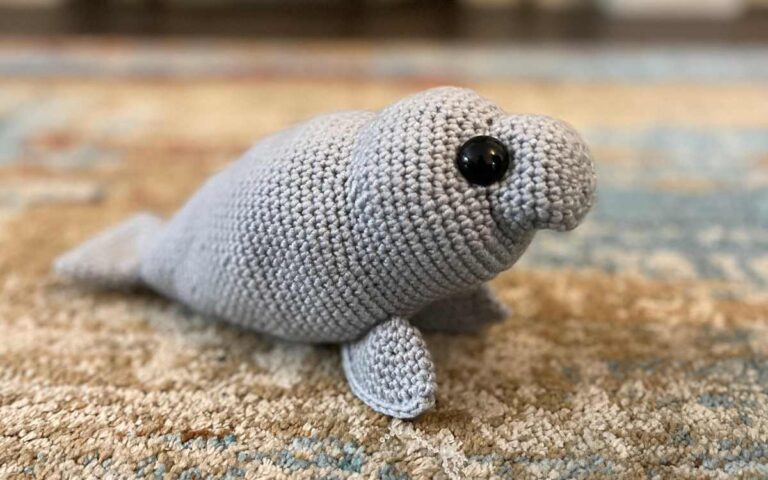
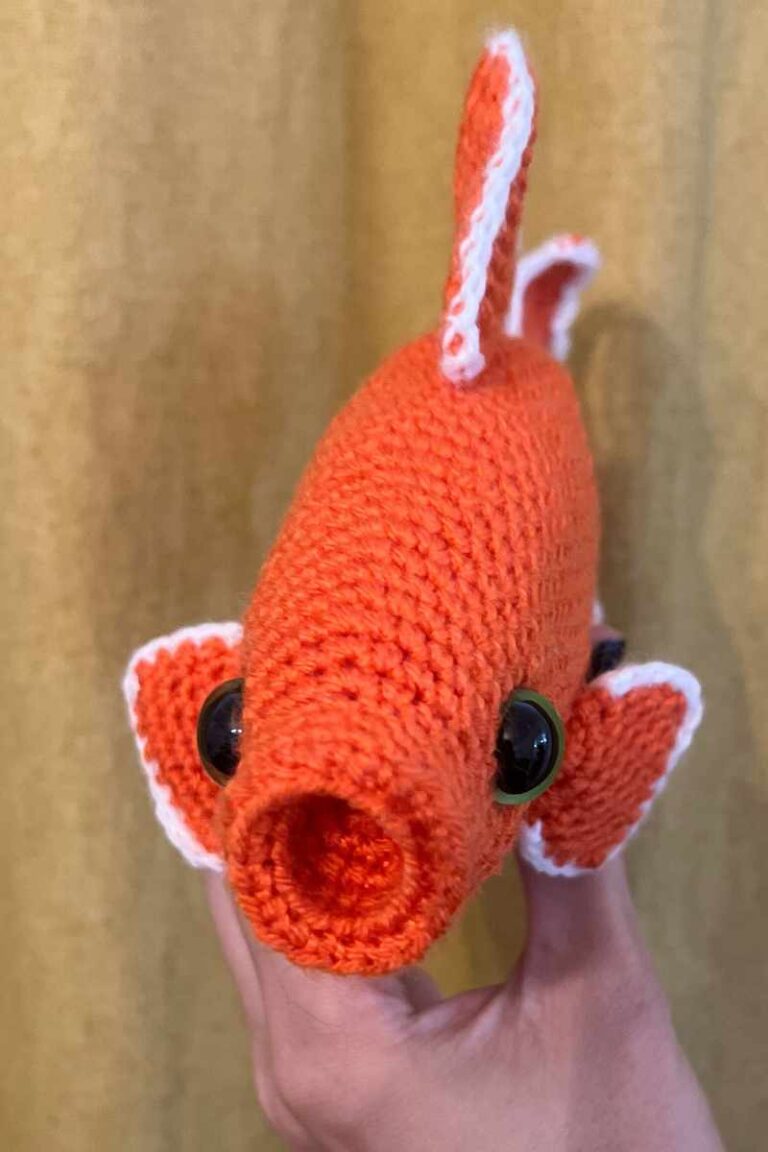
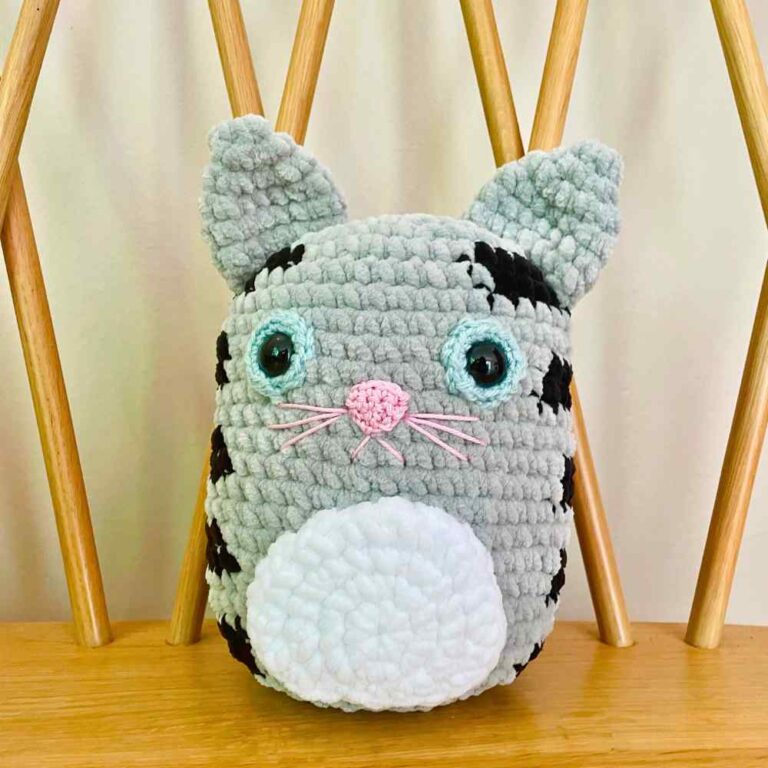
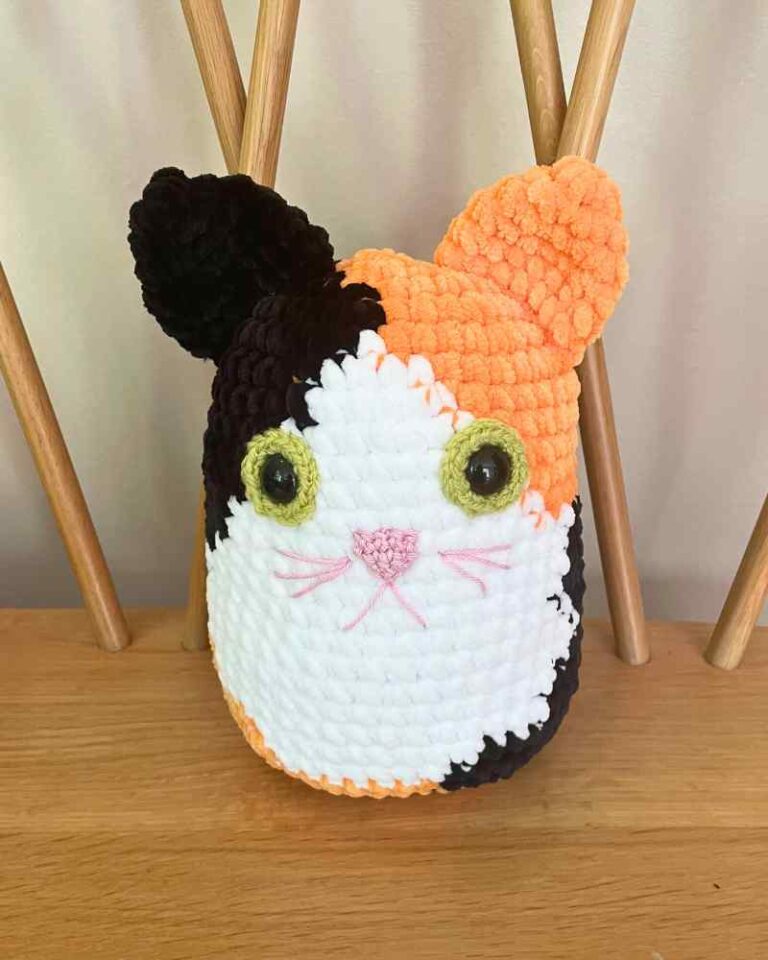
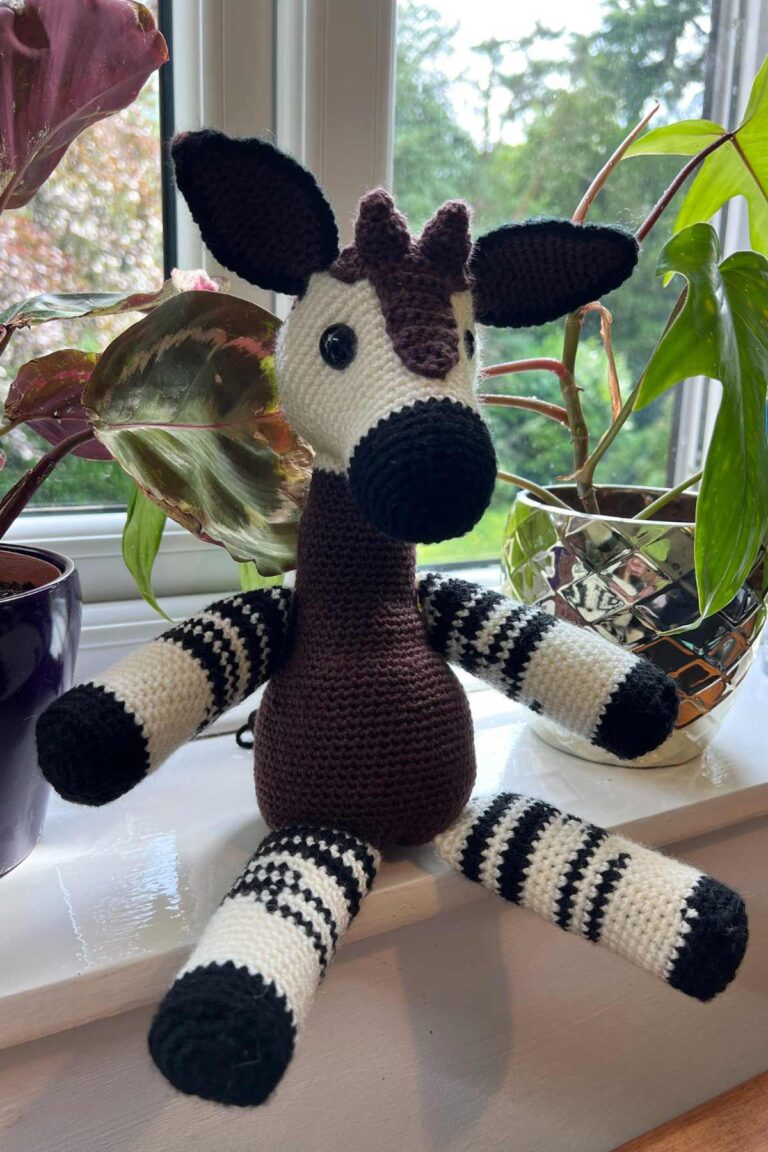
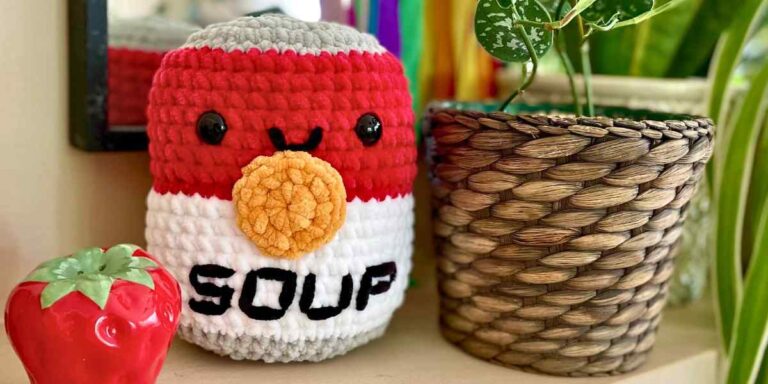
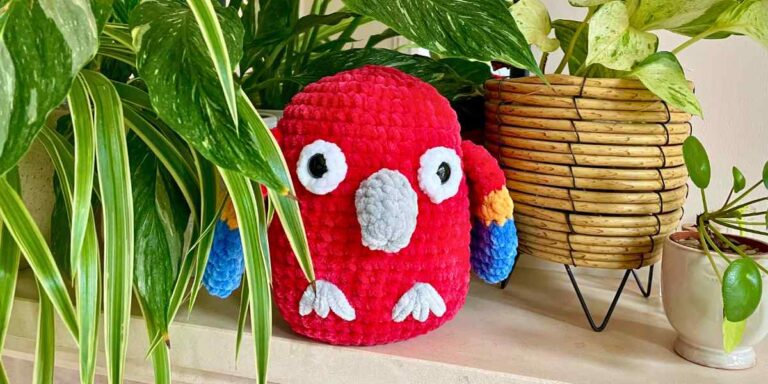
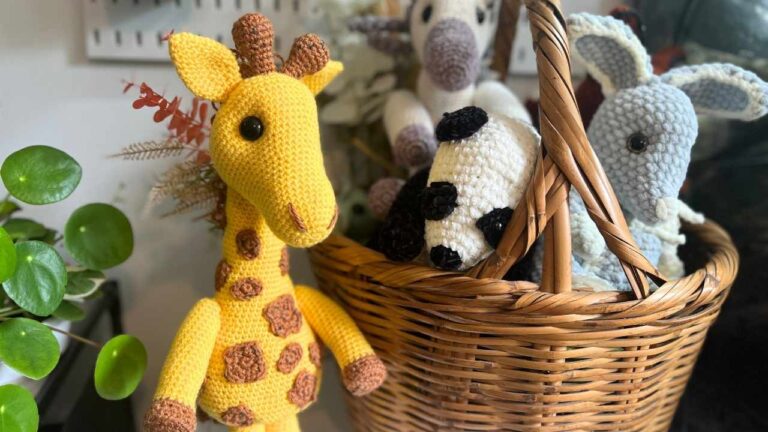
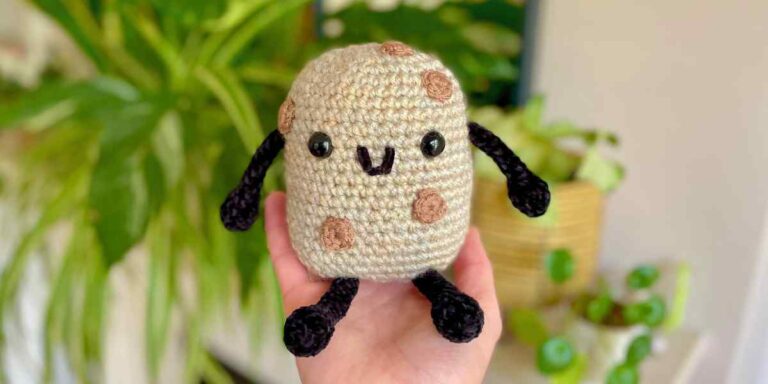
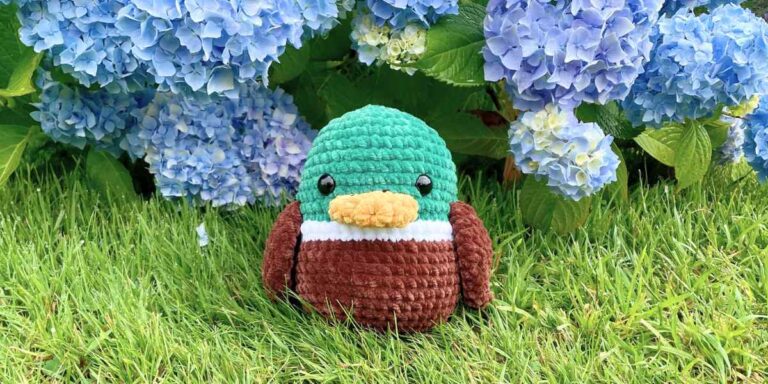
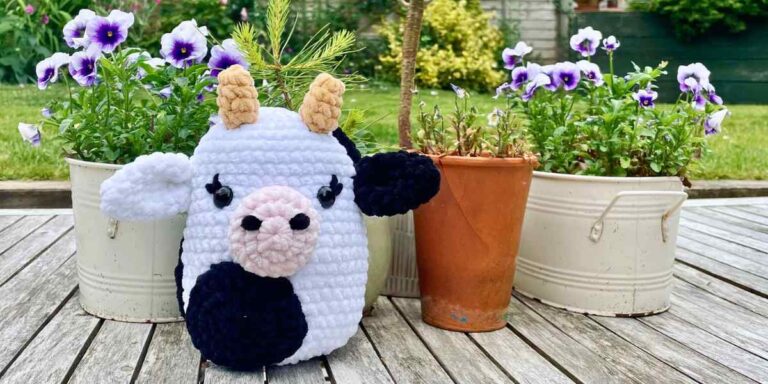
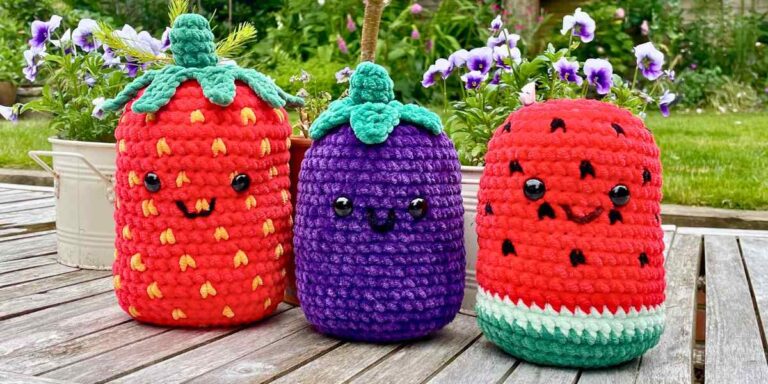
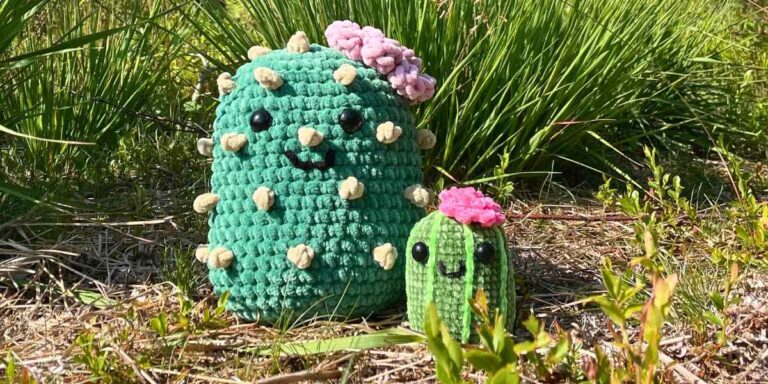
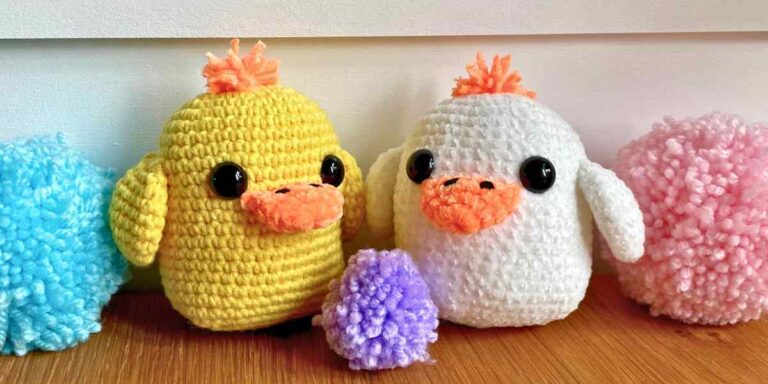
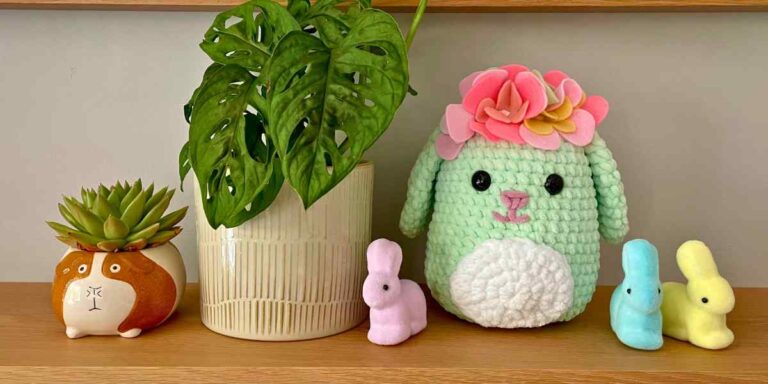
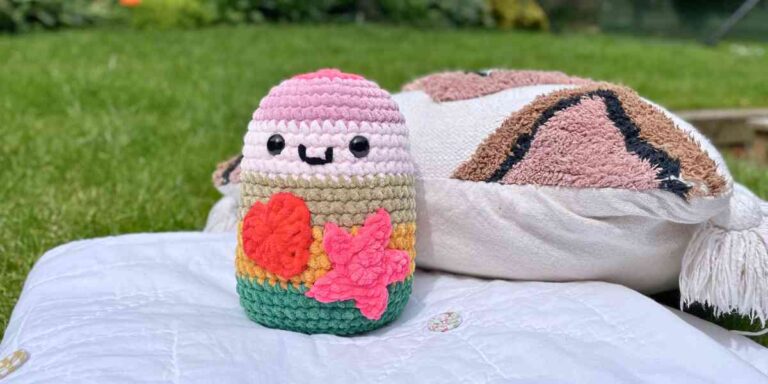
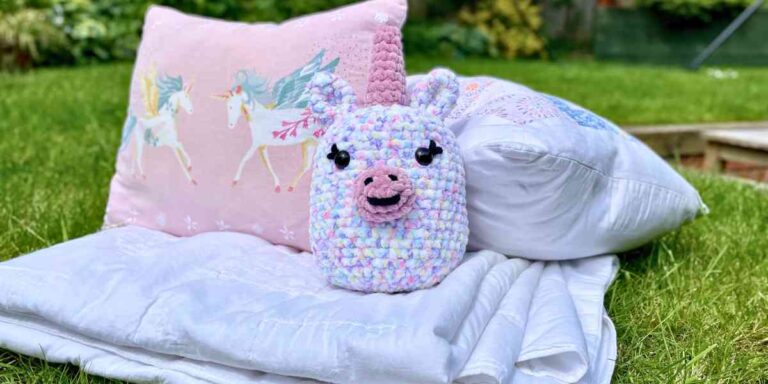
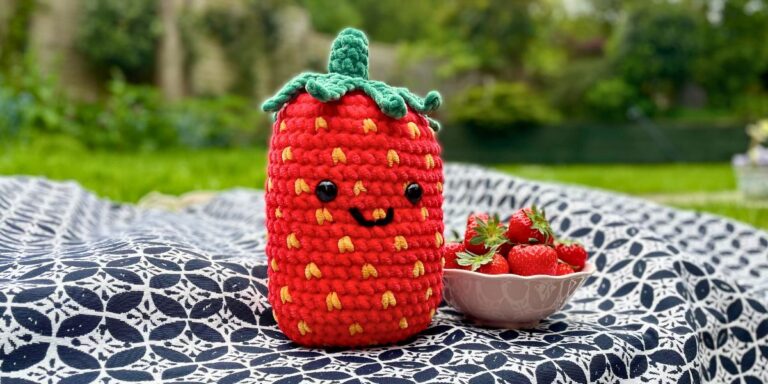
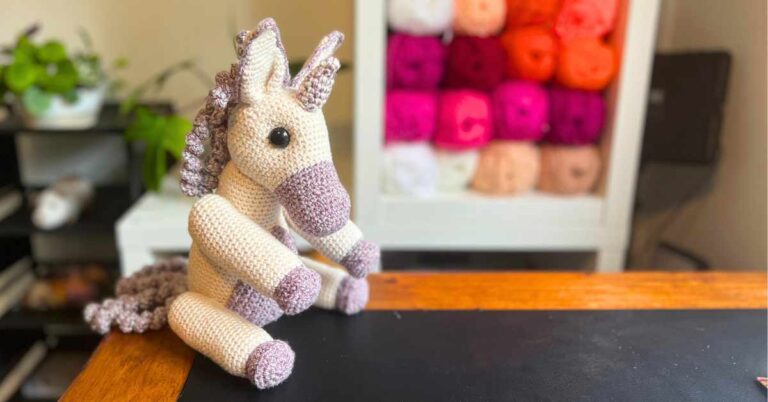
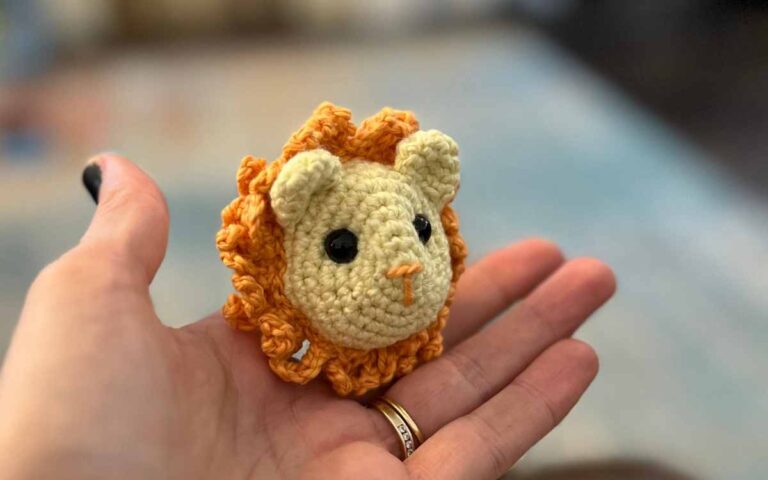
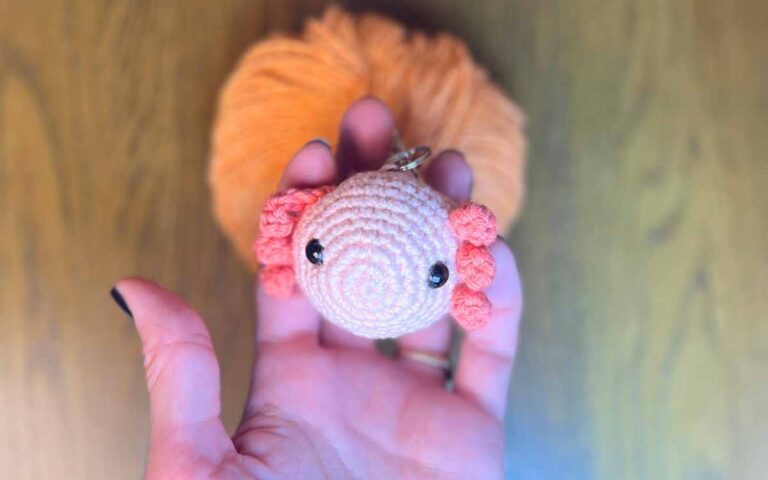
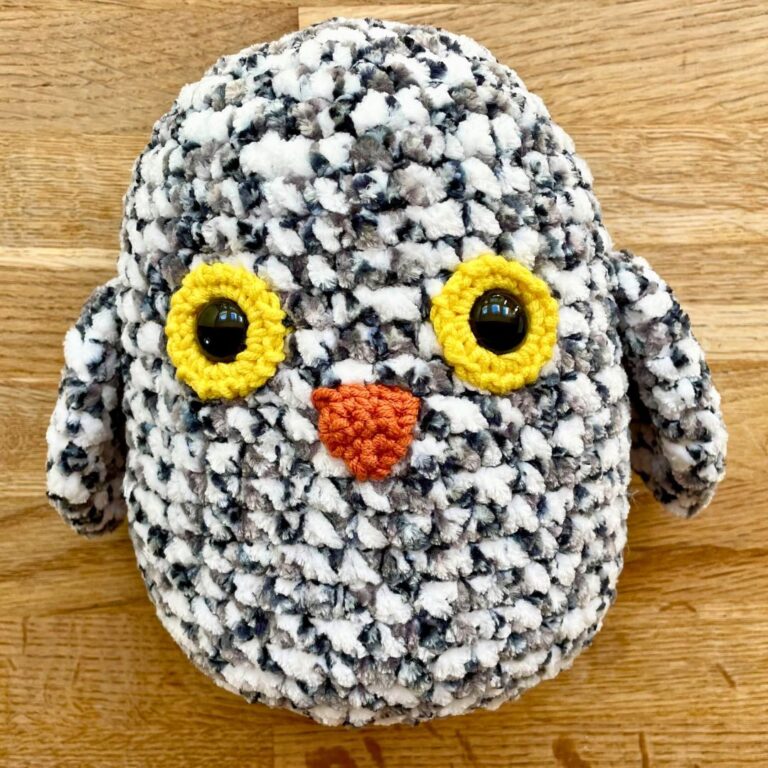
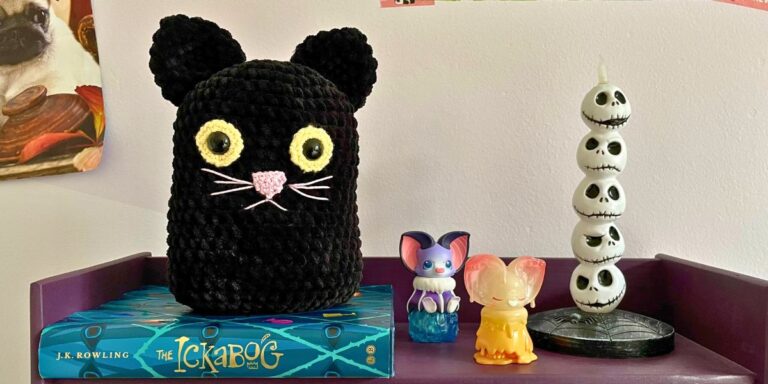
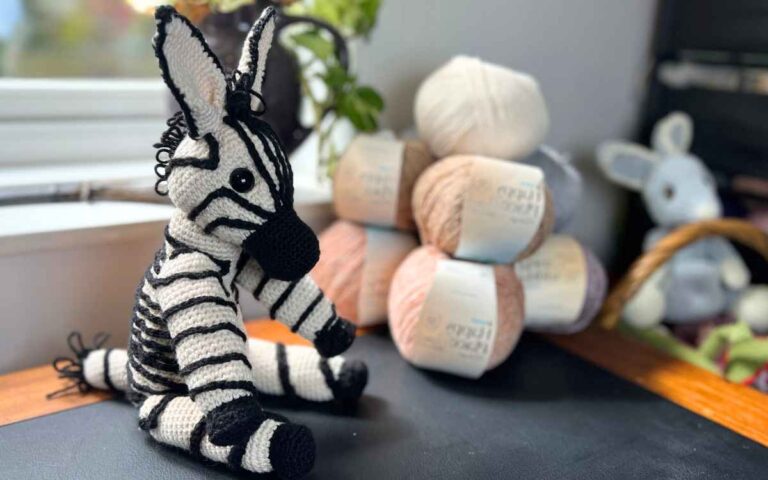
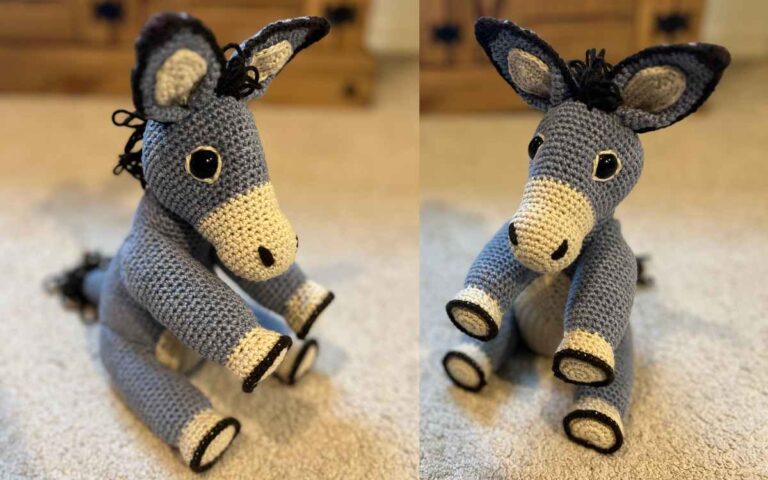
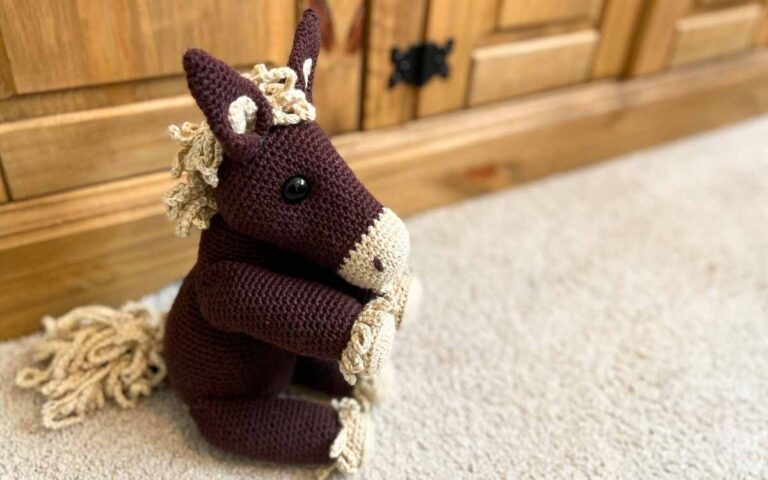
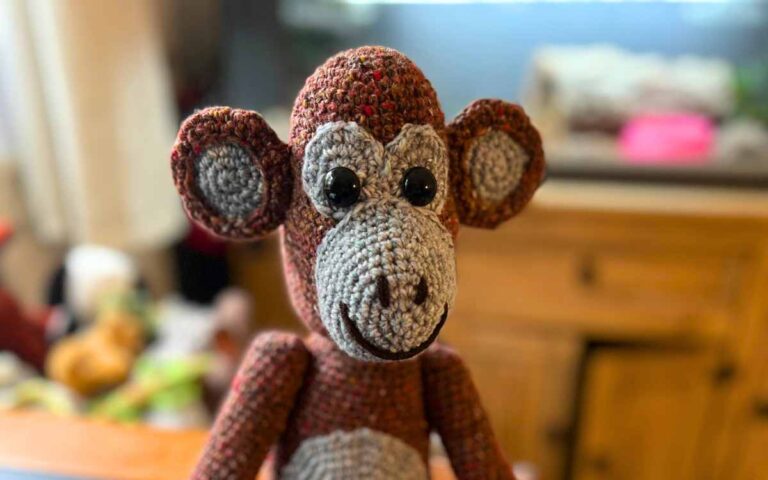
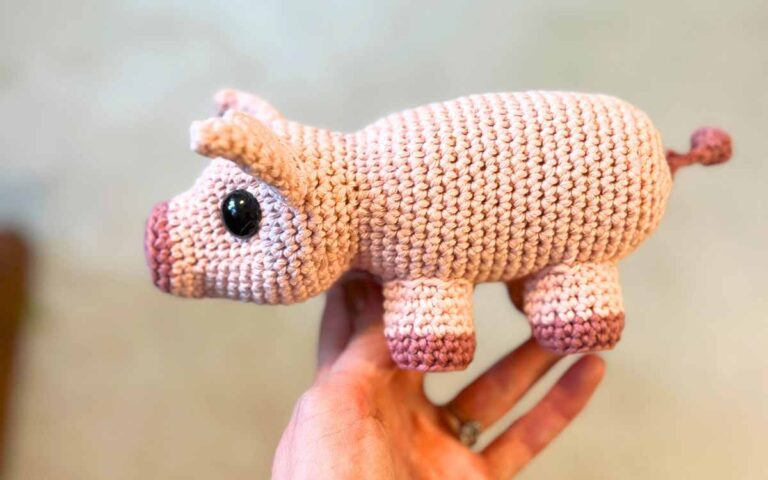
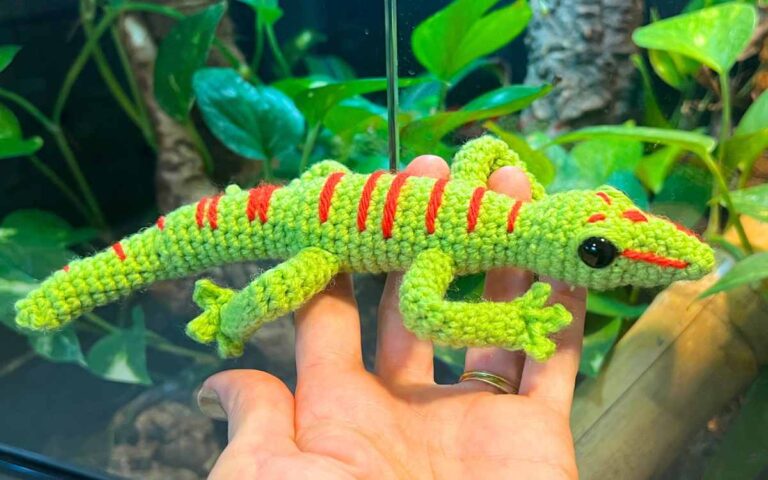
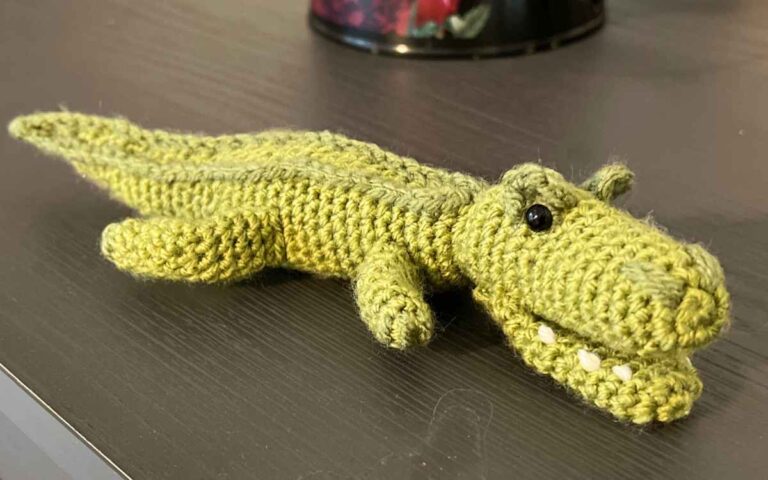
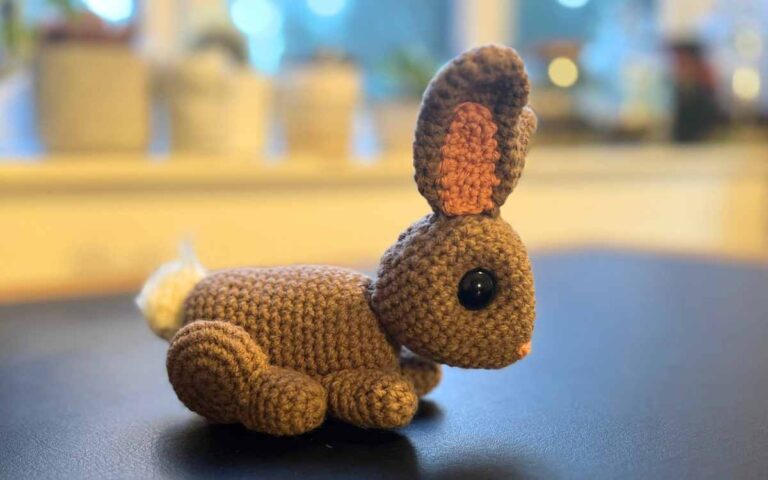
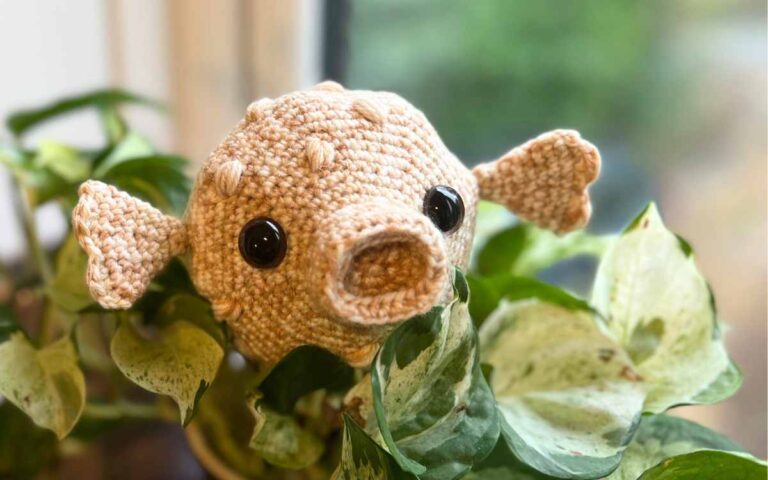
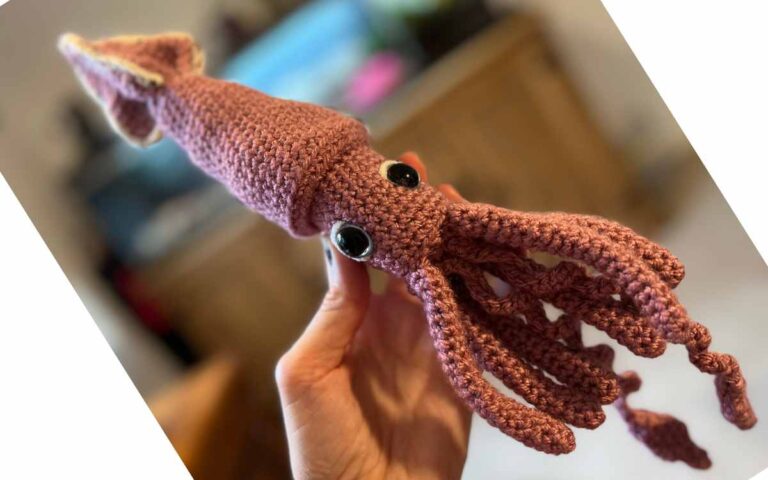
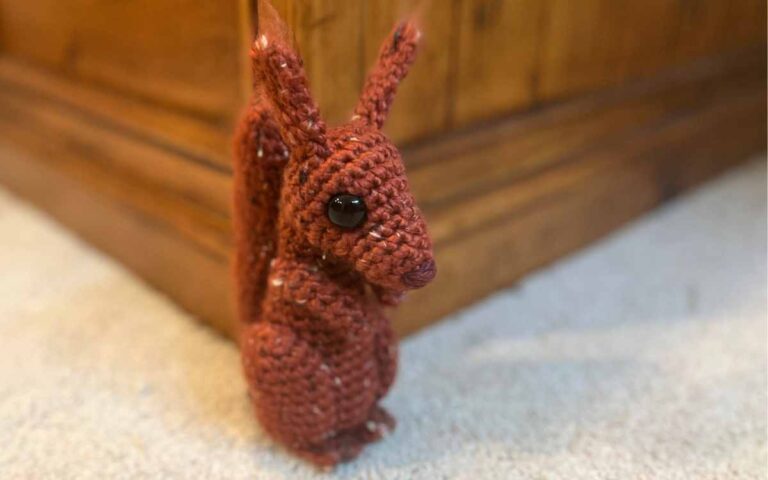
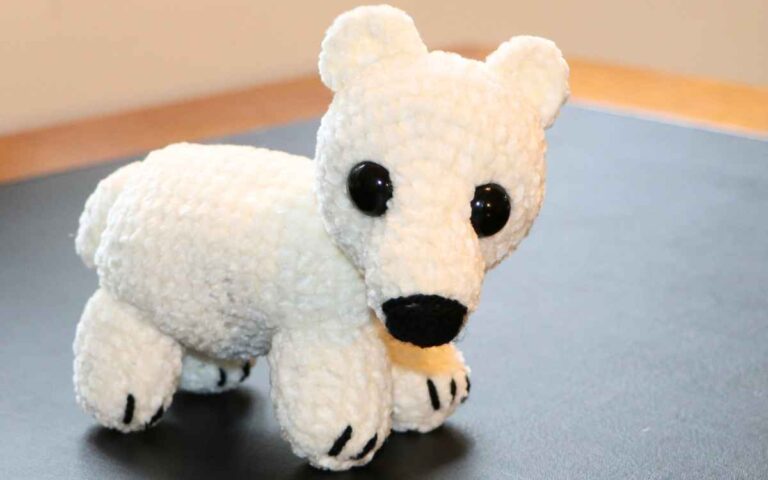
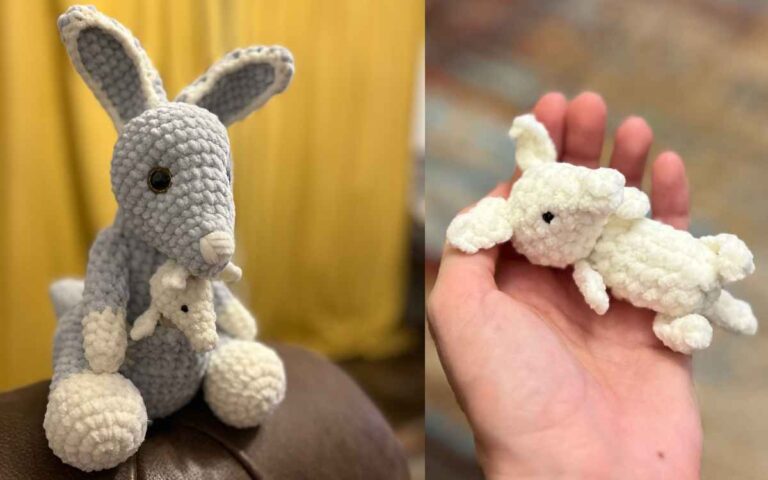
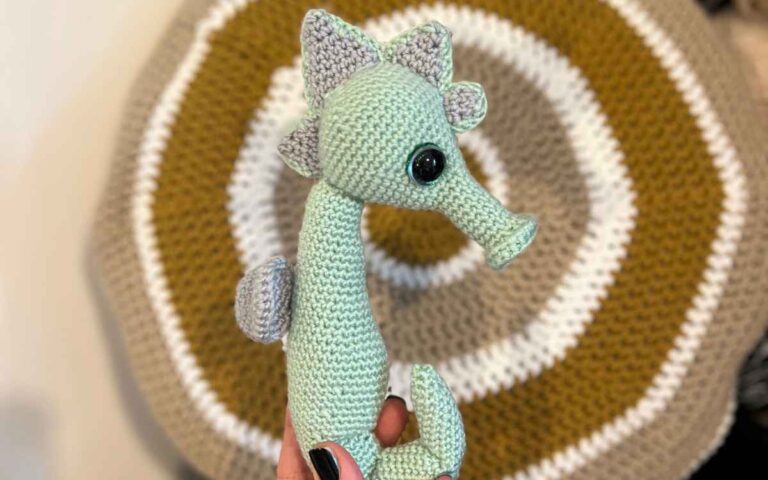
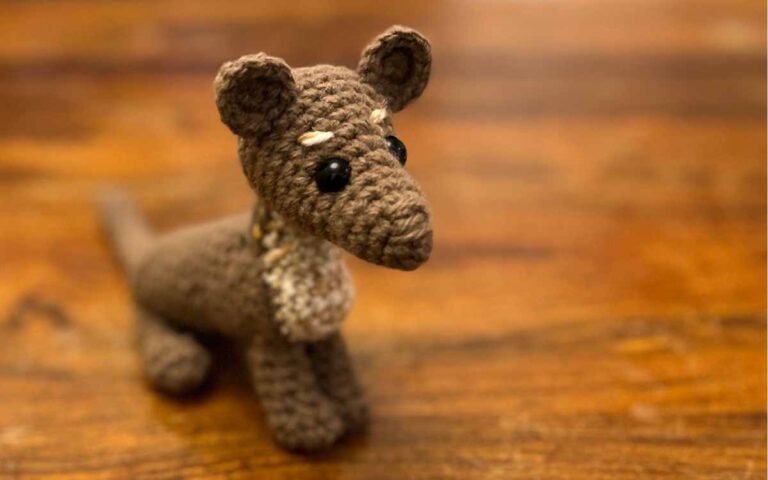
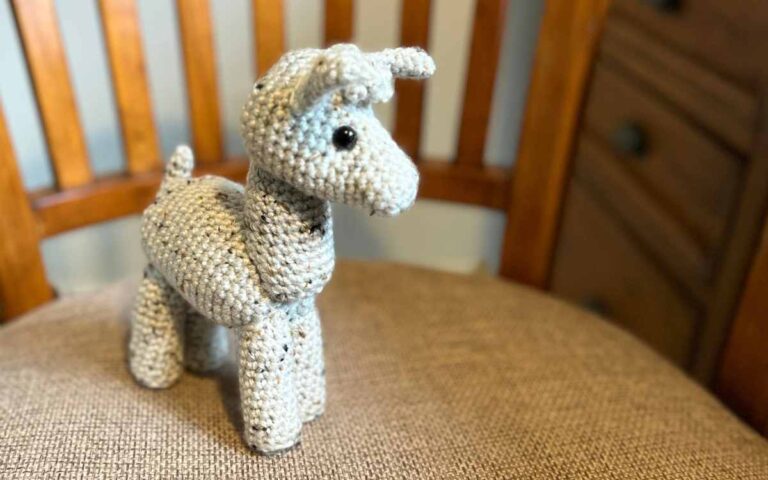
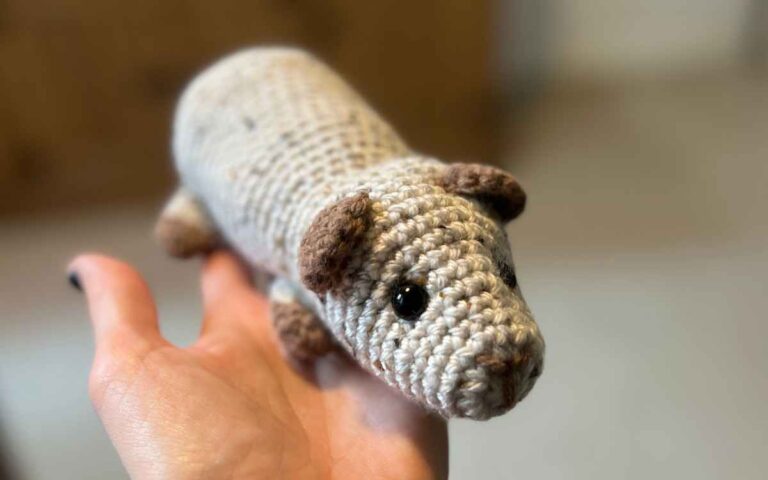
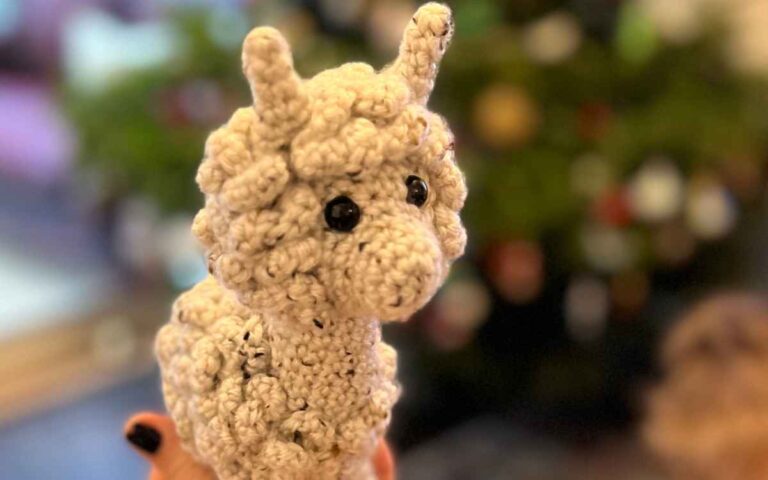
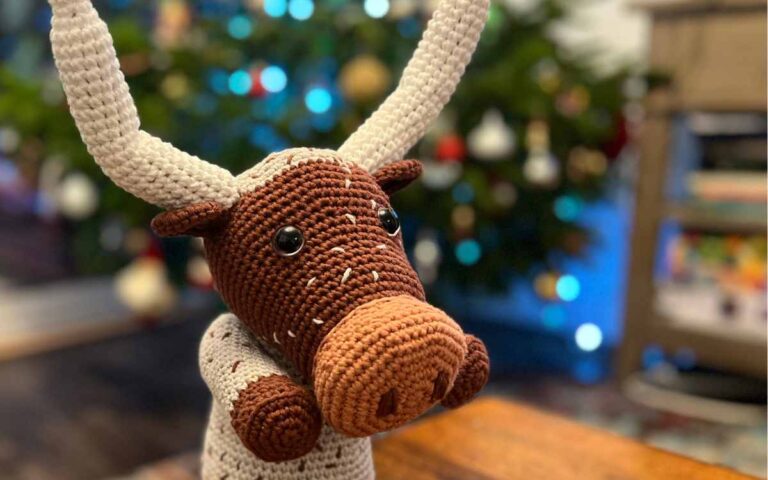
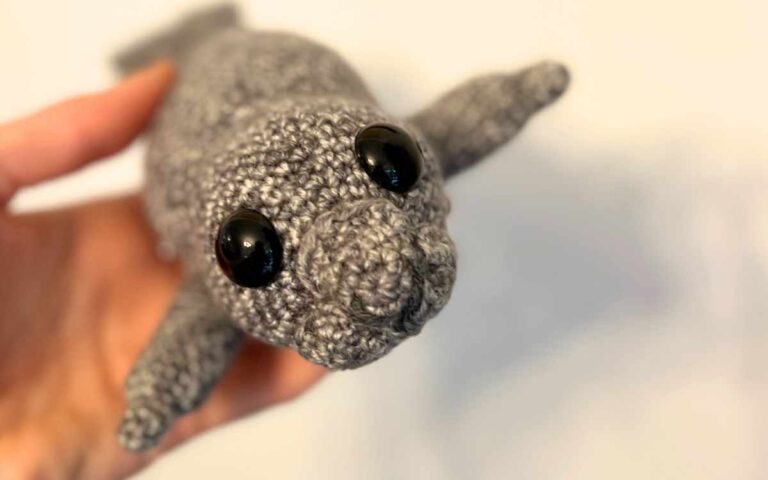
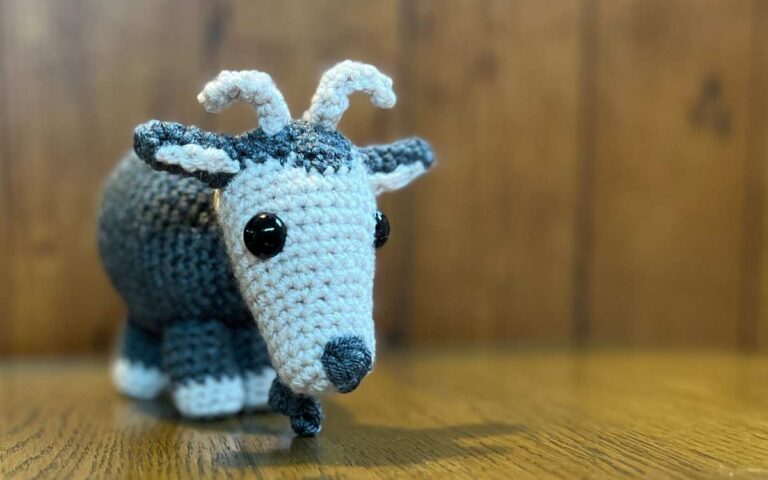
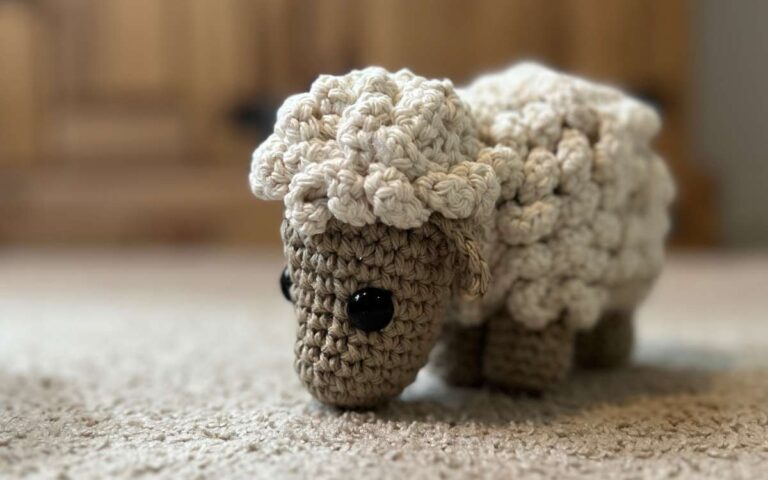
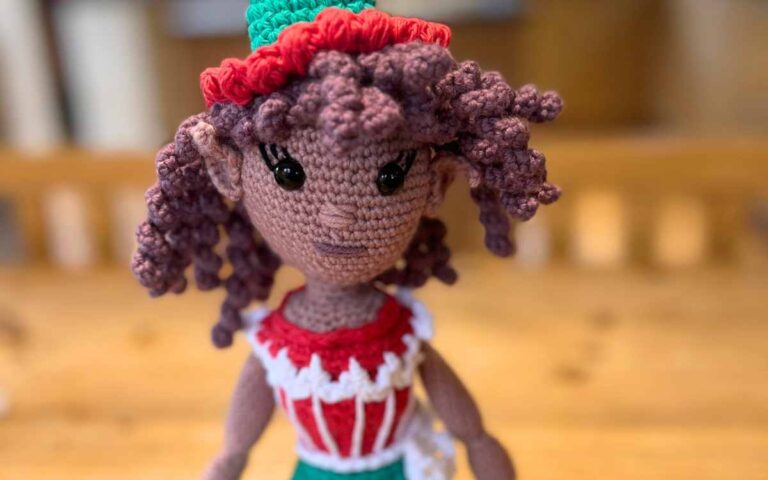
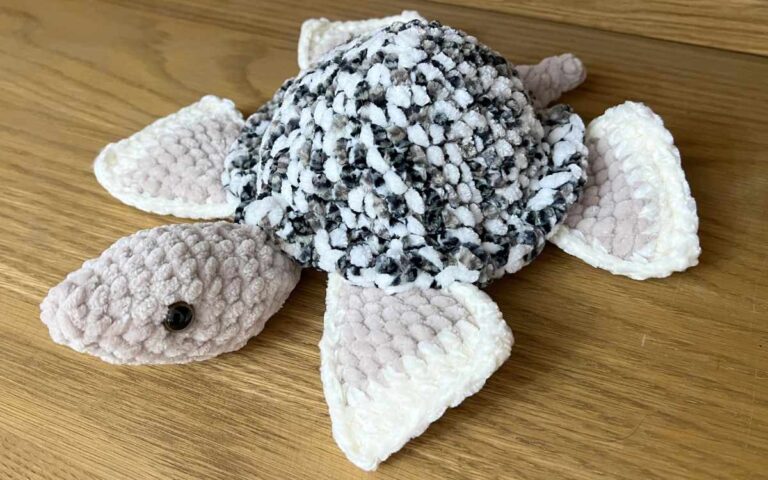
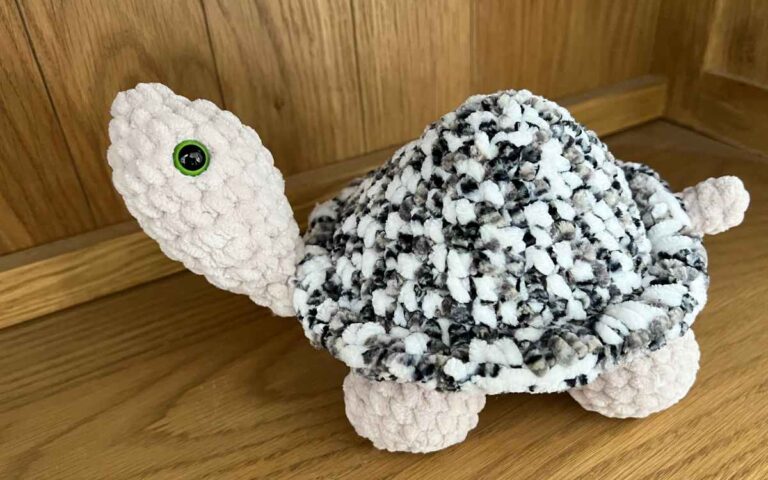
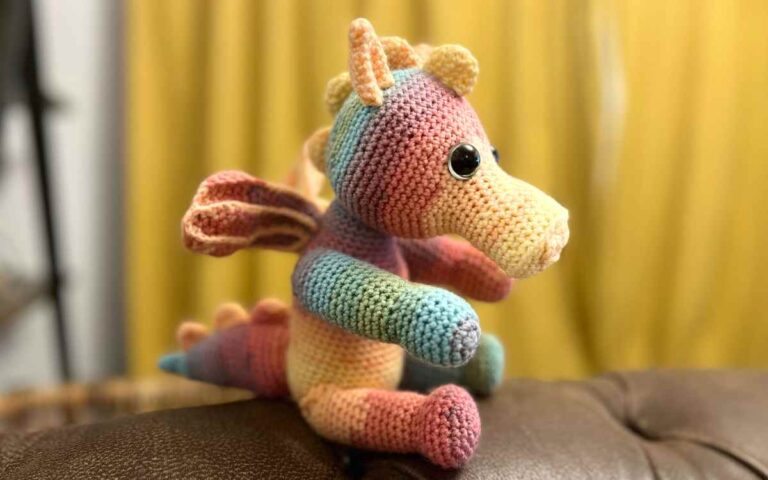
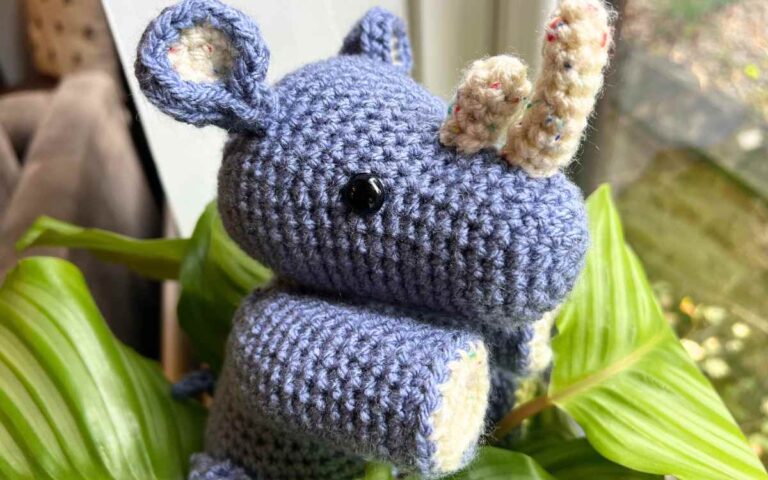
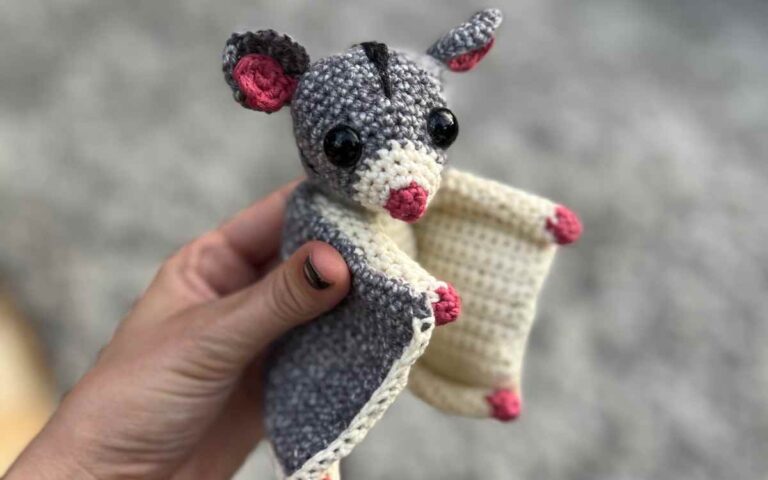
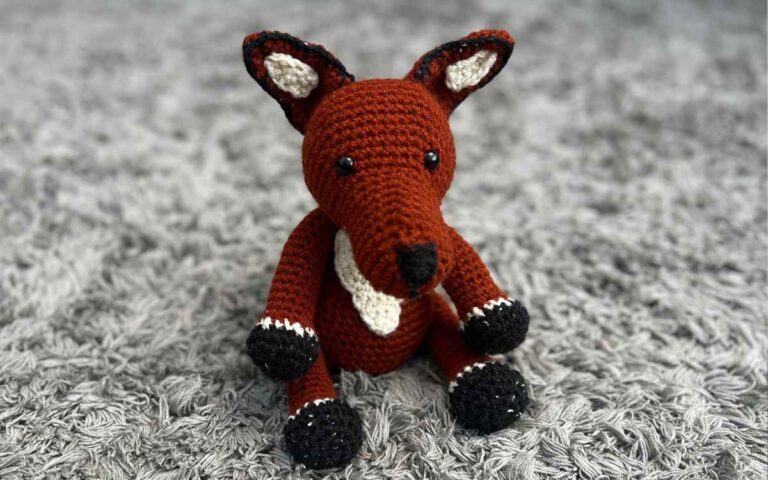
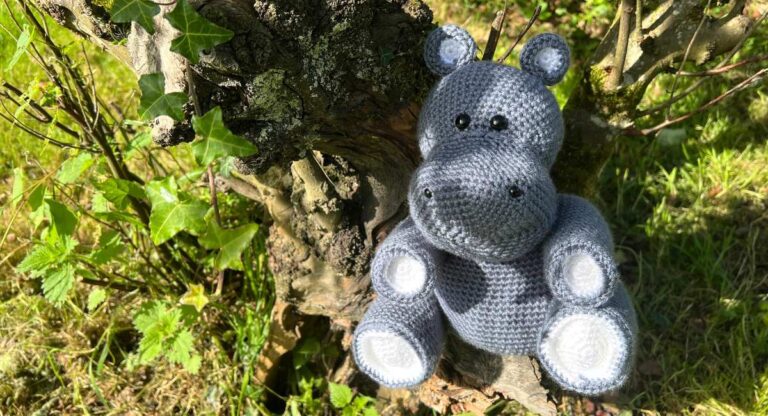
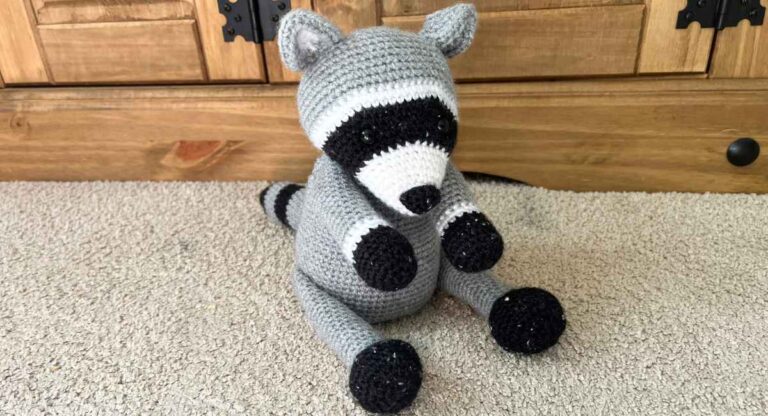
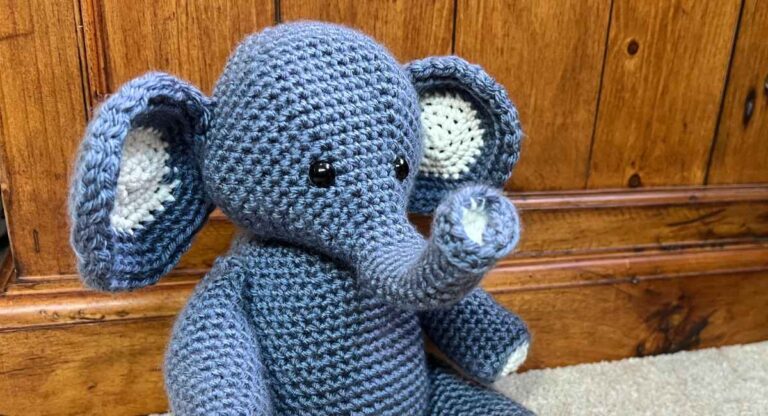
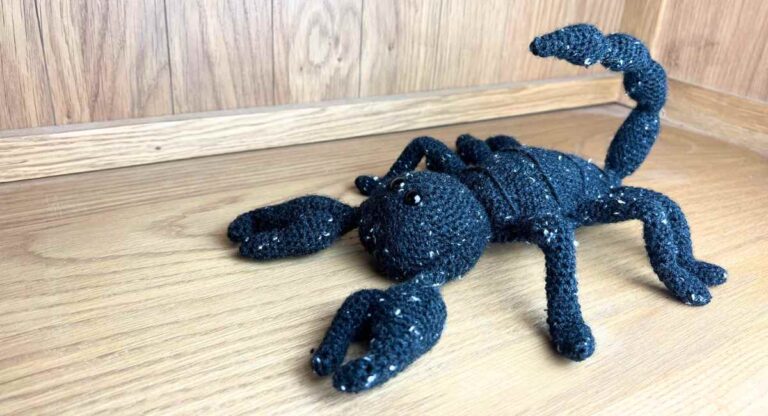
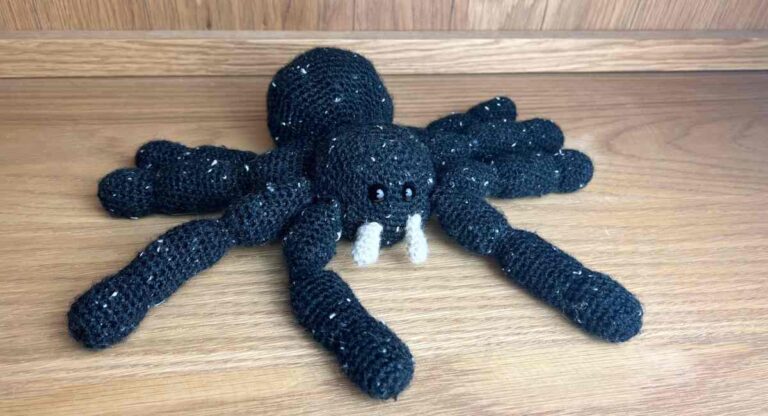
Crochet Toys
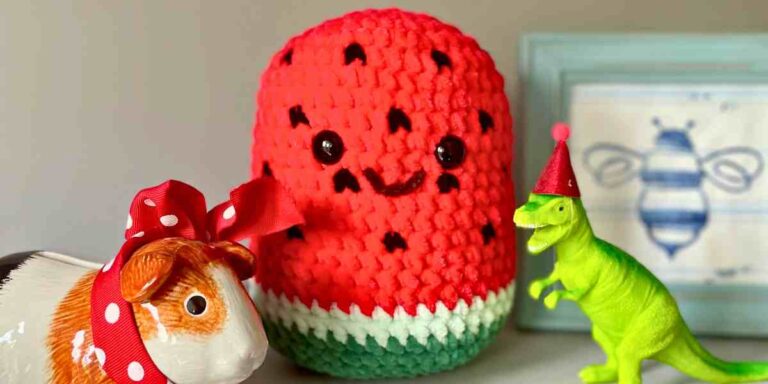
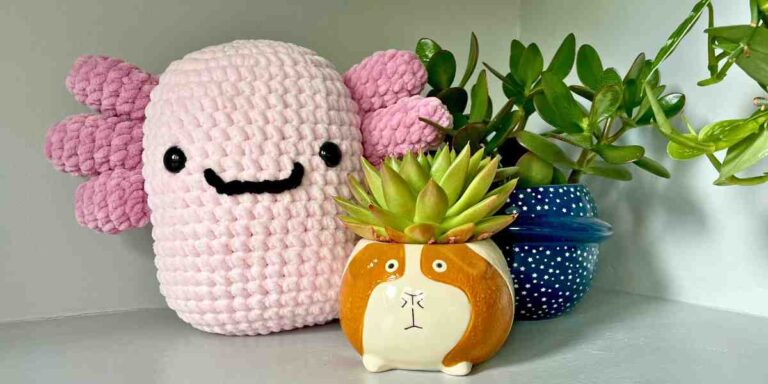
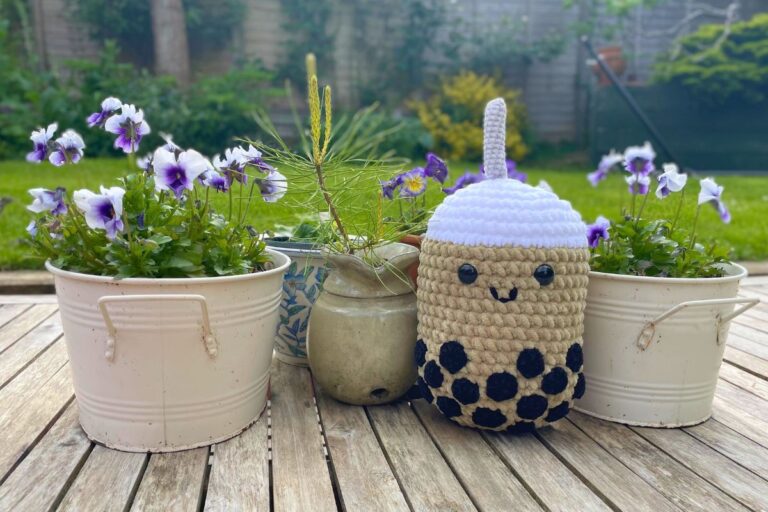
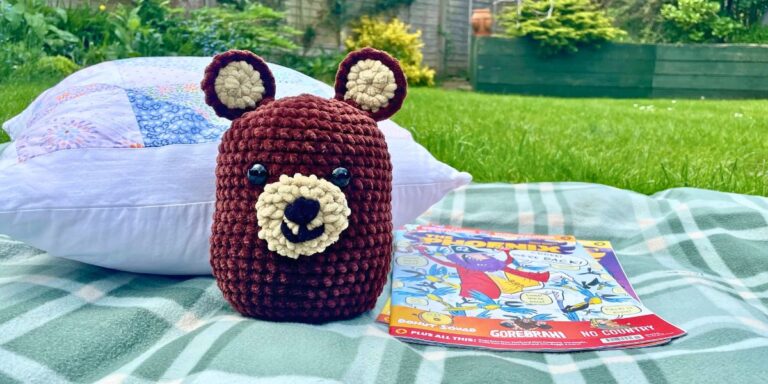
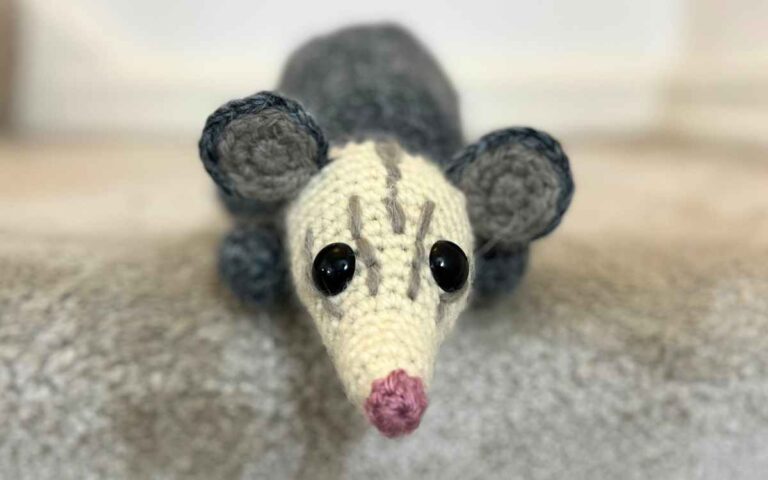
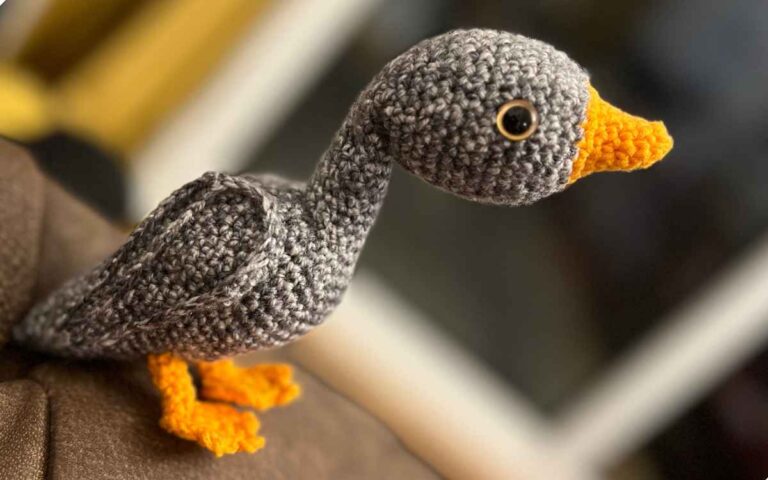
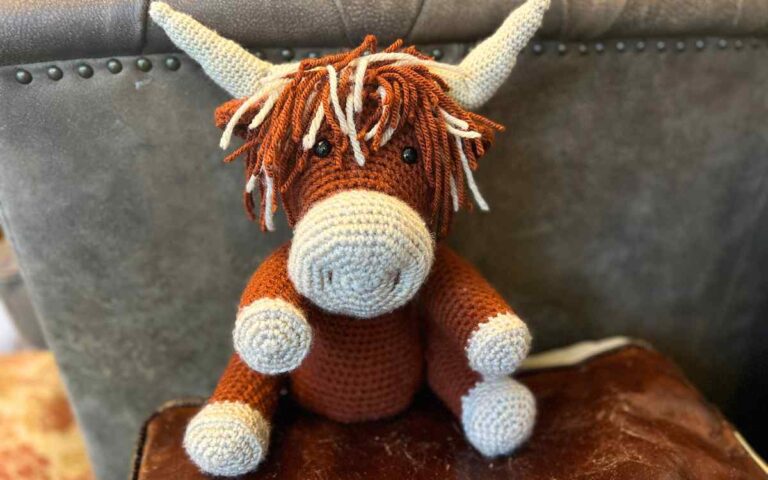
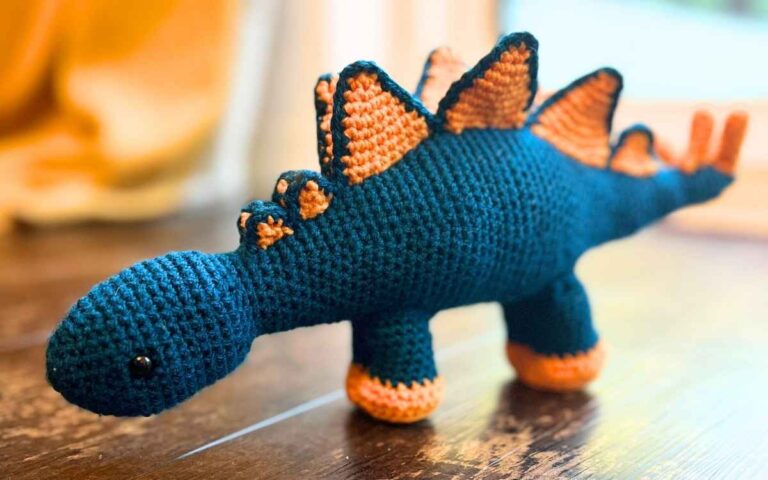
If I could only design one type of crochet pattern again, it would be amigurumi. My passion lies in detailed animal creations, with a particular passion for unusual or exotic creature patterns that you might not have seen turned into a yarny form before.
Although a lot of crochet designers work predominantly in cotton blends when making toys, many of my designs are made using acrylic yarns. I genuinely think that acrylic is underrated when it comes to plushies, and as so many newer crocheters don’t want to invest in the more expensive fibers that it’s important to show what can be done in this more readily available material.
I love amigurumi and I am so excited to share my free patterns with you! The designs range from simple and beginner friendly, to advanced and complex. Simply click on the one that suits your taste and experience!


The toy patterns you’ll find on this page or all absolutely free. That’s right, no charge! When I tell you I’m passionate about sharing my crochet patterns with you, it’s not lip service. I want my patterns to be accessible to anyone who wants to make them, so you will find everything I’ve created here for exactly zero dollars.
This said, I have got a few patterns in the printable PDF section for a small fee, which you can find in the menu at the top of the page. If you love crocheting but don’t like to read from a screen, then you can pop over and check those out too.
Pattern Collections
I love crocheting in batches of similar styles, so I’ve collected my patterns together by the simplest, most beginner friendly, complicated or fastest crochet projects.
You can also find separate collections for my popular crochet patterns, like the sea creatures, family pets andfarm animals.
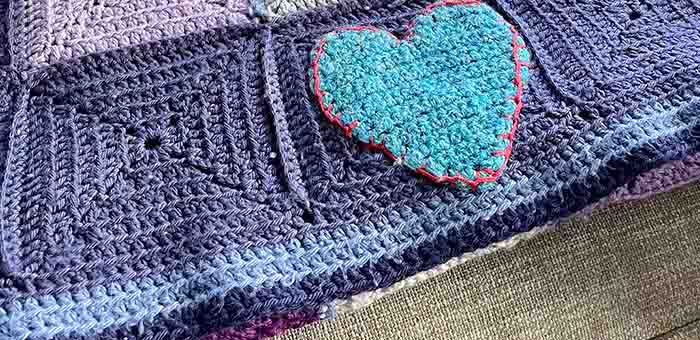
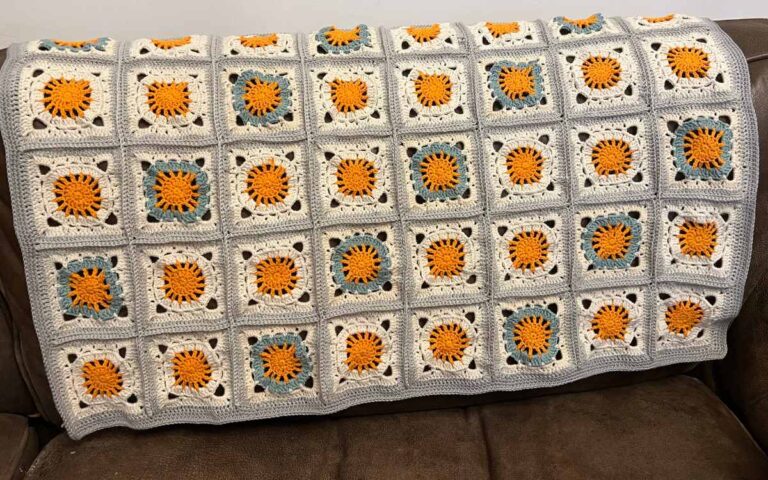
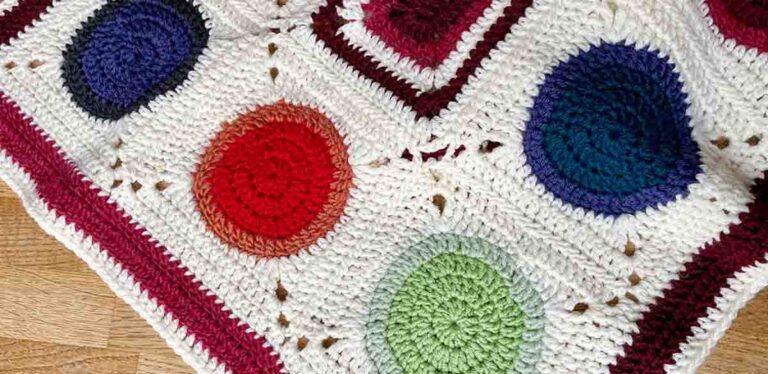
Crochet Blanket Selection
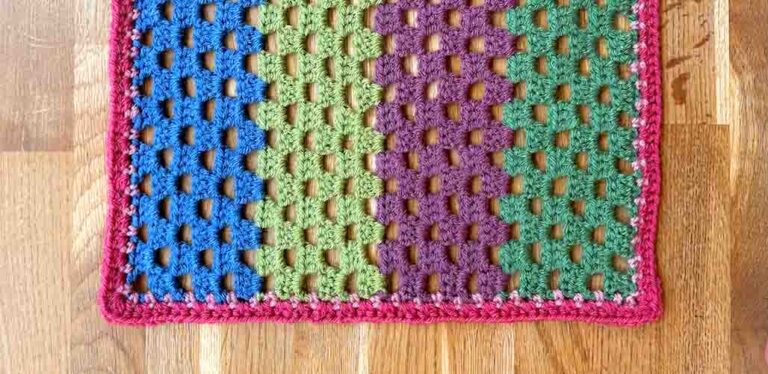
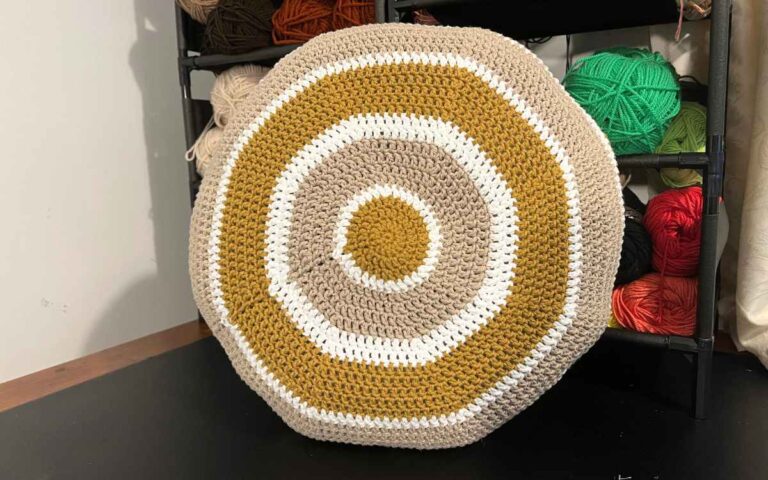
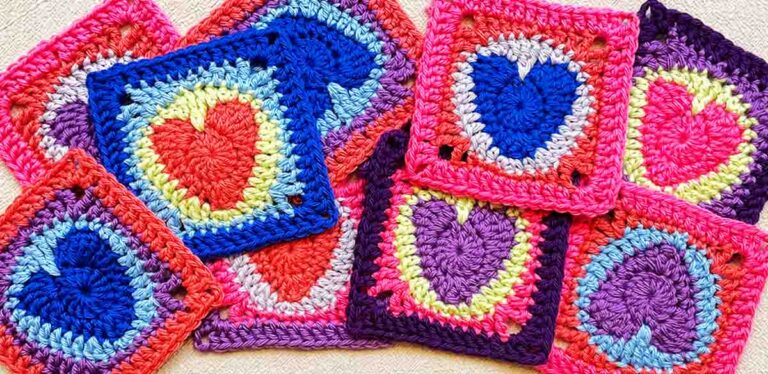
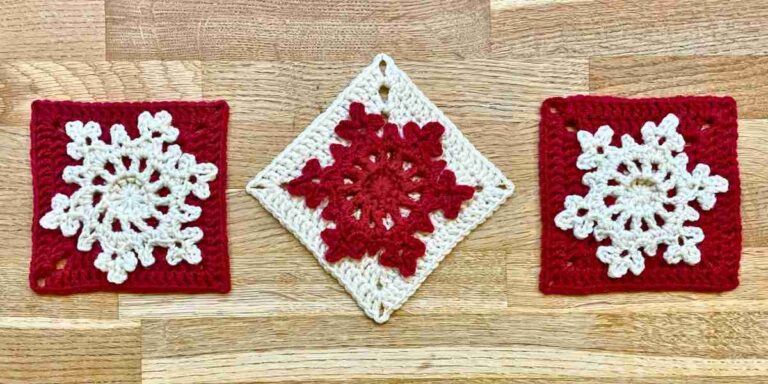
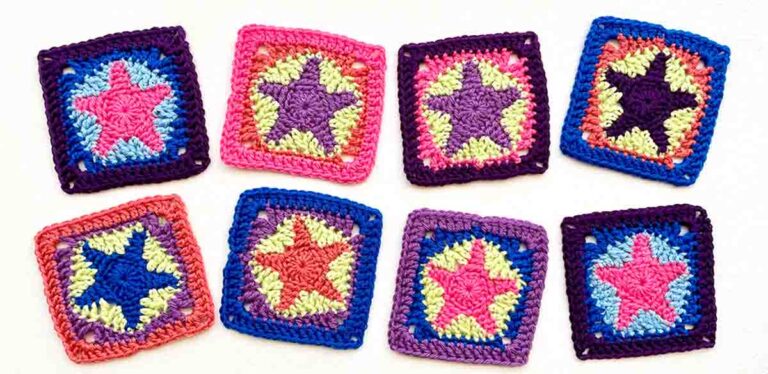
Granny Square Patterns


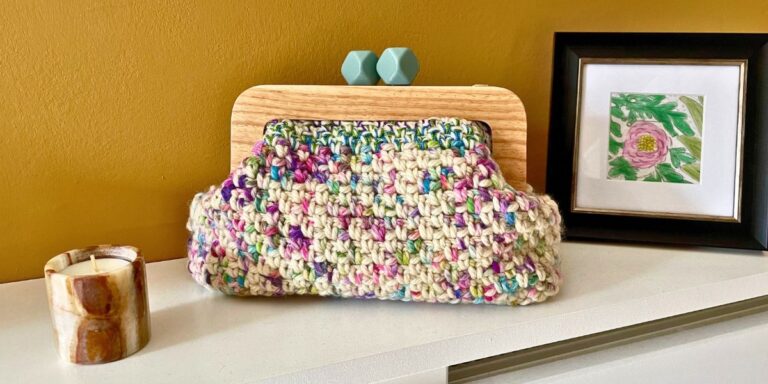
Home Decor
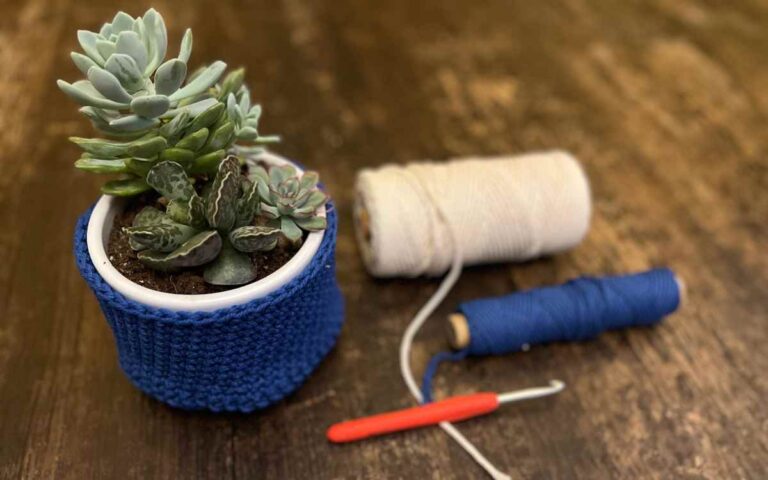
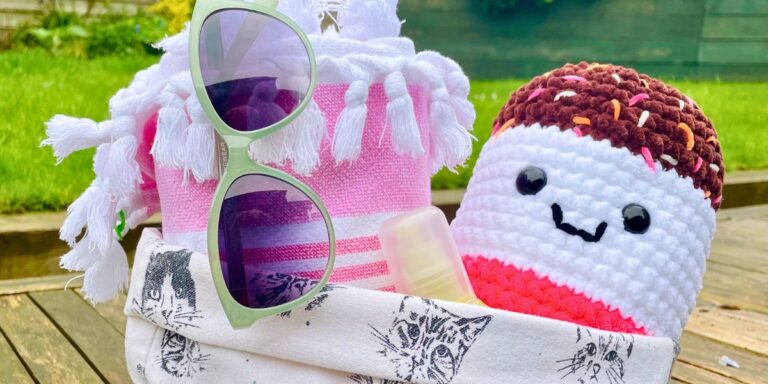
Crochet patterns to help you create your own beautiful home accessories like throw pillows, baskets and even bunting.