3D Snowflake Granny Square Pattern
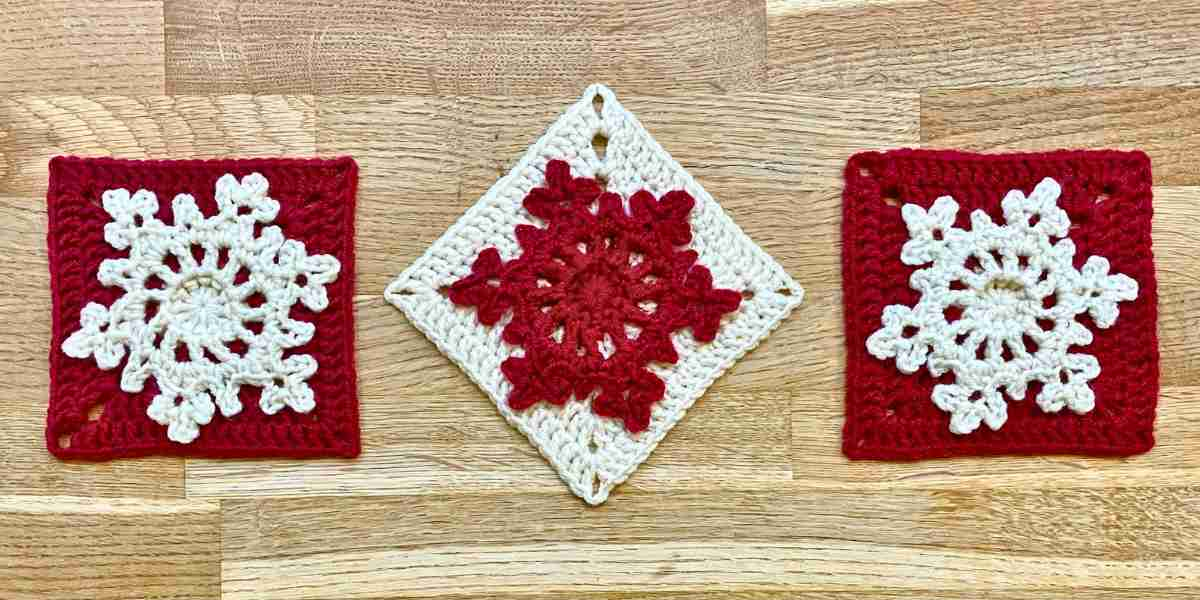
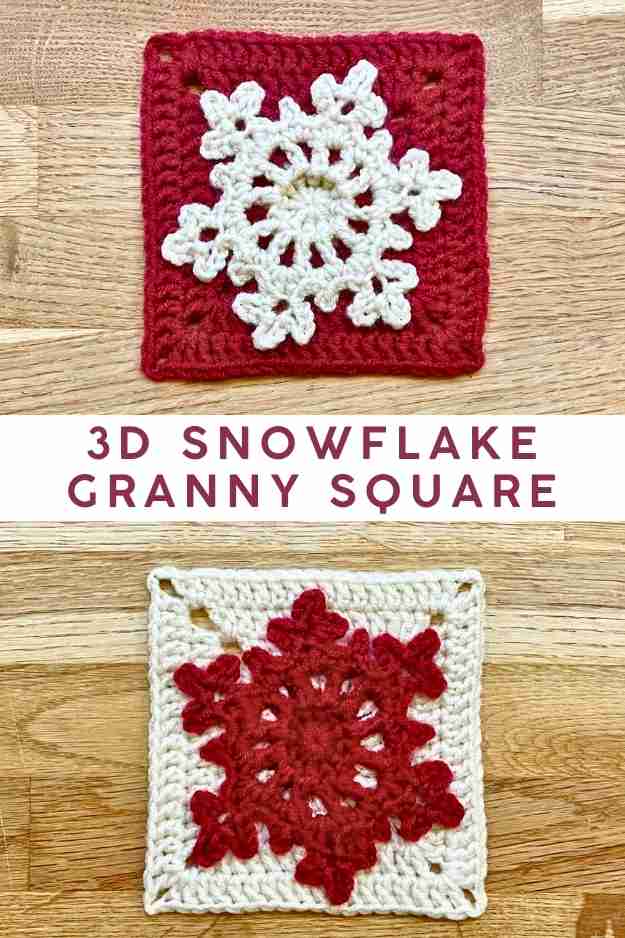
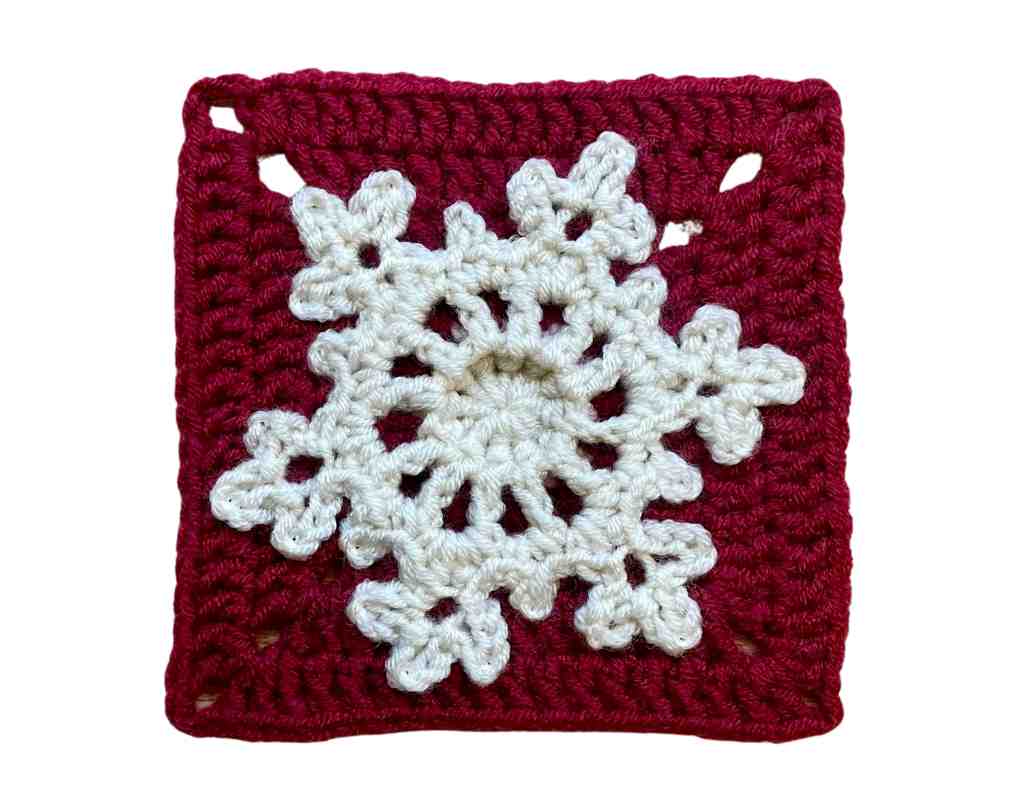
How do you like my 3D snowflake granny square? Pretty festive, huh? I think it would look great mixed up with simpler grannies in candy cane colors, for a jolly sofa throw or blanket. Rather than making the snowflake and a solid granny square separately, then sewing them together (which is one option), the snowflake is fully integrated into the square. Which means no sewing, and no risk of the stitches coming loose in future.
The first round of the granny square is the center of the snowflake, and then from round 2 the pattern diverges into snowflake, and background. The rest of the snowflake isn’t anchored to the background on my squares – I think leaving the points floating feels more free-falling and snowflake-y. But I have included an instruction for anchoring the points in place as you go, if it suits you better.
3D snowflake granny square pattern
This pattern is written in standard U.S. crochet terms. Using DK yarn and a size G (4mm) hook it produces a square approximately 5″ (13cm) along each side. The stitches and their abbreviations you’ll need to know are:
Ch chain
Sc single crochet
Fpsc front post single crochet*
Dc Double crochet
Sl st slip stitch
* Exactly like the better known front post double crochet, but with a single crochet. There are more detailed instructions in the pattern, if you’re unfamiliar with it.
Round 1
Using white yarn:
- Magic circle (mc).
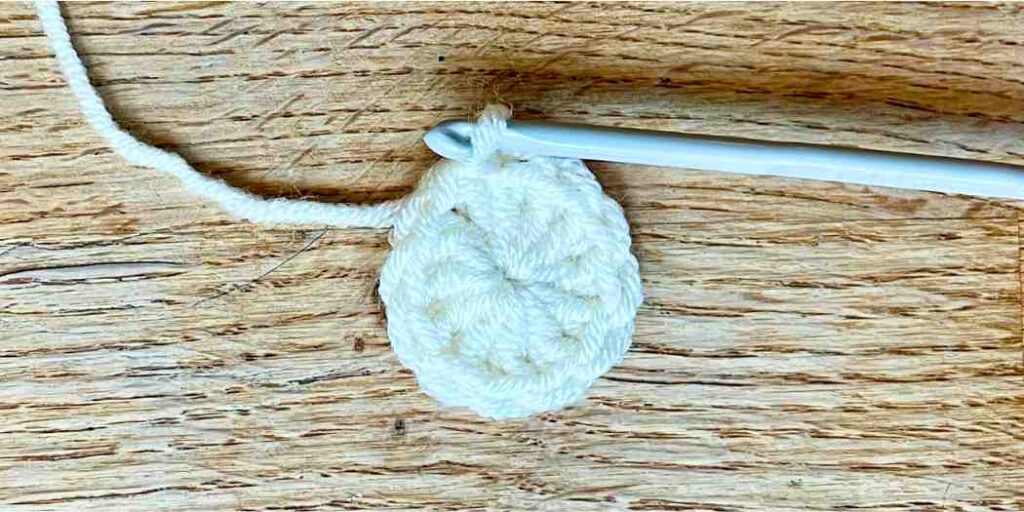
- Ch 3, dc 11 into the mc, sl st into the top of the ch 3 to join.
Background round 2
Continuing with the white yarn:
- Fpsc around the ch 3 from the start of round 1: insert hook from back to front to the left of the chain, and from front to back on the right on the chain, yarn over and draw through so you have 2 loops on the hook, yarn over again and draw through both loops.
- Ch 1.
- *Fpsc around the next dc, ch 1* eleven times.
- Sl st into the first fpsc.
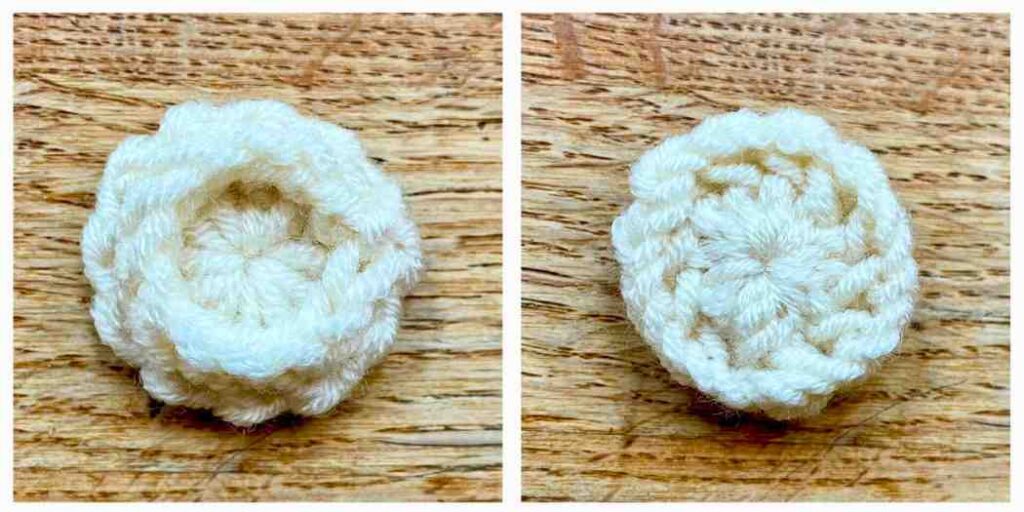
Cut the yarn and weave in the ends. Here’s round 2 looks from the from the front (on the left), and back (on the right). Notice how the top loops of round 1 have been pushed forward on the front.
Background round 3
Join your red yarn into one of the ch 1 spaces from round 2.
- (Ch 5, dc 1) into the same ch space.
- Dc 2 into the next ch space.
- Dc 2 into the next ch space.
- (Dc, ch 2, dc) into the next ch space.
- Repeat steps 2 – 4 twice more.
- Dc 2 into the next ch space.
- Dc 2 into the next ch space.
- Into the next ch space (which is where you started), and sl st into the 3rd st of the ch 5 to join.
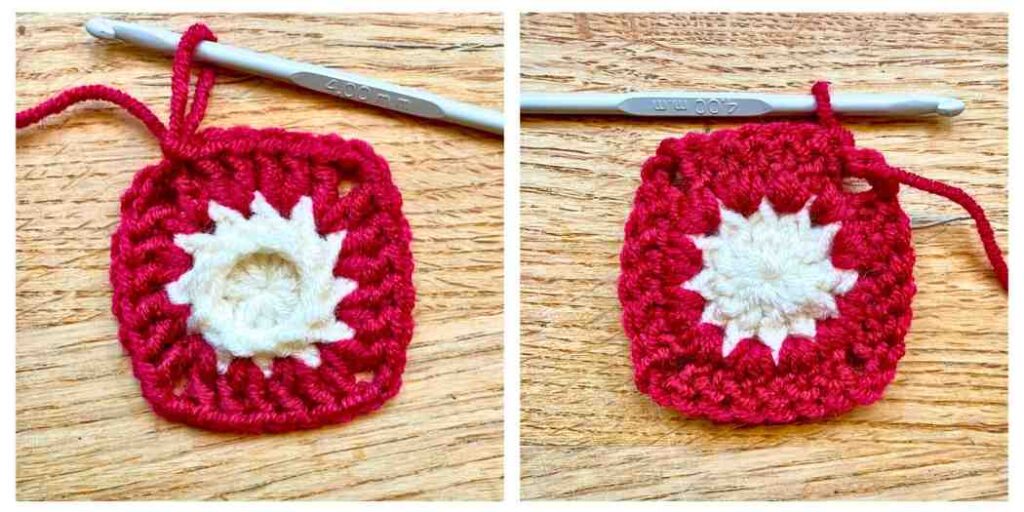
Here’s how that looks from the front (left) and back (right):
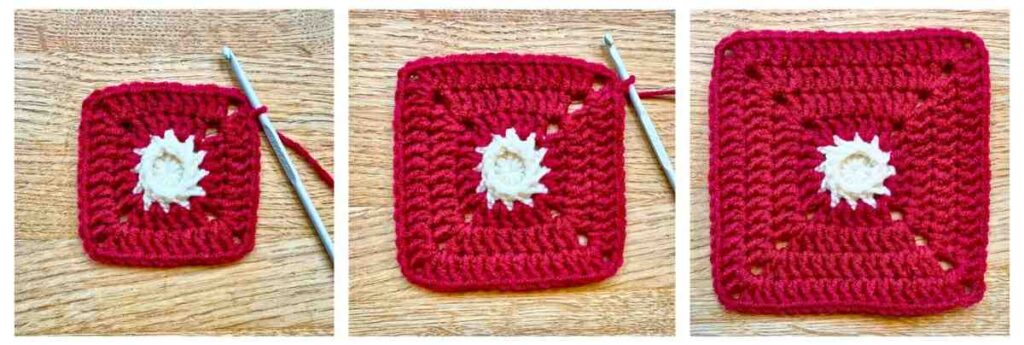
Background rounds 4 – 6
- (Sl st, ch 5, dc 2) into the first corner space.
- Dc into all of the side spaces.
- (Dc 2, ch 2, dc 2) into the other corner spaces.
- And when you get back to the first corner space, dc and sl st into the 3rd st of the ch 5 to join.
After the 6th round I tied off my yarn and wove in the ends. But if you’d like a bigger square, simply add more rounds!
Snowflake round 2
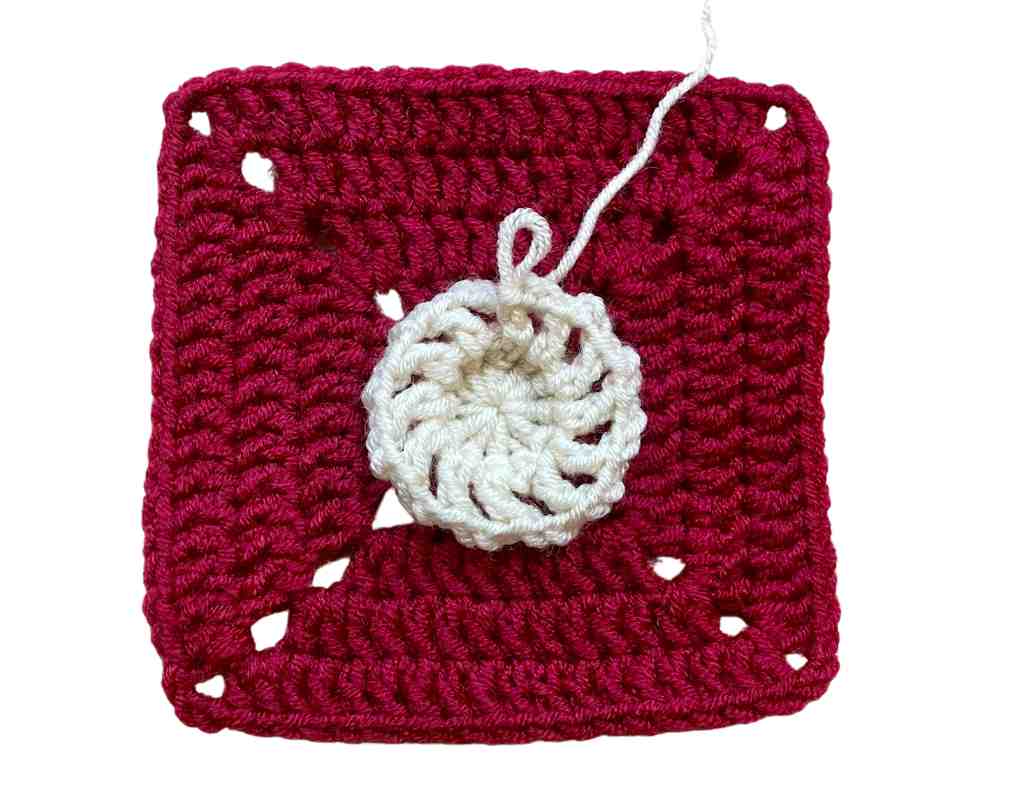
Now when you look at the front of your square, the top loops of round 1 are pushed forwards.
Join your white yarn through the top loops of any stitch from round 1.
- Ch 5, *dc, ch2* 11 times.
- Sl st into 3rd st of the ch 5 to join.
Snowflake round 3
It looks like there’s still a long way to go, but in fact this is your final round! It’s worked into the chain spaces from the previous round, using an alternating pattern of single- and triple-picot stitch techniques.
- Into the next chain space (sc, dc, ch 6, sl st into the 1st ch, ch 5*, sl st into the same space as the previous sl st, ch 5, sl st into the same space as the previous sl sts, dc, sc).
- Into the following chain space, (sc, ch 3, sl st into the 1st ch, sc).
- Repeat steps 1 and 2 six times.
- Cut the yarn and weave in the ends.
* Optional modification: Make the 3rd chain a slip stitch into the background of your square, to anchor the point in place. I prefer to keep the outline of my snowflake free, and the yarn I’m using is sturdy enough that the points don’t flop about, but anchoring the points is a good idea if your square is likely to be going through the laundry frequently. Try to catch a just single strand from the post of one of the double crochets.
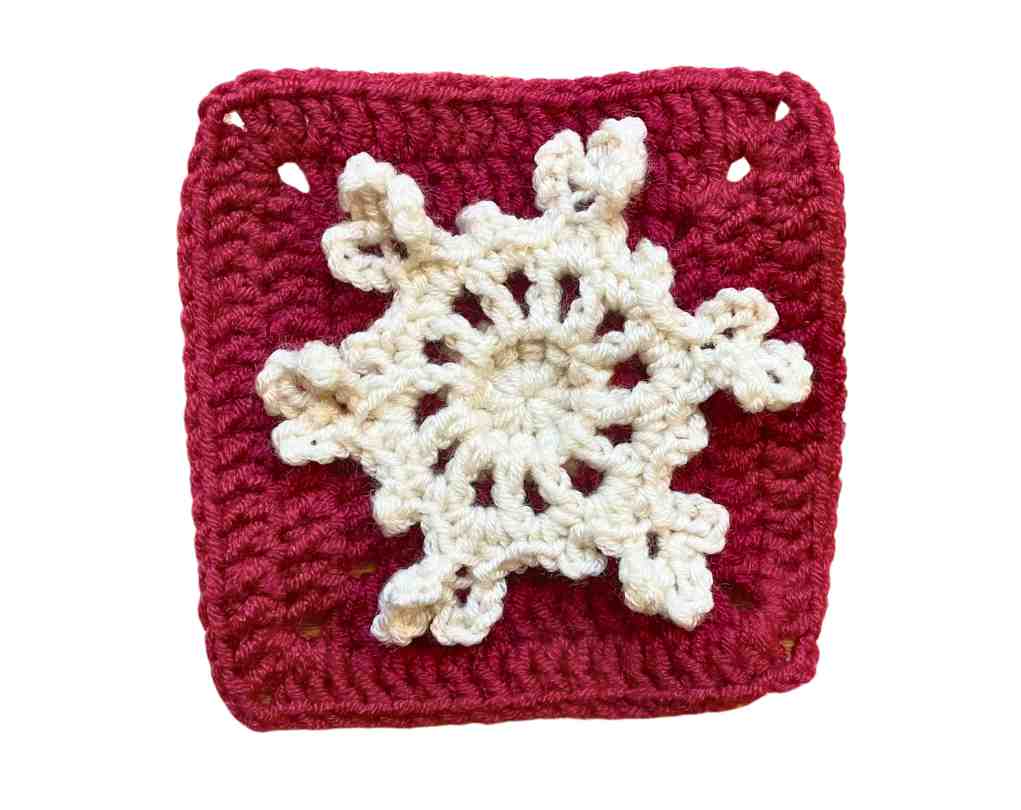
Granny square complete!
This design really benefits from being blocked, and having the picot points on the snowflake gently stretched out to give them definition. To go the whole nine yards, I pin mine out on the ironing board, using some dress maker’s pattern paper to get the outside edges square, and lots of pins to draw out the snowflake shape.
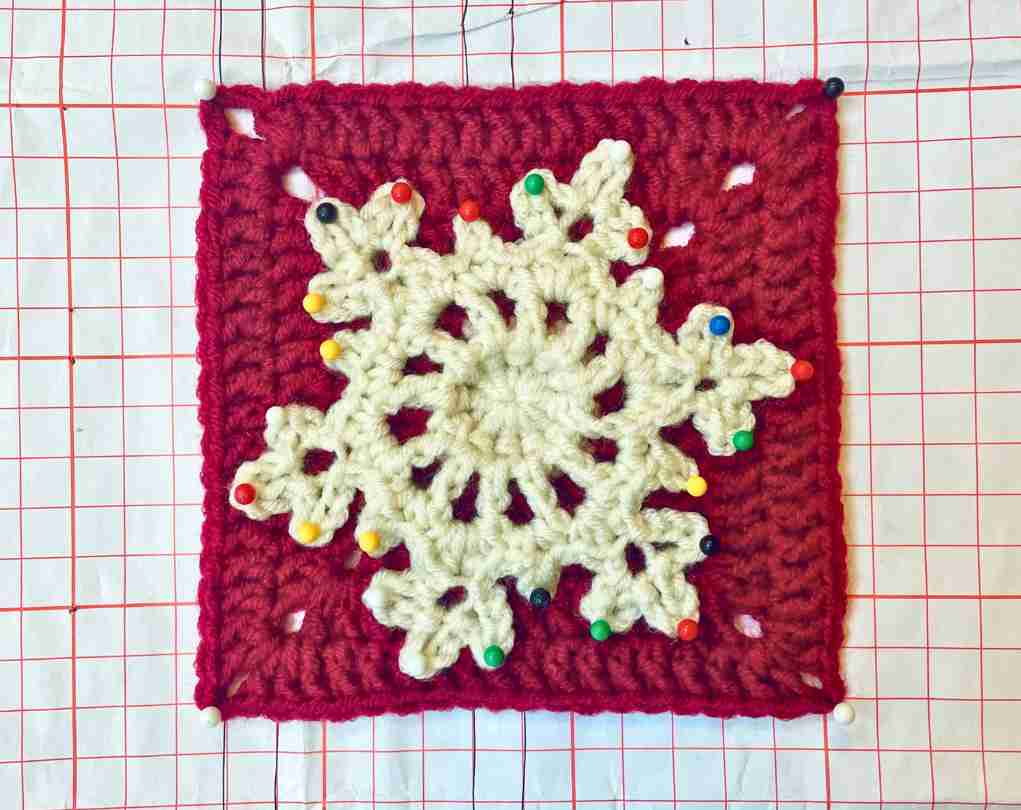
Then I lightly steam it with the iron. Since my yarn is a synthetic blend (90% acrylic, 10% merino wool), it holds its shape really well after that.
I hope you have as much fun making your grannies as I did designing them – happy crocheting!
