Bean Stitch Granny Square (Plus Mini Bean Stitch/Elizabethan Stitch)

Bean stitch granny squares have a chunky, tactile feel to them and an attractive appearance that makes me think of parquet floors and basket weave stitches in both crochet and knitting. But in my opinion, both bean stitch and its little sister mini bean stitch (a.k.a. Elizabeth stitch) are much less fiddly and time consuming to work up than basket stitch.
They feel denser and more squishy too, so they’re great choices for granny square blankets, or projects that you want to feel quite robust and substantial, like patchwork crochet bags.
- Stitch notes: bean stitch
- How to make a bean stitch granny square
- How to make a mini bean stitch granny square
- Working bean stitch in the round
Stitch notes: bean stitch
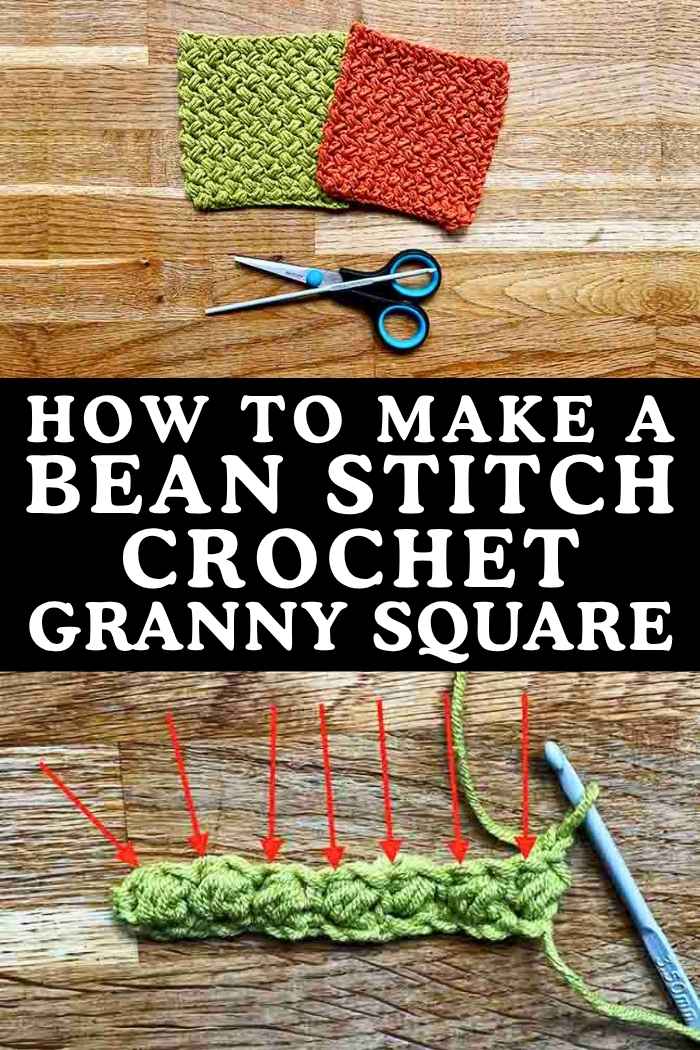
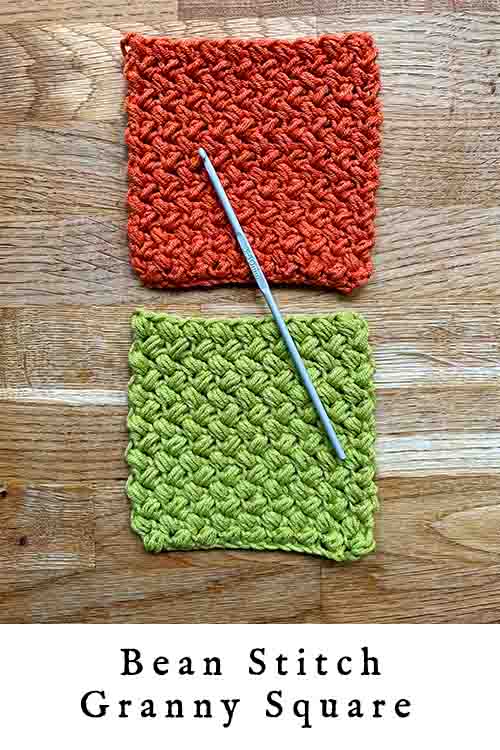
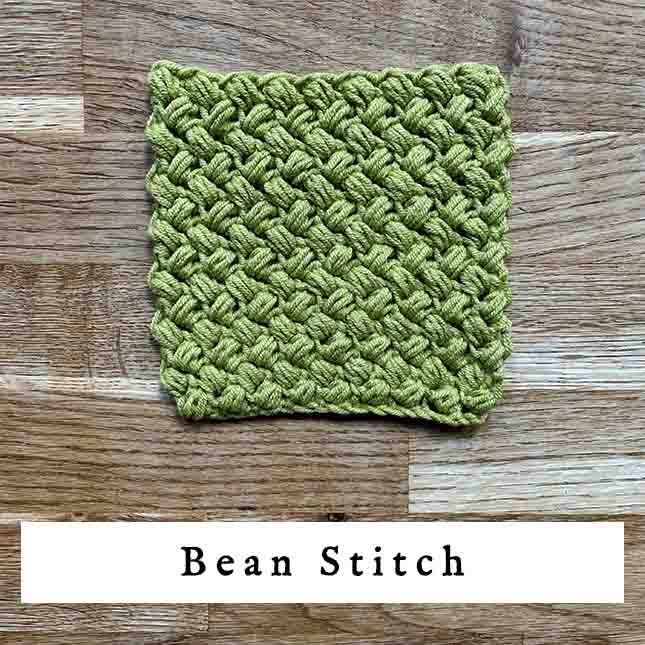
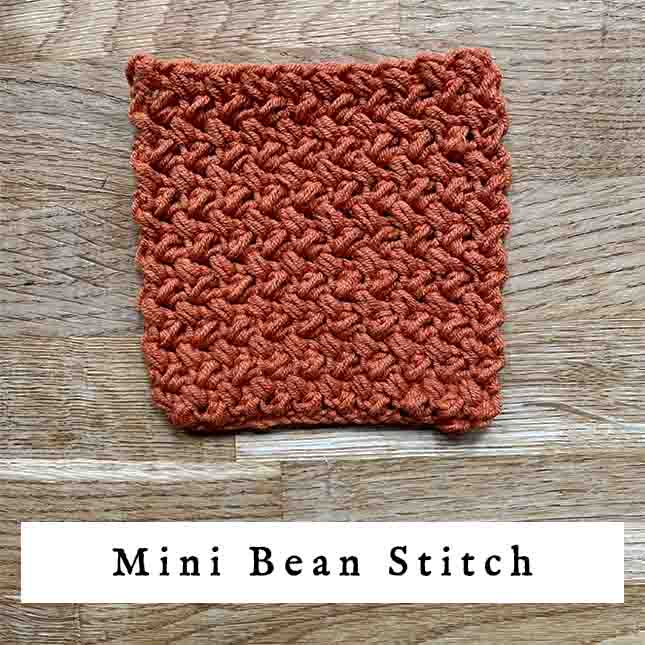
Here are the stars of this article, bean stitch (in green) and mini bean stitch (in orange):
And here’s what you need to know before you get started:
- Bean stitch is closely related to puff stitches and bobble stitches. If you have strong feelings about working with either of those, you’re likely to feel the same about using bean stitches.
- There’s a lot of accumulating loops on your hook, and then drawing your yarn through all of them at once at the end of the stitch. It helps to work with slightly looser tension than usual, and it’s not a good idea to work on bean stitch grannies when you’re feeling uptight or stressed!
- Bean stitch squares are worked in rows from a foundation chain, rather than in rounds from a magic circle.
- Regular and mini beans both look the same front and back – they don’t have a right or wrong side.
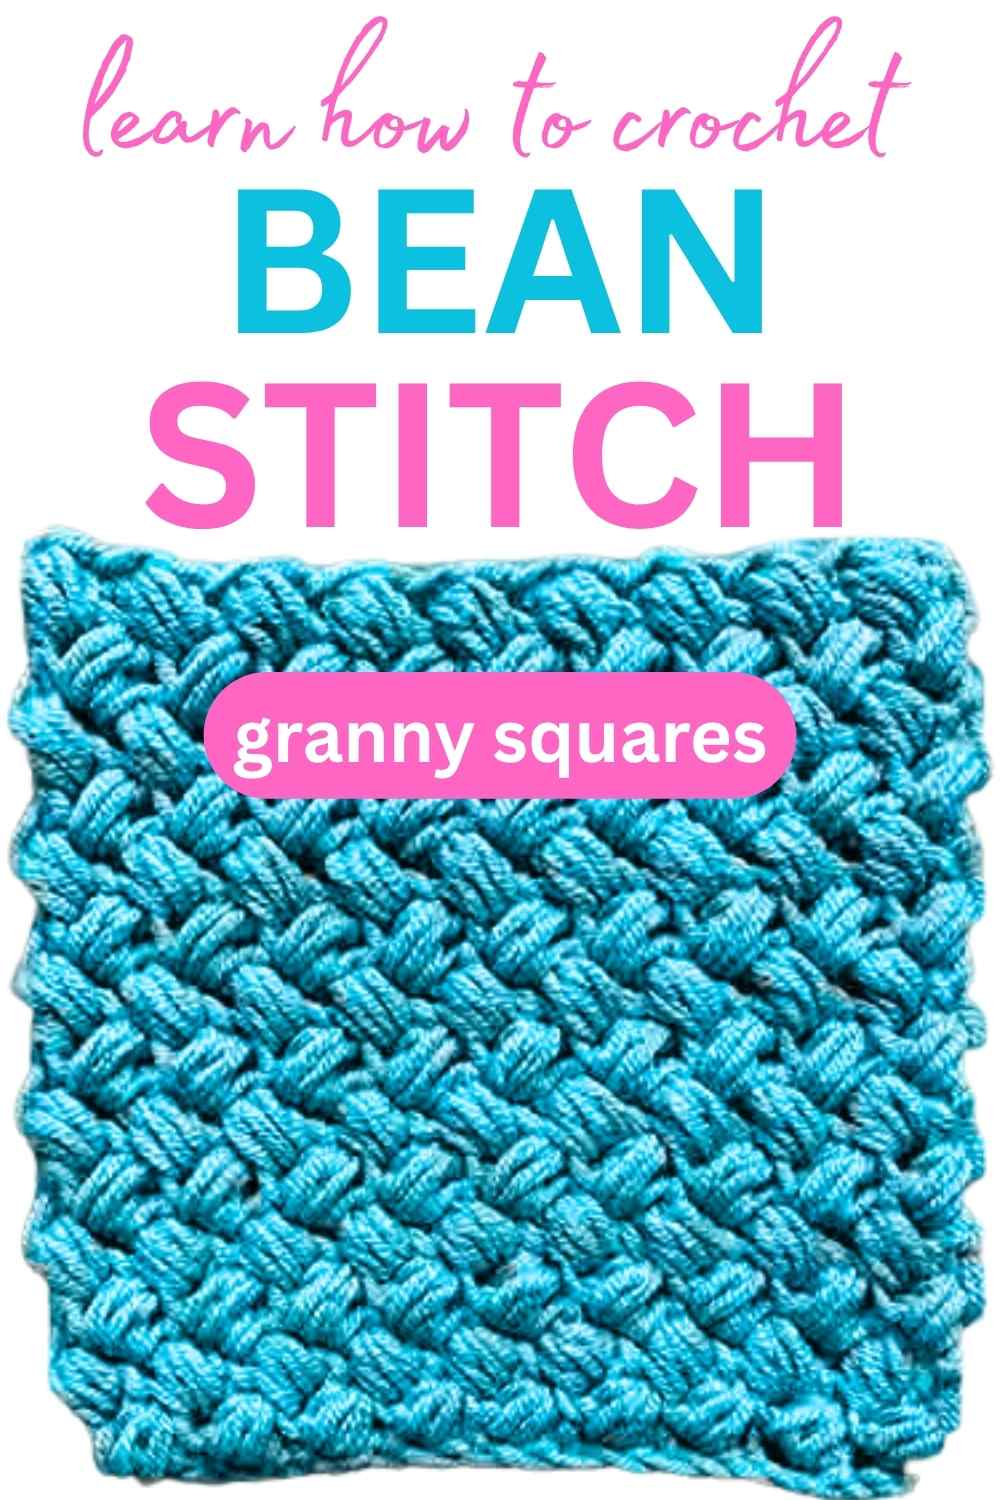
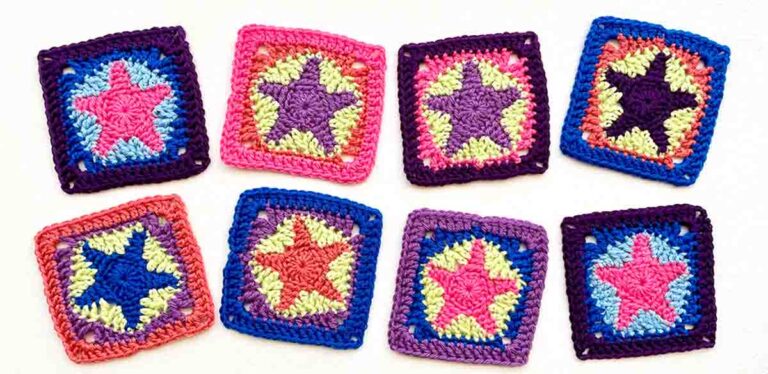
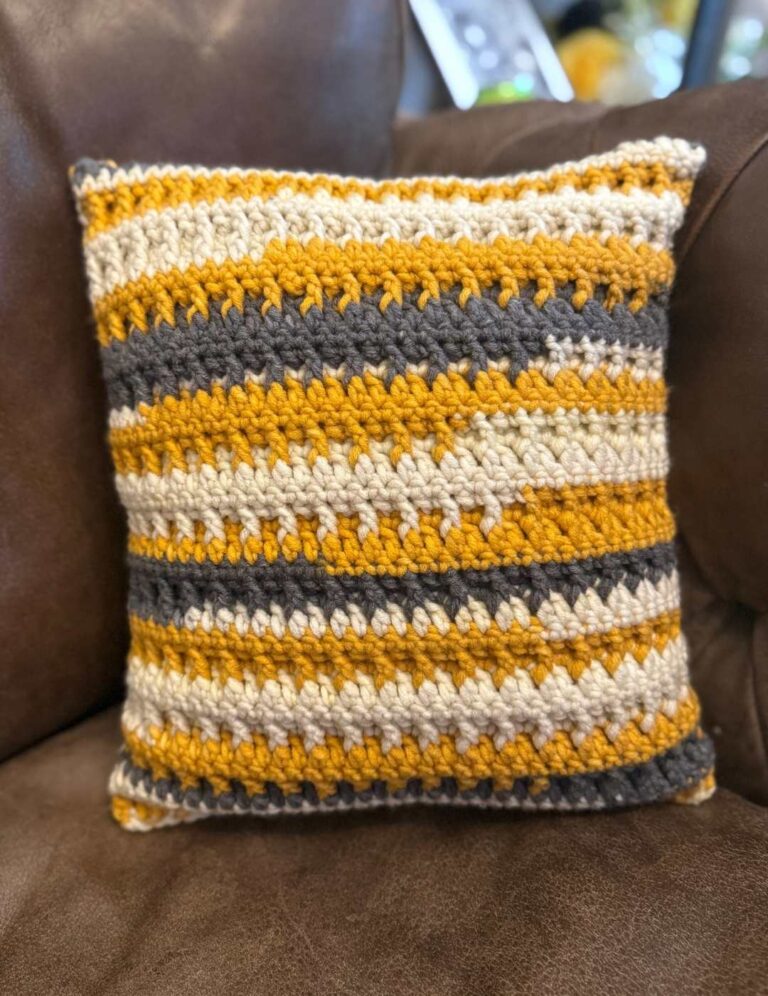
- Both sizes of bean stitch produce an invitingly dense and squashy fabric. Granny squares of bean stitch in several different colors can be turned into irresistible patchwork projects like bags, ultra-cosy blankets, and cushion covers. Admirers won’t be able to keep their hands off them!
- Because it’s so dense, bean stitch does use up a lot of yarn. Mini bean slightly less so.
- The abbreviation for bean stitch in crochet patterns is bs, and the abbreviation for mini bean stitch is mb st. (The abbreviation mb usually means ‘make bobble’ and refers to bobble stitch).
How to make a bean stitch granny square
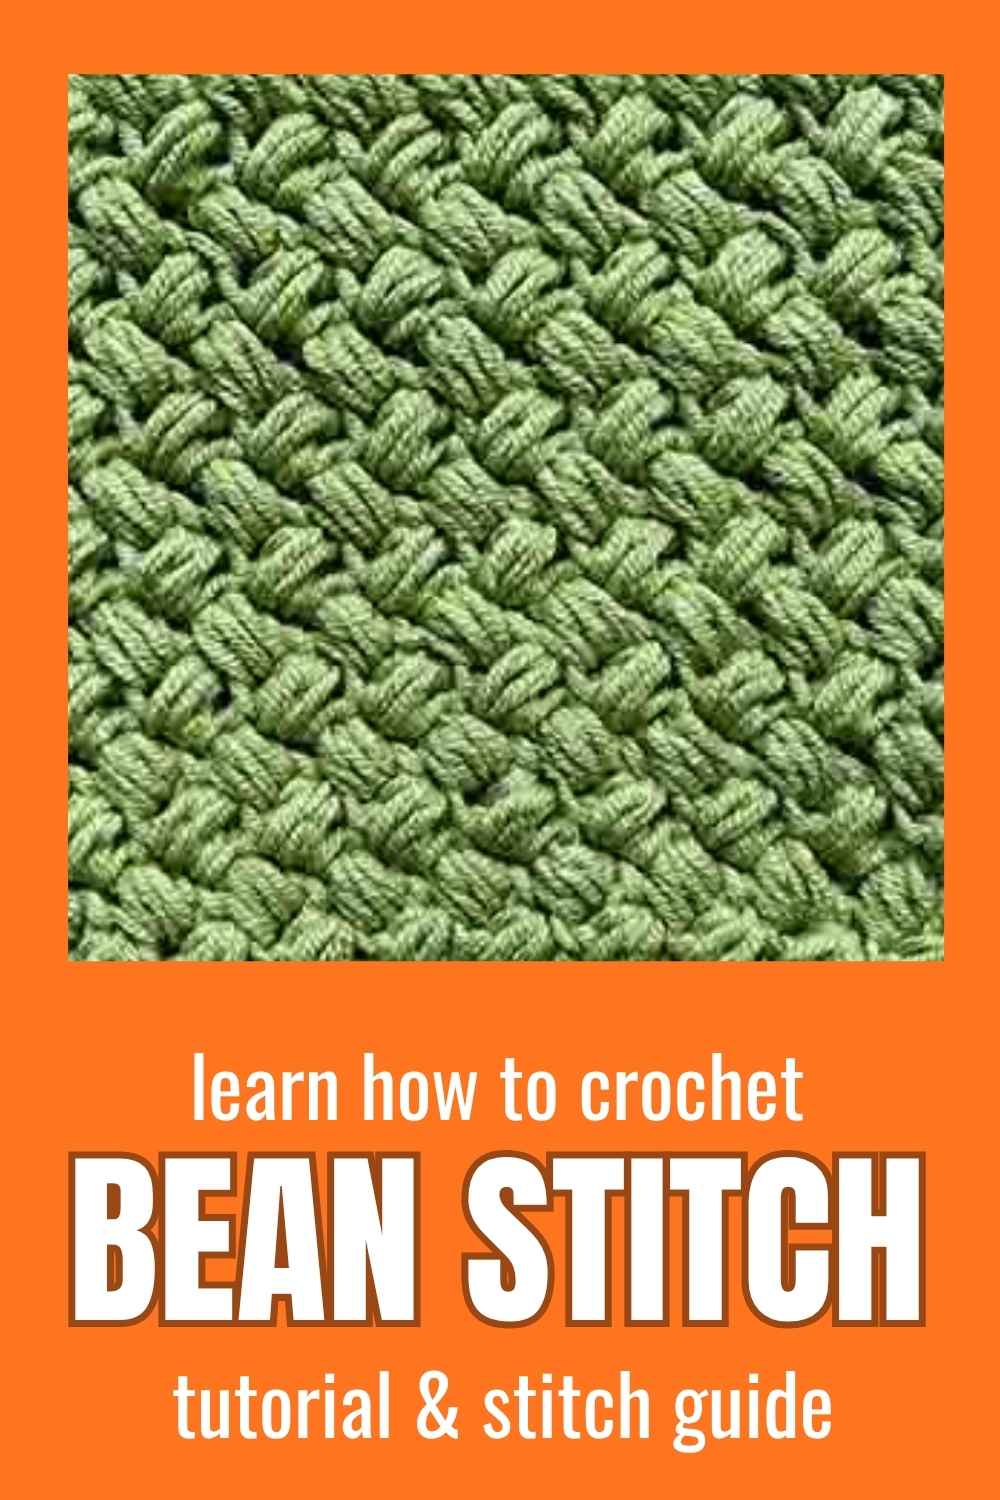
Lets start with a classic bean stitch granny square. Look at the gorgeous texture on that! I can assure you, it is just as pleasing to touch as it looks. That distinctive diagonal checkerboard pattern is created because bean stitches tilt about 45° in the direction they are worked. Since each row is worked in the opposite direction to the one that came before it, the bean stitch pattern appears.
This granny square looks far more technically complex than it actually is. Here’s how it’s done:
- Foundation chain: Any odd number of stitches. Since bean stitch is bulky, I make my foundation chain using a crochet hook one size larger than my yarn calls for, and switch to a smaller hook at the start of row 1.
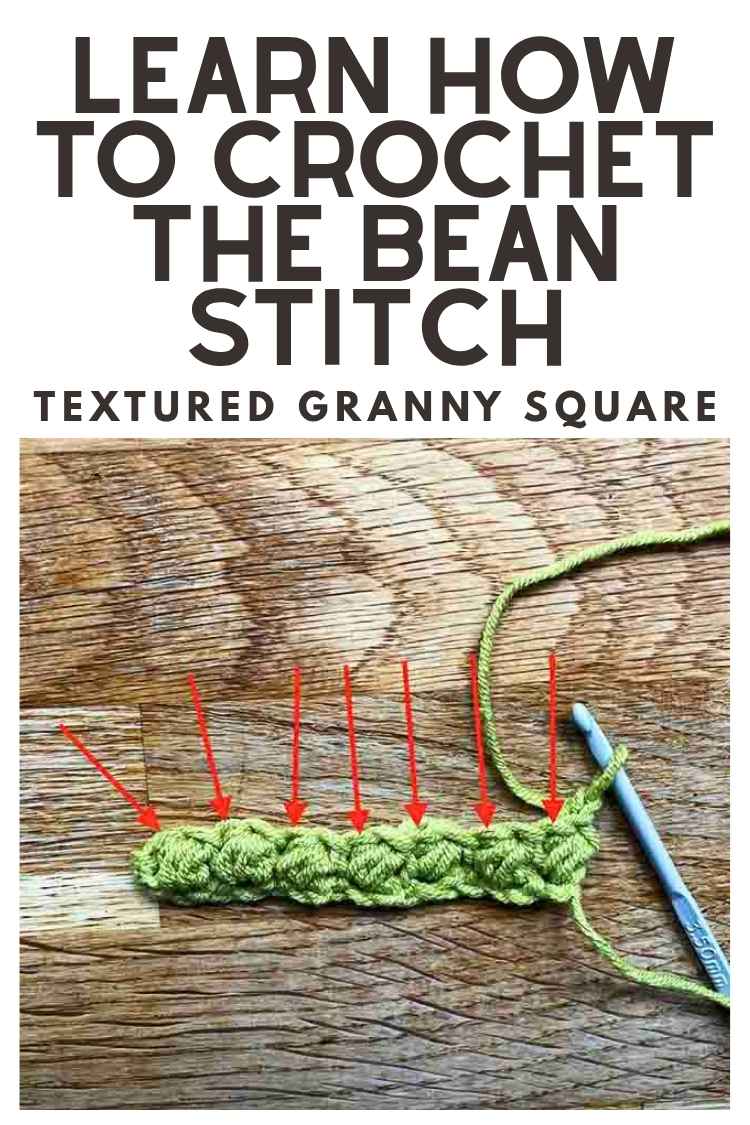
- Row 1: Insert hook into 3rd chain from hook, yarn over, draw through a loop. *Yarn over, insert hook into same stitch, yarn over, draw through a loop* twice, keeping your tension fairly loose. Now you should have 6 loops on your hook. Yarn over and draw through all 6 loops (rotate your hook so it’s facing your foundation row to minimize snagging). This is 1 bean stitch (bs). Ch1 to secure your bean. *Skip 1 st, bs 1, ch 1* to the end of the foundation chain.
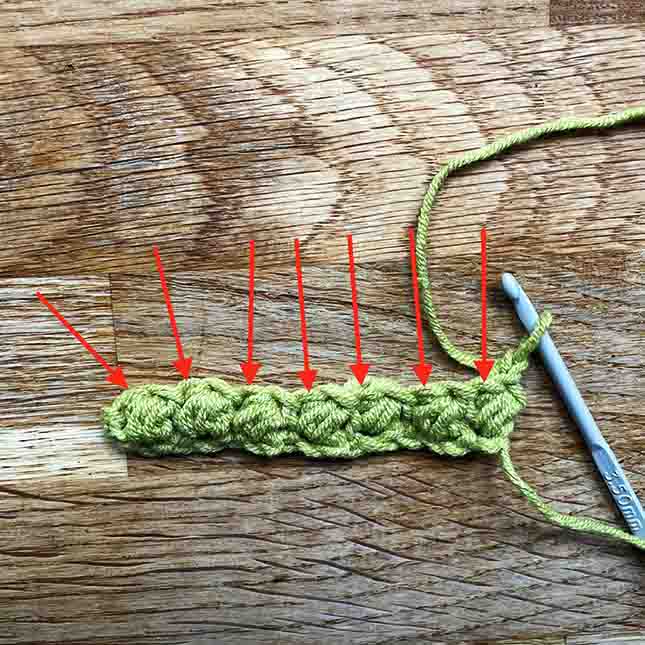
- Row 2: Ch 1 to turn. Bs 1 ch 1 into the top of each bean from the previous row (not the chain stitches). Don’t miss the top of the very first bean you made, which will be almost on the vertical edge of the first row. Here’s an illustration of where the 2nd row of stitches go:
How to make a mini bean stitch granny square
Mini bean stitch is a modified version of bean stitch, also known as Elizabeth stitch. I much prefer it, because it is less yarn-hungry, and the most loops you have to draw your hook through is 4, not 6. Since it’s less bulky than regular bean stitch, you’ll need about 25% more stitches in a row to achieve a granny square with the same dimensions.
- Foundation chain: Any odd number of stitches. I don’t find I need to use a larger hook for the foundation row of mini bean stitch.
- Row 1: Insert hook into 3rd chain from hook, yarn over, draw through a loop. Yarn over, insert hook into same stitch, yarn over, draw through a loop. You should have 4 loops on your hook. Yarn over and draw through all 4 loops. This is 1 mini bean stitch (mb st). Ch1. Skip 1 st and make your next mini bean. Continue making 1 mb st, 1 ch into every other stitch of your foundation chain.
- Row 2: Ch 1 to turn. Mb st 1 ch 1 into the top of each mini bean from the previous row (not the chains). Watch out for the sneaky top of the very first bean you made, which will be almost on the vertical edge of the first row!
Working bean stitch in the round
Both sizes of bean stitches are worked in rows rather than rounds. There are two reasons for this:
- The dimensions of bean stitches just do not lend themselves to working in expanding rounds – trust me when I say I’ve tried!
- An important part of the bean stitches’ charm is the way each row tilts in the opposite direction to its neighbors, creating a neat parquet or basket weave pattern. This gets lost if you don’t work backwards and forwards, or when the stitches aren’t neatly aligned in horizontal rows and vertical columns.
Bean stitch granny square – summary
Bean stitch is a fantastic choice for making attractive granny squares with a substantial, luxurious feel. They’re an excellent compromise if you find bobble stitches and puff stitches a bit too slow or fiddly to work with. The key to making bean stitches is tension, tension, tension. You’ll have a heck of a job wriggling your hook back through six loops of yarn if they’re all super tight! Let us know how you get on, and what you’re going to use your squares for in the comments box down below!