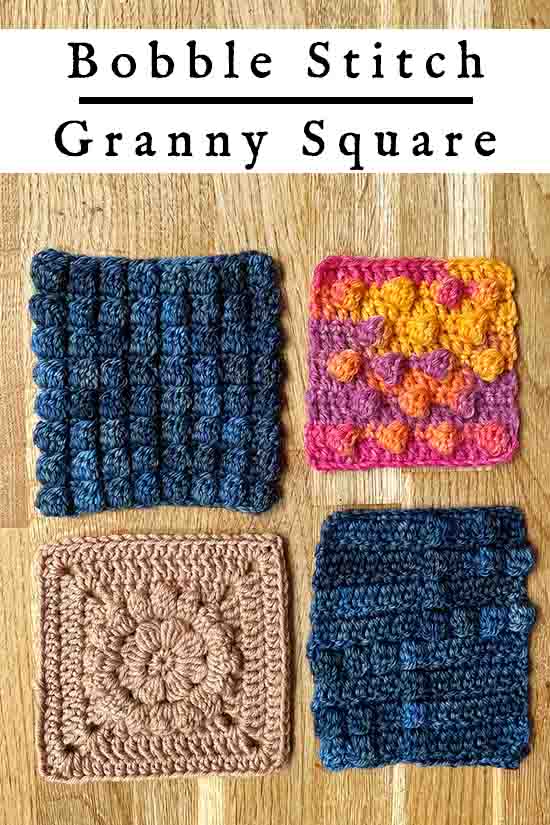
4 Bumpy Bobble Stitch Granny Square Variations
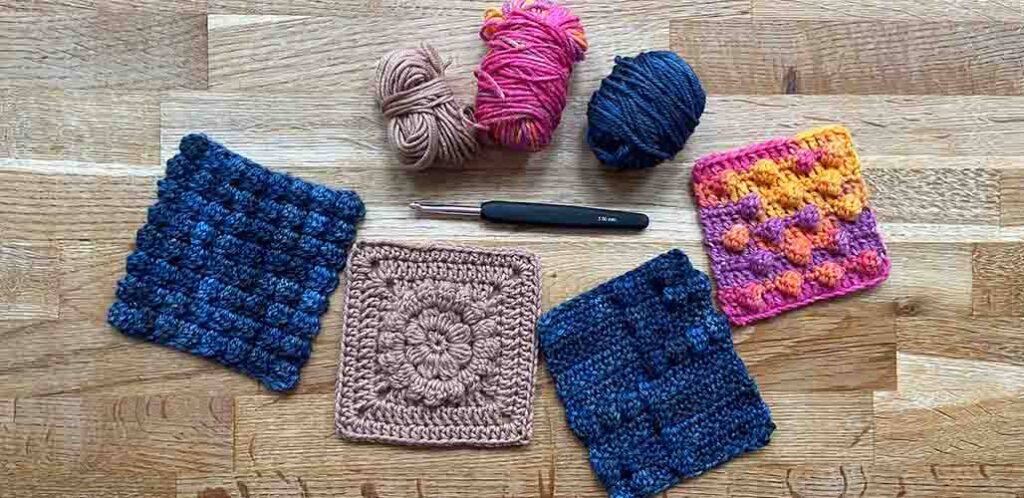
A bobble stitch granny square is also known as a popcorn stitch square. Bobble stitch is three dimensional, eye-catching, and extremely tactile. Using it in granny squares is a great way of incorporating it into items like blankets and cushion covers without devoting a lot of time and yarn to making the whole project in bobble stitch, although it can also be used to make cool shapes!
Here are four ways to use bobble stitch in granny squares using rows, rounds, and motifs.
Contents
- Is bobble stitch good for making granny squares?
- How to make a bobble
- Stacked row bobble stitch square
- Staggered bobbles
- Using bobble squares in the round
- Using bobbles to make motifs
Is bobble stitch good for making granny squares?
Bobble stitch is one of my favorite crochet stitches for squares, regardless of the yarn I choose. I adore its texture, and a granny square is a manageable size to make in it! Here’s what you need to know before embarking on any type of bobble stitch granny square:
- It looks outrageously good. This stitch just cries out to be touched and squished!
- It’s deceptively simple. You’d expect something so impressive to look at would be tricky to master, but bobble stitch is actually one of the simplest stitches there is.
- But it is quite slow to work up. Making a granny square with plump 3-dimensional stitches inevitably takes longer than using flat stitches to fill the same area.
- It’s a bit of a yarn-eater. The whole philosophy behind bobble stitch is ‘why fill a space with one stitch, when you can fill it with five or more?’ so it does tend to gobble up yarn. It’s great for stash-busting though!
How to make a bobble
Whilst there are lots of ways of using bobble stitches, the stitch itself is always made in more or less the same way. On a row with the wrong side of your work facing you:
- Yarn over your hook.
- Insert the hook into the next stitch.
- Yarn over and pull though (3 loops on hook).
- Yarn over and pull through two loops (two loops remaining on hook).
- Yarn over your hook.
- Insert the hook into the same stitch again.
- Yarn over and pull though.
- Yarn over and pull through two loops (three loops remaining on hook).
- Repeat steps 5 – 8 three more times (six loops remaining on hook).
- Yarn over and draw through all six loops.
Essentially, you’re forming a cluster of 5 double crochets in the same stitch, and joining them all at the top. Due to this, the direction for making a bobble is usually abbreviated to ‘dc5tog’ (double crochet 5 together) in patterns. But you might also see it shortened to ‘bob’, or ‘pc’ for popcorn. A couple of things to bear in mind are:
- Everyone has their own idea of how many dc crocheted together make the perfect bobble stitch. I think it’s five, and I will die on that hill. But other people prefer using clusters of 4, 6, or even 7 double crochet stitches. The more dc you add, the plumper your bobble will be. Experiment with them all, and choose your own favorite. It might even change according to what yarn you’re using and the project you’re working on.
- Drawing your hook through so many loops of yarn at a time carries a high snagging risk. Keeping your hook angled downwards will help, as will avoiding using very loosely twisted yarns.
Normally, a bobble stitch is followed by a single crochet in the top of the next stitch. This helps push the bobble outwards on the other side of your work, for maximum three-dimensional impact. But it does depend on the pattern. And speaking of patterns, let’s get into some now!
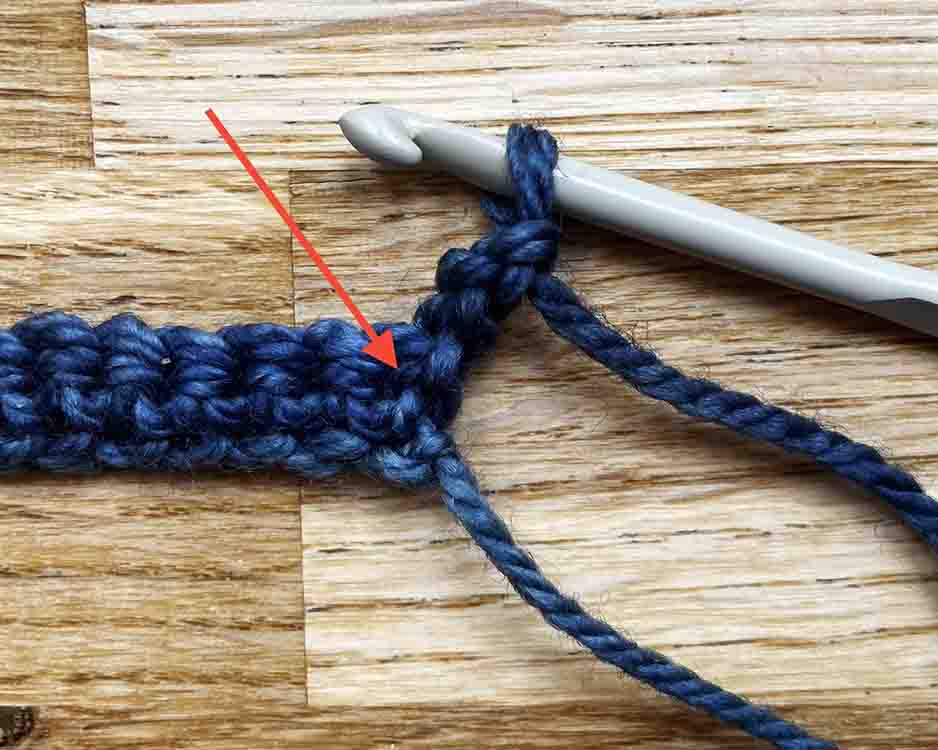
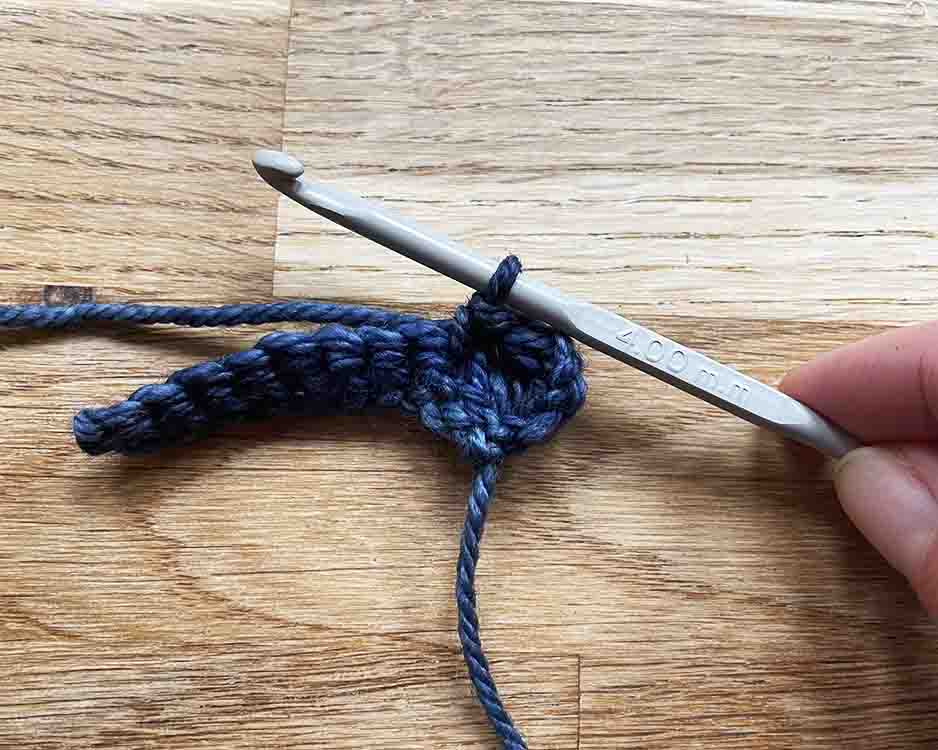
- Yarn over your hook.
- Insert the hook into the top of first sc.
- Yarn over and pull though.
- Yarn over and pull through two loops (two loops remaining on hook).
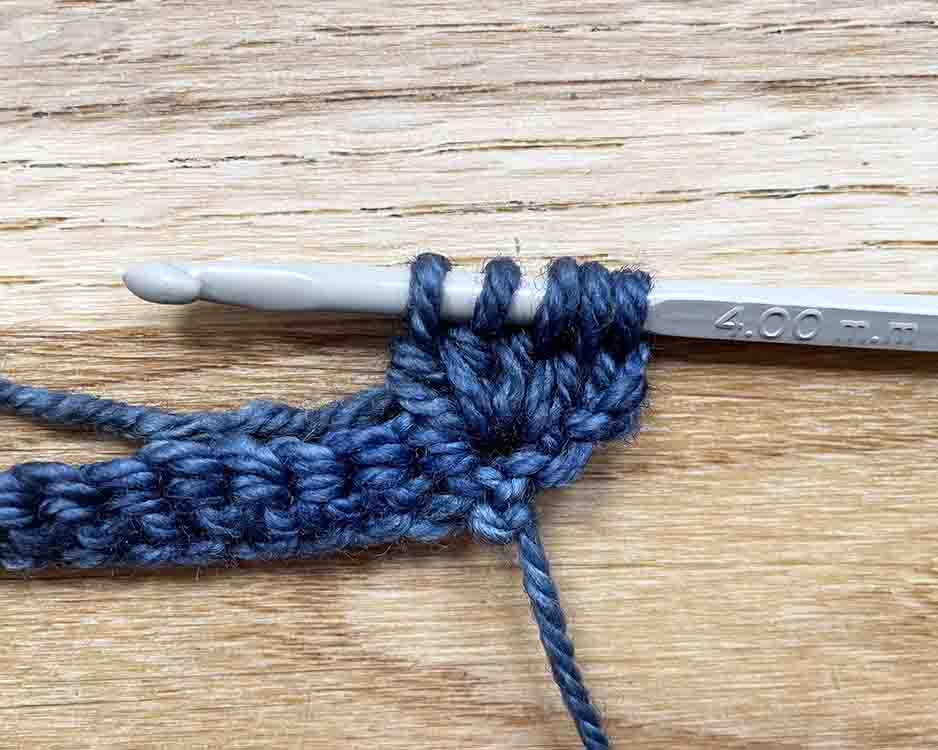
- Repeat these 4 steps until you have 5 loops on your hook.
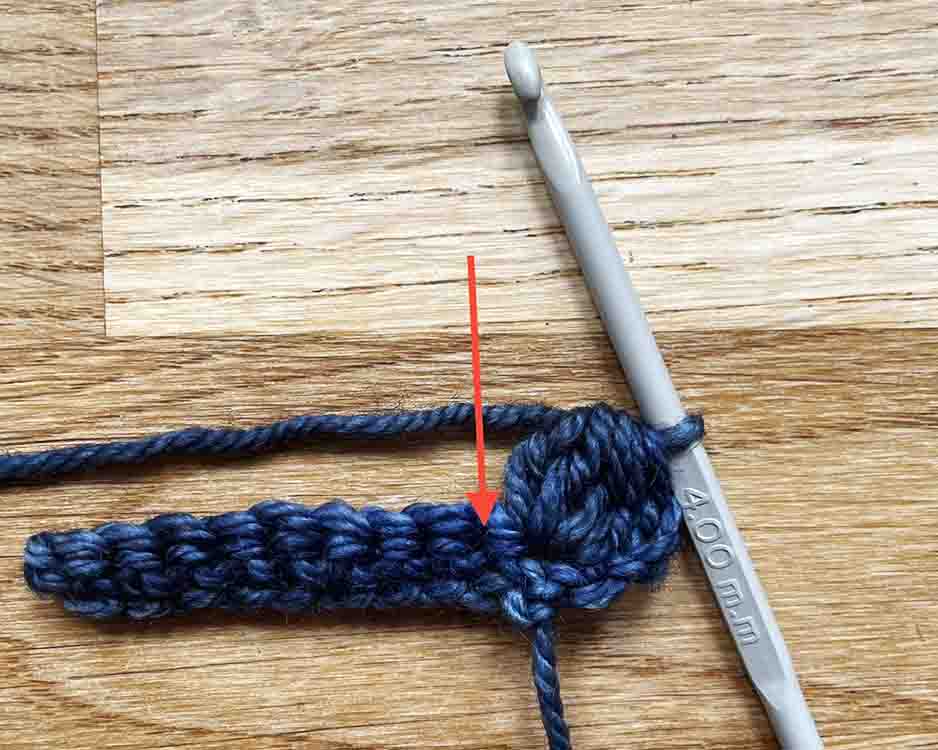
- Yarn over hook and draw through all 5 loops. (Note 5 loops, not 6, for the first bobble of each row only.)
- Sc in following stitch.
The stitch will pop out away from you – you’ll be left looking at the concave back of the stitch.
- Now *dc5tog, sc 1* along the rest of the row, using the bobble stitch instructions from the previous section. You should finish on a bobble (dc5tog) stitch.
3rd row: Chain 2. One chain works to keep the last bobble of your previous row closed, and the other functions as a turning chain. Neither count as a stitch! Now sc into the top of every stitch from the previous row. The number of sc you make to reach the end of the row should equal the number of bobbles in your previous row, times 2.
Now simply repeat the 2nd and 3rd rows until your square is square! Finish on an even-numbered row (all sc), as this will make it easier to join the top of your square to an adjacent square later.
Staggered bobbles
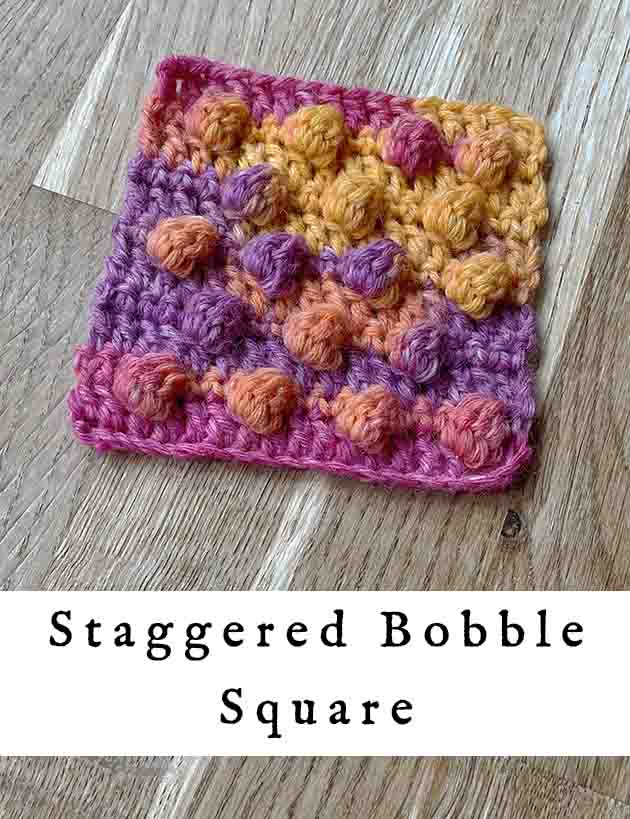
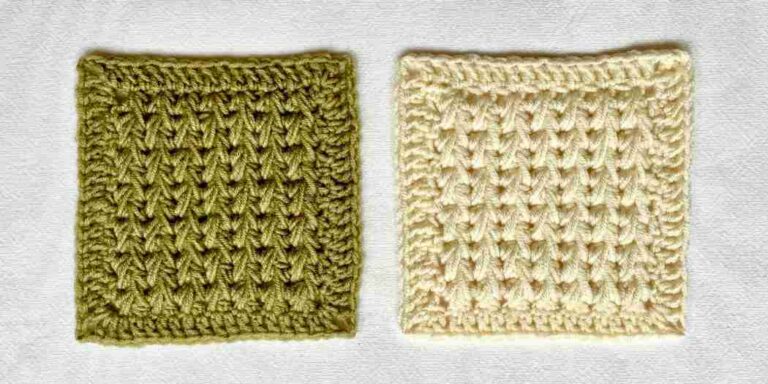
If you find the stacked bobble pattern too time- and yarn-consuming, then staggering the bobbles is a great way to use fewer of them, but still achieve a striking result.
Foundation chain: Any multiple of 4, plus 3.
1st row: Starting at the 4th chain from the hook, 1 dc in each chain.
2nd row: Ch 1, sc 2, *dc5tog, sc 3* until you have one stitch and the top of your turning chain left, sc 1 into both.
3rd row: Ch 2 (doesn’t count as a stitch), 1 dc into the top of every stitch from the previous row. The number of dc you need should equal the length of your foundation chain, minus 2.
4th row: Ch 1, sc 4, *dc5tog, sc 3* until you have one stitch remaining, sc 1 into that.
Now repeat the rows in the following order, until your square is square: *3rd, 2nd, 3rd, 4th*. The key to getting this right is to pay attention to the number of single crochets at the beginning of the bobble rows, and make sure you’re offsetting them correctly. I’ve underlined the difference in the pattern to highlight it.
Bobble stitch granny square in the round
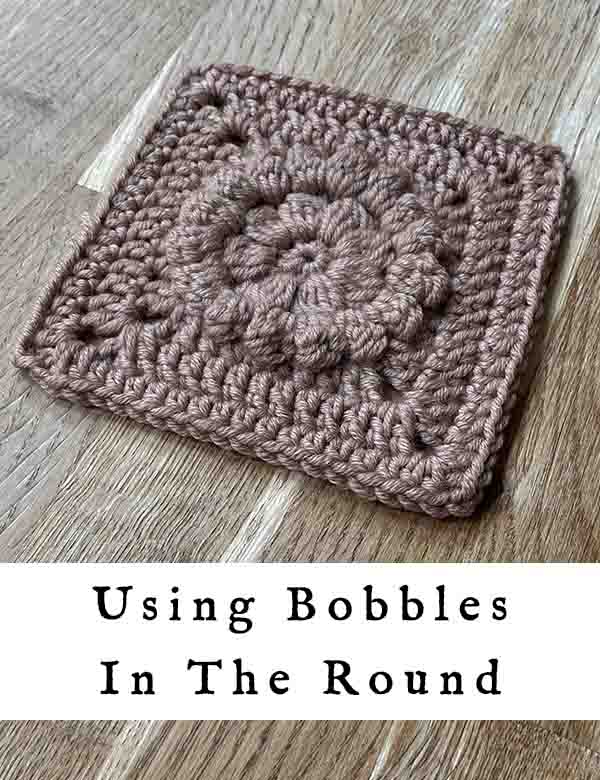
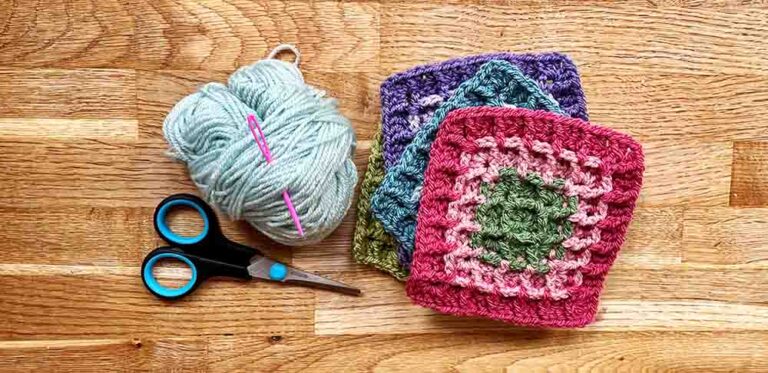
If you prefer to work granny squares in the round rather than in rows, you can still deploy some beautiful bobbles to add drama and embellishment. They look especially good worked in bright contrasting colors, to give the impression of petals on a flower. But I’ve made this example in simple monochrome, to try and emphasize the texture.
There are lots of ways to incorporate bobbles in to granny square designs worked in the round, but the pattern for this particular example is:
Make a magic circle.
1st round: Ch 1 (doesn’t count as a stitch), sc 7 into magic circle, join with slip stitch to 1st sc (8 sts).
2nd round: Ch 3, *dc4tog, ch 1* into each st, join with slip st to top of 1st dc4tog (16 sts).
3rd round: Ch 3 (doesn’t count as a stitch), *dc5tog, sc 1* into the top of each dc4tog and into each chain space from round 2, join with slip st to the top of the first dc5tog (32 sts).
4th round: Ch 3 (counts as first stitch), dc 1, hdc 2, sc 2, hdc 2, dc 2, ch 2, *dc 2, hdc 2, sc 2, hdc 2, dc 2, ch 2* 3 times, join with slip st into top of the ch 3 at the beginning of the round.
5th & 6th rounds: Ch 3 (doesn’t count as first stitch), 2 dc into corner space, *dc into every side stitch and make **2 dc, 2 ch, 2dc** into the corner space* 3 times, dc along final side, dc twice into the last corner space, ch 2, join with a slip st to the 1st dc.
Using bobbles to make motifs
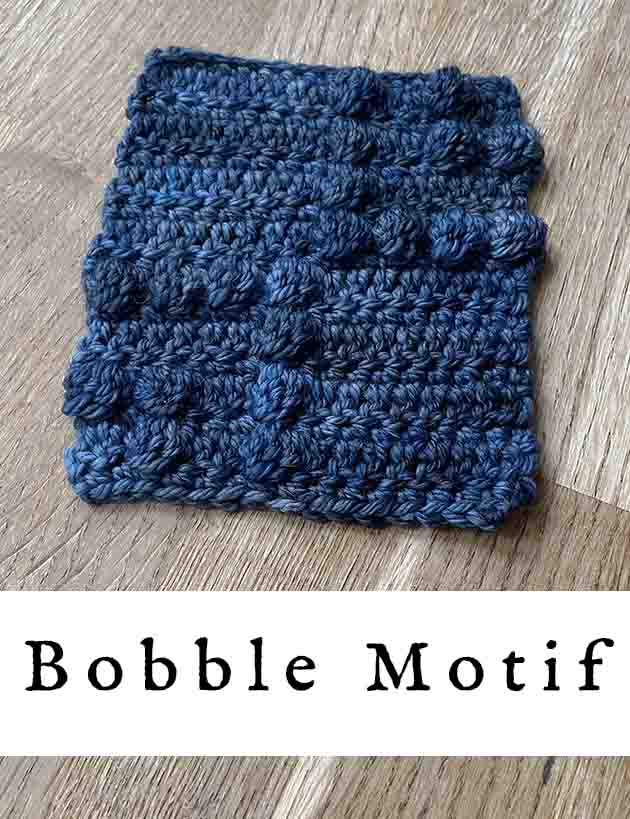
Another really effective and decorative way to use bobble stitch in granny squares is to pick out a raised pattern or motif using them. I haven’t actually tried this before, and I was pretty excited to give it a go for this article. There are lots of pre-written patterns available online to try, I had this idea in mind for a pattern which would join up across adjacent squares:
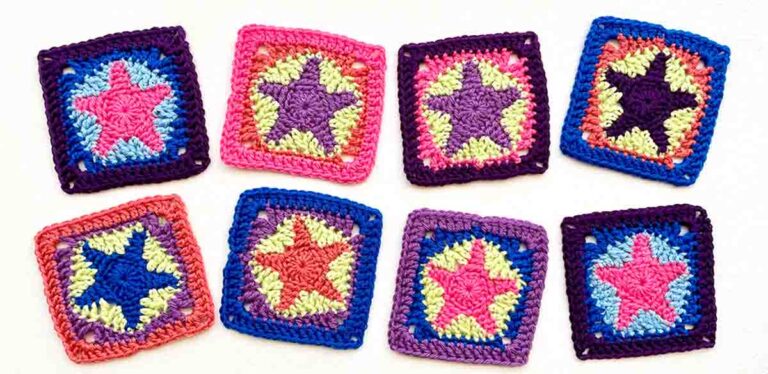
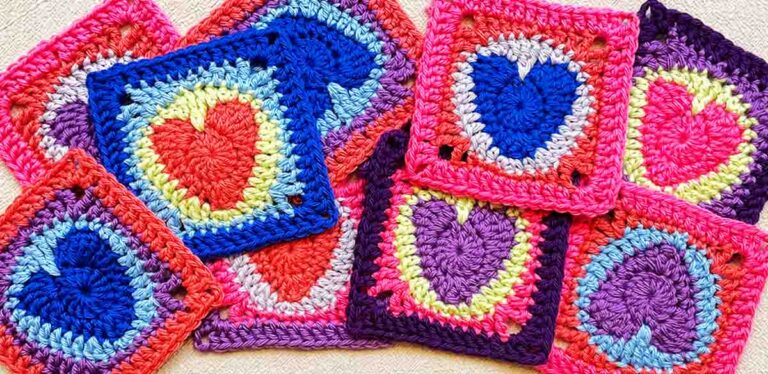
I think it has the potential to look really effective! It still needs some work, because the overall square isn’t quite square (or even close!) So I’ll share the pattern at a later date, when I’ve ironed out the details. In the meantime, there are lots of tried and tested patterns for granny squares with hearts, chevrons, and other motifs picked out in bobbles available online.
Bobble stitch granny square – summary
Making bobble stitch granny squares gives me a slightly unjustified sense of pride. They just look amazing. But in truth, they’re not hard to make at all. Their only drawback is that they use up more yarn and take more time than flat stitches. If you start losing steam or running low on yarn part way through making a bobble stitch granny square blanket, you could:
- Alternate bobble squares in a checkerboard pattern with another, more simple type of square.
- Mix them up in a patchwork jumble with granny squares in a wide range of textures.
- Use a staggered bobble granny square pattern, or a bobble motif to pick out a design without covering the whole square in bobbles.
Let us know how you decide to use them using the comments box down below. Do you know this technique better as bobble stitch, or popcorn stitch? And have you checked out bean stitch granny squares yet? They’re like a lower level bobble!
