Crochet Blanket Borders – 6 Techniques That Open Up Endless Possibilities
If you’ve been sitting on the fence about adding a border to your blanket, or you’re not sure which edging to pick, I’m here to match you with the perfect final flourish for any blanket project.

Blanket borders are a deeply satisfying finishing touch. I look forward to adding the border from the moment I start the first row!
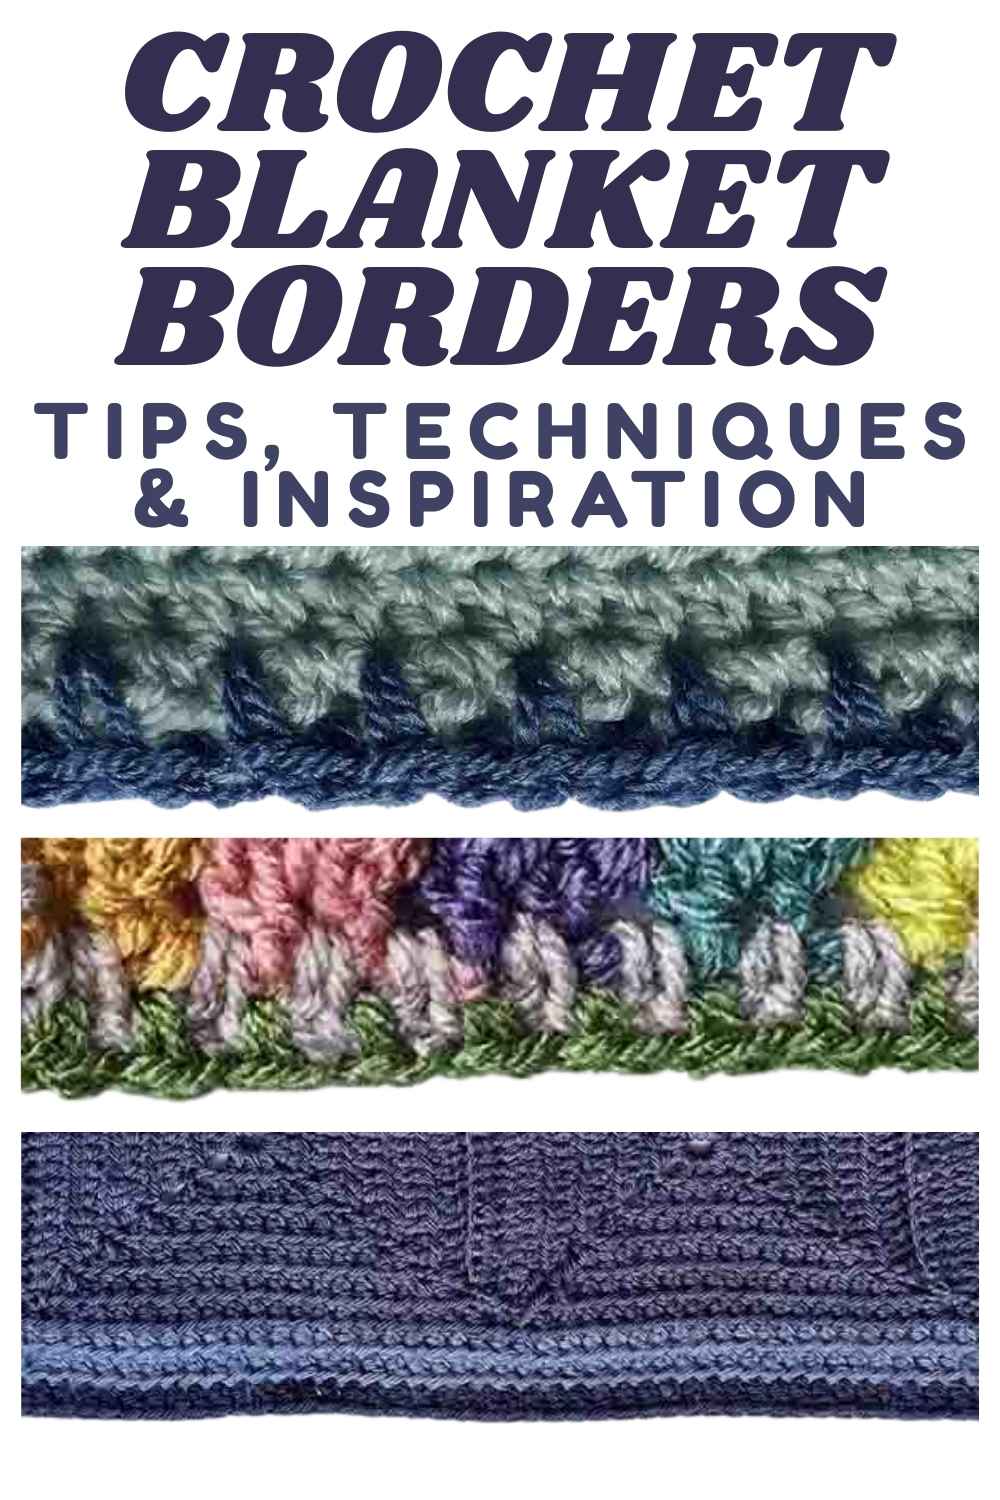
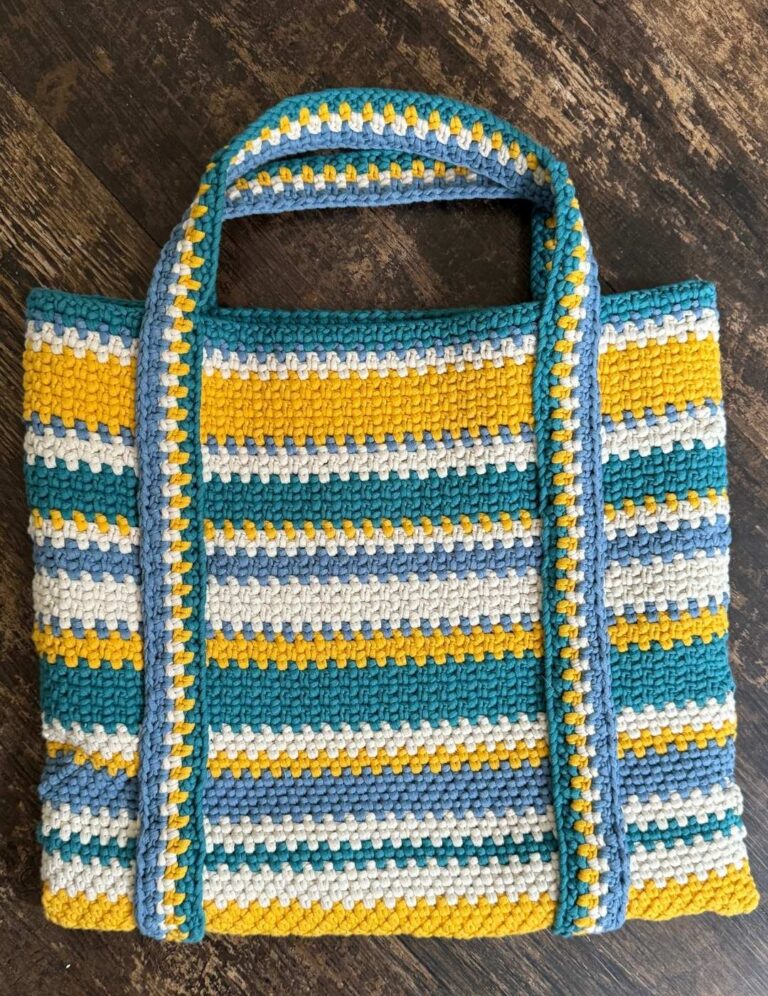
Blanket borders don’t have to be complicated or time consuming too. My absolute favorites are simple rows of linen stitch (a.k.a. moss stitch) and an easy-peasy mini bobble border (pictured above).
- Blanket stitch border
- Single crochet blanket borders
- Double crochet blanket borders
- Shell stitch crochet blanket border
- Bobble stitch crochet blanket border
- Mini bobble stitch crochet blanket border
Adding a border to your crochet blanket – yay or nay?
Adding a border to your next crochet blanket isn’t compulsory. Here’s a great example of a blanket which combines super bulky yarn and rich, saturated colors to make a big statement. It doesn’t need a border to feel more ‘finished’.
And if the idea of working a border on top of all the effort you’ve already made fills you with dread, then don’t bother. There’s no medal for forcing yourself into it!
But I for one love a blanket border – the types of blanket I like to crochet always look a little bit naked without one. I find the transformative impact they have on a finished project always seems bigger than the effort I put into making them.
Plus, my borders can cover a multitude of sins, like when I have lots of color changes at the edges of a stripy blanket!

Crochet blanket border ideas
There are countless types of crochet border you can add to a blanket. They can be wide and highly decorative, or neat and narrow.
Here are six timeless possibilities I regularly use, which can be adapted or combined in limitless ways. I’m willing to bet that you could make a lifetime’s worth of crochet blankets using just these techniques!
Single crochet blanket borders
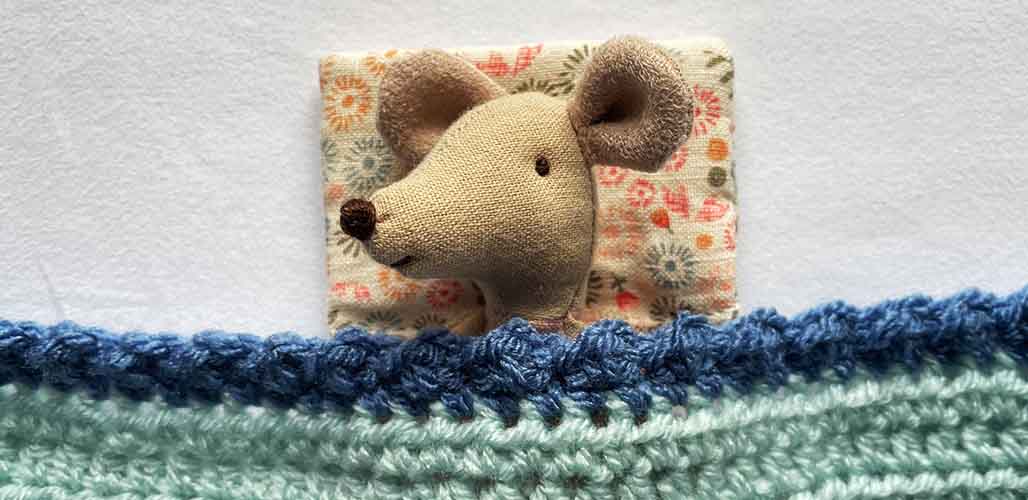
The quickest trim requires nothing more than a continuous row of single crochet stitches, and I use this a lot. Don’t underestimate how much they will elevate your blanket!
A single row of single crochet is a smart, open and unfussy way to make the edges of a granny blanket more solid and robust, like the edge of this crib blanket I made for my friend’s baby:

But my favorite way to use single crochet stitch for a blanket border is by working two rows of linen stitch, also known as moss stitch, in two different colors.
The colors can be tonal, complementary, or even contrasting. The way rows of linen stitch overlap each other means that the inner color will appear as a broken line of dots, hemmed in by the outer color.
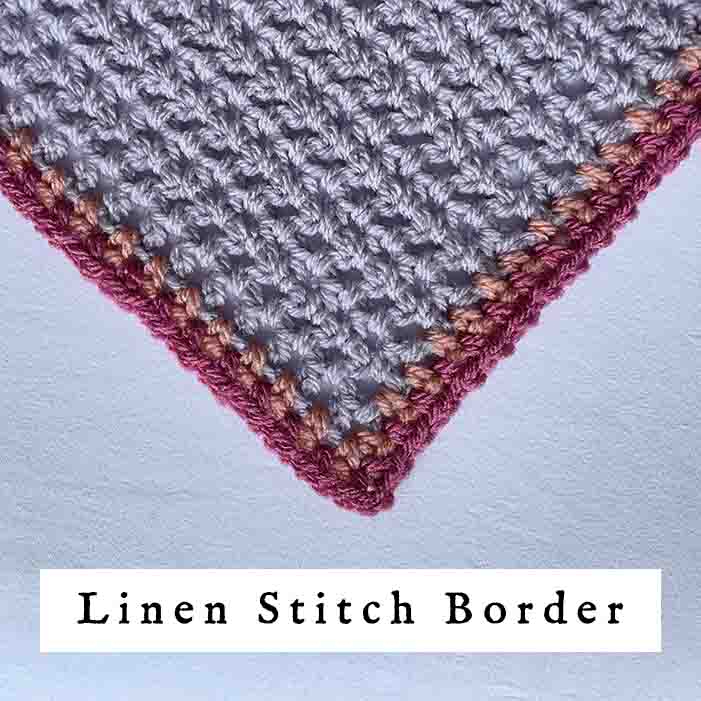
Linen stitch crochet blanket border method
This looks like a surprising amount written down, but it’s actually so easy you’ll be able to do it in your sleep! Here’s what I do:
- Join your first yarn color in the top right hand corner of your blanket.
- Ch 3. This represents 1 sc, and 1 ch.
- Working the top edge of your blanket, *sc 1, ch 1, skip the next stitch* to the next corner.
- Sc 1, ch 2, sc 1, ch 1 into the corner.
- Repeat the *sc 1, ch 1* pattern down the left hand side of your blanket. Exactly where you place the single crochets will depend on the height of the stitches you used for your blanket. Don’t be afraid to experiment with a couple of possibilities before committing to one!
- When you get back to where you started, sc 1 ch2 into the corner space and join with a slip stitch to the 2nd chain of the starting ch 3. Fasten off and weave in your ends.
- Join your second color at any corner. Ch 3.
- Skip the first sc, then sc 1 ch 1 into the first chain space. Continue working *sc 1 ch 1* into every chain space, and skipping every sc.
- In the corner spaces sc 1, ch 2, sc 1, ch 1.
- Complete the final corner and join your row as before.
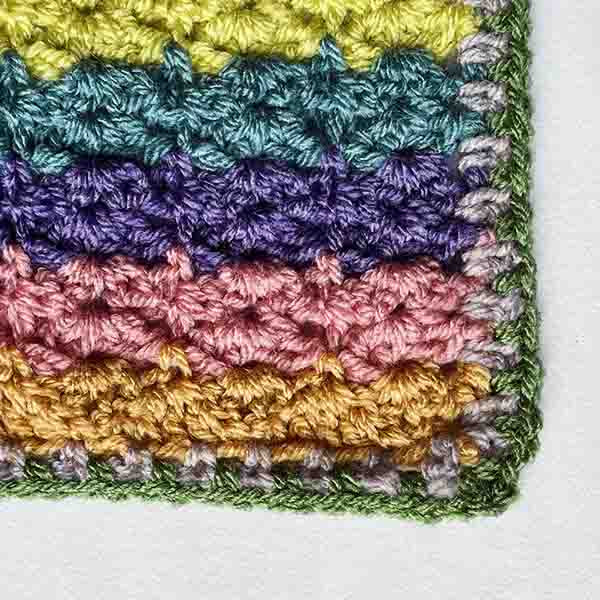
Here’s another example of a linen or moss stitch border, from when I made the Attic 24 hydrangea blanket last year:
Blanket stitch border
This border is beautifully simple, and oozes nostalgia. Just like the name suggests, it calls to mind the appearance of its namesake in sewing and embroidery – the blanket stitch used to hem the raw edges of old woollen blankets. It works best on blankets made from relatively solid, non-gappy stitches.
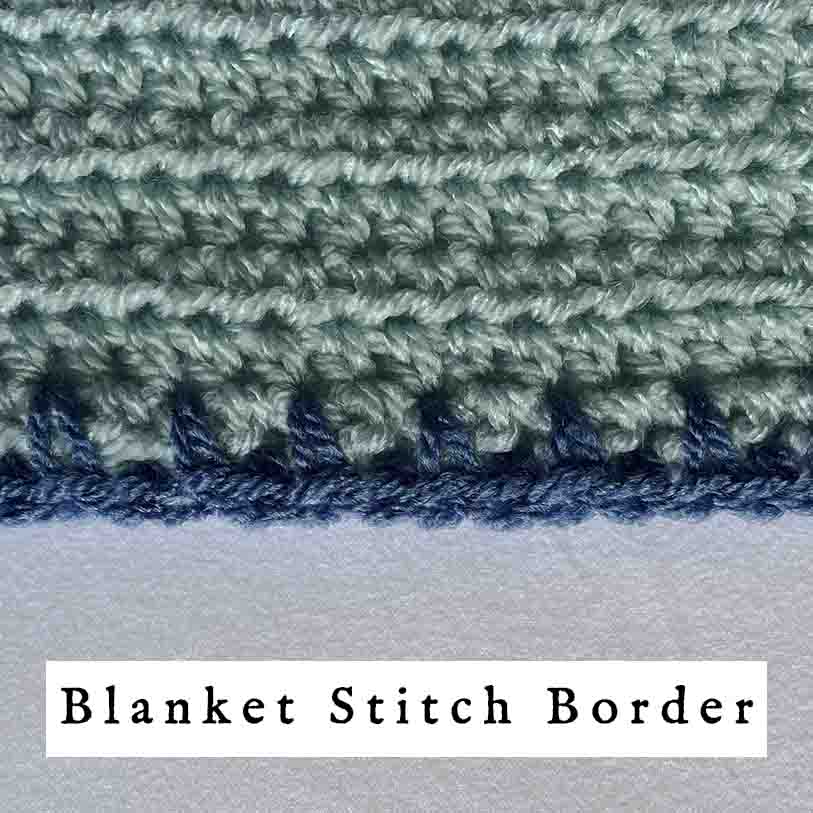
The pattern is as easy as can be – it’s really just another take on a single crochet border. I work a row of single crochet all around the edge of your blanket, and for every second or third stitch insert my hook into a space slightly further in from the edge of the blanket, to create a deeper stitch.
This technique can be adapted to work on all kinds of crochet (in this photo, the blanket itself is repeating rows of half double crochet).
Take a little time at the beginning to identify regular intervals for your deeper stitches, and how many regular stitches are needed to fit in between them.
You’ll also need to keep an eye on your tension when you pull through the yarn for your deep stitches. This is easy once you get into a bit of a rhythm, and certainly no problem at all if you have any experience of working with puff stitches.
Double crochet blanket borders
Something to have in mind when choosing a border for a crochet blanket is getting the scale right. Adding one row of single crochet in a contrasting color to a large blanket worked entirely double crochet can look a bit odd!
But a few rows of double crochet will sit much more comfortably.
For this solid granny square blanket, I made four rows of dc stitches using colors I’d already used elsewhere in the blanket, and turned the corners in the same way as the corners in the granny squares.
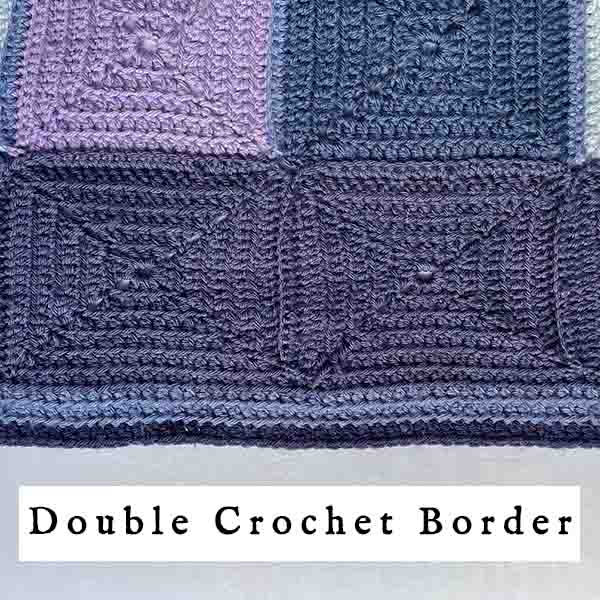
You can see a more wide-angle photograph of the same blanket in our article about how much yarn to buy for a crochet blanket.
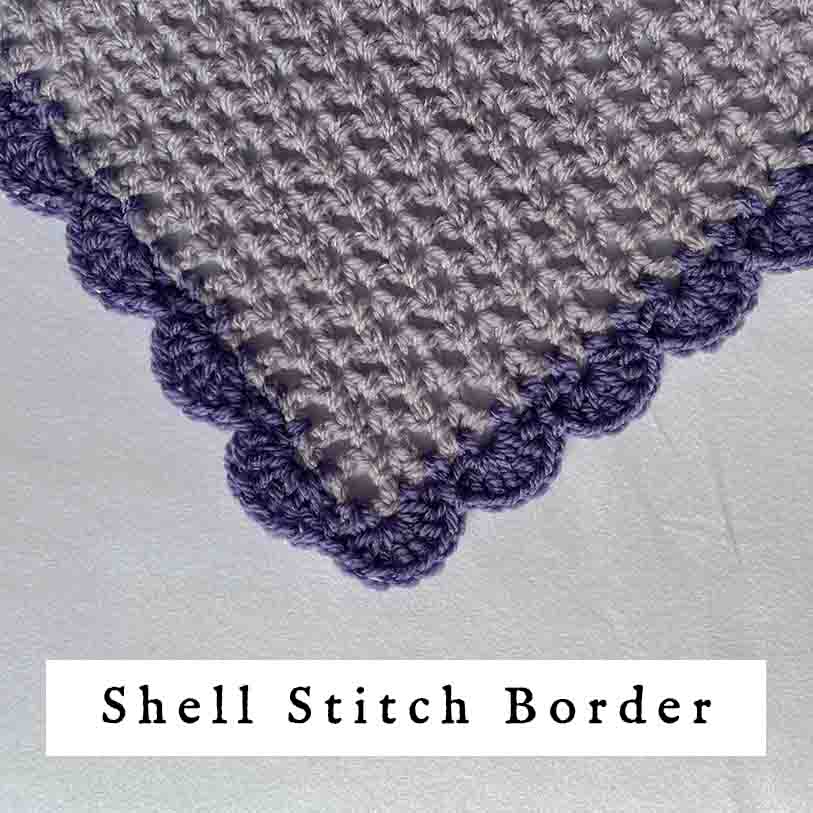
Shell stitch crochet blanket border
Now let’s take a look at something slightly more decorative! I find that this shell stitch border makes a pretty scalloped edge for a blanket. The shells are worked in multiples of 6 stitches, plus one.
Don’t worry too much about how many stitch spaces the sides of your blanket actually has though. I’ll come back to that in a moment!
Here’s how it’s done:
- Row 1: Join your yarn in any corner, and ch 3. Sc 1 ch1 along the sides of your blanket. Exactly where you place your single crochets on the sides of your blanket will depend on the height of stitch you used. But for the top and bottom edge, the single crochets should be in every other stitch, and for the sides the spacing should match the top and bottom edges as closely as possible.
- In the corners sc 1, ch 2, sc 1, ch 1. When you get back to the corner where you joined your yarn, sc 1 ch2 in the corner space and join with a slip stitch to the 2nd chain of the starting ch 3.
Before you move on…
Each time you reach a corner, count how check how many stitches you have made on that edge. Ideally each side will have a multiple of 3 single crochets, plus 1.
If you’re one or two stitches out, undo a dozen stitches, and rework that section with the extra stitches either squeezed in or taken out by adjusting the spaces between the single crochets. Trust me when I say that no one is going to notice!
- Row 2: Ch 2, *skip 1 ch space and 1 sc, make 6 dc into the following ch space, skip 1 sc and 1ch space, sc into the following sc* repeat along the edges. 2 sc into the corner spaces. 1 sc into the final corner space and sl st to the 2nd ch to join.
If you still reach a corner and discover you still have stitches leftover on that edge, sc around the corner, and cover the empty space with a big pom pom or a crochet tassel at the end. Pom poms and tassels fix literally everything, and no blanket has ever been poorer for having them.
Turning shells into triangles
Did you know that shells can be easily turned into triangles, by adding a 2 or 3 chain picot between the 3rd and 4th double crochet stitches?
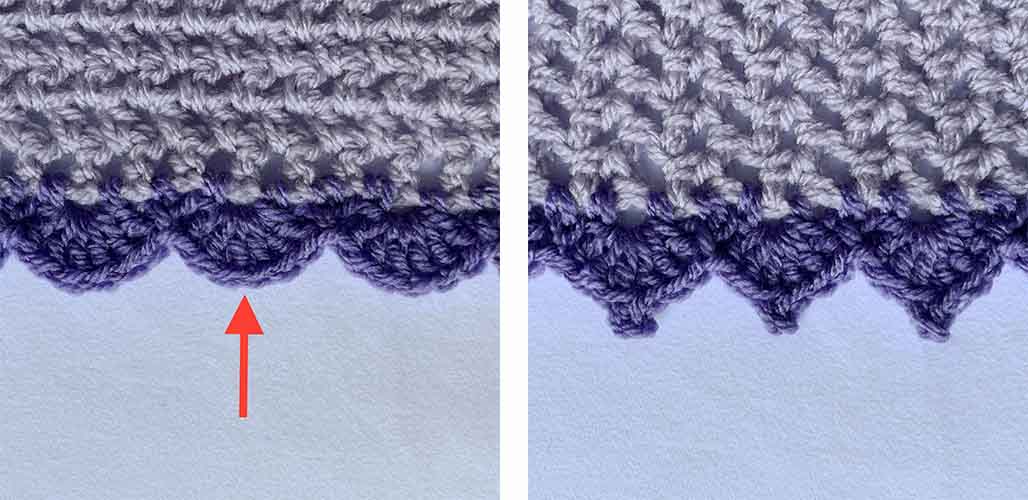
After your 3rd dc (indicated by the red arrow), chain 2 or 3 (try both and see which works best), slip stitch into the front loop of the 3rd dc, and continue with the rest of the shell. The picot forms a little point, and the result looks rather jolly, like bunting. Which makes this trim ideal for children and baby blankets!
Bobble stitch crochet blanket border
This next option is all about turning your border into a statement. You don’t make this border to go around a blanket – you make a blanket to go inside this border!
Which means you shouldn’t be surprised when I tell you it is a bit fiddly and time consuming. It really will help to think of the journey as the destination here.
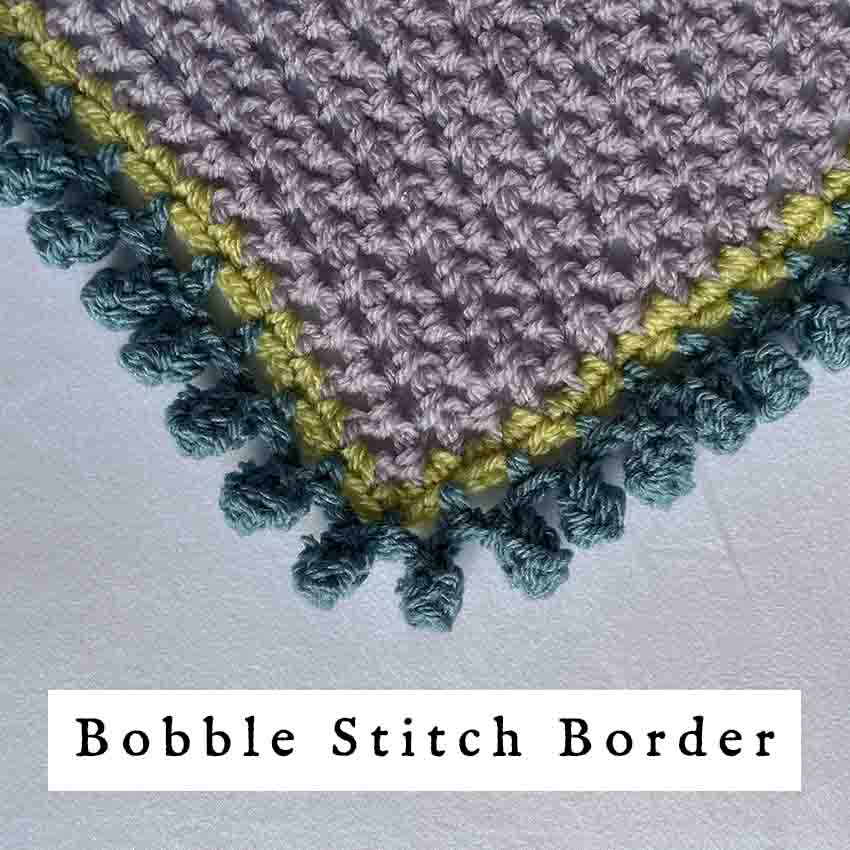
It’s helpful, but not essential, to start with evenly sized stitch spaces all round the edge of your blanket. That’s why I made a contrasting row of light green stitches around my purple blanket in the photo above, before working the bobble stitch border in teal. To make the bobble stitch border (the teal part only):
- Row 1: Join the yarn and chain 5. *Skip 2 sts, sc 1, chain 5* all the way round. Finish by making 1 sc into the stitch where you joined your yarn.
- Row 2: *Sl st into the next ch space, dc5tog, sl st around the base of the dc5tog, sl st into the same chain space* all the way around.
For row 2, you want to have the back of your blanket facing you, if it has one. You can manage this by continuing the second row in the first direction as the first if the reverse is already facing you, or by turning your work over and working back in the opposite direction if you need too.
If you’re unfamiliar with the instruction ‘dc5tog’, also known as a bobble stitch or popcorn stitch, there’s a full explanation of how to make one in our guide to bobble stitch granny squares.
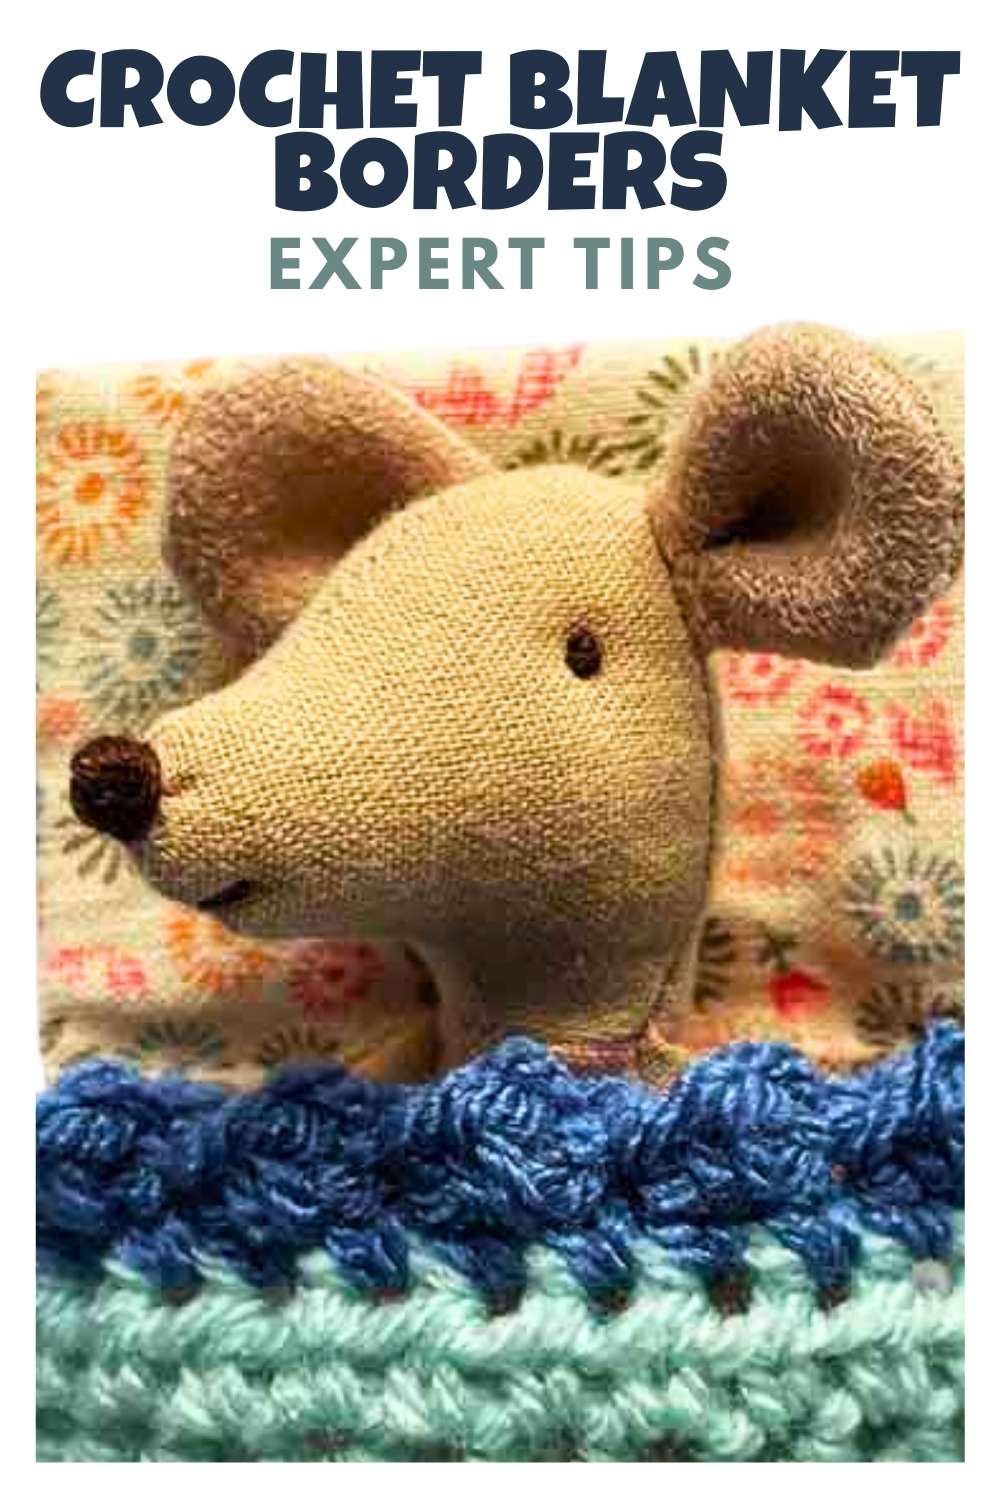
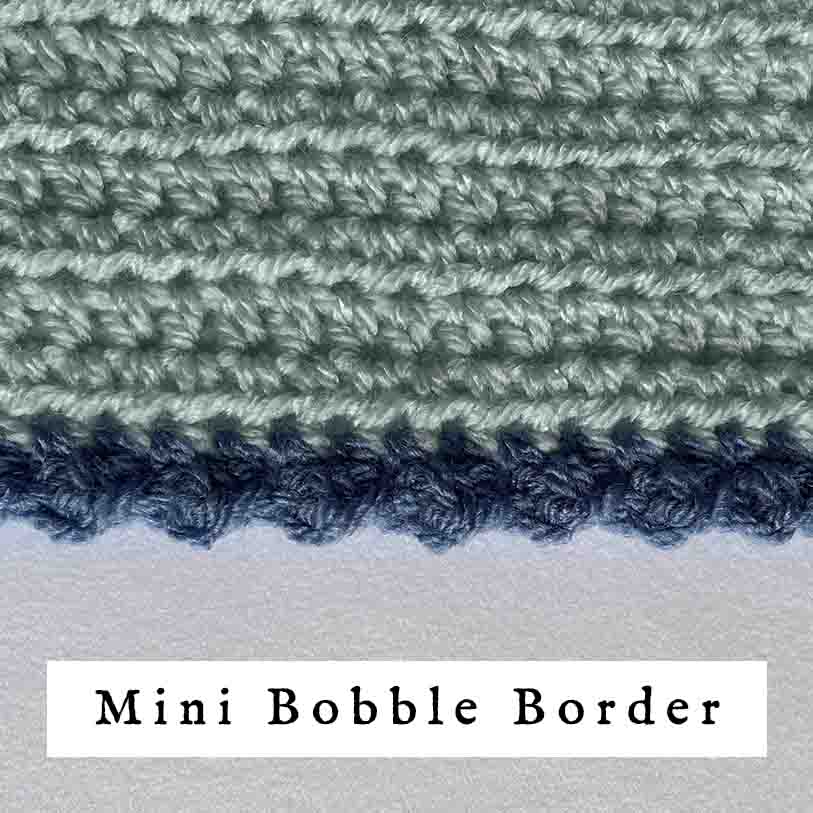
Mini bobble stitch crochet blanket border
If you don’t fancy making a whole blanket’s worth of bobbles like the ones above, then this last border is a much quicker alternative. This neat little trim consists of just two alternating stitches, but the result gives the impression of having far more crochet expertise than you actually need.
You can use this border along blanket edges with any number of stitches, but if they are very gappy, it’s a good idea to work a row of single crochet before adding your mini bobbles.
With the back of your blanket facing you, join your yarn anywhere along the edge, and slip stitch into the next stitch. Work a double crochet into the next stitch, and slip stitch into the stitch after that.
The slip stitches on either side of your double crochet will push it outwards away from you, making a dinky little bobble on the front side of your blanket. Keep working *1dc, 1sl st* all the way around, until you get back to the beginning, and fasten off.
Crochet blanket borders – summary
There you go – six crochet blanket border ideas, and infinite ways to use them! Stitches like single crochet, linen stitch and double crochet can be stacked as many rows deep in as many colors as you like.
And more decorative stitches like shell stitch and bobble stitch can be jazzed up by adding a contrasting row of single or double crochet inside them first. Let us know what border your decide to use in the comments box down below!