Free Crochet Mouse Keychain Pattern
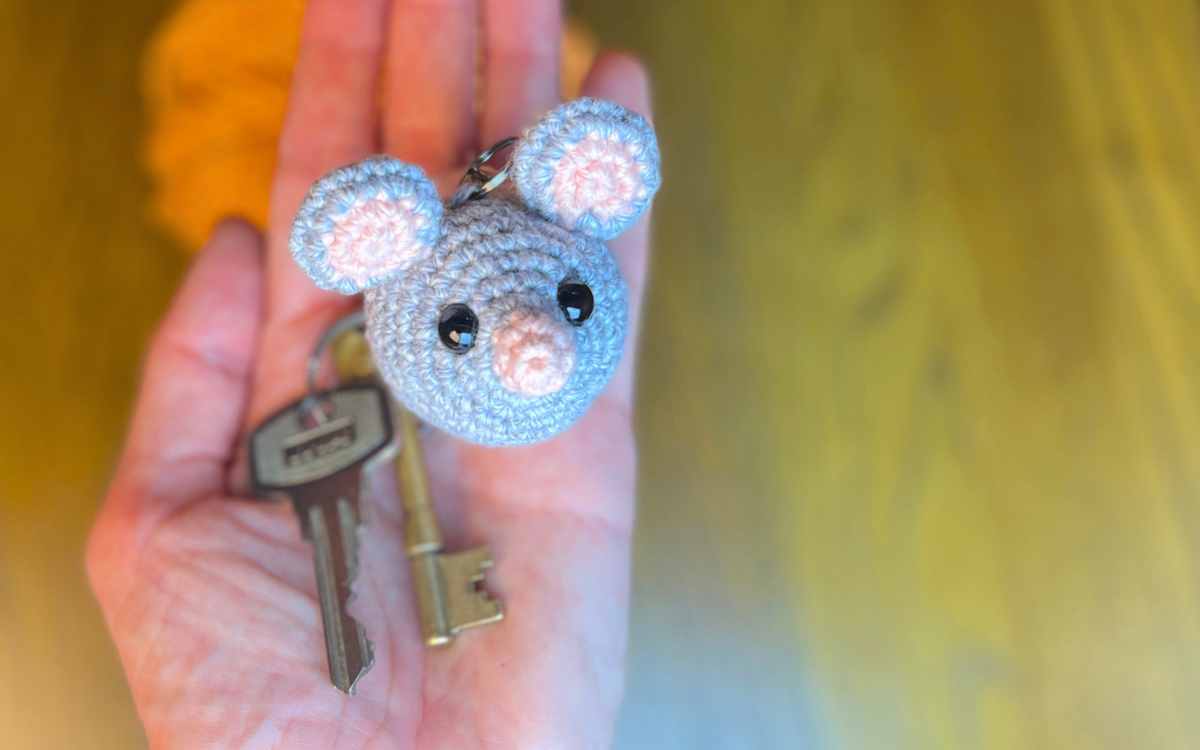
I’ve designed a few keychain patterns lately, but my mouse is by far the most popular when I’ve shown it to people. Fortunately, this crochet mouse is very fast to make, so it won’t be long before I have a batch to hand out to friends and family!
It’d make a great market day project, or last minute gift. And if you want to avoid clearing out your kitchen cupboards or scrubbing the bathroom, this project will take about the same amount of time as these much less enjoyable tasks! (Not that I’ve been using crochet to avoid housework this week…)
Your Kit List
When working with smaller amigurumi projects I tend to prefer cotton blend yarns, even though I’m normally very happy to make crochet toys from good quality acrylic yarn too. The reason that I’d lean towards cotton based fibers for these tiny projects is that they tend to be less likely to fray and more compact, so that it’s easier to pick up each strand with your hook without it separating which is much more frustrating when you’re using a tiny hook.
- 2.5mm crochet hook
- 30g DK Happy Place melange in gray
- 20g Hobbii cotton silk in pink
- Toy safe stuffing*
- Yarn needle
- 10mm safety eyes*

Techniques and Terms
- magic circle
- sc – single crochet
- 2sc – put two single crochets into one stitch
- sc2tog – join two stitches with one single crochet
- ch – chain
- sk – skip the next stitch along
- slst – slip stitch
- cc – color change
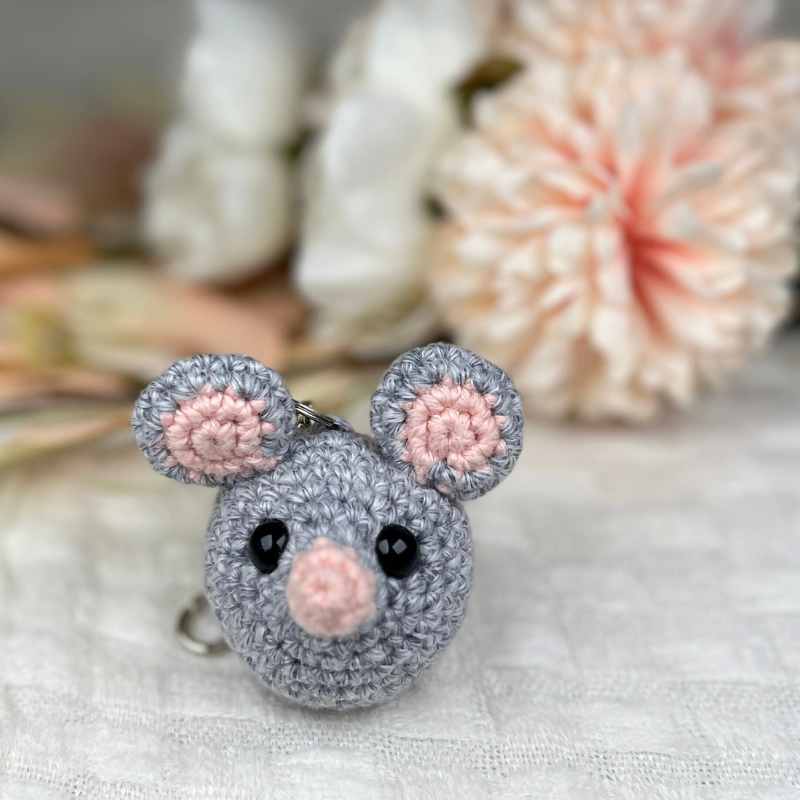
The Free Amigurumi Mouse Keychain Pattern
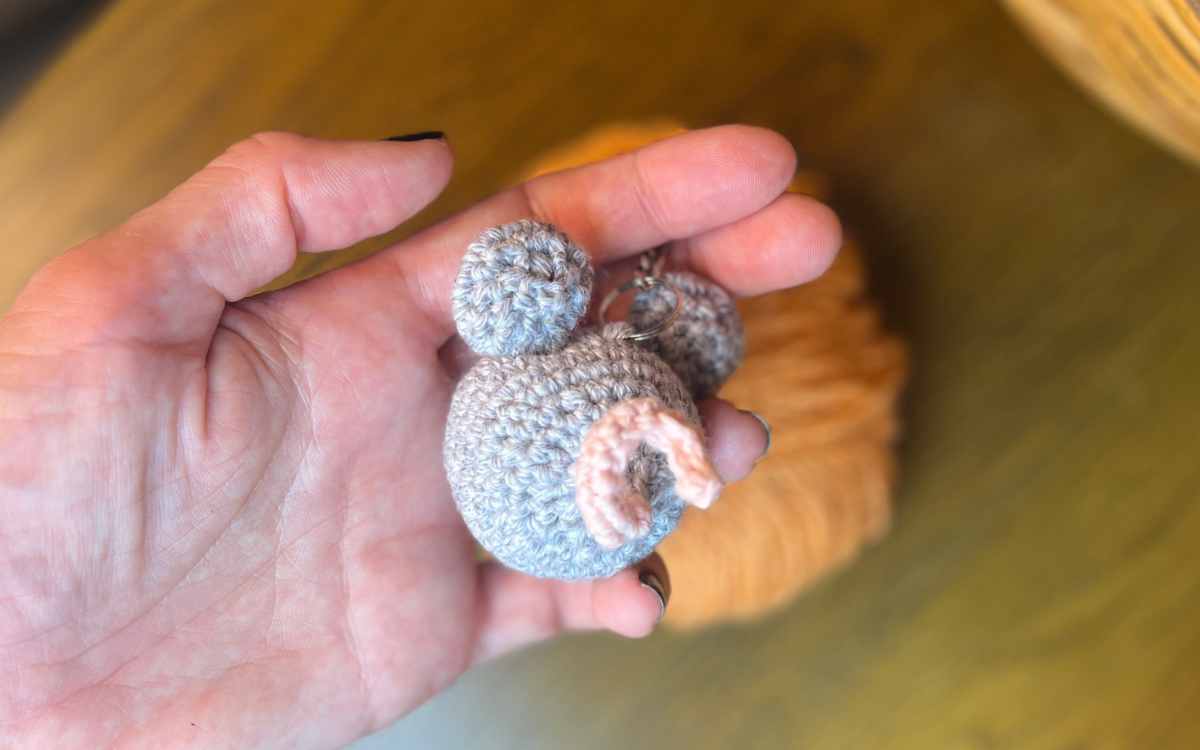
You are going to make your little mouse pal in a few separate sections, which you’ll then hand sew together.
Crocheting the Main Body and Head
Begin working in your pink yarn to form the nose, using your 2.5mm crochet hook.
Round 1
Make a magic circle of eight stitches (8)
Round
1sc x 8
cc gray
Round 3
1sc x 8
Round 4
2sc x 8 (16)
Round 5
1sc x 16
Round 6
(1sc, 2sc) x 8 (24)
Round 7
(1sc x 2, 2sc) x 8 (32)
Round 8 – 13
1sc x 32
Round 14
(1sc x 2, sc2tog) x 8 (24)
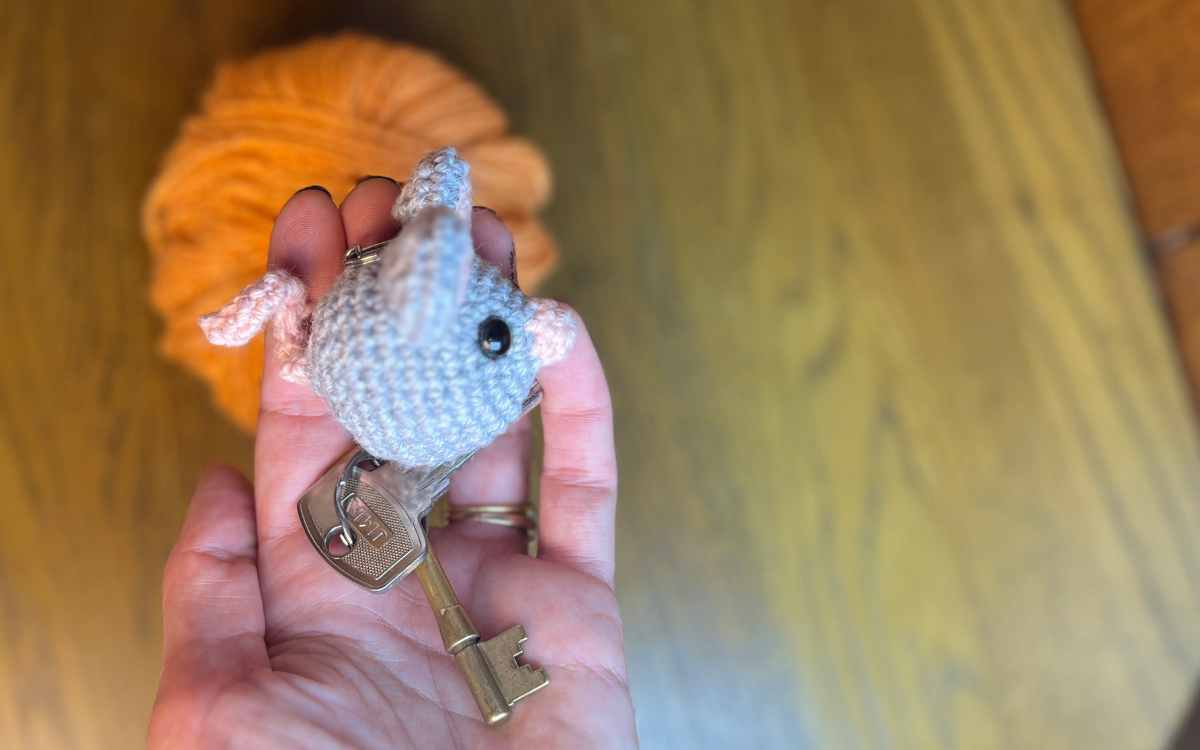
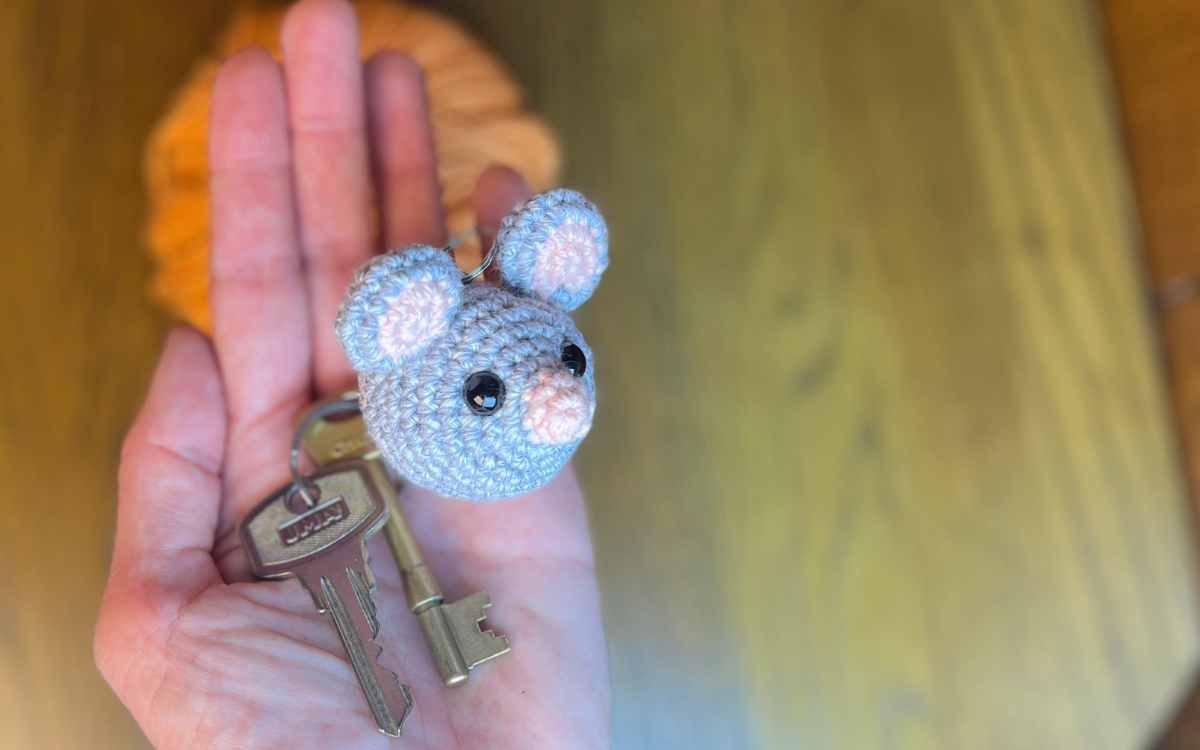
Insert the safety eyes at round 5 level six stitches apart.
Round 15
1sc x 24
Round 16
(1sc, sc2tog) x 8 (16)
Round 17
sc2tog x 8
Fill with toy stuffing.
Round 18
1sc x 2, sc2tog, then sew closed.
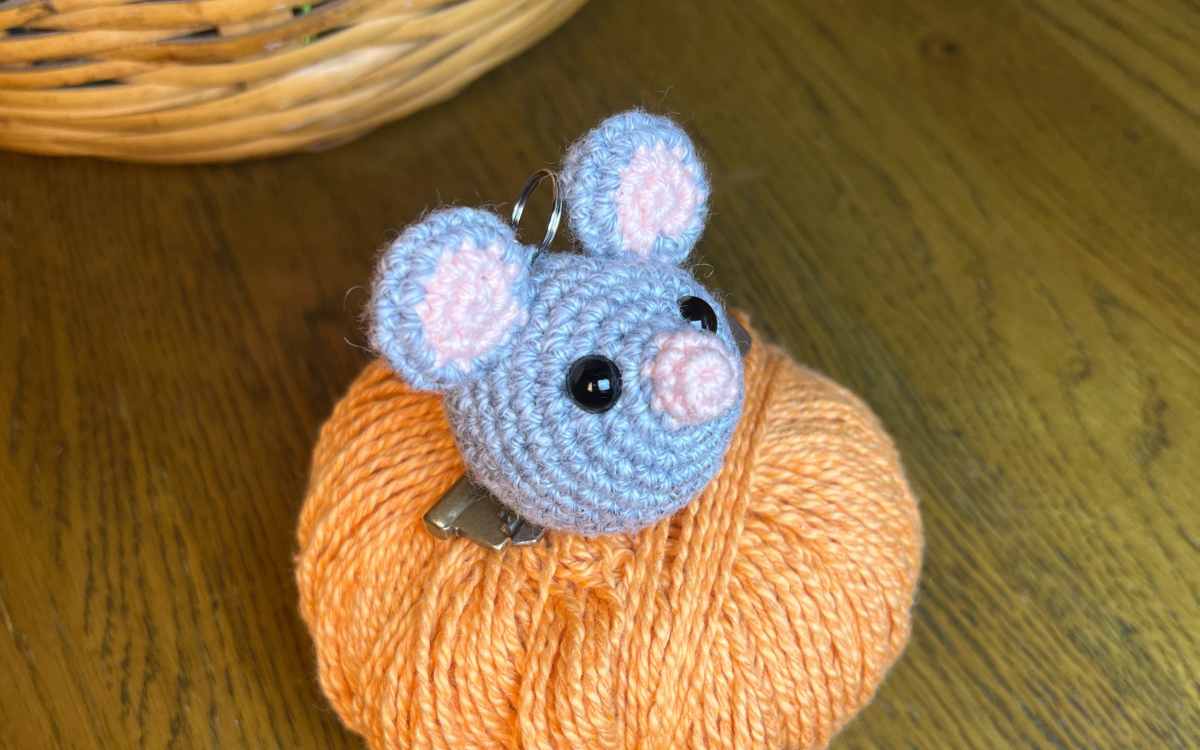
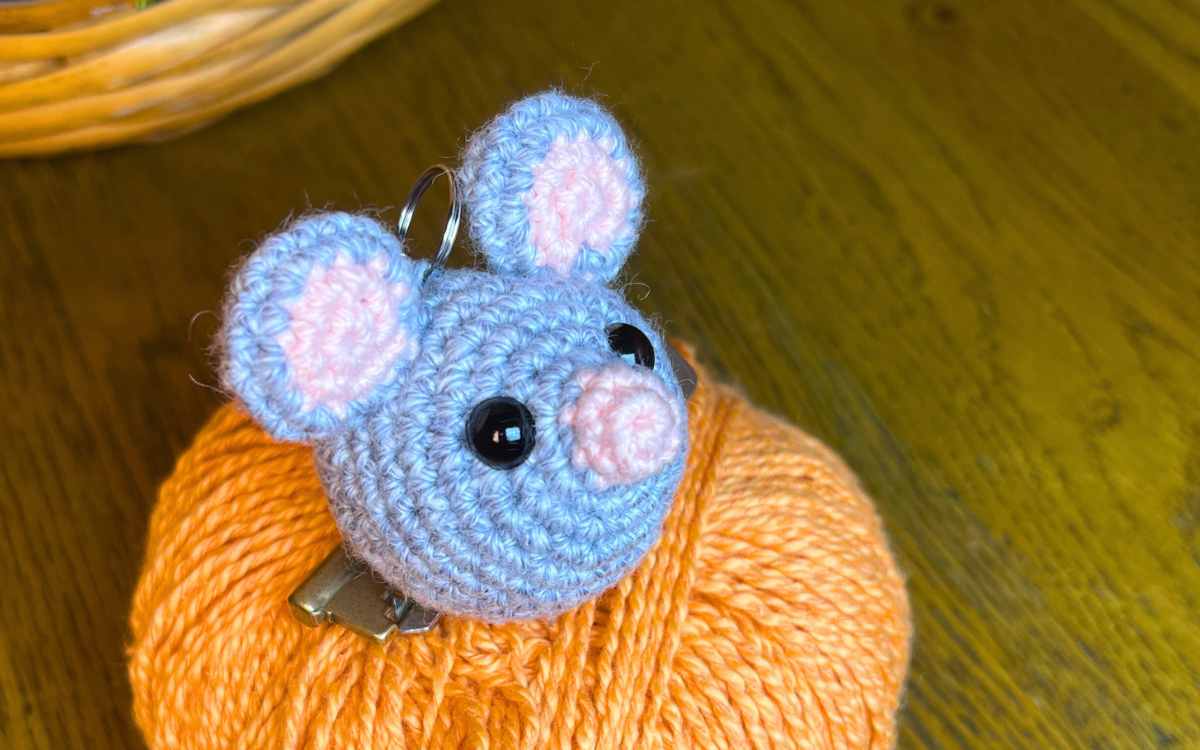
Your Amigurumi Mouse’s Ears
Start crocheting the ears in pink, with your 2.5m crochet hook.
Round 1
Make a magic circle of six stitches (6)
Round 2
2sc x 6 (12)
cc gray
Round 3
(1sc, 2sc) x 6 (18)
Round 4
1sc x 18
Round 5
(1sc, sc2tog) x 6 (12)
Round 6
sc2tog x 6, then hand sew to close.
Leave a long tail of yarn, and use it to stitch each ear to the head. Place each one three rounds behind the eye, and towards the top of the head.
Crocheting the Tail
Use your pink yarn and your 2.5mm crochet hook
- Ch15, sk, 1sc x 14
- Ch1, sk, 1sc x 13, slst.
Now use your pink yarn and needle to sew each side together as a long tight tail. Then sew the tail onto the finishing point of the body section.
Attaching the Keychain
I attached the keychain ring onto my mouse toy by sewing in the gray yarn through the ring and a stitch at the top of the head, just behind and between the ears.
*The products linked in this pattern were carefully selected by Lucy Kate Crochet. If you decide to purchase using the links provided, we may earn a small commission on that sale. This is at no extra cost to you.
