Free Crochet Lion Keychain Pattern
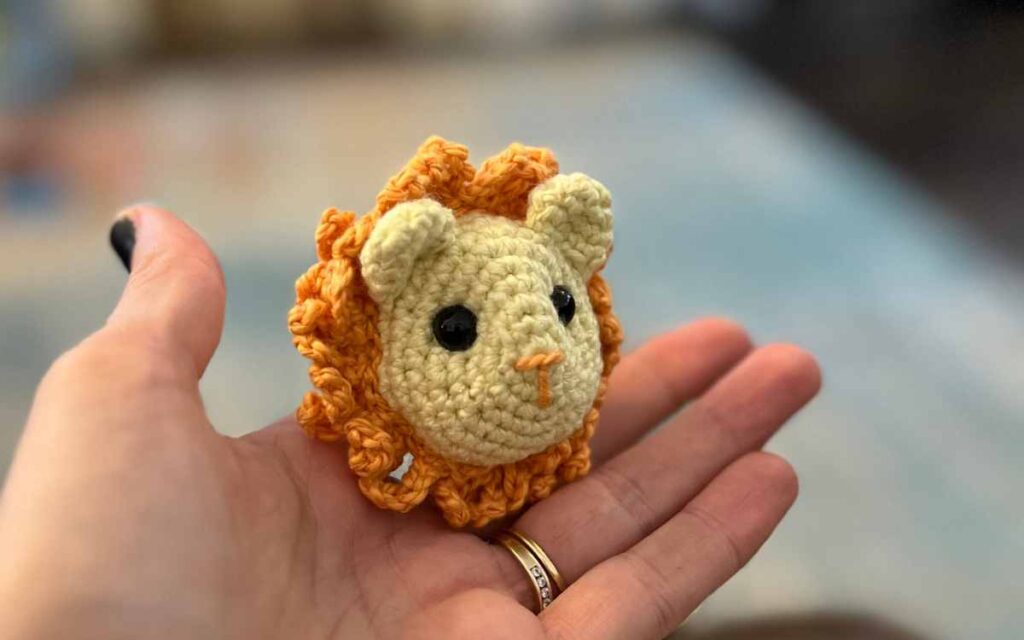
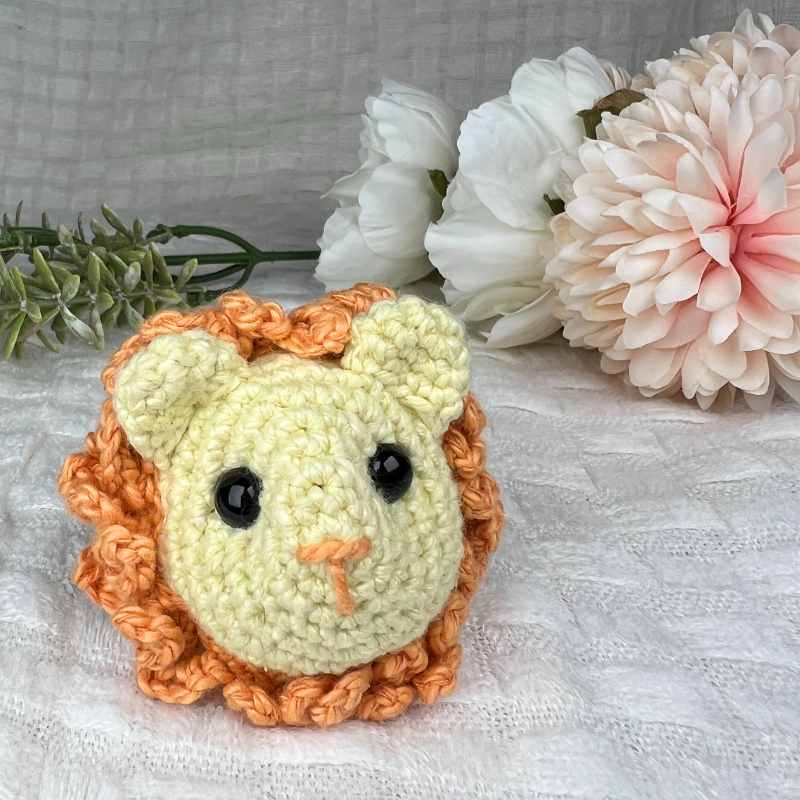
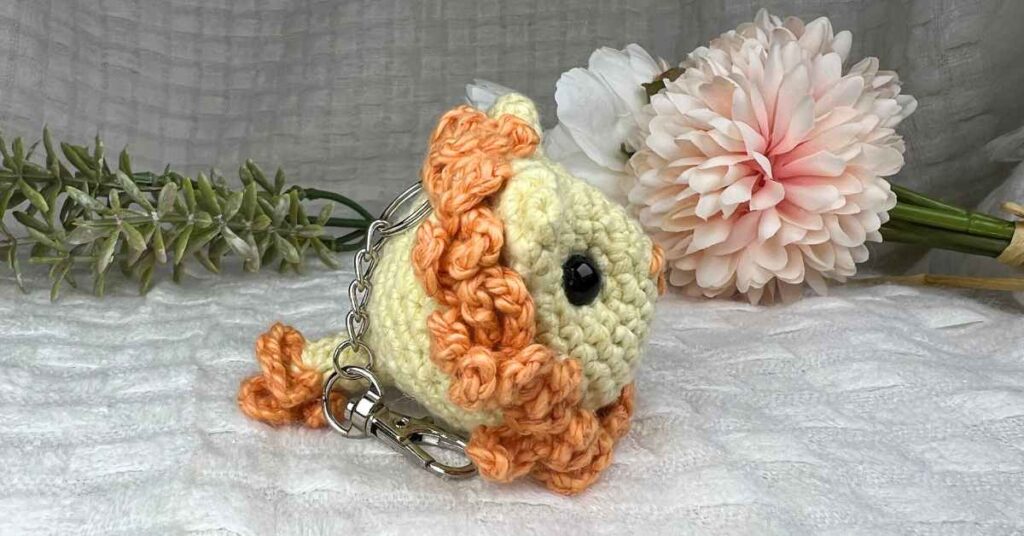
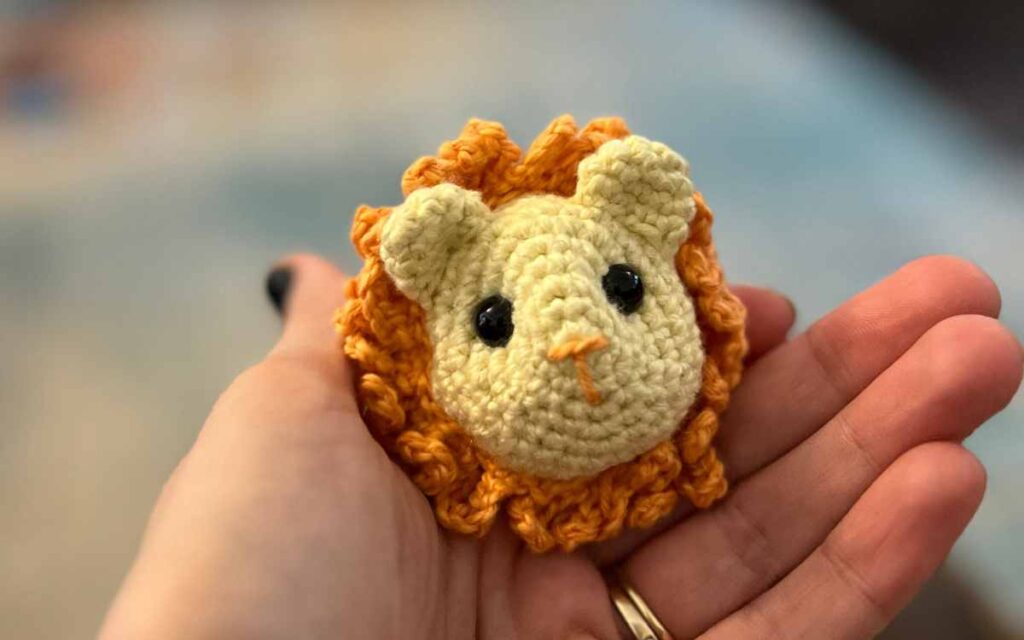
I am really pleased with this tiny, stripped-back crochet lion keychain design. And you can make your own in the time it would have taken you to vacuum your home – I’m sure we can agree this is a much more productive way to spend the day.
I’ve always wanted to design a lion pattern, but despite several false starts I have never pulled off a crochet lion toy that I was happy to release for you as a pattern. Until today, that is! And this is even better than my original ideas, because it’s fast, easy and you can even make one just using your yarn scrap stash like I did.
Your Kit List
Here’s what I used to create this pattern. As usual, I’ve overestimated the yarn weights by a fair amount, because nothing frustrates me more than not having enough yarn to finish a project!
- 2.5mm crochet hook
- 30g yellow Hobbii cotton silk yarn
- 30g orange Hobbii cotton silk yarn
- Toy safe stuffing*
- 10mm safety eyes*
- Yarn needle
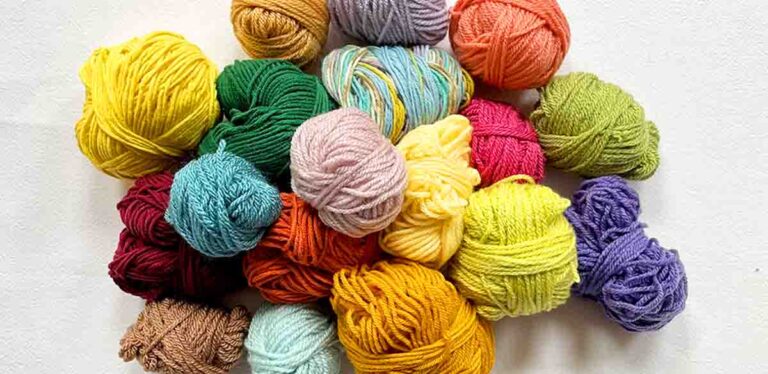
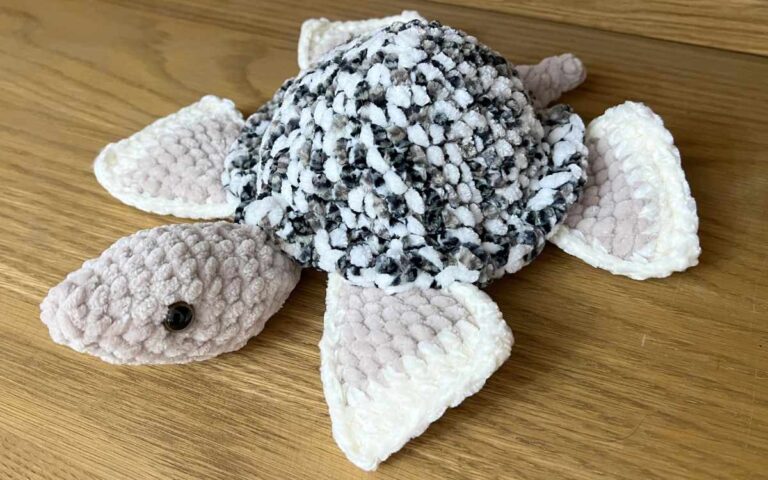
If you don’t have any yellow or orange yarn kicking around, you might want to check out my axolotl, pig or cat keychains instead!
Techniques and Helpful Tips
You’ll find the following abbreviations in this little pattern:
- magic circle
- sc – single crochet
- 2sc – put two single crochets into one stitch
- sc2tog – join two stitches with one single crochet
- ch – chain
- sk – skip the next stitch along
- slst – slip stitch
The Free Amigurumi Lion Keychain Pattern
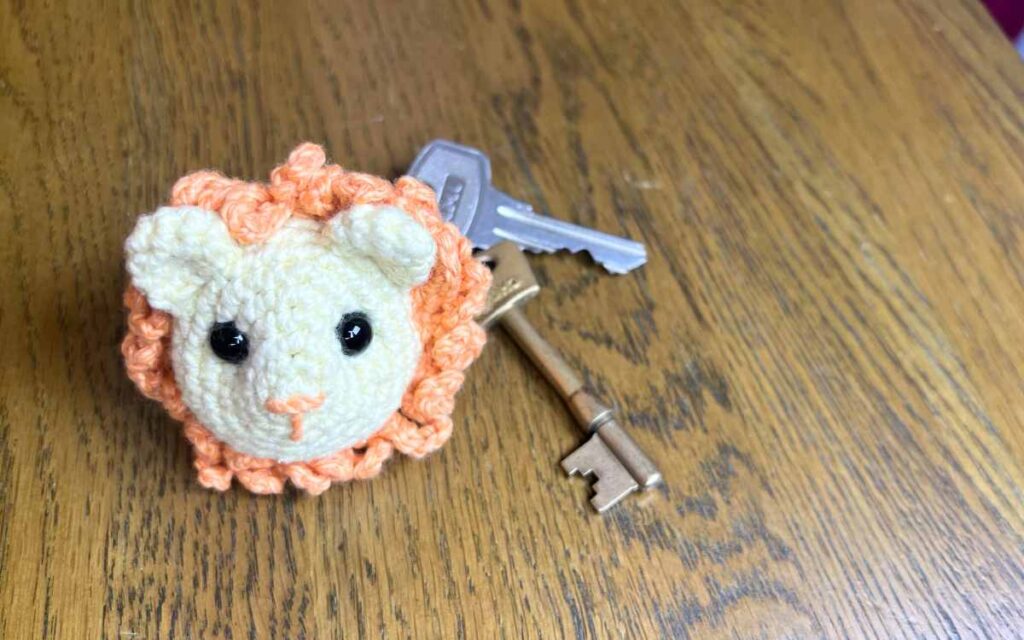
You are going to make your lion in a few separate parts, which you’ll be hand sewing together. But don’t worry if you are a no-go-sew person, it’s easy!
Start with the Lion’s Muzzle
Work in your yellow yarn with the 2.5mm crochet hook.
Round 1
Make a magic circle of eight stitches (8)
Round 2
1sc x 8
Round 3
2sc x 8 (16)
Round 4
1sc x 16
Round 5
(1sc, 2sc) x 8 (24)
Round 6
(1sc x 2, 2sc) x 8 (32)
Round 7 – 12
1sc x 32
Round 13
(1sc x 2, sc2tog) x 8 (24)
Round 14
1sc x 24
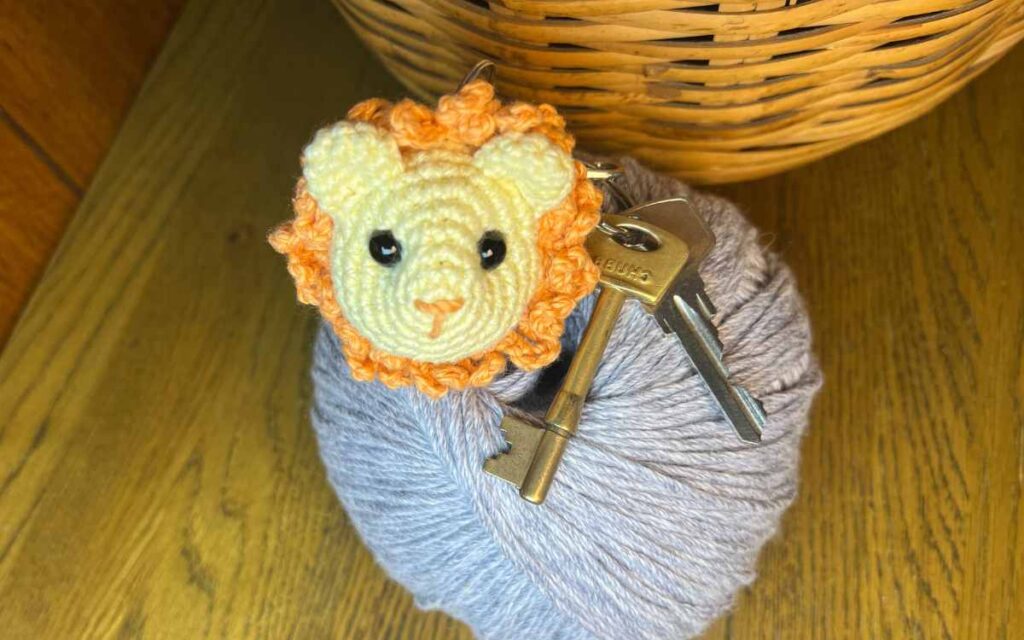
Insert the safety eyes at round five level.
Round 15
1sc x 24
Round 16
(1sc, sc2tog) x 8 (16)
Round 17
sc2tog x 8
Fill with toy stuffing.
Round 18 – 21
1sc x 8
Round 29
sc2tog x 4 and sew closed.
Tipping the Tail
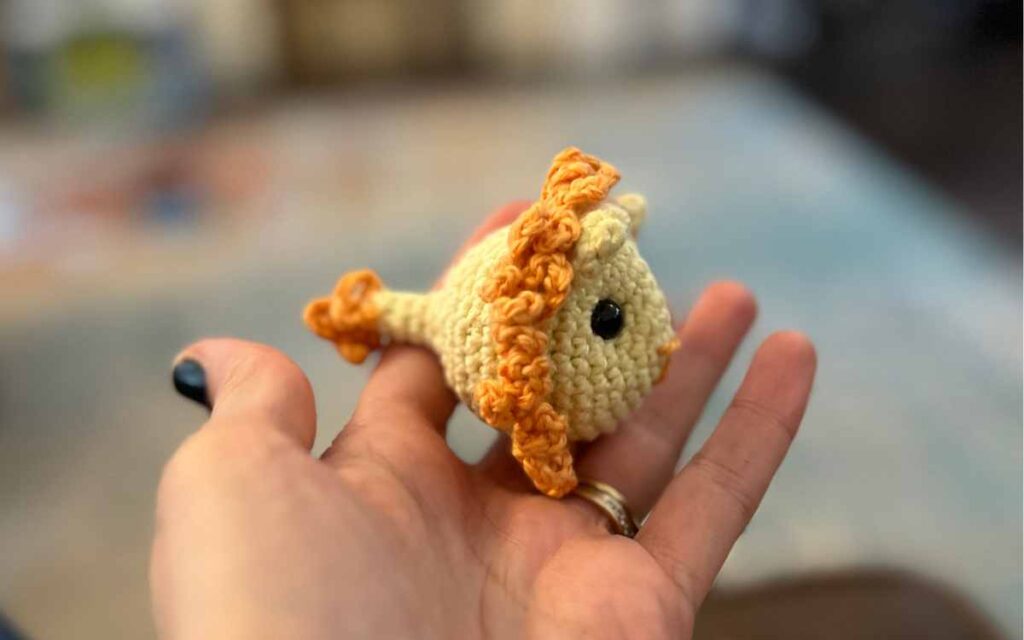
To make your lion’s tail fluffy you are going to crochet a series of chains in the orange yarn.
Cast onto your hook, then slst into the center of the tail’s magic circle.
*Ch8, then slst into the next stitch in the round. Repeat from * four more times.
Hide the tail of the yarn inside the stub of the yellow section.
Crocheting the Ears
Work with your 2.5mm crochet hook and yellow yarn.
Round 1
Make a magic circle of five stitches (5)
Round 2
2sc x 5 (10)
Round 3
1sc x 10
Now sew each ear so that it sits three rounds behind the eyes.
Your Amigurumi Lion’s Mane
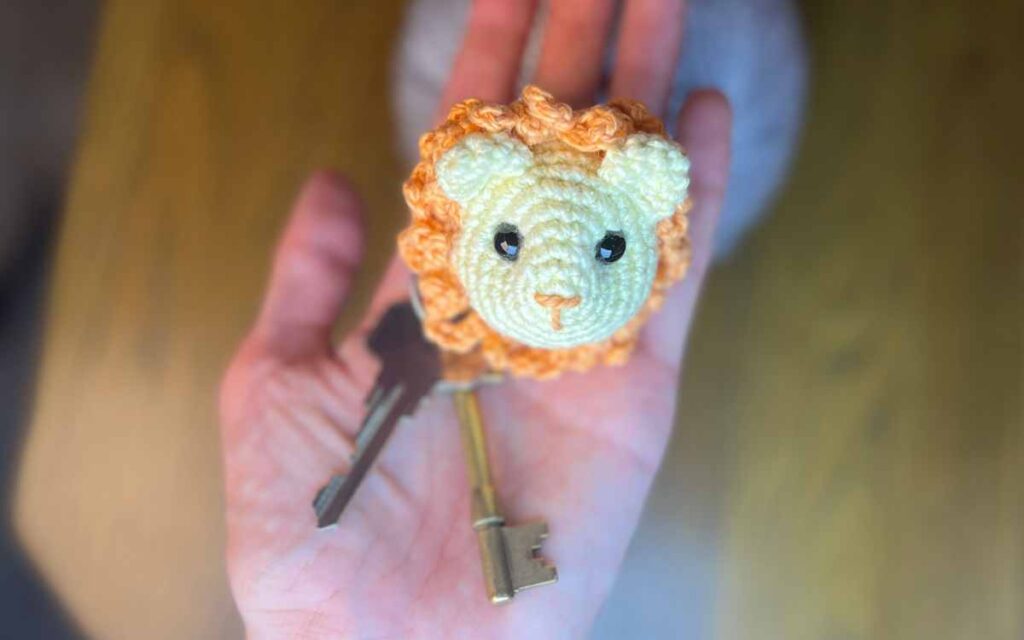
Crochet your lion’s mane in orange yarn as a separate piece.
- Ch34 and slst to the first loop to make a ring.
- *Ch8, slst to the next stitch in the ring. Repeat from * until you reach the end of the circle.
Slip the loop over your amigurumi lion keychain’s ears and tuck it under it’s chin so it fits snuggly and evenly around him. Now take a length of the same colored yarn, and weave in and out with your needle, sewing it securely to the toy.
Attaching the Keychain
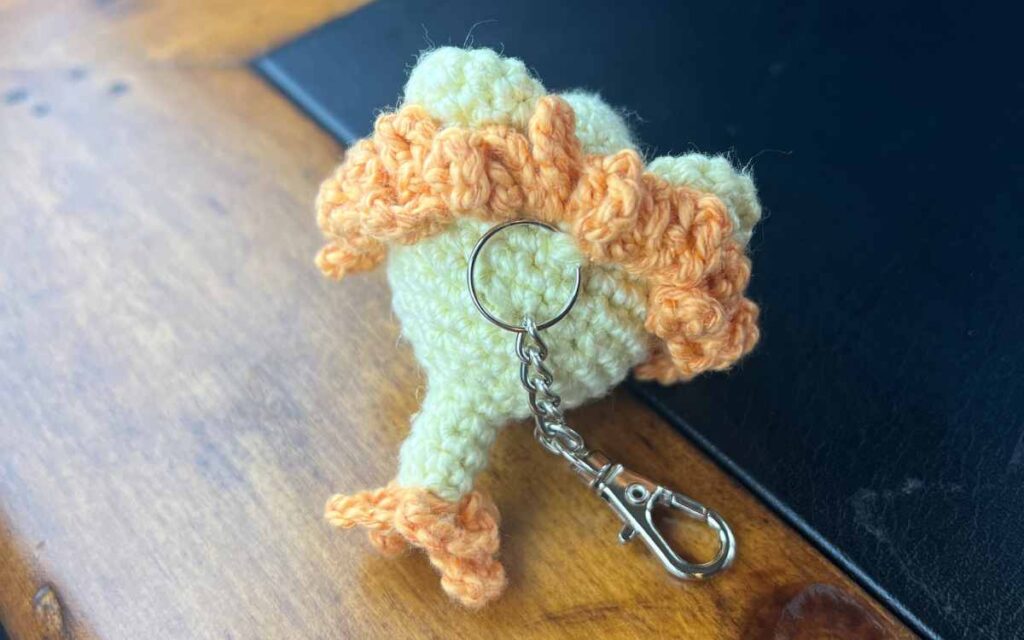
Join the keychain to the middle of the lion’s head, just behind the mane. I sewed the loop on by weaving back and forth three times in the yellow colored yarn. You can attach the chain directly to a stitch, and this might be more secure, but it will cause that stitch and those next to it to stretch a little.
*The products linked in this pattern were carefully selected by Lucy Kate Crochet. If you decide to purchase using the links provided, we may earn a small commission on that sale. This is at no extra cost to you.
