How To Add A Border To A Double Crochet Blanket

Blankets are a staple crochet project. And double crochet is a popular stitch for making them, since its height helps you progress quicker. Rows of double crochet don’t always have the smoothest edge though, so adding a border can elevate your blanket’s perimeter from a bit lumpy and bumpy, to flawless. Which sounds like a no-brainer, but how do you work a border along the vertical edges? Crocheting along the sides of double crochet is very different to working into the top or bottom edge. Here’s how to crochet a border on a double crochet blanket, including a failsafe first row to use, so that you can add any border pattern you like next.
- Why add a border to your blanket?
- How to crochet a border on a double crochet blanket
- How many stitches to use
- Positioning your stitches
- My failsafe first row for every double crochet blanket border
Why add a border?
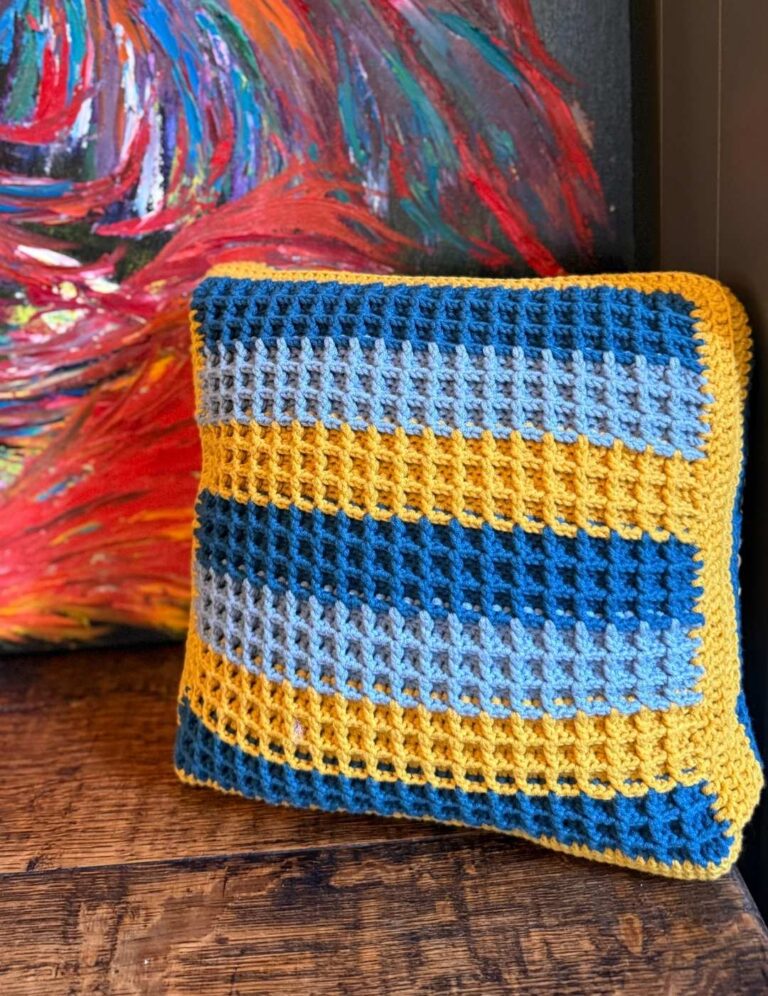
Borders are the perfect finishing touch to elevate your blanket from handmade and homely, to handmade, homely and extra special. Is it strictly necessary to add a border? No. Will your baby blanket be warm, snuggly and beautiful without one? Yes. But borders are excellent for adding a bit of polish to a project that still feels like it’s missing something, and for covering a multitude of sins along a wobbly edge. For double crochet granny blankets, a border will also reinforce the edge of chain space holes.
How to crochet a border on a double crochet blanket
Double crochet is a perennial favorite stitch for blankets of all sizes. I’m trying to think of the last time it wasn’t the principal stitch in a blanket I’ve made, and I can’t even remember! But it can leave you at a loss the first time you try adding a border to the vertical sides, because the stitches are tall. How many border stitches equal the height of one double crochet stitch? And where do you even insert the hook?
Adding a border to a crochet blanket is actually pretty easy once you get started, so here’s how it’s done.
How many stitches to use
Sometimes before you get started on a border it helps if you can picture how many stitches spaces there are to work into around the edge of your blanket.
The top edge of your blanket should look pretty straightforward. The tops of the last row of stitches you made are all stitch spaces for your border. The ones at each end are where you’ll work your corners. The bottom edge should also be unproblematic – every stitch in your foundation chain (minus any used for turning to start the first row) is a stitch space for your border. With any luck, it ought to be the same number of stitches as you have along your top edge! And again, the last stitch at each end is where you’ll make your corners.
Finally those tricky vertical edges. Each row is equal to two stitch spaces. You can fill each space with one of any of the following:
- Slip stitch
- Single crochet
- Extended single crochet
- Half double crochet
- Double crochet
- Treble crochet
- Or skip over it with a chain.
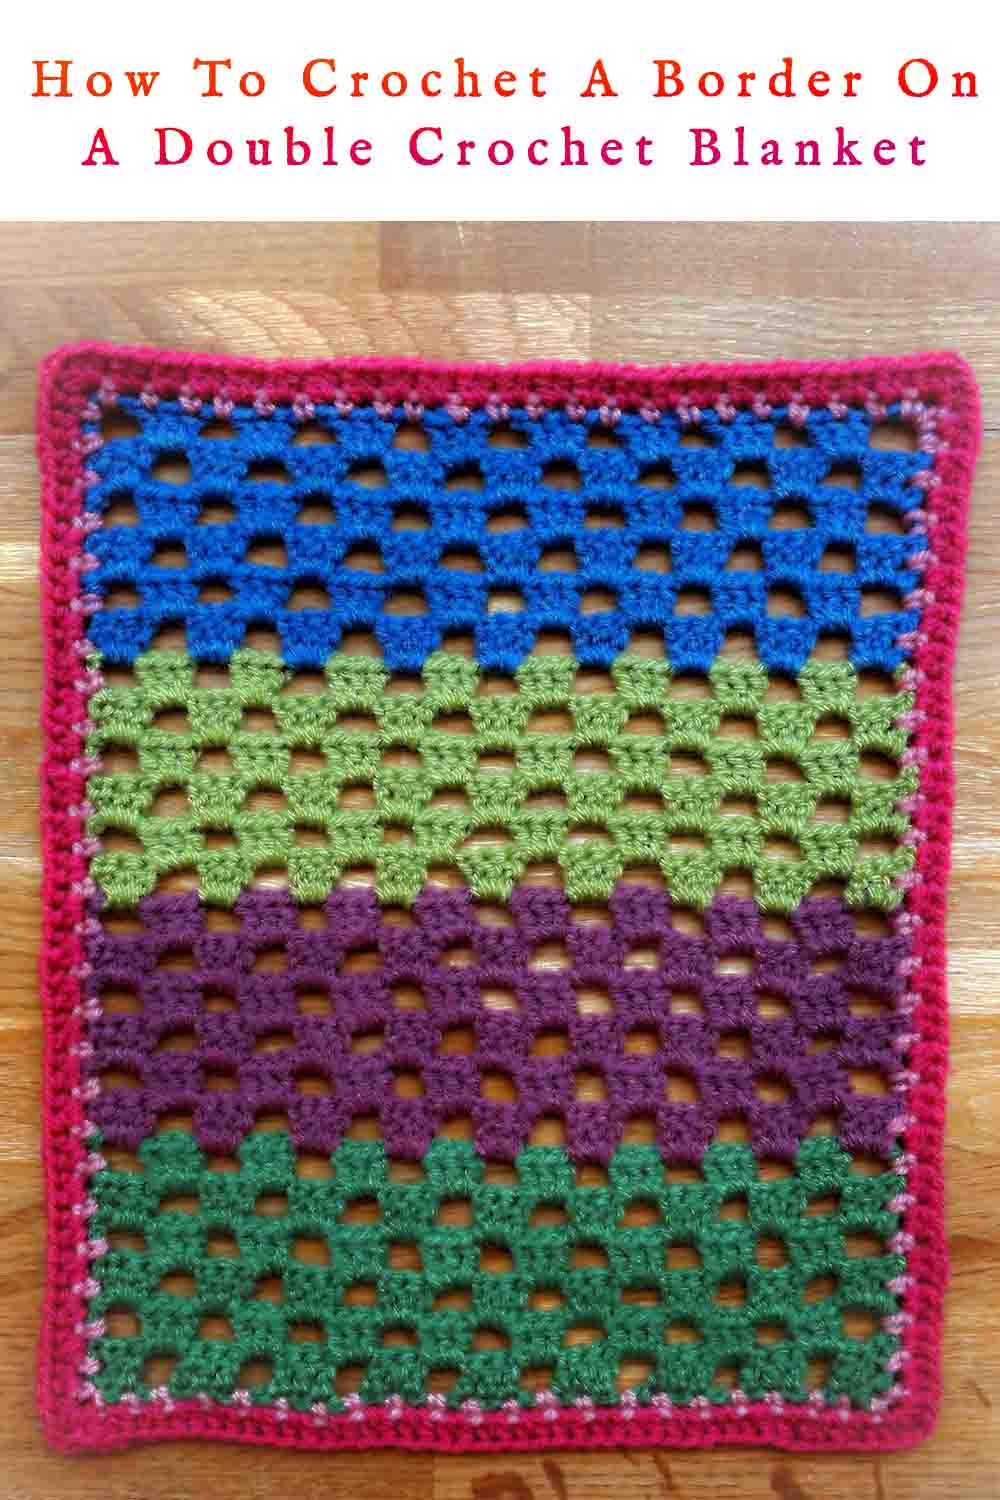
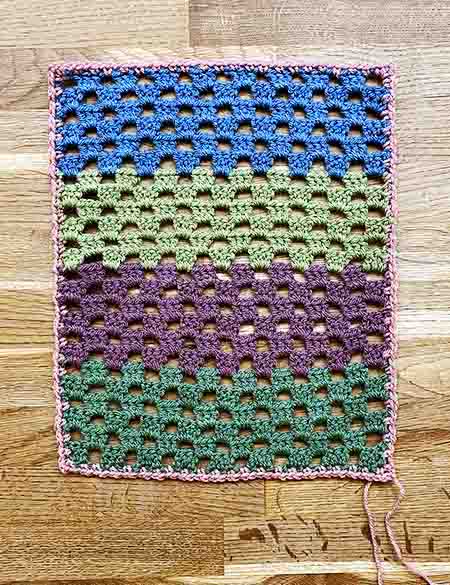
Here’s a dinky double crochet blanket I’ve made as an example:
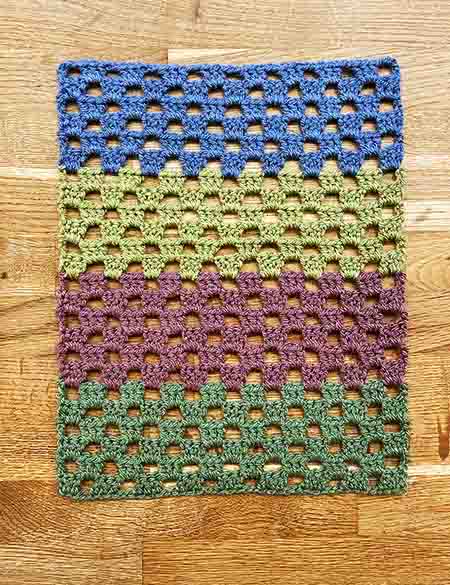
It has 42 stitches on the top and bottom edges, and 24 rows, meaning 48 stitch spaces along each vertical side. Which is 180 stitches in total!
Dealing with chain spaces at the edge of your blanket
When you’re counting the stitch spaces around the edge of a double crochet blanket, you might encounter chain spaces with a big ol’ hole on the other side. Like in my example blanket there.
- Along the top and bottom edges, the number of border stitches you can make into each chain space is equal to the number of chains. Which is two on my blanket. So I can fill those chain spaces with two border stitches (even though I was filling them with three double crochets when I was working the granny pattern).
- Along the vertical edges, the chain spaces on every other row are also going to fit two border stitches, because they represent the height of one row. This is even though the turning chain was 3 stitches long.
Which looks a bit discombobulating written down, but when you get started I promise it will become much more intuitive!
Positioning your stitches
When it comes to positioning your stitches, the top and bottom edges of your blanket are pretty straight forward again. Along the top edge, insert your hook into both loops of the last row, as you normally would. For chain spaces, insert your hook into the chain space – don’t try to wiggle it into the chain stitch itself! Along the bottom edge, it will depend how you worked into your foundation row, but there should still be a loop (or loops) free from each chain, that you can make your border stitches into.
Now those side edges!
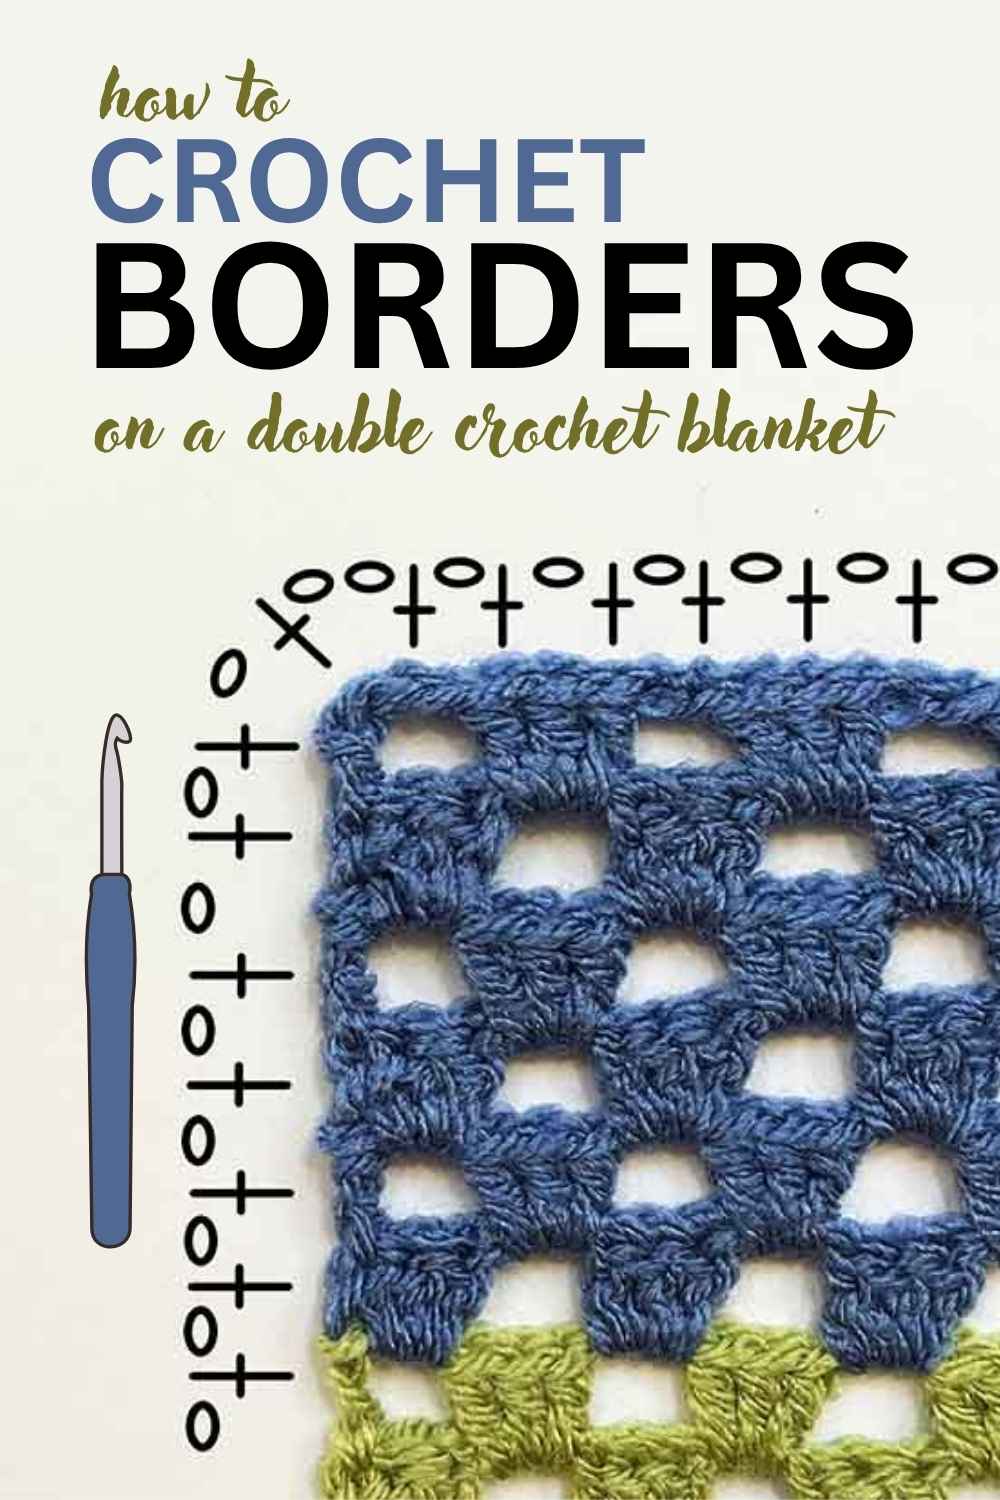
- Where there are double crochet stitches, you’re going to insert your hook on the inside edge of the first stitch post, and make your border stitch around the post. If there’s a turning chain there too, you’re still going to insert your hook on the inside side of the first double crochet, and make your border stitch around the stitch’s post, and the turning chain.
- Where there’s a turning chain only, with a chain space next to it, you’re going to insert your hook into that big handy space, and catch the chain inside your border stitch.
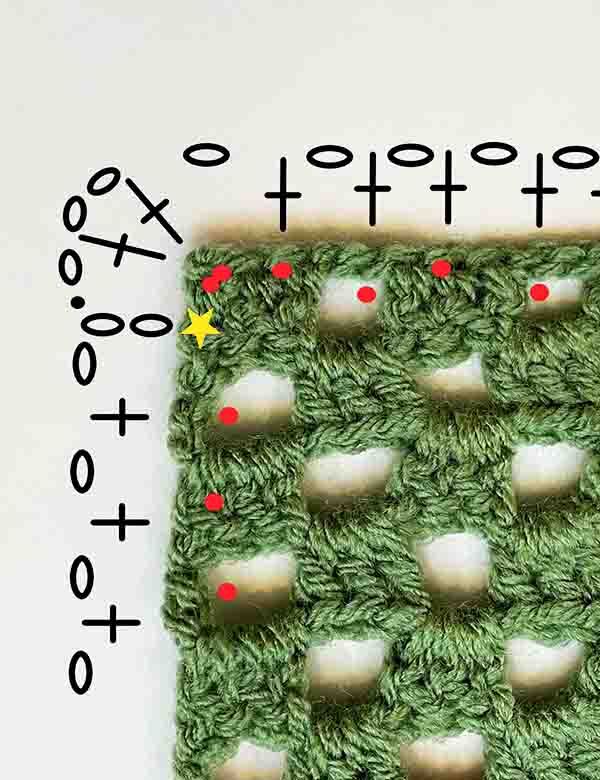
So to make a simple row of single or double crochets along the side of your blanket, each of these red dots represents a place you’d insert your hook and make a stitch:

My failsafe first row for every double crochet blanket border
In theory, you can start a border on a double crochet blanket with any stitch you like. Straight forward single crochet, coordinating double crochet… Even bobbles or scallops, as long as you count your way carefully along the vertical edges, and that remember each row counts as two stitch spaces when you’re skipping across them.
But I think it is much, much easier to start any border with a row of linen stitch, a.k.a. moss stitch. Linen stitch is a simple two-stitch repeat of *1 sc, 1 ch*, which makes it perfect for working along the sides of double crochet blankets. Here’s why I love it:
- It’s very quick to do.
- When you work along the sides of your blanket, you only have to make one single crochet around the post of your double crochets – the chain counts as filling the second stitch space.
- It creates the perfect foundation for anchoring a more complicated border to your blanket
- You can use a contrasting color, which will appear as a sweet dotted line inside your border.
- Or you can use the same color as the rest of your border, in which case the linen stitch row will be practically unnoticeable.
Worked example
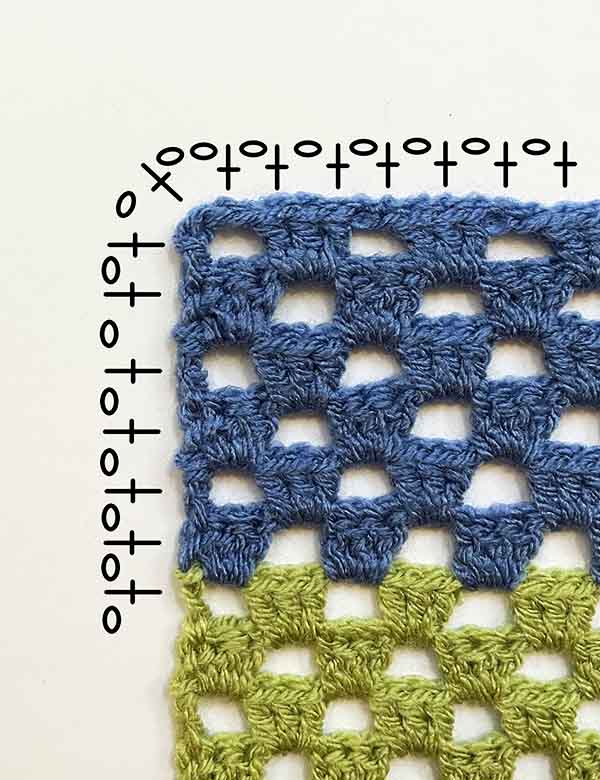
So obviously, I’m going to start the border on my mini blanket by adding one row of linen stitch. Starting at the top of one edge:
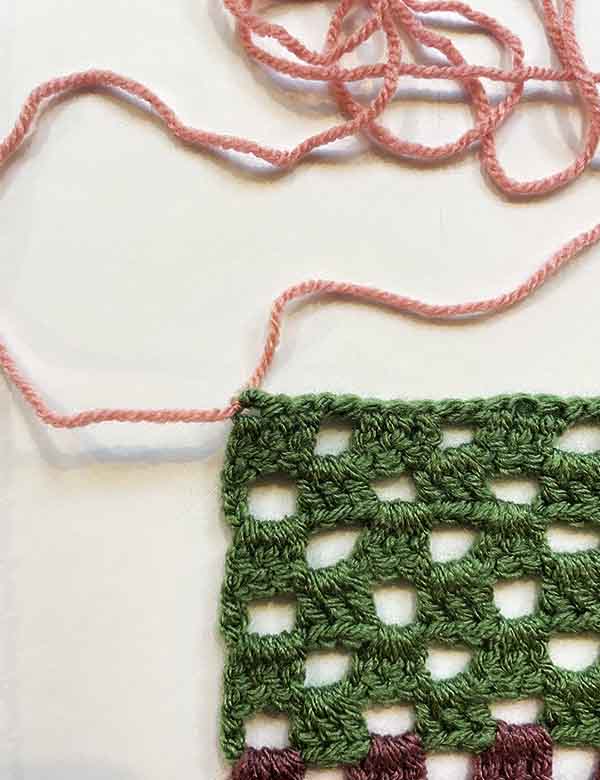
I’ll start by chaining 3, which represents *1 sc, 1 ch* in the corner. Then I’ll work down the side of the blanket, working *1 sc, 1 ch* into the end of each row. Here’s a stitch diagram of how that corner is going to work. The star is where the yarn is attached, the red dots are where I’ll insert my hook, and the stitch symbols are the conventional symbols for single crochet, chain stitch, and a slip stitch to join at the end. It also shows how the row will finish and join, when I get round to the top edge:
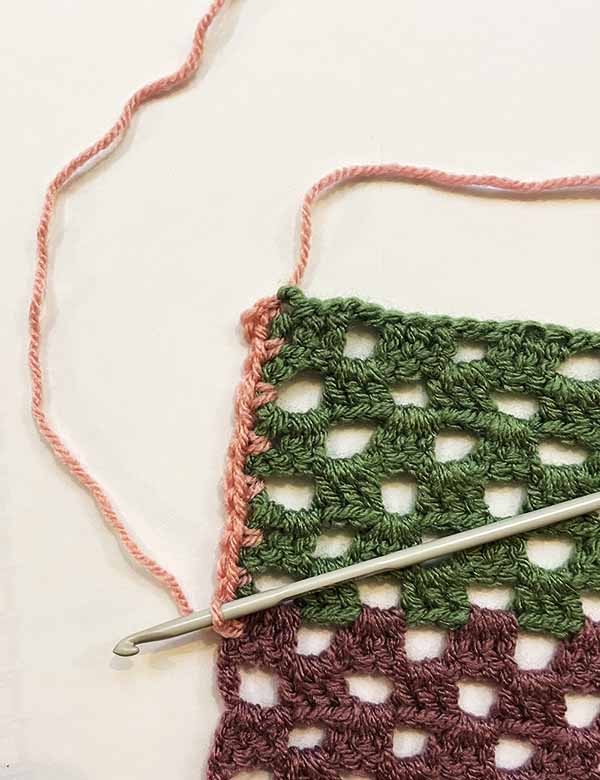
Here’s how it looks as I get going:
The pattern for each corner space is sc 1, ch 2, sc 1, ch 1. Then resume working in *sc 1, ch 1* into every other stitch space along the next edge. If, like me, you have some chain space corners, the correct number of stitches for the chain space looks like this:
After finishing the last corner with sc 1, ch 2, sc 1, ch 1, join the row with a slip stitch into the 2nd chain of the ch 3 from the beginning. And hey presto!
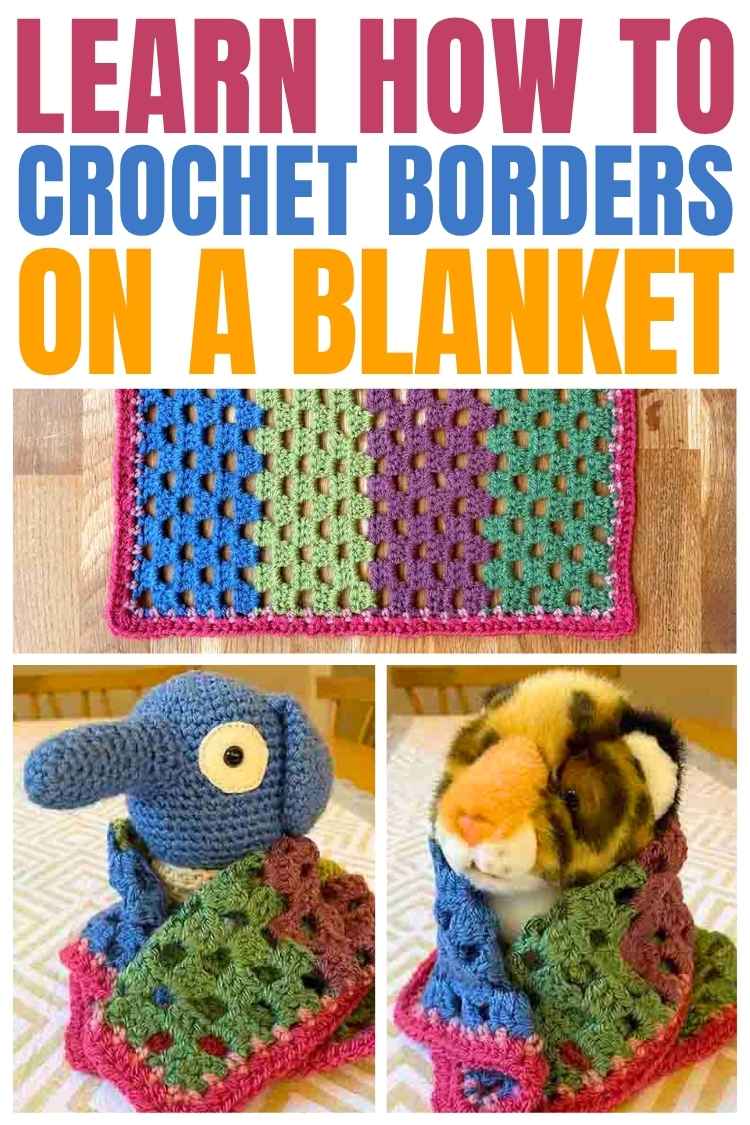
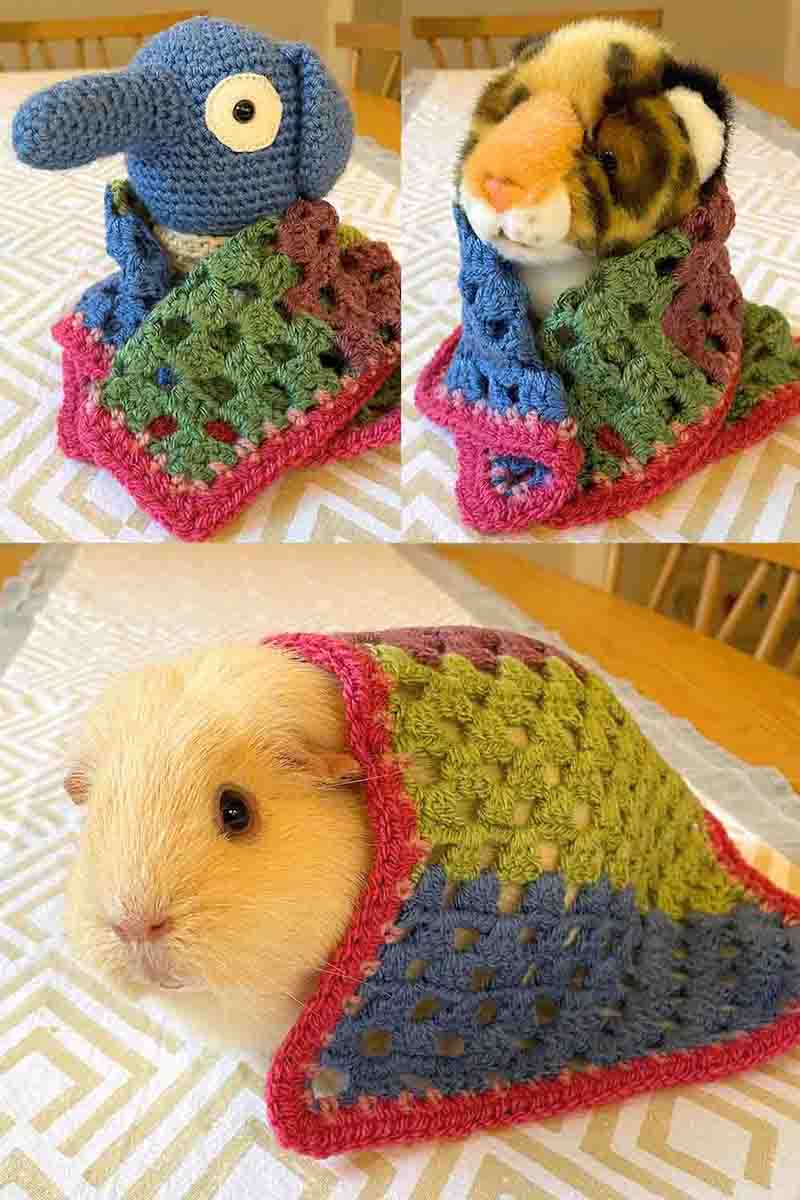
What you have now is a perfect foundation of neat, outward facing, evenly spaced stitches for working a wider or more complex border onto. There are lots of blanket border ideas and inspiration in this article. Ultimately though I went for a simple row of half double crochet stitches in a complementary color this time:
I can’t get enough of that raspberry pink at the moment! Now all I need is to find something small enough to wrap up in it.
Hi Brienne, looking good!
How to crochet a border on a double crochet blanket – summary
Now you’re ready to get started with a border on any size of double crochet blanket, and finish it with any kind of edging you like. If you think you’re proud of your blanket now, you’re going to be bursting with satisfaction when you see how good it looks with a border! So good luck, have fun, and let us know who your blanket is going to be for in the comments box down below 🙂