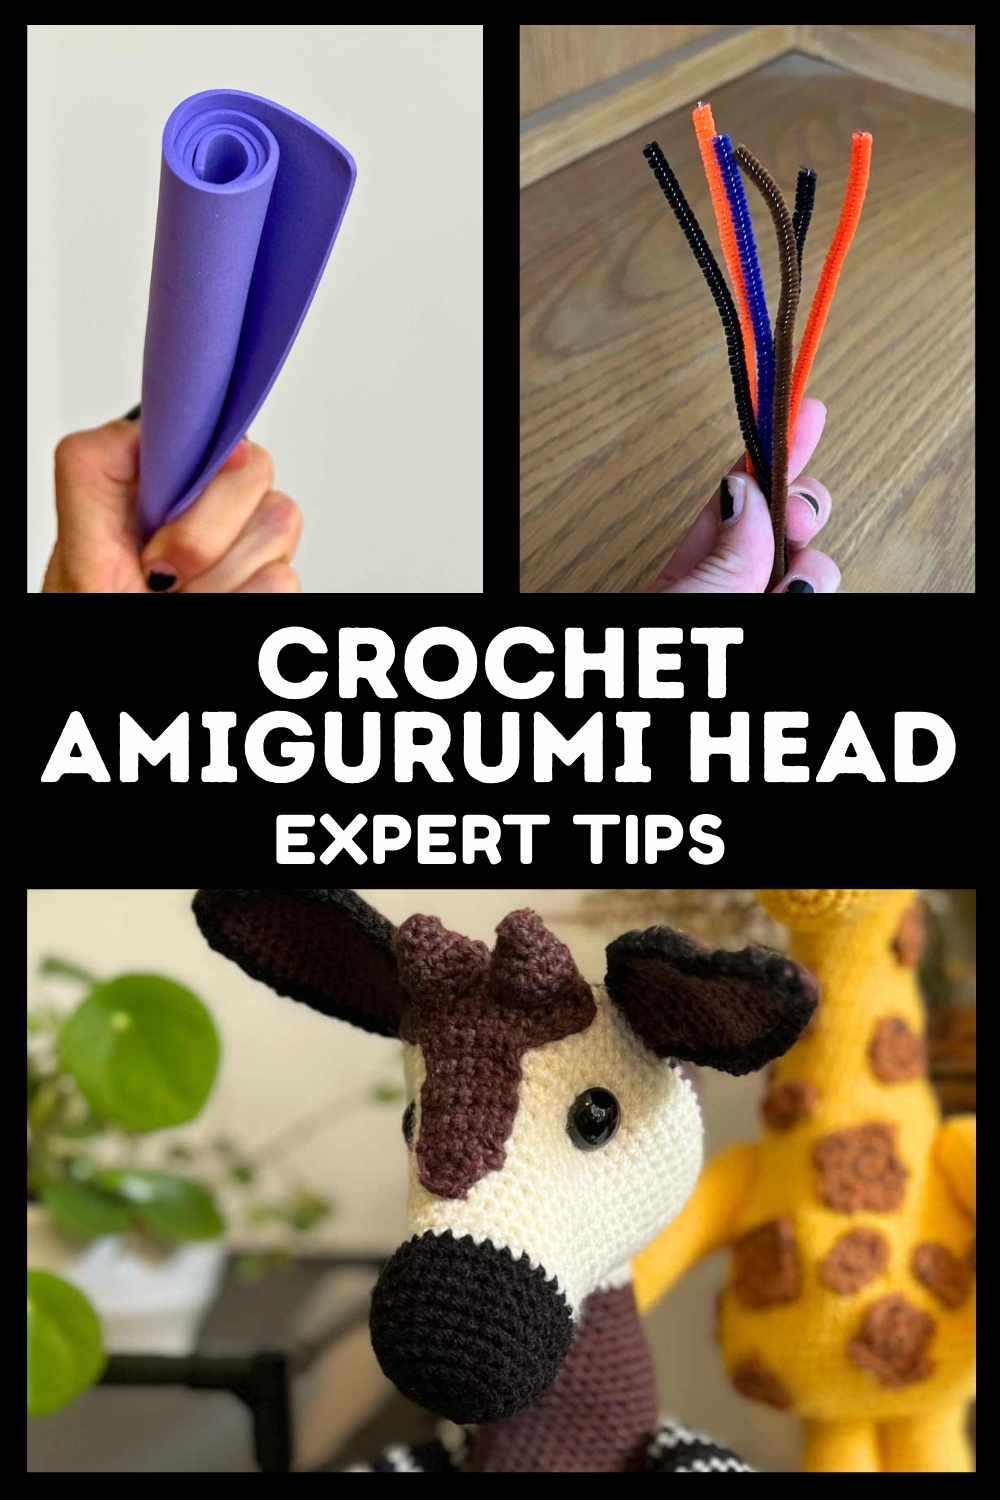
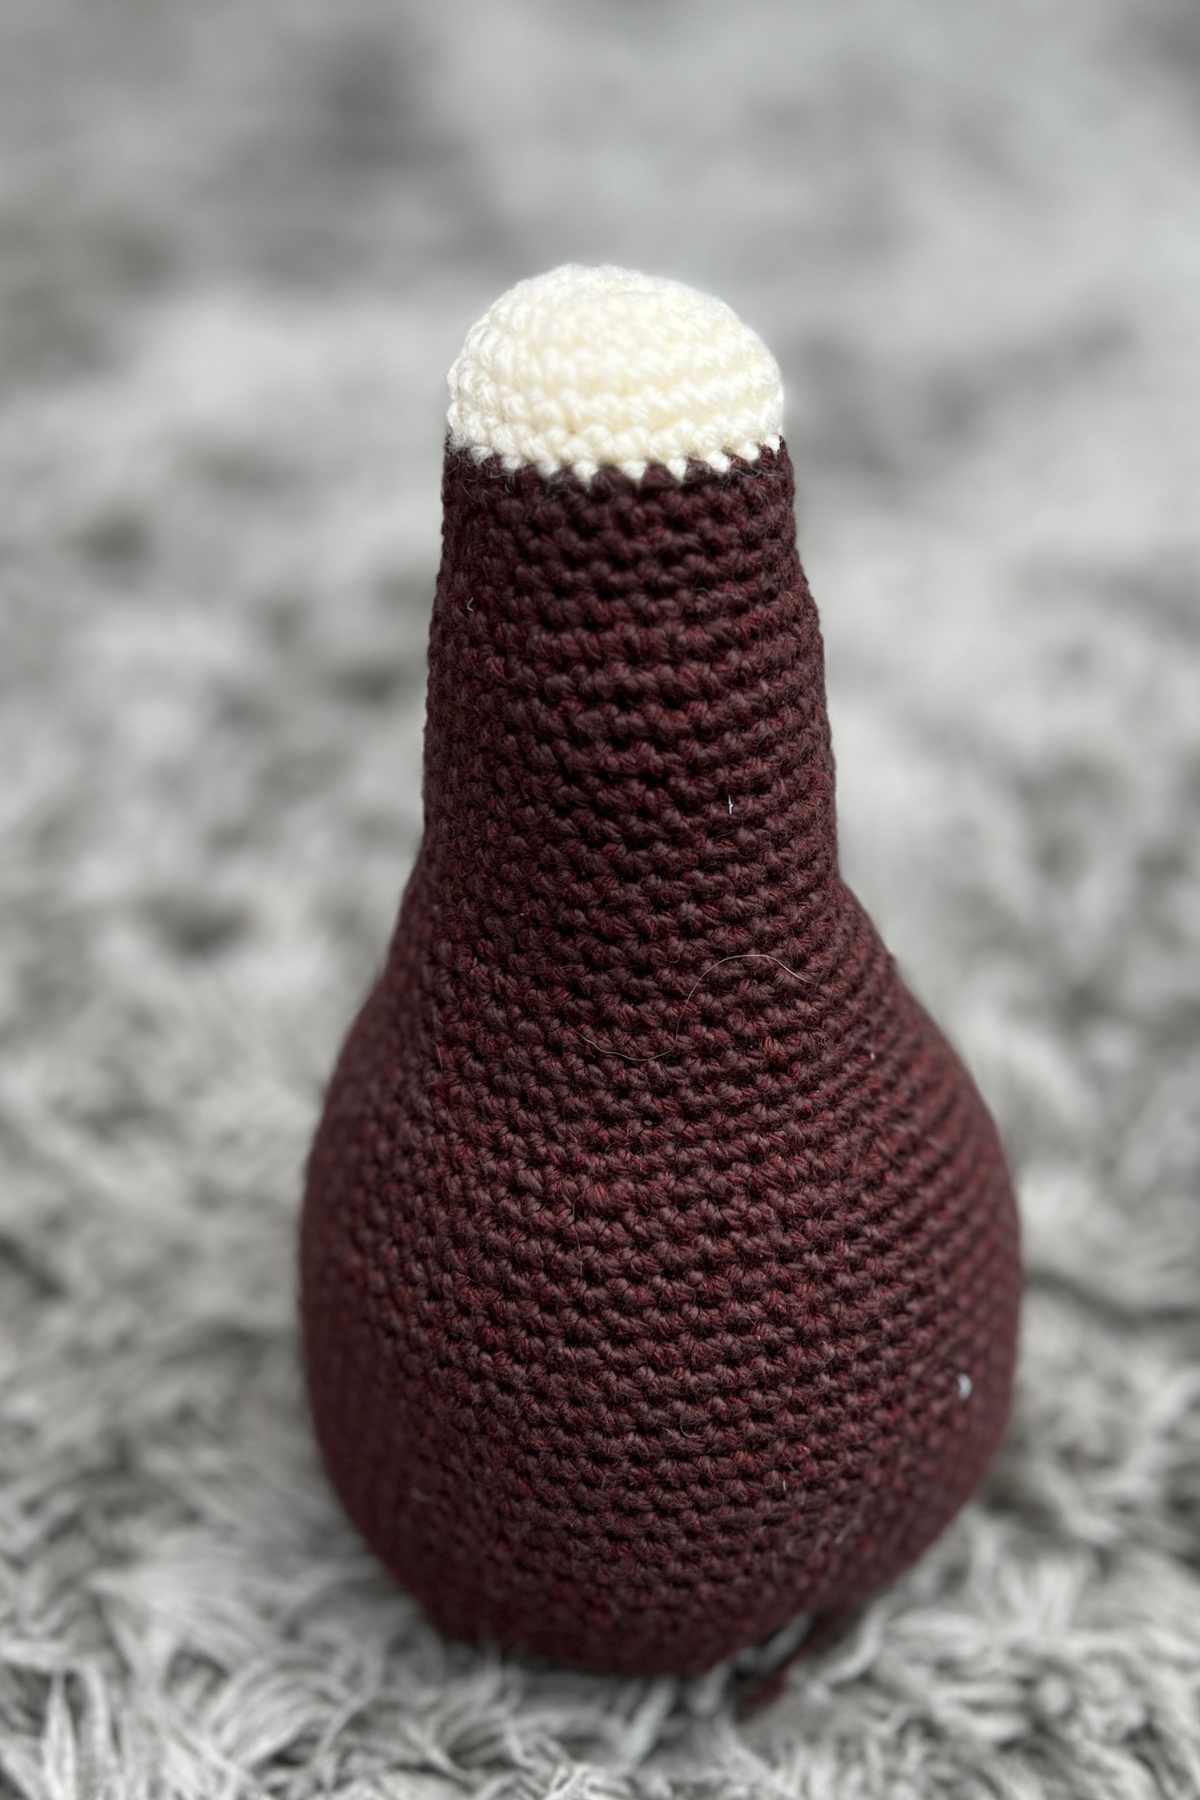
Say Goodbye To Floppy Amigurumi Heads
When I began to crochet my own plushies, I often found that they gently nodded forward, either over time or immediately after I made them. And the reason basically always boils down to angles, weight, and, at the end of the day, our eternal foe, gravity. Happily, those days are gone!

There is no need to accept floppy heads on your amigurumi, because I’m going to share several methods that I use to ensure my crochet toys’ heads stay upright and pointing in the direction I want them to.
Stuffing
New crocheters often struggle to fill their toys with the right amount of stuffing. If you overfill, it can make your amigurumi look distorted (I still have a couple of my earliest toys where you can see the stuffing making its escape out of badly stretched stitches!). But if you under fill, it can lose its structure and ability to retain the posture you’ve created, regardless of other factors.
This is why I always recommend you check your filling first, before going to more complex measures to resolve the issue. Sometimes I find that just pushing a little more wadding into the neck space can help your toy go from dozing off to fully alert.
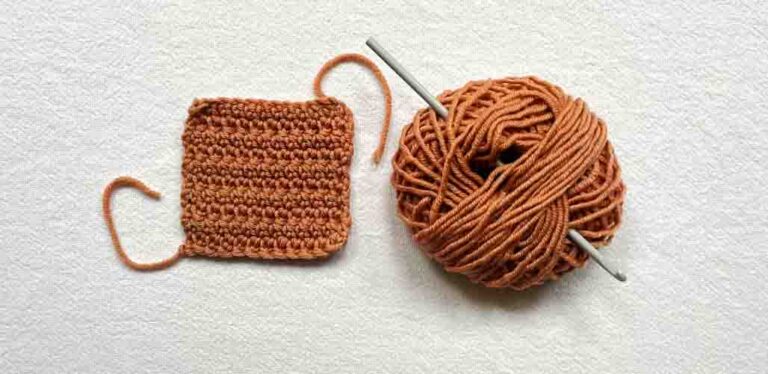
Tension and Stitch Style
Everyone has a different natural tension. Mine is quite tight, and has been since my first few months in this hobby. But some people’s tension is much looser, and this can result in stitches that are a little more open and therefore less rigid.
A good way to check your tension is to make a sampler up of a 2D item, like a garment, and check the stitch count in comparison with the pattern. If you fit fewer stitches into an inch than they do, your tension is looser. You can try tightening your tension by holding your yarn more firmly in your non-dominant hand, and it can sometimes help to hold your yarn hand closer to your hook.
Yarning under instead of over can also create tighter stitches, but there is a lot of personal preference to this one. I’m a yarn over person, and always will be regardless of the pattern! Which is why, in the case of super floppy heads, I go with adding in some extra support.
Felt
Felt is easily available from craft stores, simple to snip to size and roll up. I recommend taking a section of felt that will stretch from the top of the head to half way into the body piece.
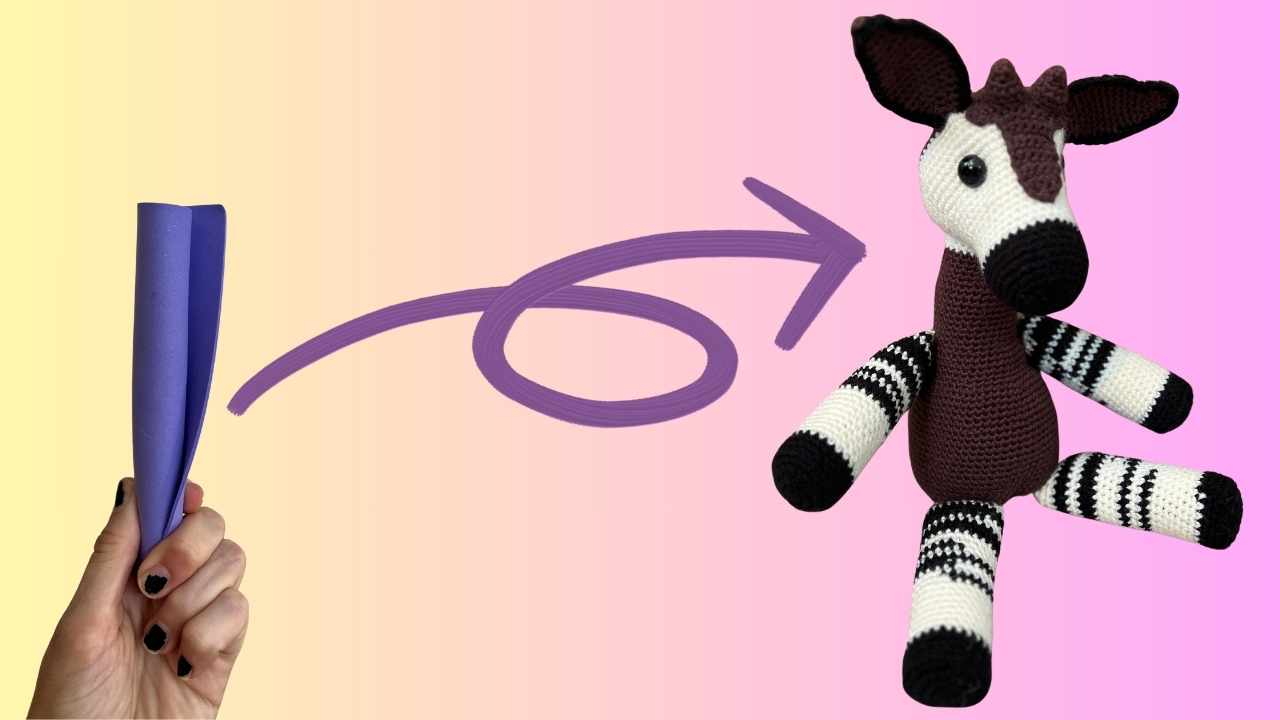
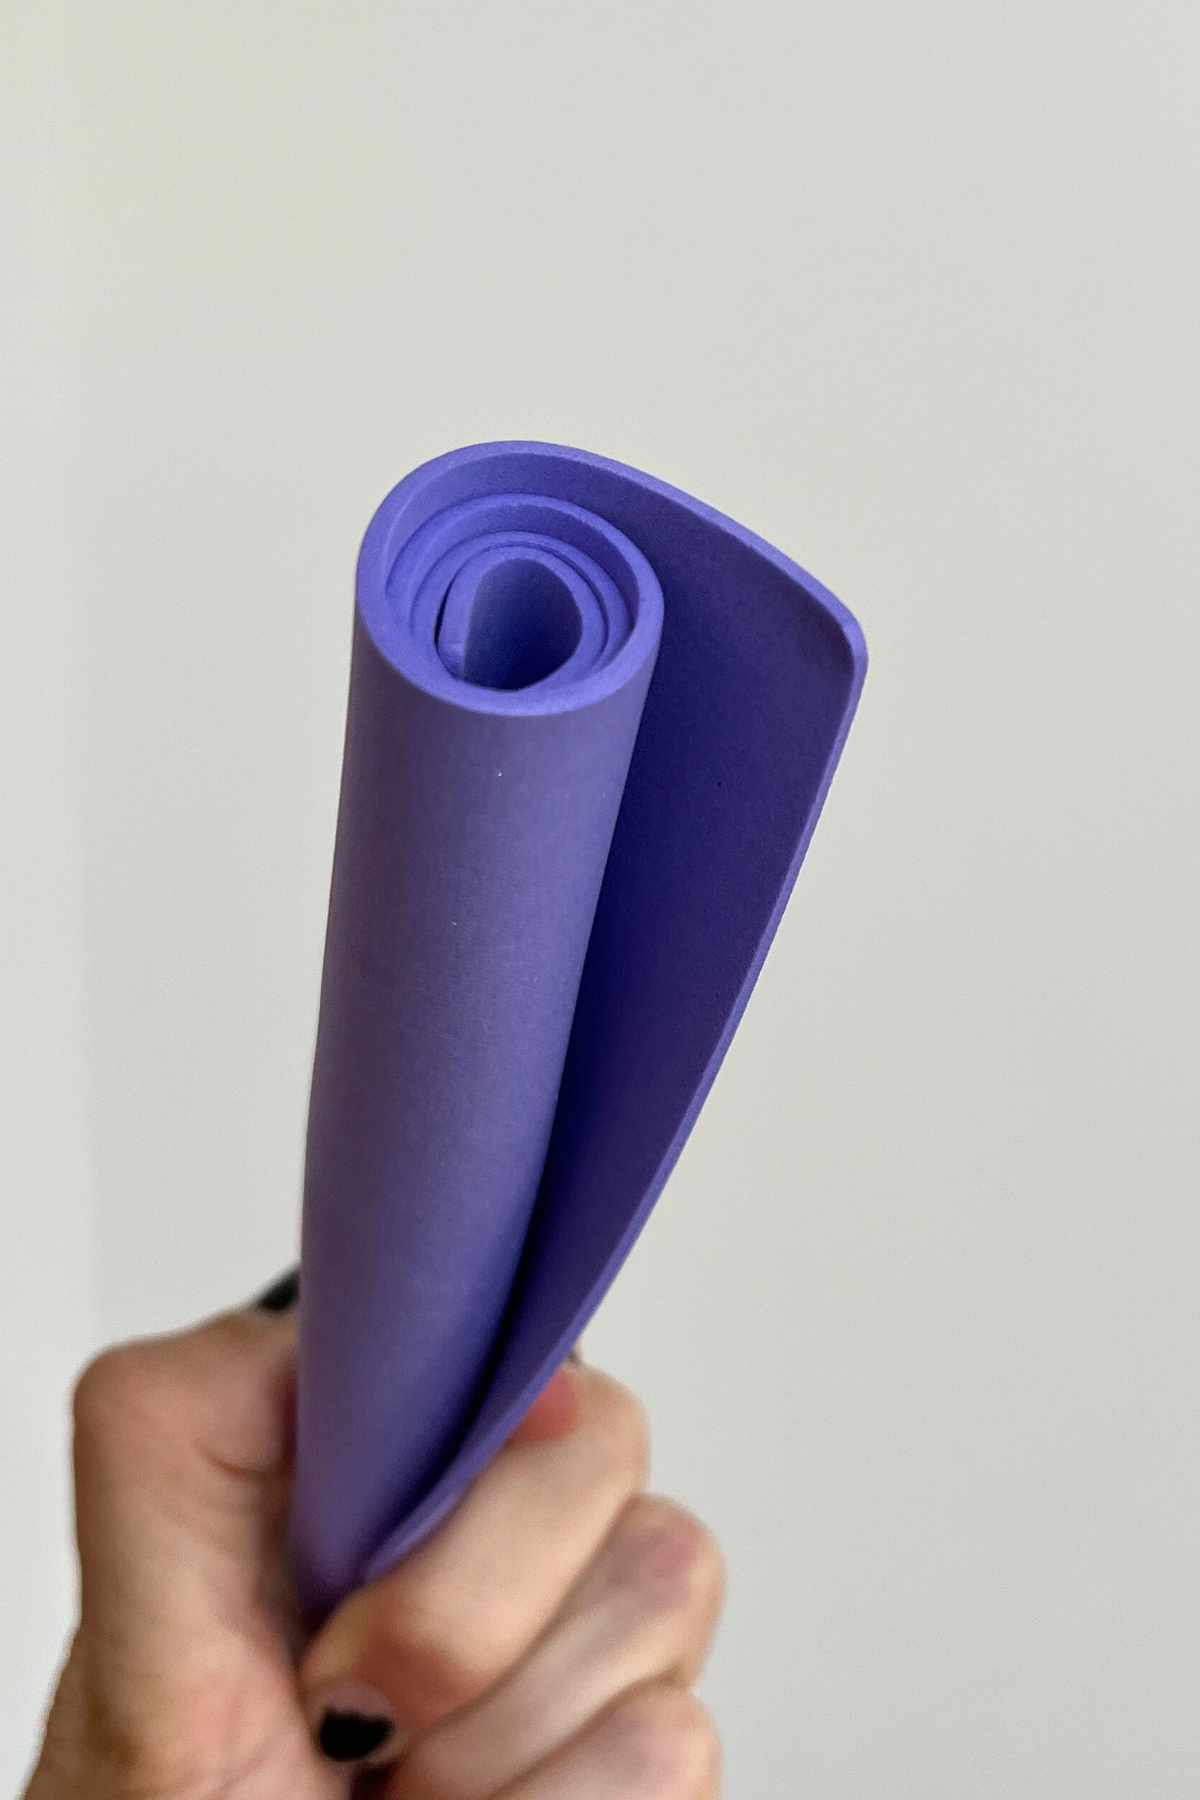
Foam
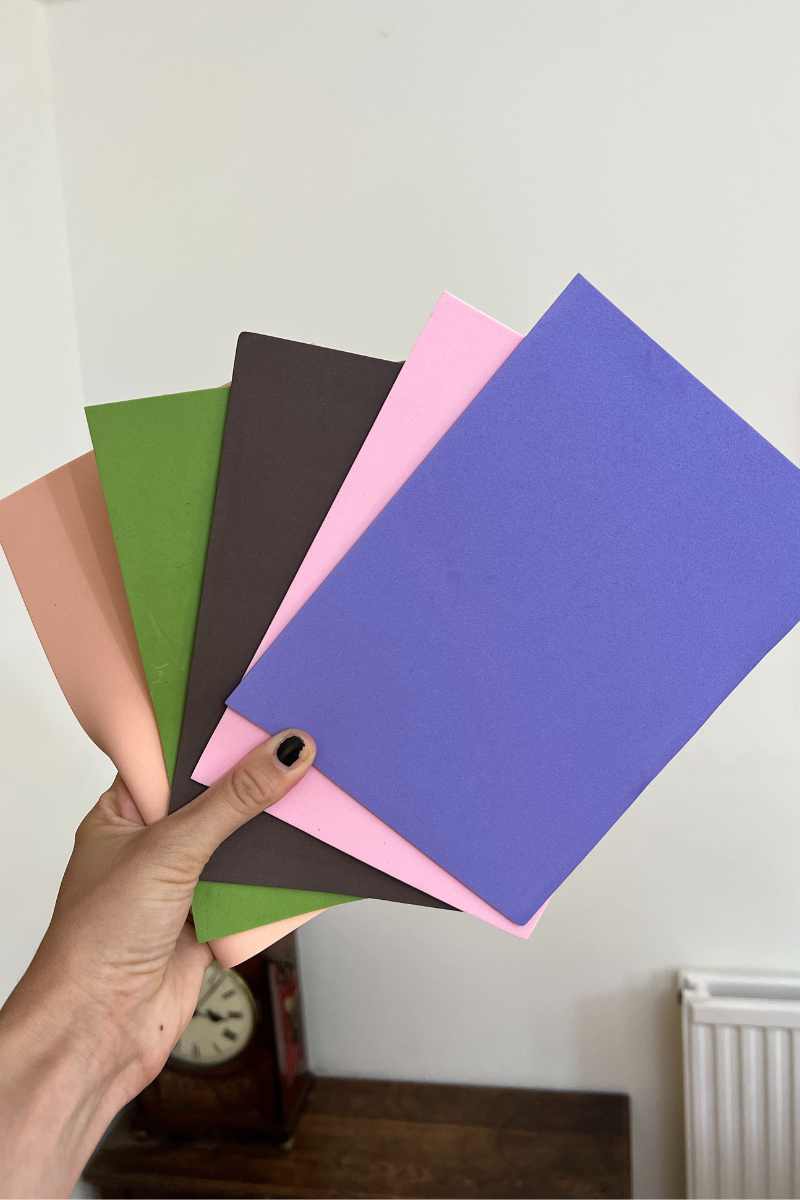
You can do the same thing with foam, and I actually prefer this because I find it more supportive, and just as easy to curl up and into shape. It’s also a bit easier to cut with scissors too. As with the felt, make sure it goes well into each piece to give maximum support, and ideally it should be as wide as the diameter of the neck section when tightly rolled.
Choose a color of foam or felt that is as similar to the yarn in that section as possible, just in case it shows if any of the stitches gape over time.
Packing Peanuts
You can achieve the same impact with a packing peanut too, but the likelihood of getting one the exact size you need is slim. And if you use multiples, I find they aren’t long enough to stay in place as well. Also, watch out for eco packing peanuts – they dissolve when wet! You don’t want to accidentally insert one into your toy!
Pipe Cleaners
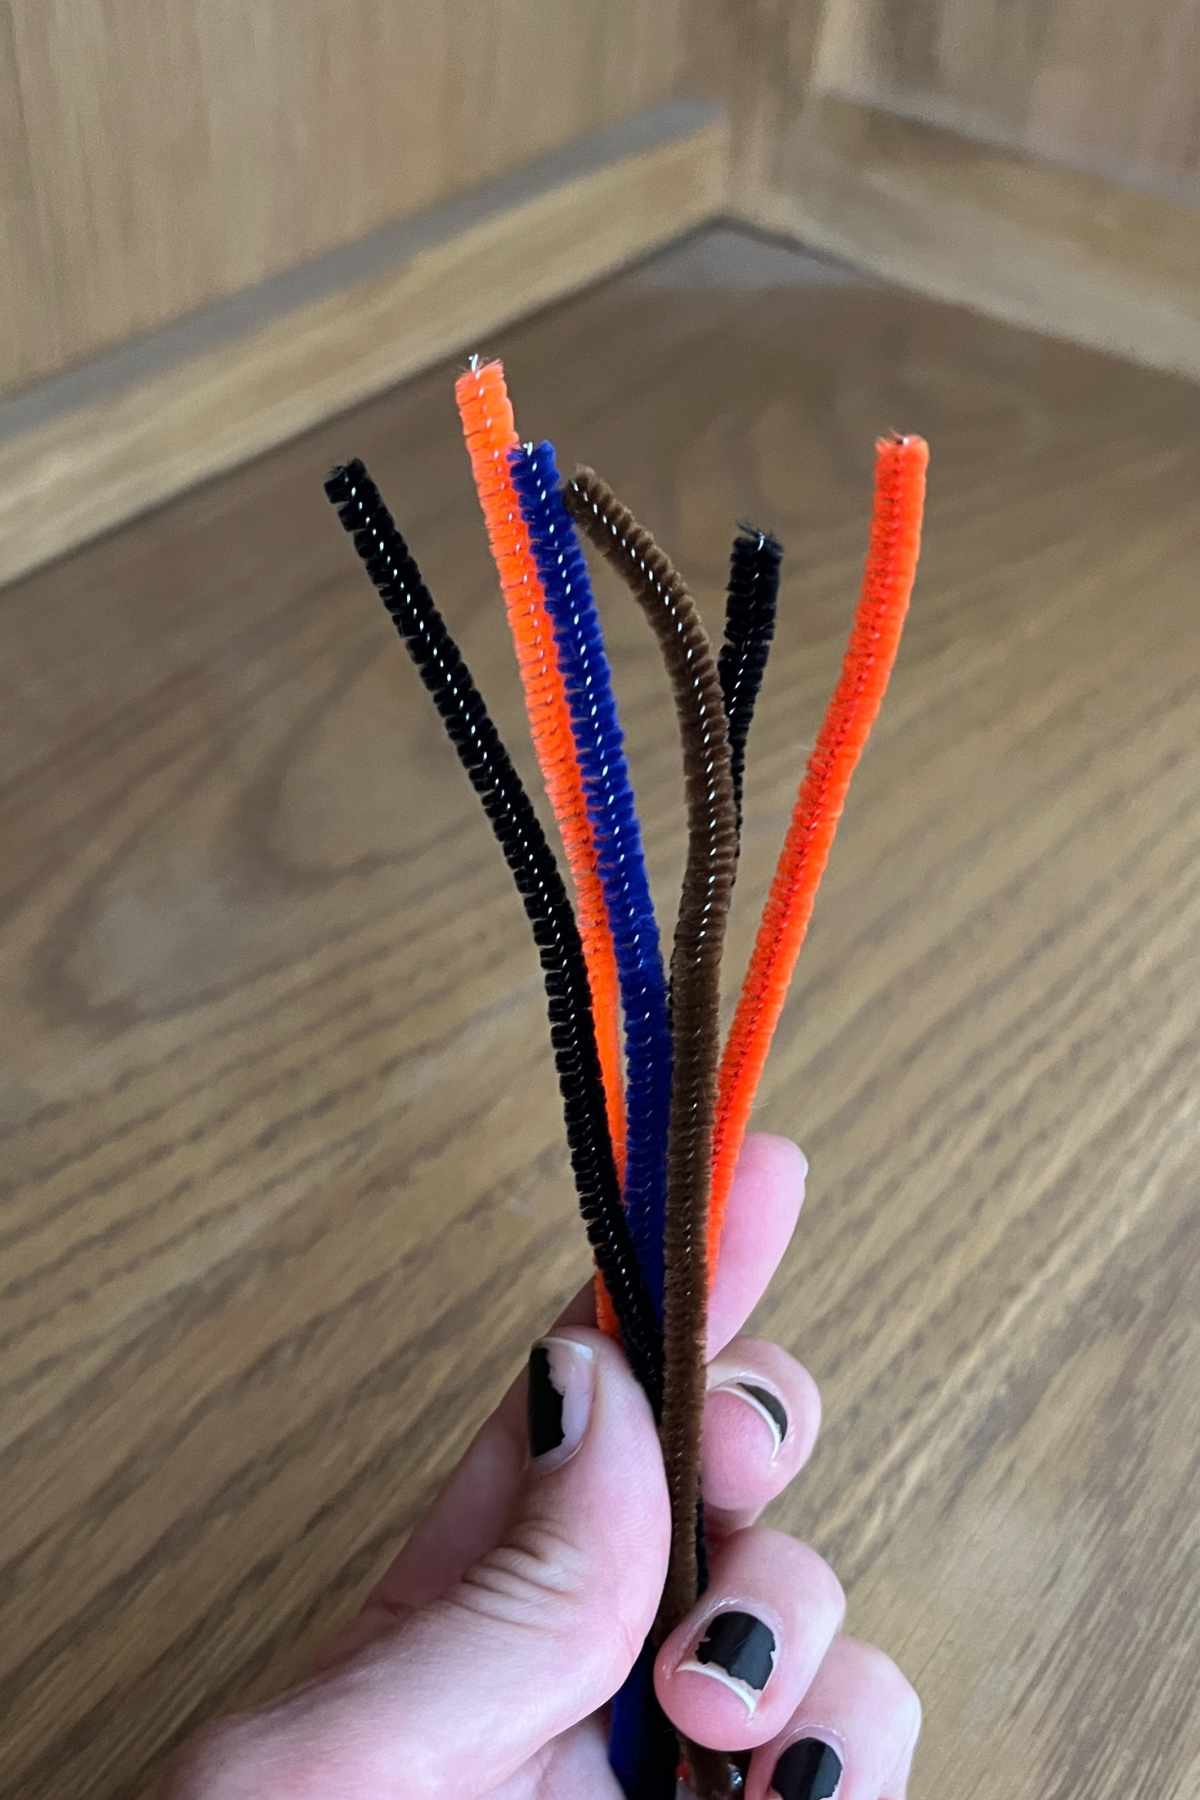
I’ve saved the best to last. I love using pipe cleaners for support, provided the toy is not too large. The reason I am such a fan of them for this use, is that they are sturdy and directional. That means if you want to point the head off at an angle, lift the next, or indeed add a trunk, they will bend wherever you want them too and hold the position really well. I’ve put them to great use in my scorpion and tarantula patterns for leg and tail support, and can’t recommend them enough.