15 Amigurumi Stuffing Do’s and Don’ts – Beginner Crochet Tips
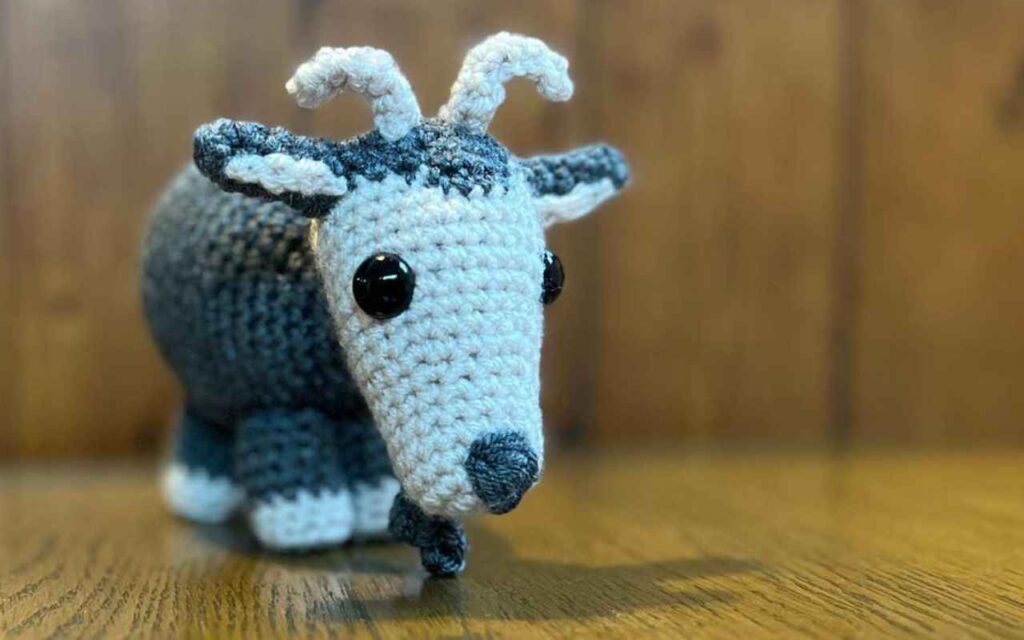
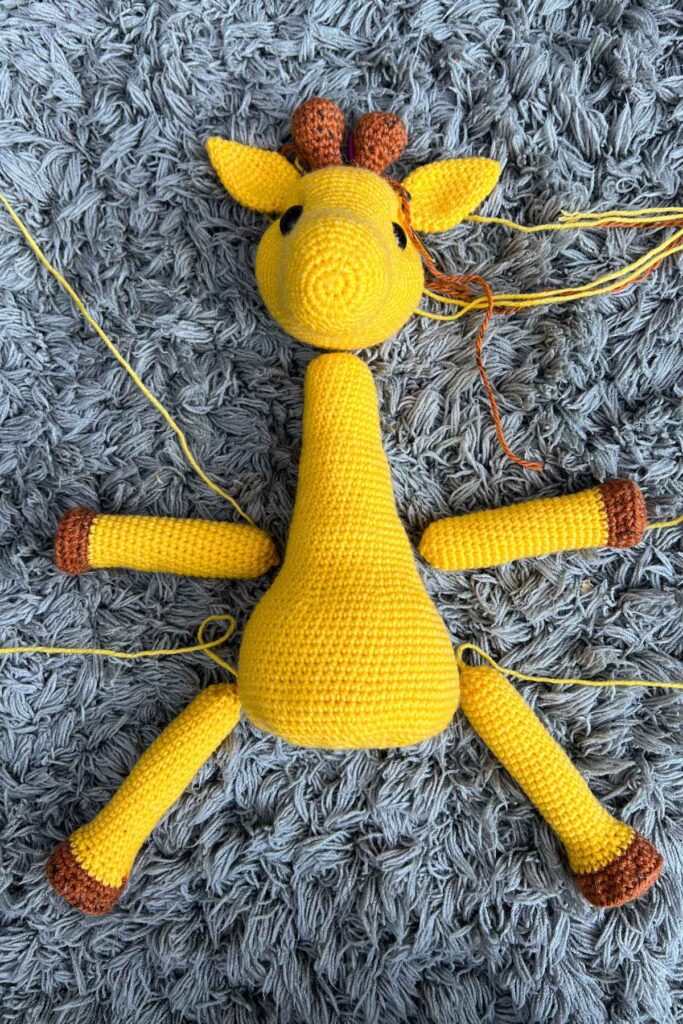
Stuffing your crochet toys can make or break the finished project. I know the first few times I filled a toy with stuffing I made some rather big mistakes. Initially I filled on far too far, with the stitches bulging and stuffing poking up the gaps. But then in response the next time I used far too little, and it appeared more deflated balloon than cute cuddly toy.
Over a decade of crocheting has taught me how important it is to stuff your amigurumi the right way, and today I’m going to share some simple tips that should help you to successfully fill your crochet plushies up perfectly every time.
The DON’Ts
DON’T Understuff
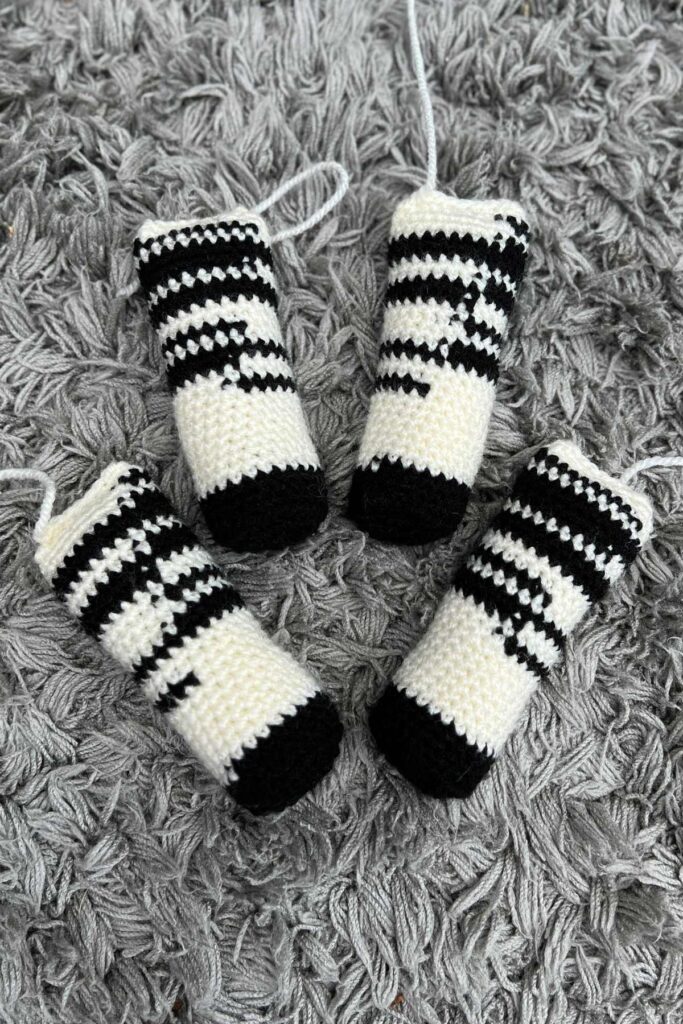
Under stuffing is so easy to do, and it can feel like a bit of a better safe than sorry solution. But not filling the shape you’ve crocheted enough means it won’t hold the shape you’ve created. It will flop over and distort.
If you can press your finger and thumb together and clearly feel your digits together without padding in the way through your toy, you haven’t got enough stuffing in.
DON’T Overstuff
Overstuffing is just as bad on the distortion front, and worse in terms of visual noise. You will be able to see the stuffing poking through the stretched stitches.
Your stitches should look the same size and spacing after you’ve stuffed it as they did before. Any stretching out or gaping, and it’s too full.
DON’T Just fill with yarn scraps
Yarn scraps can be a great addition to toy stuffing, but they rarely make a good stuffing by themselves.
DON’T Forget to stuff before you close
It sounds obvious, but we’ve all been there. More than once over the past decade I’ve closed the shape I was making without putting an ounce of stuffing inside.
Don’t worry if this has happened though, just carefully unpick the closed point and fill it up from there. At most usually you need to undo a round or two.
DON’T Panic
Stuffing is something that can totally change the outcome of a project, but it’s also something that is relatively easy to fix when it goes wrong. So don’t panic!
The DO’s
DO Check the filling instructions
If you are following a pattern, they will give you instructions on stuffing. Some will be vague, just writing fill now, others will give more exact details. They might tell you how to spread out the padding, or where to fill up to and how full to make it.
If the details are given, then follow them and trust the pattern.
DO Add toy filling in small pieces not one large wad
I initially used to fill toys by pushing in as much padding at a time as I could. This wasn’t the best way. The ideal is to tear off little pieces, the size of a cotton wool ball, and place them in one at a time.
DO Spread stuffing it out evenly
Unless the instructions say otherwise, space the wadding evenly within the structure. I start from the furthest point, then fill around the sides, and finally fill the center. This tends to give the best even distribution.
DO Try different stuffing materials
I tend to use toy safe stuffing for most of my amigurumi, and if they are being kept by me or my kids I’ll fill the central section with yarn scraps or other recycled padding like leftover cushion padding or duvet filler. Scraps from clothing can also make good additional toy stuffing, provided you cut it into fairly fine strips first.
DO Think about the end user
But, a caveat to using random stuffing material is you need to think about whose going to use or own your crochet toy when it’s finished. If you are selling it then I’d use a padding that is certified toy safe only, the same if you are gifting it to a young child where there is the small risk of a choke hazard.
DO Consider using tights/stockings to hold the stuffing
If your stitches are too loose and your project is completed aside from the stuffing, then you can fill the toy inside some old stockings or tights instead of abandoning the piece and starting again.
Next time, try to tighten up your tension and check that you aren’t accidentally making a taller stitch than you need too. This can sometimes happen with the confusion between the US and UK crochet terms.
DO Use a tool if you can’t reach easily
Some areas of toys are harder to fill than others. For long skinny limbs I use the handle end of a crochet hook, but it’s also been suggested to me that a chopstick can do the job well too, which I think sounds very helpful too!
DO Take the posture of the toy into account
Some areas of your toy will need to be more filled with padding than others. Any supporting structures like necks will need to be filled more generously than those which don’t play a structural role.
DO Look at it when you’re done
Before you close your piece, hold it out in front of you and take a look from a variety of angles. Make sure you are happy with the shape. At this point it’s easy to remove or add wadding if you have to.
DO Finish carefully
Sew and tie off securely, and weave in a long tail when you’re done. I recommend leaving a good couple of feet of loose tail, this will ensure you have plenty for sewing and makes it less of a frustrating situation if you do need to open it back up again at some point.
