15 Amigurumi Sewing Do’s and Don’ts
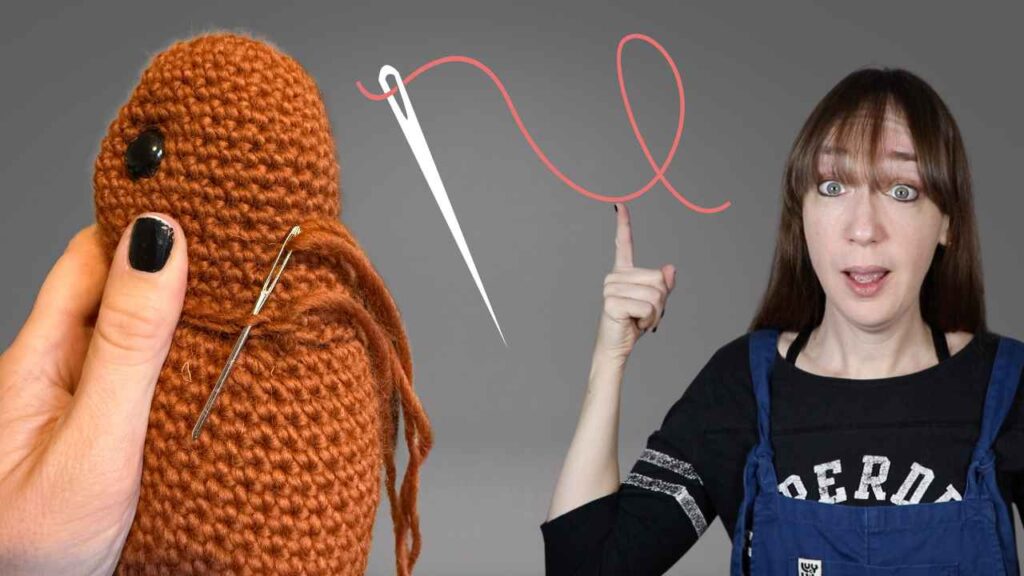
I still have a number of crochet toys around the house that I made over a decade ago. Some of them have spent most of that time on my daughter’s bed, or stuffed into an overflowing drawer.
The older the toy, the most likely they are to have at some point needed a quick limb reattachment. But it’s not just because of their relative age, it’s because over the years I’ve improved a lot at sewing my amigurumi together. I’ve refined what techniques work, and added in some additional steps to give more strength and a more reliable join.
Today I’m going to run through my current process for sewing crochet toys together, so that you can keep create amigurumi plushies that are as likely to stay in one piece as possible.
The DO’s
DO Follow the instructions
I can’t say this enough. If you are following a crochet toy pattern and it includes sewing instructions, then obey those instructions. The artist who made your toy might well have designed them to sit in a certain position, or to have a particular pose, which will be enhanced by following their stitching guide.
DO Stuff to match your sewing
Some areas of your crocheted toy will be best sewn flat, others will need to be sewn padded. It depends on the look you are going for. Think carefully about how raised you want that area to be, and fill according to how you want to sew.
DO Consider position and posture
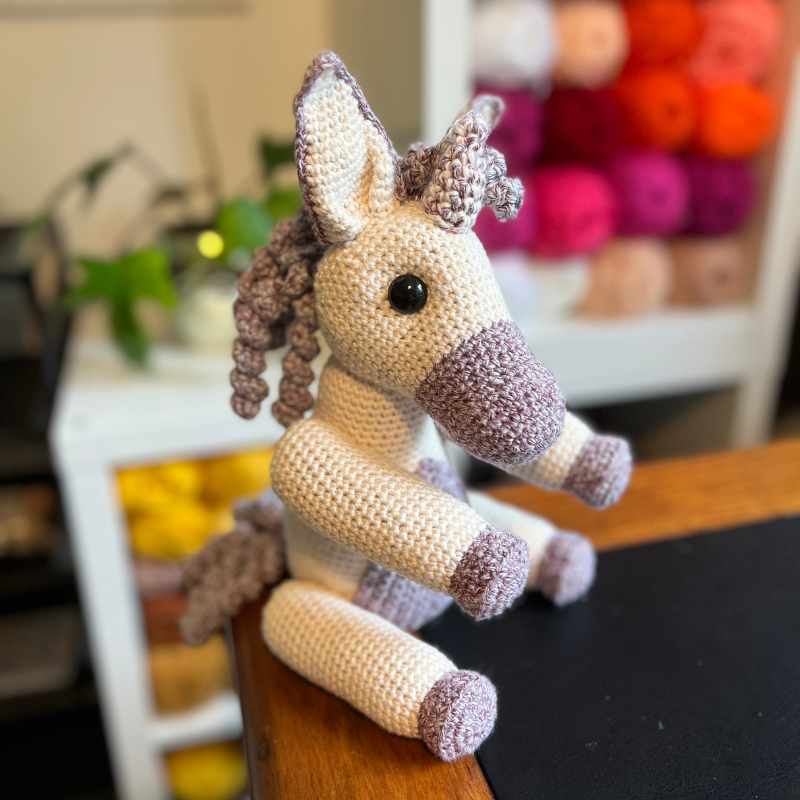
Before you begin to sew, think carefully about how you want your finished toy to be positioned. My favorite pose for crochet toys is probably seated, but for my more natural designs I like to have them standing upright which requires a different positioning of the legs for example.
DO Pin before you tack
Once you are happy with the pose, pin it in place. You can use standard pins, but I also make use of extra long ones for secure positioning, as well as safety pins or locking stitch markers to hold the limbs in place when I need to.
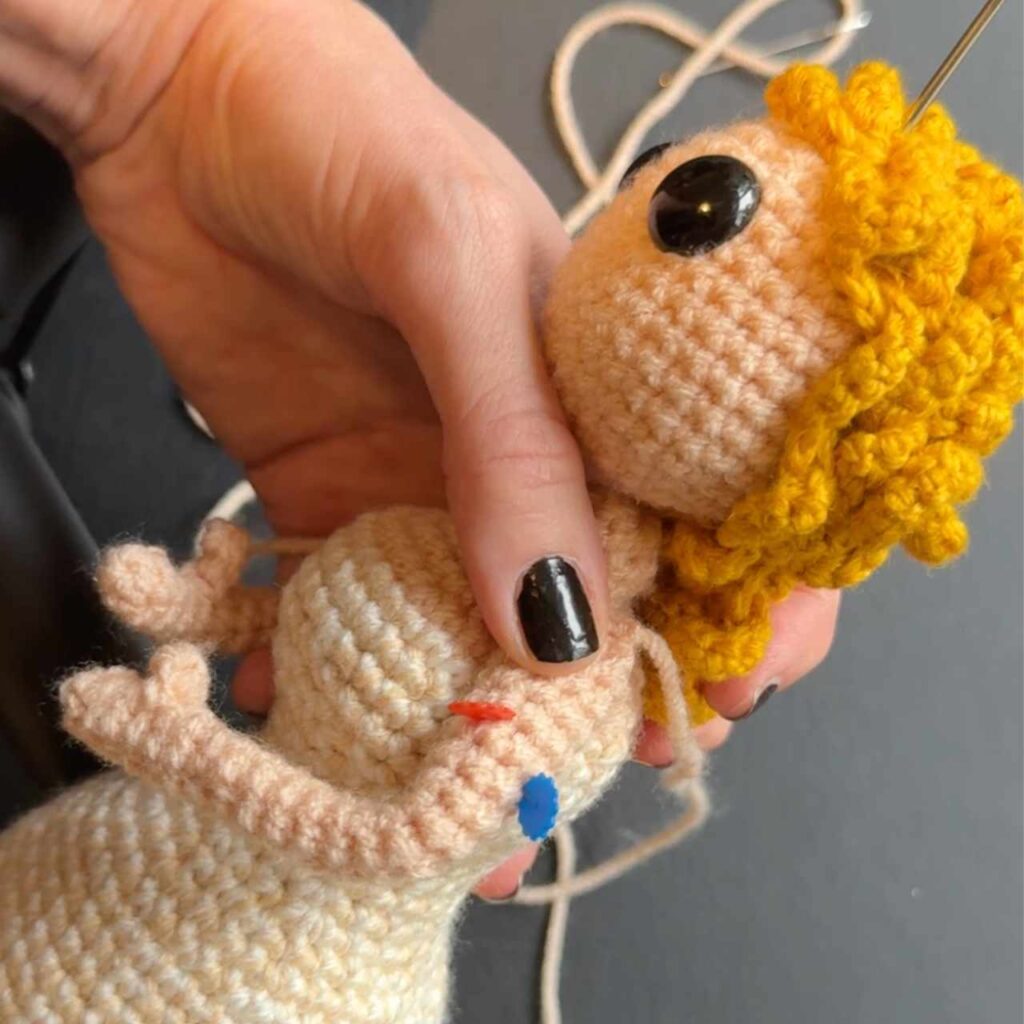
DO Tack before you sew
Once it’s pinned, I loosely sew the pieces together. The initial run of stitches goes along the central point between the two parts, and is mostly to secure them exactly where I want them before the pins come out.
DO Keep stitches tight
The final stitches need to be tight and go around the circumference of the joined position twice ideally. Keep the stitches close together, weaving in and out of each stitch at the points you want them to touch.
DO Use a thin needle
I always use the thinnest possible need that I can for sewing. This means that the needle width is dictated by being able to bring the yarn through the eye of the needle, but beyond that I just want the slimmest possible one. This is because the wider the needle is, the most risk there is of distorting the crocheted stitches when I sew.
DO Consider a tapestry needle for tight spaces
Where the join point is limited or the pieces are small, a tapestry needle is the best tool for the job. These slanted needles come in and out of the stitches more easily, without the needle to pull at the crocheted fabric or push too hard with the point.
DO Use a metal needle
Personally, I always join my toys with a metal needle. Plastic needles are fine for lots of jobs in the crochet world, but sewing toys together is easiest with metal. Steel needles are less likely to have burrs on them, and therefore to catch on the yarn and create pulls.
The DON’Ts
DON’T Scrimp on the yarn
Make sure that you have plenty of yarn for sewing and to leave a hefty loose end afterwards. Not only will this mean you are sure to have enough to secure the parts as much as you’d like, but that you have plenty of excess to hide inside the toy when you’re done. Something you will hopefully not need in the future for repairs, but will be very grateful of having if you do!
DON’T Use the same yarn for plush toys
Most of my projects are made in acrylic or cotton blend yarn, but for plush patterns you might want to consider joining your parts with a yarn that doesn’t match your project. This is because although plush yarn looks thick, it’s actually only got a very fine central strand. It’s hard to work in and out of existing stitches, and rather prone to snapping.
You will find that as long as you use a slightly thinner yarn weight, the joining strand is well hidden within the fluffy tendrils of your chenille yarn regardless.
DON’T Be afraid to undo and start again
Finally, it’s really important to remember that very little in crochet is set in stone. If it goes wrong, if it doesn’t look right, or if you are just not happy with your sewing, you can always snip it off and start again.
