Waffle Stitch Granny Square
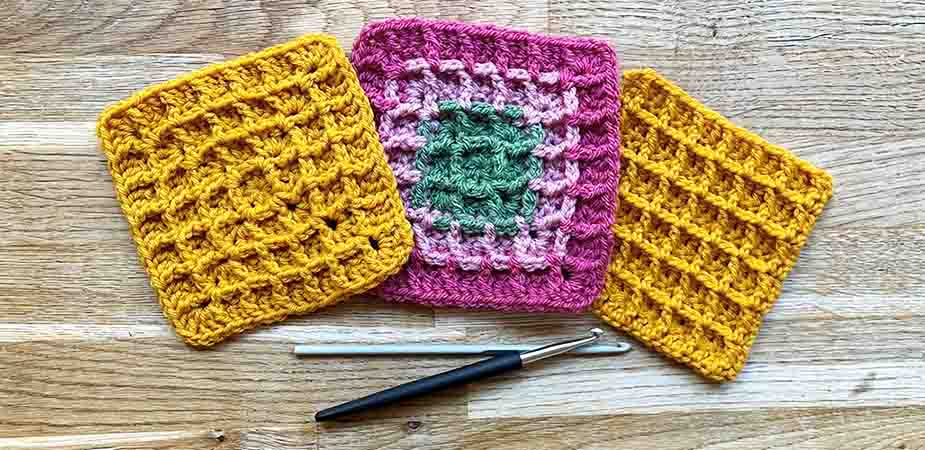
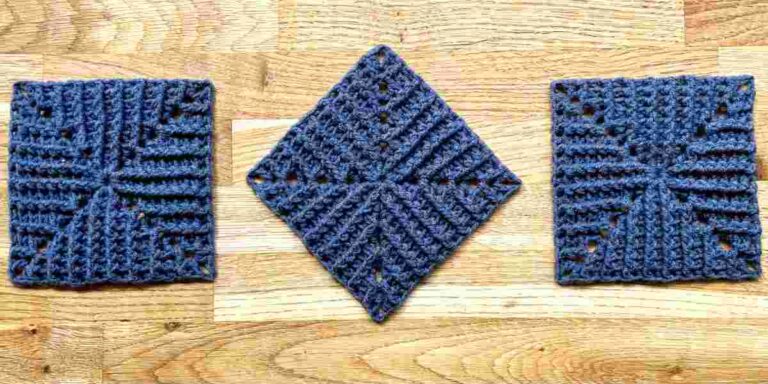
A waffle stitch granny square has the most fabulous texture. In fact waffle stitch lends itself extremely well to making granny square blankets. It’s quick and easy to crochet, dense and cozy when finished, and well suited to working outwards in rounds, rather than in rows. Waffle stitch’s grid pattern also has a very pleasing geometry. If you ever passed the time in math class by neatly coloring in the squares in your workbook, then you are going to love how color changes look in waffle stitch!
- Front post double crochet – the key to unlocking waffle stitch
- Making a waffle stitch granny square in the round
- Making a waffle stitch square in rows
- Uses for waffle stitch granny squares
Front post double crochet – the key to unlocking waffle stitch
Waffle stitch has an impressive raised pattern which looks far more complicated to achieve than it actually is. In fact, it’s constructed entirely out of (U.S.) double crochet stitch. But instead of working all your stitches into the top loops of the stitches from the previous row, some of them are worked around the the posts of the previous row. This is known as front post double crochet, and abbreviated to fpdc in patterns. It’s very fast and easy, and not fiddly or irritating like working into front or back loops can be! Here’s how it’s done.
We’re going to make up a sample, so begin by making a chain and double crocheting back into it. You can front post double crochet into the next row.
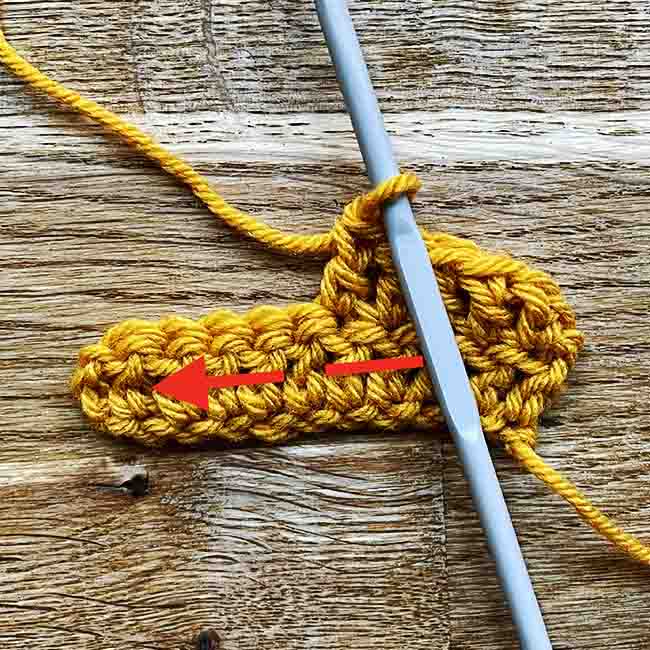
To make a front post double crochet in the next stitch, I’m going to put my yarn over the hook as normal, and insert my hook as show by the arrow:
Like so:
Then yarn over the hook and draw through, as usual:
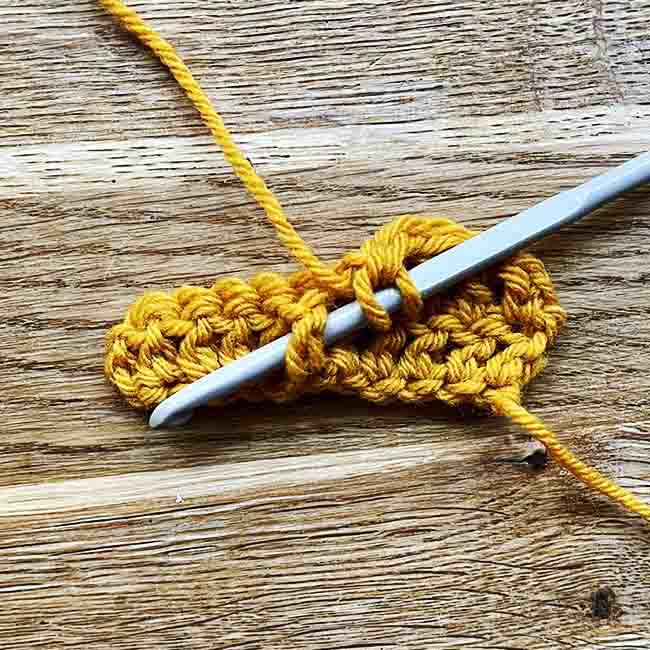
And complete the double crochet in the standard way – yarn over and draw through two loops, yarn over and draw through two loops again. It’s going to make my rows look a bit wonky for a moment, but that’s ok:
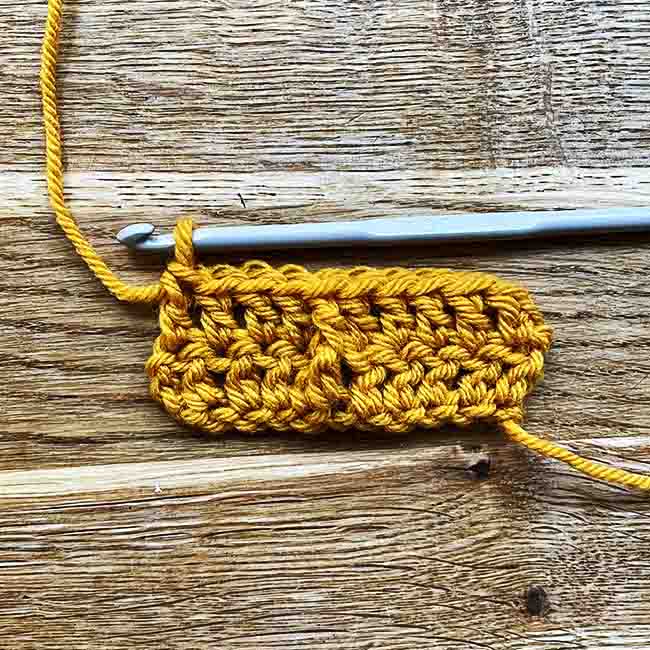
Now I’ll complete the rest of the row in regular double crochet. Watch out, because the top of the next stitch can end up a little bit tucked behind the fpdc. In the photo above it looks like there are only 3 stitches left in the row, but if you scroll up a little, you can see that actually there are 4 stitches to the left of the stitch with the fpdc in it. And once they’re all worked, my rows have straightened themselves out again:
If you look at them sideways-on, you can clearly see how the fpdc stands proud of the rest of the row:
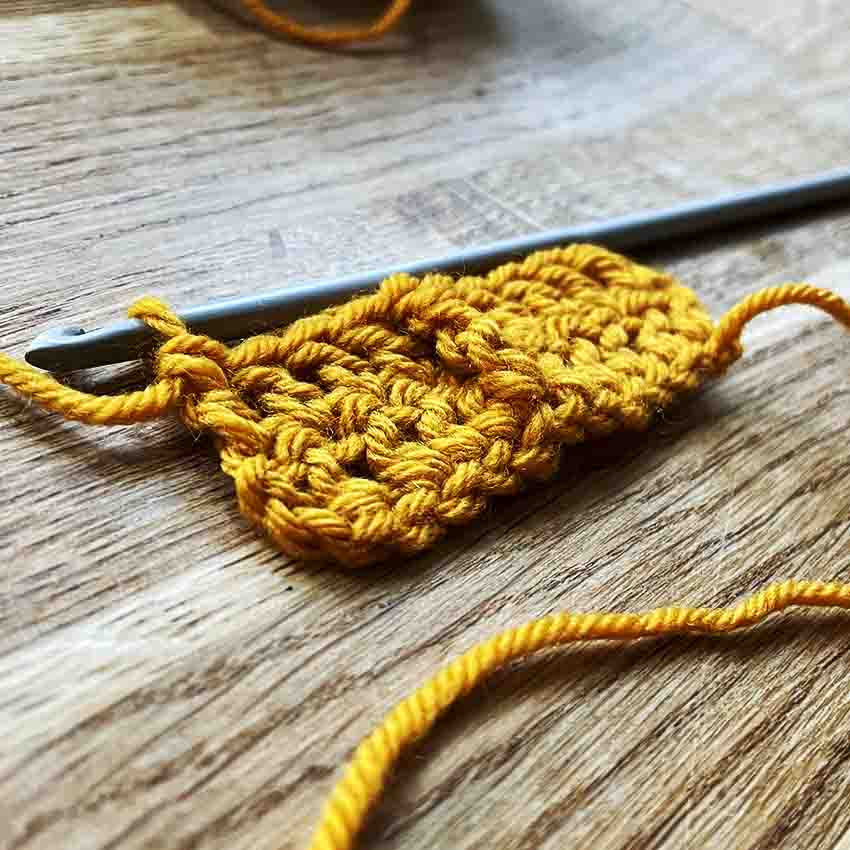
Gorgeous. Now let’s turn it into some grannies!
Making a waffle stitch granny square in the round
The easiest way to make a waffle stitch granny square is working in the round. But if you’re new to waffle stitch, I do recommend making a small swatch in rows first – it really helps to get a feel for how it’s constructed, before you start throwing corners into the mix! I’ll give instructions for that too in a moment. But first, here’s how a waffle stitch square works in the round.
Instructions for making a waffle stitch square in the round
Some notes before we begin:
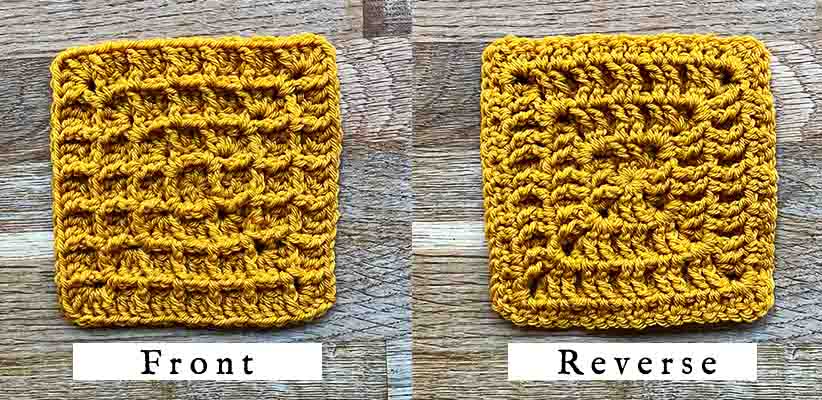
- Waffle stitch is non-reversible (i.e. has a distinct right and wrong side), so you’ll be turning your work between rounds.
- The chain space at the corners is just 1 ch.
- It takes two rounds to make each row of squares, so you’ll want to finish on an odd number of rounds. This square is made of 7 rounds –
Let’s begin!
- Make a magic circle to start.
- Round 1: Ch 3, dc 1, ch1, *dc 2, ch 1* three times, sl st into top of the ch 3. 12 sts.
- Round 2: Turn your work – wrong side facing. The chain spaces from the previous round are now going to become your 4 corner spaces. (Sl st, ch 4, dc 1) into the first corner space, fpdc around the next 2 stitches, *(dc 1, ch 1, dc 1) in the corner space, fpdc 2* three times, sl st into 3rd ch from the beginning of the round. 20 sts.
- Round 3: Turn your work – right side facing. Ch 3, fpdc 1, dc 2, fpdc 1, *(dc 2, ch 1, dc 2) in the corner space, fpdc 1, dc 2, fpdc1* three times, (dc 2, ch 1, dc 1) in the final corner space, sl st into top of the ch 3. 36 sts.
- Round 4: Turn your work – wrong side facing. (Sl st, ch 4, dc 1) into the corner space, [fpdc 2, *dc 1, fpdc 2* to next corner, (dc 1, ch 1, dc 1) in the corner space], repeat section in square brackets three times, fpdc 2, *dc 1, fpdc 2* to final corner, sl st into 3rd ch from the beginning of the round. 44 sts.
- Round 5: Turn your work – right side facing. (Sl st, ch3) into the corner space, [fpdc, *dc 2, fpdc 1* to next corner, (dc 2, ch 1, dc 2) in the corner space], repeat section in square brackets three times, *dc 2, fpdc 1* to final corner, (dc 2, ch 1, dc 1) in the corner space, sl st into top of ch 3. 60 sts.
Repeat rows 4 and 5, finishing on an odd-numbered row.
Making a waffle stitch granny square in rows
There aren’t a lot of stitches which work equally well in rows and rounds for making granny squares. And sure enough, whilst waffle stitch works brilliantly in the round, it’s a bit clumsy for making squares in rows. The edges are tricky to get straight and the pattern doesn’t align across adjoining squares in such a satisfying way. However, you might want to work in rows if your square(s) need to be a particular size. Waffle squares made in the round can only be an odd number of squares along each edge. For example 7×7 or 9×9. If you’re making a mix’n’match afghan using squares in lots of different stitches, and your waffle squares are coming up either too small or too big, then working in rows instead might be the secret to getting the right dimensions.
Instructions for making a waffle stitch square in rows
Note: To make the vertical edges of your square as neat as possible, I recommend using this technique for turning at the end of each row, rather than using a turning chain.
- Foundation chain: Any multiple of 3, plus 1. The number of squares in your waffle grid will be one less than the number of multiples of 3. For example a foundation chain of 16 (which is 5 x 3, plus 1) will make a waffle grid 4 squares wide.
- Row 1: Sc into the 2nd chain from the hook. Follow the technique in the video above to ‘stack’ another sc on top of it. Dc to end.
- Row 2: Turn using the method in the video. *Fpdc 1, dc 2* until 2 sts remain, fpdc 1, dc 1.
- Row 3: Turn as above, *dc 1, fpdc 2* until 1 st remains, dc 1.
Repeat rows 2 and 3 until your granny square is as tall as it is wide.
Uses for waffle stitch granny squares
Waffle stitch granny squares are robust and dense. Smaller waffle squares, between 4″ and 6″ wide, are can be joined to make granny square blankets, throws, throw pillow covers and seat pads. But waffle stitch lends itself especially well to making large projects out of one continuous granny square too. For example cot blankets and lapghans. Incorporating color changes really highlights the geometry of this stitch as well, if you love a technicolor project. Finally, 8″ or 10″ waffle squares crocheted in strong cotton yarns are excellent dishcloths.



Love the granny squares
Lovely granny squares