Block Stitch Granny Square
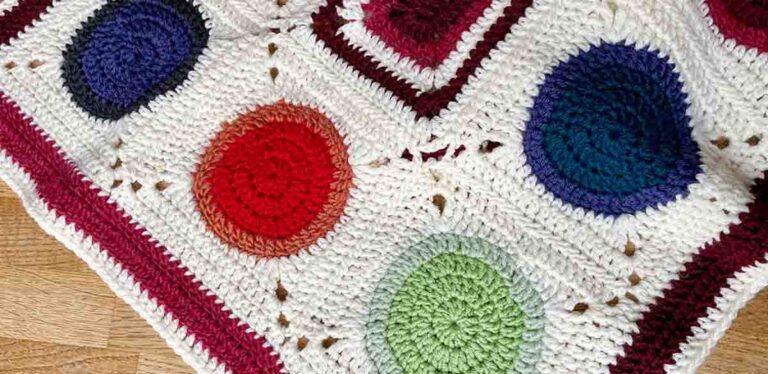
Welcome to my block stitch granny square pattern! Block stitch is one of my all-time favorite crochet stitches, ever since I used it to make a cot blanket for a dear friend’s first baby. For me it has just the right balance of pattern and simplicity. It’s pleasantly repetitive and meditative to work on, but not monotonous. And it’s great for making granny square projects that put a real dent in an overflowing yarn collection. You can use the colors you have a lot of for the background, colors you only have scraps of for the flecks, and colors you have a middling amount of for the border. That’s some pretty efficient stash busting!
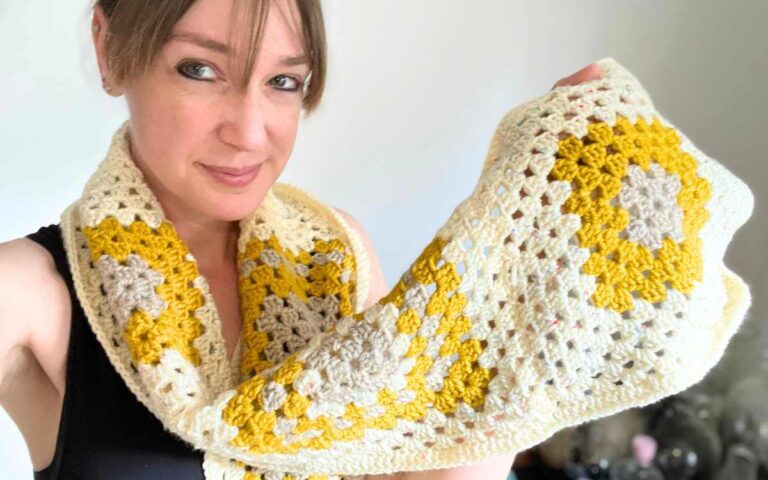
It also looks amazing when combined with some other more unusual stitches too like the treble cluster V or third loop only granny!
Getting started
I’ve developed this pattern using DK yarn. It ought to work with any weight of yarn and an appropriately-size hook, but the relative height and width of your square might end up being a little bit different. Make up one square first, and use it to judge whether you need to add or remove stitches from your foundation row, or rows of stitches from the top of your square. Using DK yarn and a 4mm hook, my squares measure approximately 6” x 6” after blocking, but yours might be a little smaller or larger depending on the exact yarn you use, and your tension (I tend to crochet a little on the loose side).
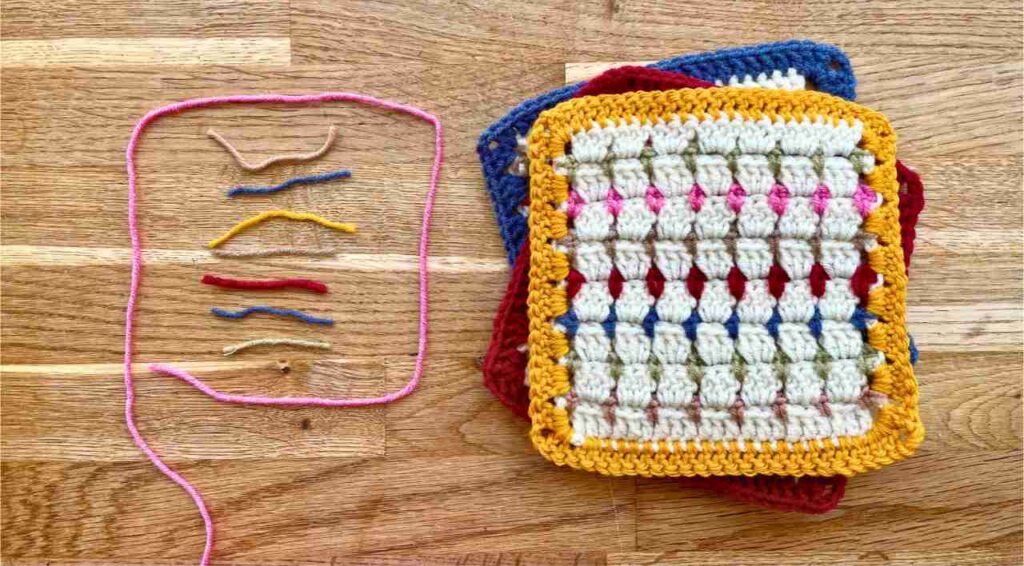
Before I pick up my hook I also like to take some 1” snippets of the yarns I’m using, and check I’m happy with the order they’re going to go in. But you can skip this step if it doesn’t appeal to you!
Block Stitch Granny Square Pattern
This pattern uses standard American crochet terms. The only stitches you’ll need to know are:
Ch chain
Sc single crochet
Dc double crochet
Sl st slip stitch
Starting with your background color, make a foundation chain with a multiple of 3 chain stitches, plus 4. Using my foundation chain of 25 stitches as an example, here’s what they represent:
- 1 space for a single dc at the edge of your square (which will eventually be covered by the border)
- 7 multiples of 3 in the middle
- and 3 turning chains, which also count as a single dc at the opposite side of the square (and will also be covered by the border).
I’ve written it as a multiple of 3 plus 4, and not a multiple of 3 plus 1, to help you picture how adding more multiples of three will look. I hope it made sense!
1st Row
This pattern is dead simple to make, but a little tricky to explain in writing. So bear with me, and don’t worry, I’ve got lots of photos to help make everything clear!
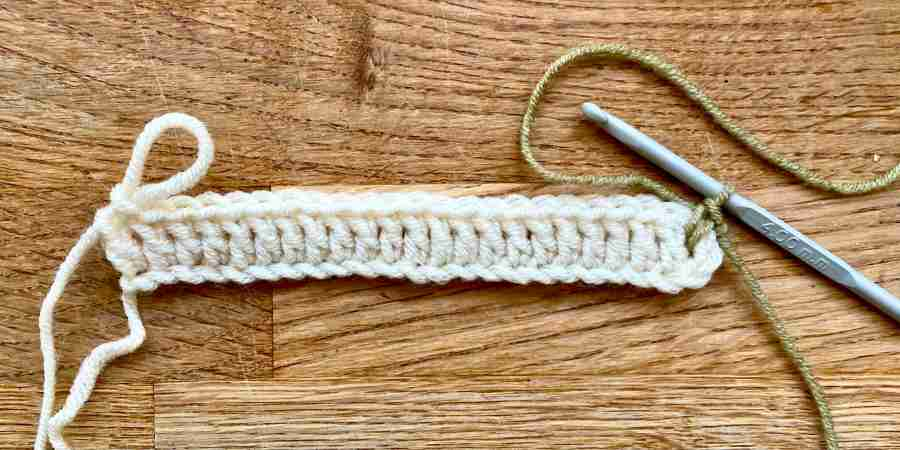
Starting in the 4th chain from the hook, dc into every stitch of your foundation chain. After the final stitch, free your hook and put a stitch marker into the working loop – or just pull it through a bit further so it won’t unravel easily, like I’ve done in the photos coming up.
2nd row
It’s time to add the first row of colourful flecks.
- Choose which yarn you’re going to use, make a slip knot in it about 3” in from the end, and pop the loop onto your hook.
- Insert your hook into the space between the ch 3 and the first dc at the far right of row 1. Make a single crochet by drawing a loop of yarn through that space, then putting the yarn over the hook again and drawing it through both loops:
- Ch 2, then count 3 dc from the first row, and make another sc between the 3rd and 4th dc.
- *Ch 2, dc into the space between the next 3rd and 4th stitch from row 1* all the way along.
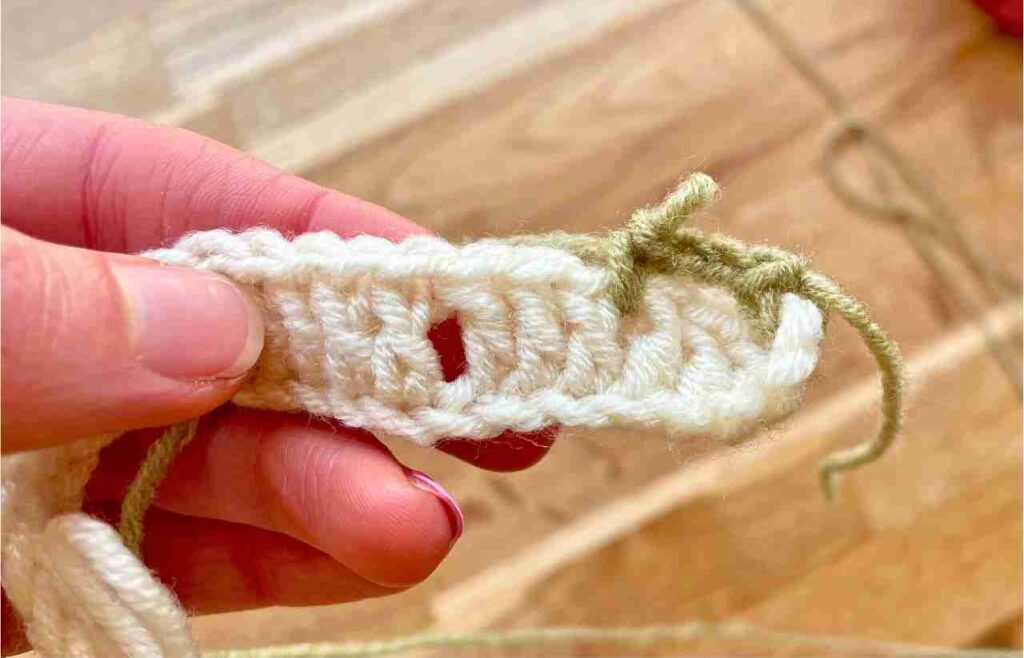
When you get to the end of the row your last sc should be 1 dc away from the end of row 1. Put the working loop from the end of row 1 back on your hook (below left) and pull it through the working loop at the end of row 2 (below right).

Now you can cut the yarn you’ve used for row 2, leaving a 3” tail for weaving in later.
3rd row
Working with your background color again, ch 3 (represents 1 dc) and turn your work.
Make 3 dc into each of the ch 2 spaces from row 2 (indicated by the purple arrows below). At the end of the row, make 1 dc into the 3rd stitch of the turning chain from row 1 (indicated by the red arrow below).
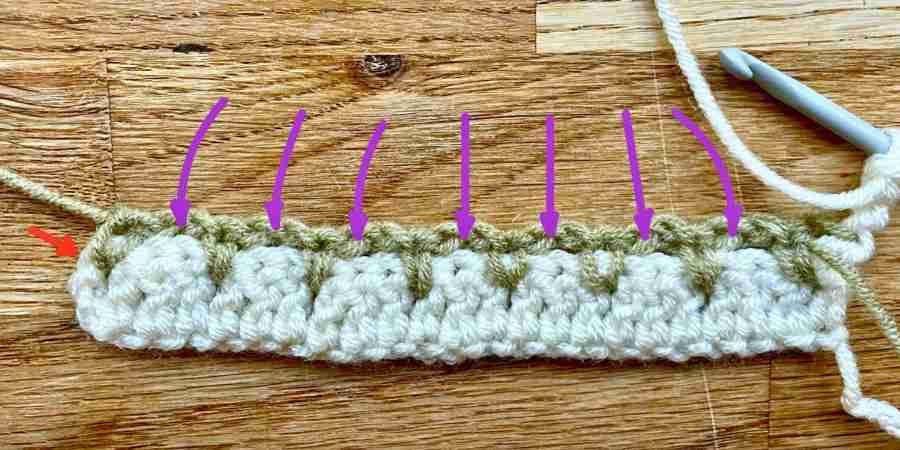
Put a stitch marker in the last stitch, or pull through a generous loop, like at the end of row 1.
4th row onwards
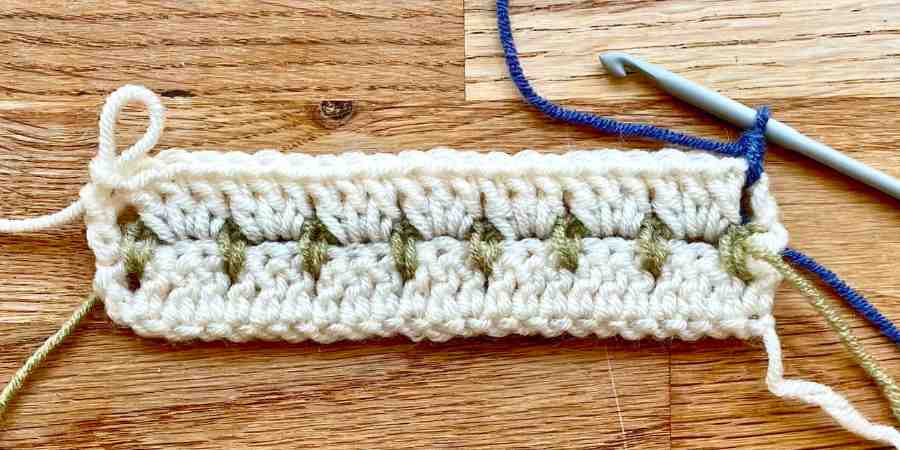
Now it’s simply a case of repeating rows 2 and 3, until your square is approximately as tall as it is wide. Whenever granny squares are made in rows rather than rounds, it’s possible that the height and width won’t exactly match, so just get as close as you can. The only important thing is to finish on a background color row.
In total, my square has 8 background color (uneven-numbered) rows, and 7 fleck (even-numbered) rows.
At the end of your last row you’ll need to pause and weave in all those ends:
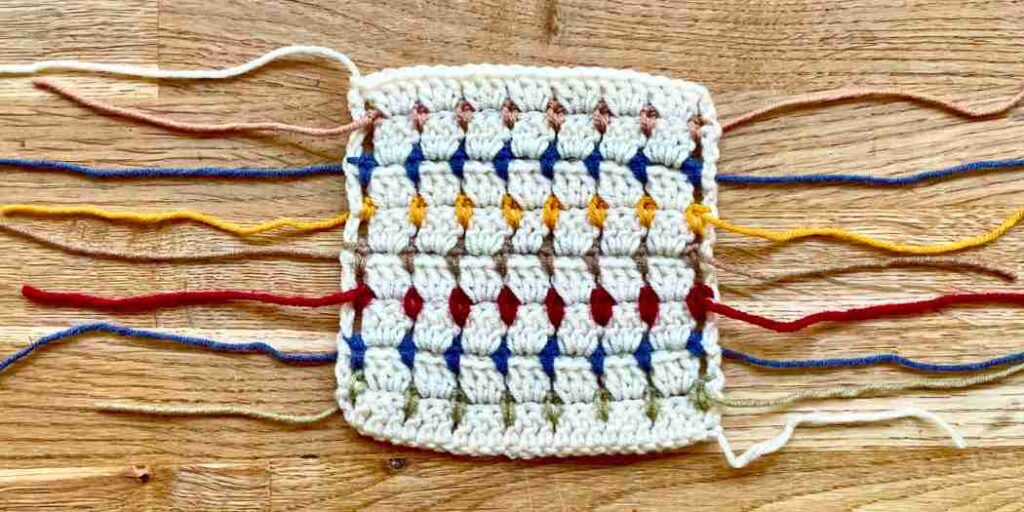
At this point you can either:
- Cut the background color yarn and weave it in too.
- OR, use the background color to make the border as well. This has the advantage of reducing the number of ends which ultimately need weaving in by two (don’t knock it – they add up!) And it’s also a good aesthetic choice if you don’t want your square to have the appearance of a border.
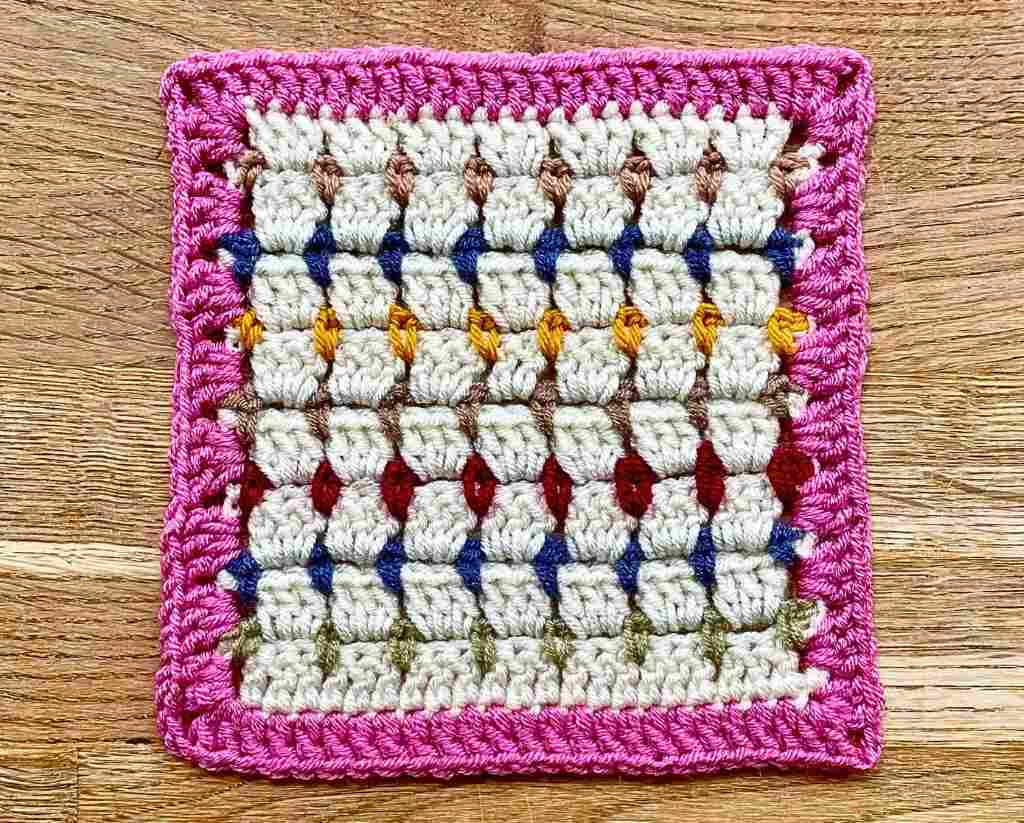
I’m going with option 1, so here’s my square right before I started adding a contrasting border.
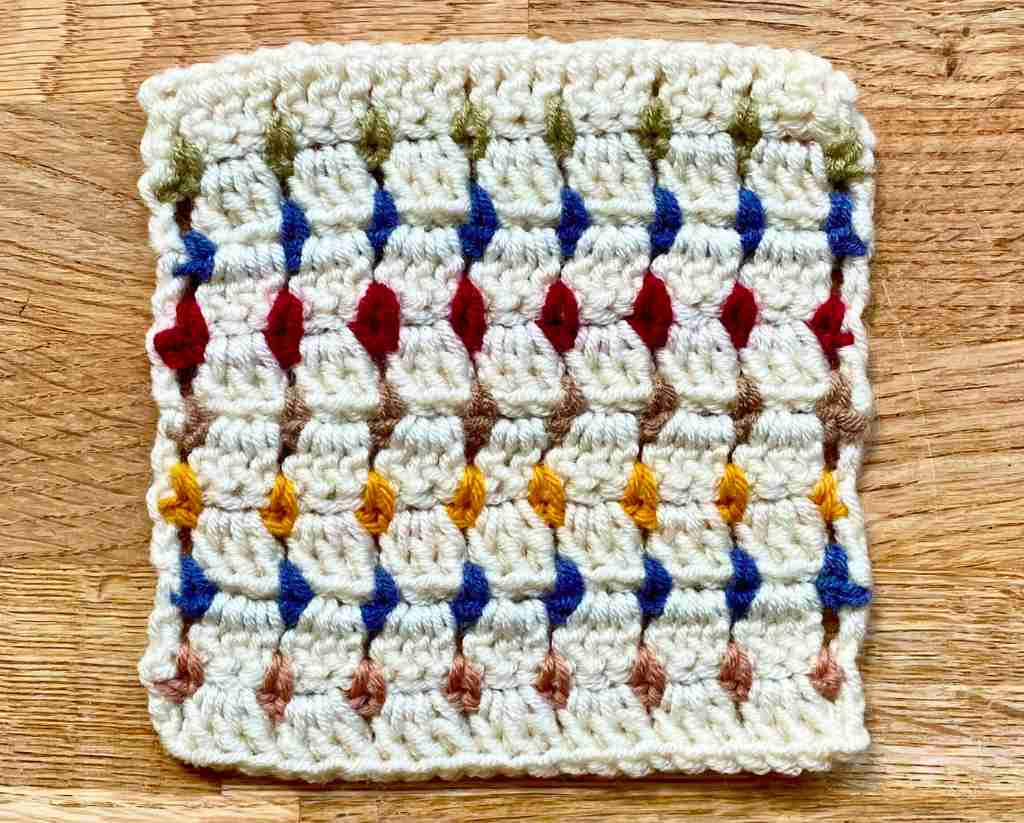
Adding a border
I think block stitch granny squares work best with a border.
- It gives a bit more substance to the left and right edges of the square
- It makes the edges easier to join to each other.
- It’s a fun way to add another pop of color, and use up some more yarn from your stash.
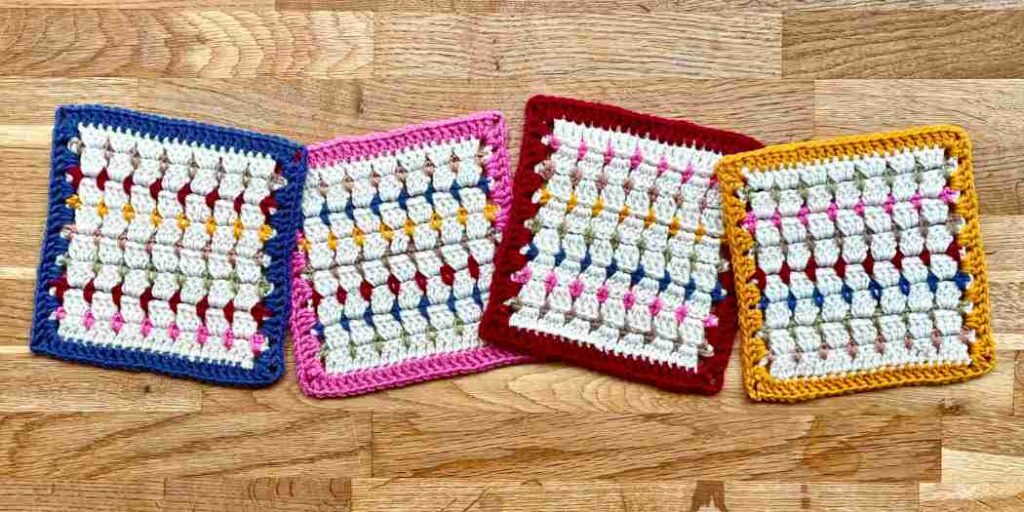
- And a wisely chosen border color can really help unify some mis-matched fleck colors inside the square.
Here’s how to add one. If you’re using the same yarn you used for the background, just skip step 1:
- Join your border color yarn into the top right hand corner space of your square.
- Ch 5 (represents 1 dc and a 2 ch corner space), and dc 2 into the same corner space.
- Dc into the top of each stitch along the top edge of your square.
- At the next corner space (dc 2, ch 2, dc 2).
- Working down the left hand edge of your square, dc 3 into the side of each background-colored row. With each alternate row you’ll either be making your stitches round the post of another dc, or around a turning chain.
- At the next corner space (dc 2, ch 2, dc 2).
- Dc into the other side of the foundation chain along the bottom edge of your square.
- At the next corner space (dc 2, ch 2, dc 2).
- Working up the right hand edge of your square, dc 3 into the side of each background-colored row.
- When you get back to the first corner, dc into the corner space and sl st into the 4th st of the ch 5 to join. Cut the yarn and weave in the end.
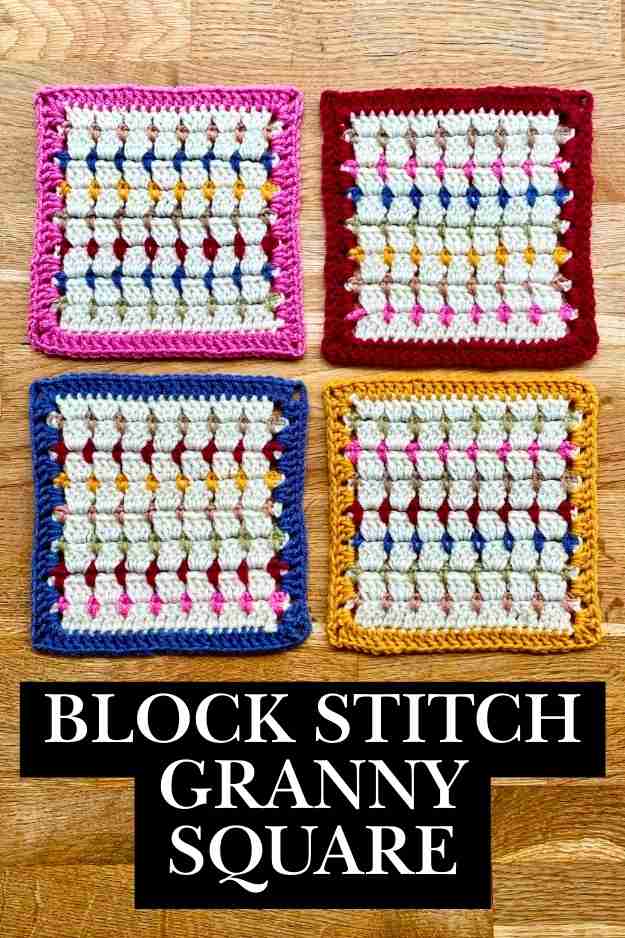
Block your squares and show them off!
Your block stitch granny square is finished and ready for blocking. One square by itself can be a pretty coaster, placemat, or face cloth. Lots together work well for scatter pillow covers, and medium weight blankets.
