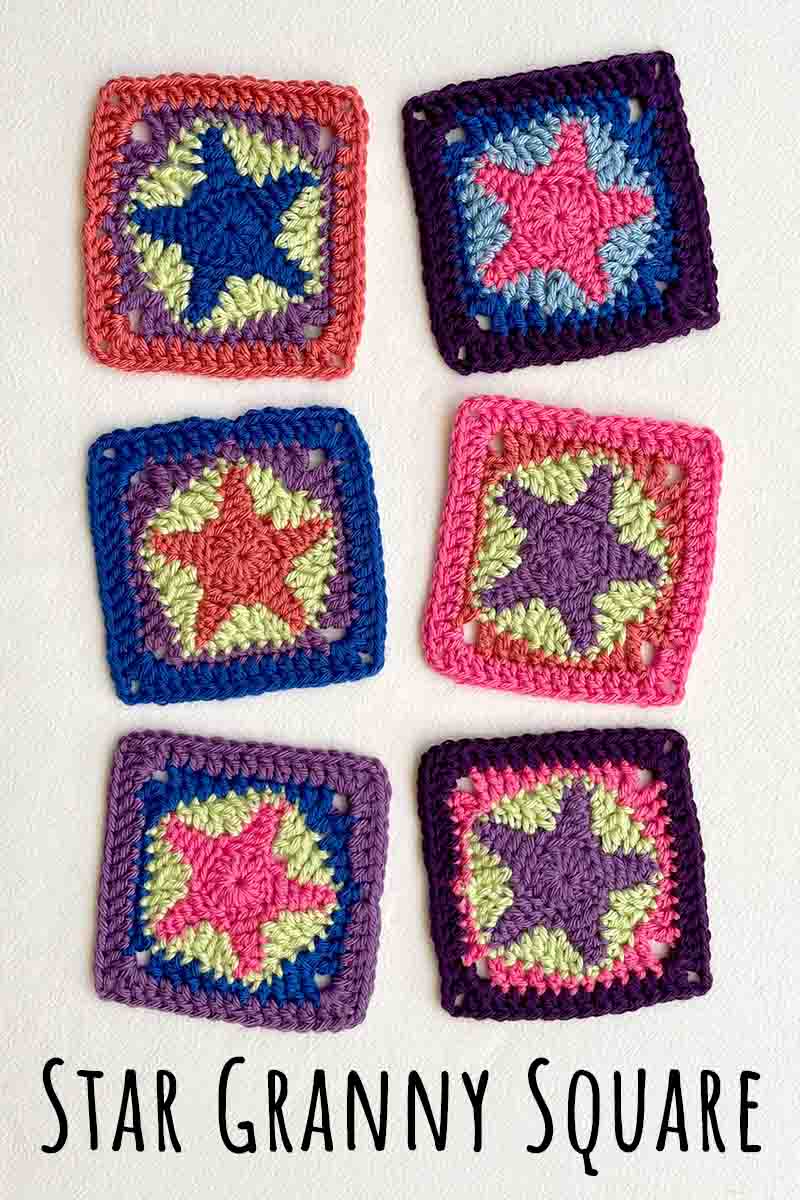
Star Granny Square
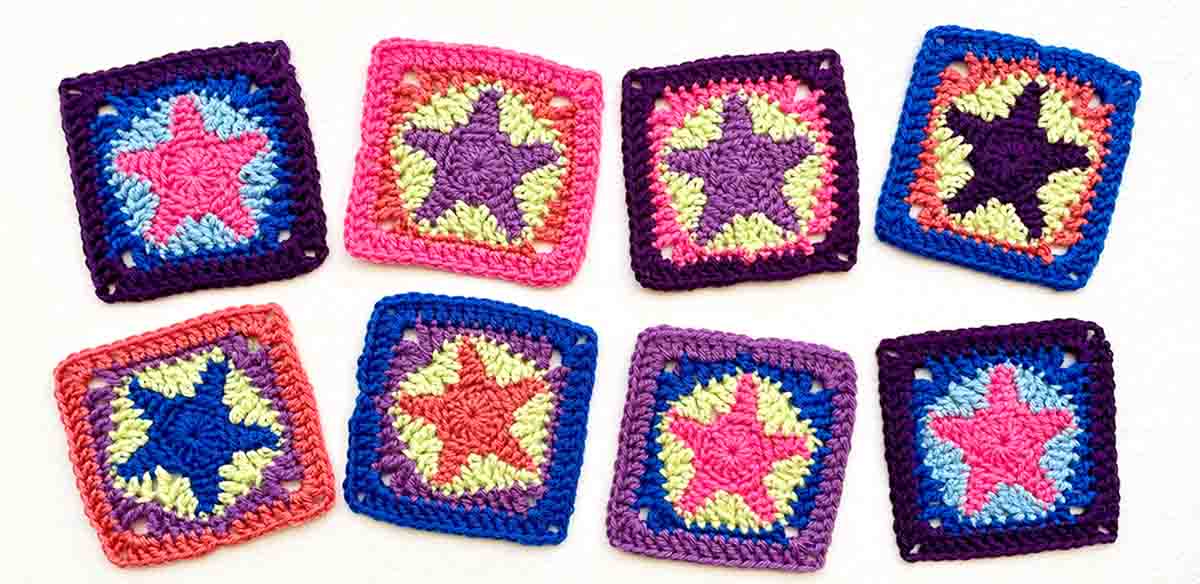
I challenge you to see a patchwork of brightly colored star granny squares and not have your spirits lifted!
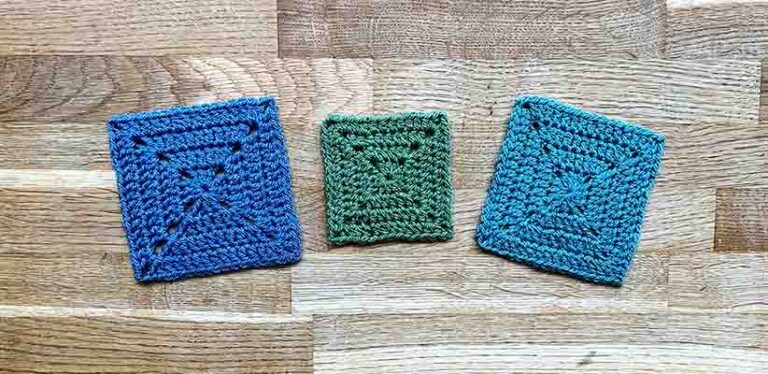
This motif is slightly trickier than your average granny square design. In fact if you look closely enough at the squares above, you’ll spot that I tried several different approaches before settling on a pattern I’m totally happy with (top left!). Now I’ve got a thoroughly counted-out tutorial for you with lots of illustrations, so that you can make a sparkling constellation of solid star grannies too!

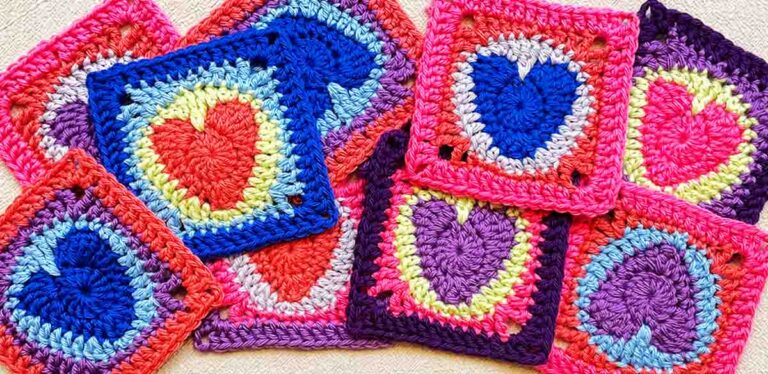
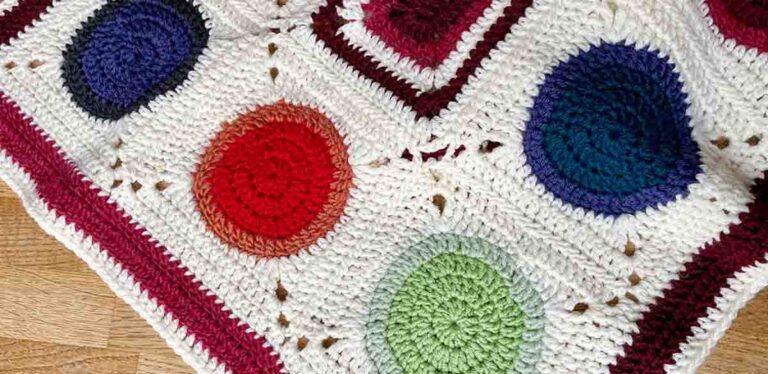
This also goes beautifully with my circle and heart granny square designs, if you fancy making up a combination!
Making star granny squares
If like me you love bright, modern crochet designs, then incorporating stars into your next granny square project is a no-brainer. They look great on blankets, throw pillows, and over-sized statement sweaters. This particular pattern is good and solid – there aren’t any finger snagging holes to worry about, besides the ones at the corners of most granny square designs.
4, 5, and 6 point stars
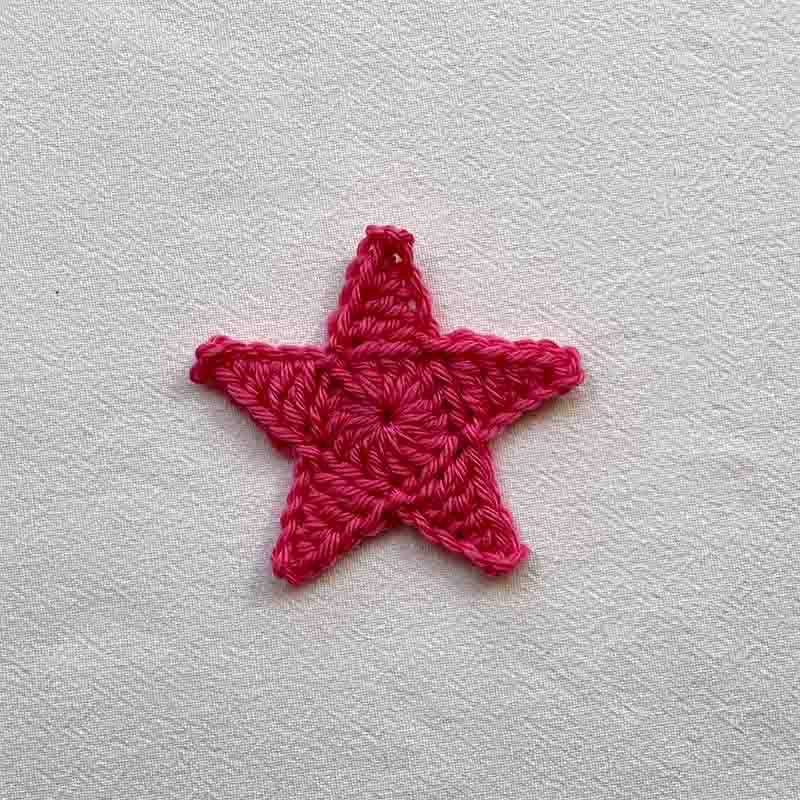
This pattern is for a granny square with a 5-pointed star motif in the center. I’ve tried other star shapes and I’m here to report that stars with 4 points don’t look enough like stars, stars with 6 points just look like flowers!
Of course, the downside for making a granny square with a 5-pointed star in it, is that at some point you’re going to have to turn a 10-sided shape into a 4-sided shape. And that is not easy stitch math. But a lot of trial and error has led me to this solution, and I’m really happy with it. Be ready to pause your movie or audiobook when you get there though, and pay close attention for a moment!
Color changes
You’ll need at least two colors to make this star granny square pattern. It’s worked entirely in flat stitches, so the star isn’t going to stand out unless you make it in a different color to the background. As you can see, I’ve gone for a mix of saturated brights and fresh pastel shades, and changed color twice for the background too. I’m definitely going for a maximalist, more-is-more vibe with these squares! But star squares look just as good in neutrals for a sweet and timeless baby blanket. You can even make the center of your star a different color to the points – two different shades of yellow look especially effective.
Star granny square pattern
This pattern uses standard U.S. crochet terms. The actual instructions are in bold, with notes in non-bolded text, so you can pick out the most important bits easily second time round. The example in the pictures is made with worsted weight yarn on a size 7 (4.5mm) crochet hook. It’s finished dimensions after blocking are 4⅓ inches by 4⅓ inches.
| Mc | Magic circle |
| Ch | Chain stitch |
| Sc | Single crochet stitch |
| Hdc | Half double crochet stitch |
| Dc | Double crochet stitch |
| Tr | Treble crochet stitch |
| Tr2tog | Treble crochet two together |
| Sl st | Slip stitch |
We’ve got a guide to all the basic stitches here. Don’t worry if you’re not familiar with the tr2tog instruction, I’ll explain it fully when we get there!
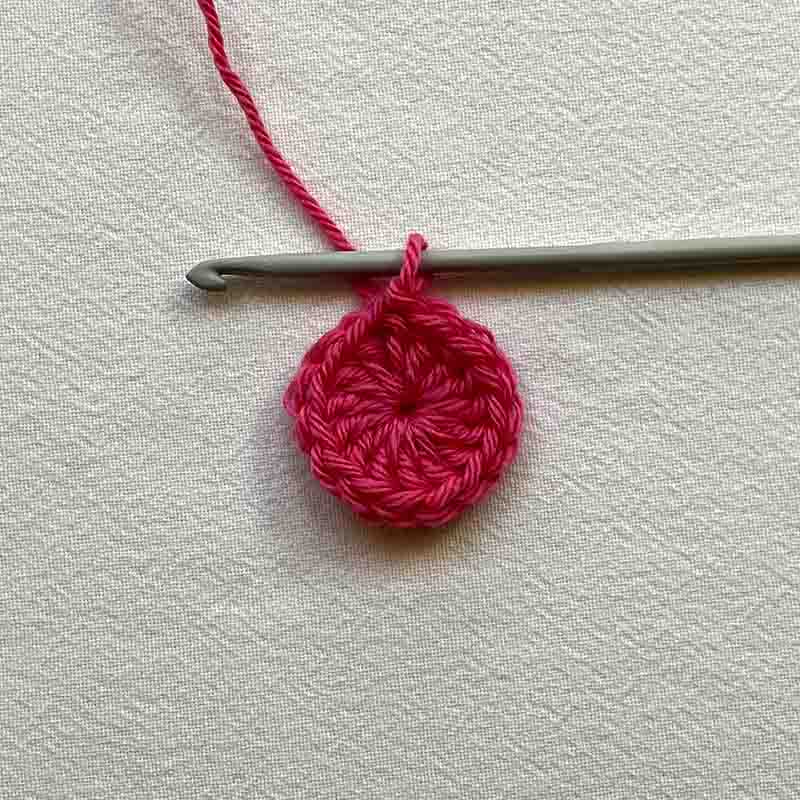
Round 1
Magic circle to start. Ch 3 (represents 1 dc), dc 14 into mc, sl st to join.
Round 2
*Ch 6, then working back along that chain from the hook: skip 2 sts, sc into the 3rd st, hdc into the 4th st, dc into the 5th st, tr into the 6th st. Skip 2 sts from round 1, and sl st into the 3rd st.* Repeat 4 times.
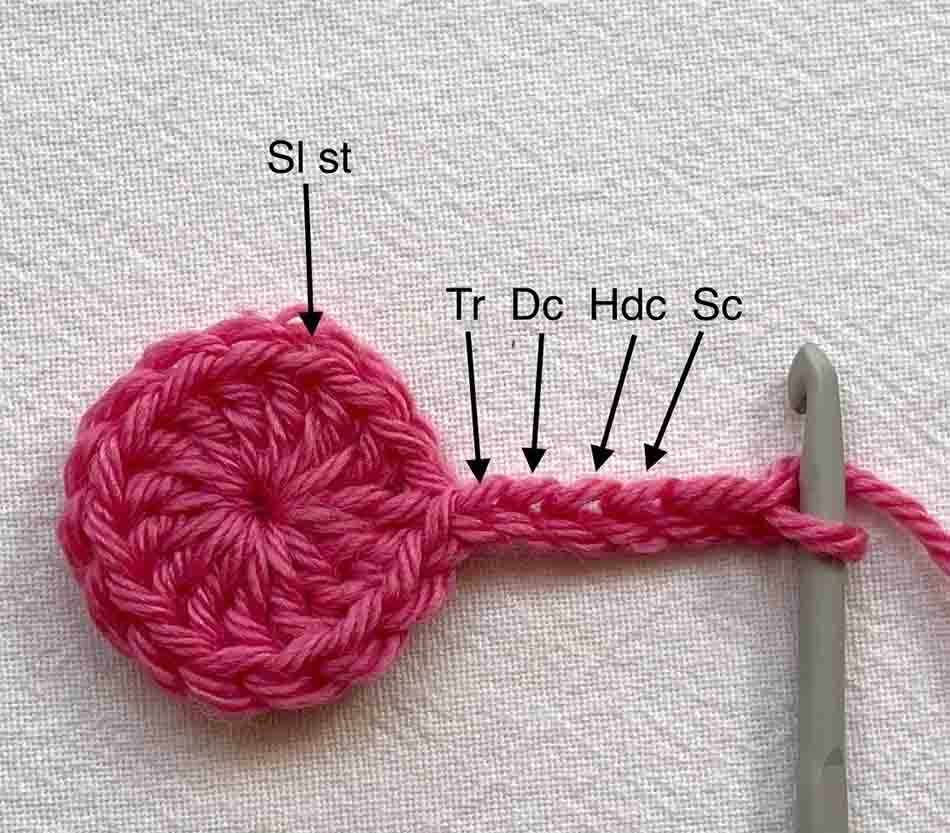
The star part of your square is complete! Cut your yarn, and weave in the ends.
Round 3
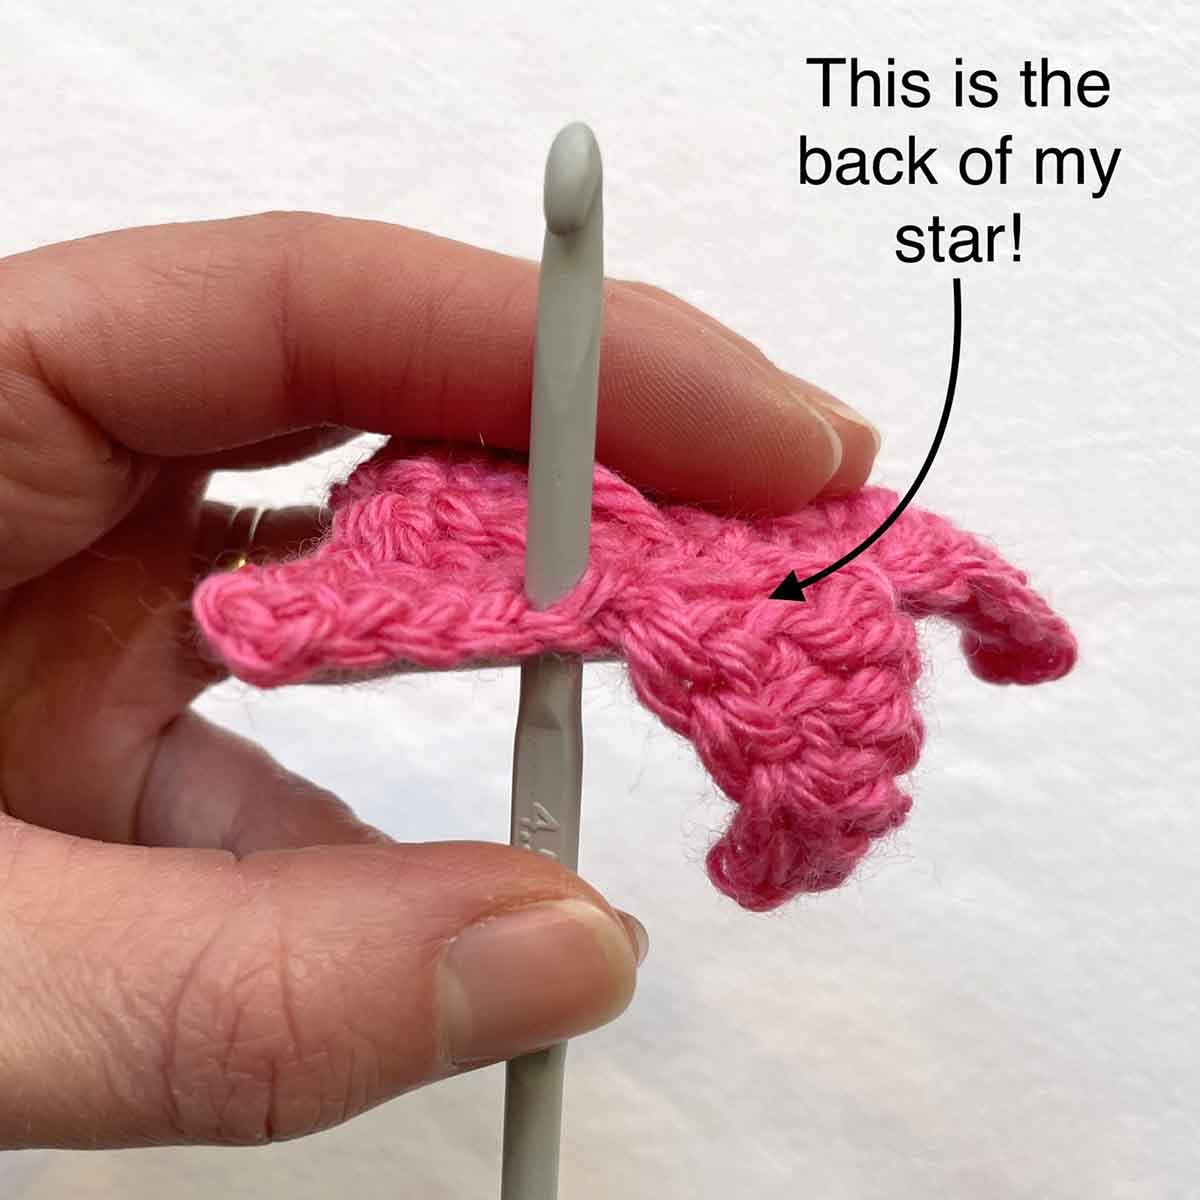
Join with your 2nd color at the base of a treble stitch from round 2. Along your star’s edges, the 2nd loop for joining your yarn and making stitches into is tucked almost tucked right around the back. It helps to look at your star side-on as you make the 3rd round, so you don’t miss them!
Ch 4 (represents 1 tr). *Dc, hdc, sc. Skip the 2 ch sts at the tip of the point, then sc, hdc, dc. Using the remaining st, and the first st from the base of the next point (but skipping the sl st between them) tr2tog*. Repeat 4 times, but instead of making a tr2tog at the end of the final repeat, tr 1 and sl st into the top of the ch 4 at the beginning of the round. Cut your yarn and weave in the ends.
Here’s a diagram of where all those stitches are going. It helps to remember that the type of stitch your making matches the stitch you’re making it into. You’re making treble crochets into the base and top of the treble crochets from round 2, double crochets into the base and top of the double crochets, and so on.

During this round, the points of your stars will end up slightly tucked behind the new stitches. This is intentional and it’s actually going to make the points look really sharp. Don’t worry either if the edges of your work is a bit bowl-shaped at the end of this round, it’s going to flatten out again before the end!

Tr2tog
If you’re unfamiliar with the instruction tr2tog, it’s simply a way of making two treble crochet stitches that are separate at the bottom, and joined at the top. It’s worked like this
- Yarn over twice.
- Insert hook into the top of the first stitch, yarn over and draw through a loop. 4 loops on hook.
- Yarn over and draw through 2 loops. 3 loops on hook.
- Yarn over and draw through 2 loops. 2 loops on hook.
- Yarn over.
- Insert hook into the top of the second stitch, yarn over and draw through a loop. 4 loops on hook.
- Yarn over and draw through 2 loops. 3 loops on hook.
- Yarn over and draw through 2 loops. 2 loops on hook.
- Yarn over and draw through both loops.
Round 4
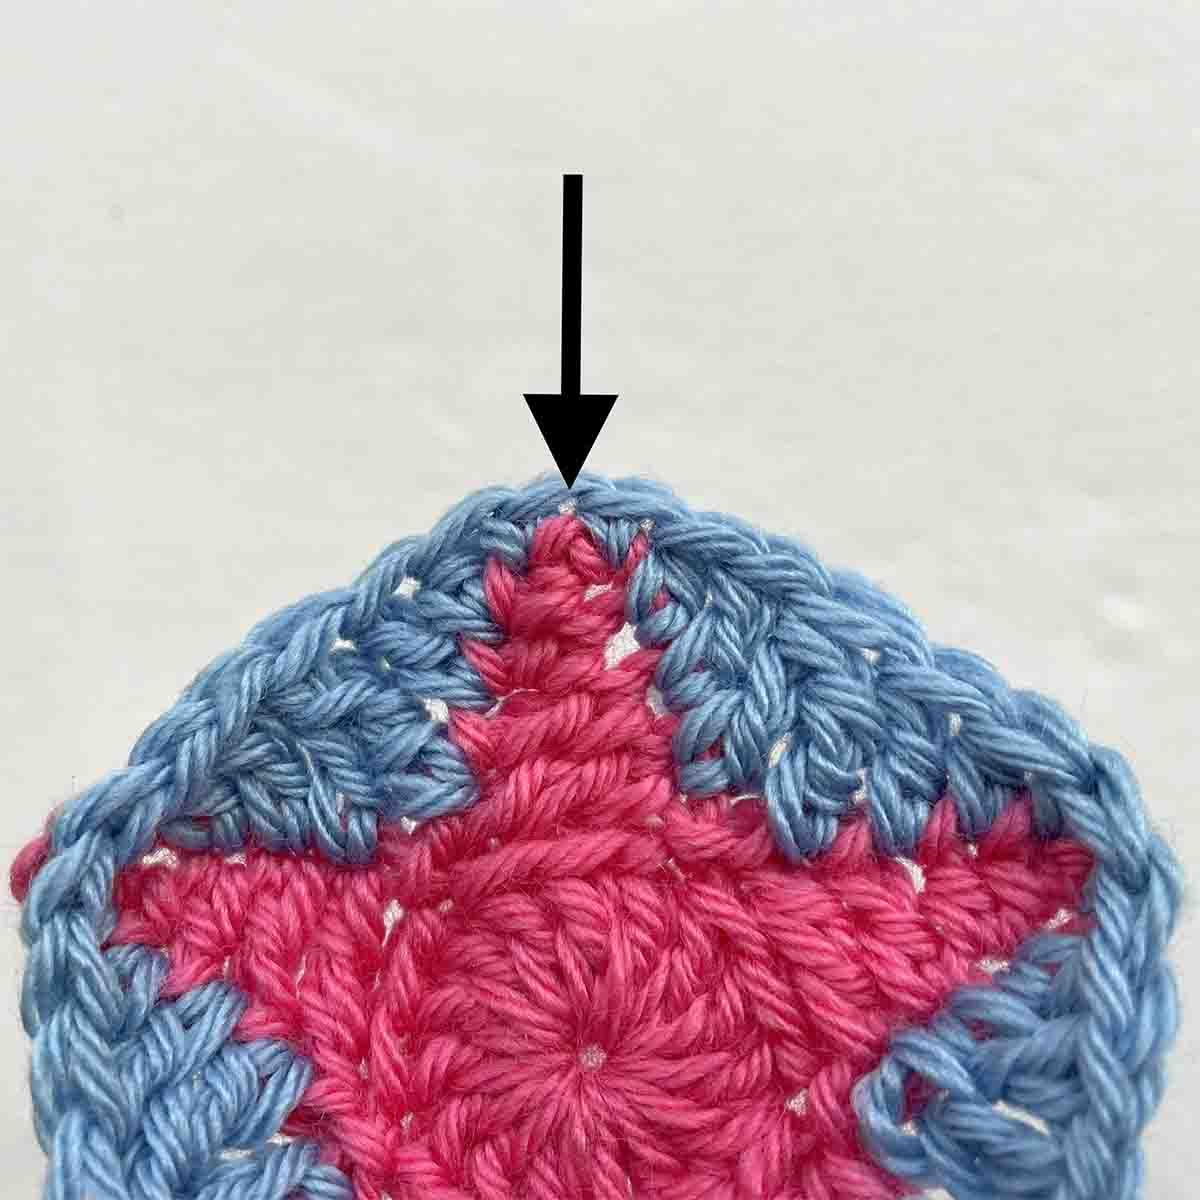
Join with your 3rd color into one of the single crochets from round 3 that straddles the tip of a point on your star.
Now we’re going to turn your pentagon into a square. The stitch pattern is symmetrical, so the second half of the round is the same as the first half, but in reverse.
Ch 2 (represents 1 sc), sc 1 into the same space. Hdc 1, dc 2, (tr 1, ch 2, tr 1) into one space, dc 1, hdc 1.
Progress check: the next stitch should be over the next point of your star.
Sc 2, hdc 2, dc 2, (tr 1, ch 2, tr 1) into one space.
Progress check: the next stitch should be over the next point of your star.
Hdc 1, sc 6.
The 3rd & 4th sc fall either side of the half way mark, meaning the 4th sc onwards will repeat everything you’ve already done, but in reverse. The next stitch should be over the tip of the next point on your star.
Hdc 1, (tr 1, ch 2, tr 1) into one space, dc 2, hdc 2, sc 1.
Progress check: the next stitch should be over the final point of your star.
Sc1, hdc1, dc 1, (tr 1, ch 2, tr 1) into one space, dc 2, hdc 1, sl st into top of ch2 to join.
You should now have a square with 10 stitch spaces along each side, and 2 chains at the corner spaces.
Top tip: If you tend to have too many stitches on the side of your pentagon where your 3rd round started and ended, simply use an invisible decrease to pick up the extra stitch.

Cut the yarn and weave in the ends.
Round 5
Join your 5th color at any corner.
Ch 5 (represents 1 dc and 2 ch), dc 2 into corner space, *dc 10, (dc 2, ch 2, dc 2) into corner space* 3 times, dc 10, dc 1 into corner space and sl st into 3rd st of the ch 5 to join. Cut yarn and weave in ends.
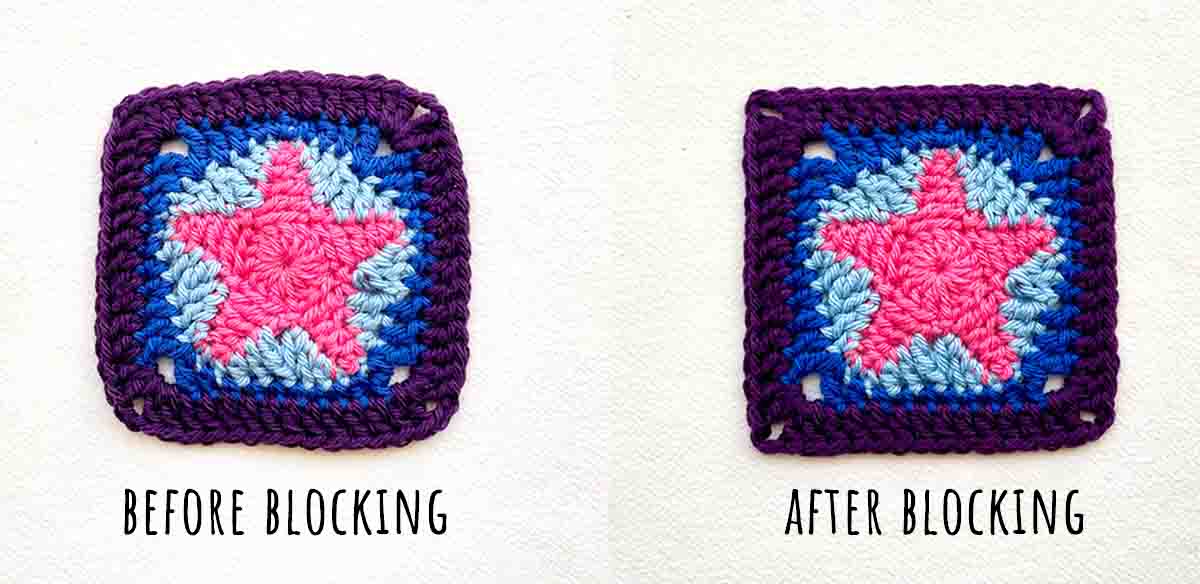
And you’ve done it! These grannies really do look best if you take a bit of time to block them out so they lie really flat and the sides are nice and straight.
I love how sharp the points of the star turn out!
Variations to try
My star granny pattern is pretty unfussy. I knew I wanted to play with lots of bright colors, and produce something quite modern-looking that had as few holes in it as possible. If you’d like to try something little bit different, you could:
- Try one of the many patterns online that incorporate open spaces and lacy stitches.
- Use bobble stitch to make a single-color granny square with a raised star motif.
- Follow rounds 1 and 2 of this pattern to make a star shape that you can use as an applique patch on a solid granny square.
Are you going to give it a go?
My plan is to eventually accumulate enough of these squares to make my first granny square cardigan. What will you do with yours? Let us know in the comments box down below!


This is quite easily the best pattern I have ever followed! Great explaining and the pictures are extremely helpful. Will be making again 🙂
That’s so great to hear!
I have used the square as a base for a wise man’s cloak as part of a crochet Nativity set.
Such a great, simple pattern to follow! Step-by-step instructions along with photos – what else can you ask for? The stars themselves are perfect and would make great appliques. Finish them to squares and they fit into any project. I needed them for the corners of a custom blanket for a friend who is a Dallas Cowboys fan and they are absolutely perfect! Planning to make some extra stars to put on beanies for his kiddos. Thank you so much for sharing this pattern!
I’m so pleased to hear you’ve found it helpful!
Thanks so much for this pattern! i find granny squares usually super boring to make but this pattern was a lot of fun and the end result was amazing!
Your directions are clear and easy to follow. I am making a lap blanket and have crocheted four squares for the corners. However, I would like to put a significantly larger square in the center. Do you happen to have a pattern for a larger star square?
I am naking remmberence afaghans for my 3 grown children. I didn’t know what pattern I was going to use for my son’s afaghan. Since he was a civil war reinactor, I decided to make a red, white and blue afaghan with granny square stars in the middle. Thank you for the easy pattren. I will send you a picture of the finished project.
This is not fool proof as I am a fool and I am laying in bed like near tears because I’m really confused. I will come back later and update on if I can figure this out at a different point in time. Got lost at round 3. Have a successful star though.
I am so sorry to hear this! I’m sure you are no fool, new things are just hard sometimes. Did you have a look at the video, some people learn better from them than the written instructions. Do let me know you get along, you’ve got this!
great pattern!! clear, easy to follow, and the pictures helped so much. this square will be a great addition to the granny tote bag i am making with lots of different designs, and i definitely want to make a project using only this square. i used 2 colors only, one for the star and one for the rest, following where to cut and fasten off as the pattern instructs, and it turned out really great!