Basket Weave Stitch Crochet Granny Square
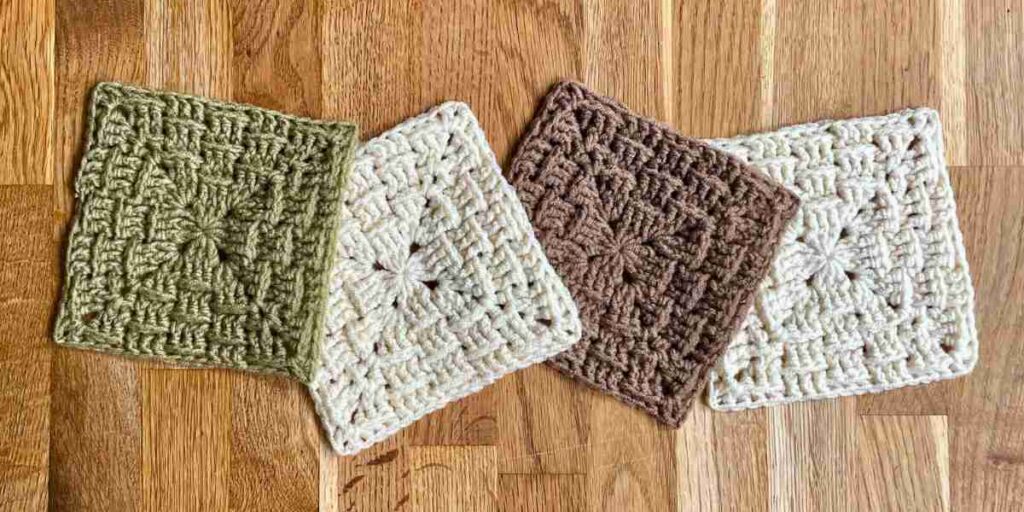
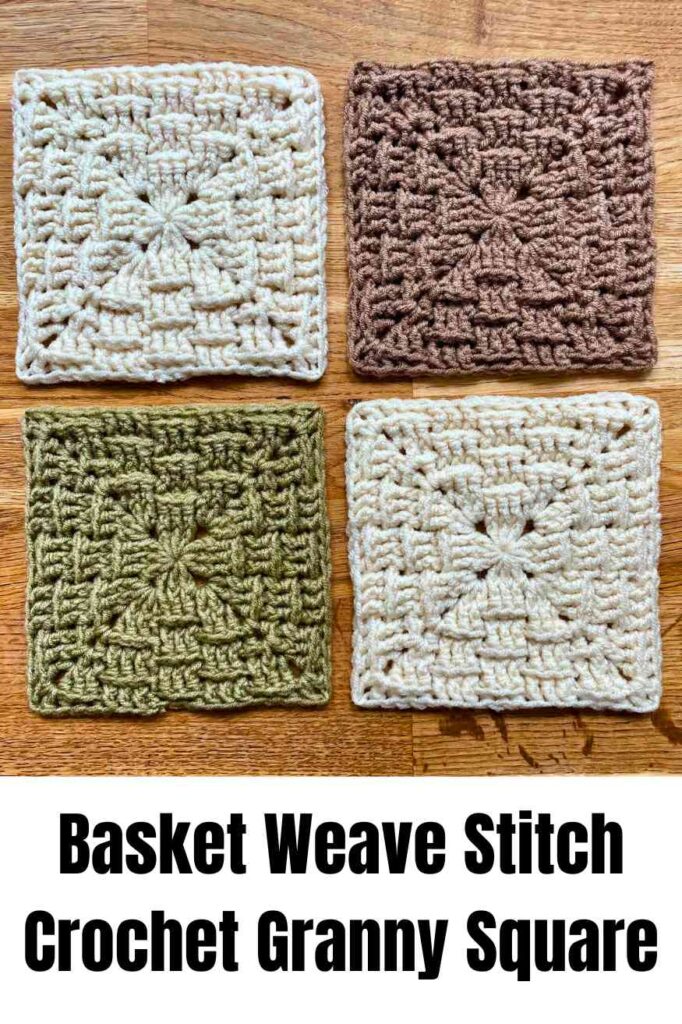
Basket weave stitch is a brilliant choice for making warm, snuggly granny square projects, like blankets and throw pillows. It’s denser and warmer than a simple solid granny square. It doesn’t gobble up yarn like a bobble stitch granny square. It’s reversible, unlike a waffle stitch granny square. And it lends itself really well to working in rounds rather than rows. What more could you ask?
Your first basket weave stitch crochet granny square might feel a little bit mind bending to get started. Especially if you haven’t used back post double crochet stitch much in the past. But once you’re four rounds in, I guarantee you’ll be flying. And I’ve got lots of detailed illustrations to help you master the techniques involved.
Choosing your supplies
Picking the right yarn for a granny square is like matching different pasta shapes with the right type of sauce. Either you don’t worry about it at all, or you take it very seriously indeed. I’m pretty sure there is no middle ground! The beauty of basket weave stitch is in its texture – front post and back post double crochets combine to create an illusion of overlapping rows that weave in and out of each other. To show off the results to best effect, use smooth yarns like bamboos, cottons, or S on S plied wools and synthetic fibers.
I’ve used Hayfield’s Soft Twist yarns to make the squares in the photos accompanying this article – it’s an S on S plied acrylic/merino wool blend. S on S is a specific method of twisting yarn together to produce a very smooth surface. There’s not much point making this pattern in a fluffy yarn, which will hide the texture of the stitches! I used to be quite snooty about yarns spun from mostly synthetic fibers, but this one is soft, washable, strong, and budget friendly. I am a convert!
Since basket weave stitch is dense, I also recommend making it with a hook one size larger than the yarn wrapper recommends, so your squares don’t end up stiff. Soft Twist is a DK yarn, and I used a size G (4.5mm) hook.
The crochet terms you’ll need to know
This pattern uses standard American crochet terms. To make a basket weave granny square, you’ll be following these abbreviations:
Ch chain stitch
Dc double crochet
Fpdc front post post double crochet – full instructions coming up
Bpdc back post double crochet – obviously I have instructions for this too!
Sl st slip stitch
I’ll also be using brackets and asterisks in the pattern. When multiple stitches appear in brackets, like this
(dc 2 ch 1, dc 2)
it means you should make them all into the same space.
When multiple stitches appear inside asterisks, it means you’re going to repeat them – the pattern will tell you how many times. For example ‘*dc 1, ch 1* three times’ means dc 1, ch 1, dc 1, ch 1, dc 1, ch 1.
How to front post double crochet (fpdc)
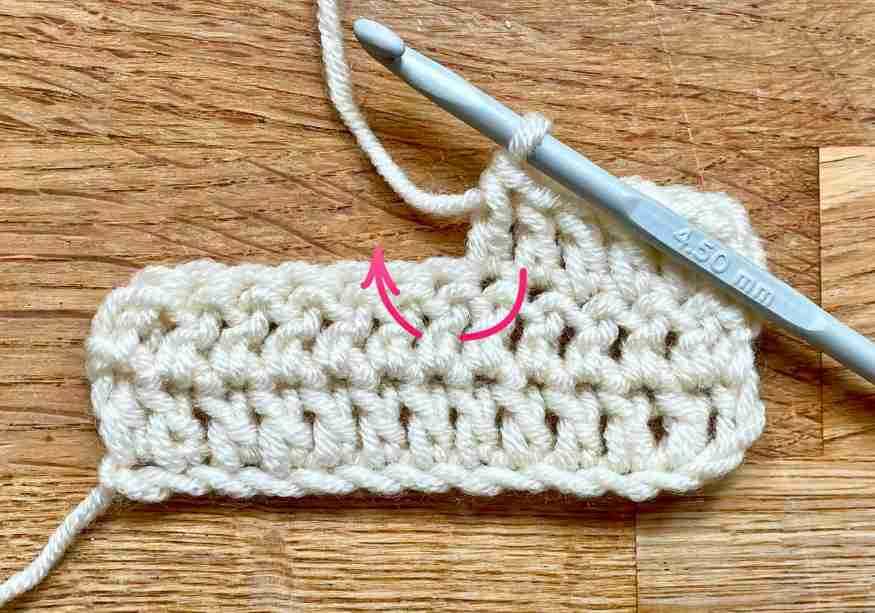
The regular way of making double stitches in crochet is by putting the yarn over the hook, and inserting the hook under the top two loops of the next stitch from the previous row or round. For a front post double crochet we’re going to put the yarn over the hook as usual, then insert the hook behind the post of the stitch below, from right to left (or left to right, if you’re left handed).
Make sure you’re getting round the post, and not catching the front or back loop at the top, or the 3rd loop, which sits just below them. Then continue making a double crochet stitch exactly as you normally would: yarn over again and pull through, yarn over and pull through two loops, yarn over and pull through the last two loops.
Here’s how a fpdc looks when it’s finished. See how it stands proud from the regular double crochets around it?
How to back post double crochet
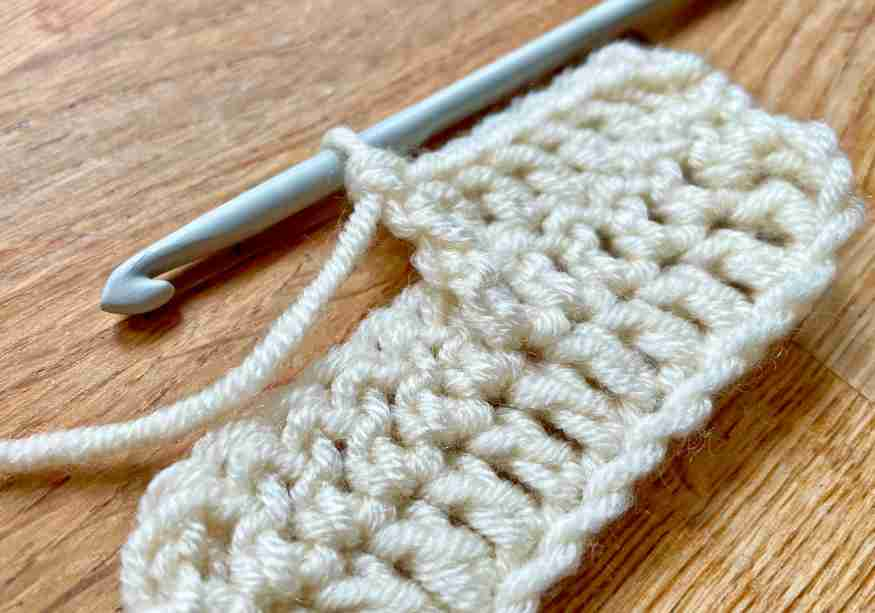
Have you ever tried folding your arms the wrong way round? If you haven’t tried making a back post double crochet before, that’s exactly how it feels the first time! We’re working around the post of the stitch below again, but this time we’re going to move the hook behind our work, insert it through to the front on the right side of the post, and push it back through to the back on the left side of the post. Which looks like this:
It’s not much of a photo!
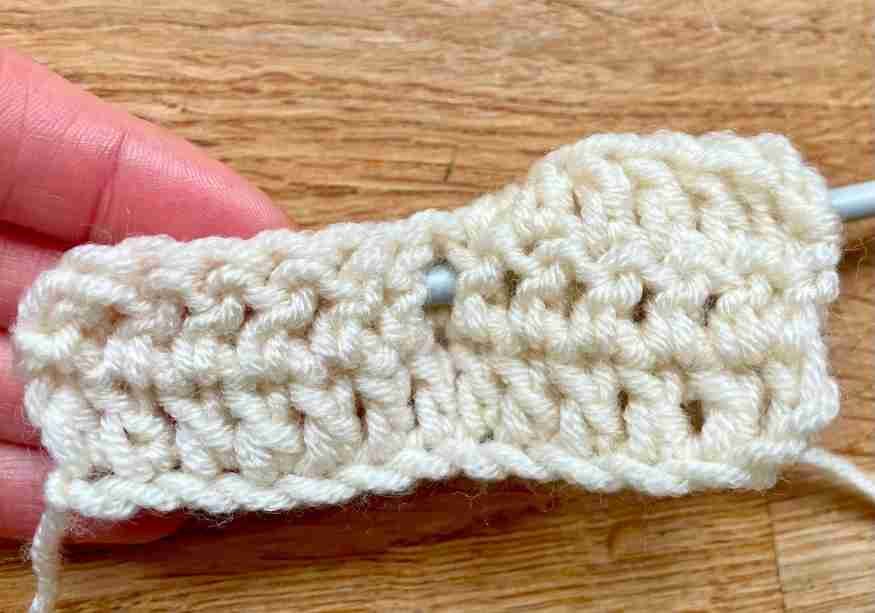
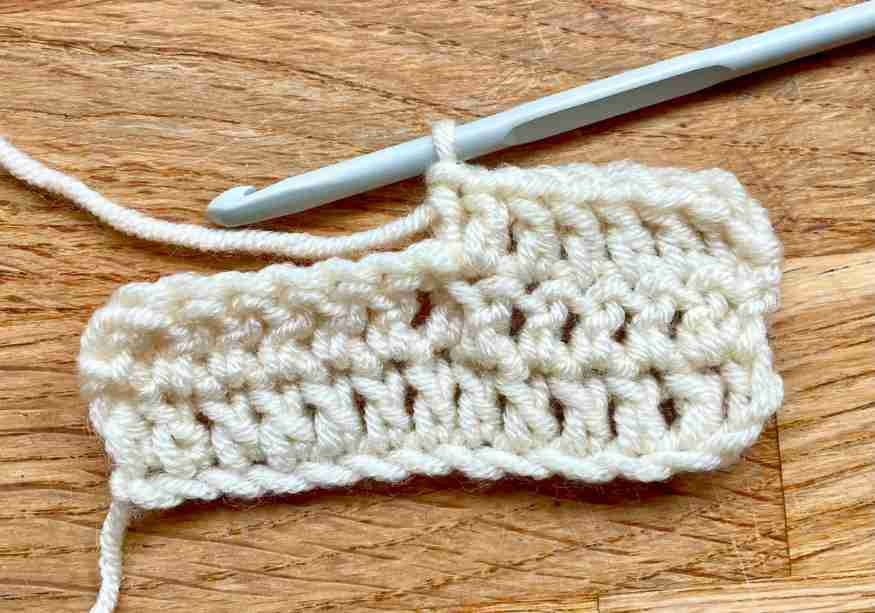
Then finish the double crochet as usual, and the result will look like this:
If you flip it over, the other side looks like a fpdc. And likewise, the reverse of a fpdc looks like a bpdc.
Basket weave stitch crochet granny square pattern
This pattern makes a granny square approximately 5” x 5” (12cm x 12cm) after blocking, when worked on a size G hook with DK yarn. The exact dimensions of your square may vary depending on your yarn, and tension. Try to think loose thoughts, so your square doesn’t end up feeling rigid and lacking in drape!
Start however you prefer to start your granny squares: with a magic circle, four chains joined in a loop with a slip stitch, or by chaining 2 and working into the chain furthest from the hook.
Rounds 1 and 2 don’t follow quite the same pattern as round 3 onwards. After round 3, everything gets much more predictable!
Round 1
Ch 3, dc 2, *ch 2, dc 3* 3 times, ch 1, sl st into the top of the ch 3 to close.
Round 2
Ch 1 (make it fairly loose), fpdc around ch 3, fpdc 2, *(dc 2, ch 1, dc 2) into the corner space, fpdc 3* 3 times, (dc 2, ch 1, dc 2) into the final corner space, sl st into the first fpdc to close.
Round 3
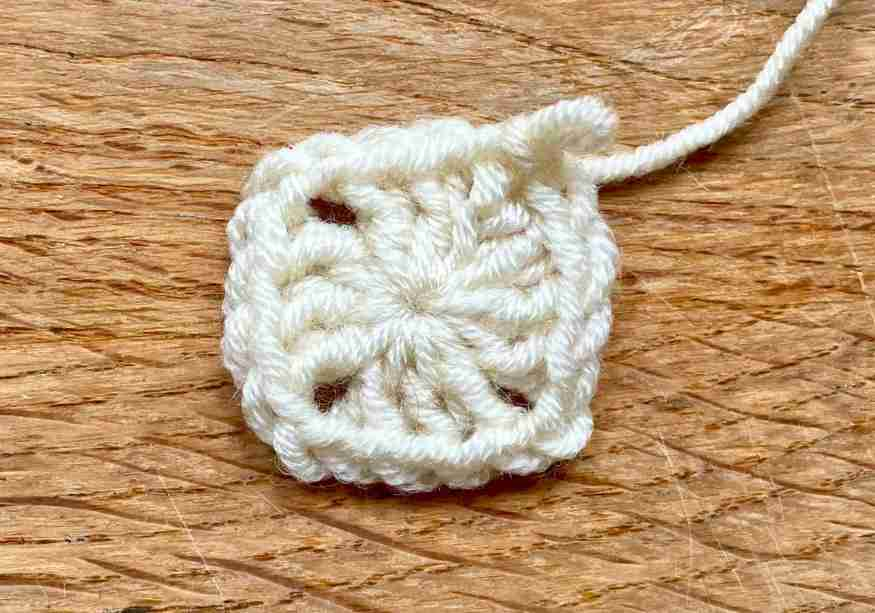
Ch 1, bpdc 3 (watch out for the third loop of the first stitch, it tends to get in the way), fpdc 2, *(dc 1, ch 1, dc 1) into the corner space, fpdc 2, bpdc 3, fpdc 2* 3 times, (dc 1, ch 1, dc 1) into the final corner space, fpdc 2, sl st into the first bpdc to close.
Round 4
From now on, the pattern starts to get easier to anticipate.
Ch 1, fpdc 3, bpdc 3, *(dc 1, ch 1, dc 1) into the corner space, bpdc 3, fpdc3, bpdc 3* 3 times, (dc 1, ch 1, dc 1) into the final corner space, bpdc 3, sl st into the first fpdc to close.
Round 5
Ch1, bpdc 3, fpdc 3, bpdc 1 *(dc 1, ch 1, dc 1) into the corner space, bpdc1, fpdc 3, bpdc 3, fpdc 3, bpdc 1* 3 times, (dc 1, ch 1, dc 1) into the final corner space, bpdc 1, fpdc 3, sl st into the first bpdc to close.
Round 6
Ch 1, fpdc 3, bpdc3, fpdc2, *(dc 1, ch 1, dc 1) into the corner space, fpdc 2, bpdc 3, fpdc 3, bpdc 3, fpdc 2* 3 times, (dc 1, ch 1, dc 1) into the final corner space, fpdc 2, bpdc 3, sl st into the first fpdc to close.
Round 7
Ch 1, bpdc 3, fpdc 3, bpdc 3, *(dc 1, ch 1, dc 1) into the corner space, bpdc 3, fpdc 3, bpdc 3, fpdc 3, bpdc 3* 3 times, (dc 1, ch 1, dc 1) into the final corner space, bpdc 3, fpdc 3, sl st into the first bpdc to close.
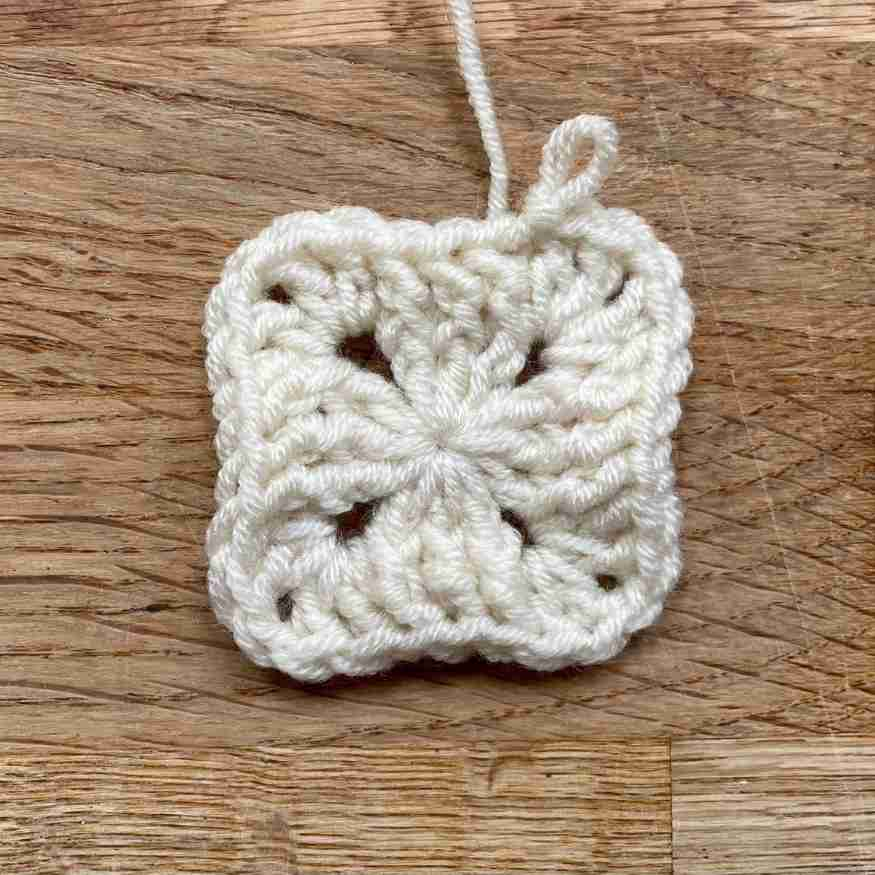
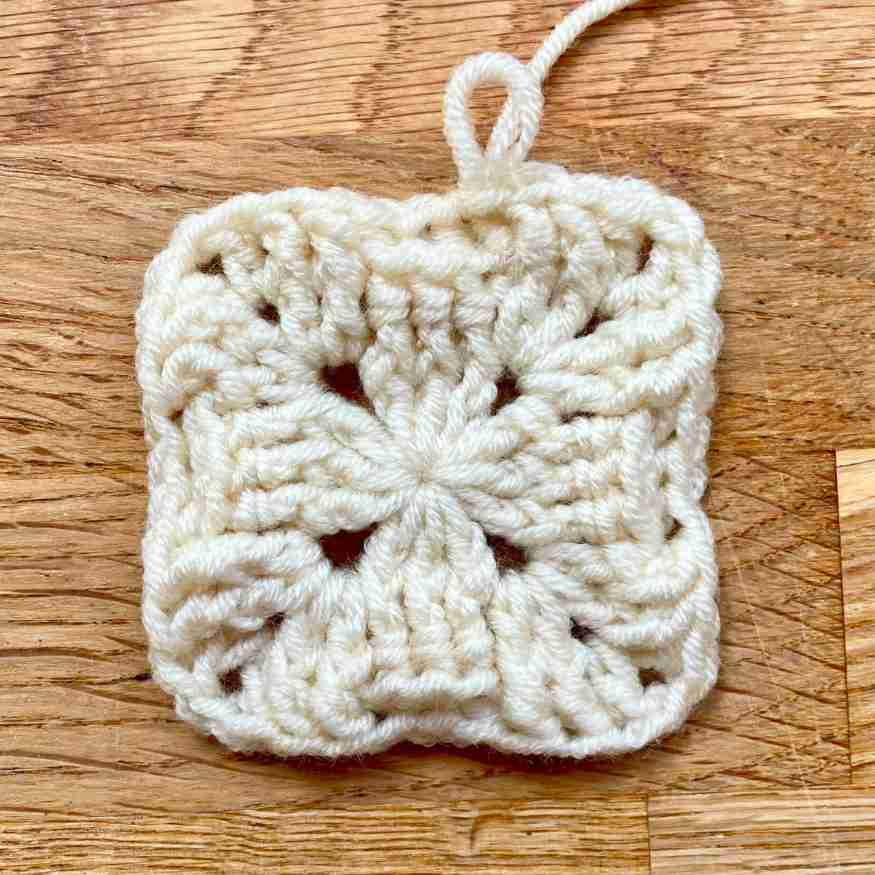
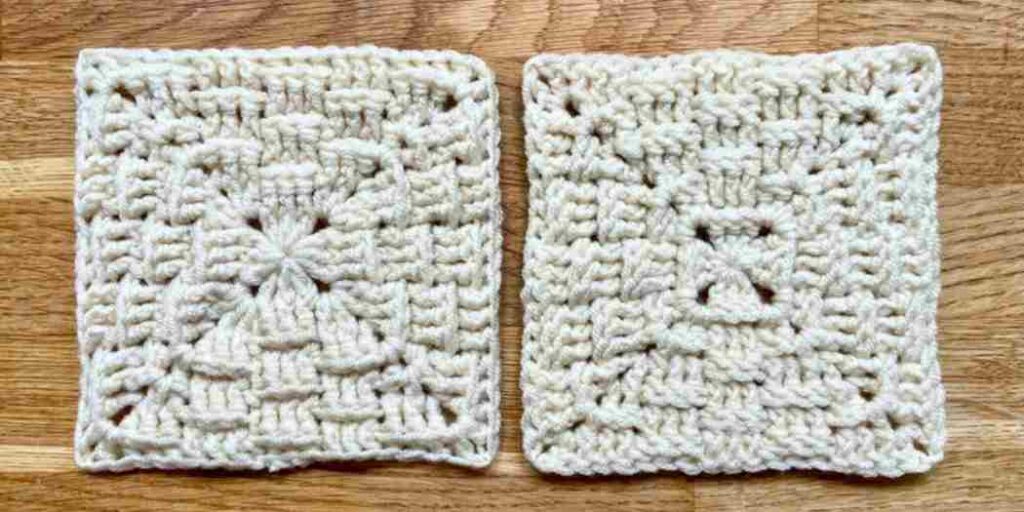
To finish, cut the yarn leaving a 4″ tail, and pull the tail right through the last slip stitch. Thread it onto a darning needle and hide it inside the stitches of your square, changing directions once or twice so it can’t work free again. Here’s how the front and reverse of your finished square will look:
As you can see, they’re not quite identical in the center, but they’re much more reversible than say waffle stitch, or bobble stitch.
Going bigger
Hopefully now you can predict the pattern to keep making your square bigger if you wish. You could even keep going until you have a whole blanket made from one giant granny square.
- Along the sides of your square, always make front post double crochets and back post double crochets in groups of three.
- Except at the corners where the number of fpdcs or bpdcs next to the corner space will change with each row.
- Always make (dc 1, ch 1, dc 1) into the corner spaces.
How to recognize where you are in the pattern
In each round, you’re making front post double crochets into the back post double crochets of the previous round, and vice versa. If you ever pick up your square, and you’re not sure where you’re at, here’s a handy-dandy reminder:
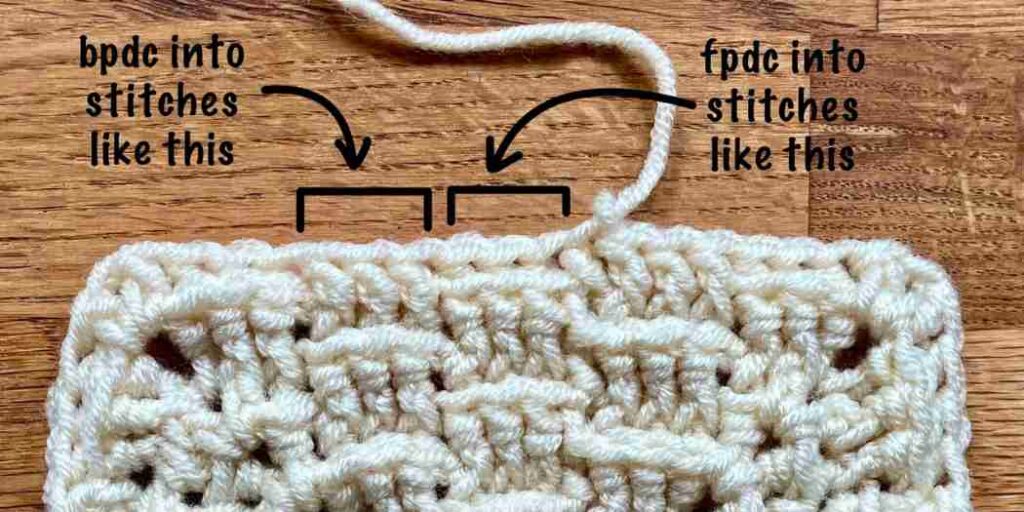
And with that, I’ve said everything I have to say about basket weave stitch crochet granny squares. I hope you have fun making them – happy hooking!
