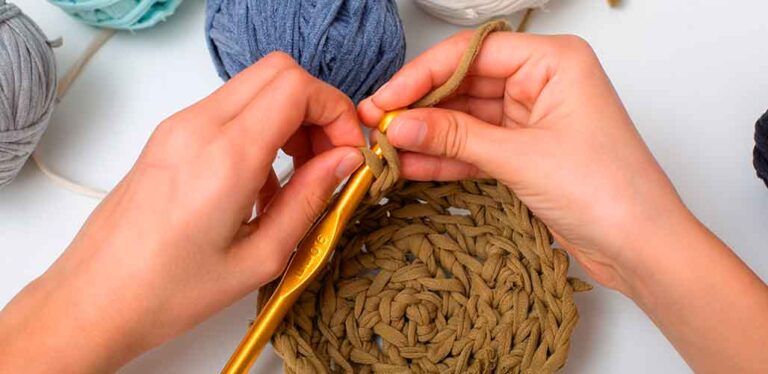
My 15 Do’s and Don’ts of Crochet Blocking
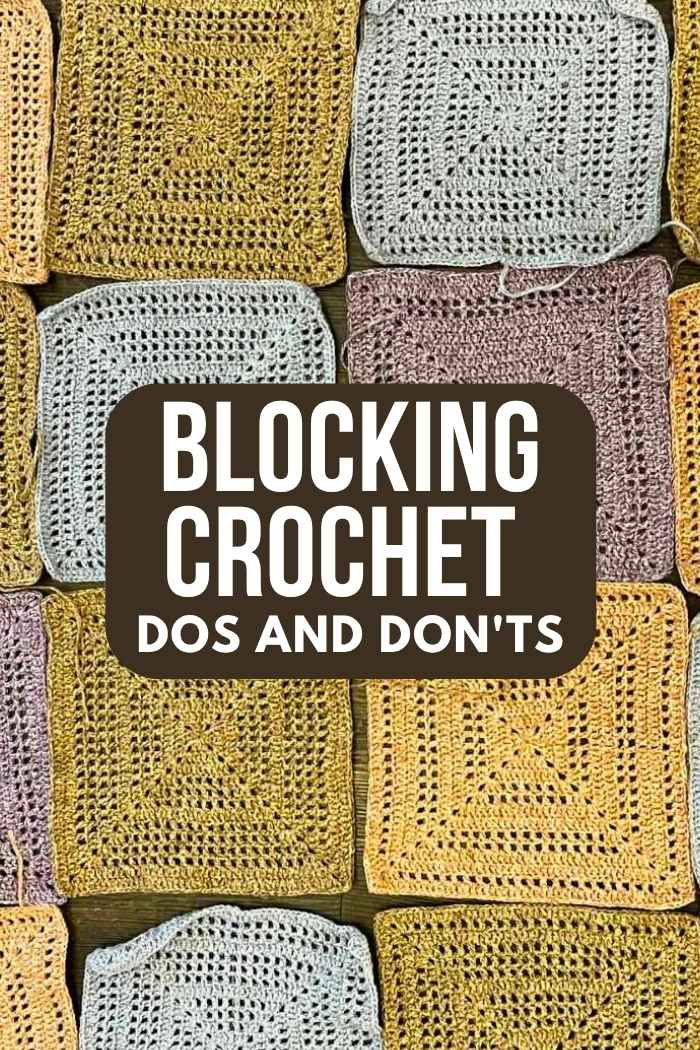
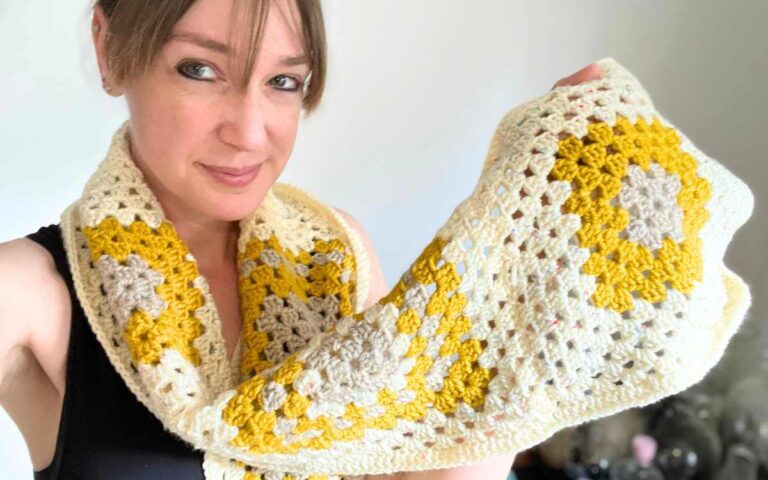
Blocking is the process of neatening your crocheted fabric, usually through dampening the worked yarn and pinning it to the desired shape. Blocked granny squares in particular have steady edges and a consistent size, where unblocked crochet blankets can be wavy and uneven in appearance. Which also makes them harder to crochet together.
Contrary to popular opinion you don’t have to wet your project to shape it, and you don’t need to go mad spending your hard earned dollars on blocking boards to get the finish you want.
I must admit I was so sceptical about blocking when I began crocheting. I think it’s because I am a bit of a natural corner-cutter. If something can be done faster, that’s the way I want to do it. However, my quick fix tendencies are no match for my need to see a job done right. (It’s fun in my head). Which is why I only made one blanket without blocking before seeing how wrong I was to skip that particular step. My natural scepticism has meant that I’ve come up with some unconventional but helpful tips for those occasions where blocking is needed.
Here are my own personal do’s and don’ts for blocking your next crochet project.
DO Block when working in 2D
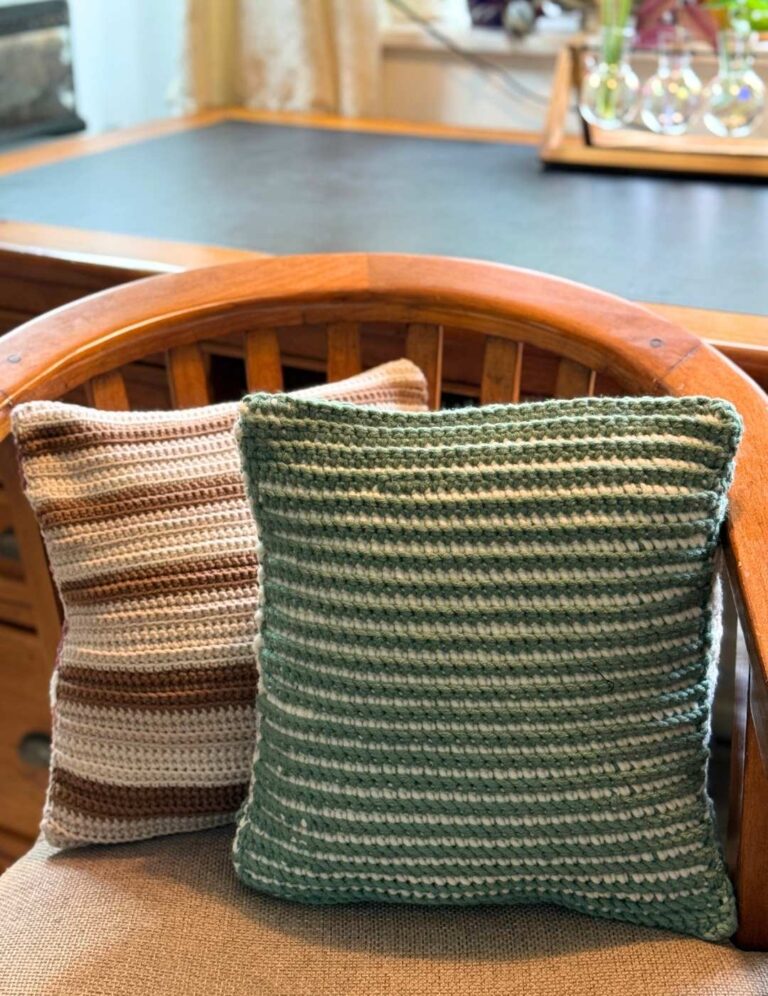
Almost all two dimensional crochet projects can benefit from being blocked.
DO Dampen your yarn
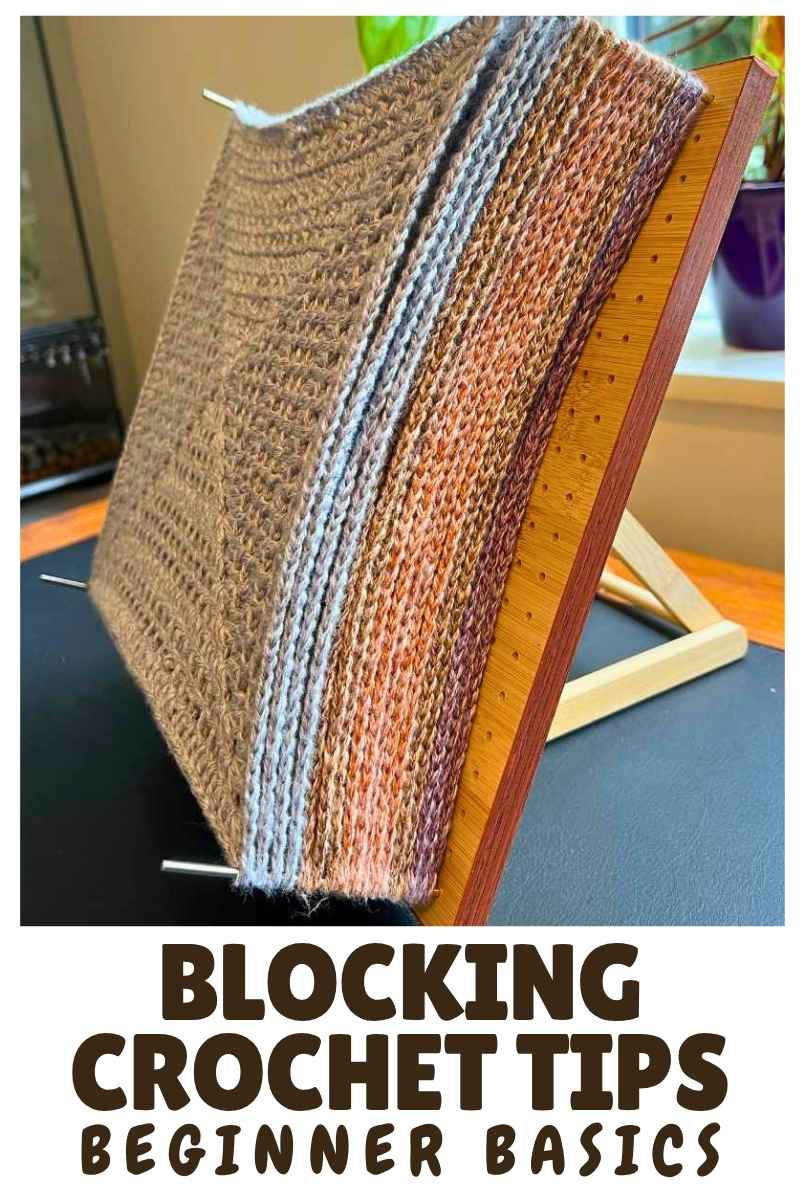
I tend to put my crochet onto the blocking board then spray it down, with a towel underneath to catch any droplets. But you can spray your yarn then peg it up, either way is fine.
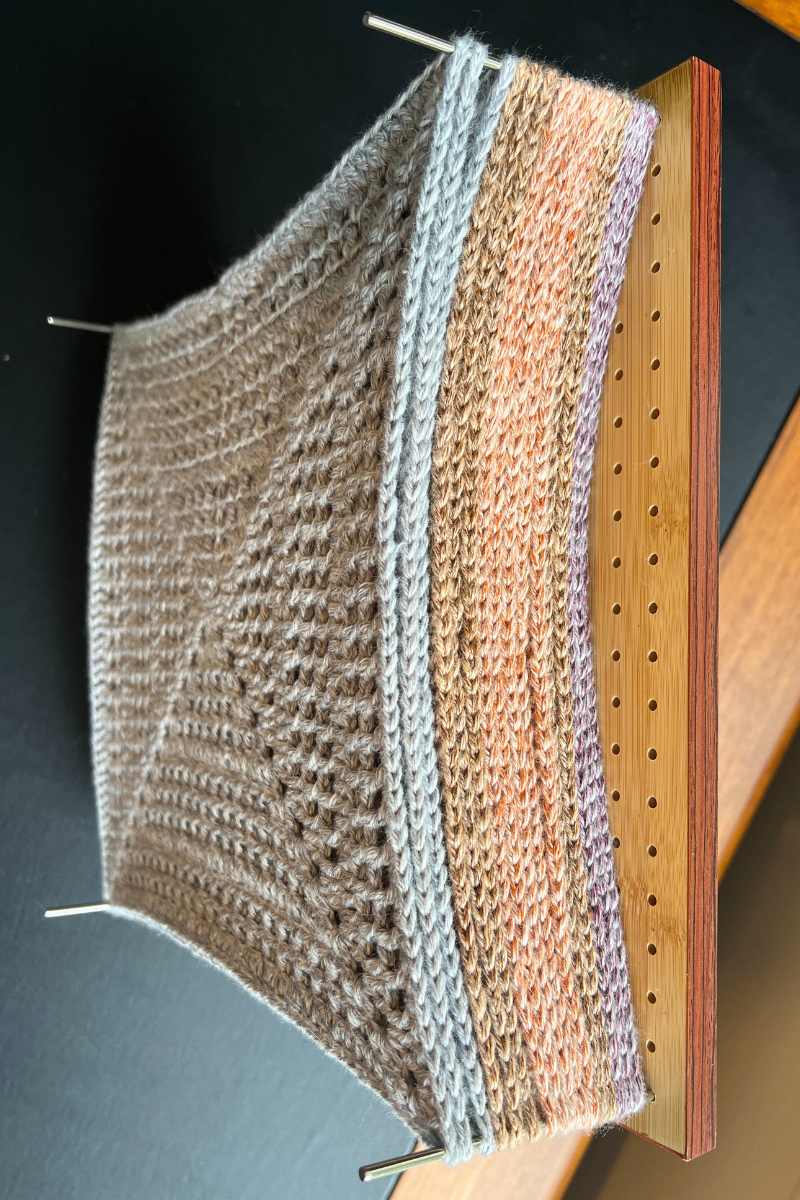
DO Stretch your work
When putting your crocheted fabric onto your blocking board, make sure to stretch it out. Don’t just stick it on according to its current shape, or it won’t neaten up.
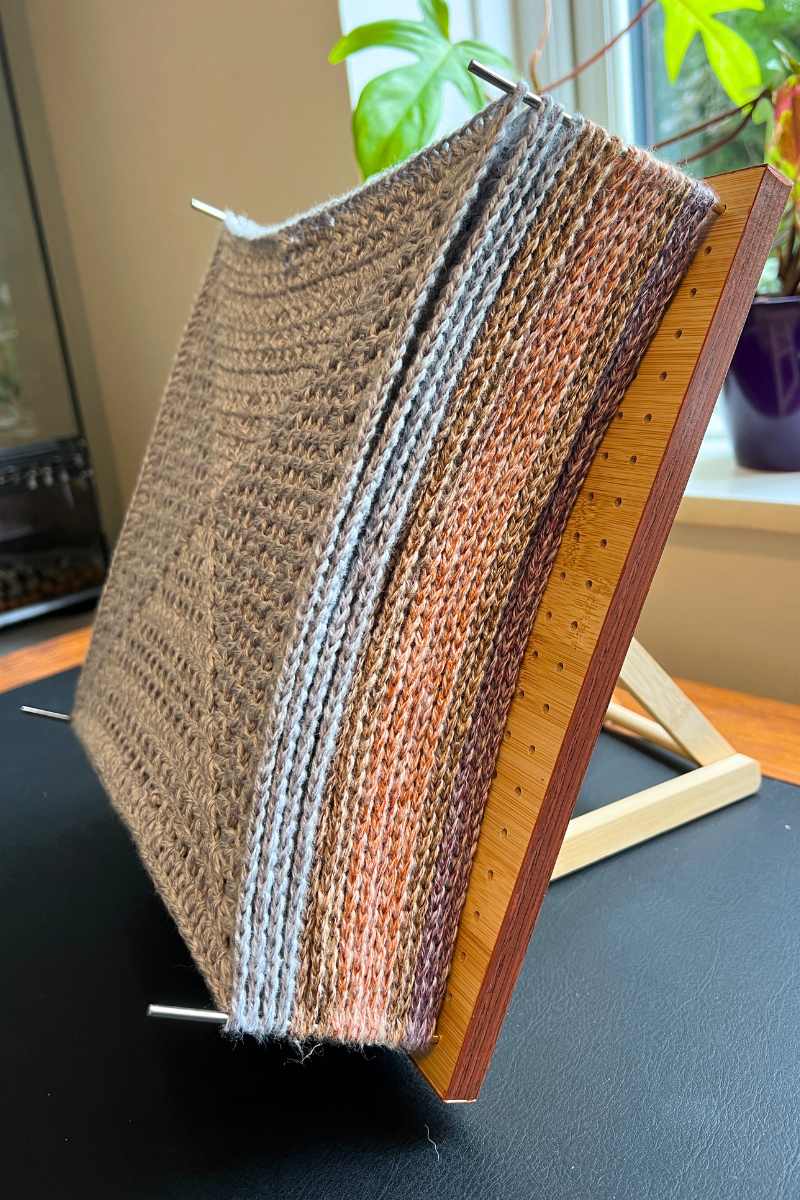
DO Choose a solid board and pins
When you block your crochet, it takes the new shape because the fibers are under tension. This means that the board and pins are supporting the weight of the natural opposing pull of the yarn. To stay the right shape and be reusable for years to come, you need to choose a solid board and strong pins.
DO Go with metal pins
Not only are metal pins less likely to bend under the pressure of the blocking process, but there is no risk of snagging on splinters like with wood. Although it still pays to check the rods for burrs before sliding your crochet on!
DO Get the biggest board you can
Taking into account the size of your craft space and your budget, I recommend going as big as you can. This is based on my semi-frequent disappointment when I can’t quite fit the thing I’ve just made onto the board!
DO Get a board with plenty of size options
If you are going for a blocking board with removable pegs, look for one with the most pegs possible to fit the space available. This will give you more options for pinning out your work to the perfect size.
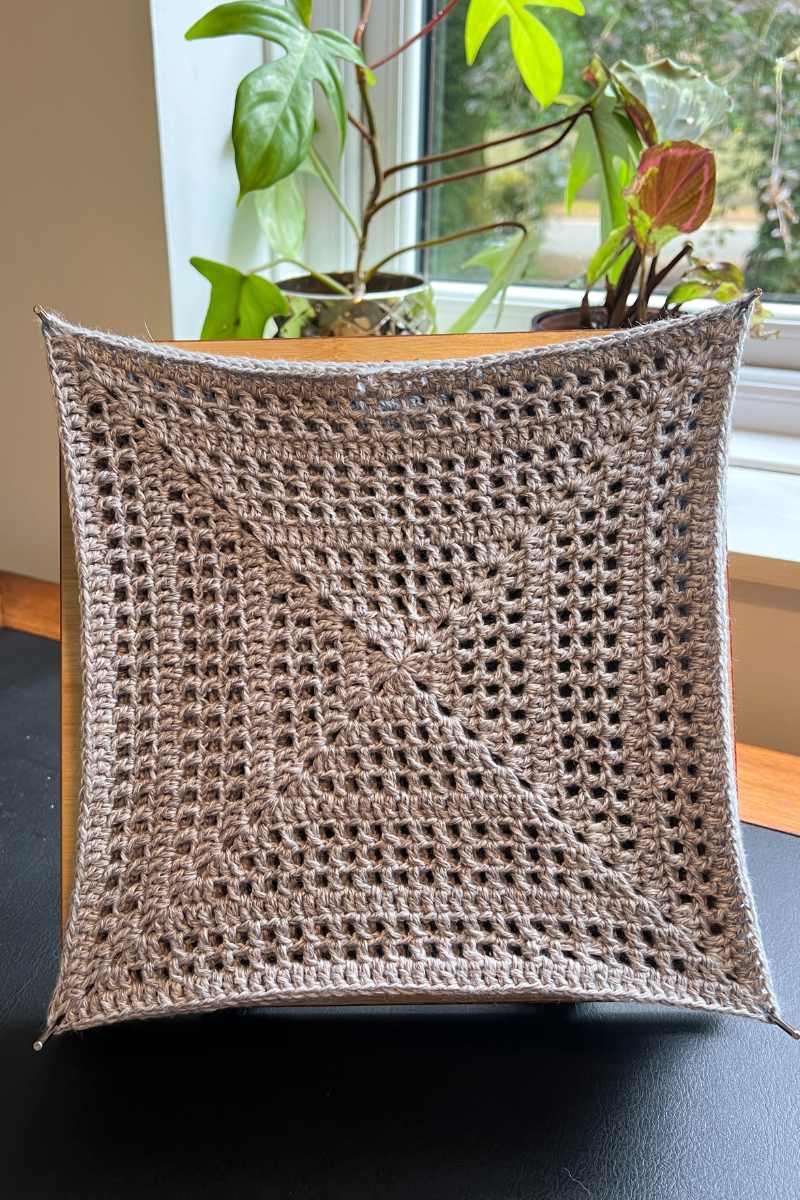
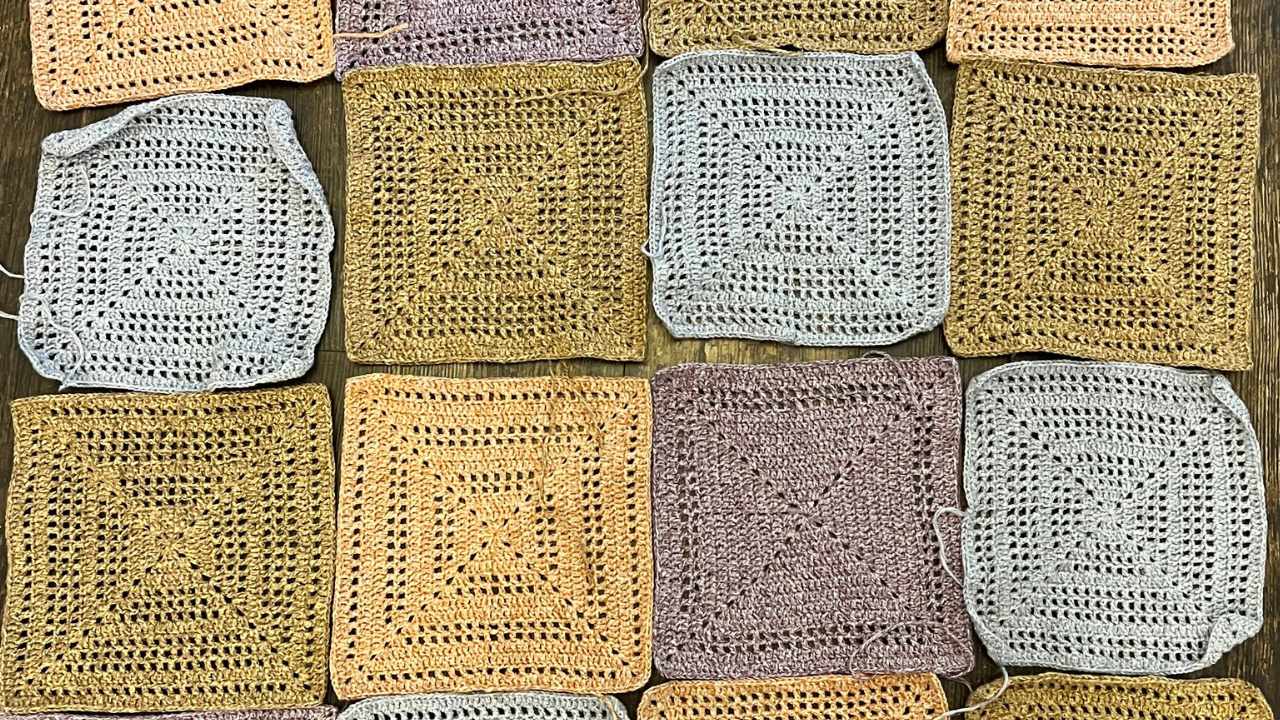
DO Plan your granny squares based on the board size
The granny squares I’ve pictured here turned out to just fit on the board. It was a close thing! In future I’ll definitely be working up the first square with the board next to me, to make sure I don’t over size it.
DO Block in sections
Remember to block your project in it’s composite parts, to make the best use of your blocking board.
DO Attach as soon as possible
Once you’ve blocked your squares and you are happy with how they look, attach them together as soon as you can to have the best chance of retaining that shape. Fibers do naturally shift back towards their original position once you remove them, but crocheting or sewing them together quickly helps to reduce this.
DON’T Soak the yarn
It’s really easy to over wet your crochet before blocking, and it’s not beneficial to the process. When sprayed down it should feel damp to the touch, but not be dripping or able to be wrung out.
DON’T Panic and dry your yarn with heat
If you have made your project too wet to block out, then pop it between two towels and just pat it dry. Avoid using a hairdryer as some yarns react poorly to intense heat and it’s hard to get an even dry.
DON’T Take it off too soon
If my time constraints allow me to do so, I like to leave my crochet on the blocking board for around three days. Some yarns are much more filling to neaten up and you can just leave them overnight, but in my experience there is no harm to waiting longer and it tends to give a more even finish.
DON’T Pin unevenly
Spoken from bitter experience, don’t quickly throw your work onto the board and go. Double and triple check that each edge is spaced exactly the same amount, or you’ll need to restart the blocking process over again when you’re done.
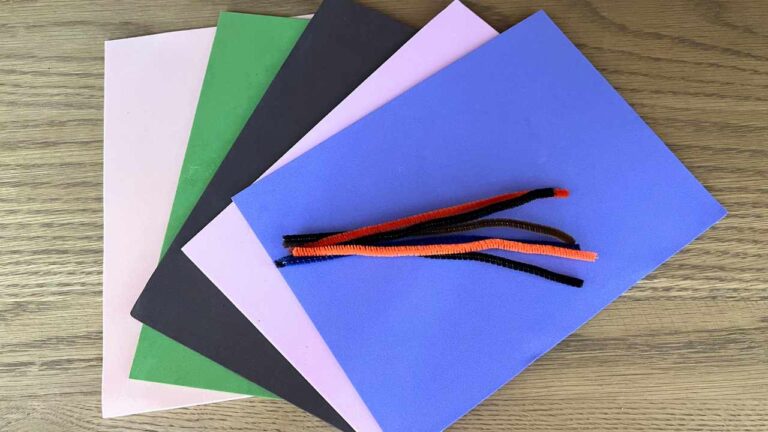
DON’T Be afraid to improvise
Blocking doesn’t need to be carried out on a specially made blocking board. I use heavy books to block bigger projects, or you can pin them using a clothes horse or washing lines. As long as you have a way to keep the crochet in the position you want it to end up as for a period of time, you’ve got a good chance of achieving the finish you’re looking for.