How To Crochet A Manatee – Free Amigurumi Pattern
A few days ago I posted on social media asking yous to let me know your favorite animals, to get some new inspiration for crochet designs. I was blown away by the response, there were so many great ideas! And the moment I saw a crochet manatee pattern suggested, I knew that was the one I’d be working on first.

There is something so uniquely adorable about these marine mammals. I’m desperate to see one in real life, but to my knowledge there aren’t any in aquariums in the UK, so as of yet I’ve not met a real sea cow.
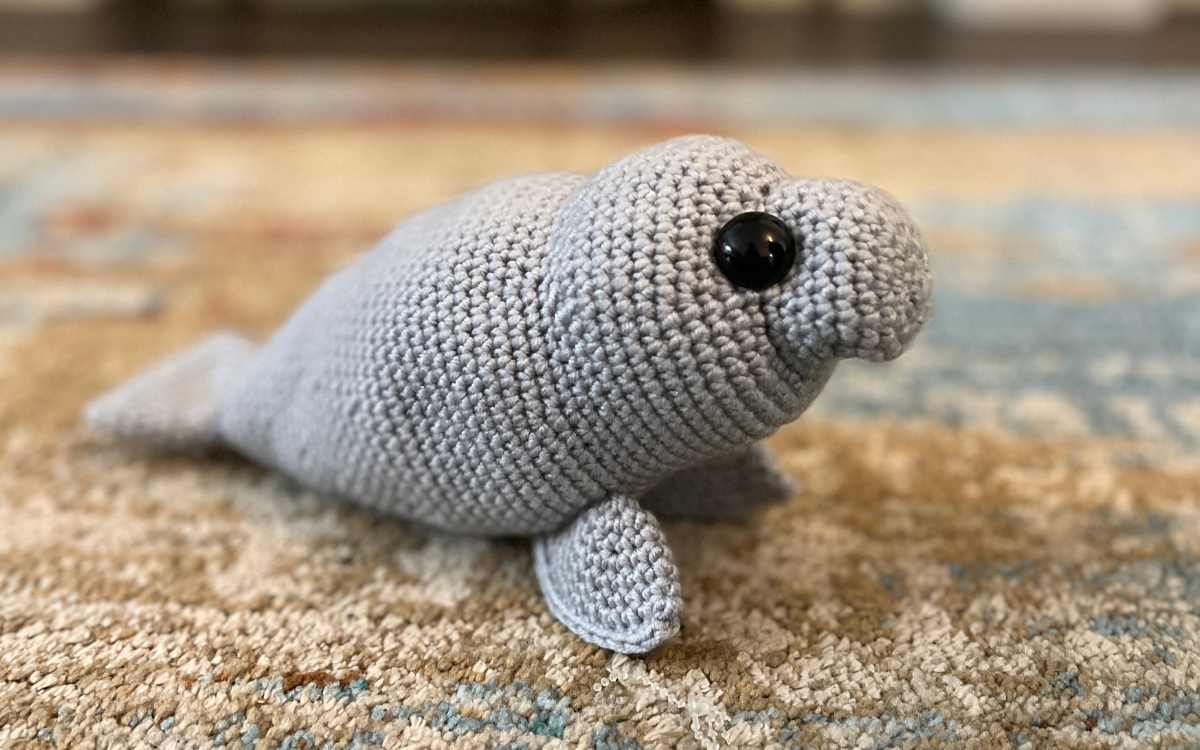
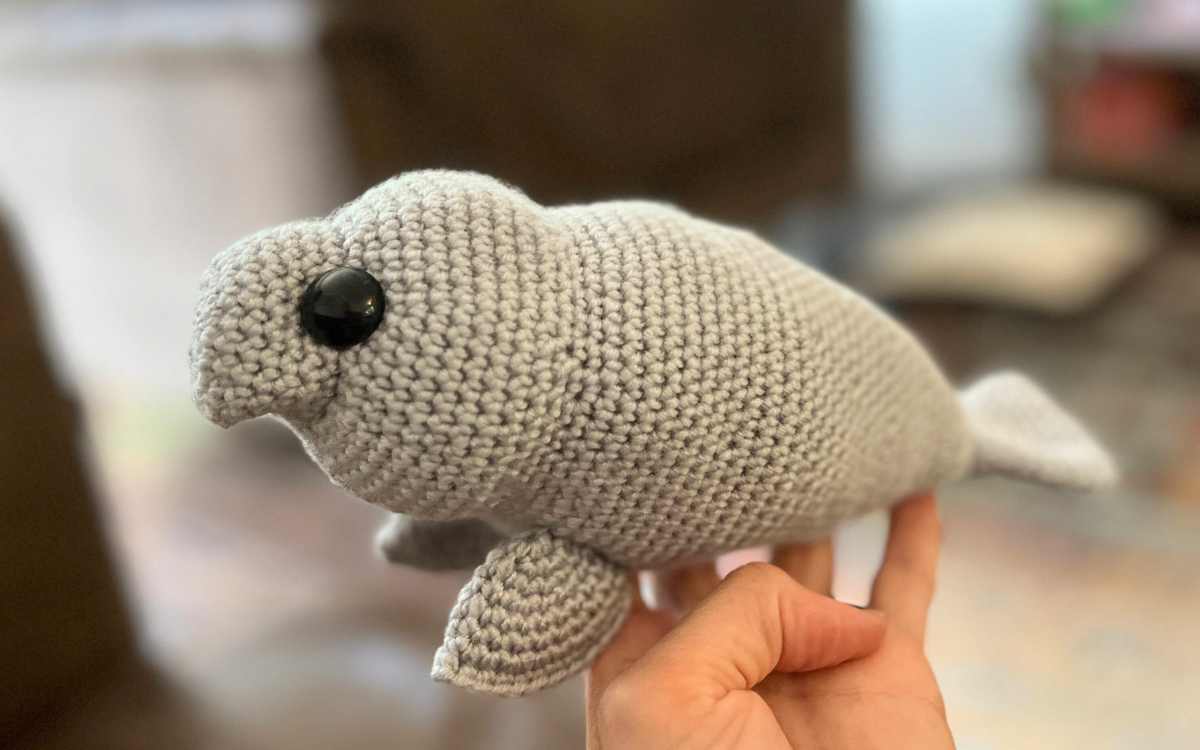
So it’s a good thing I’ve crocheted my own amigurumi version, and now you can too!

Your Kit List
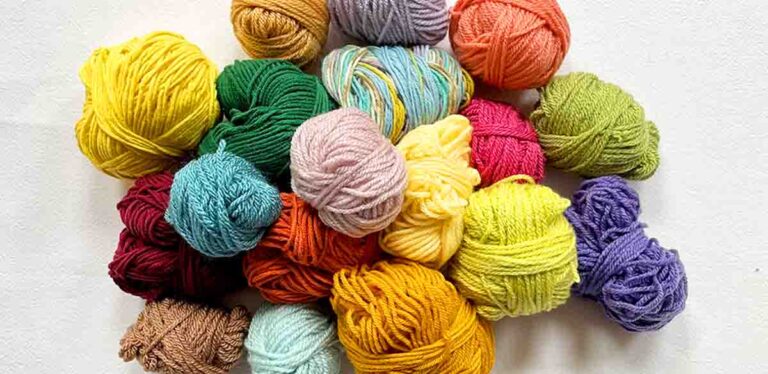
Here’s what I used to produce this manatee amigurumi design. The yarn was from my stash. I’m pretty sure mine is from the Women’s Institute Soft and Cuddly line, but any DK yarn should work just fine.
- 50g light gray DK yarn
- 3.5mm crochet hook
- 16mm safety eyes
- Tapestry needle
- Toy safe stuffing
Reading This Pattern
This is a beginner friendly crochet project, however I do use abbreviations on my patterns. Here they are for those that aren’t familiar with the terms:
- magic circle
- sc – single crochet
- 2sc – put two single crochets into one stitch
- sc2tog – join two stitches together with one single crochet
- FP – front post
- FLO – front loop only
- st – stitch
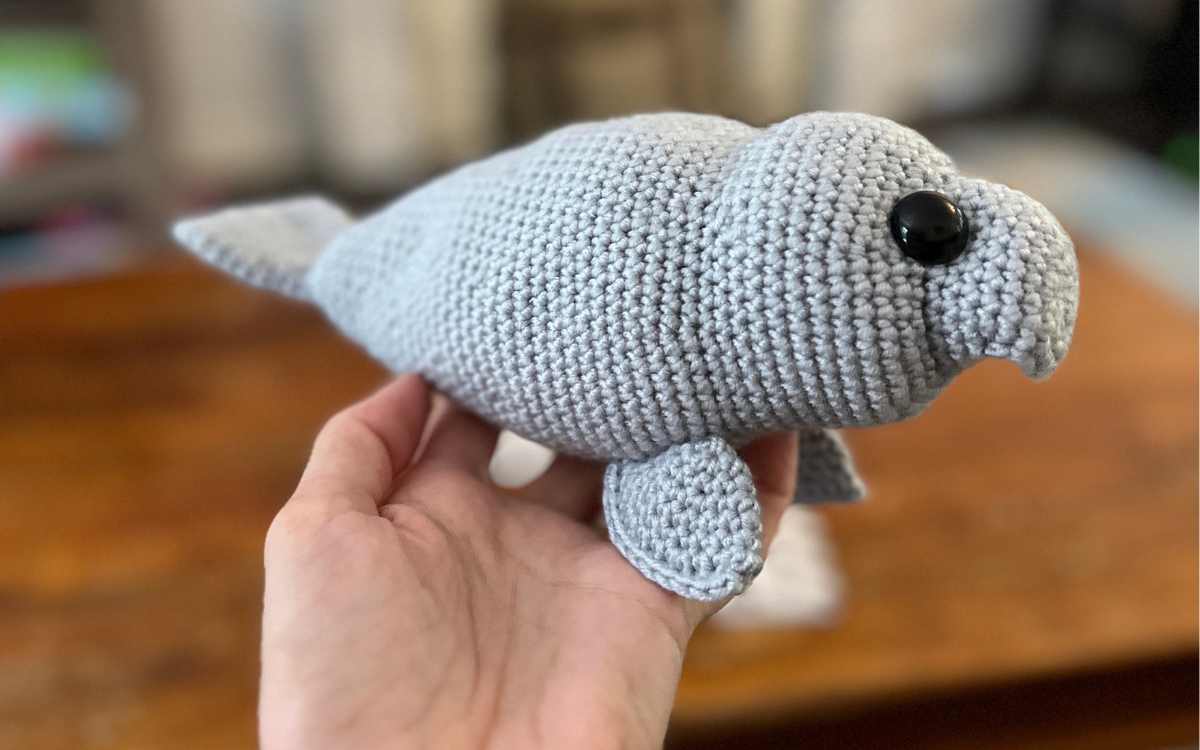
The Manatee Pattern
This is a very low sew project, you’ll make your manatee in three parts, the head, body and tail, then two separate fins. That’s it!
Head, Body and Tail
Round 1
Make a magic circle of four stitches (4)
Round 2
2sc x 4 (8)
Round 3
2sc x 8 (16)
Round 4
(1sc, 2sc) x 8 (24)
Round 5
1sc x 18, then 1sc x 6 into the BLO (24)
Mark stitches 19 and 25 of this round with a stitch marker or scrap of yarn.
Round 6
1sc x 24
Round 7
This round is going to need a pinch of concentration. You’ll begin working in a standard round, then move back to work a couple of stitches into a previous round so make sure to do this part without distractions if you can!
1sc x 18, 1sc into the front post (FP) of stitch 19 of round 5. 1sc x 4, 1sc into FP of st 24 of round 5.
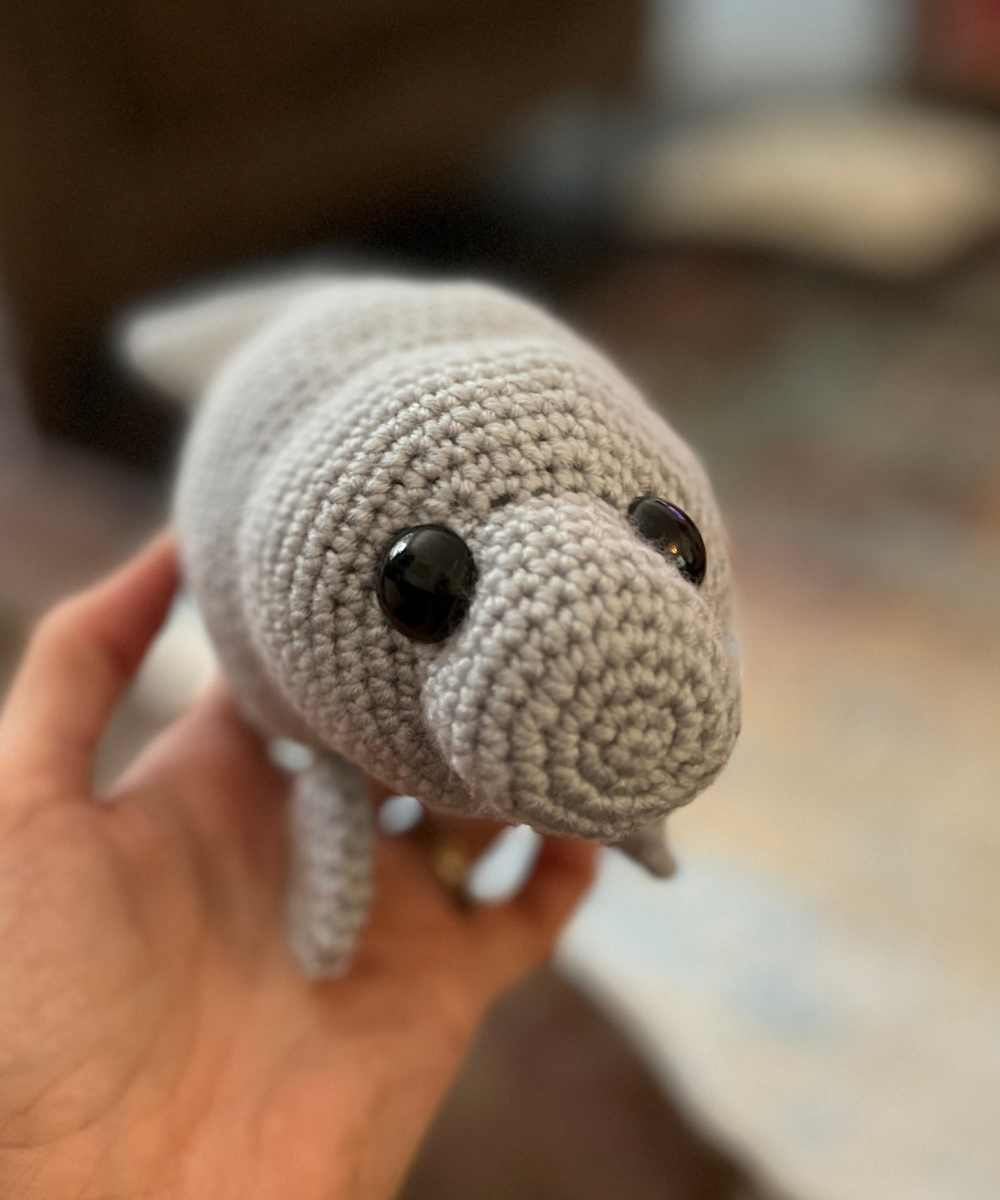
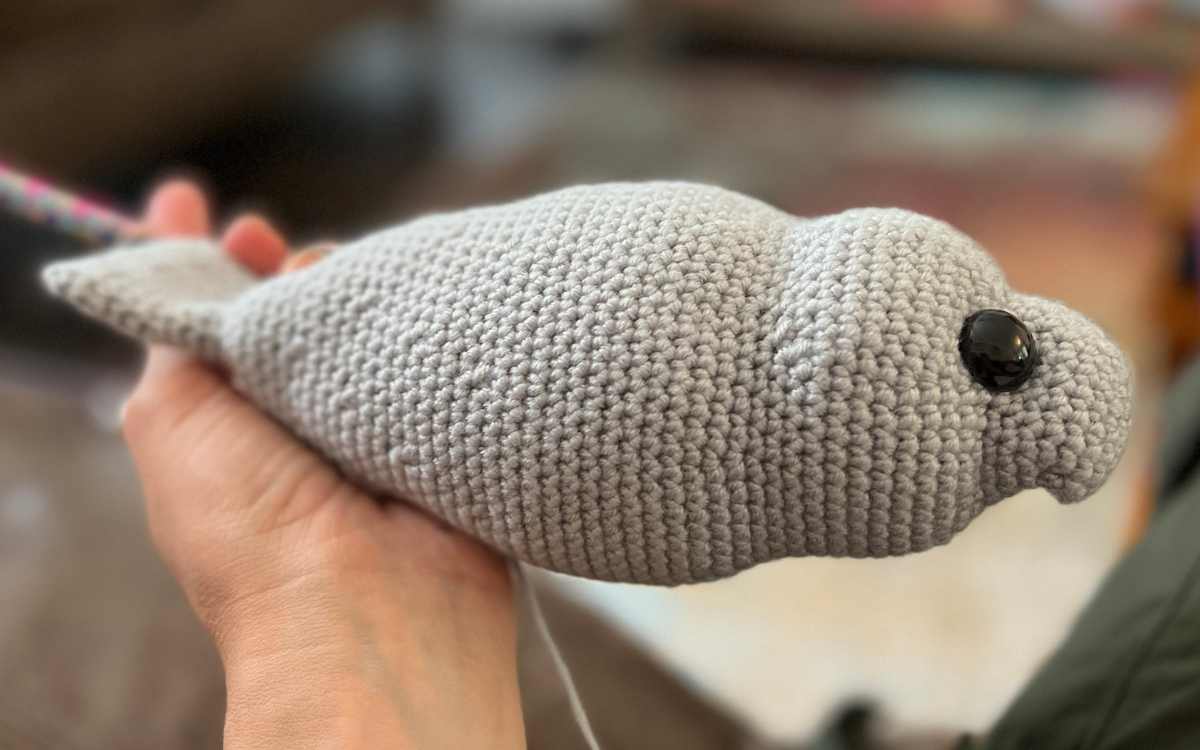
The rest of the pattern will be worked in standard rounds, this is to give your manatee the overhanging lip that’s so distinctive to the species.

Round 8 – 10
1sc x 24
Round 11
FLO (1sc x 2, 2sc) x 8 (32)
(1sc x 2, 2sc) x 8 (32)
Round 12
(1sc x 3, 2sc) x 8 (40)
Round 13
1sc x 40
Round 14
(1sc x 4, 2sc) x 5, 1sc x 15 (45)
Round 15
(1sc x 5, 2sc) x 5, 1sc x 15 (50)
Round 16 – 19
1sc x 50
Round 20
(1sc x 5, sc2tog) x 5, 1sc x 15 (45)
Round 21
(1sc x 4, sc2tog) x 5, 1sc x 15 (40)
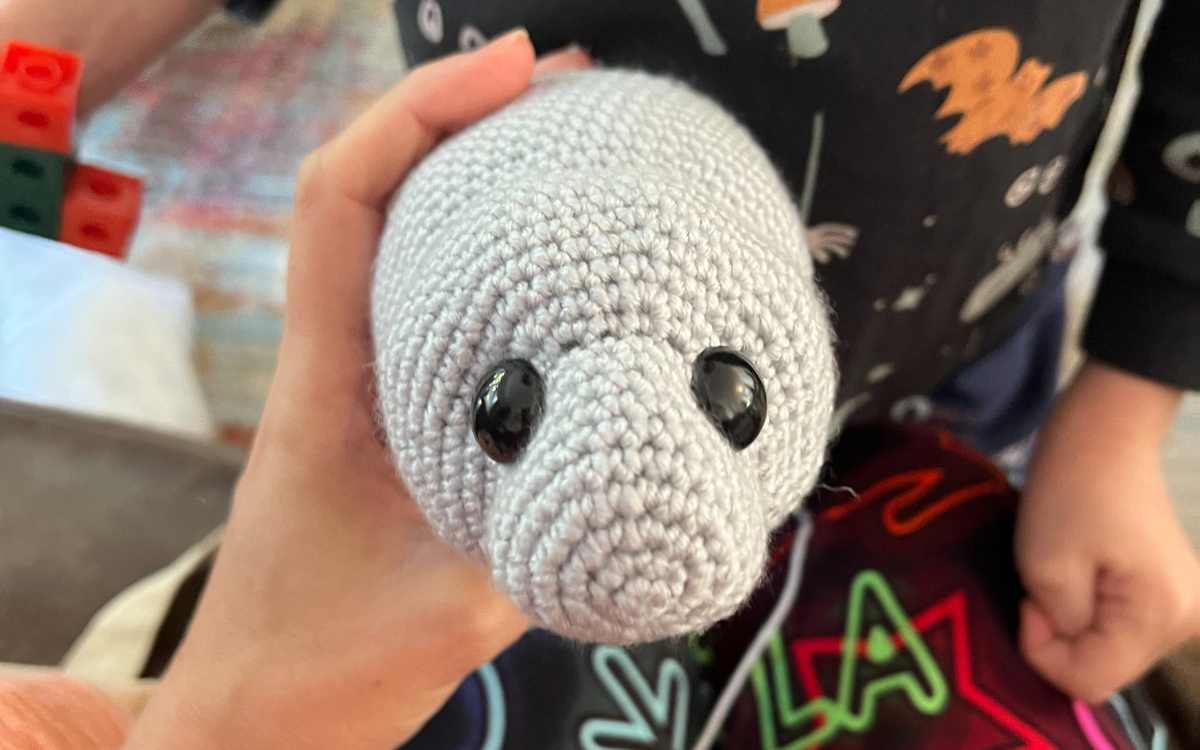
Add the safety eyes to the head. You want the lip section to be hanging between them, with the eyes offset at either side. You can also add a section of yarn to the backings of the safety eyes to draw them together slightly.
Stuff the head gently, leaving the tipped lip empty of padding.
Round 22
1sc x 40
Round 23
(1sc x 4, 2sc) x 8 (48)
Round 24
(1sc x 5, 2sc) x 8 (56)
Round 25 – 35
1sc x 56
Round 36
(1sc x 5, sc2tog) x 8 (48)
Round 37 – 39
1sc x 48
Round 40
(1sc x 4, sc2tog) x 8 (40)
Round 41- 43
1sc x 40
Round 44
(1sc x 3, sc2tog) x 8 (32)
Round 45 – 47
1sc x 32
Round 48
(1sc x 2, sc2tog) x 8 (24)
Round 49 – 52
1sc x 24
Round 53
(1sc, sc2tog) x 8 (16)
Fill the rest of the body with toy stuffing.
Round 54
sc2tog x 8 (8)
Round 55
2sc x 8 (16)
Round 56 – 58
1sc x 16
Round 59
(1sc, 2sc) x 8 (24)
Round 60 – 61
1sc x 24
Round 62
(1sc x 2, 2sc) x 8 (32)
Round 63
(1sc x 2, sc2tog) x 8 (24)
Round 64

Flatten the tail to line up with the eyes. You might need to make 2 or 3 single crochets in addition to the end of the round to create an even finish. Now join the two sides together with single crochets. This will create a fanned end to the tail, 12 stitches in length.

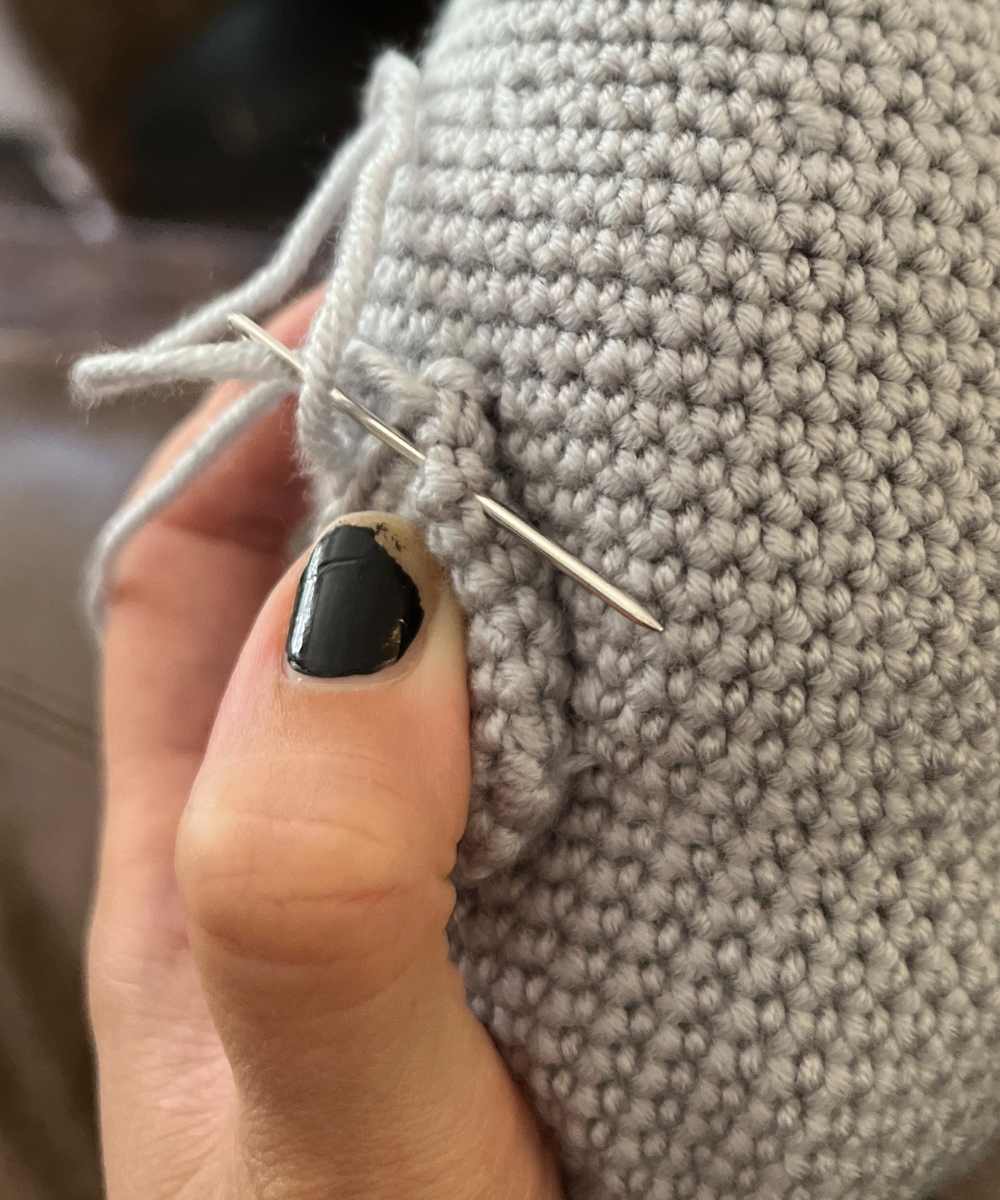
Attach a yarn needle, and insert the yarn into the tail, bringing it out at round 54. Complete the tail by sewing in and out of this round to secure the toy stuffing in the main body and not allow it to enter the tail section.
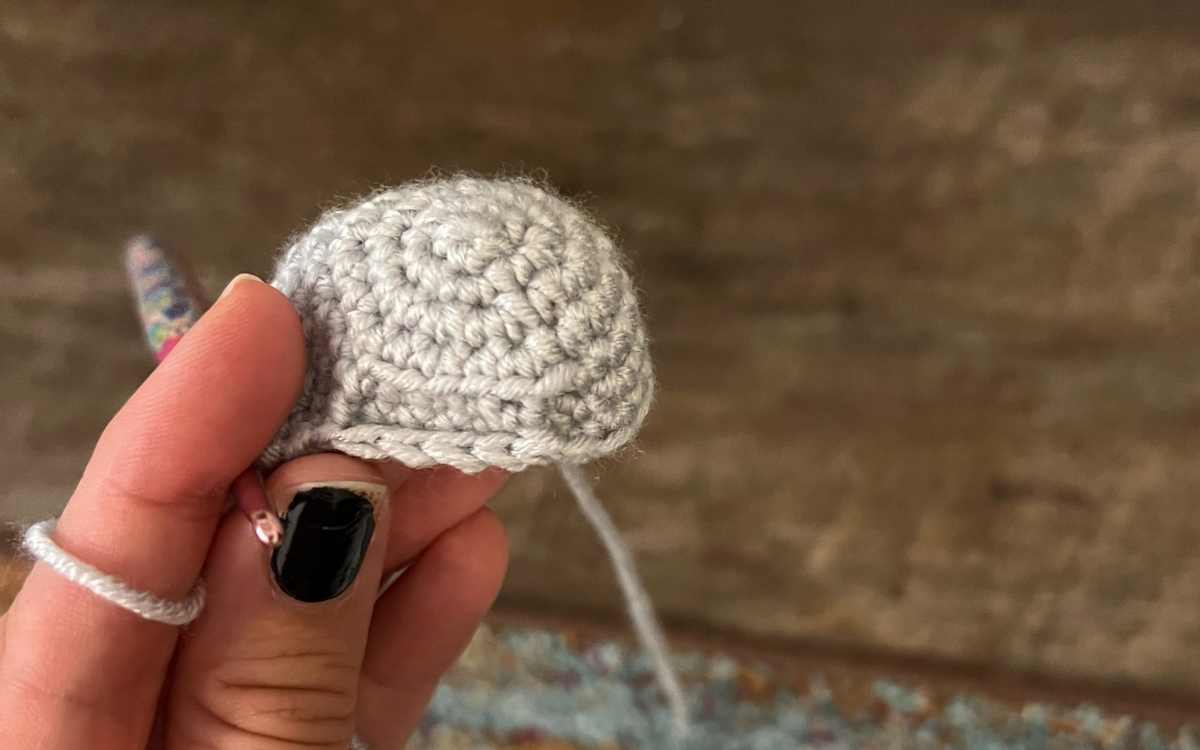
Crocheting the Fins
Round 1
Make a magic circle of six stitches (6)
Round 2
2sc x 6 (12)
Round 3
1sc x 12
Round 4
(1sc, 2sc) x 6 (18)
Round 5 – 6
1sc x 18
Round 7
(1sc x 2, 2sc) x 6 (24)
Round 8
Flatten the fins, and single crochet along the edge to join the two sides together. Cut off long yarn tails ready for sewing.
Attaching the Fins
You now just need to attach a yarn needle to the tail of the fins’ yarn and hand sew them onto the sides of your manatee.
I think it looks cutest when the flippers are close to each other underneath your manatee, starting at round 22 level.
I’d love to hear what you think of this new design, I had a lot of fun making that characteristic mouth and hope you like it as much as I do!
Happy Crocheting,
Lucy Kate, x