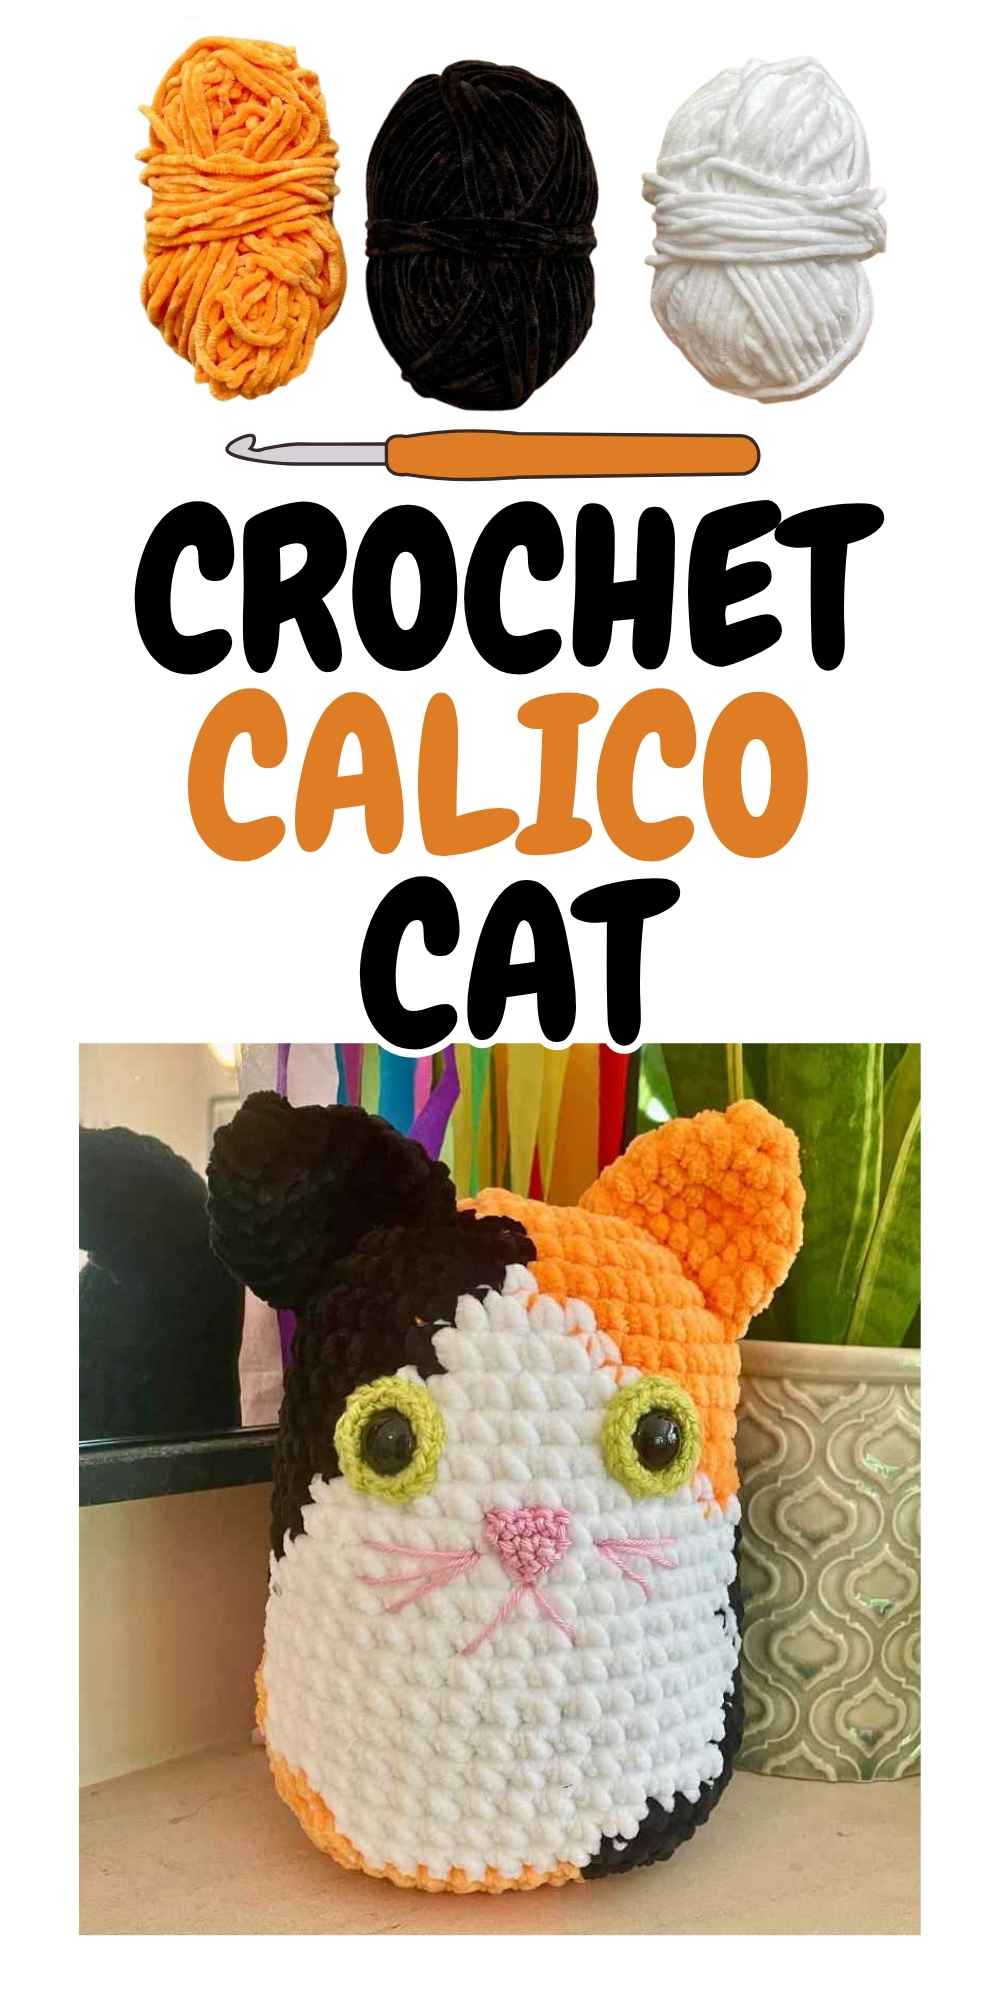
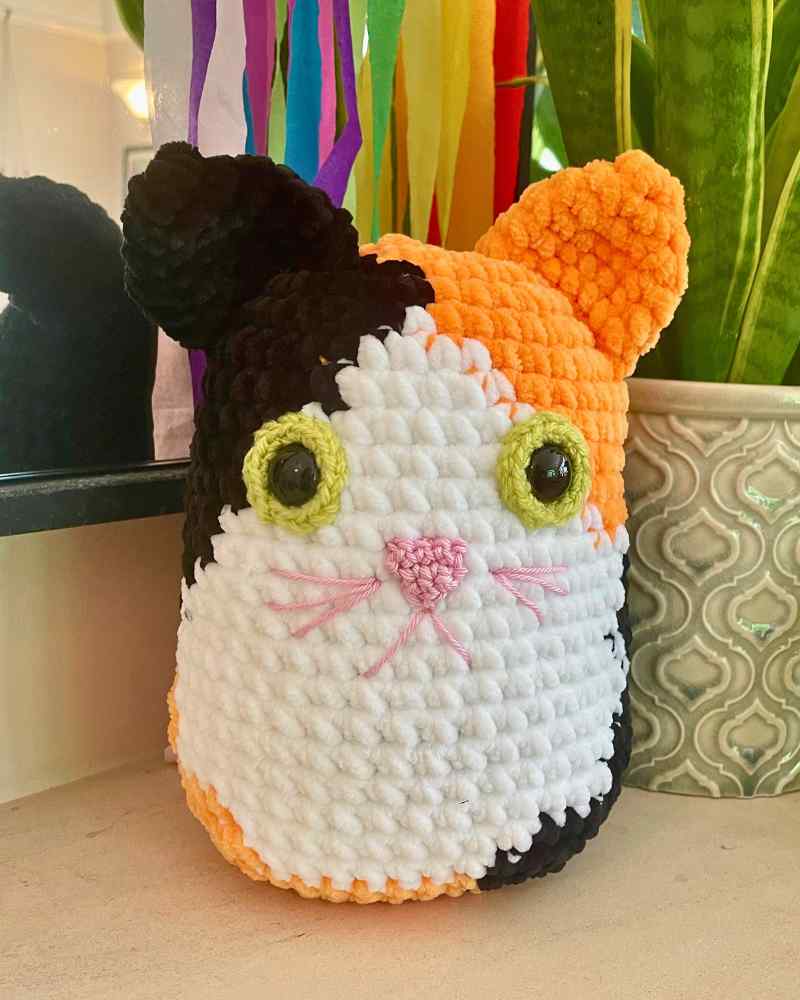
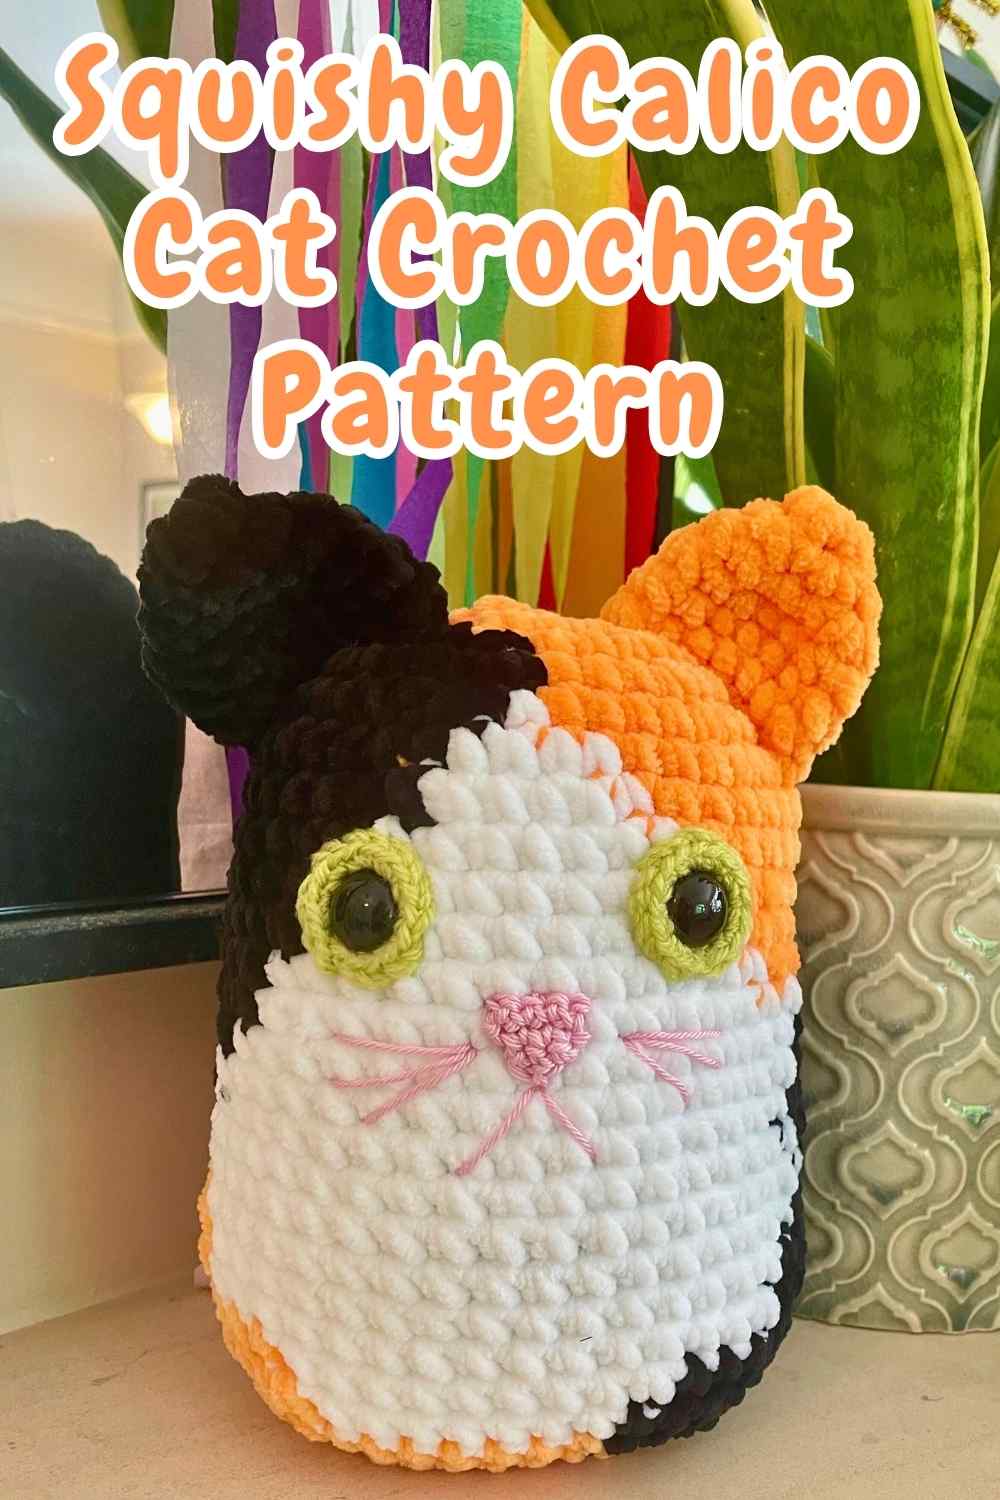
Squishy Crochet Calico Cat Pattern
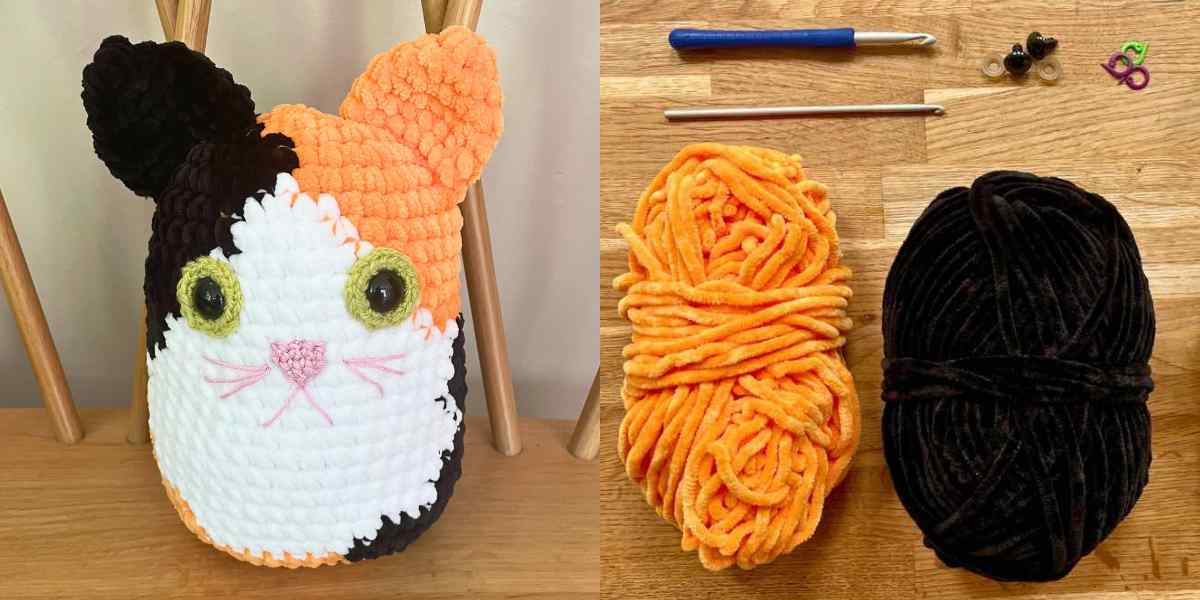
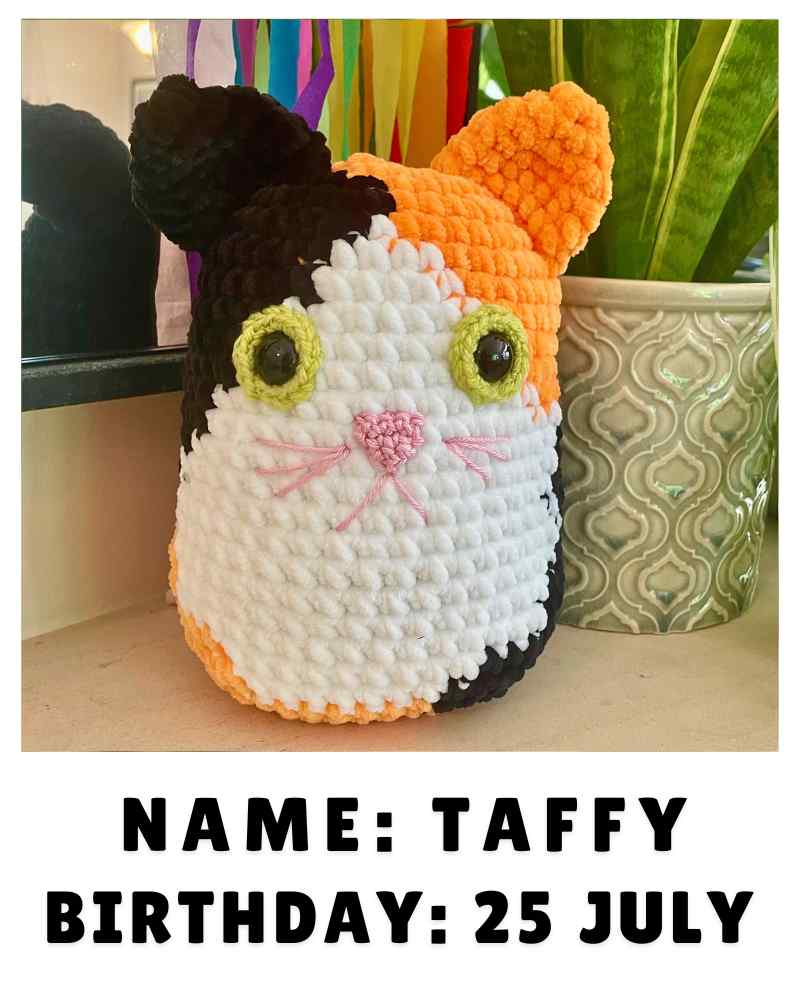
Miaow! Welcome to my squishy crochet calico cat pattern. Not only is she irresistibly cute, she’s a really fun project for practicing colorwork. Obviously she’s a girl, because the genetic rules of pattern inheritance in cats mean that all calicos are female.
Depending on the yarn you use, she can either be big enough to cuddle, or small enough to sit on a desk or shelf as a lucky mascot for whoever’s lucky enough to own her. Calico cats are believed to bring good fortune in several cultures, including the USA, Germany and Japan – you could crochet a calico cat for yourself, for someone starting a new business, or a new home owner. Or just anyone who loves cats! And then you should probably make them a black and tabby buddy, or pair him up with a few mice! And perhaps crochet a bed or hammock for your real live furry kitty pal too.
Materials
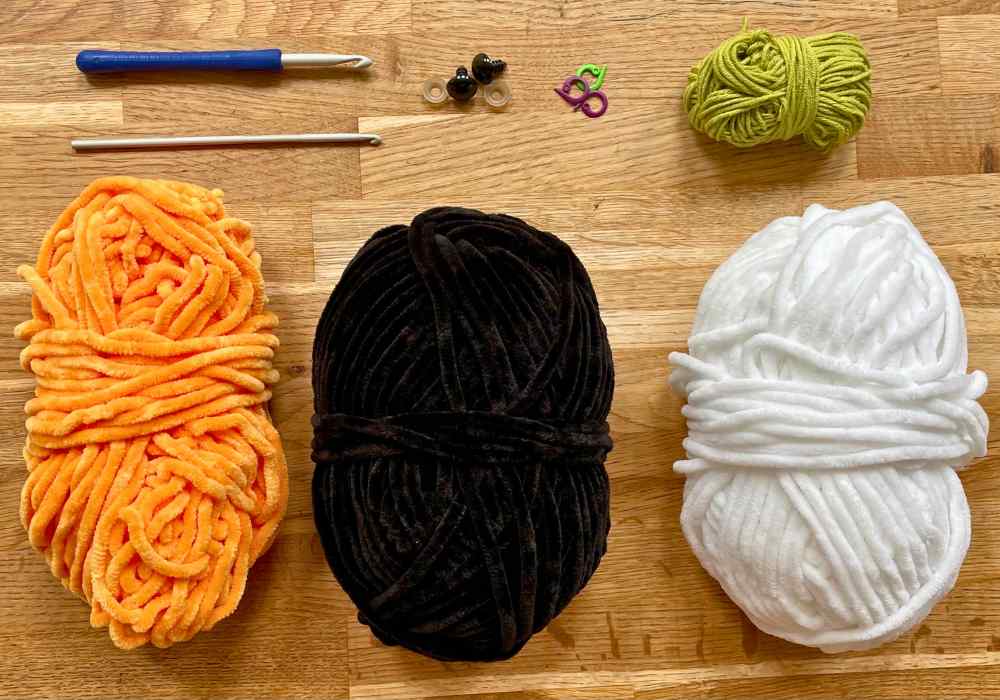
To make your own crochet calico cat, you’ll need:
- Yarn in black, orange and white. Or gray, pastel orange and white for a lovely, soft-hued dilute calico cat. The only requirement is that all three yarns are the same weight. I’ve used Cygnet’s Jellybaby yarn in black, tangerine and white. Jellybaby is a super bulky yarn, and in the next section I’ve got some details about how the size of yarn you choose will affect the size of your finished cat.
- Lighter yarn in orange, blue or green for the eyes, and pink or peach for the nose, mouth and whiskers. I’m using up some leftovers of Stylecraft special DK in the shade pistachio, and Patons cotton DK in the shade nougat. I think the smooth finish of the cotton makes really effective whiskers!
- Crochet hooks. One for your heavier yarns, and another one for your lighter yarns. Amigurumi holds its shape better when the tension is tight, so I recommend using a smaller hook than the wrapper on your heavy yarns recommends. For the lighter yarns, use the size recommended on the wrapper(s).
- Safety eyes. Notes on size down below!
- Stitch markers. Or scraps of yarn in a contrasting color to help keep track of where each round starts and ends.
- Toy stuffing. Such as Poly-fil.
- Darning needle.
How big will your cat be?
This pattern works for any weight of yarn, and the yarn you choose determines how big it turns out. The yarn you choose for your cat’s body also governs what size yarn you need for the eyes, nose and mouth, and what size safety eyes are the right scale.
| Weight of your black, orange and white yarns | Finished squishy height (approx., not including ears) | Yarn weight to use for the irises and nose | Diameter of safety eyes |
| DK | 4 inches | Lace | 12mm |
| Worsted (aran) | 5 inches | Superfine/sock | 12mm |
| Bulky | 6 inches | Fine | 16mm |
| Super bulky | 7 inches | DK | 16mm |
| Jumbo | 8+ inches | Worsted | 20mm |
Pattern notes
This pattern is written in standard American crochet terms. The stitches and abbreviations used are:
Ch chain stitch
Sl st slip stitch
Sc single crochet
Inc increase (2 sc in the same space)
Dec decrease
For the decreases, I recommend using the invisible decrease method, which is ideal for amigurumi projects:
- Insert the hook into the front loop only of the next two stitches (below left).
- Yarn over the hook and draw it through both front loops (two loops remaining on hook).
- Yarn over and draw it through both loops (below right).

Notes on changing color
To replicate a calico cat’s gorgeous markings on your crochet squishy, this pattern involves a lot of color changes! There are three main ways of changing color between one stitch and the next:
- Finish the last stitch in your old color, and start the next stitch with your new color. This method is simplest, but the old color ‘bleeds’ a bit into the area of new color. Usually crocheters want to avoid that, but actually I think it wouldn’t matter much here. The color changes in real cats’ fur aren’t perfect straight lines either!
- Finish the last stitch of the old color with the new color. To make your last stitch, insert the hook and draw through a loop of the old color, so you have two loops of the old color on the hook. Then put the new color over your hook and draw it through both loops to complete your single crochet.
- Finish the last stitch in your old color, unhook your hook and insert it downwards behind the front top loop and left leg of the last stitch. Draw through a loop of your new color, and gently pull the tail of the old color to free it from the top of the stitch. To see a video of crocheter Jaqui-Len Thurman using this technique over on Insta, click here. It produces essentially the same result as option 2, but you finish the last stitch in the old color and incorporate the new color retrospectively. Some people feel it’s just making extra work, but when doing I find it helps with counting colorwork to finish the last stitch in each color!
Notes on carrying out-of-use colors
As for the colors you’re not using (for example the black and white yarns, while you’re crocheting in orange), again you have 3 choices:
- Carry them inside the stitches of the color you are using. There’s a detailed, illustrated example of this technique in this diagonal granny square tutorial. It’s a great way of managing two colors, but it’s not really practical with three colors or more.
- Carry them as floats. This is the same technique, but instead of trapping your yarns inside every stitch of the other color in use, just trap them in every 4th or 5th stitch. The exposed sections of yarn in between each trapped spot are known as floats. This is a good way to avoid cutting your yarn and dealing with lots of loose ends later. Just take care to make sure your floats are long enough that they won’t affect the tension when you stuff your cat later.
- Cut the yarn. Each time you change color, cut the yarn leaving a 2 or 3 inch tail. Once you’ve made a few stitches in the next color, knot the yarn tails together.
You can work with whatever feels most comfortable. I’ve used a combination of all three techniques for this project, depending on the size of the gap I need to bridge between dropping a color and picking it back up again. Since fluffy chenilles don’t tend to unravel or come loose easily, I could even cut the yarn and leave the ends loose, then have a big knotting session near the end.
Squishy crochet calico cat pattern
The biggest, most complex part of your calico cat is its body, with its beautiful pattern of black, orange and white patches. Start with your orange yarn and make a magic circle, or chain four stitches and slip stitch into the furthest chain from the hook to make a loop.
1st round
Orange yarn: 8 sc (8 sts)
2nd round
Orange yarn: 8 inc (16 sts)
If you haven’t already started using a stitch marker to mark the end of each round, I encourage you to grab one now!
3rd round
Orange yarn: Sc 1
Black yarn: *Inc, sc 1* x3
Orange yarn: *Inc, sc 1* x4, inc
(24 sts in total)
4th round
Black yarn: *Sc 2, inc* x4
Orange yarn: *Sc 2, inc* x2, sc 2
Black yarn: Inc, sc 2, inc
(32 sts in total)
5th round
Black yarn: *Sc 3, inc* x4
Orange yarn: *Sc 3, inc* x2, 2 sc
Black yarn: Sc 1, inc, sc 2
Orange yarn: Sc 1, inc
(40 sts in total)
And the (no doubt welcome) news is that that’s the last of the increasing rounds too. Rounds 6 to 23 are simply worked in continuous single crochet.
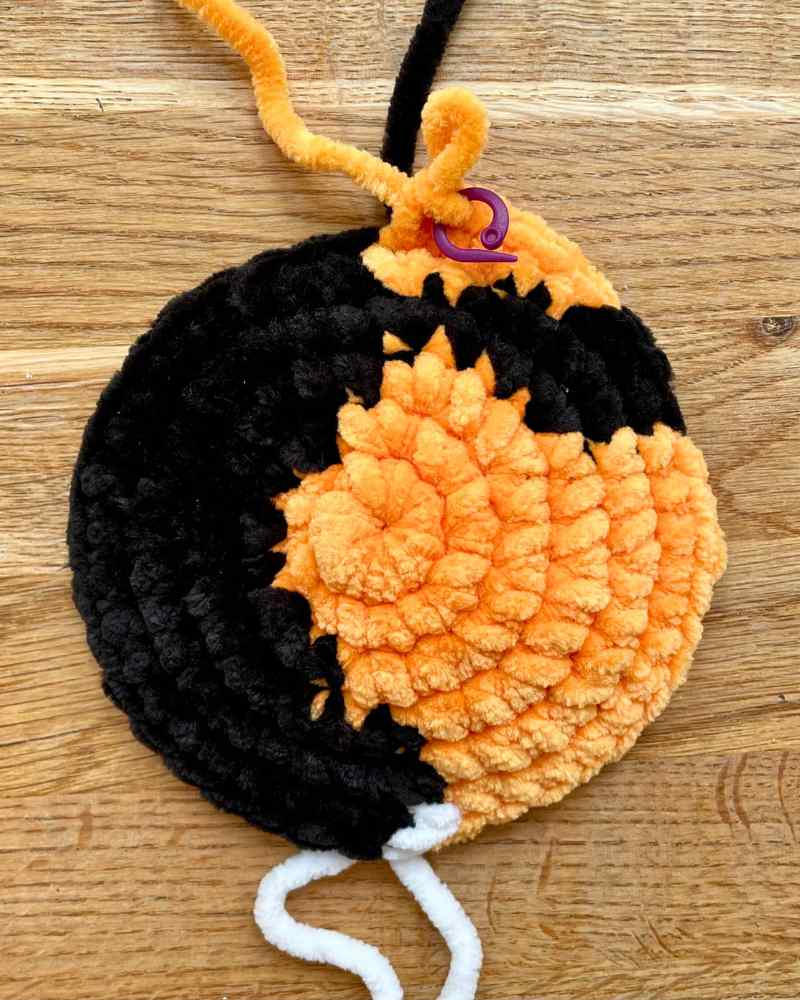
6th round
19 black sc, 1 white sc, 12 orange sc, 3 black sc, 5 orange sc
This is the last time it will still be flat enough to take a clear top down photo, so here’s how it’s looking right now:
Rounds 7 – 24
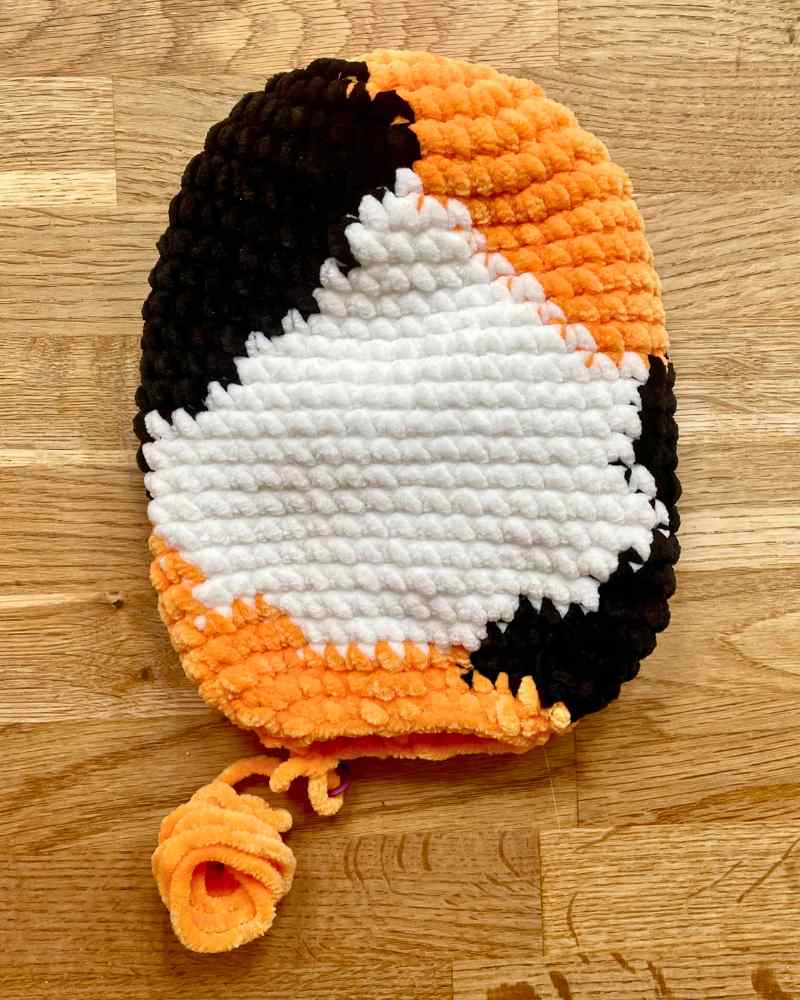
This next stage is all about building up the body, with it’s lovely mosaic of colors:
- 7th round: 18 black , 4 white, 11 orange, 2 black, 5 orange
- 8th round: 1 orange, 17 black, 5 white, 10 orange, 3 black, 4 orange
- 9th round: 1 orange, 16 black, 7 white, 9 orange, 3 black, 4 orange
- 10th round: 1 orange, 16 black, 8 white, 9 orange, 2 black, 4 orange
- 11th round: 1 orange, 15 black, 10 white, 6 orange, 4 black, 4 orange
- 12th round: 1 orange, 14 black, 12 white, 4 orange, 6 black, 3 orange
- 13th round: 1 orange, 14 black, 14 white, 7 black, 4 orange
- 14th round: 3 orange, 11 black, 15 white, 6 black, 5 orange,
- 15th round: 4 orange, 8 black, 17 white, 7 black, 4 orange
- 16th round: 5 orange, 7 black, 17 white, 7 black, 4 orange
- 17th round: 8 orange, 4 black, 18 white, 7 black, 3 orange
- 18th round: 12 orange, 19 white, 6 black, 3 orange
- 19th round: 13 orange, 17 white, 8 black, 2 orange
- 20th round: 14 orange, 15 white, 11 black,
- 21st round: 14 orange, 15 white, 11 black
- 22nd round: 17 orange, 9 white, 12 black, 2 orange
- 23rd round: 18 orange, 7 white, 12 black, 3 orange
- 24th round: 24 orange, 12 black, 2 orange
Now you can drop both the black and white yarns altogether. We’ll use just the orange to close the body, but before we start, flip it inside out and knot together any loose yarn tails while they’re still easy to get at.
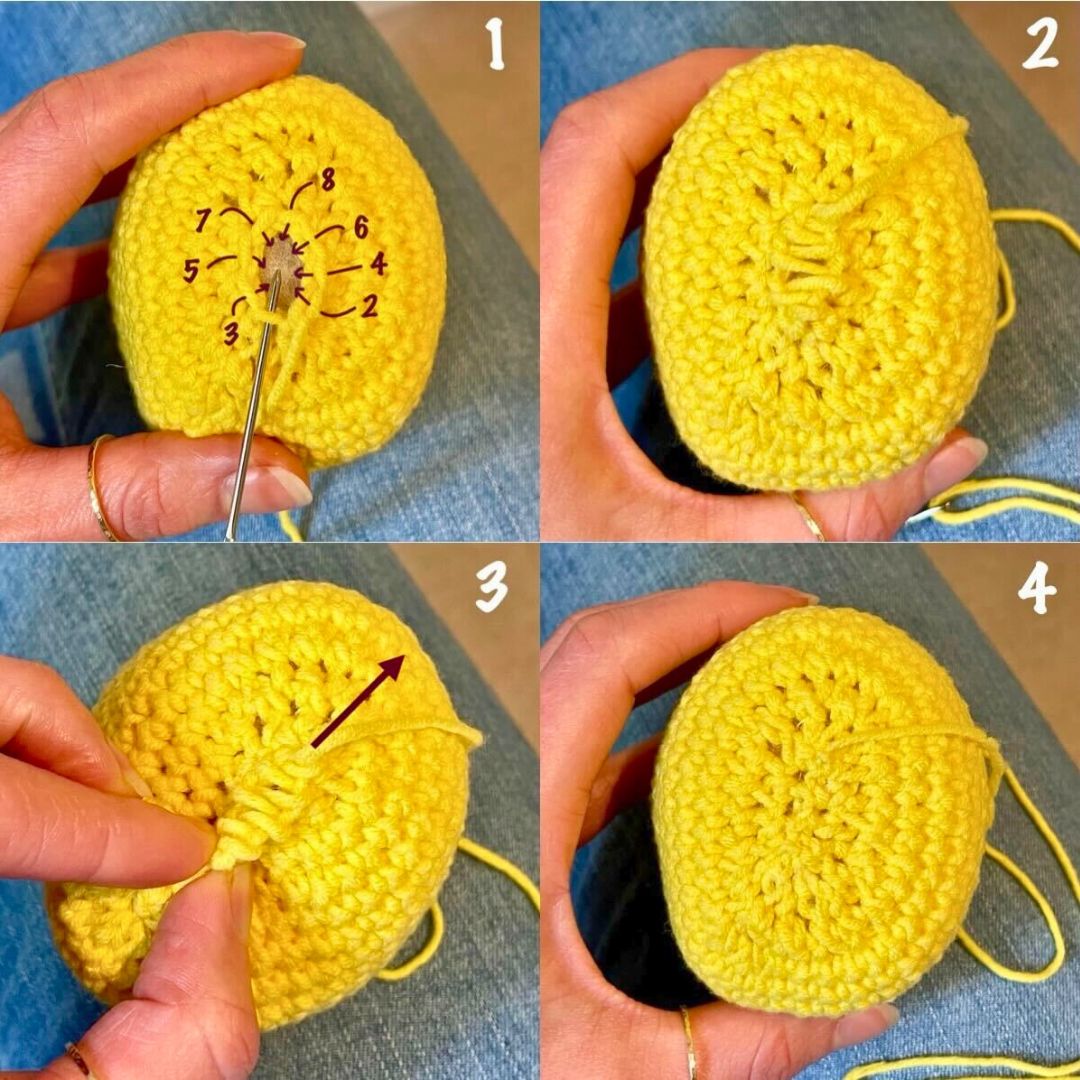
Decreasing the body
In orange:
- Sc 10. The next stitch after this is the new start/end point for the final rounds. This makes sure the white patch ends up on your cat’s belly, not their side!
- 25th round: 3 dec, sc 8, 6 dec, 8 sc, 3 dec (28 sts)
- 26th round: 3 dec, sc 2, 6 dec, 2 sc, 3 dec (16 sts)
- Put a stitch marker into the loop on your hook, and cut your yarn leaving a 24 inch tail.
Set the body to one side for now.
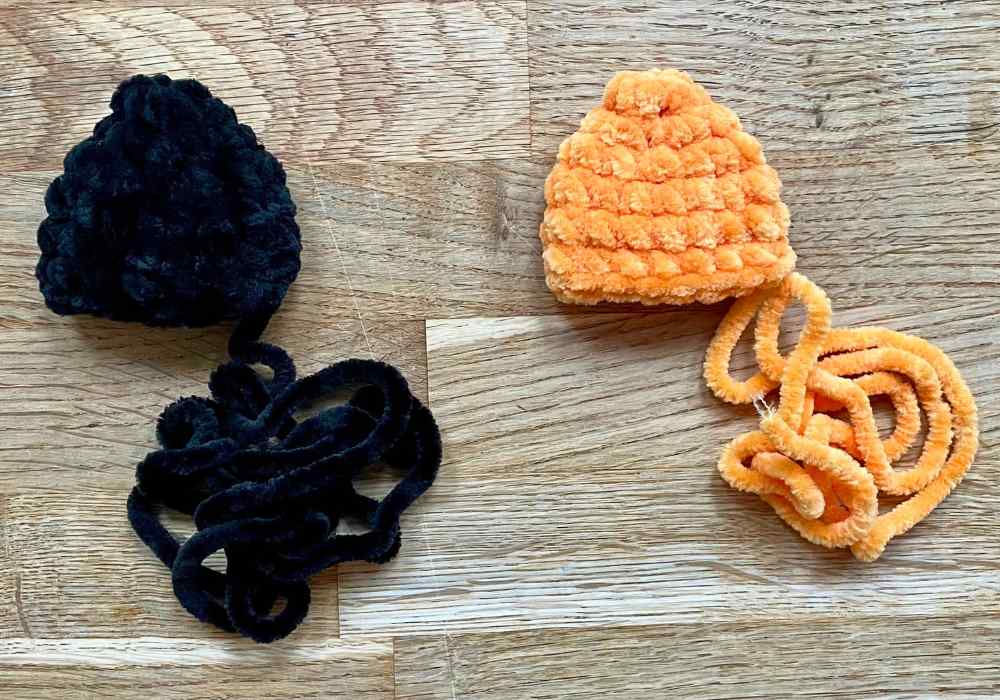
The ears
You’ll need two – they can be both black, both orange, or mismatched like mine. Start with a magic circle or 3-ch loop. That’s not a typo – the tips of the ears start small, so a loop of three chain stitches it all that’s required to start.
- 1st round: 5 sc (5 sts)
- 2nd round: 5 inc (10 sts)
- 3rd round: *Inc, sc 1* five times (15 sts)
- 4th – 7th rounds: Sc all the way round
To finish, slip stitch once, cut the yarn leaving a long tail for sewing later, and pull the tail right through the slip stitch. You can add the ears to the body now if you like, but I prefer to set them aside and do it after the body is filled and closed. It’s easier to make sure they stand up straight that way.
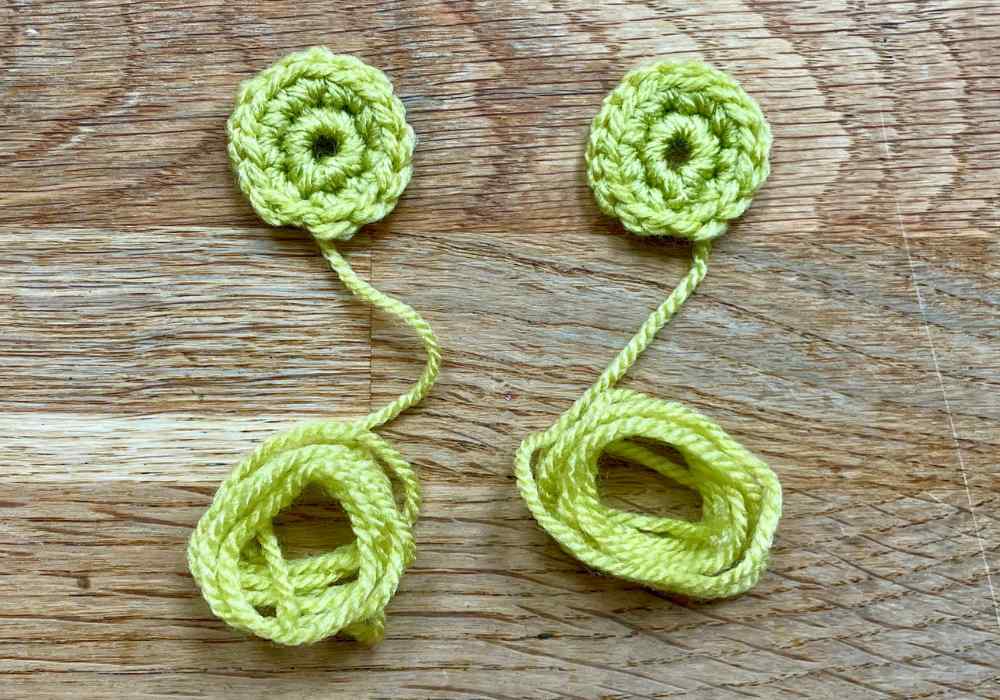
The eyes
Cats are famous for their bewitching eyes, so safety eyes alone aren’t going to cut the mustard for this project. We need big, beautiful irises as well. If you don’t love the size they turn out on your first attempt, try remaking them with a bigger or smaller hook.
- Magic circle or 4-ch loop to start.
- 1st round: Sc 8 into the to center.
- 2nd round: Inc 8 times (16 sts)
To finish, slip stitch once, cut the yarn leaving a long tail for sewing later, and pull the tail right through the slip stitch. Set them to one side for now.
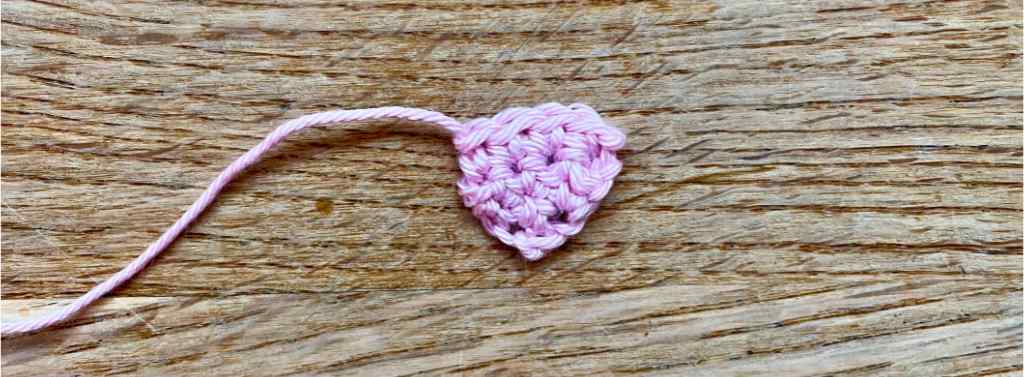
The nose
The nose is the only part of this pattern which isn’t worked in rounds.
- Make a foundation chain of 3.
- 1st row: Skip the first chain from the hook, and inc into each of the other two stitches (4 sts).
- 2nd row: Sc across (4 sts). NOTE – There is no turning chain.
- 3rd row: Sc across (4 sts). NOTE – There is no turning chain.
Cut the yarn leaving a tail for sewing, and pull the tail right through the last stitch.
Assembling your cat
Before you stuff and close the body, secure the eyes. Push the safety eyes through the center of the irises, and into the body roughly 7 stitches apart, between rows 10 and 11. This is just a rough guide, and you can eyeball a better position if it doesn’t quite look right.
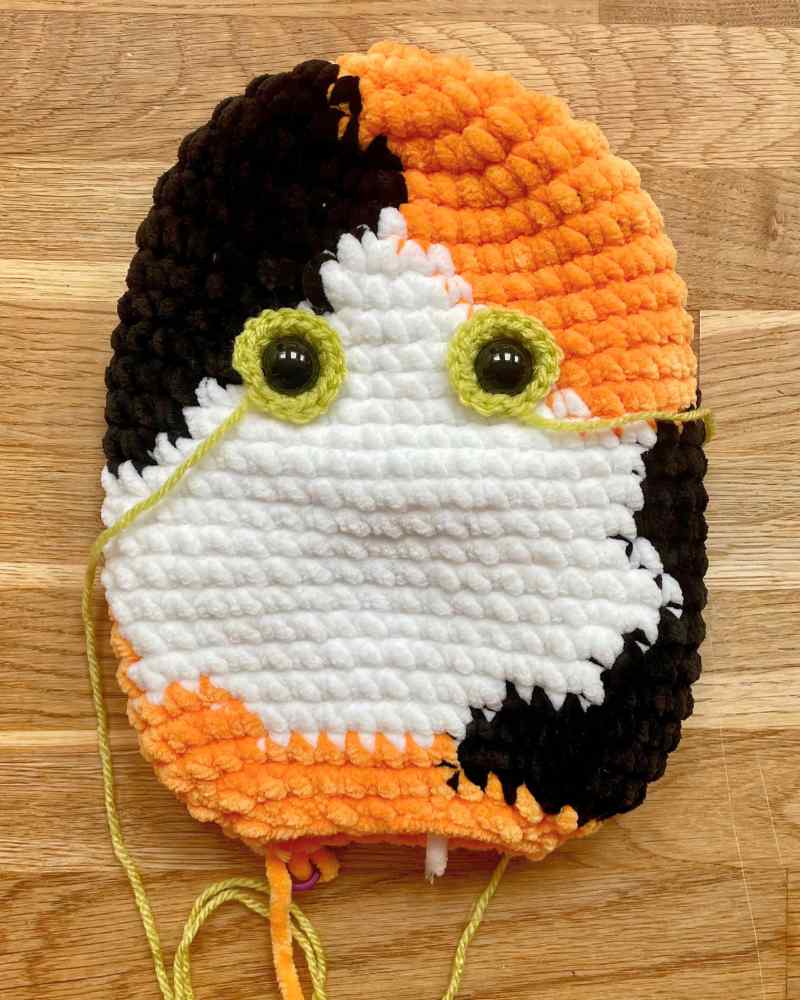
Push the backs onto the safety eyes, and fill the cat’s body with toy stuffing. Stuffing always squashes down a bit over time, so add as much as you can without distorting the shape. Then make one more round of crochet:
- 27th round: 8 dec (8 sts)
Slip stitch once, and pull the tail right through the slip stitch. Poke in a little more stuffing if it will fit, then use mattress stitch through the front loops only to close the hole.
Next, use the yarn tails on the irises to sew the edges against the body. I suggest picking up two stitches at a time, through the back loops only.
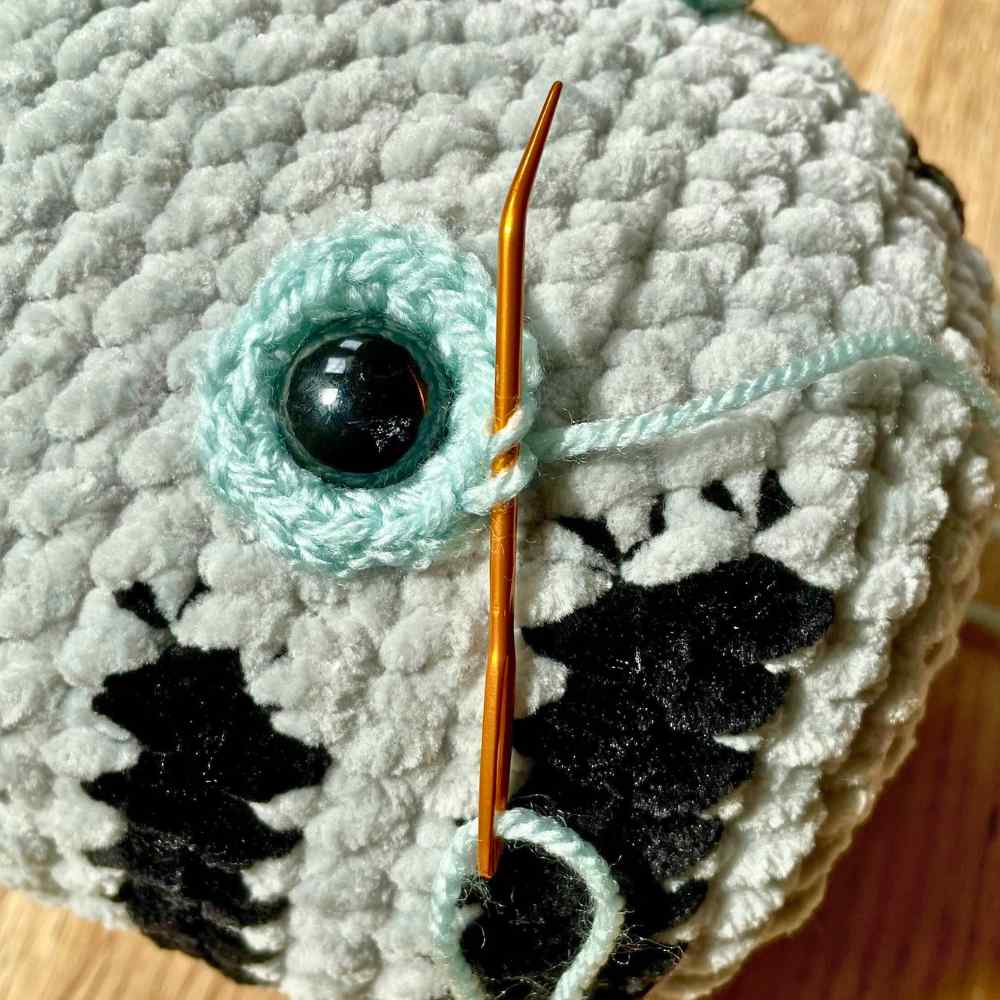
To tie off the ends, feed them both out through the same spot on the back of the body, knot them together, and poke the knot inside the body. The stuffing inside the body will anchor the knot in place.
Next add the ears. The inside edge should be roughly level with the space between rounds 2 and 3 on the body, and I think they look best sitting ever so slightly forwards as well. Sew them in place with the yarn tails, which you can deal with in the same way as above.
Finally, sew on that cute nose, so the top sits roughly level with the bottom edge of the irises. Use more pink yarn to embroider on a mouth and whiskers using the grid pattern in the single crochet stitches to achieve a symmetrical finish.
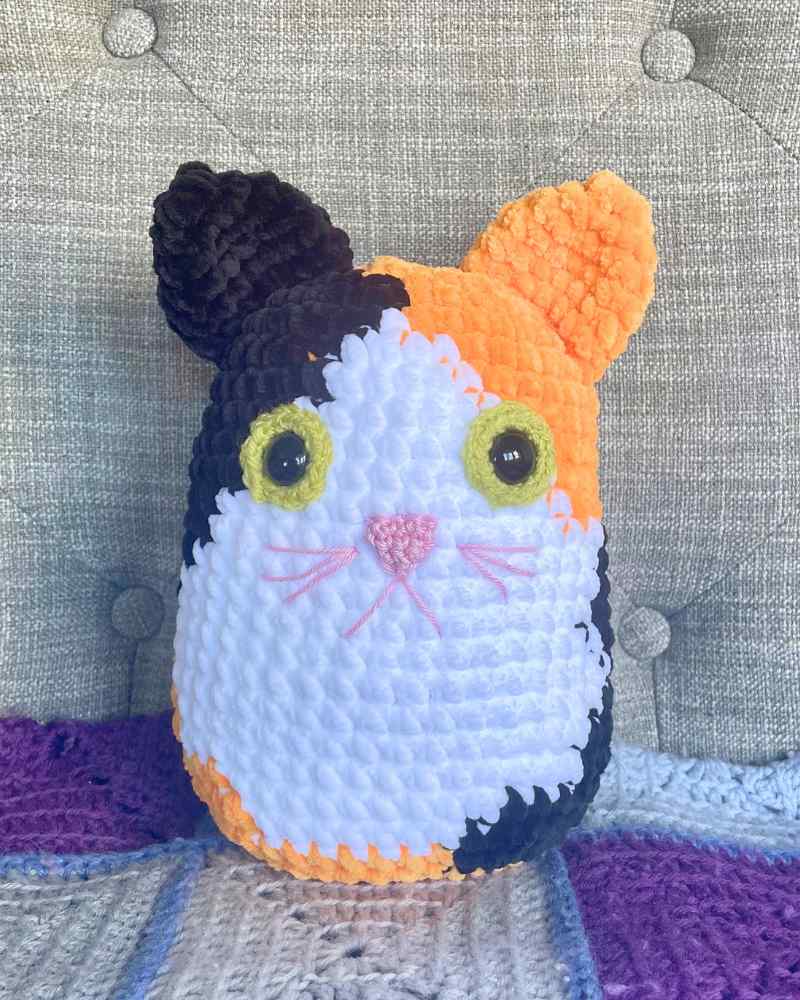
Project complete!
I hope you’ve enjoyed it – I’m sure your squishy is beautiful!
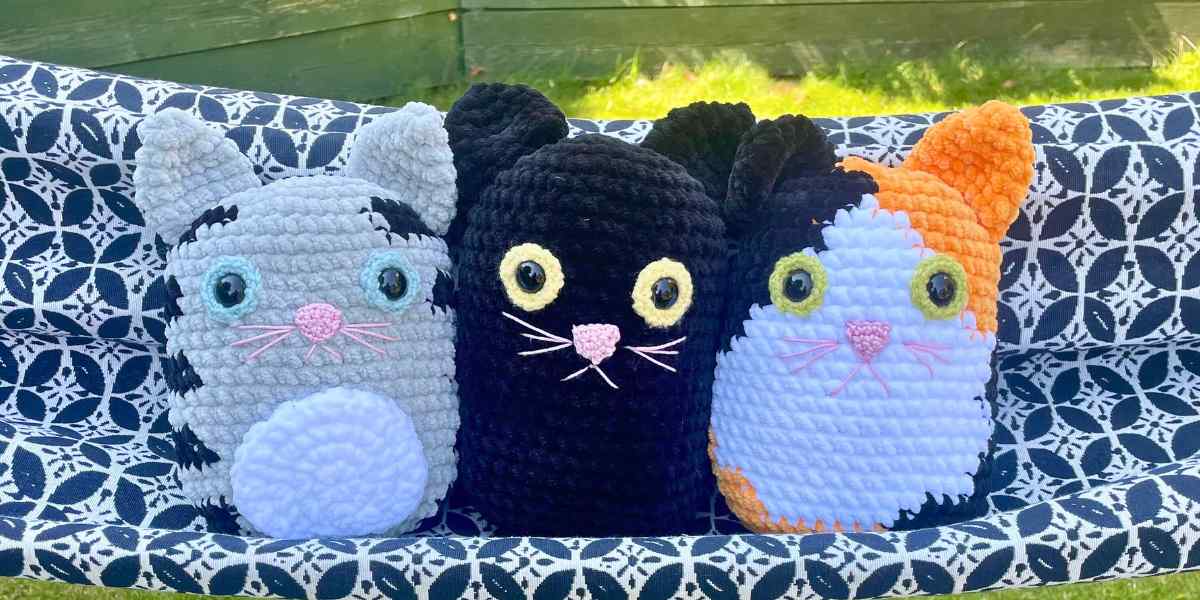
Here she is with my black crochet cat squishy, and my tabby cat squishy. You can see everything else I’ve reimagined in squishy crochet form – from fruit and veg to bubble tea, canned goods and animals right here.