Scruffy The Crochet Sheep

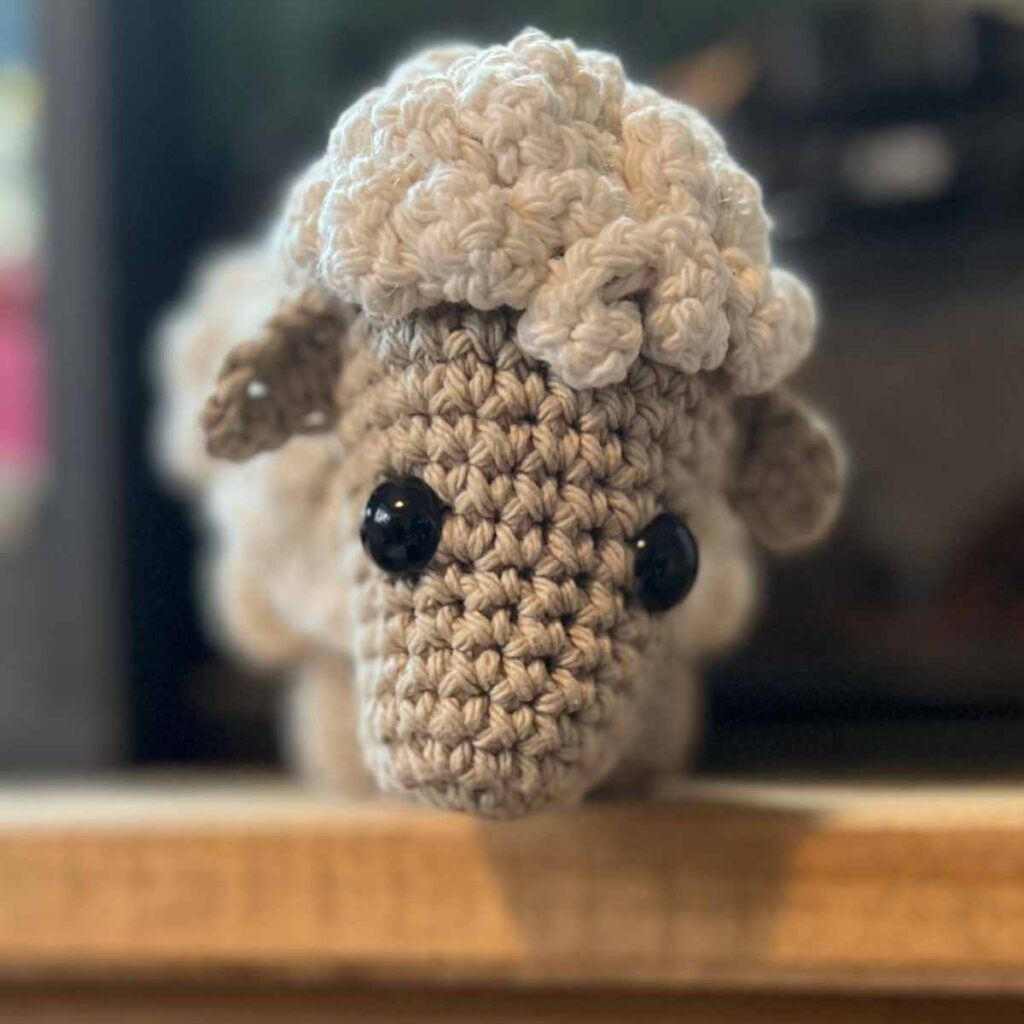
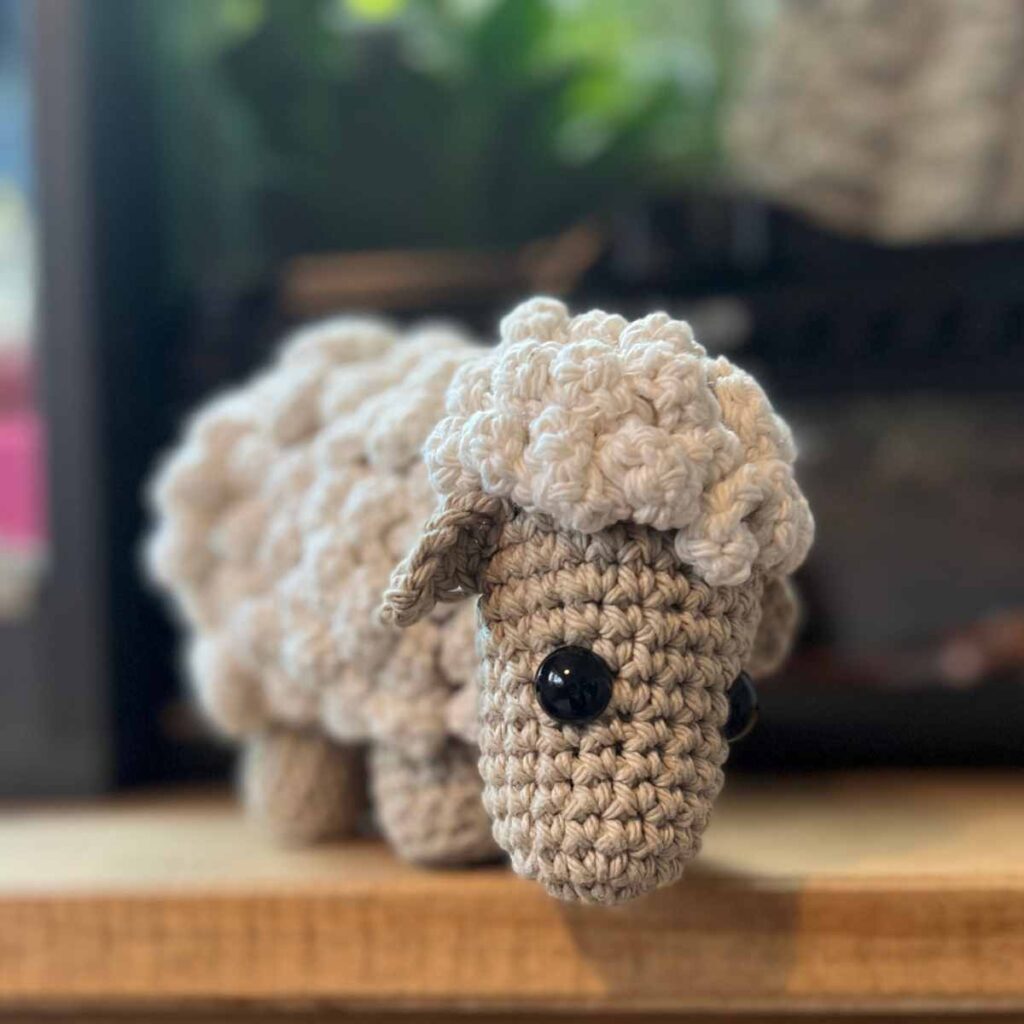
My scruffy crochet sheep pattern might look detailed, but it’s super simple to hook up. I designed it as a beginner friendly amigurumi pattern, that will take you just a few evenings of fun to crochet. I created the body parts in separate sections, using rounds of single crochets from magic loops. Then I crocheted the wool into simple curls with single crochets worked into chains. It couldn’t be easier!
My crochet sheep pattern is suitable for beginners, and I will give you plenty of extra information to help even new crocheters follow along. You can also check out my similarly designed crochet alpaca pattern along with several other farmyard pals!
Your Crochet Sheep Kit List
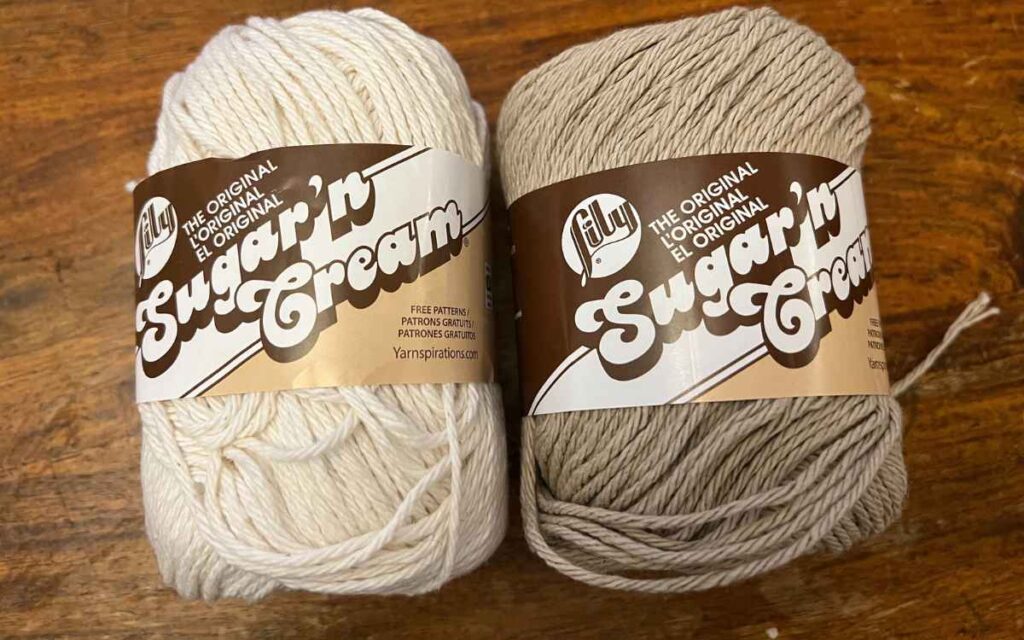
- Lily Sugar ‘n Cream worsted weight cotton yarn* in Ecru (off white)
- Lily Sugar ‘n Cream worsted weight cotton yarn* in Jute (pale brown)
- 4mm crochet hook
- Safety eyes*
- Toy safe stuffing*
Pattern Notes
The pattern is beginner friendly, with the caveat that you’ll need to be comfortable sewing with a large needle as well as with putting together the basic crochet techniques.
You’ll need to know how to make a magic circle, chain and single crochet.
Points to watch out for in the main pattern include the partial increase to form the amigurumi sheep’s forehead, and the order in which you’ll want to attach the legs to keep them even.
Stuffing is another area where new crocheters struggle. I truly believe it’s fundamental to the look of the toy to not over fill your body parts, as it can cause the stitches to stretch and the shape to distort. Don’t pack it in, all I do is just gently push it inside until I feel a little resistance.
Your Scruffy Sheep Crochet Pattern
You’re going to crochet your little sheep in two main stages. The first is in the jute yarn, where you’ll make the head, body, tail and legs. The second is in the white ecru yarn, which will make up the crocheted fleece coat.
Crocheting Your Sheep’s Head
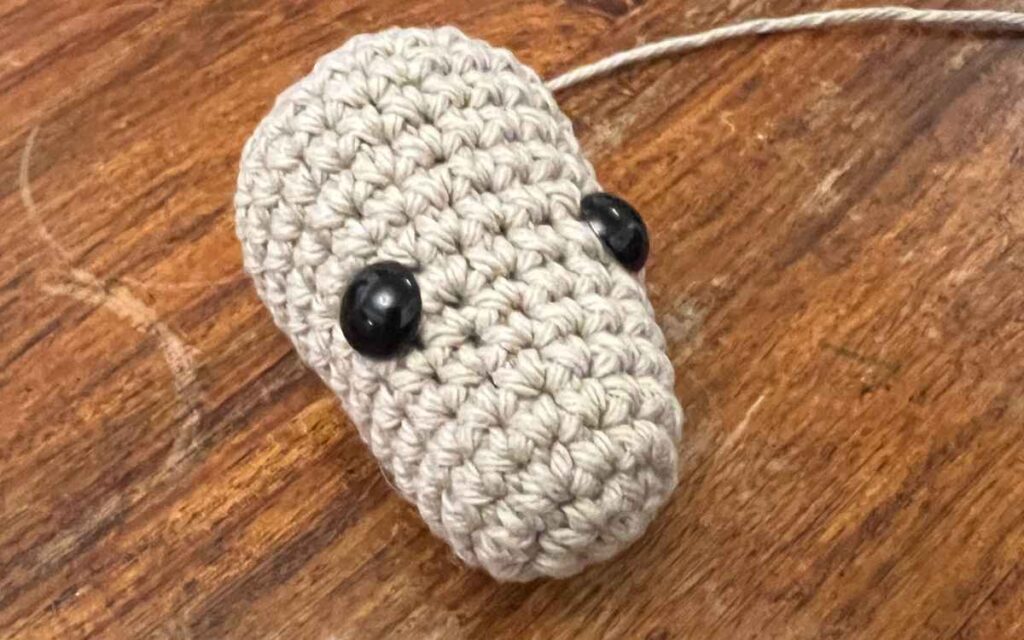
Work this section in your jute yarn with the 4mm crochet hook. Have your safety eyes and some toy stuffing ready.
Round 1
Make a magic circle of six stitches (6)
Round 2
Put two single crochets into each stitch in the round.
2sc x 6 (12)
Round 3
Single crochet into the first stitch, then single crochet twice into the second. Repeat for the duration of the round.
(1sc, 2sc) x 6 (18)
Round 4 – 7
1sc x 18 (18)
Round 8
(1sc x 2, 2sc) x 2, 1sc x 12 (20)
Round 9
(1sc x 3, 2sc) x 2, 1sc x 12 (22)
Round 10
1sc x 22 (22)
Round 11
(1sc x 4, 2sc) x 2, 1sc x 12 (24)
Round 12 – 15
1sc x 24 (24)
Round 16
Single crochet once into the first two stitches, then single crochet the next two together.
(1sc x 2, sc2tog) x 6 (18)
Insert safety eyes into the space between the 8th and 9th round, lining them up so that the raised increase section sits between them as the forehead.
Round 17
(1sc, sc2tog) x 6 (12)
Fill with toy stuffing.
Round
sc2tog to close.
The Body and Tail
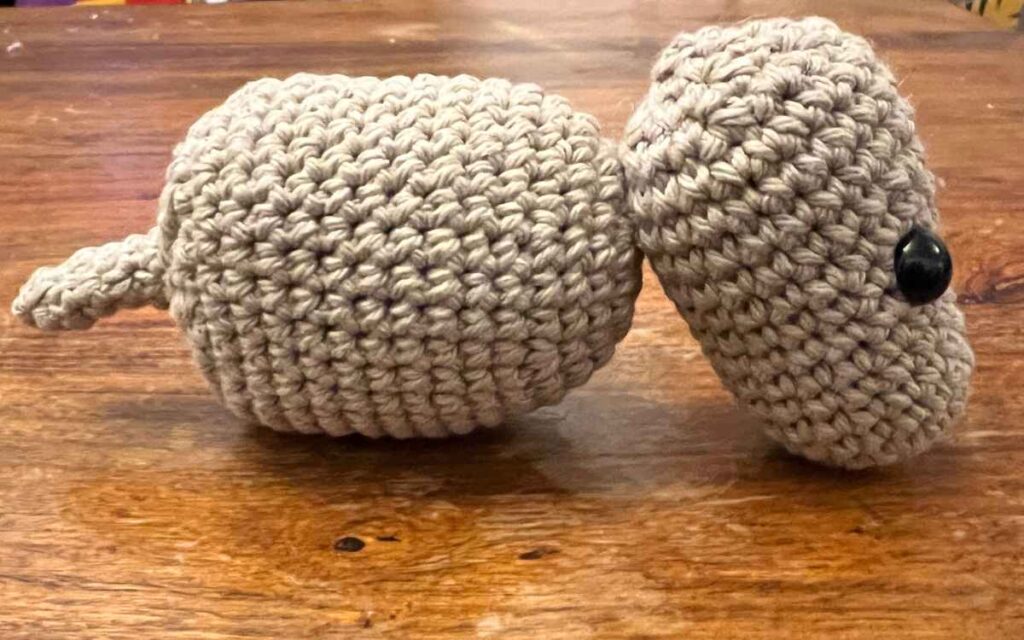
These sections will be crocheted as one section, in the jute yarn with the 4mm crochet hook.
Round 1
Make a magic circle of eight stitches (8)
Round 2
2sc x 8 (16)
Round 3
(1sc, 2sc) x 8 (24)
Round 4 – 5
1sc x 24 (24)
Round 6
(1sc x 2, 2sc) x 8 (32)
Round 7 – 16
1sc x 32 (32)
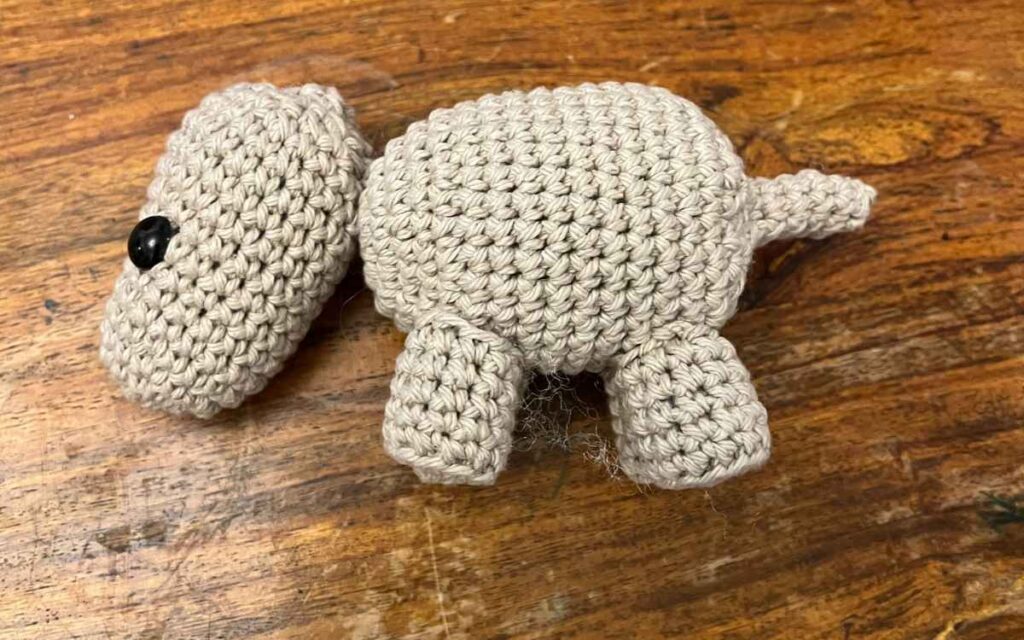
Sew the sheep’s head onto the body. Doing it at this point will enable you to totally disguise the seam and to more easily weave in and out.
Round 17
(1sc x 2, sc2tog) x 8 (24)
Round 18
(1sc, sc2tog) x 8 (16)
Fill the body with toy stuffing.
Round 19
sc2tog x 8 (8)
You’ll now be extending out to make your sheep’s little docked tail. Leave this section unstuffed.
Round 20 – 24
1sc x 8 (8)
Round 25
sc2tog to close. Use a yarn needle to sew the end tightly closed if your stitching has left it a little loose.
Crocheting Your Sheep’s Legs
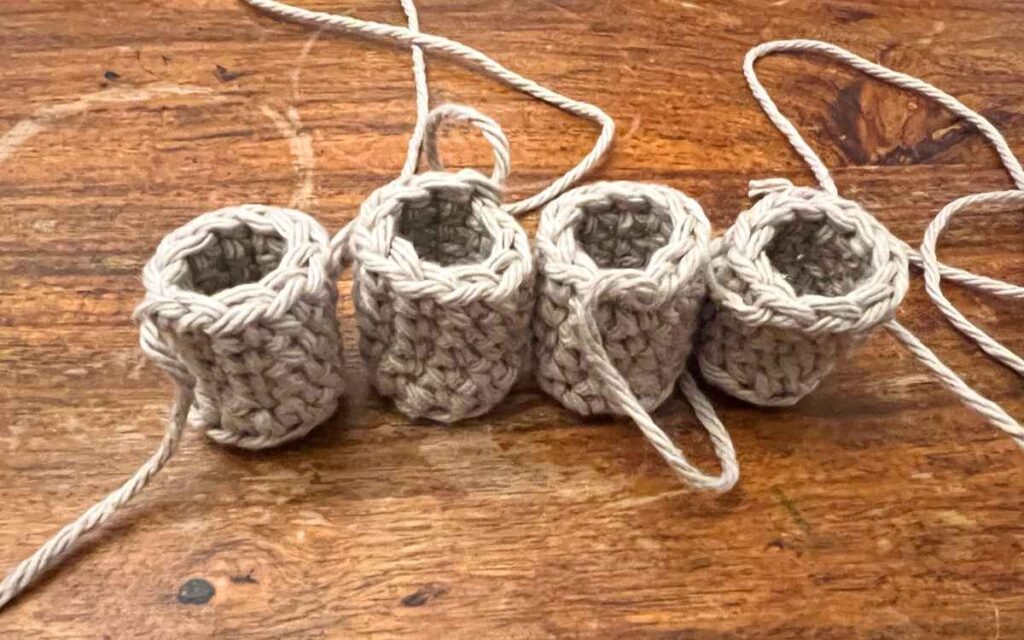
Continue working in the jute yarn and using the 4mm crochet hook.
Round 1
Make a magic circle of six stitches (6)
Round 2
2sc x 6 (12)
Round 3
1sc x 10, sc2tog, BLO
Round 4 – 7
1sc x 11 (11)
Fill the leg with toy stuffing. Slip stitch and leave a long end ready for sewing.
Joining The Legs
Once you’ve made up four identical sheepy legs, you can begin to sew them onto the underside of the sheep.
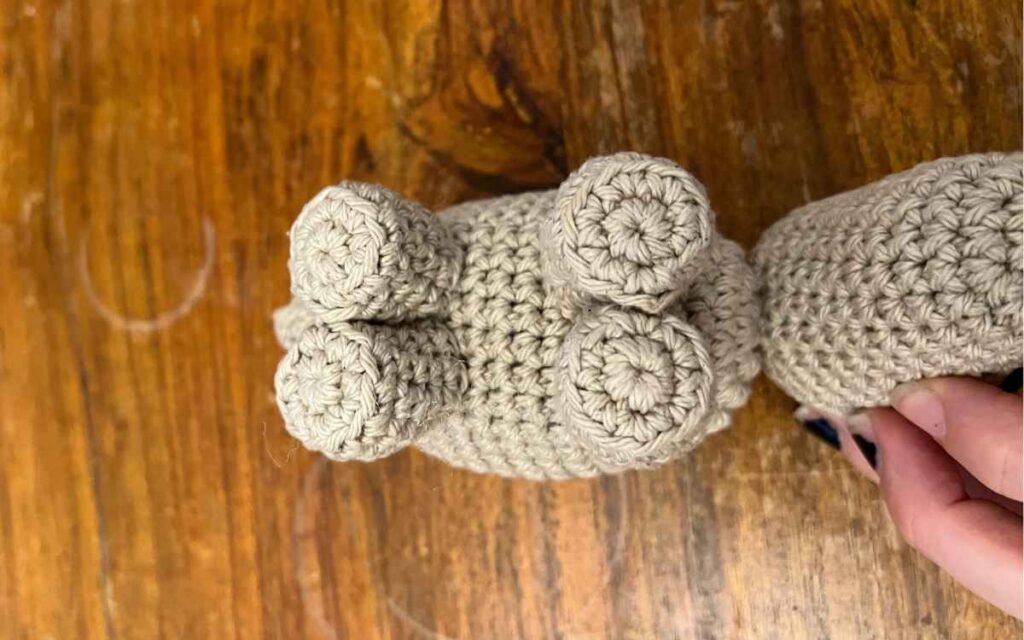
It’s best to do them all at once, so that you can line them up and check your symmetry carefully before you begin.
I like to sew the legs together in pairs, before then attaching the joined legs onto the front and back of the sheep’s underside.
I recommend tacking them on loosely, then standing the crochet sheep up to eyeball the stance before you commit to a firm attachment.
Amigurumi Sheep Ears
Work in the jute yarn with the 4mm crochet hook.
- Chain six, skip the first loop then single crochet into the next five stitches.
- Chain two, then make a single crochet into the next four stitches and slip stitch into the next.
- Tie off with a long thread, read to weave into the sides of the head.
Crocheting The Woolly Fleece Hair
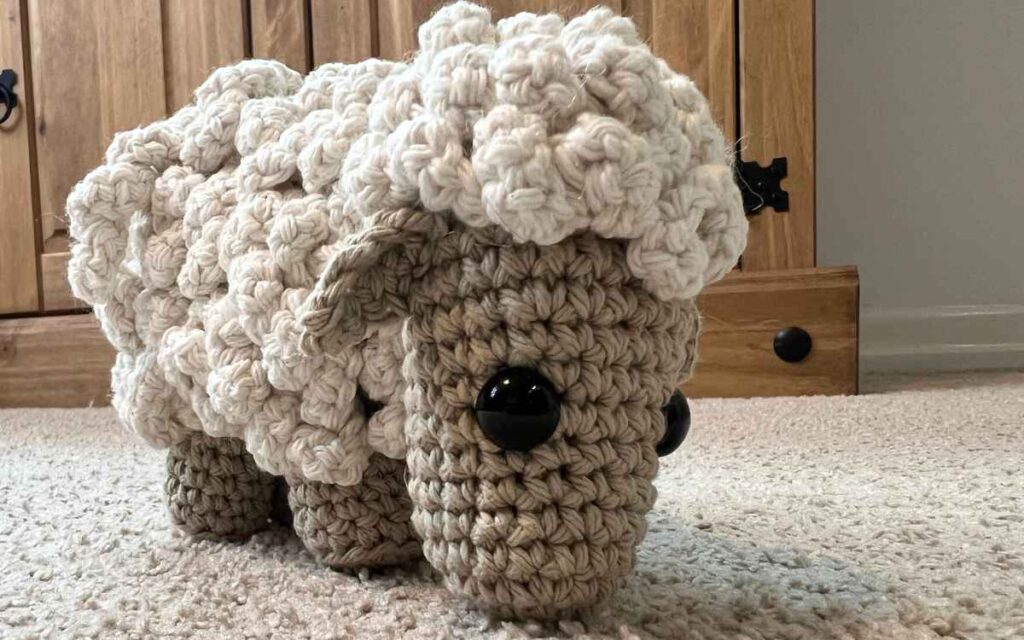
You are going to make your sheep’s hair by crocheting chains and single crocheting back into the chain. You can find a full tutorial for this section on YouTube here or by watching the embedded video at the start of this guide.
I make the chains in strips of between sixty and a hundred stitches, then weave them onto the body and top of the head one at a time.
You can crochet the strips of wool onto your sheep, but it’s easier to use a large needle with some of the yarn.
Make the fleece as thick as you like, leaving some curls hanging down and sewing them tighter together to get a bushier feel.

Your Little Sheep Toy
Crochet sheep are often depicted as soft, cuddly, clean and neat. The reality of keeping sheep is a far cry from this fresh-as-a-daisy image. Sheep are aloof as often as they are pushy, and my goodness are they great at getting the foliage tangled in their gorgeous yarny coats.
My family’s handful of ewes are pets really, but next year we’re going to start spinning their glorious wool into yarn. In the meantime, I really wanted to give a nod in this crochet pattern to the reality of smallholding livestock, with this adorable but ever so scruffy amigurumi sheep.
This is one of my smaller amigurumi projects. I designed and crocheted the pattern in an evening, so I’m confident an experienced crocheter would be able to work this up in just a few hours. The most time consuming part is chaining and single crocheting the fleece, but I also found it very enjoyable.
I can’t wait to hear what you think of my scruffy crochet sheep pattern, and please do share any questions or thoughts in the comments section or on social media for me.
Happy Crocheting!
Lucy Kate, x
*The products linked in this pattern were carefully selected by Lucy Kate Crochet. If you decide to purchase using the links provided, we may earn a small commission on that sale. This is at no extra cost to you.
