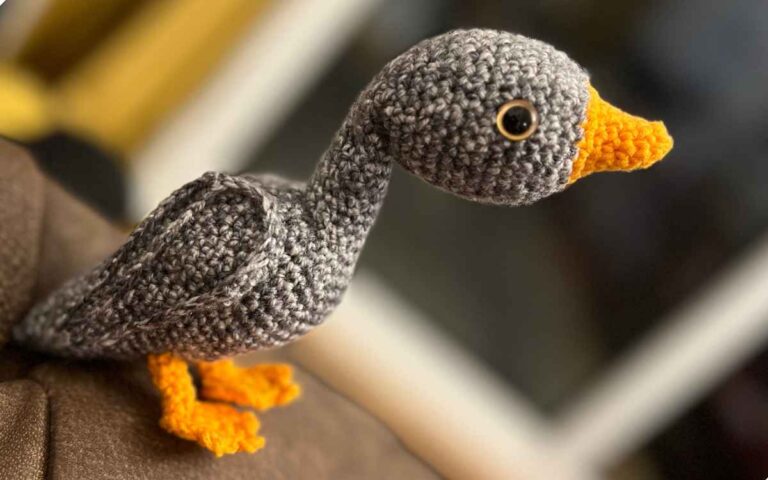
Free Amigurumi Seal Keychain Pattern
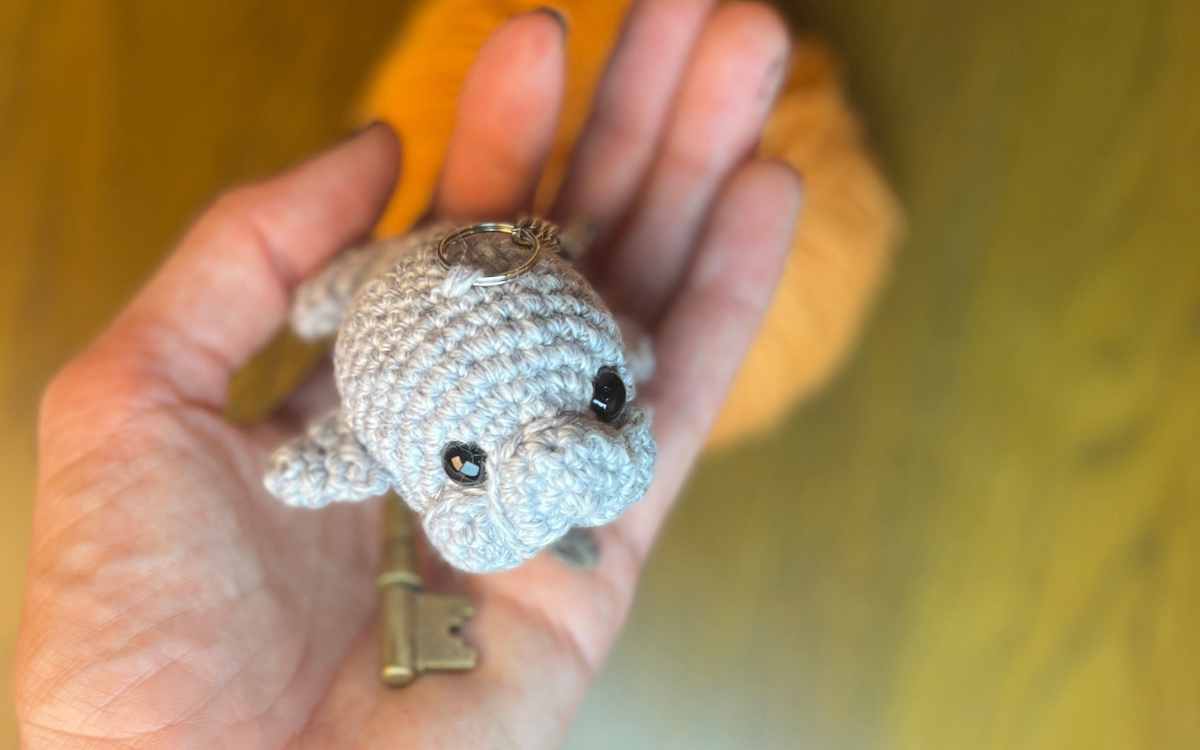
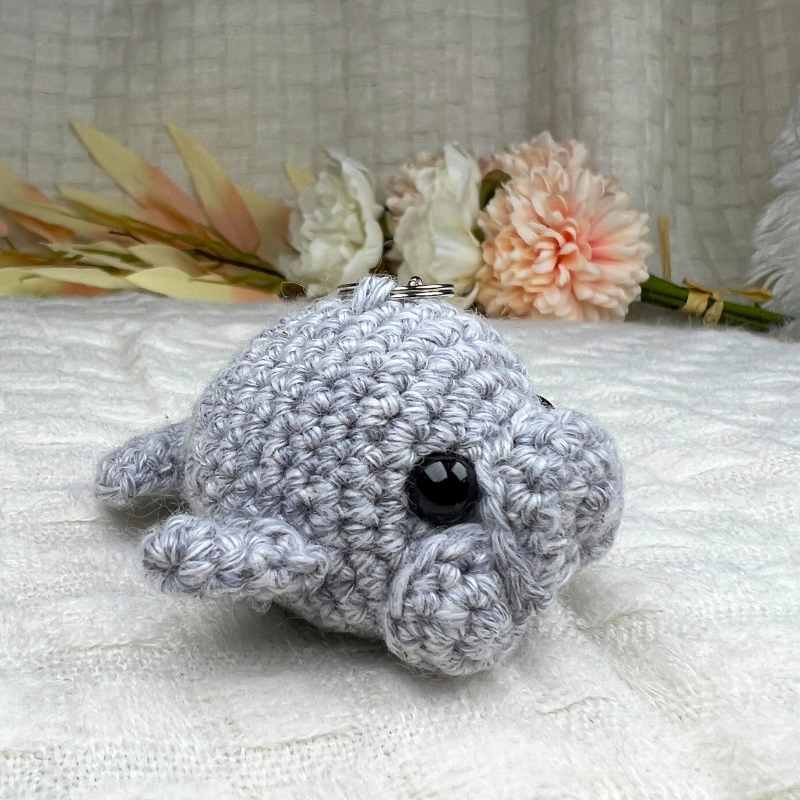
I have made a crochet seal before, but this amigurumi seal keychain is on a rather different scale. A much smaller one!
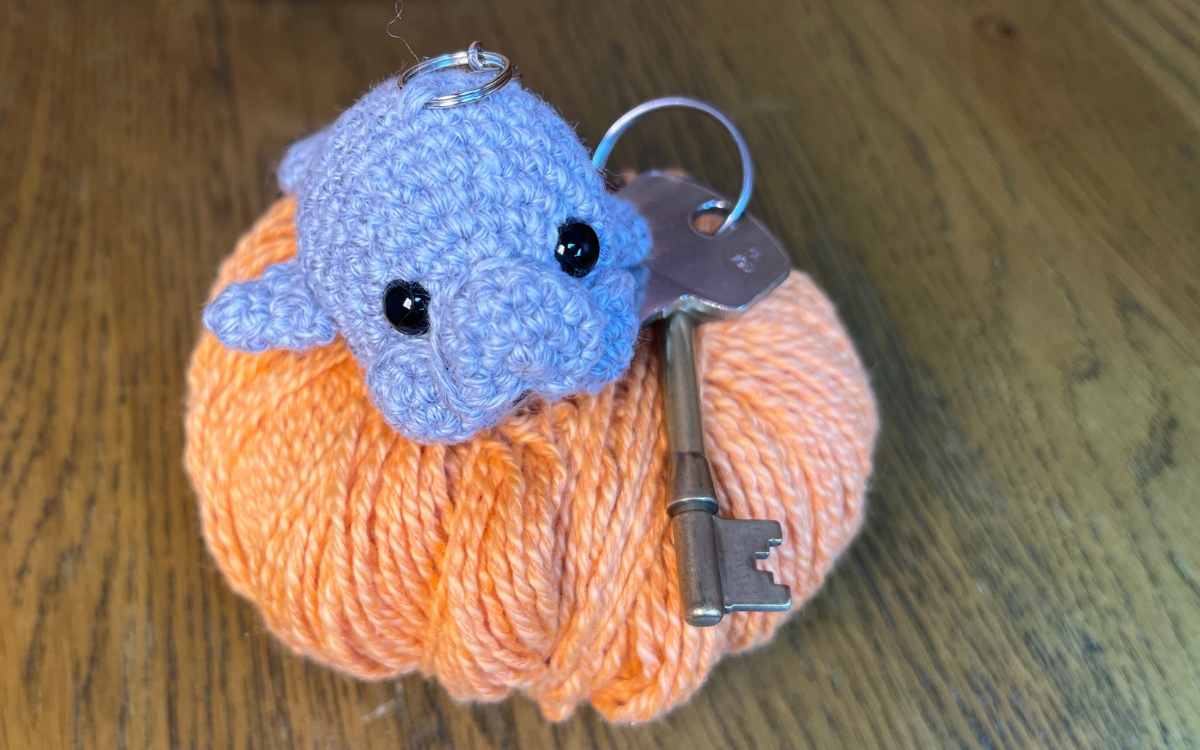
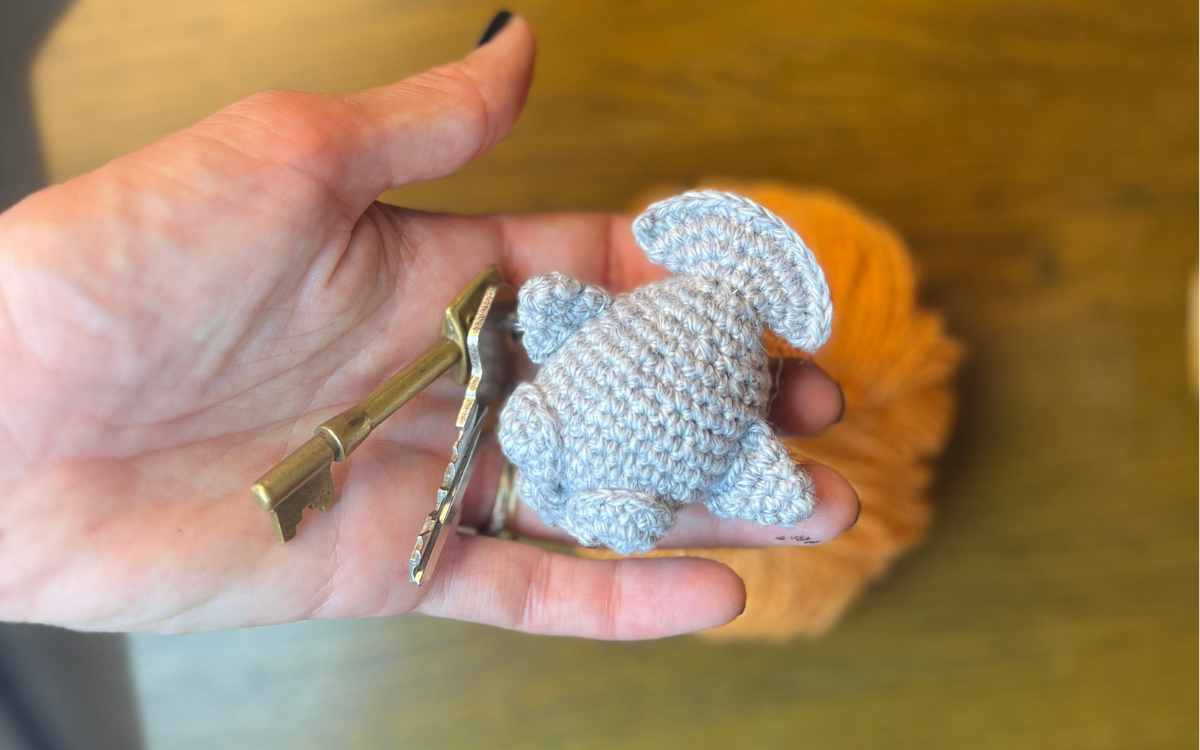
It fits neatly onto my house keys, and slides into my pocket like the slippery creature itself does into a pool.
This pattern took less than two hours to design, so a keen crocheter could have themselves a whole gang of seal pals in no time at all.
Your Kit List
- 2.5mm crochet hook
- 30g Hobbii Happy Place DK yarn in gray
- Toy safe stuffing*
- 10mm safety eyes*

Abbreviations and Techniques
- magic circle
- sc – single crochet
- ch – chain
- 2sc – put two single crochets into one stitch
- sc2tog – join two stitches with one single crochet
- sk – skip the next stitch along
- slst – slip stitch
The Free Amigurumi Seal Keychain Pattern
You are going to create your seal in sections, which will be hand sewn together. Every part of him will be made using your gray DK yarn and 2.5mm crochet hook.
Making the Muzzle
Round 1
Make a magic circle of six stitches (6)
Round 2
2sc x 6 (12)
Round 3
Ch1, turn, sk, 1sc x 11
Round 4
Ch1, turn, sk, 1sc x 11 then tie off
Crocheting your Seal’s Cheeks
You’ll want to make two of these!
Round 1
Make a magic circle of six stitches (6)
Round 2
2sc x 6 (12)
Round 3
1sc x 12
Amigurumi Seal’s Body to Tail
Round 1
Make a magic circle of eight stitches (8)
Round 2
2sc x 8 (16)
Round 3
1sc x 16
Round 4
(1sc, 2sc) x 8 (24)
Round 5
(1sc x 2, 2sc) x 8 (32)
Round 6 – 12
1sc x 32
Round 13
(1sc x 2, sc2tog) x 8 (24)
Round 14
1sc x 24
Round 15
(1sc, sc2tog) x 8 (16)
Round 16
1sc x 16
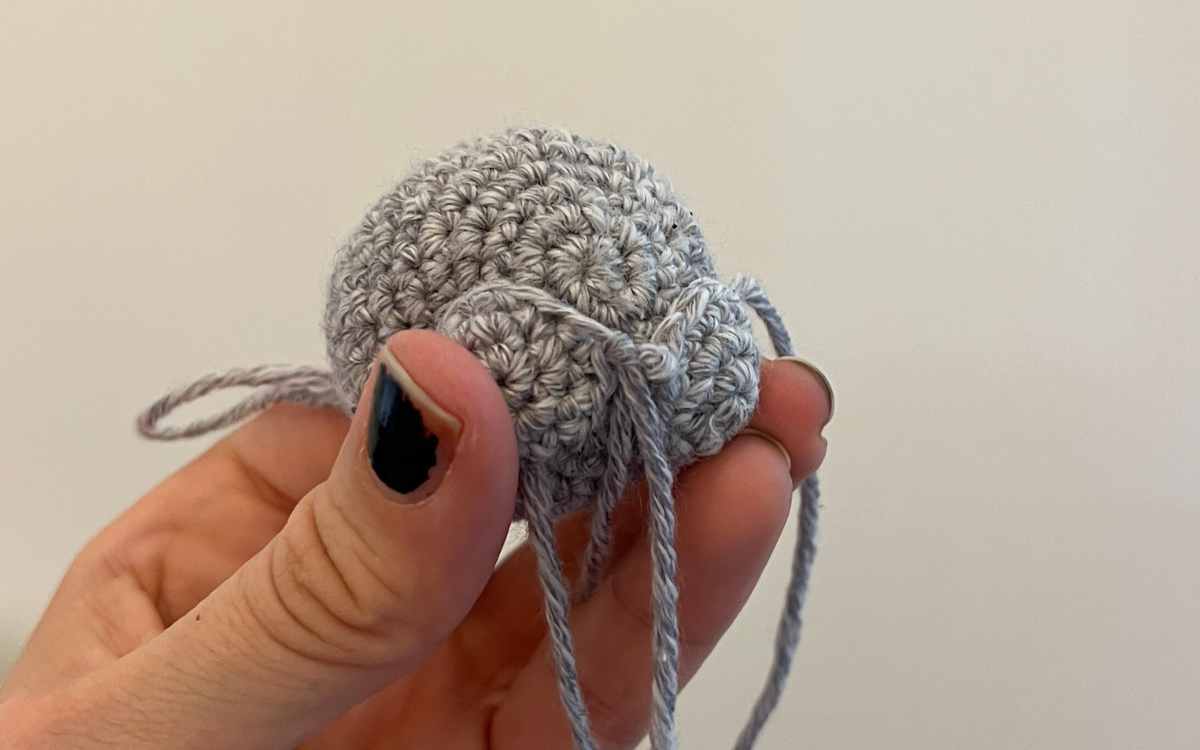
You now need to sew on your muzzle and cheeks. Place the muzzle in the middle of the face, with the open side facing downwards. Each cheek will go at each side of the muzzle, and the eyes will sit just above each cheek.
Round 17
1sc x 16
Fill with toy safe stuffing.
Round 18
sc2tog x 8 (8)
Round 19
2sc x 8 (16)
Round 20
(1sc, 2sc) x 8 (24)
Round 21
(1sc x 2, 2sc) x 8 (32)
Round 22
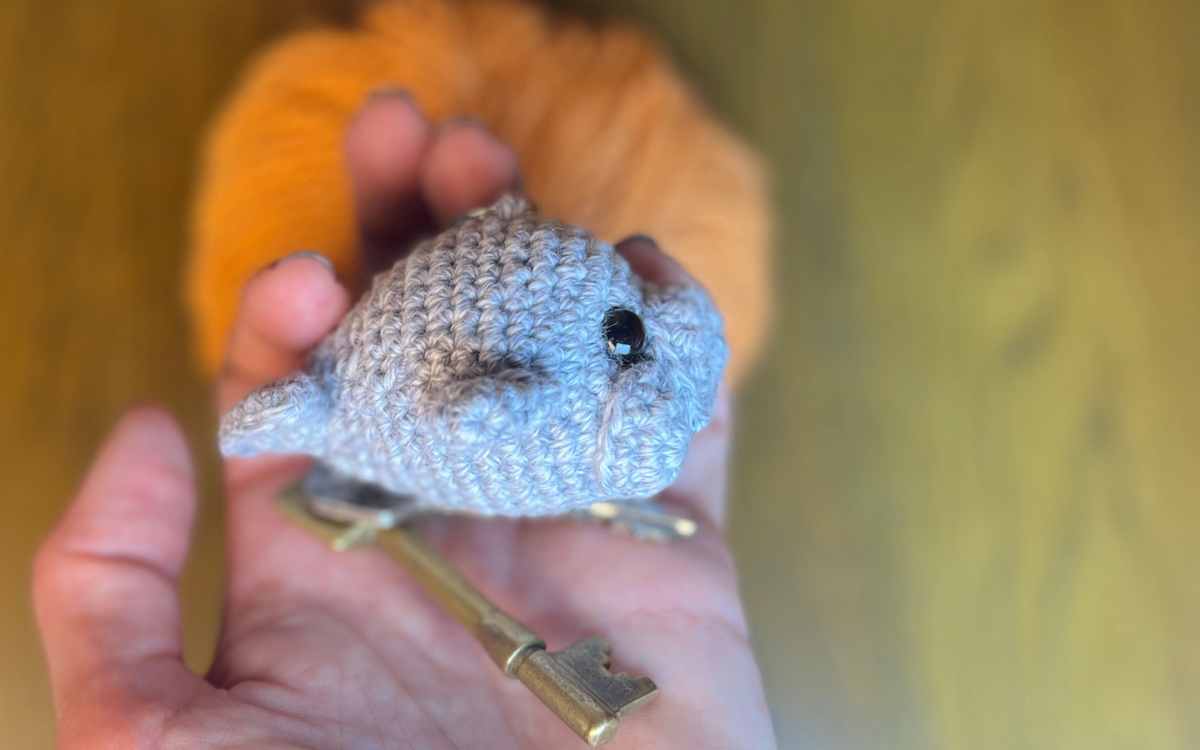
Flatten the tail so that it aligns with the eyes, then join them together by putting 1sc across each side.
Crochet Two Fins
Round 1
Make a magic circle of six stitches (6)
Round 2 – 3
1sc x 6
Round 4
2sc x 6 (12)
Sew a fin onto each side, approximately two rounds behind the top level of the cheeks.
Attaching the Keychain
Finally you can attach your keychain blank to the top of your seal. I’d aim for a stitch around the largest section of the body. You can either loop the ring through, or sew it on like I have in the same color of yarn.
*The products linked in this pattern were carefully selected by Lucy Kate Crochet. If you decide to purchase using the links provided, we may earn a small commission on that sale. This is at no extra cost to you.
