Squishy Crochet Mouse Pattern
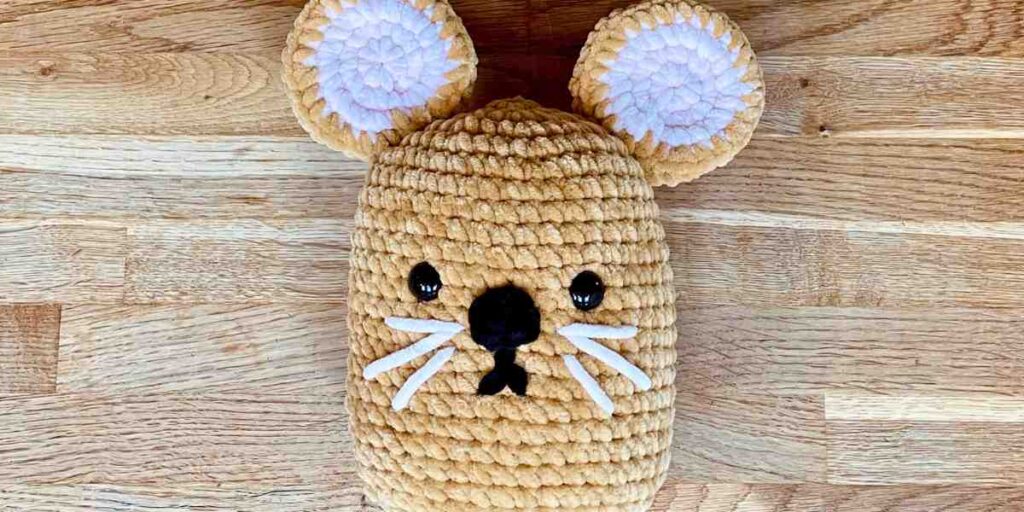
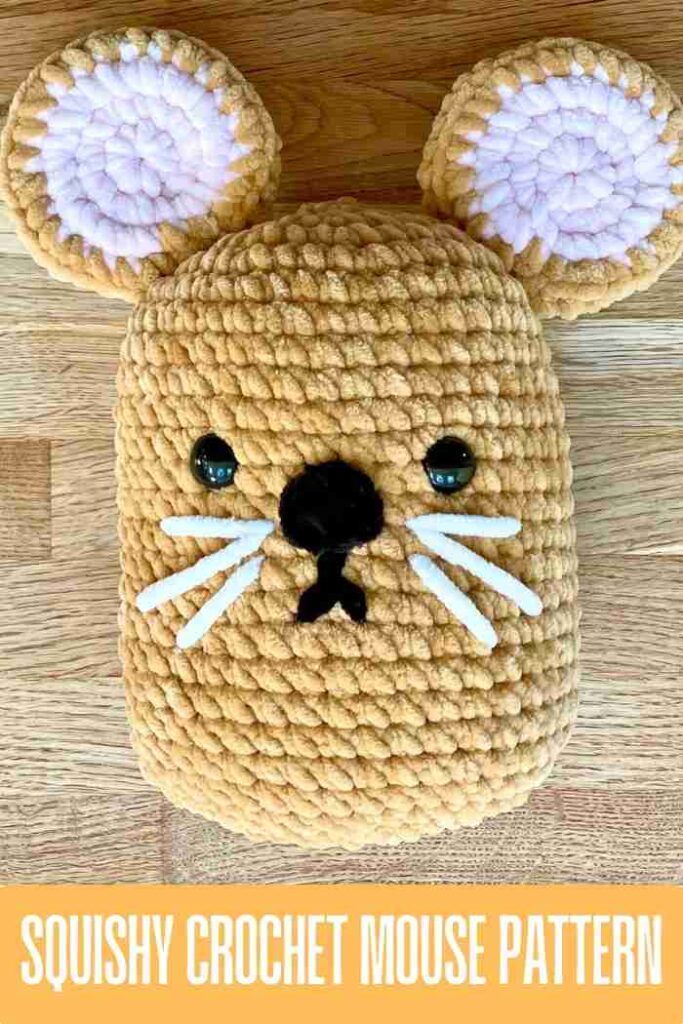
What do you think of this squishy crochet mouse pattern? Just like a real mouse, it’s cute as heck, but unlike most real mice it’s cuddly too! But my own personal favorite thing is how quickly it comes together in just a few simple shapes. I’ve made it with super bulky chenille yarn, so it’s extra soft and squashy, and big enough for my daughter to enjoy as a plush toy. But you could make it from lighter weight chenille yarn, and I’ve got notes to help you achieve the best results.
Materials
To make a mouse just like mine, you’ll need:
- Super bulky chenille yarns in light brown and pale pink. I’ve used Cygnet’s Jellybaby yarn in teddy bear, and Hobbii’s Toucan yarn in light pink. You could swap out the light brown yarn for pale gray or even white if you prefer.
- A small quantity of black yarn. I’ve used super bulky chenille again, but you could use almost any black yarn from your stash and double it up if necessary.
- A J-10 (6mm) crochet hook.
- Stitch markers. Or scraps of yarn in a contrasting color.
- ⅝ inch (16mm) safety eyes.
- A darning needle.
- Hi-loft, toy safe stuffing.
To make a smaller mouse, match a lighter weight chenille yarn with a crochet hook one size smaller than the yarn wrapper recommends. Using a small hook produces tight fabric which you can stuff firmly later with out little gaps opening up between the stitches. For the finest yarns, you’ll also need to use smaller safety eyes. Here’s (roughly!) how tall your mouse will turn out using different yarn weights, and what size eyes to use:
| Yarn weight | Squishy height (not including the ears) | Safety eye size |
| DK | 4 inches (10cm) | ⅜ inch (9mm) |
| Aran/worsted | 5 inches (13cm) | ⅜ inch (9mm) |
| Bulky | 6 inches (15cm) | ⅝ inch (16mm) |
| Super Bulky | 7 inches (18cm) | ⅝ inch (16mm) |
Pattern notes
I’ve written this pattern in standard American crochet terms. It uses almost entirely single crochet, with just a small number of longer stitches in the tail. The stitches and their abbreviations I’ve used are:
Ch chain stitch
Sl st slip stitch
Sc single crochet
Sc blo single crochet in the back loop only
Hdc half double crochet
Dc double crochet
Inc increase (make 2 single crochets in the same space)
Dec decrease
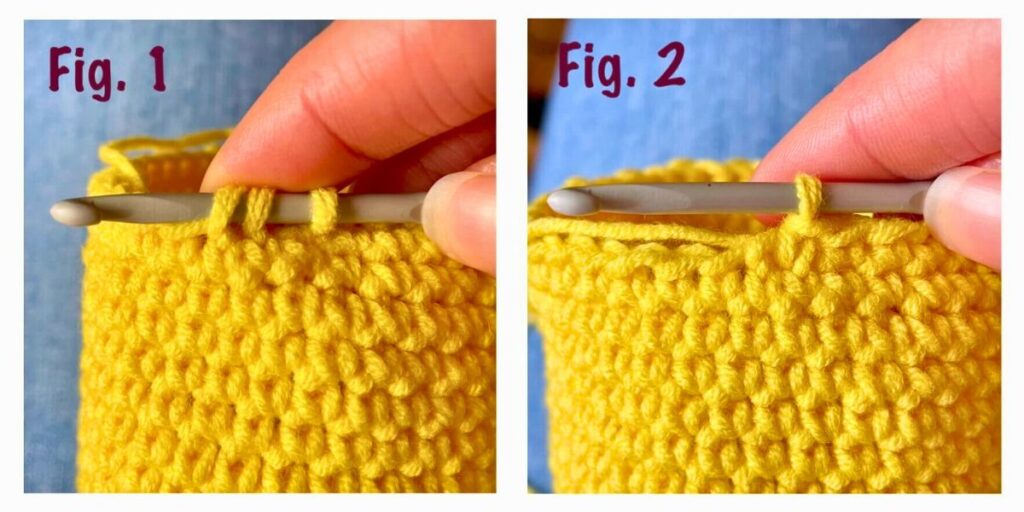
For your decreases, use the invisible decrease method:
- Insert your hook into the front loop only of the next two stitches (fig. 1).
- Yarn over and pull through a loop. There are now two loops on the hook.
- Yarn over again, and draw through both loops (fig. 2).
Squishy crochet mouse pattern
This mouse is mostly body. Or giant head, depending on how you look at it! So let’s start there.
Body
Start your mouse’s body with either a magic circle, or by making 4 chain stitches and joining them in a circle with a slip stitch. Either method will work, but I find with fluffy chenilles the 4-ch loop is easier to tighten without snapping the yarn.
- 1st round: Ch 1, sc 8 into the magic circle or 4-ch loop, catching the yarn tail under the stitches as you go (8 sts). Gently pull the yarn tail to tighten the hole.
- 2nd round: 8 inc (16 sts)
- 3rd round: *1 sc, inc* 8 times (24 sts)
- 4th round: *2 sc, inc* 8 times (32 sts)
- 5th round: *3 sc, inc* 8 times (40 sts)
- Rounds 6 – 23: Sc all the way round
- 24th round: 3 dec, sc 8, 6 dec, 8 sc, 3 dec (28 sts)
- 25th round: 3 dec, sc 2, 6 dec, 2 sc, 3 dec (16 sts)
- Put a stitch marker into the loop on your hook, and cut your yarn leaving a 24 inch tail.
Adding the eyes
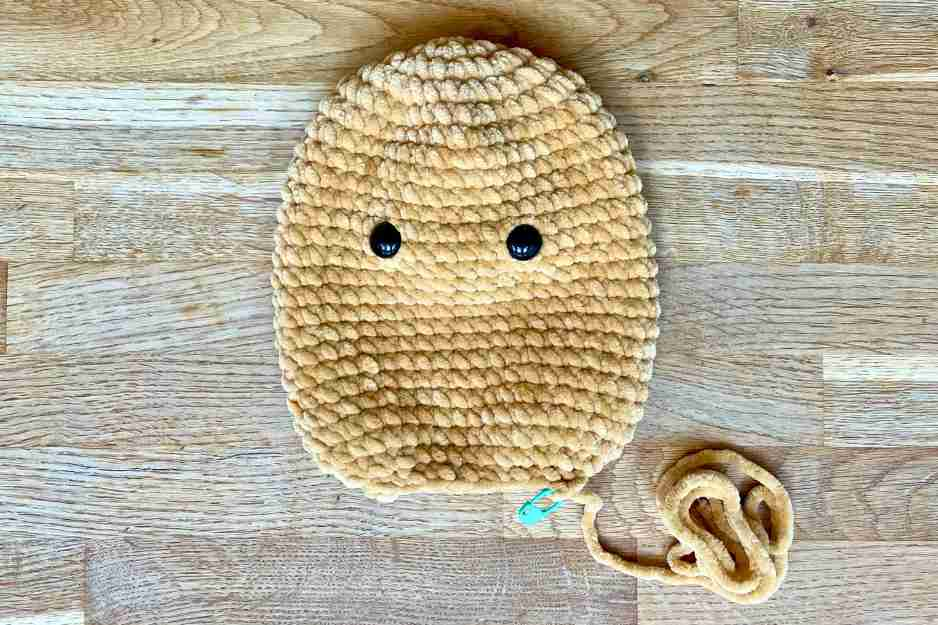
Spread the body out flat in front of you. Since the decreases at the bottom of the body are bunched up, it will only lie flat with the decreases at the sides, giving you a distinct front and back.
Insert the safety eyes through the front of the body, about 7 or 8 stitches apart between rows 11 and 12. Obviously the aim is to get them as evenly positioned either side of the center line as possible, but it doesn’t matter if one eye is a stitch out, if it makes the spacing between them more appealing.
When you’re confident with the position of the eyes, press the backs on firmly.
Closing the body
Before you close the body, stuff it firmly with toy safe stuffing. Then put the last stitch from round 25 onto your hook and make one more round:
- 26th round: 8 dec, sl st (8 sts)
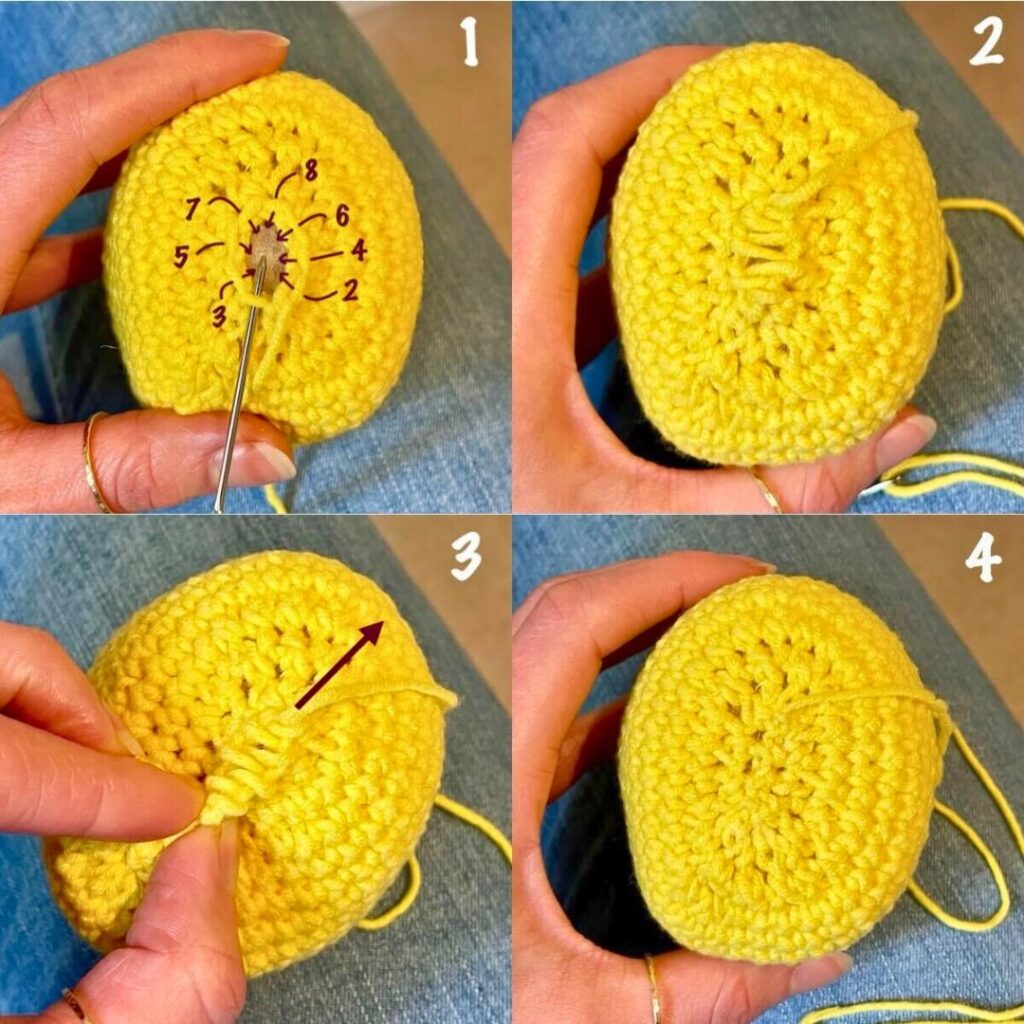
Poke in a little more stuffing if it will fix, then thread the remaining yarn tail onto a darning needle and sew the remaining hole closed. It’s not too important how you sew it closed exactly, but for the neatest result, you can’t beat using mattress stitch through the front loops only. The first picture below shows where the stitches go. Then pinch the beginning of the seam firmly with one hand, and pull the yarn tail firmly in the other direction with the other. The join should zip right up!
Adding the face
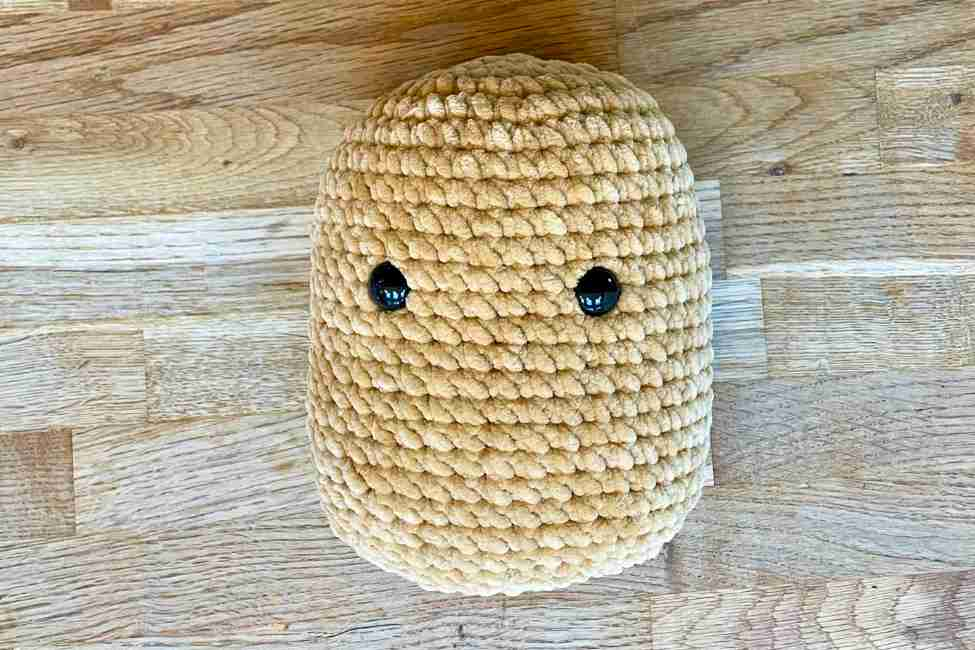
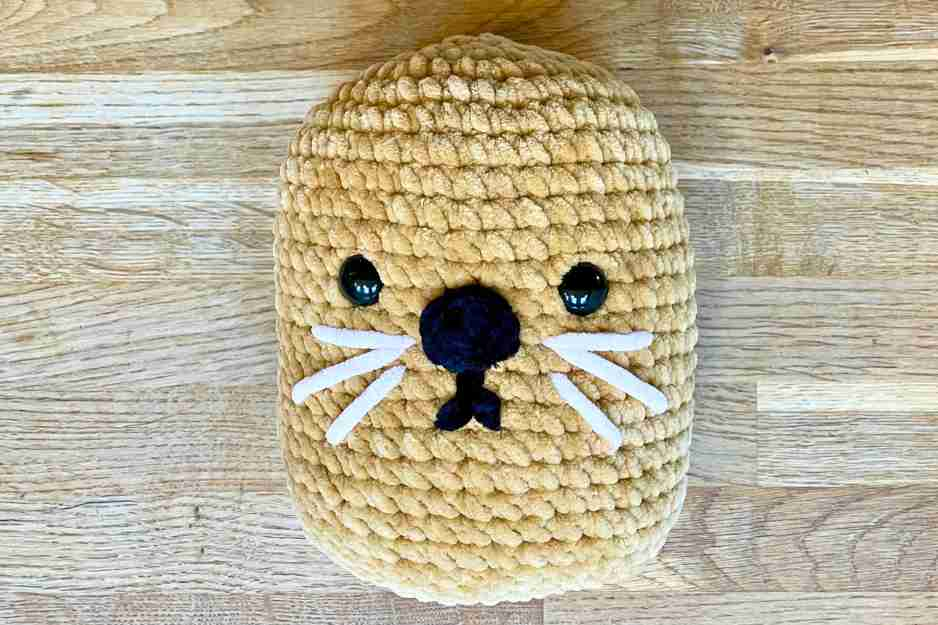
Here’s where we’re at so far:
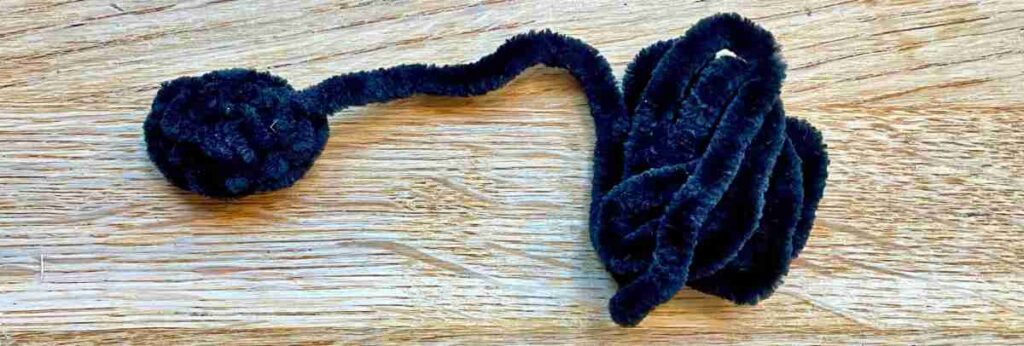
To make a cute little button nose, grab your black yarn and start with a either a magic circle or a 3-ch loop (that’s not a typo – 3 chains, not 4!). Into the loop, sc 3, and sl st. Cut the yarn leaving a 12” tail and pull the tail right through the slip stitch.
Position the top of the nose about level with the center of the eyes, and sew it in place. Use the remaining yarn tail to embroider a mouth, then poke what’s left of it inside the body.
Finally, use some of your pink yarn to give your mouse long, translucent-looking whiskers (or skip to the end of the pattern to see how they’d look in white!). I started mine by pushing the darning needle into the back of the body, and right through to the front, at a spot just next to the nose. Then I made three whiskers on either side of the nose, and after the last whisker I pushed the needle right through to the back of the body again – coming out at the same place I went in earlier. Then I knotted the yarn tails together, trimmed them short, and poked the knot inside the body. The stuffing will keep it anchored in place.
The ears
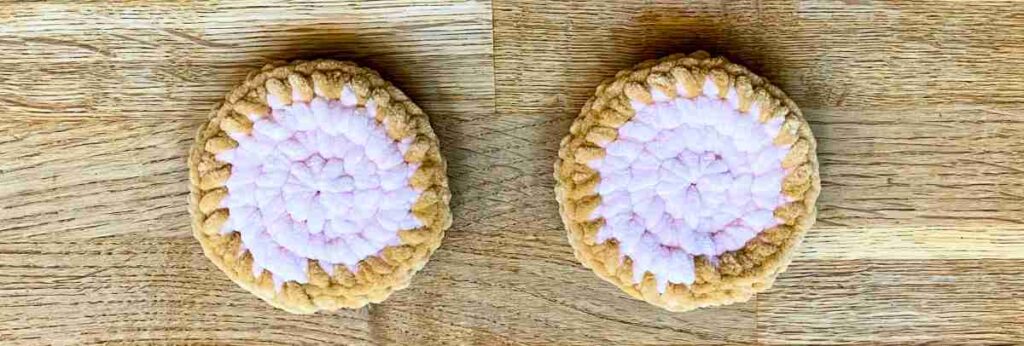
With your pink yarn, make a magic circle or 4-chain loop.
- 1st round: Ch 1, then catching the yarn tail under your stitches, sc 8 into the magic circle or 4-ch loop (8 sts). Gently pull the yarn tail to tighten the center of the ear.
- 2nd round: 8 inc (16 sts)
- 3rd round: *1 sc, inc* 8 times (24 sts)
In the first stitch of round 4, change color back to brown:
Insert the hook into the next stitch and draw through a loop of pink yarn.
Pick up the brown yarn and put it over the hook from back to front, then pull a loop of the brown yarn through both pink loops. Cut the pink yarn leaving a 3” tail, and continue with the brown yarn.
- 4th round: *2 sc, inc* 8 times (32 sts)
- Pause and tie the pink and brown yarn ends together, then trim them to about an inch long.
- 5th round: Sc blo all the way round (32 sts)
- 6th round: *2 sc, dec* 8 times (24 sts)
- 7th round: *1 sc, dec* 8 times (16 sts)
- 8th round: 8 dec, sl st (8 sts)
Cut the yarn leaving a 8” yarn tail, and sew the remaining hole closed using the mattress stitch technique above. Repeat the whole process to make a second ear.
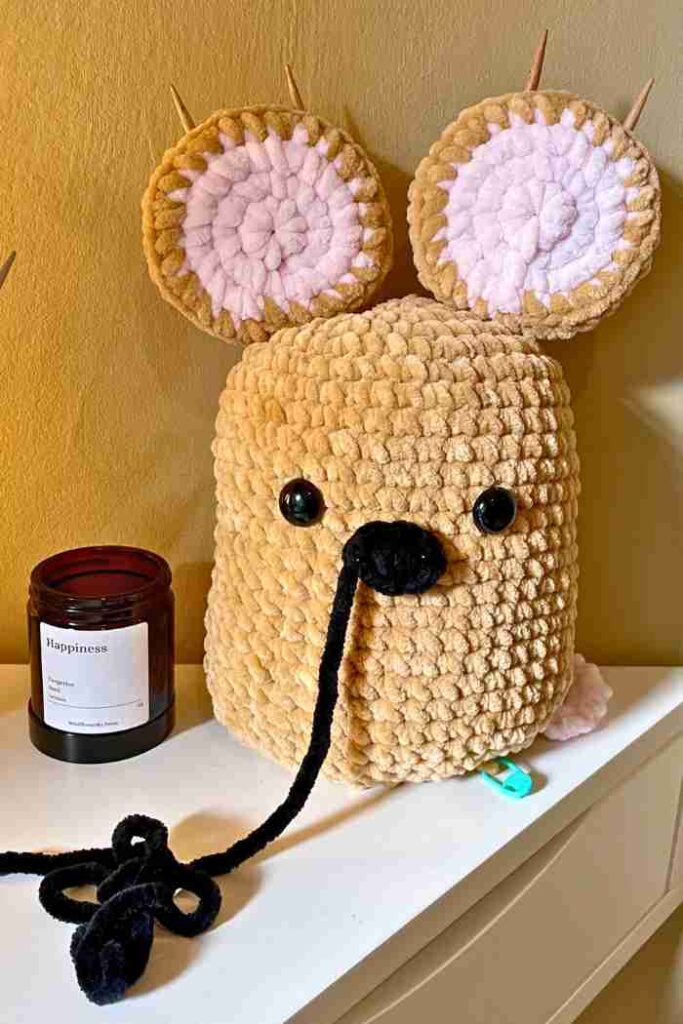
Then, using a doubled-up length of brown yarn, sew the ears onto the top of the head. If you have some knitting needles, skewers, or chopsticks to hand, they’re really useful for holding the ears in position while you sew. Just insert them through the top of the ear and right down into the body. I use two for each ear, so the ear can’t spin around.
Tail time
My mouse’s finishing touch is his tail.
- Using the pink yarn, make a slip knot with a 12” tail for joining to the body later.
- Ch 18
- Sk 1, sl st, sc, hdc, dc 14.
- Cut the yarn leaving an 8” tail. Put the yarn tail onto a darning needle, then thread it through the last loop on your hook, to stop the stitches unravelling.
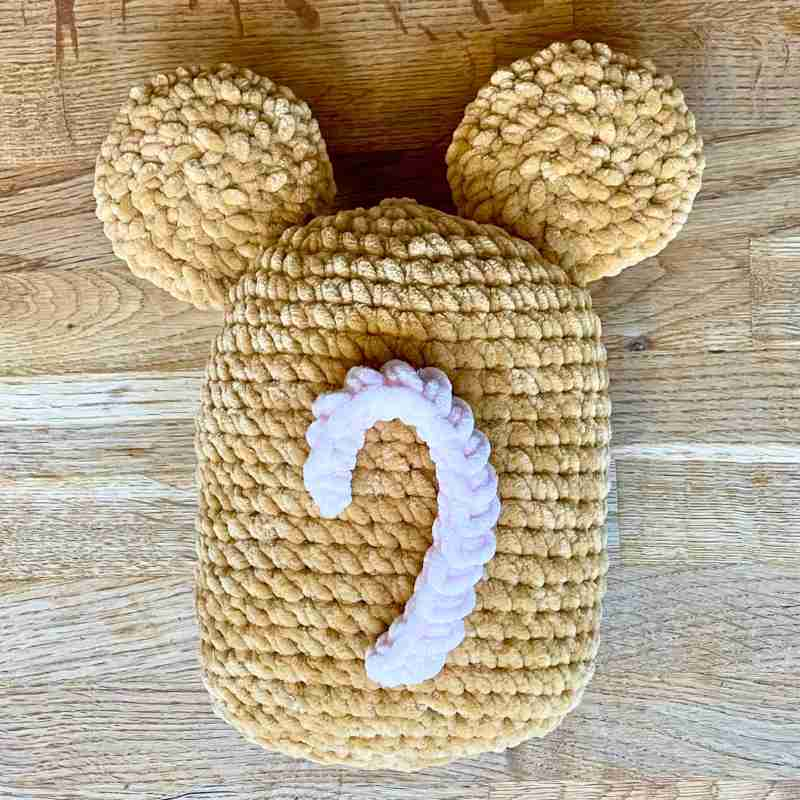
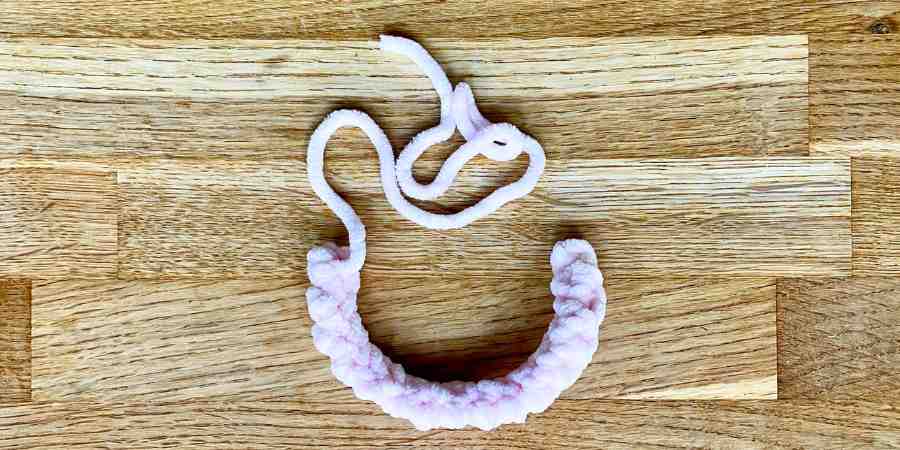
- Fold the tail in half lengthways, with the backs of the stitches facing outwards. Whip stitch each of the chain stitches from step 2 to the top of their corresponding stitch in step 3, to make a long tube which tapers to a point at the end.
- Thread any remaining yarn tail down inside the tail to hide it, then use the yarn tail from step 1 to attach the tail to the body.
Squishy crochet mouse complete
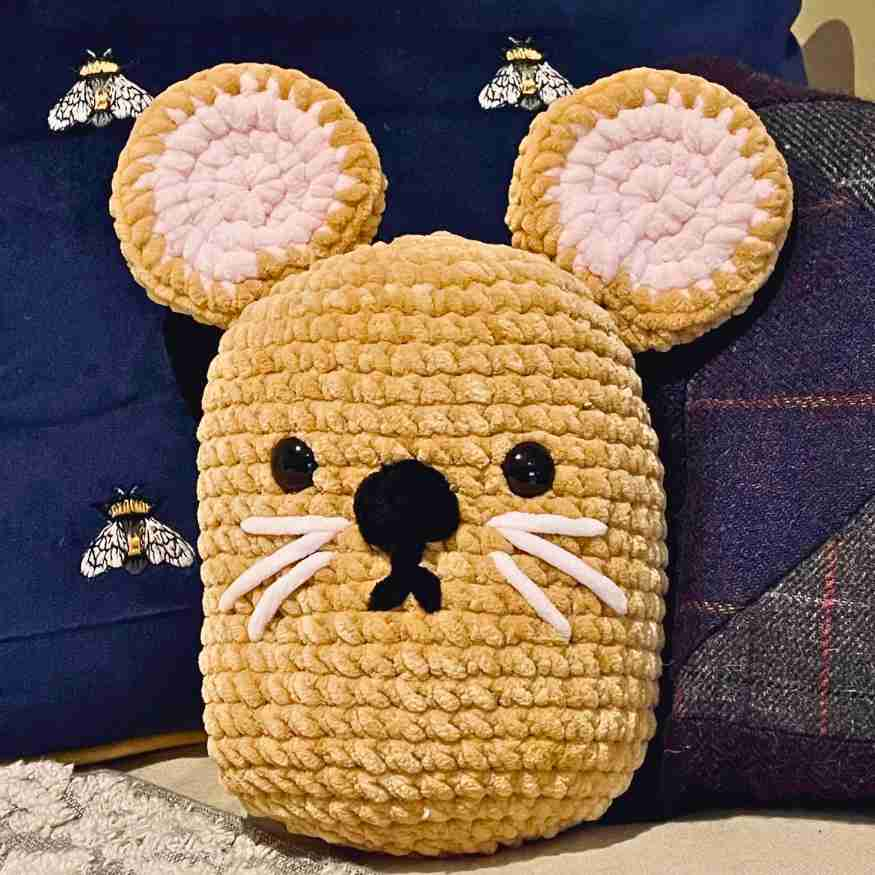
And here it is!
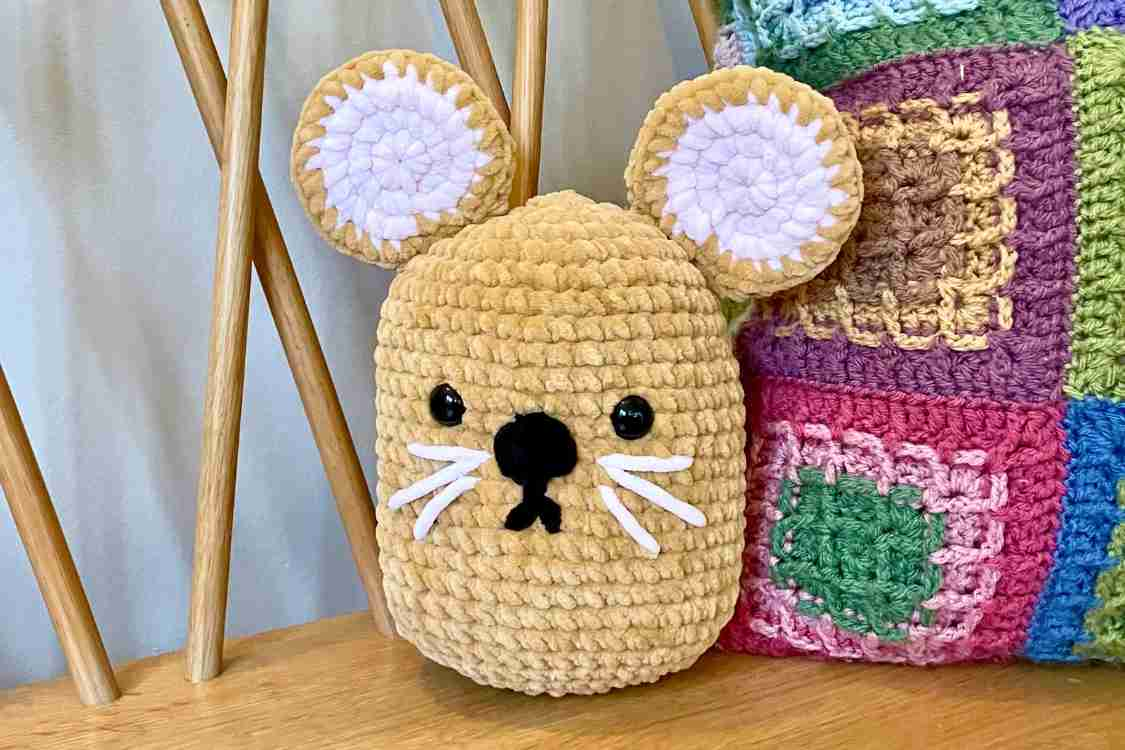
A day or so after finishing my mouse, I decided to see how he’d look with white whiskers instead. I think either works, and my camera really isn’t capturing much difference at all! I do slightly prefer the contrast of the white in real life, but if you don’t already have white and you don’t want to buy a whole ball just for this project, the pink totally works, and the pared back color palette is pretty effective in it’s own way. Here’s pink on the left, and white on the right (you’ll kind of have to take my word for it!)
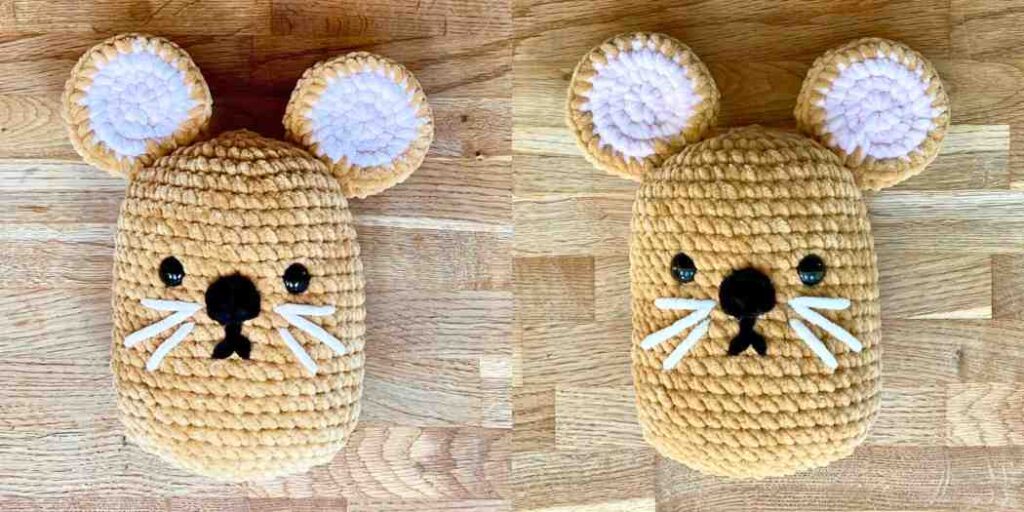
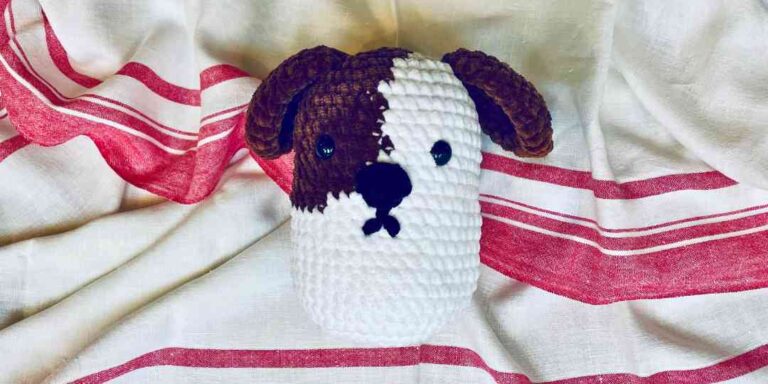
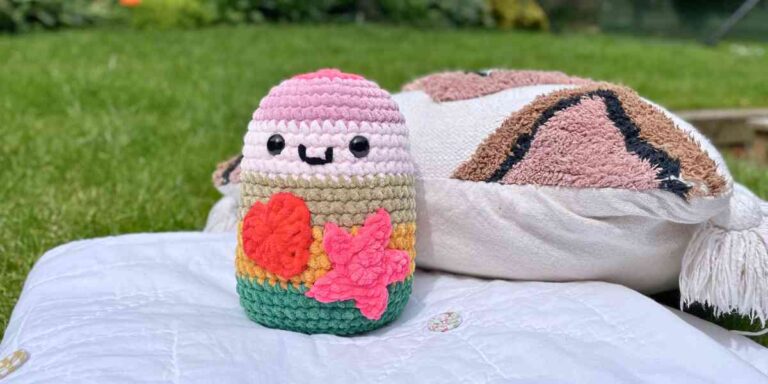
Whatever fur color and whisker color you chose, and whatever size you make it in, I hope you have lots of fun with this pattern. And don’t forget to make him a cute puppy or adorable frog pal now too!
Happy crocheting!
