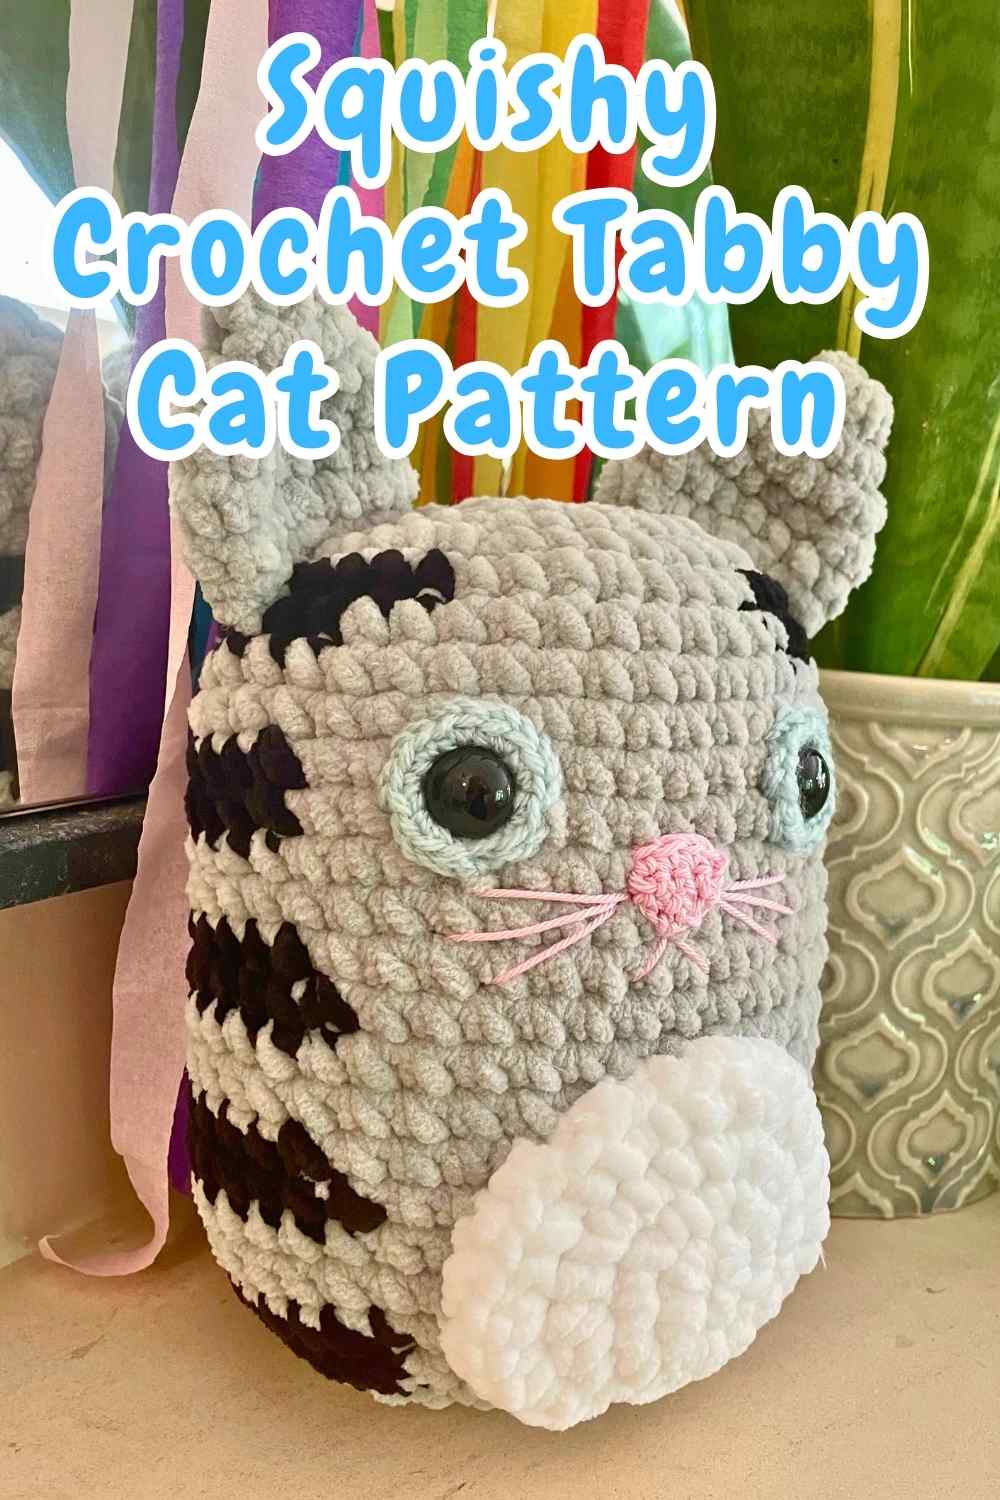
Squishy Crochet Tabby Cat Pattern
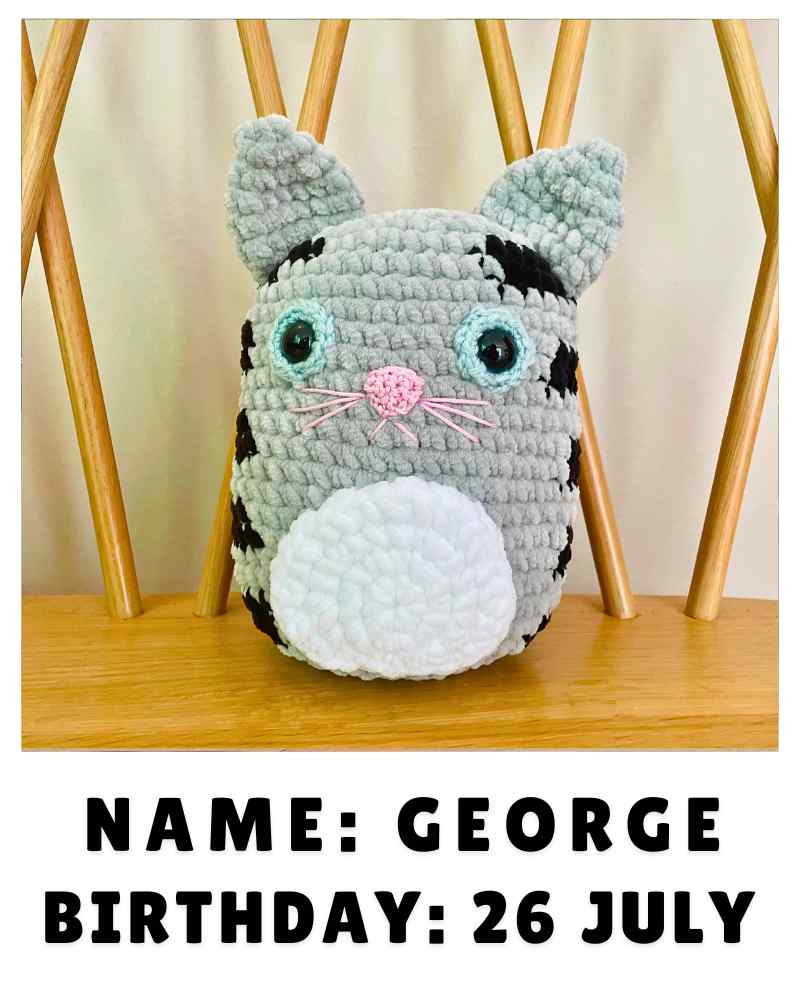
Hello, and welcome to my squishy crochet tabby cat pattern! This easy pattern is ideal for confident crochet beginners to start to stretch their skills a little further.
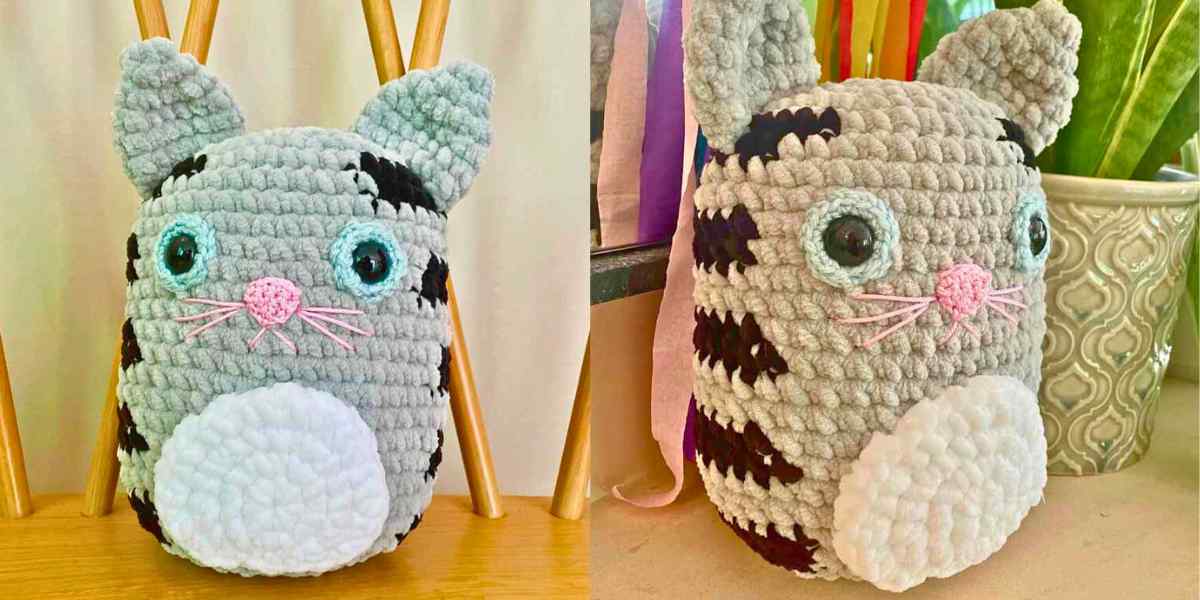
My design reminds me of Mog the cat, from the beautiful illustrated story books by Judith Kerr. Perhaps I should pretend that it was planned, but the truth is that it is a happy accident!

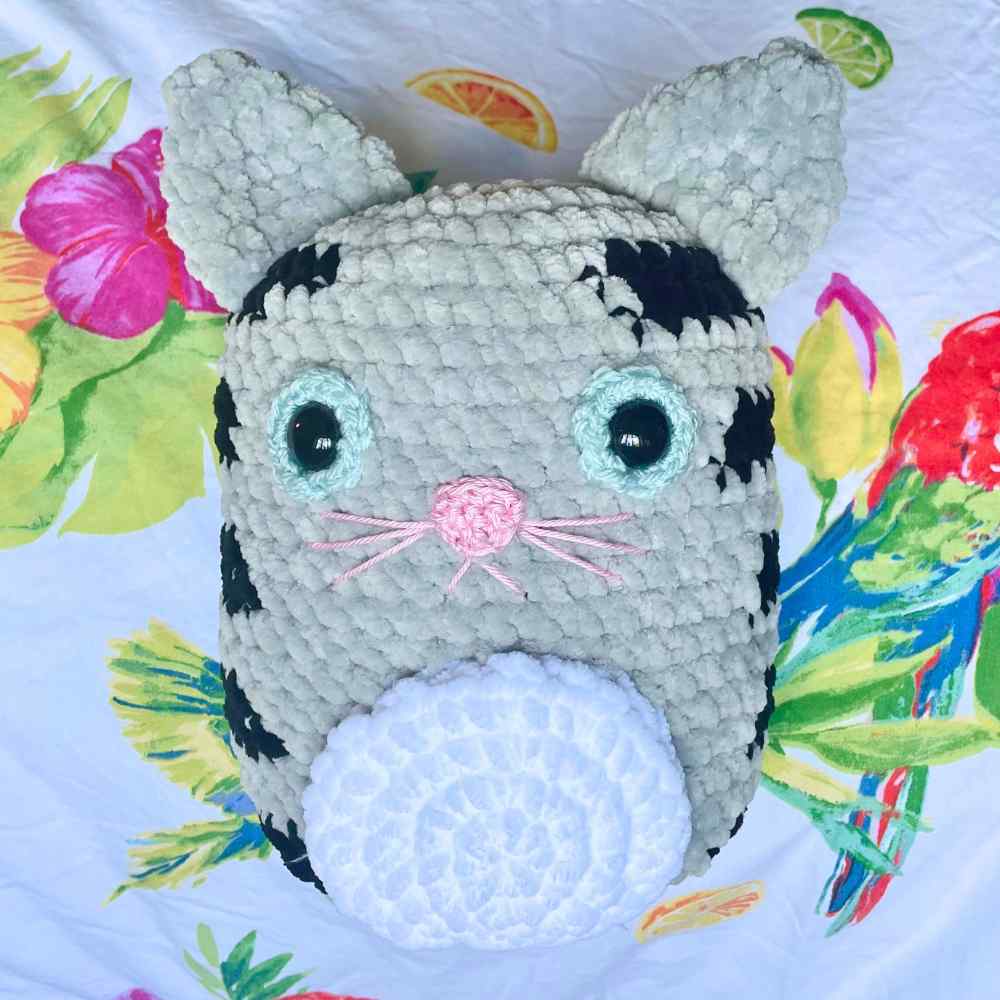
I had a lot of fun watching my cat’s cute, slightly anxious little face emerge from the yarn, but developing the pattern hasn’t been without hiccups. I realized too late in the day that the stripes aren’t quite symmetrical at the front, and I didn’t have enough yarn left to start over. But hey, do you know what else isn’t perfectly symmetrical? Actual cats. What I have done in this pattern tutorial though is include the colorwork pattern I used, and a corrected version for a more symmetrical finish if you want it.
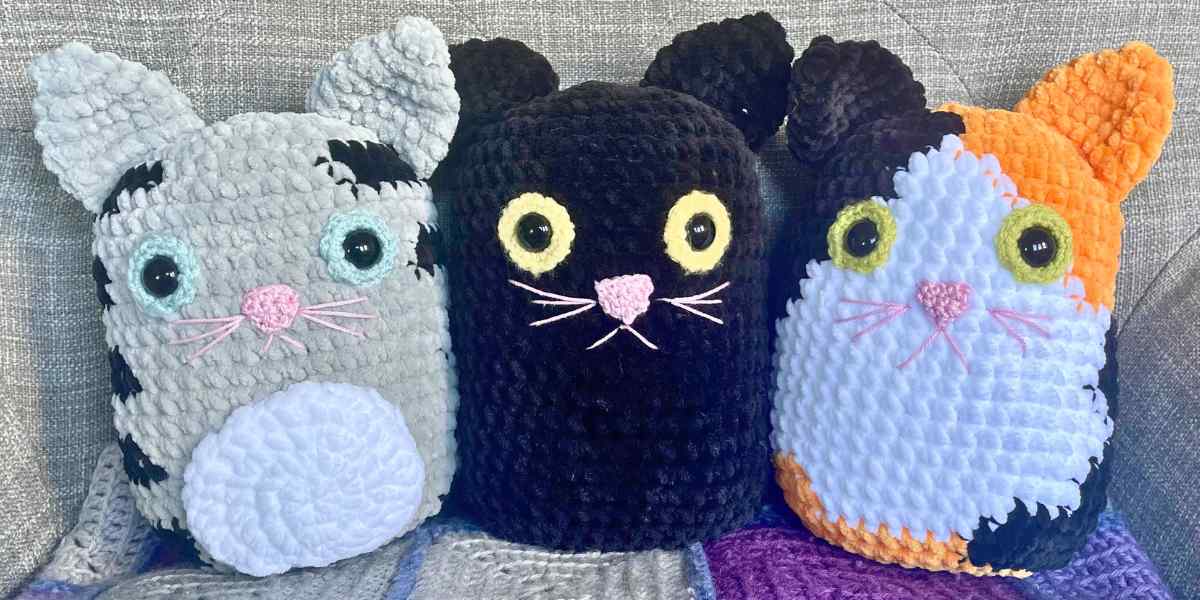
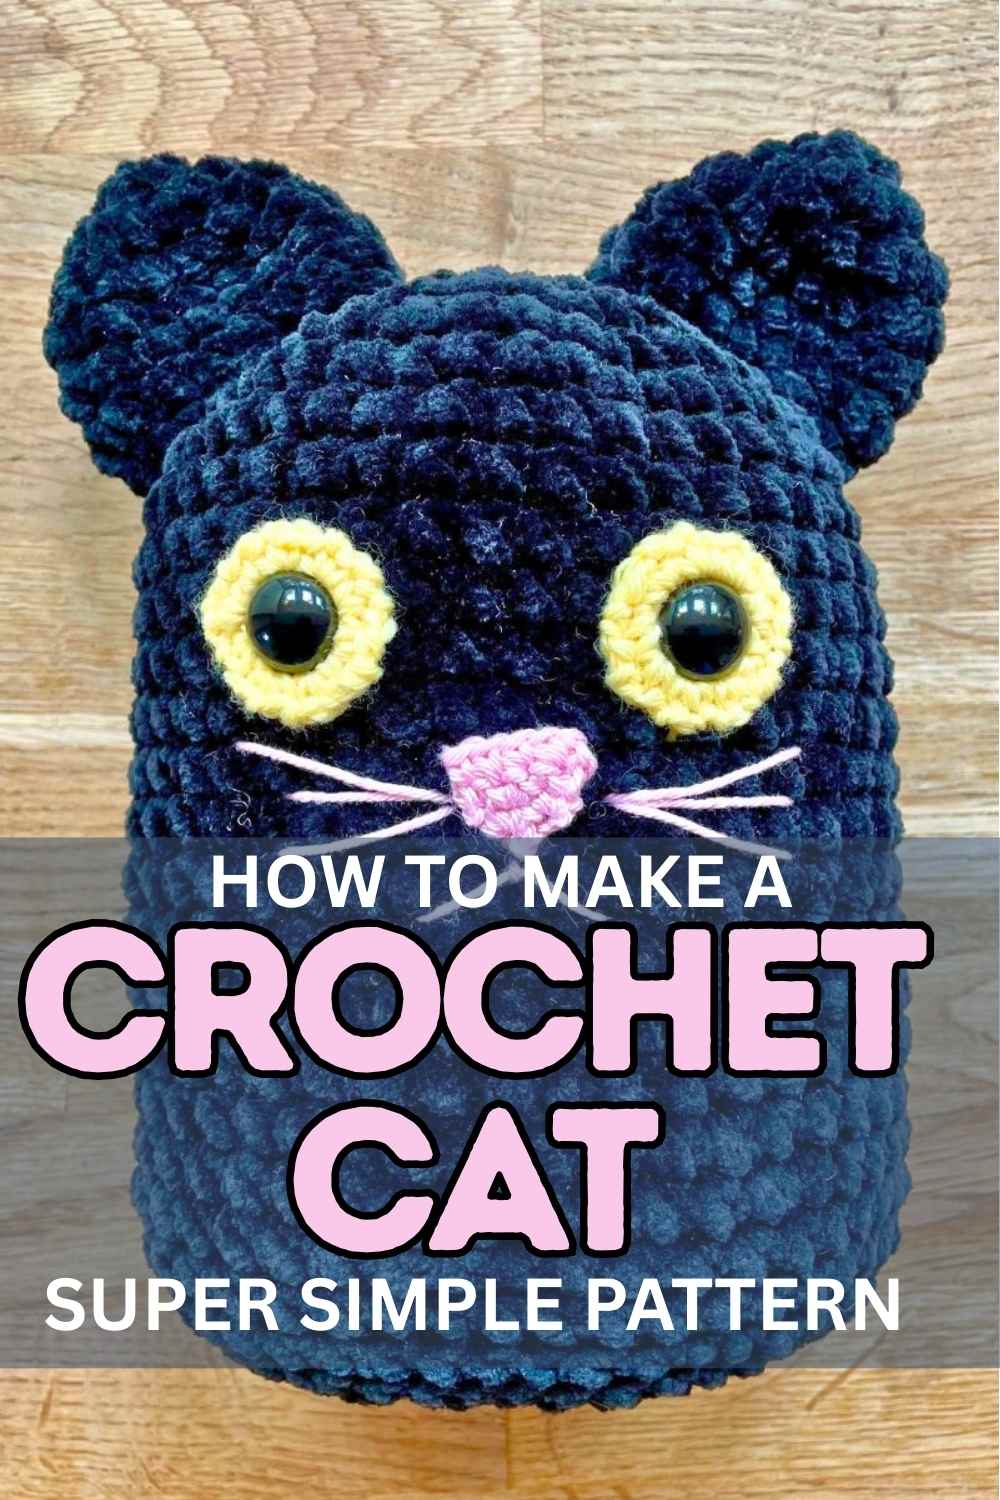
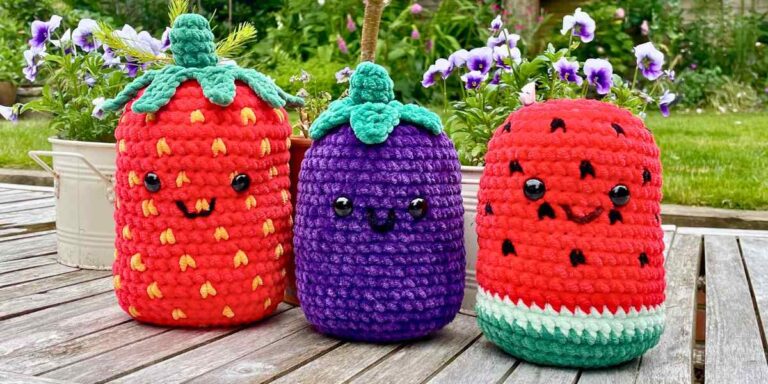
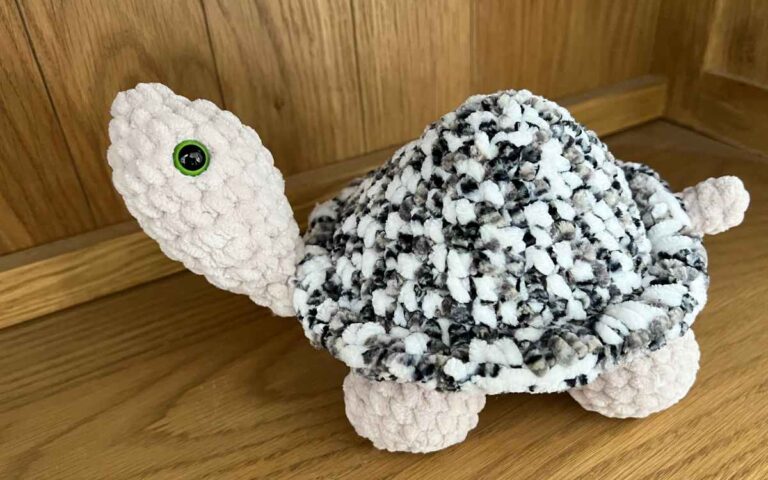
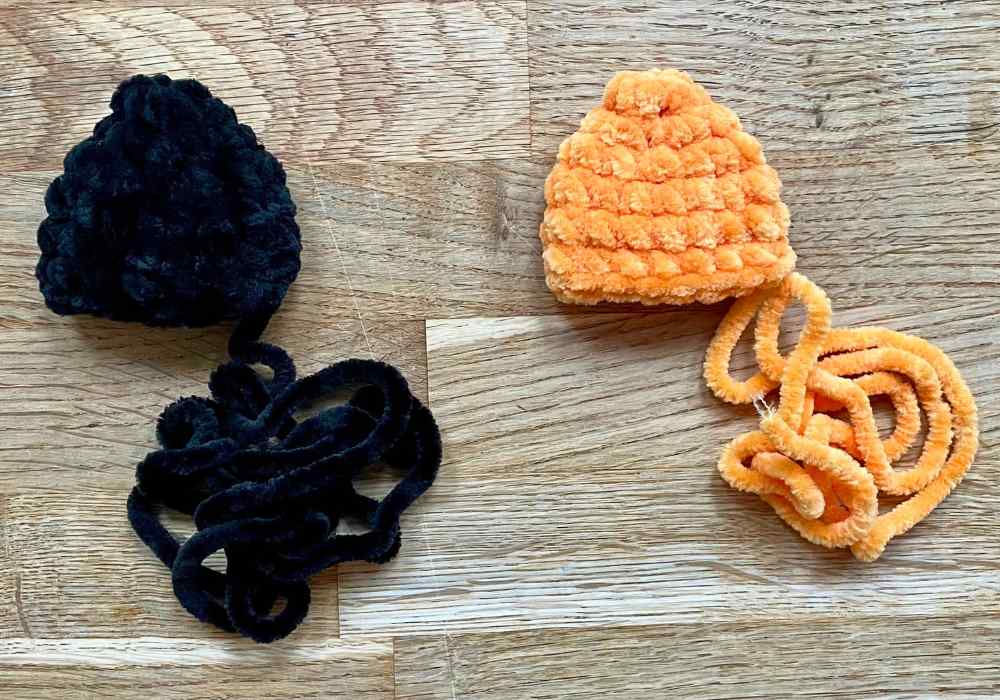
And when you’re done, you can make them an adorable black or calico companion too. Or maybe even a mouse to play with! Or if you’ve got a real cat, maybe they’d like a lovely new bed or hammock to snuggle down in?
Materials
To make a stripey, squishy cat of your own, you’ll need:
- Yarn for the body and ears. I’ve used gray for the background, and black for the stripes. But you could have dark brown stripes on a tan background. Or make a ginger tabby from dark and pastel orange hues. These yarns can be in any weight or fiber, as long as they are all the same weight. I’ve used Cygnet’s Jellybaby yarn in black and pearl gray.
- White yarn for the tummy patch (optional). This needs to be the same weight as the yarn for the body – I’m using Jellybaby yarn again.
- Yarn for the eyes. Cat’s eyes can be orange, yellow, blue or green – take your pick! I’ve used some scraps of Stylecraft Special DK in duck egg – mostly because my black cat already has yellow eyes and my calico cat has green eyes, so I wanted something different again. This yarn needs to be lighter weight than the yarn for the body – I’ve got notes about that coming up.
- Yarn for the nose, mouth and whiskers. This could be pink, peach, or black – whatever you already have a handy scrap of that works against your background color. I’m using Paton’s Cotton DK, in nougat. I think the smoothness of cotton is very effective for embroidering whiskers! This yarn also needs to be lighter weight than the yarn for the body.
Tools
You’ll also need:
- Crochet hooks. For the black, gray and white yarns, use a crochet hook one size smaller than the yarn wrapper recommends – this helps your amigurumi hold its shape, and prevents stuffing poking out between the stitches. For your light yarns, use the hook size recommended on the wrapper.
- Safety eyes. Notes on size down below!
- Toy stuffing. Such as Poly-Fil.
- Stitch markers. Or scraps of brightly colored yarn.
- Darning needle.
Notes on size
The yarn you use for you cat’s body will determine how tall it turns out, and also what weight of yarn you need for the eyes and nose, and what size safety eyes you need, to keep everything in proportion.
| Weight of the body and ear yarns | Finished squishy height (approx., not including ears) | Yarn weight to use for the irises and nose | Diameter of safety eyes |
| DK | 4 inches | Lace | 12mm |
| Worsted (aran) | 5 inches | Superfine/sock | 12mm |
| Bulky | 6 inches | Fine | 16mm |
| Super bulky | 7 inches | DK | 16mm |
| Jumbo | 8+ inches | Worsted | 20mm |
Pattern notes
This pattern is written in standard US crochet terms. The stitches and abbreviations used are:
Ch chain stitch
Sl st slip stitch
Sc single crochet
Hdc half double crochet
Inc increase (make 2 sc in the same space)
Hdc-inc increase using half double crochet (make 2 hdc in the same space)
Dec decrease
For the decreases, I recommend using the invisible decrease method, which is ideal for amigurumi projects:
- Insert the hook into the front loop only of the next two stitches (below left).
- Yarn over the hook and draw it through both front loops (two loops remaining on hook).
- Yarn over and draw it through both loops (below right).

Squishy crochet tabby cat pattern
Let’s get started with the biggest part of this project – the body. The stripes are achieved with color changes in rounds 6 to 23. As promised, I’m going to give you that section of the pattern twice – once as I made it in the photos accompanying this pattern, and once with some small changes to make the front of the cat more symmetrical.
Body
I’m going to use ‘black’ and ‘gray’ throughout to describe the colors. If you’re using other colors, you’ll work it out!
Rounds 1 – 5
Using your background color, make either a magic circle, or chain four and join them with a slip stitch into the the furthest chain from the hook to make a 4-ch loop.
- 1st round: Ch 1, sc 8 into the magic circle or 4-ch loop (8 sts)
- 2nd round: 8 inc (16 sts)
- 3rd round: *1 sc, inc* 8 times (24 sts)
- 4th round: *2 sc, inc* 8 times (32 sts)
- 5th round: *3 sc, inc* 8 times (40 sts)
That’s the last of the increasing round – the next section of the pattern is worked in continuous single crochet. If you’re not already using a stitch marker to keep track of where one round ends and the next one begins, now is a good time to start!
Rounds 6 – 23 (Sarah’s version)
- 6th round: 18 black, 8 gray, 14 black sts
- 7th round: 16 black, 11 gray, 13 black sts
- 8th round: Gray
- 9th round: Gray
- 10th round: 15 black, 14 gray, 11 black sts
- 11th round: 15 black, 14 gray, 11 black sts
- 12th round: Gray
- 13th round: Gray
- 14th round: 15 black, 15 gray, 10 black sts
- 15th round: 16 black, 14 gray, 10 black sts
- 16th round: Gray
- 17th round: Gray
- 18th round: 16 black, 15 gray, 9 black sts
- 19th round: 17 black, 14 gray, 9 black sts
- 20th round: Gray
- 21st round: Gray
- 22nd round: 18 black, 13 gray, 9 black sts
- 23rd round: 18 black, 13 gray, 9 black sts
Rounds 6 – 23 (amended, more symmetrical version)
I’ve underlined the differences, for good measure.
- 6th round: 18 black, 8 gray, 14 black sts
- 7th round: 16 black, 11 gray, 13 black sts
- 8th round: Gray
- 9th round: Gray
- 10th round: 15 black, 14 gray, 11 black sts
- 11th round: 15 black, 14 gray, 11 black sts
- 12th round: Gray
- 13th round: Gray
- 14th round: 15 black, 14 gray, 11 black sts
- 15th round: 16 black, 13 gray, 11 black sts
- 16th round: Gray
- 17th round: Gray
- 18th round: 16 black, 13 gray, 11 black sts
- 19th round: 17 black, 12 gray, 11 black sts
- 20th round: Gray
- 21st round: Gray
- 22nd round: 18 black, 12 gray, 10 black sts
- 23rd round: 18 black, 12 gray, 10 black sts
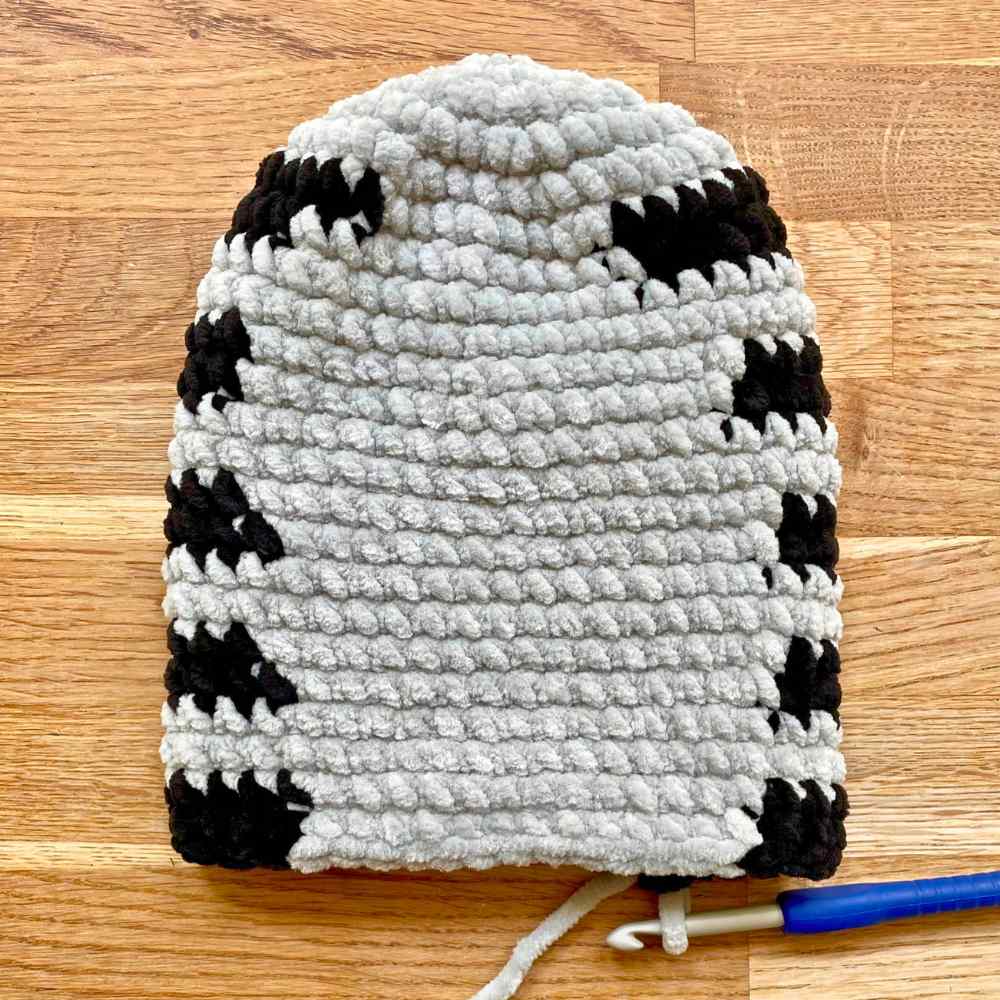
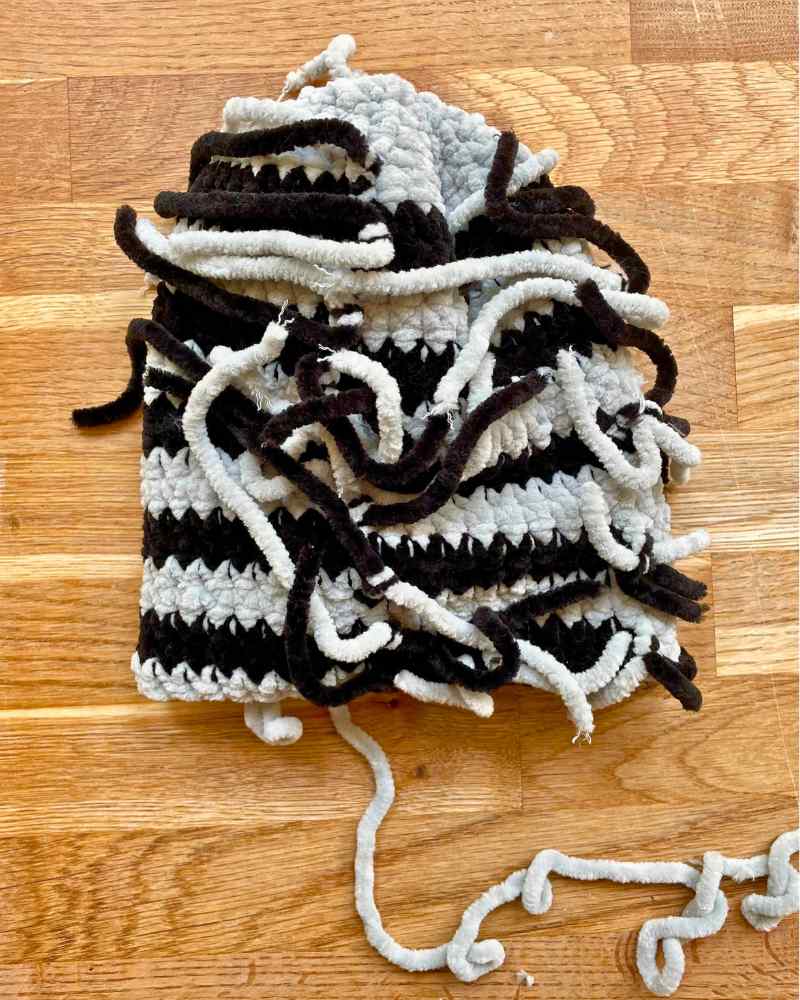
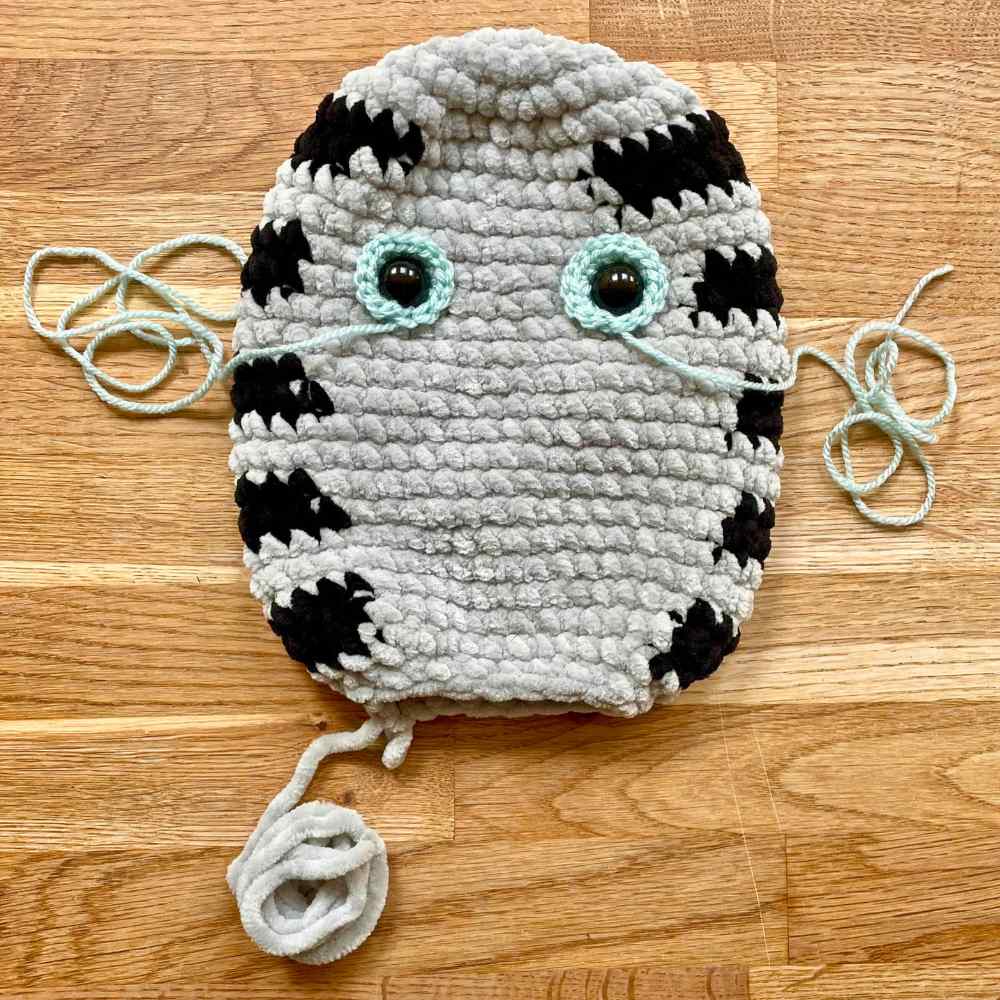
Now you can set aside your black yarn. And if you have any loose ends that need tying off inside the body, this is the time to do it. As you can see, the inside of my cat is really something at this point!
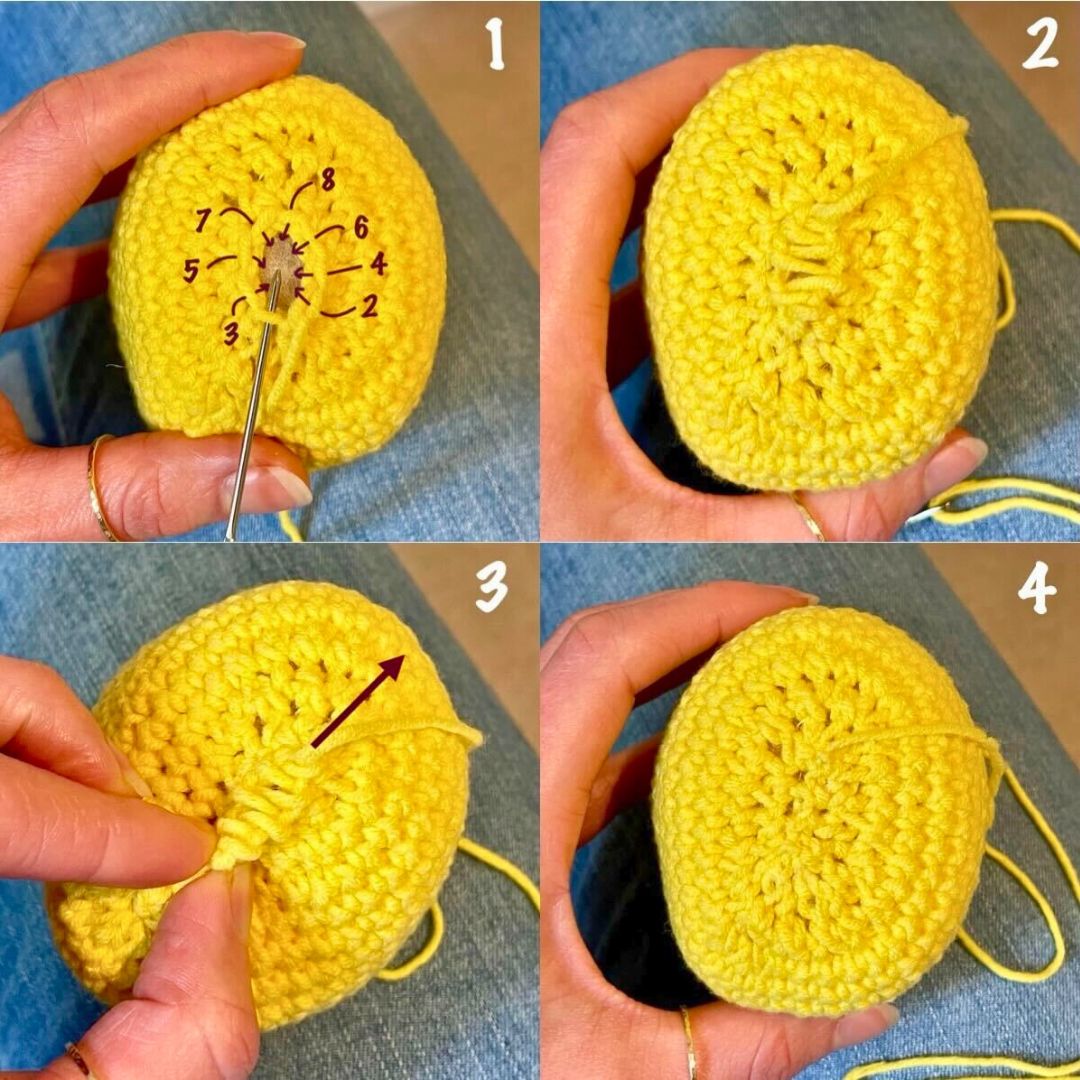
Rounds 24 & 25
Continuing in your gray yarn only:
Spread the body out flat in front of you, and make note of how many stitches it is to the corner indicated by the blue arrow. For me it’s 15, and it should be about the same for you, but don’t worry if it’s a couple more or less!
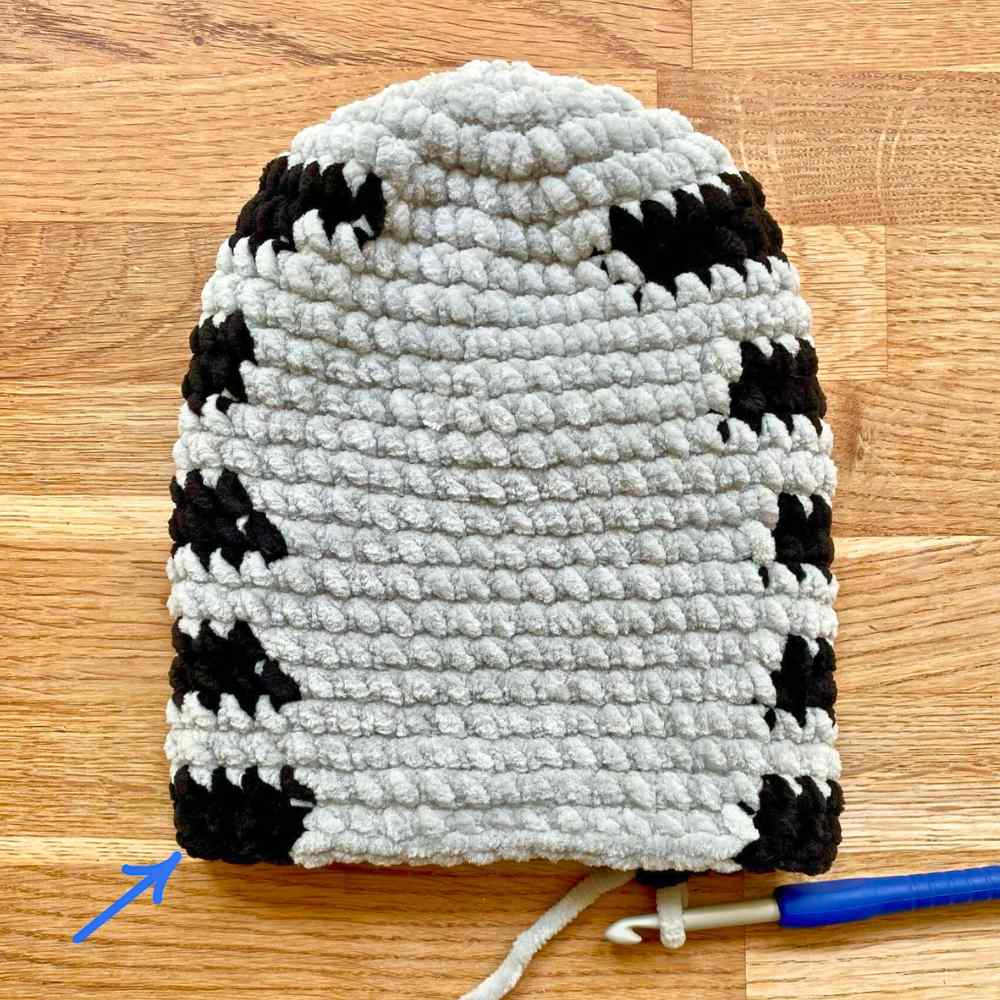
- Single crochet to that corner. The next stitch is the new start/end point for the final rounds. This makes sure the non-stripey area ends up on your cat’s belly, not their side!
- 25th round: 3 dec, sc 8, 6 dec, 8 sc, 3 dec (28 sts)
- 26th round: 3 dec, sc 2, 6 dec, 2 sc, 3 dec (16 sts)
- Put a stitch marker into the loop on your hook, and cut your yarn leaving a 24 inch tail.
Set the body to one side for now.
The belly patch (optional)
Using your white yarn:
- Make a magic circle, or ch4 and sl st to join.
- 1st round: Ch 1, sc 8 into the magic circle or 4-ch loop (8 sts)
- 2nd round: 8 inc (16 sts)
- 3rd round: Sl st, sc, hdc-inc, hdc, inc, sc 2, inc 2, sc 2, inc, hdc, hdc-inc, sc, sl st (22 sts)
- 4th round: Sl st 3, inc, hdc-inc 2, *sc, inc* 5 times, sc, hdc-inc 2, inc, sl st 2 (33 sts)
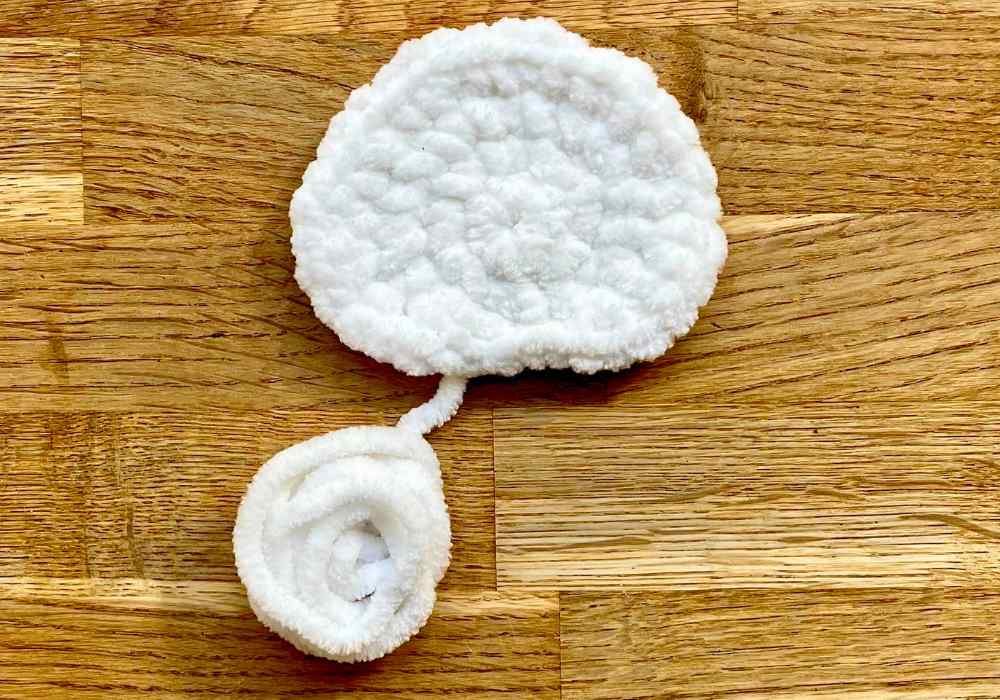
Cut the yarn leaving a long tail for sewing, and pull the tail all the way through the last slip stitch.
The ears
Making two, starting with a magic circle or 3-ch loop. That’s not a typo – the tips of the ears have just 5 stitches in the first round, so a loop of three chain stitches is all that’s needed.
- 1st round: 5 sc (5 sts)
- 2nd round: 5 inc (10 sts)
- 3rd round: *Inc, sc 1* five times (15 sts)
- 4th – 7th rounds: Sc all the way round
To finish, slip stitch once, cut the yarn leaving a long tail for sewing later, and pull the tail right through the slip stitch. I forgot to take a photo of how they should look, so please enjoy this one from my calico cat pattern:
You can sew the ears to the body now if you like, but I prefer to do it after the body is stuffed and closed, so I can make sure they stand up right.
The eyes
This cat’s doleful expression hinges in part on their large, round eyes. Make two.
- Magic circle or 4-ch loop to start.
- 1st round: Sc 8 into the to center.
- 2nd round: Inc 8 times (16 sts)
To finish, slip stitch once, cut the yarn leaving a long tail for sewing later, and pull the tail right through the slip stitch. Set them to one side for now.
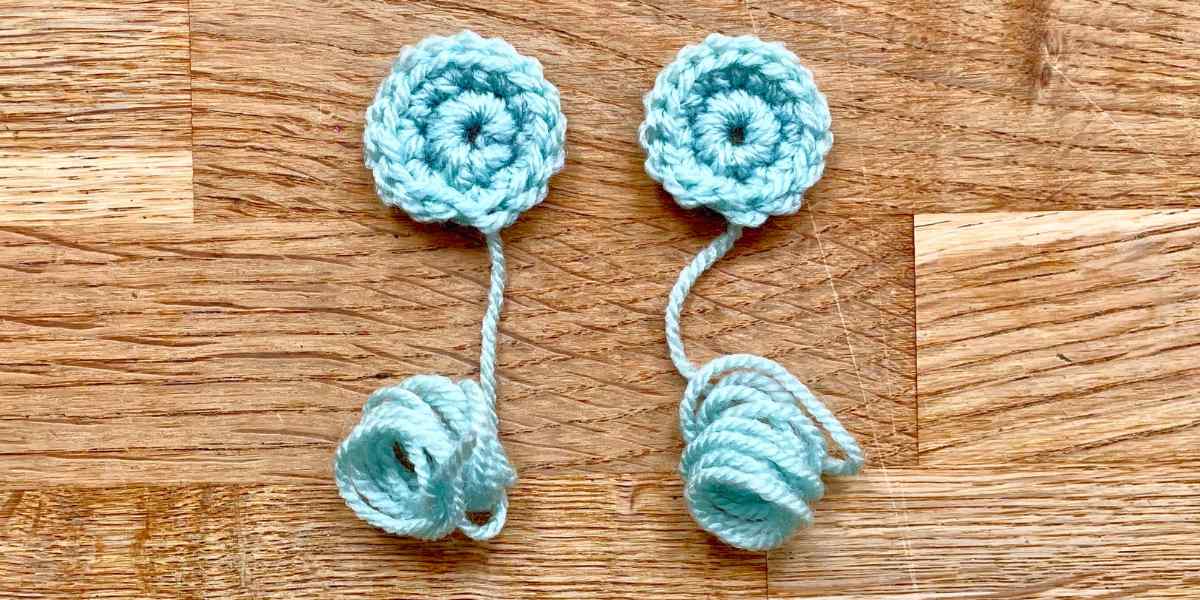
TOP TIP: If you don’t love their diameter on your first attempt, try remaking them with a bigger or smaller hook.
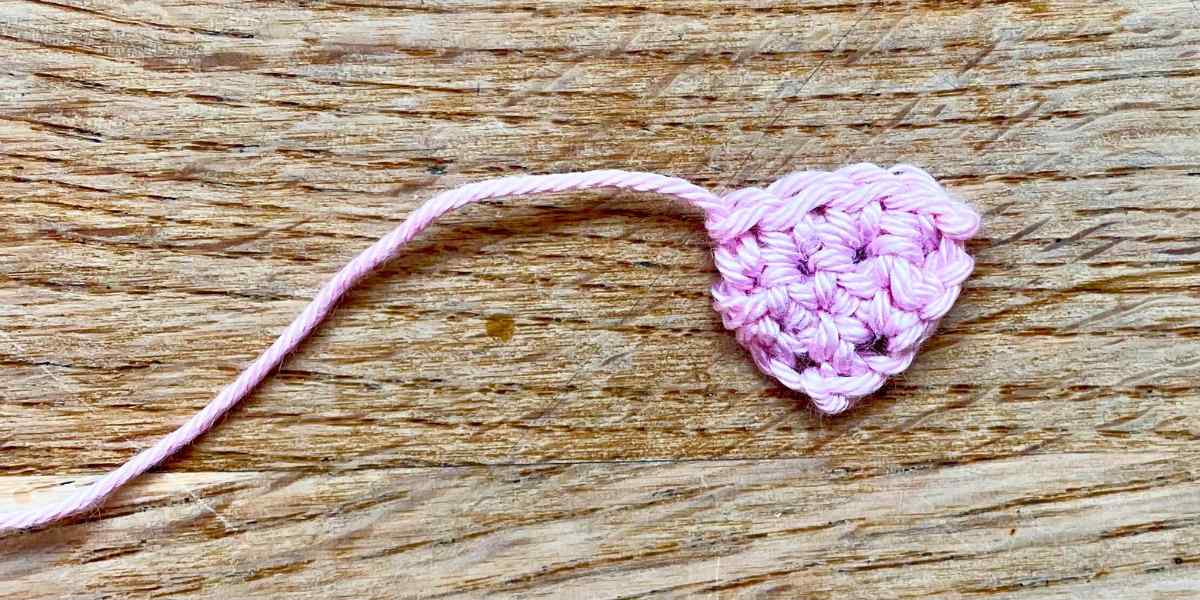
The nose
The nose is the only part of this pattern that isn’t made in rounds.
- Make a foundation chain of 3.
- 1st row: Skip the first chain from the hook, and inc into each of the other two stitches (4 sts).
- 2nd row: Sc across (4 sts). NOTE – no turning chain.
- 3rd row: Sc across (4 sts). NOTE – no turning chain.
Cut the yarn leaving a tail for sewing, and pull the tail right through the last stitch.
Assembling your tabby cat
Now all your kitty parts are ready, let’s put them together and bring your cat to life!
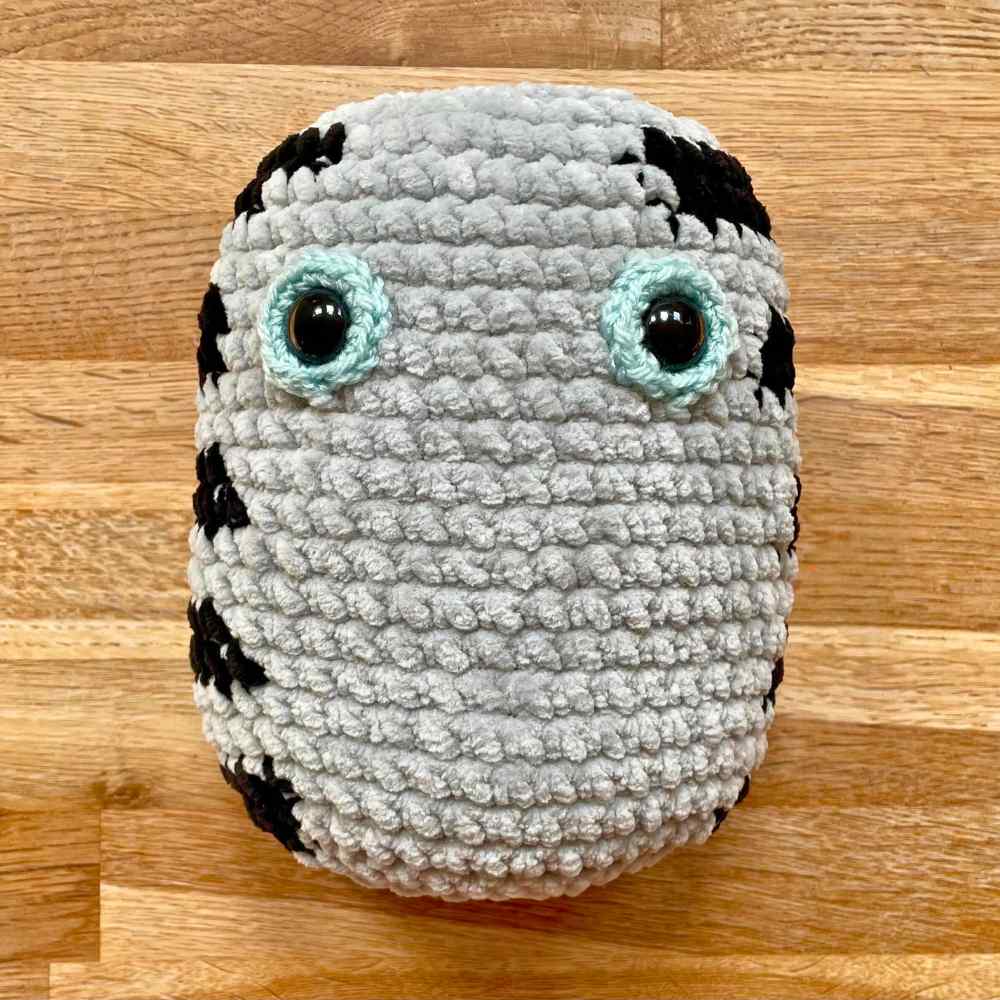
First attach the safety eyes. Push the stems though the centers of the irises and into the body. They should be roughly 8 stitches apart, between rows 10 and 11. But if you’re working with lighter or heavier yarn, the best position might be slightly different – it’s ok to eyeball it!
Push the backs onto the eyes, then fill the body firmly with toy stuffing. Now pick your crochet hook back up and add one more round to the body:
- 26th round: 8 dec (8 sts)
Slip stitch once, and pull the yarn tail right through the slip stitch. Thread it onto a darning needle, and close the hole that’s left using mattress stitch through the front loops only.
Finishing touches
Use the yarn tails on the irises to sew their edges against the body. For the best effect, sew down two stitches at a time through the back loops only.
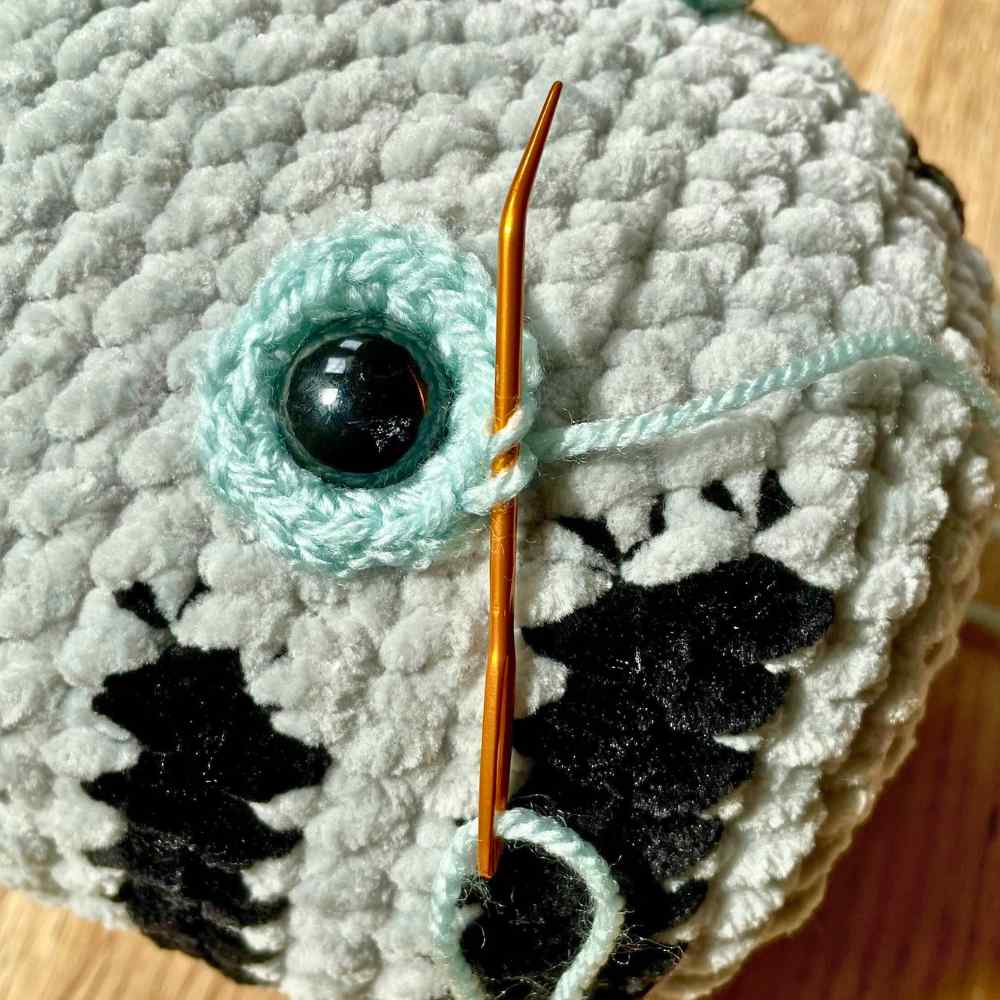
Feed the remaining yarn tail out through the back of the body and leave it there for now.

Sew down the second eye and feed the yarn tail out through the same spot on the back of the body as the first. Knot them together, and poke them inside the body. The stuffing will anchor them in place.
Sew the tummy patch on with the flat bottom edge sitting roughly flush with the bottom of round 22.
Attach the ears to the top of the head, approximately 2 inches apart, and slightly forwards of halfway back. You can tie up the yarn tails in the same way as for the irises.
Finally, sew on the nose so the top edge is about level with the bottoms of the irises. Embroider whiskers and a mouth using the grid pattern in the single crochet stitches to guide you.
Project complete!
I hope you’ve enjoyed working on this project. I’d love to know which version of the pattern you followed down in the comment section. For more of my squishy amigurumi patterns – from bubble tea and a bear, to a cactus and a cow, don’t forget to visit us here.