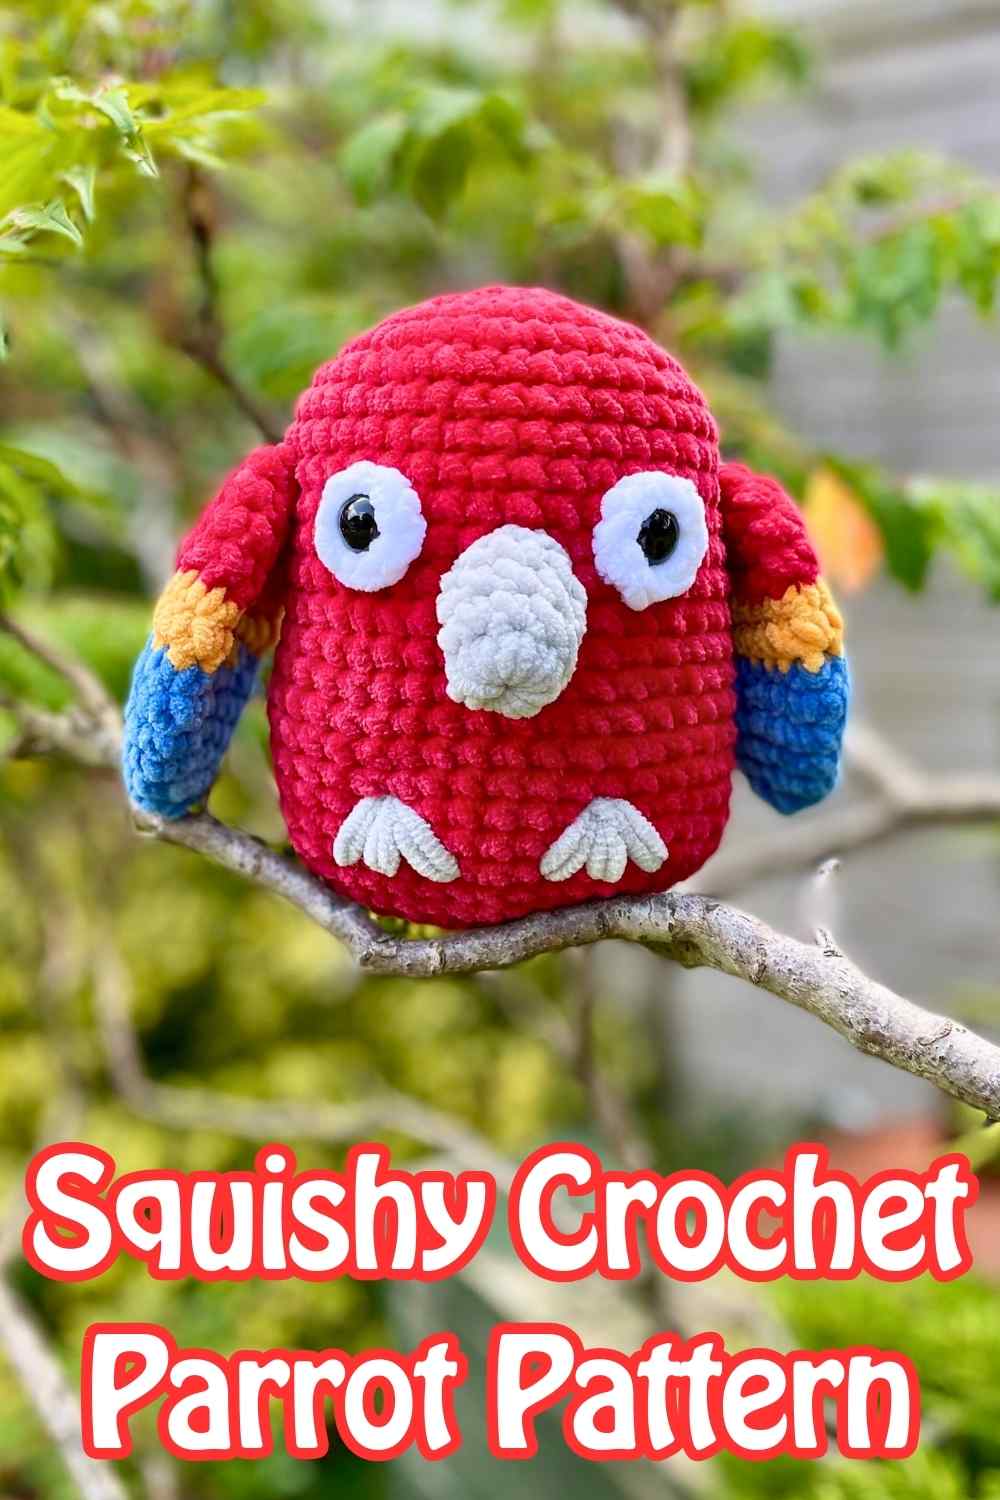
Squishy Crochet Parrot Pattern
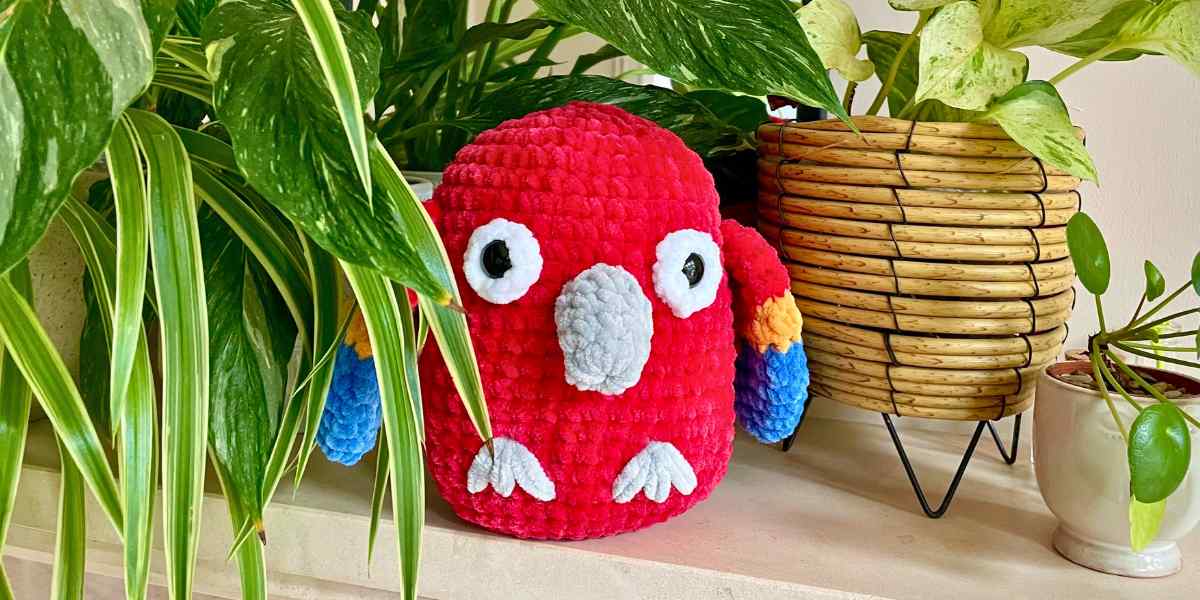
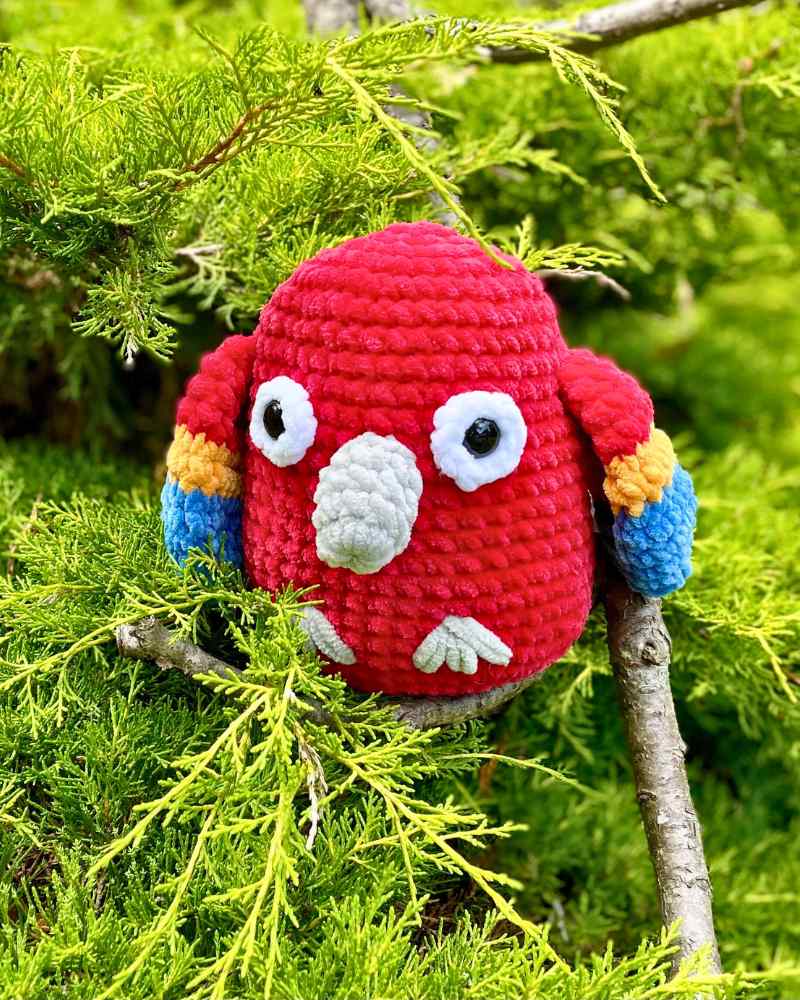
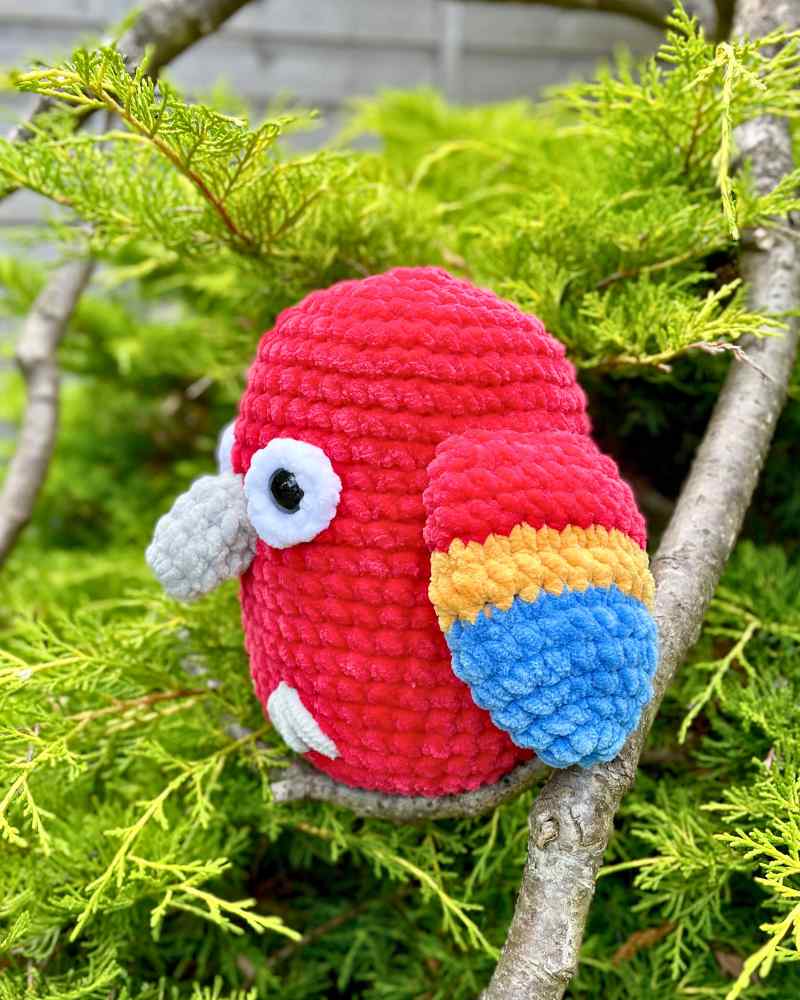
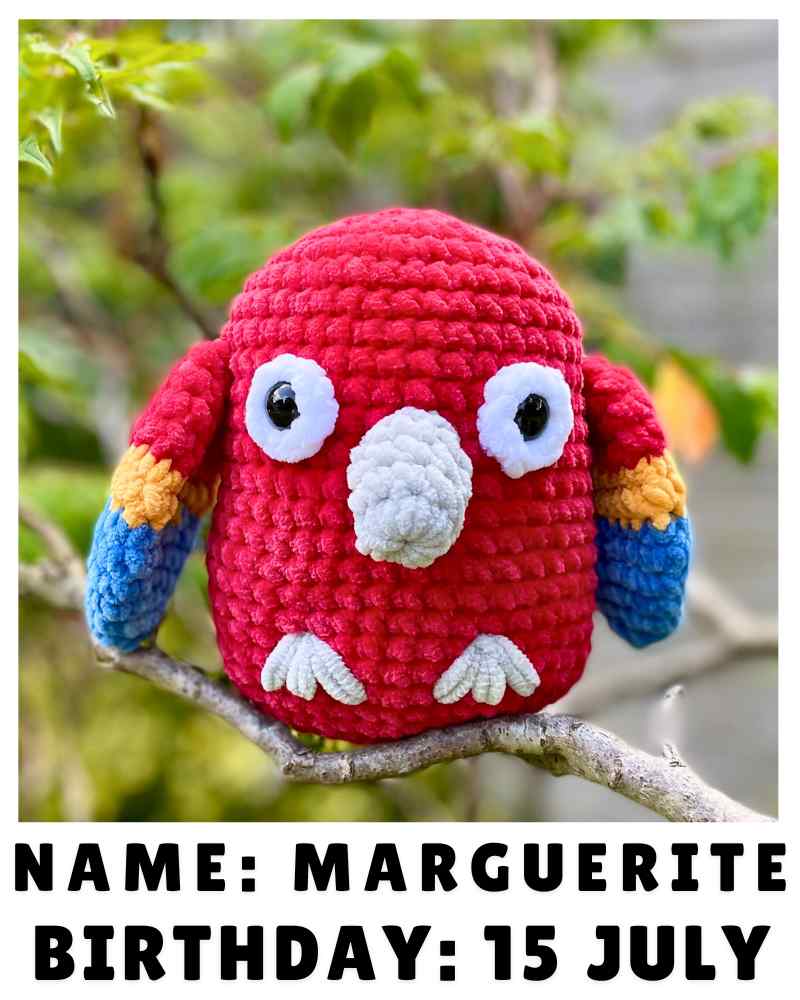
Hello and welcome to my squishy crochet parrot pattern! She is more specifically, and I hope obviously, a cute and colorful scarlet macaw. And she’s a really easy amigurumi project to make, for anyone at any skill level.
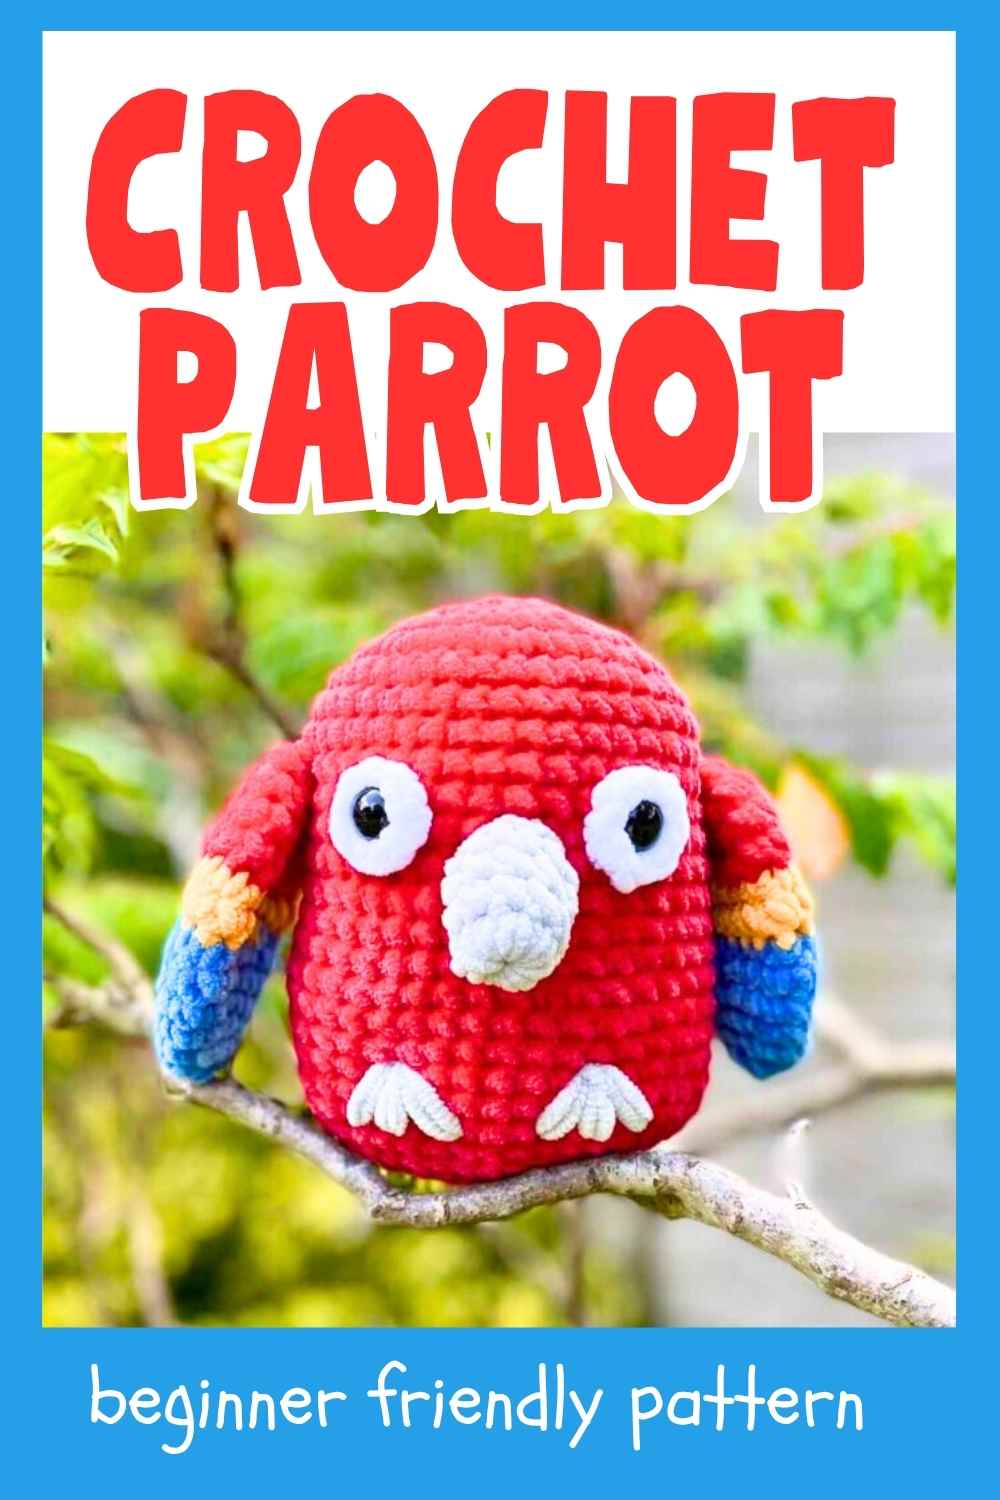
She’d be a fun gift for a child who loves to play pirates, or a bird-loving grown up. Depending on the yarn you use, she can be big enough to cuddle, or small enough to fit in your palm.
Materials
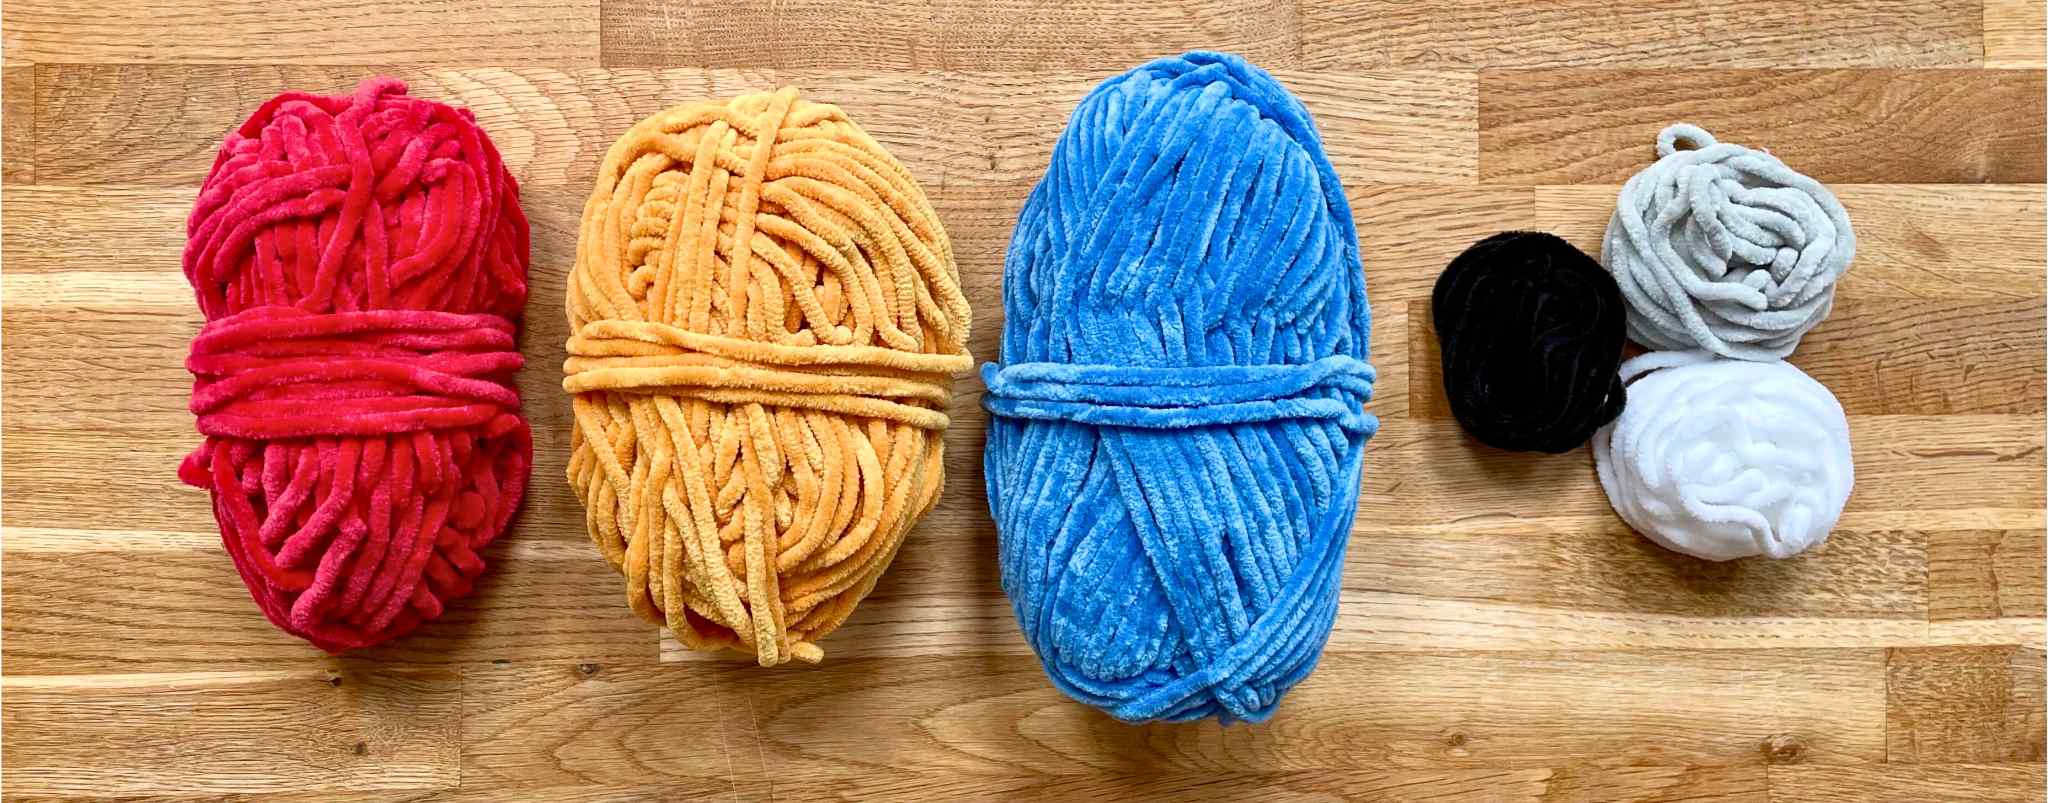
To make a squishy crochet scarlet macaw of your own, you’ll need:
- Yarns in red, yellow, blue, gray and white. I used Cygnet’s Jellybaby yarn in the shades postbox, ultramarine, pearl gray and white, and Hobbii’s Toucan yarn in mustard. You can obviously adapt the pattern to resemble a different parrot species by using different colors too!
- A crochet hook. Amigurumi looks best when the stitches are tight, so I always use a hook one size smaller than the yarn wrapper recommends.
- Stitch markers. Or scraps of yarn, to help keep track of your rounds.
- Safety eyes. I’m using 16mm safety eyes, but see the next section for notes on choosing the right size.
- Toy stuffing. Such as Polyfil, or whatever your usual go-to filling is.
- A darning needle.
When I took this photo I thought I’d use black yarn to add nostrils at the top of the beak as well. In the end I decided to leave that detail off, but let me know in the comments if you think I shouldn’t have!
Which weight of yarn should you use?
This pattern will work with any weight of yarn, as long as all the yarns you use are the same weight. The yarns I used are all super bulky chenille yarns (approximately 120 yards per 100g). They’re very squashy and tactile, and they make a parrot large enough for my daughter to have as a cuddly toy.
Here’s roughly what you can expect if you choose a different yarn:
- DK yarns make a parrot about 4 inches tall. Swap the eyes for 12mm eyes.
- Worsted (a.k.a. aran) yarns make a parrot about 5 inches tall. Swap the eyes for 12mm eyes.
- Bulky yarns make a parrot about 6 inches tall. Use 16mm eyes.
- And jumbo yarns make a parrot 8 inches tall or more. Swap the eyes for 20 mm eyes.
Pattern notes
My parrot pattern is made entirely in single crochet. The only terms you’ll need to be familiar with in the instructions are:
Ch chain
Sl st slip stitch
Sc single crochet
Inc increase (make 2 sc in the same place)
Dec decrease
To decrease in amigurumi, I recommend using the invisible decrease technique:
- Insert your hook through the front loop only of the next stitch, then through the front loop only of the following stitch too (fig.1). 3 loops on hook.
- Yarn over and draw through two loops. Two loops remaining on hook.
- Yarn over and draw through both remaining loops (fig. 2).

If you get stuck with any of the basics, take a look at Lucy’s guide to getting started with simple crochet techniques here.
Squishy Crochet Parrot Pattern
Right, preliminaries dealt with, let’s dive into the pattern! You parrot will be made up of:
- a body
- wings
- eyes
- and beak.
And last of all, the toes are embroidered on.
The body
Using your red yarn, start with either a magic circle or by making four chains stitches, and slip stitching into the furthest chain from the hook to form a loop. I find a 4-chain loop is easier to tighten later without snapping the yarn, so it’s a better fit for chenille yarns like the ones I’m using.
- 1st round: Ch 1, sc 8 into the magic circle or 4-ch loop (8 sts)
- 2nd round: 8 inc (16 sts)
- 3rd round: *1 sc, inc* 8 times (24 sts)
- 4th round: *2 sc, inc* 8 times (32 sts)
- 5th round: *3 sc, inc* 8 times (40 sts)
- Rounds 6 – 23: Sc all the way round
- 24th round: 3 dec, sc 8, 6 dec, 8 sc, 3 dec (28 sts)
- 25th round: 3 dec, sc 2, 6 dec, 2 sc, 3 dec (16 sts)
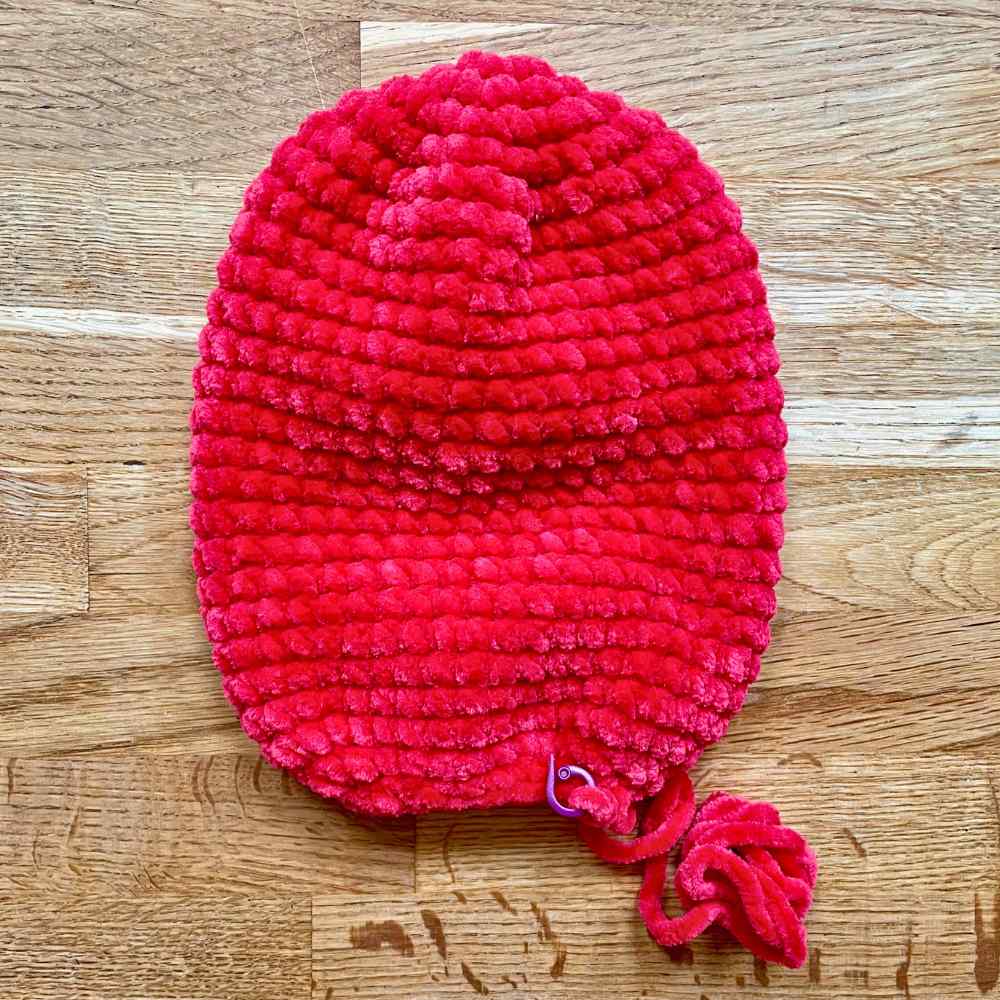
Put a stitch marker into the loop on your hook, and cut your yarn leaving a 24 inch tail. Set the body aside for now, and get the rest of your parrot parts ready.
The wings
The wings are worked from the tip, up to the shoulder. So start with your blue yarn and a magic circle or 4-ch loop to start.
- 1st round: Ch 1, sc 8 into the magic circle or 4-ch loop (8 sts)
- 2nd round: *Sc 1, inc* 4 times (12 sts)
- 3rd round: *Sc 2, inc* 4 times (16 sts)
- 4th round: *Sc 3, inc* 4 times (20 sts)
- 5th round: Sc all the way round

- 6th round: Change color to yellow
Changing color smoothly
The simplest way to make a color change in crochet is simply to drop the yarn you’ve been using so far, and pick up with a new one. If that’s what you’re most comfortable with doing here, then go ahead – this is your project! But I do invite you to try this technique for a smoother, less zigzag-y line where two colors meet. It takes a little practice to keep the tension in the stitches even, but I think it’s well with the effort.
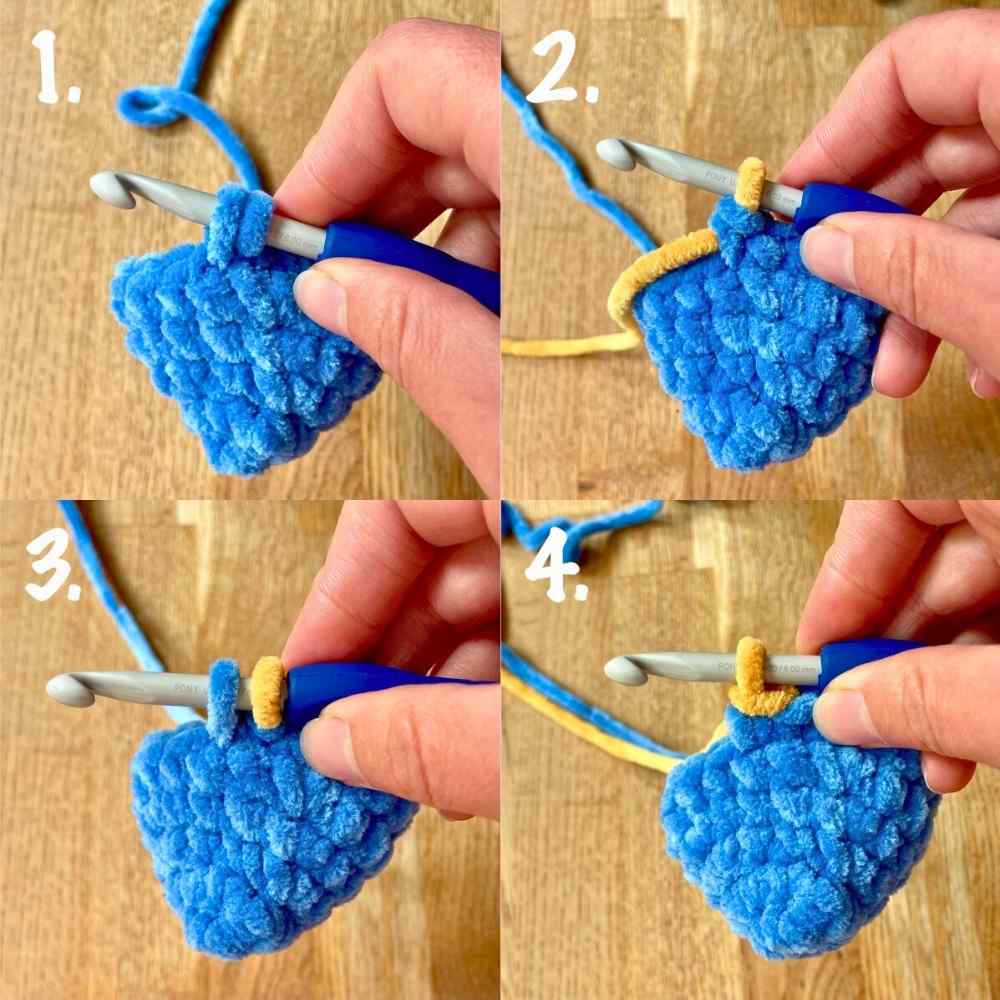
For every stitch in round 6, make the first half of the stitch (the ‘legs’) with blue yarn, and the second half of the stitch (the top loops) in yellow. To do that:
- Insert the hook into the first stitch of the round and draw through a loop of blue yarn (first picture below).
- Put your yellow yarn over the hook and pull it through both blue loops (second picture below). That’s your first stitch done!
- Insert the hook into the next stitch, and pull through a loop of blue yarn again (third picture below).
- Then put your yellow yarn back over the hook, and draw it through both loops on the hook (fourth picture below).
Repeat steps 3 and 4 until you reach the end of the round, then cut the blue yarn and knot the end to the beginning of the yellow yarn.
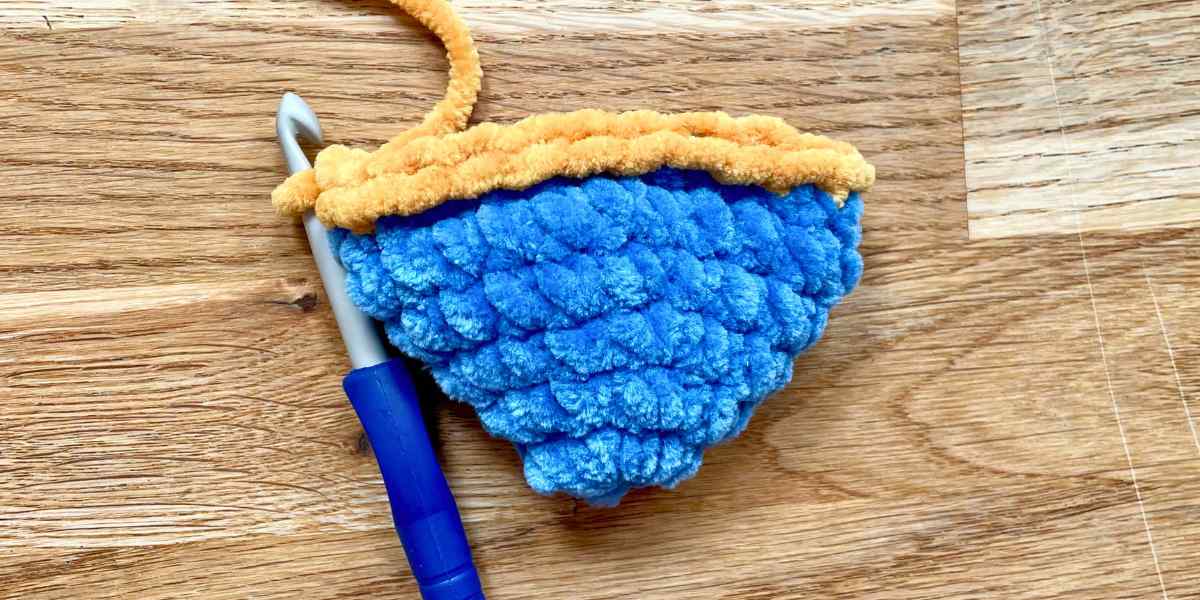
Finishing the wing
- 7th round: Sc all the way round in yellow.
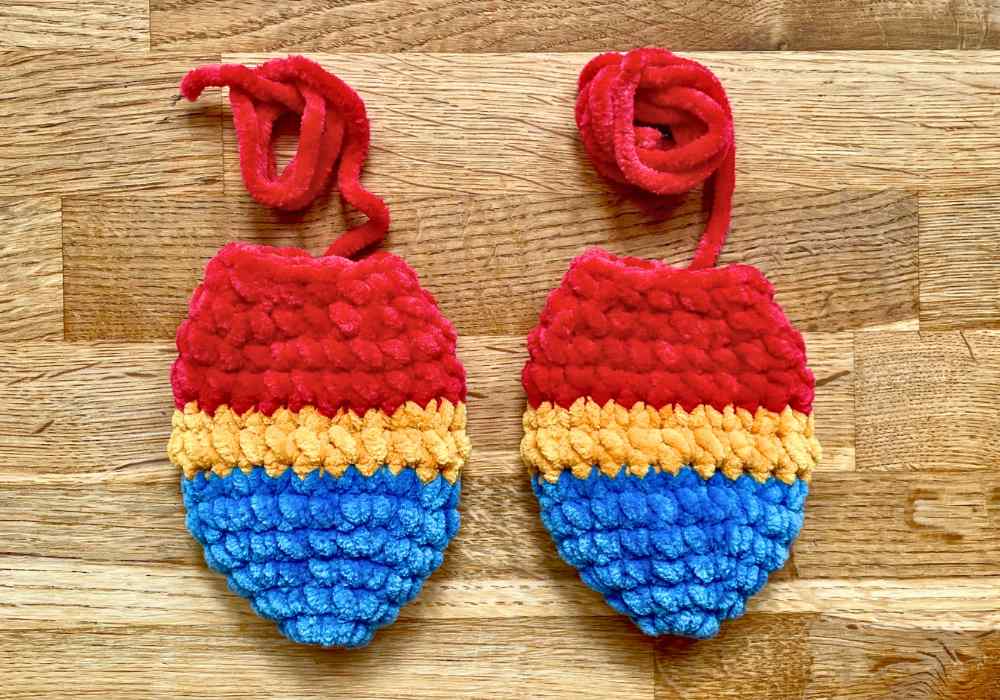
- 8th round: Change color to red.
- 9th & 10th rounds: Sc all the way round in red.
- 11th round: *Sc 3, dec* 4 times (16 sts)
- 12th round: *Sc 2, dec* 4 times (12 sts)
Slip stitch once, cut the yarn leaving a long tail for sewing later, and pull the yarn end right through the slip stitch. Repeat again from the beginning to make a second wing, and set them both aside for now.
The eyes
Scarlet macaws have black pupils and very pale yellow or gray pupils. They also have featherless areas of white skin around their eyes. I’ve captured the impression of that by making white circles to sit behind the safety eyes on my squishy parrot. They’re made in one simple round:
Magic circle or 4-ch loop to start.
- 1st round: Ch 1, sc 8 into the magic circle or 4-ch loop (8 sts)
Slip stitch once, cut the yarn leaving a long tail for sewing later, and pull the yarn end right through the slip stitch. Make another, and push the stem of the safety eyes through the centers.

Beak time!
All macaw species have strong, curved beaks for tearing up leaves, breaking into nutshells, and crushing up fruit and seeds. Scarlet macaws have a white maxillary (top) beak, and a black mandibular (bottom) beak. This was a tricky result to achieve, so I’ve adopted a little creative license, and made the whole beak in gray. I think it ties in well with the gray toes later as well, and keeps the finished look of the parrot clean and cohesive.
Magic circle or 4-ch loop to start.
- 1st round: Ch 1, sc 8 into the magic circle or 4-ch loop (8 sts)
- 2nd – 4th rounds: Sc all the way round (8 sts)
Slip stitch once, cut the yarn leaving a long tail for sewing later, and pull the yarn end right through the slip stitch.
Now, thread the yarn tail onto your darning needle and wiggle it up through the stitches to the tip of the beak (left below). Turn the beak round, make sure the yarn tail is looped through one of the stitches at the tip, and thread it back the same way you came (center below). Finally, pull the yarn tail so the underside side of the beak is squished into a shorter space, and the top of the beak is longer and curved.
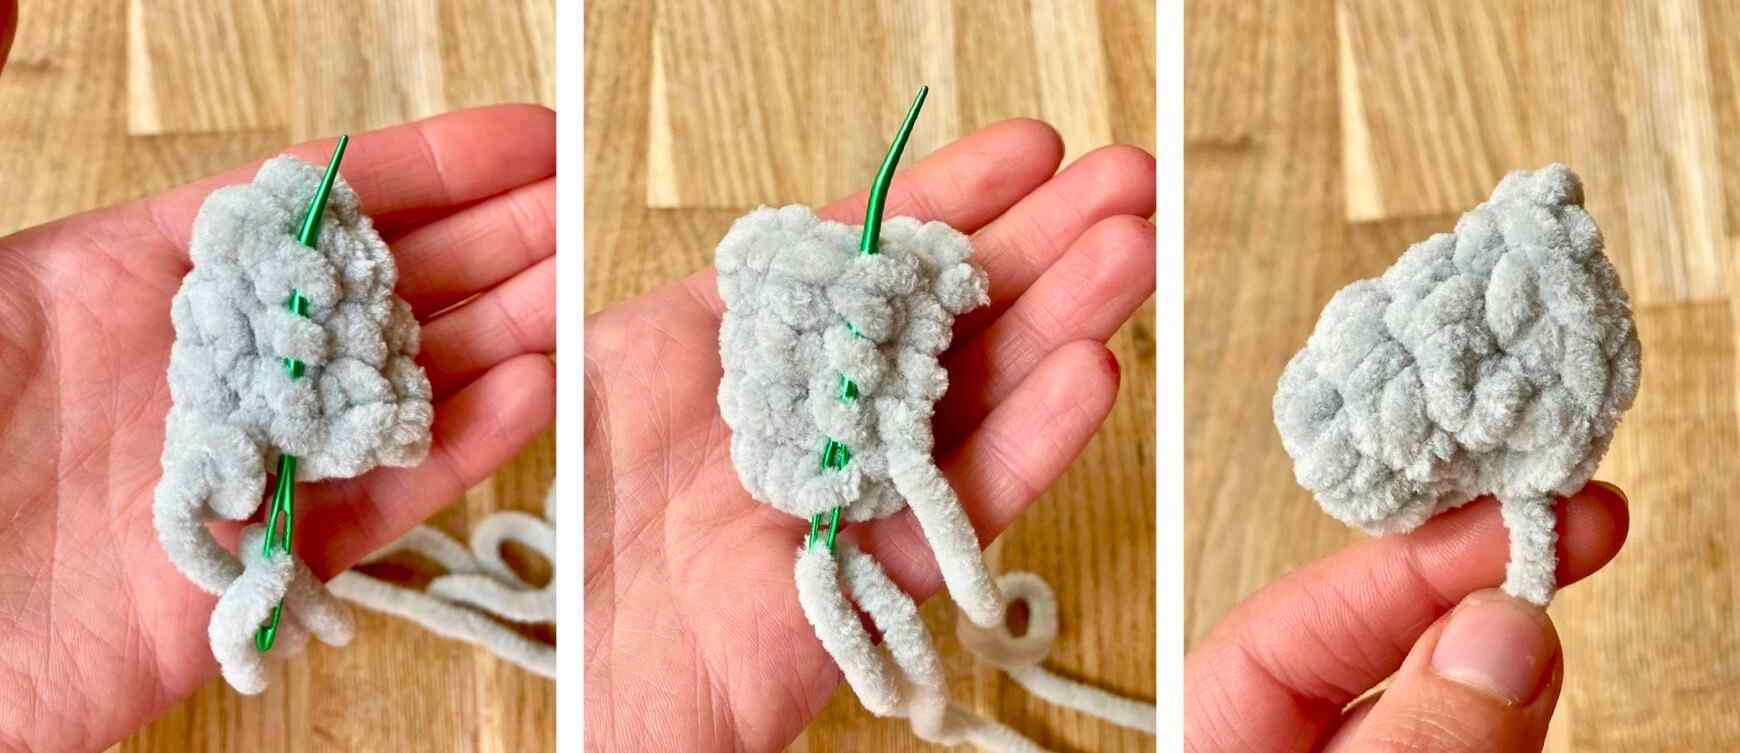
Fluffy yarns like mine will hold this shape until I come to sew the beak onto the face. But smoother yarns might need knotting to prevent them springing open again.
Assembling your parrot
Now all your pieces are ready to put together, it’s time to bring your parrot to life!
Start by positioning the eyes on the body. Spread the body out flat in front of you, with the opening at the bottom running from left to right. The stems of the safety eyes go through the body about 8 stitches apart, between rows 10 and 11. The gap between the whites of the eyes should be about 5 stitches, or just larger than the width of the beak. When you’re happy with the position of the eyes, reach inside the body and press backs on until they click.
Now I think it’s always best to stuff amigurumi toys before sewing down any flat parts, so that the stitches don’t tug when the body is stretched out. So fill and close the body before sewing down the whites of the eyes.
Filling and closing the body
Stuff the body firmly with toy stuffing, then pick up your crochet hook again and use the yarn tail to make one more round:
- 26th round: 8 dec (8 sts)
Make a slip stitch and pull the yarn tail all the way through. Thread it onto a darning needle, and close the remaining 8 stitches with mattress stitch through the front loops only. Now use the yarn tails on the eyes to sew the edges down against the body.
Here’s how my parrot looked with the eyes attached to the empty body (left), after I’d filled and closed the body (center), and once the edges of the eyes were sewn down (right).

Sew on the beak next, so the top is about level with the center of the eyes.
Then use the yarn tails on the wings to join them to the sides of the body. The top of the wings should be about level with the top of the whites of the eyes, which for me is at round 9 on the body. To tie off the yarn tails, thread them both out through the back of the body, in the same place. Then knot them together, trim them short, and poke the knot back inside the body. You can see here, I’ve included the yarn tail from the beak as well:
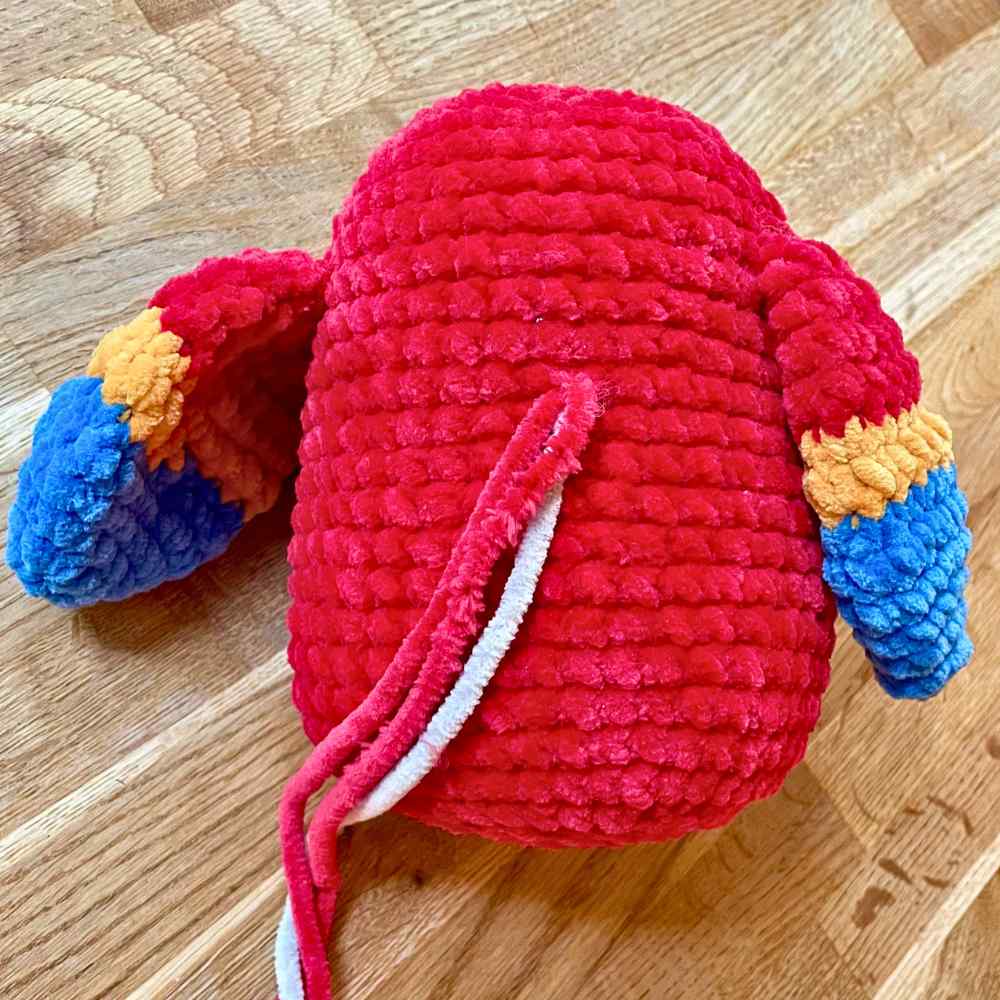
And when we turn it over, the parrot is pretty close to being done:

Embroidering the feet
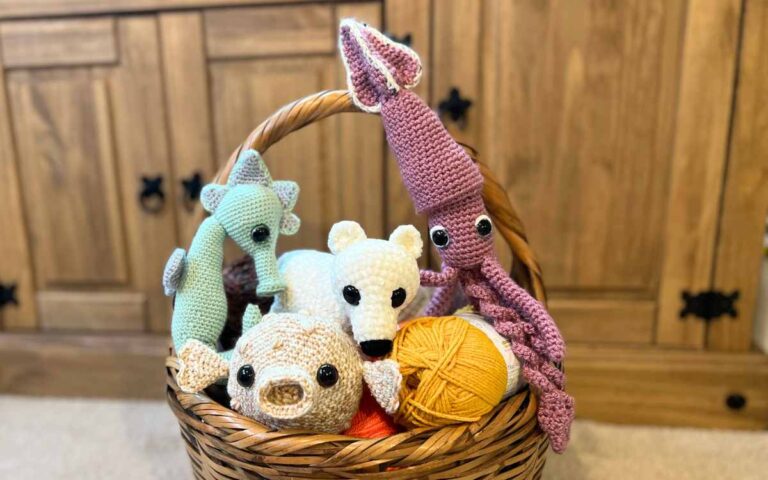
Birds’ feet are a tricky business in amigurumi. Some crocheters do make 3-dimensional ones from lightweight yarn. But it’s a formidable task! Other people use wire or pipe cleaners instead, which is effective if your bird is definitely just going to be an ornament. And still other people just add something to give the idea of feet. That’s the approach I’m taking here (and it’s the same approach I took in my squishy owl pattern).
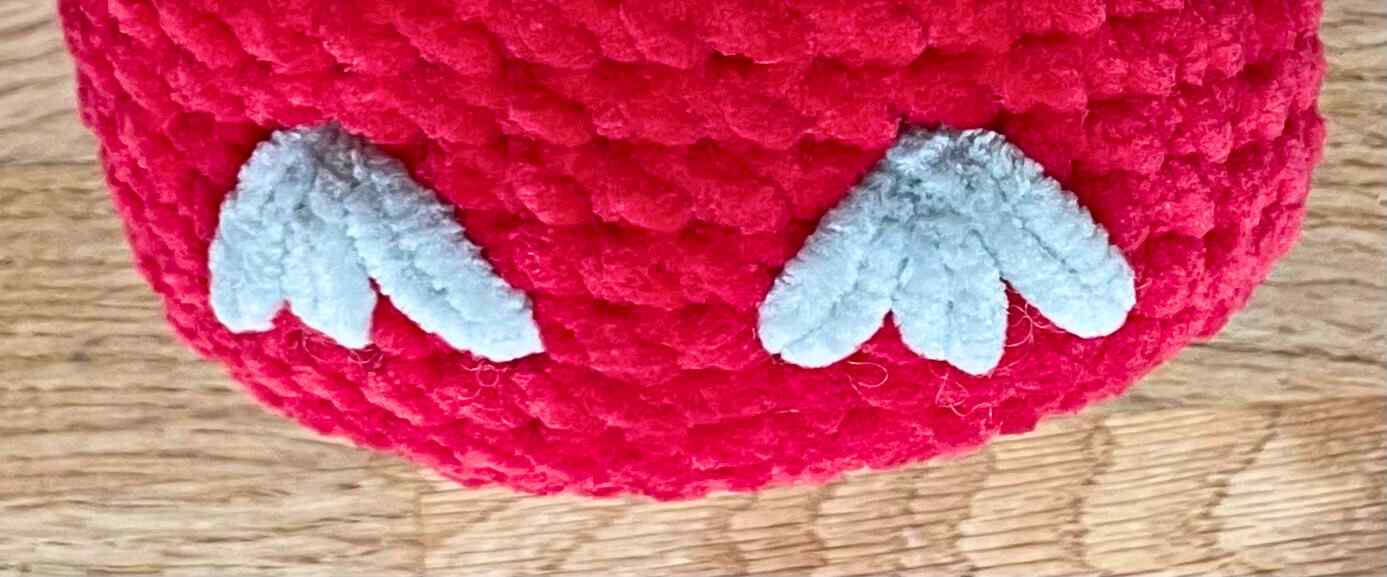
I’ve embroidered the toes using the same gray yarn I used for the beak, doubled up. The tip of each toe is two stitches apart from its neighbor, and the tops of the toes on each foot all meet in the same place, roughly below the inside edge of the eye.
I dealt with the yarn tails in the same way as for the wings and beak, by feeding them out through the back of the body and knotting them together. The stuffing anchors the knot in place so the stitched stay put.
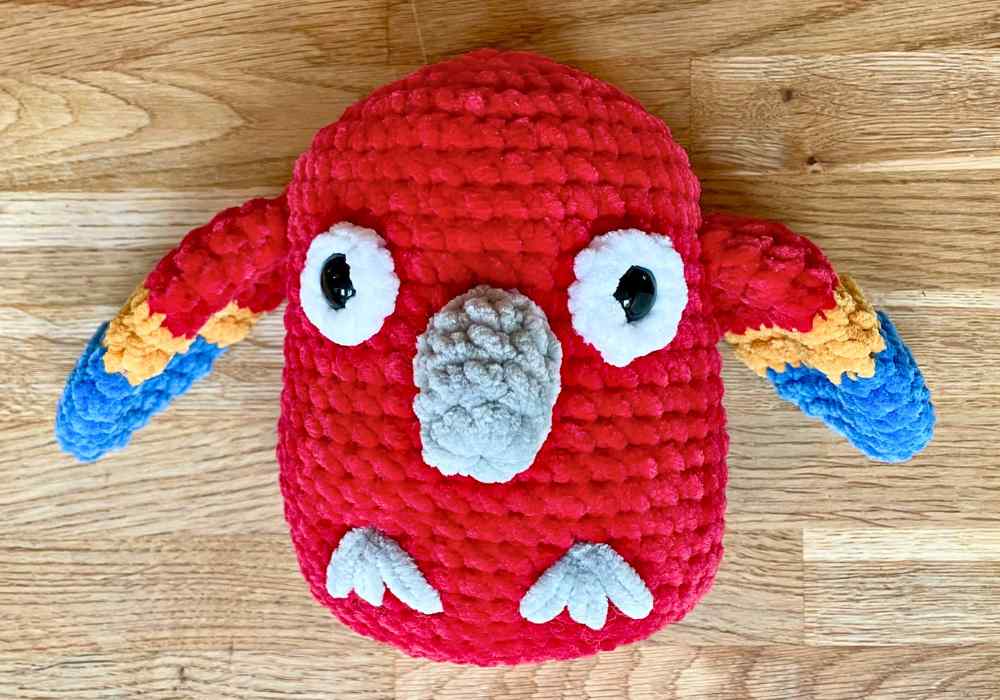
Squishy amigurumi parrot complete!
And that’s all there is to it! We don’t have a cocktail bar in our house (which is probably pretty normal) but I’m tempted to set up a cocktail making station for the summer, just so my parrot can sit among the paper umbrellas and bottles of rum, looking kitsch and amazing. And eventually she’ll fly off to my daughter’s room, to be another much-loved cuddly toy. And maybe I’ll try making this pattern in some other colorways. Did someone say lovebirds?
Happy crocheting!