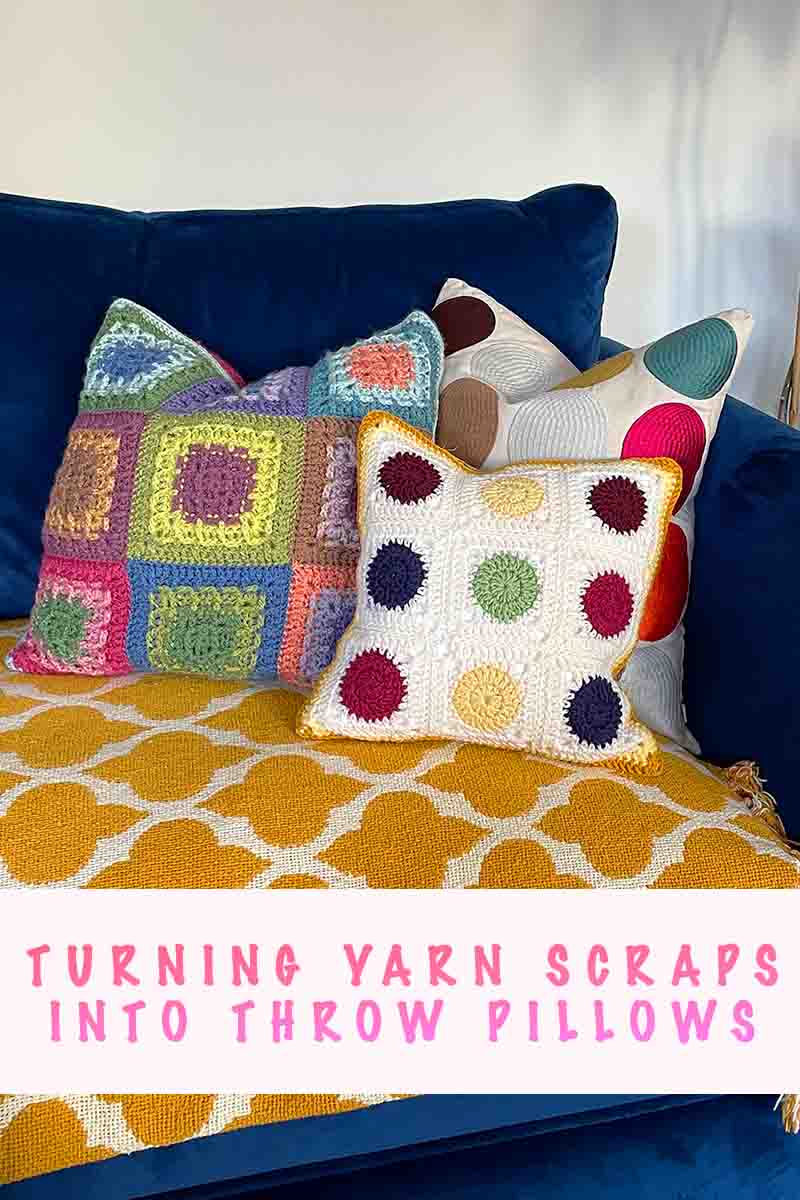
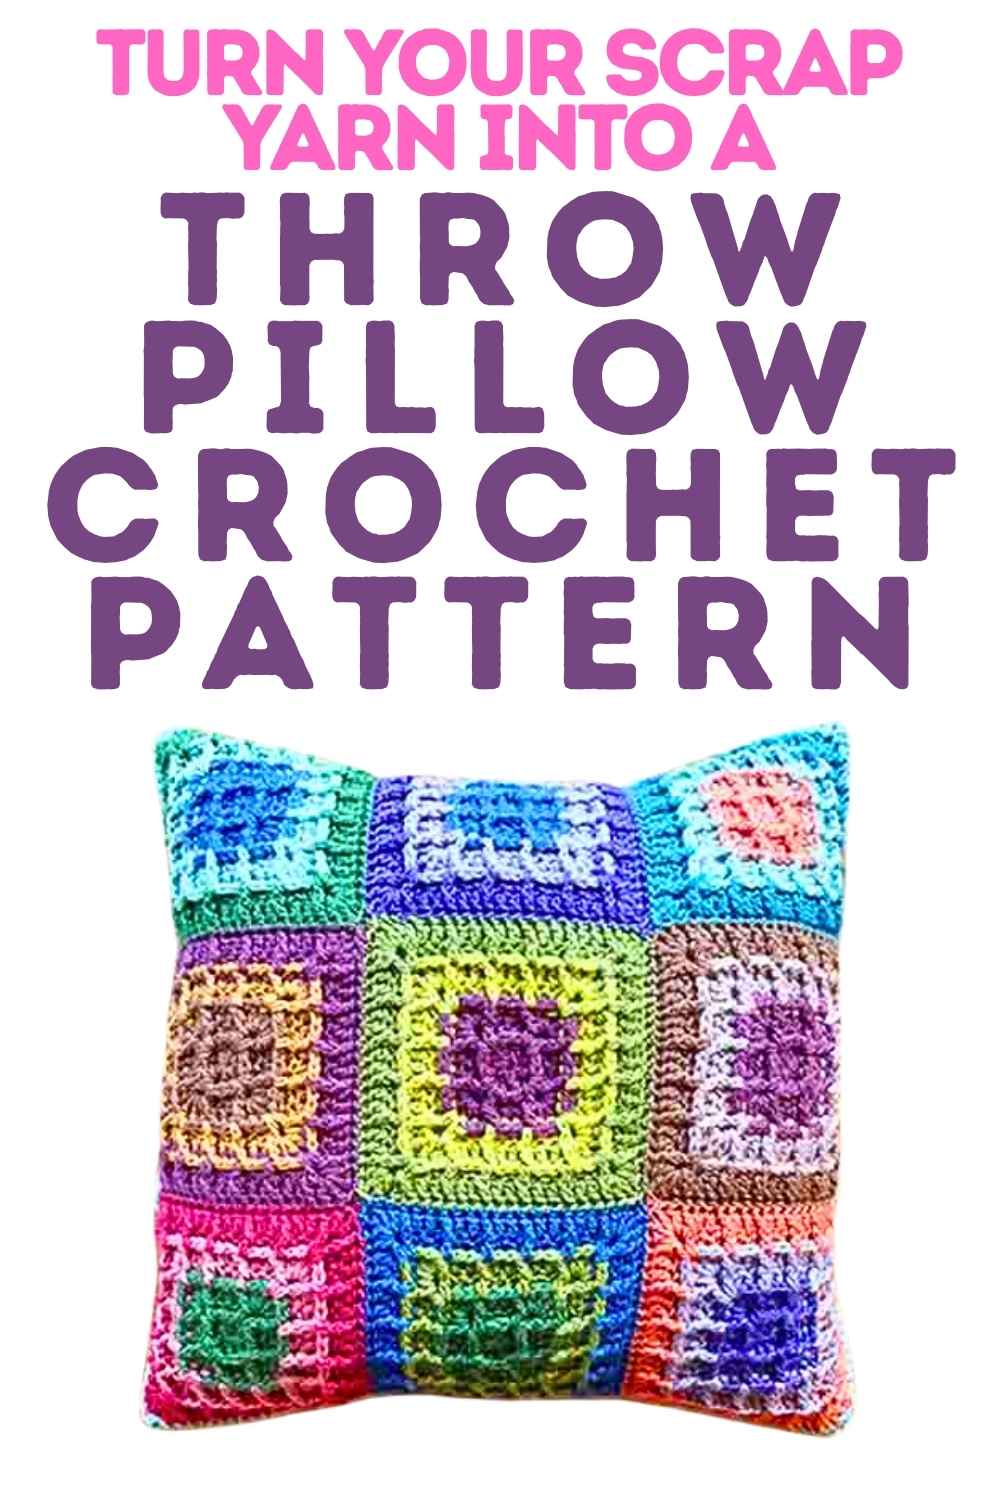
Turning Yarn Scraps Into Crochet Throw Pillows
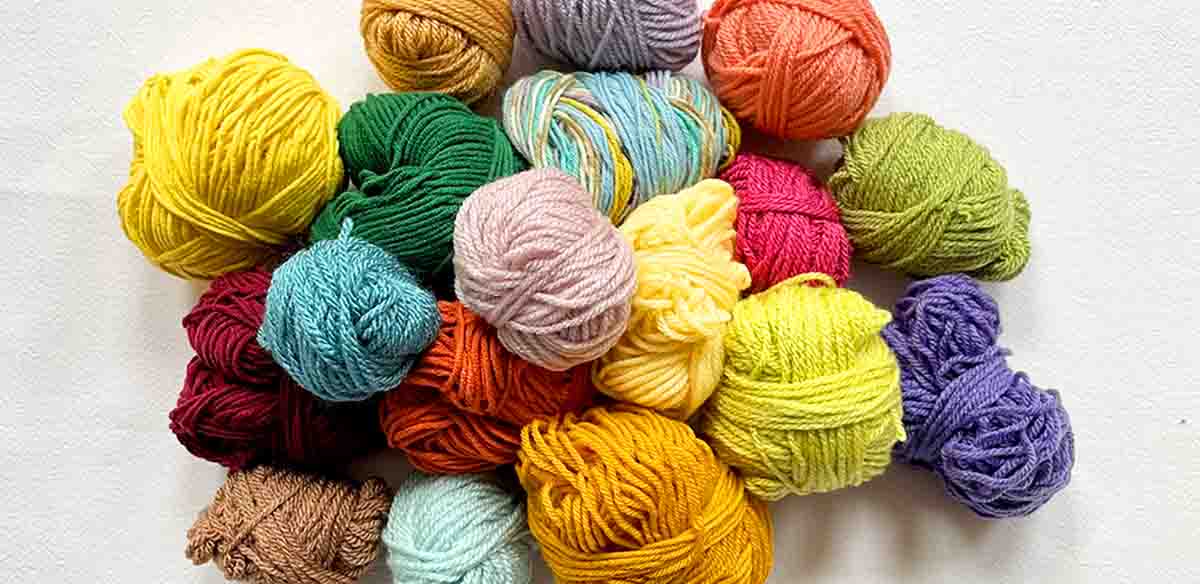
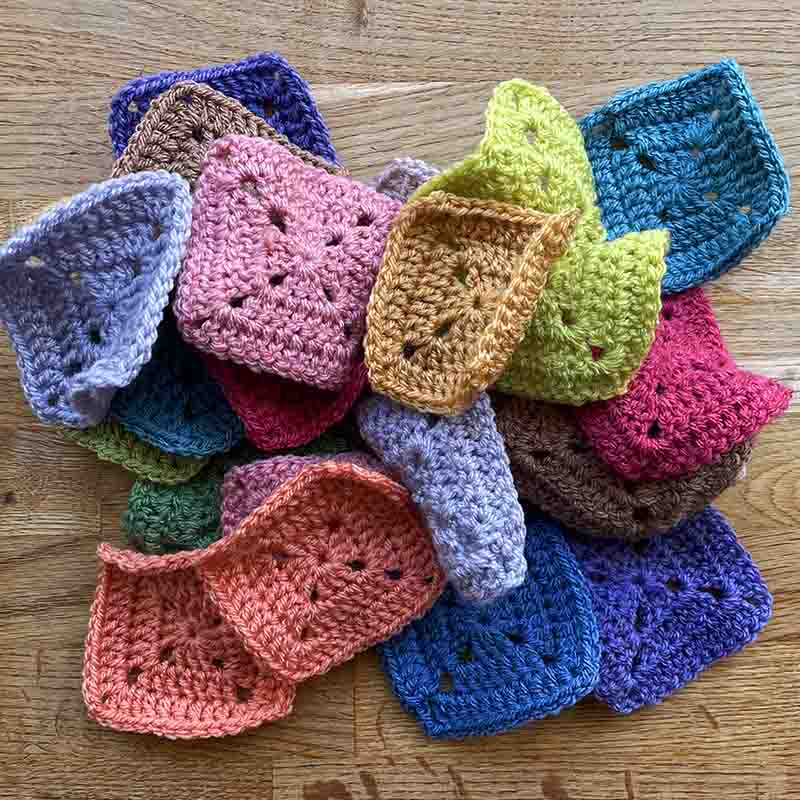
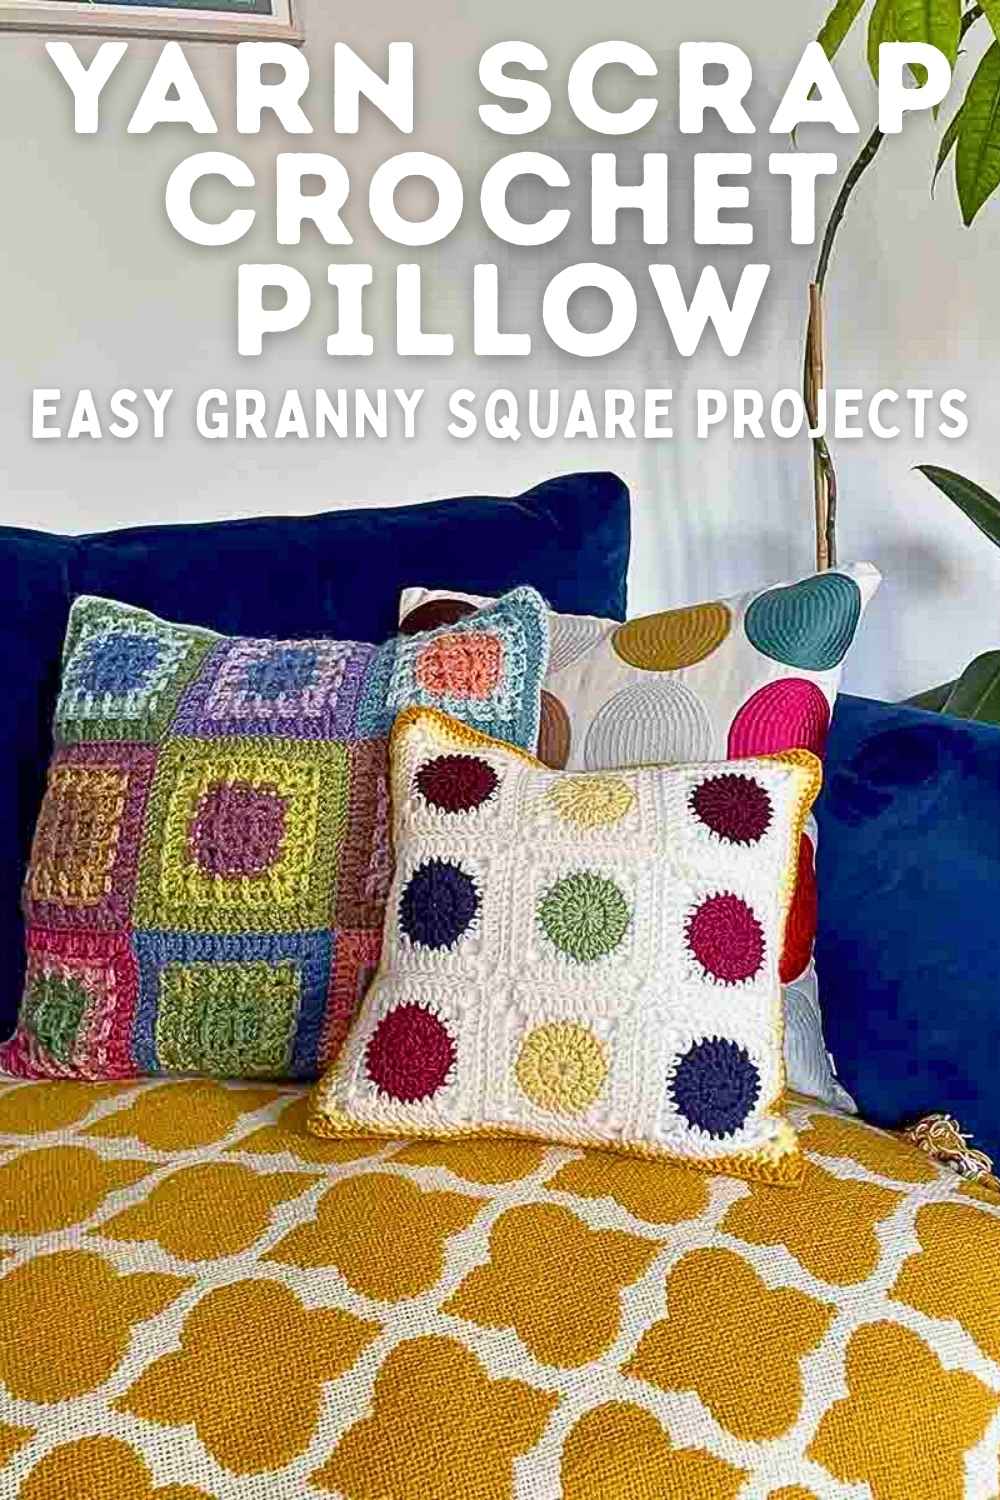
Like any ardent crochet lover, I have a leftover yarn problem. As well as balls and balls of leftover wool from past projects, I also have stashes of finished granny squares squirreled away.
I got as far as turning odd ends of yarn into small squares, but ran out of momentum before turning the squares into something more. Recently I decided to do something about that, and recycled a large quantity of yarn scraps and some loose granny squares into two gorgeous throw pillow covers. I didn’t use a pattern, and let them take shape as I went. Here are my notes on that process, and tips I’ve learned for successfully turning yarn scraps into crochet throw pillows.
- Pillow 1: Waffle stitch and mini solid squares
- Pillow 2: Mini circle squares
- Tips for using up yarn scraps to make pillows
To my mind, turning yarn scraps into granny square pillow cases is one of the best ways to use them up.
- They’re just the right size project – not too big, and not too small.
- The size is easily adapted to use up the quantity of yarn you have. Just keep adding squares or a border until you run out of yarn.
- Making granny squares only uses small amounts of yarn at a time. So you never get to the end of a big section and realize you don’t have enough yarn to finish it.
- The techniques and stitches involved are very beginner friendly.
(You might also like to use them to make your own scrappy yarn toy!)
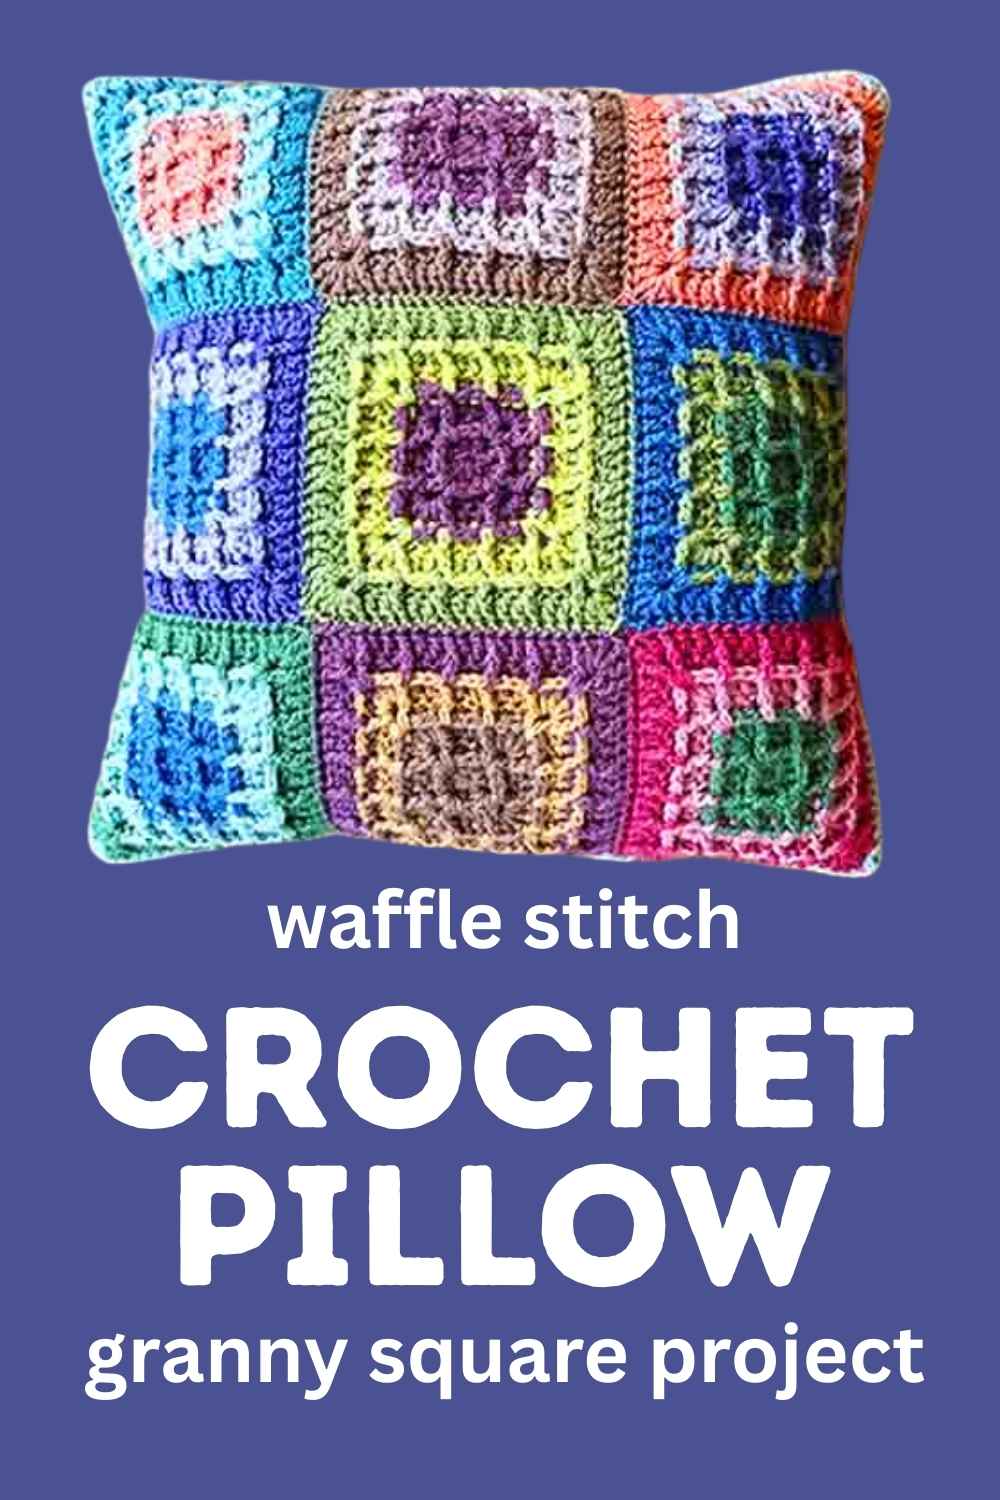
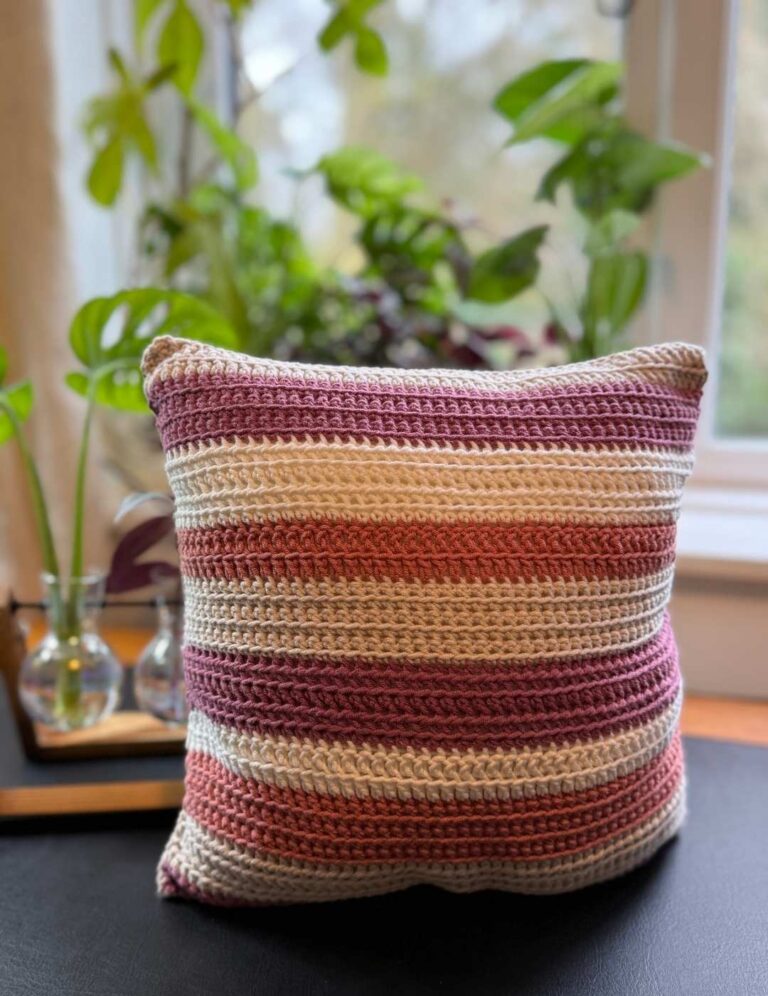
Waffle stitch and mini solid square throw pillow
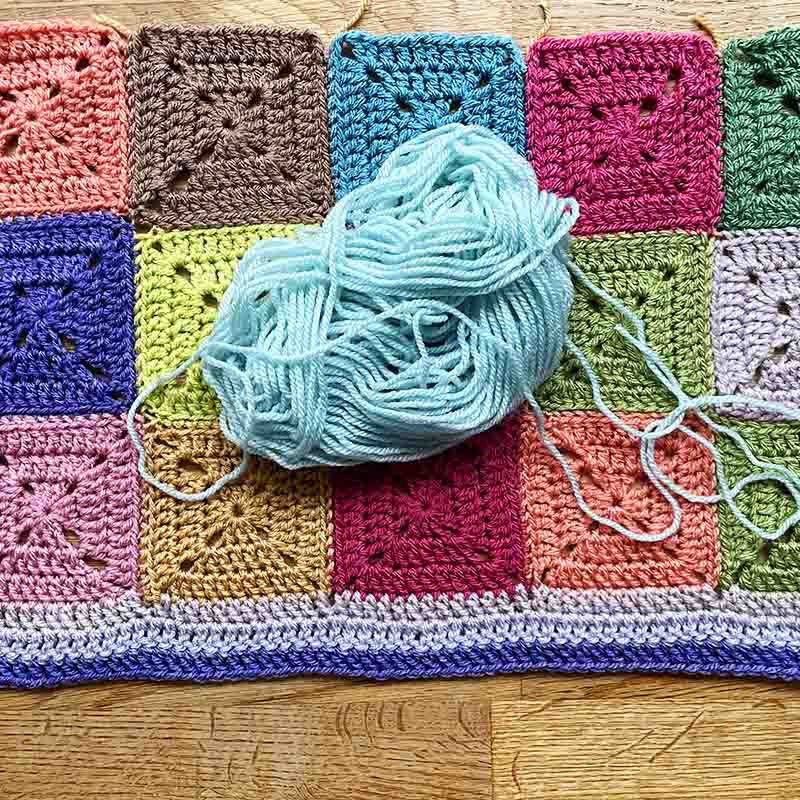
This pillow cover started with the pink and green example of a waffle stitch granny square I made for this article. The yarn scraps all came from the same blanket I finished last year, and I loved seeing the colors together again. So it seemed the obvious thing to do was use up more of the leftover yarn and make a waffle stitch granny square pillow! Here I am making up more squares. As you can tell by the artificial light and bedroom carpet backdrop, this surprisingly urgent idea occurred to me quite late at night…
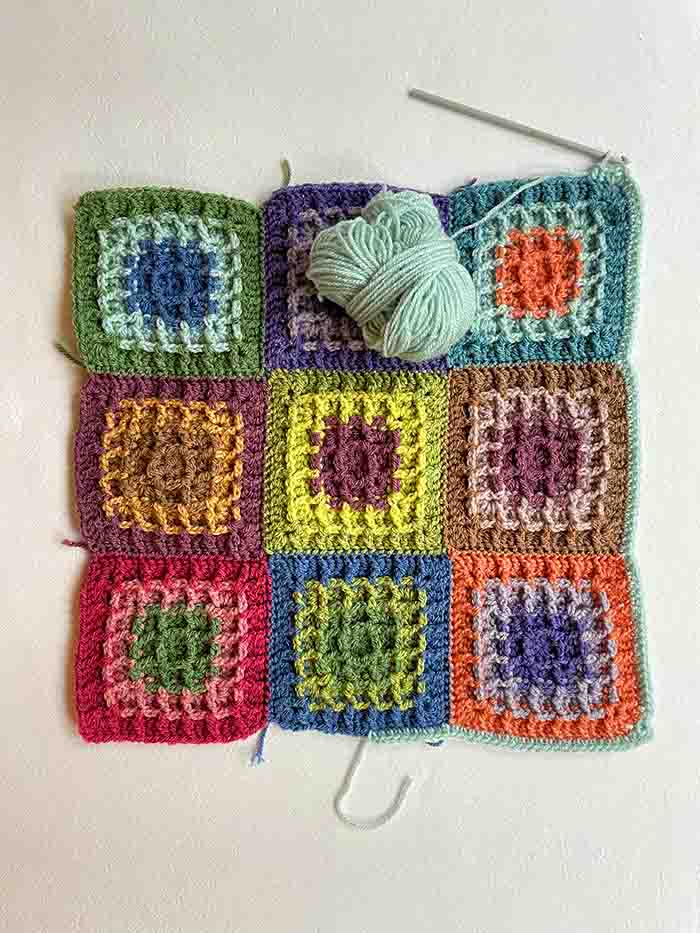
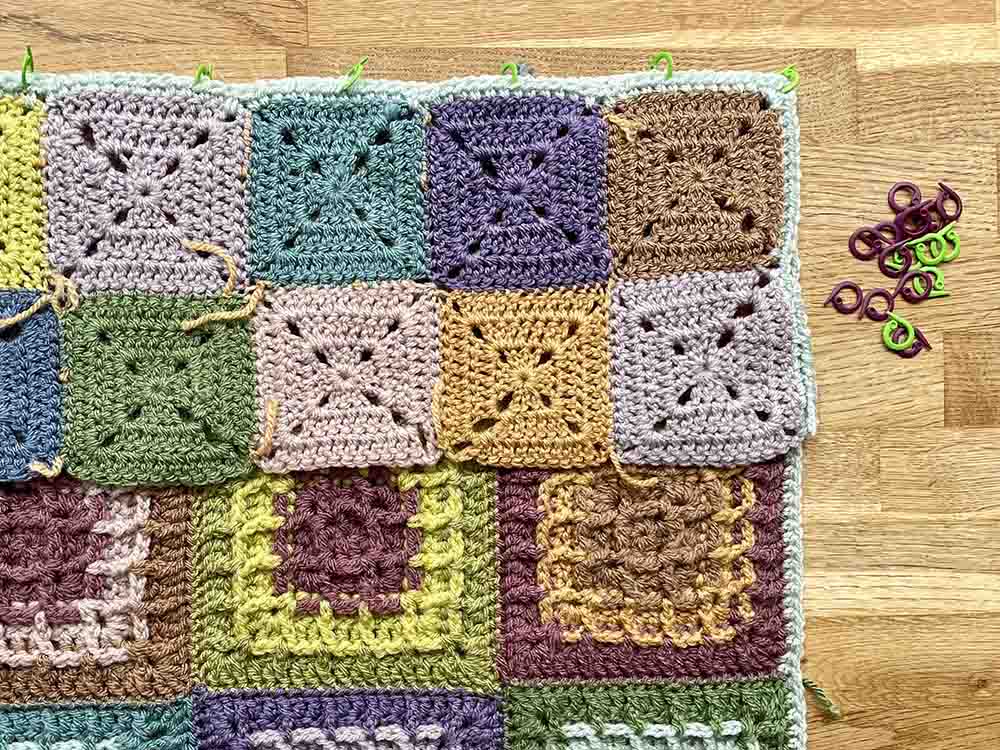
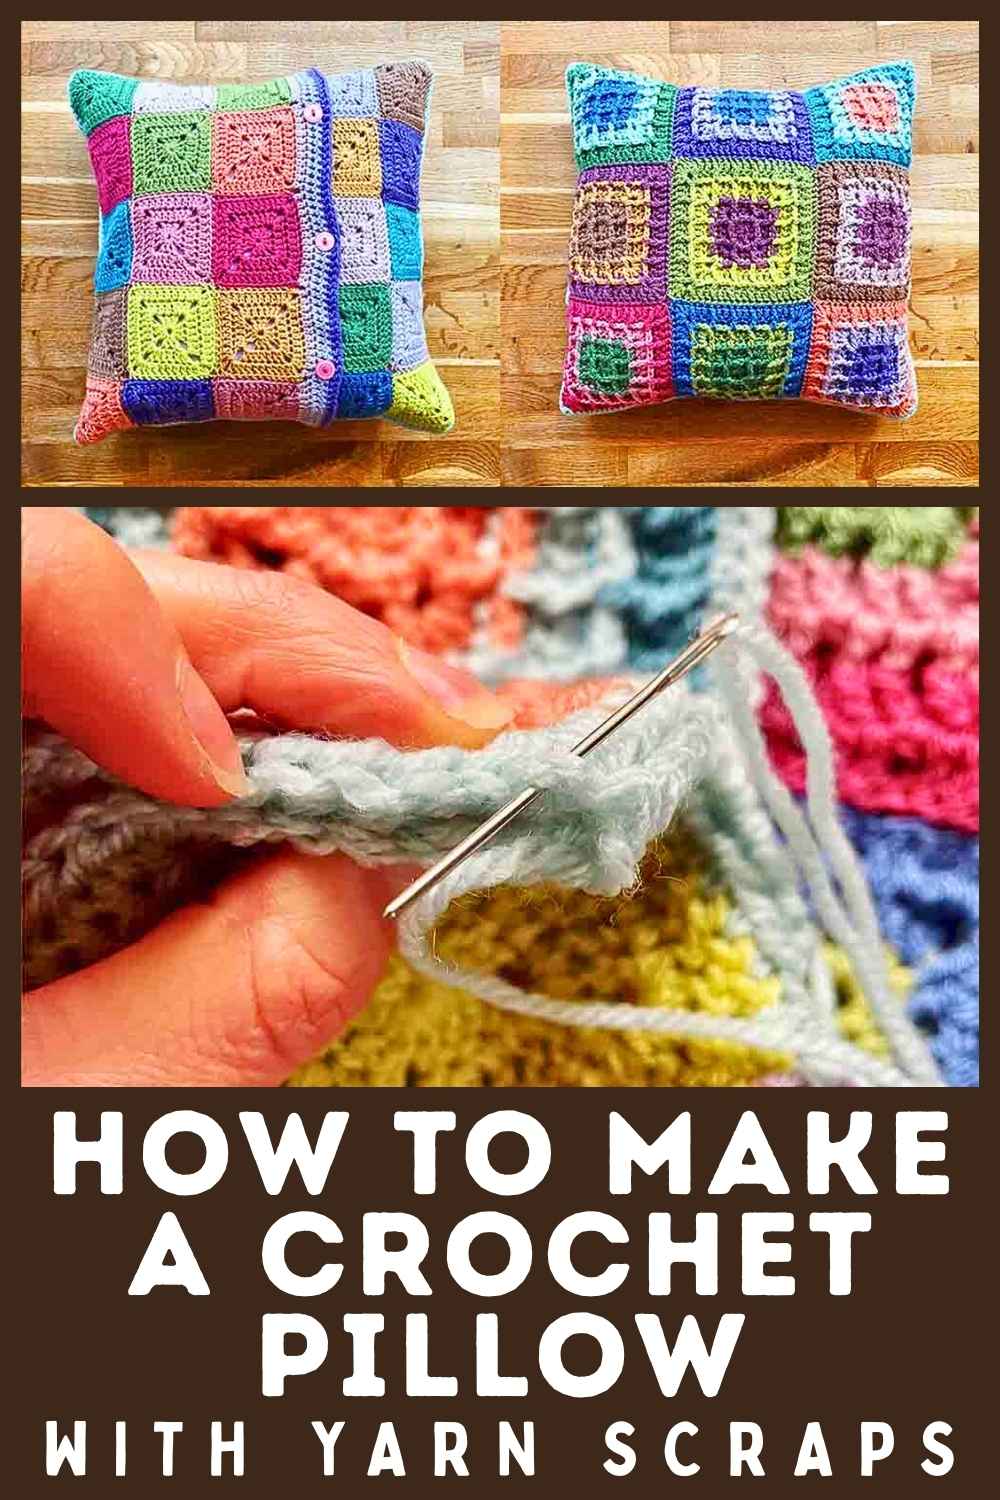
Once I had 9 waffle stitch granny squares, I joined them with mattress stitch,. Then added a border of light blue double crochet, and blocked the whole panel to admire my progress so far.
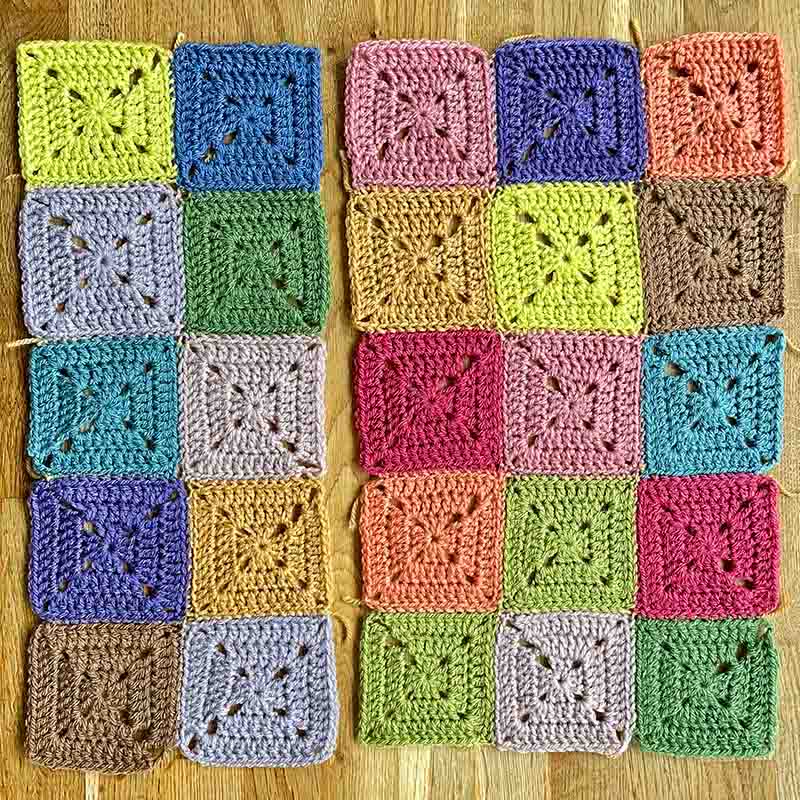
By this point, the compulsion to make waffle stitch squares was less intense. So I decided to make the back of the pillow using dinky 3-round solid granny squares instead. Since I was getting low on some colors, I thought I would be less likely to run out of one at an inconvenient time doing it this way.
Making the back panel
Here’s my pile of mini granny squares. Laid out, they fill roughly the same area as my 9 waffle squares. My plan is to join them, and add another light blue border to make the back panels the right size to join to the front panel. The border will also help make the seams really discreet later.
And here they are joined together. I’m going to make my pillow cover with an envelope closure, which is why they’re joined in two sections. And as luck would have it, a single row of double crochet around the outside edge is going to make them about the same dimensions as the front panel. I wish I could say I knew it was going to turn out that way all along. But it was more luck than wisdom!
First I added the border to 3 edges of the smaller section. The fourth edge will be covered by the other section when the pillow cover is constructed. So I left it as-is. Then I joined this section to the front of the pillow case using mattress stitch.
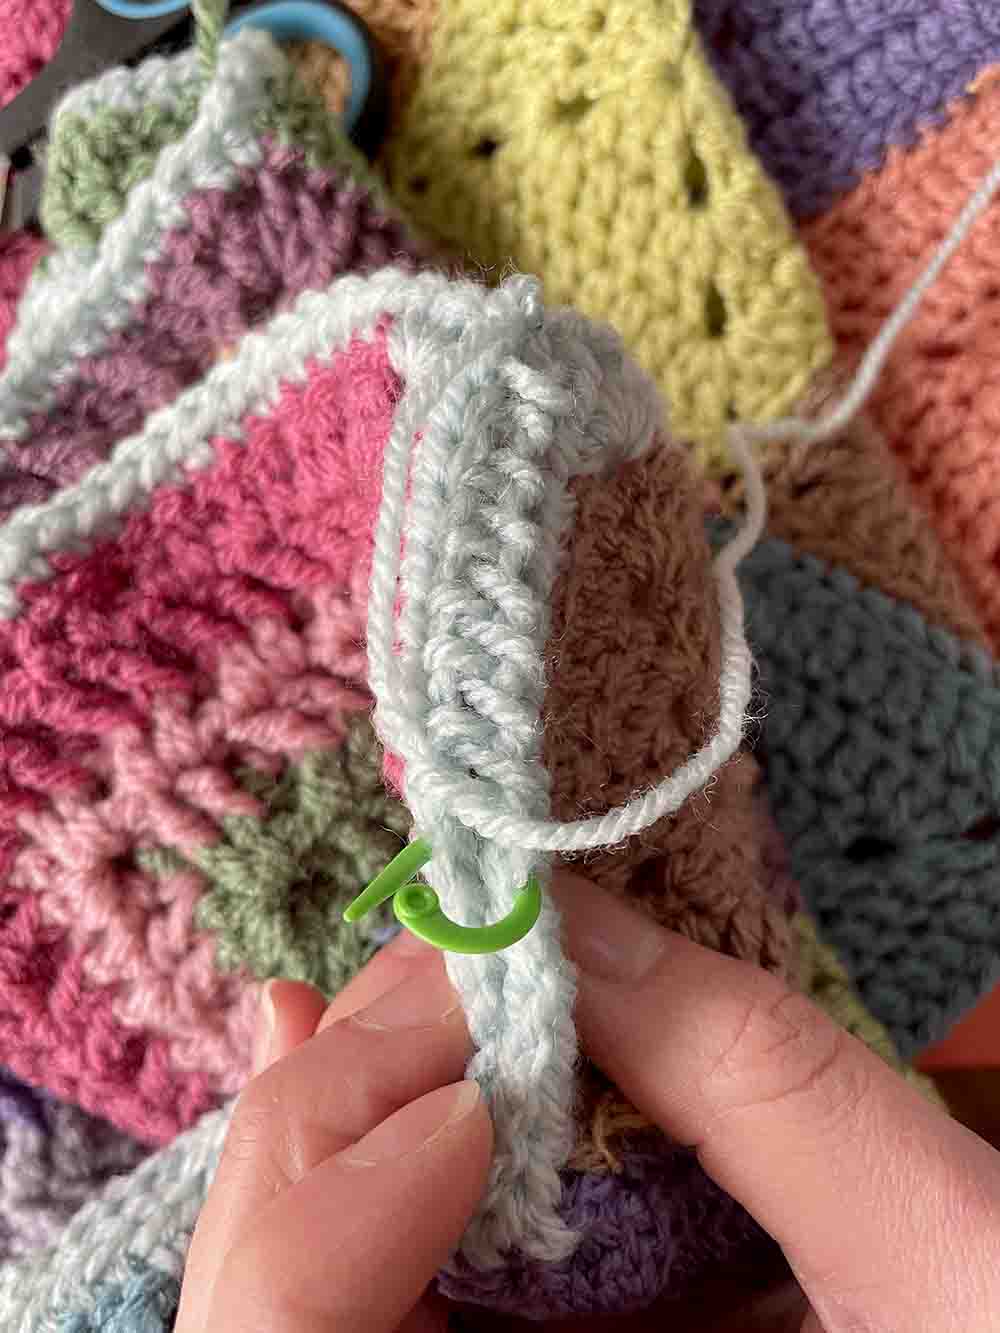
I wasn’t sure if they would have exactly the same number of stitches along the corresponding edges, so I placed one panel on top of the other and secured them with stitch markers at regular intervals. I figured this would help me to pick up any extra stitches on one panel at even intervals, instead of all at one corner. Of course the alternative would have been to count the stitches before I started sewing!
Adding the second back panel
Next I added three rows of double crochet to one long edge of the other back panel. This is so that it overlaps the first panel to form an envelope closure. I’m also going to add some buttons to hold the case closed, and the gaps between the stitches will double up as button holes.
Then I joined this section to the front panel too. A little tip I like to use at the corners when making granny square throw pillows is to grab both corner chain stitches in one mattress stitch, like this.
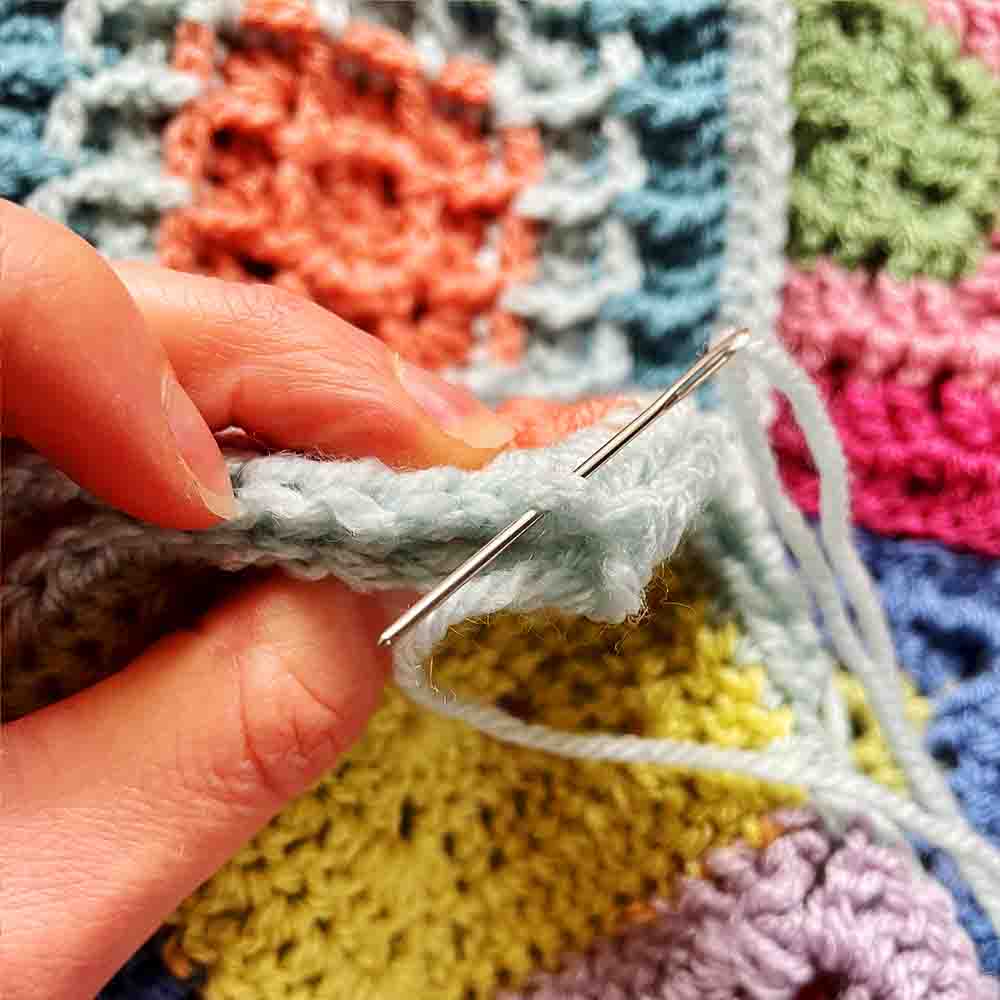
It helps keep the corner tightly closed when you add the filling.
Finally I added some buttons from a cardigan my mother in law made for my daughter when she was a baby. Then I found a throw pillow the right size on our sofa, and put the pad inside this case instead. I’m a big fan of switching the cases on our throw pillows around to keep our space feeling interesting. Obviously I’ll keep the case I took off to use again in future though! And here’s the finish result:
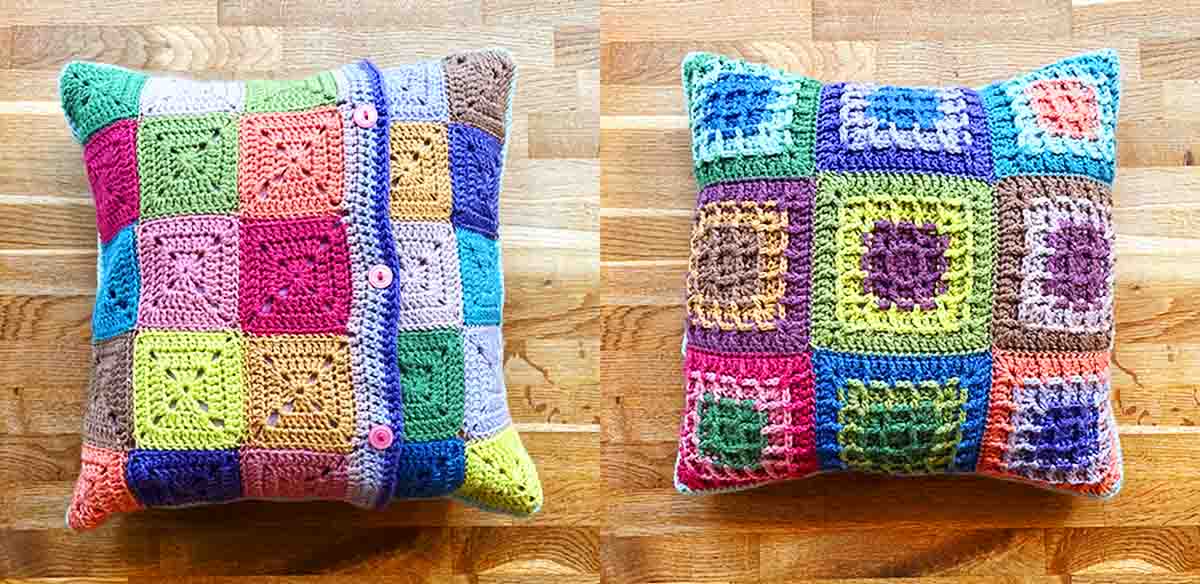
I’m really pleased with how this turned out. Now let’s take a look at that stash of mini squares that never realized their full potential… until now.
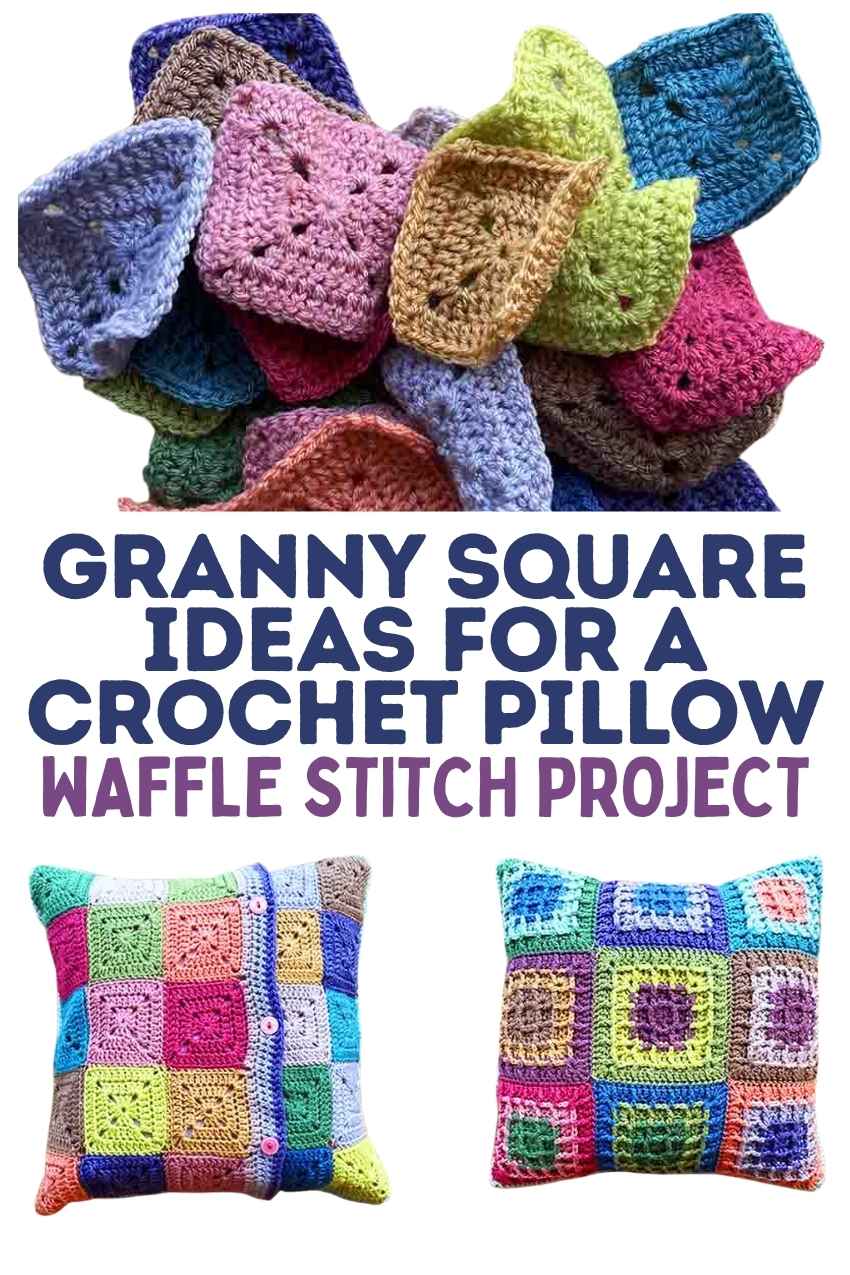
Mini circle granny squares throw pillow
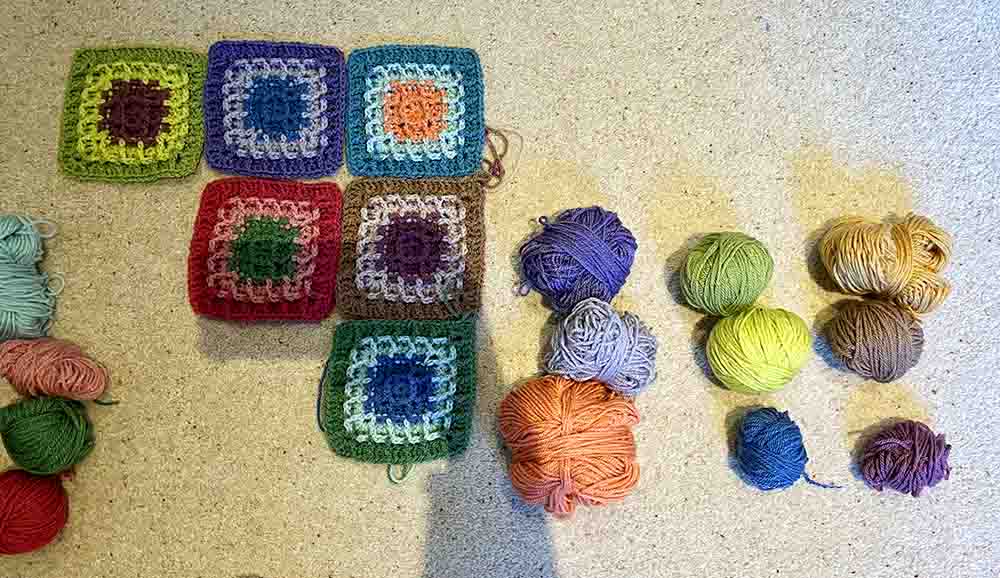
Do you have a work in progress which has been in progress for so long you can’t quite remember where you were going with it? Clearly I made these dinky circle granny squares to use up short ends of the navy, burgundy, raspberry, yellow and green yarns. But then they got stashed in a drawer and forgotten for – I think – about 7 years. So I decided to make some of these into a small pillow too.

I didn’t have any matching white yarn left, so I tried joining them using cotton sewing thread instead. Now I can report that it works, but:
- It slides around more, making it trickier to get the tension just right.
- The seams are much less stretchy than if they’d been joined with a wool yarn.
- The difference in texture does catch the eye if you know to look for it. I’m pretty confident no one will notice if I don’t point it out though!
I joined 9 squares in a 3 x 3 pattern using mattress stitch, and compared it to a naked pillow that’s been abandoned at the back of our closet ever since our puppy chewed up its original case 4 years ago.
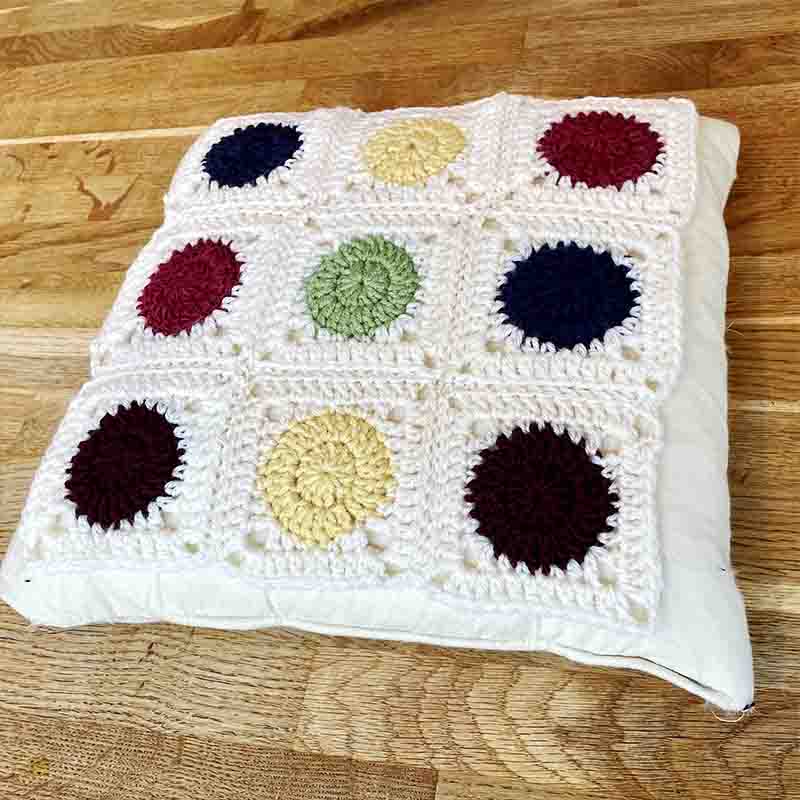
It came up a bit small, so I raided my yarn stash for some more colors in a similar (I think) fiber, and added two rows of double crochet as a border.
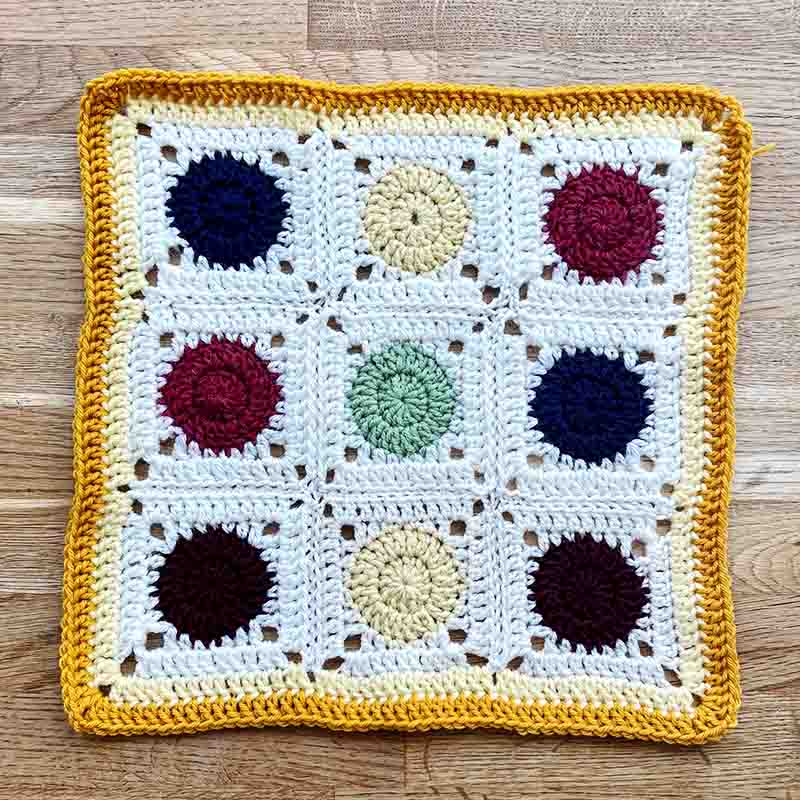
Much better.
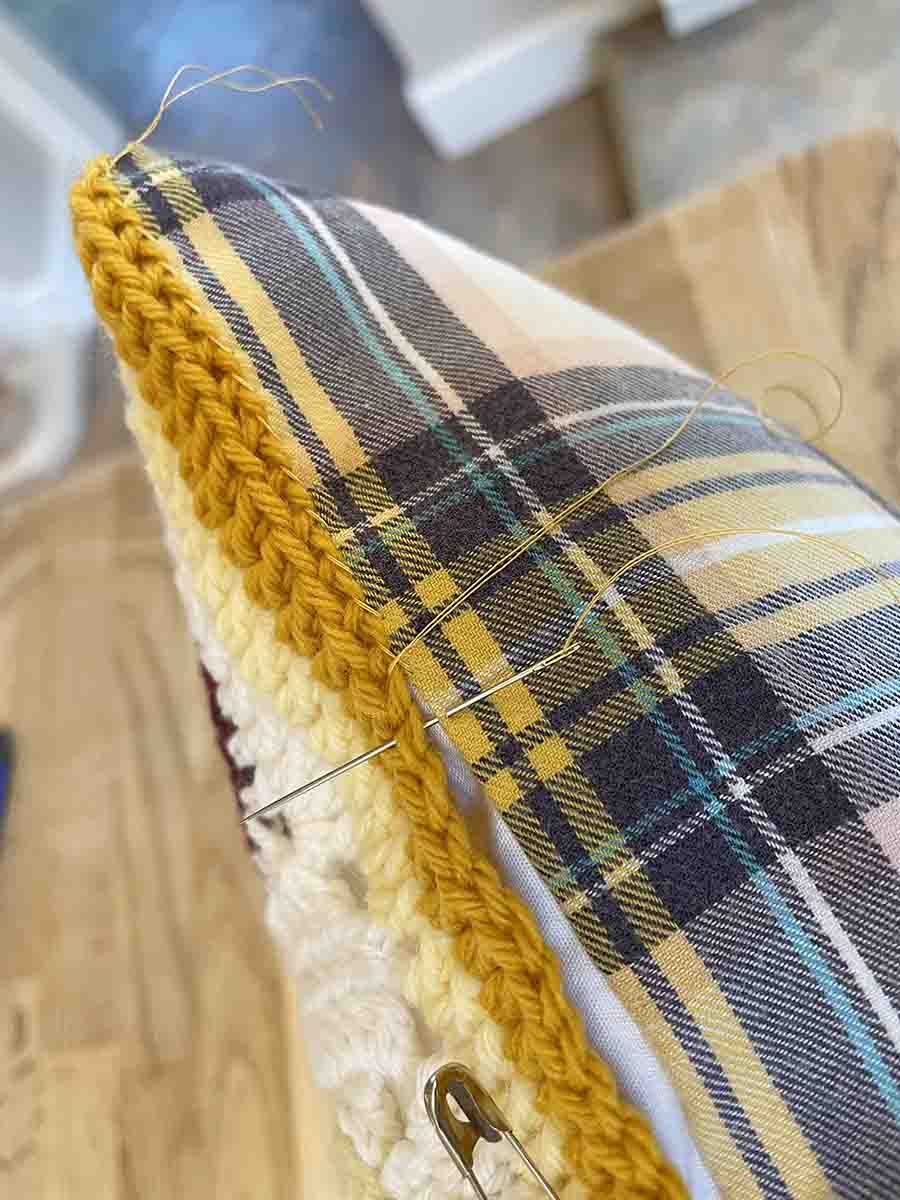
Assembling the cushion
This time instead of making another granny square panel for the other side of the pillow, I decided to make a simple envelope pillow cover with a white front and a plaid back. My fabric stash nearly rivals my yarn stash! I’m no expert on sewing, and if you want to learn more about making envelope pillow covers well, I suggest you take advice from Jann instead:
Then I joined the granny square panel to the white side using whipstitch around the edge.
And here’s the result:
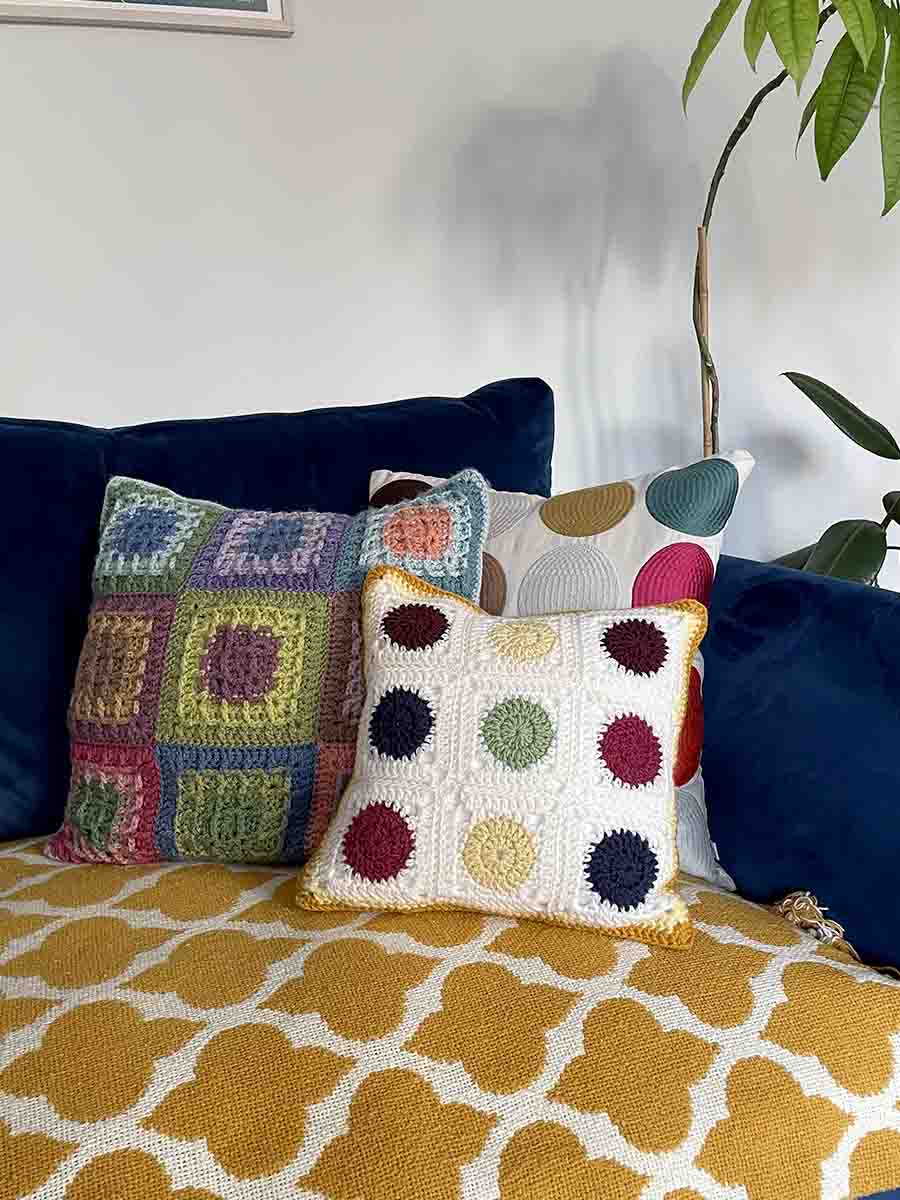
I’m still thinking about adding some buttons to the center of the circles as well. Let me know if you think it’s a good idea in the comments down below. I think this pillow turned out pretty cute, and I LOVE that both the granny squares and the unloved pillow are finally looking good on my sofa, instead of cluttering up closet and drawer space.
Tips for turning yarn scraps into crochet throw pillows
Here are my top takeaways from these projects:
1. Electronic scales are your best friend!
If you have electronic kitchen scales, use them to weigh your granny squares before and after adding each color. As you start to run out of yarn in one color, weighing what’s left will give you an idea of whether there’s enough use for the next section of work. Which can save you from some nerve wracking games of yarn chicken, and even worse – a lot of unraveling!
2. Try and match yarns by fiber content
Yarns behave differently in the wash according to their fiber content. Sticking to scraps with the same fiber content reduces the likelihood of your pillow cover getting distorted in the laundry. This can be easier said than done though if, like me, you’re not much good at keeping hold of yarn wrappers!
3. Let your project evolve
I really went into these two projects with only half a plan in my head. The first project was originally going to have waffle squares on both sides, and a zip. But I love seeing those buttons reliving the memories associated with them. The second pillow wasn’t supposed to have a yellow border, but I think it would look a bit blah without it now.
Turning yarn scraps into crochet throw pillows – summary
These were fun projects to make a bit of a dent in my yarn stash. They were fast and satisfying to work on in between bigger projects, and it was very freeing to make something up as I went along rather than sweat over sticking to a pattern. You have nothing to lose by trying it too, so have a go and let us know how you get on in the comments!

How do I get a printable pattern? I have an abundance of left over yarn