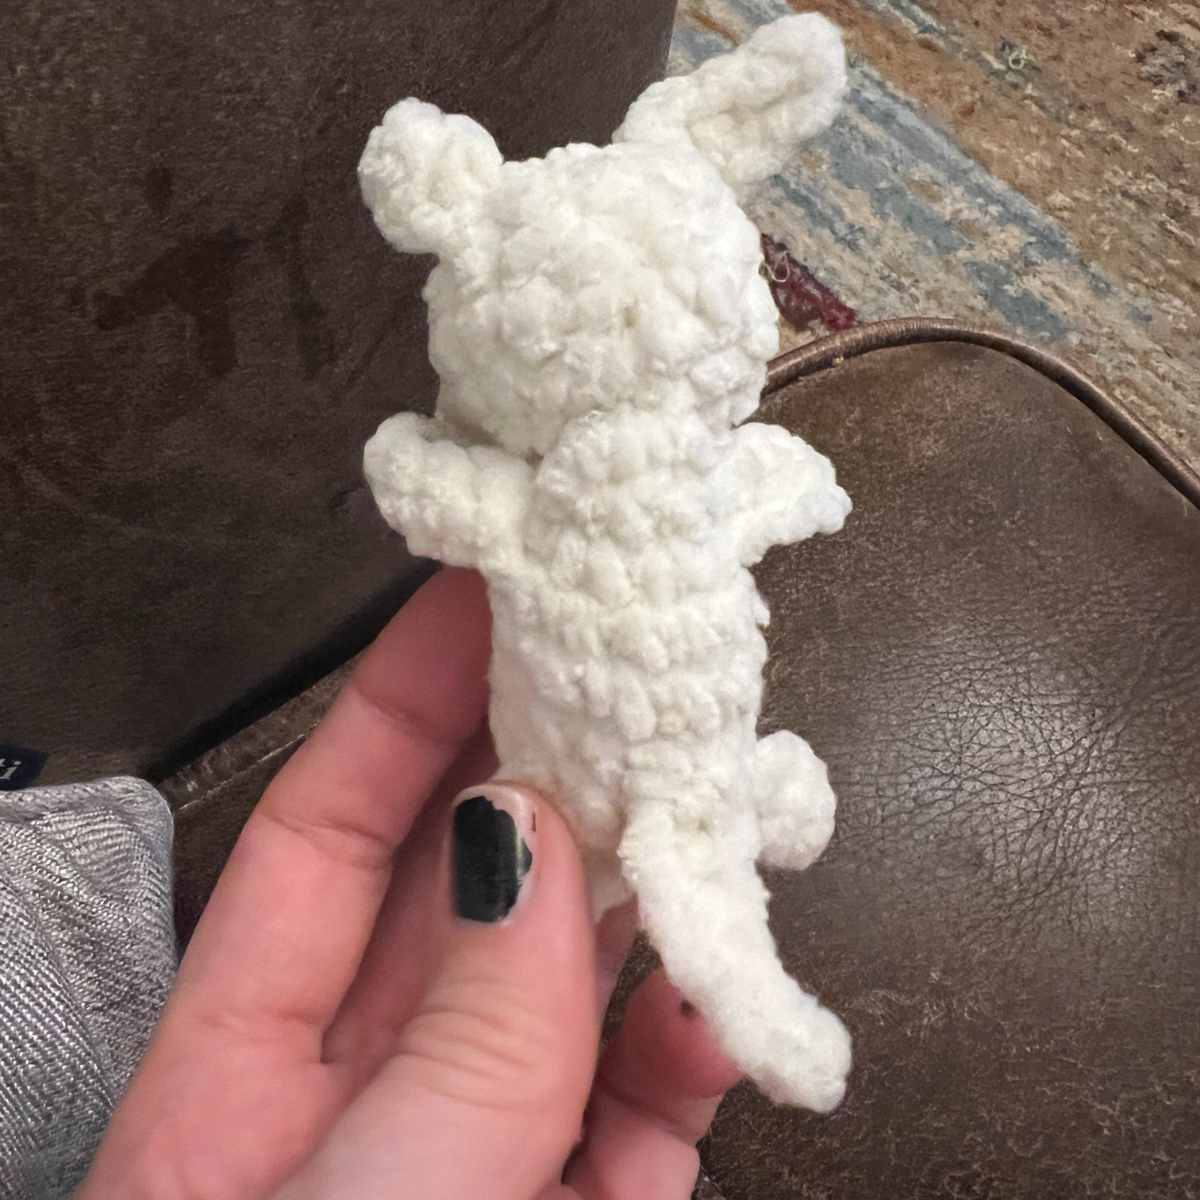
Crochet Wallaby and Joey – Free Pattern

My crochet wallaby pattern comes complete with her very own amigurumi joey. I’ve designed this free crochet pattern so that even a new crocheter should be able to follow it, with plenty of extra links and instructions to help you along your hooking way.
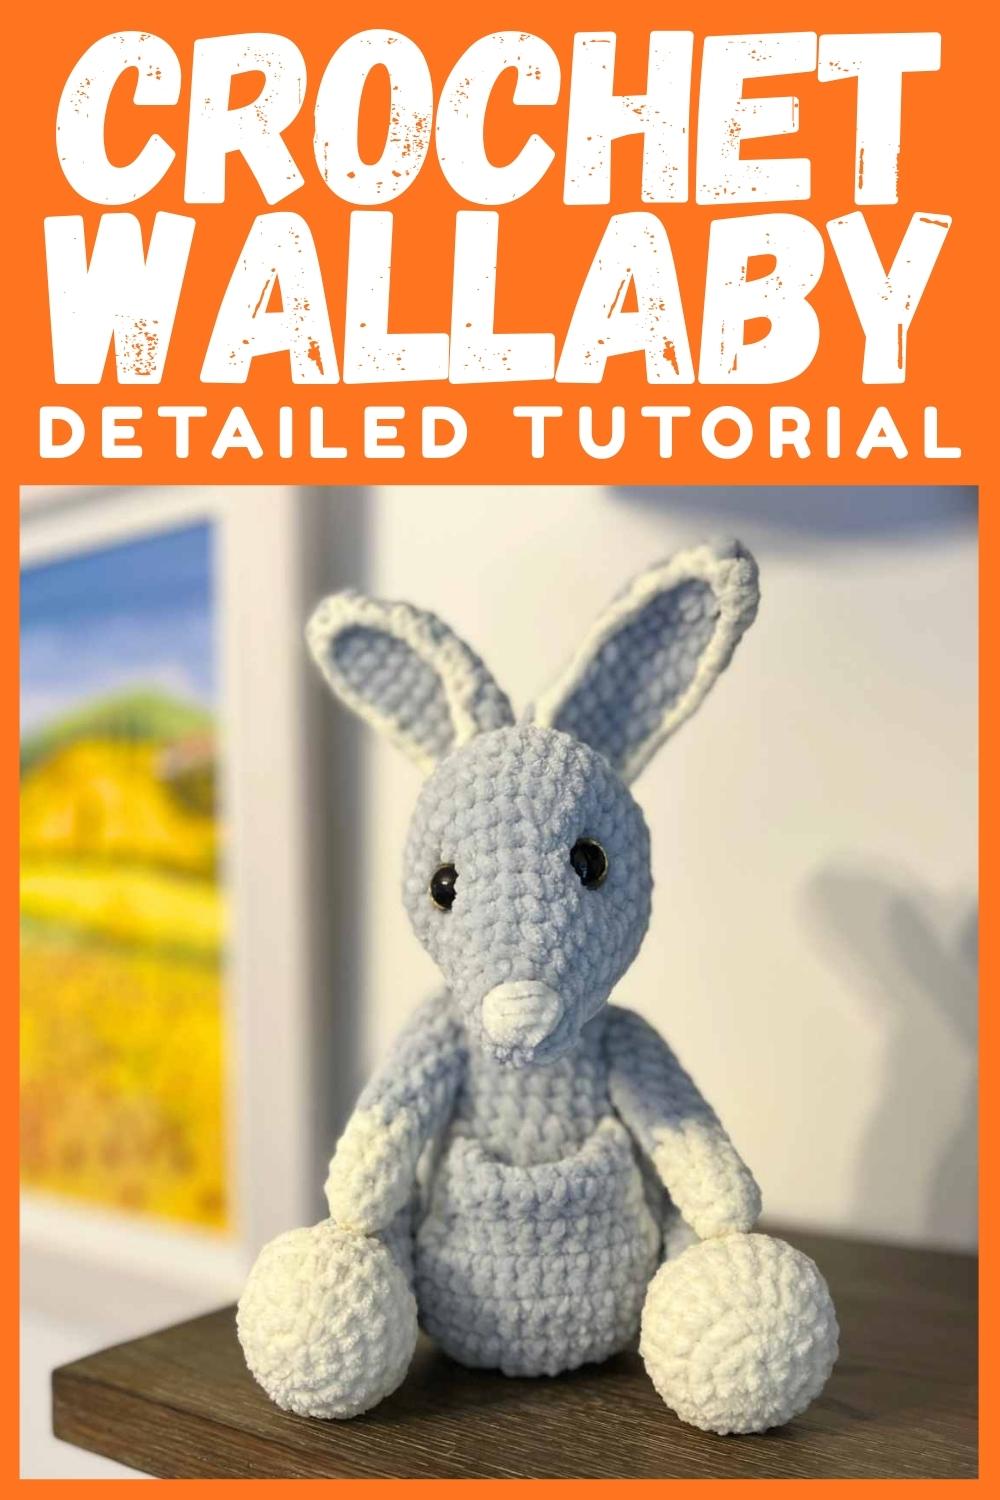
This crochet pattern is my own little celebration of the smaller version of the kangaroo, who for some reason gets far less well earned appreciation! Although both patterns look lovely on my shelf along with my crochet otter and monkey.
What You’ll Need
- 100g James C Brett Flutterby chunky chenille yarn* in silver
- 100g James C Brett Flutterby chunky chenille yarn* in cream
- 5mm crochet hook
- 4mm crochet hook
- Toy stuffing*
- 16mm safety eyes*
- 5mm safety eyes
- Scissors
- Yarn needle
Pattern Notes and Techniques
Working with chenille yarn is not always easy, the main issues come in with the magic circles. If you struggle to close your magic circles using the chenille yarn, swap to the chain two method or add a strand of Worsted weight yarn whilst you close the magic circle.
You’ll find a few abbreviations and instructions in your crochet wallaby’s pattern, including:
- sc – single crochet
- 2sc – put two single crochets into one stitch
- sc2tog – join two stitches together with one single crochet
- ch – chain
- sk – skip the next stitch
- slst – slip stitch
- cc – change color
- turn – flip the crocheted material over
Crochet Wallaby Pattern
We’re going to stuff and sew as you, and I’ll give you instructions for that as we proceed with the pattern.
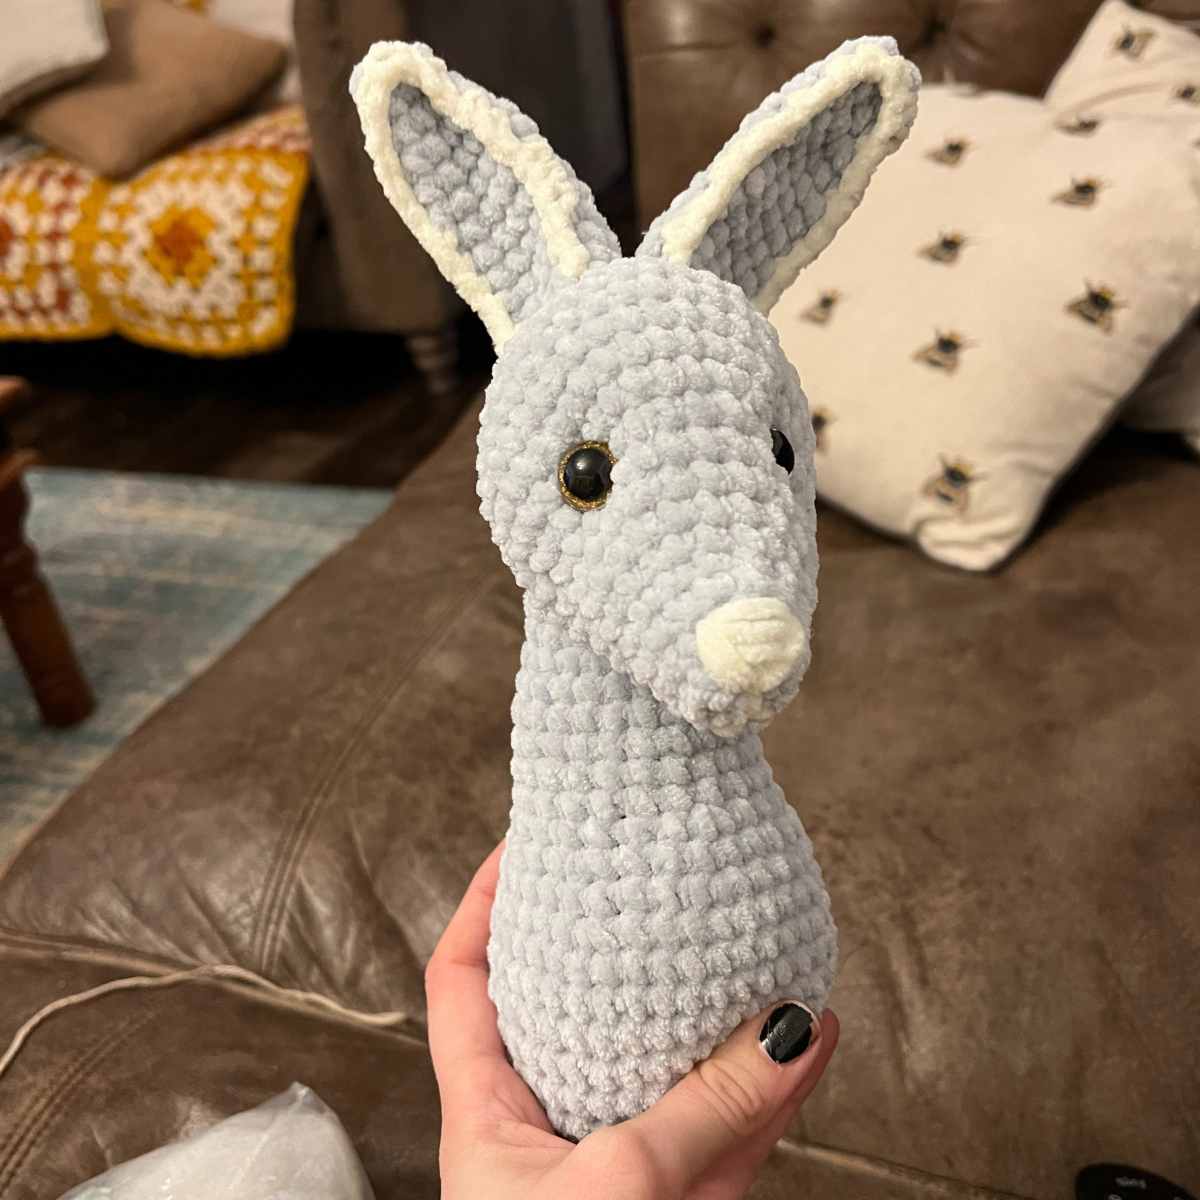
Crocheting the Head
You’re going to work this section in your gray yarn, with the 5mm crochet hook.
Round 1
Make a magic circle of six stitches (6)
Round 2
2sc x 6 (12)
Round 3 – 4
1sc x 12 (12)
Round 5
(1sc, 2sc) x 6 (18)
Round 6
1sc x 18 (18)
Round 7
(1sc x 2, 2sc) x 6 (24)
Round 8
1sc x 24 (24)
Round 9
(1sc x 3, 2sc) x 6 (30)
Round 10
(1sc x 4, 2sc) x 6 (36)
Round 11 – 14
1sc x 36 (36)
Round 15
(1sc x 4, sc2tog) x 6 (30)
Round 16
(1sc x 3, sc2tog) x 6 (24)
Round 17
(1sc x 2, sc2tog) x 6 (18)
Insert the 16mm safety eyes at around round 10, with about 10 stitches between them. Use a string of yarn to tie the backs together, to set them further into the face.
Round 18
(1sc, sc2tog) x 6 (12)
Stuff the head, being careful to ensure filling also goes into the muzzle section.
Round 19
sc2tog x 6, then hand sew to close.
Swap to your cream yarn, and hand sew the nose, weaving back and forth just above the magic circle, between your eye positions.
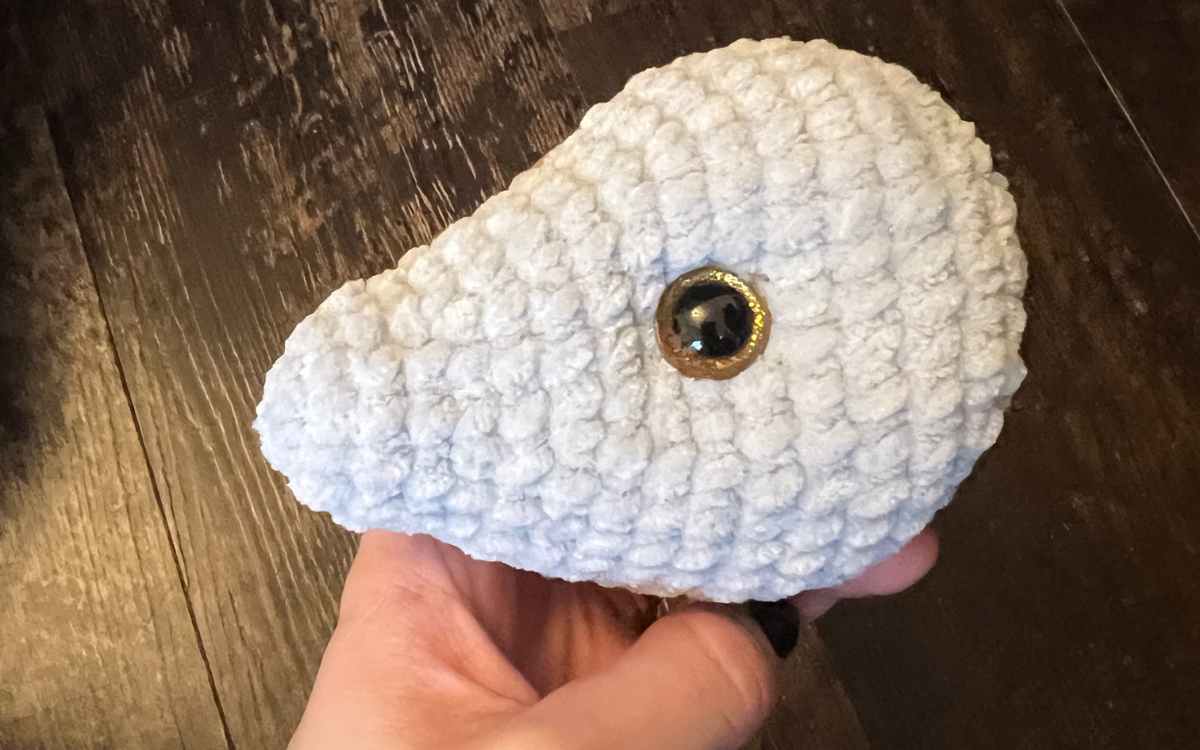
Crochet Wallaby Ears
For the ears you’ll need to make the bulk of them up in your gray yarn with the 5mm crochet hook, then you’ll surface crochet the edges in white yarn with a 4mm crochet hook.

Round 1
Make a magic circle of eight stitches.
Round 2 – 3
1sc x 8 (8)
Round 4
2sc x 4, 1sc x 4 (12)
Round 5 – 13
1sc x 12 (12)
Finishing the Ears
Compress your ears flat with your fingers, then using your white yarn and 5mm crochet hook make a single crochet in each stitch around the edge.
Now with your yarn needle, hand sew the open (but held closed) end of the ears to the top of the wallaby’s head. For the most natural look, set them fairly close together.
Making the Body
Your wallaby’s crochet body will be entirely with the 5mm crochet hook and your silver gray yarn.
Round 1
Make a magic circle of eight stitches (8)
Round 2
2sc x 8 (16)
Round 3 – 5
1sc x 16 (16)
Round 6
(1sc, 2sc) x 8 (24)
Round 7 – 12
1sc x 24 (24)
Round 13
(1sc x 2, 2sc) x 8 (32)
Round 14
1sc x 32 (32)
Round 15
(1sc x 3, 2sc) x 8 (40)
Round 16 – 21
1sc x 40 (40)
Round 22
(1sc x 3, sc2tog) x 8 (32)
Round 23
(1sc x 2, sc2tog) x 8 (24)
Round 24
(1sc, sc2tog) x 8 (16)
Fill with toy stuffing.
Round 25
sc2tog to close
You can now sew your wallaby’s head onto her body. Line up the back of the head with the back of the body, and weave in and out in the gray yarn using your needle.
Crocheting the Pouch
To crochet your wallaby’s pouch use your gray yarn and 5mm crochet hook, you’ll only swap to your white yarn to edge three sides.

Row 1
Chain 8 + 1, then turn (9)
Row 2 – 7
Sk, 1sc x 8, ch1, turn
Row 8
1sc at the base of the chain, 1sc x 7, 2sc, ch1, then turn
Row 9
1sc at the base of the chain, 2sc x 9, 2sc, ch1, then turn
Row 10 – 14
Sk, 1sc x 11, ch1, turn
Row 15
Sk, 1sc x 11.
At the end of the row, tie off the gray yarn. Swap to your white yarn, and make a single crochet around three of the four sides.
Sew the white edged sides onto the front of your wallaby to make her open pouch.
Your Wallaby’s Arms
Your wallaby’s arms will begin in the white yarn, you’ll then swap to gray yarn after a few rounds.

Round 1
Make a magic circle of eight stitches.
Round 2 – 5
1sc x 8 (8)
cc gray
Round 6 – 13
1sc x 8 (8)
Round 14
sc2tog x 8, then attach your yarn needle and close the circle by weaving in and out of the remaining stitches.
Sew an arm onto each side of your wallaby, attaching around where the shoulders would be.
Crochet Wallaby Legs
Your wallaby’s legs will also start with the cream yarn, then switch to gray yarn after a few rounds.
Round 1
Make a magic circle of eight stitches.
Round 2
2sc x 8 (16)
Round 3
(1sc, 2sc) x 8 (24)
Round 4 – 6
1sc x 24 (24)
Round 7
(1sc, sc2tog) x 8 (16)
Round 8
1sc x 16 (16)
cc gray
Round 9 – 18
1sc x 16 (16)
Stuff the foot section only, leave the rest empty.
Round 19
sc2tog x 8, then sew closed with your yarn needle.
Sew a leg onto each side of your wallaby’s body, attaching around where the hips would be.
The Tail
You’re going to use your 5mm crochet hook and gray yarn to crochet your wallaby’s tail.

Round 1
Make a magic circle of six stitches (6)
Round 2 – 3
1sc x 6 (6)
Round 4
2sc x 6 (12)
Round 5 – 6
1sc x 12 (12)
Round 7
(1sc, 2sc) x 6 (18)
Round 8 – 9
1sc x 18 (18)
Round 10
(1sc x 2, 2sc) x 6 (24)
Round 11 – 14
1sc x 24 (24)
Round 15
(1sc x 3, 2sc) x 6 (30)
Round 16
1sc x 30 (30)
Fill the tail with toy stuffing. Sew the open end onto your wallaby’s back, using your needle and the same colored yarn.
Amigurumi Joey Pattern

Your crochet joey will be entirely made in the cream yarn with your 4mm crochet hook, and you’ll need some toy stuffing and tiny safety eyes ready.
Crocheting your Joey’s Head

Round 1
Make a magic circle of four stitches (4)
Round 2
1sc x 4 (4)
Round 3
2sc x 4 (8)
Round 4
1sc x 8 (8)
Round 5
(1sc, 2sc) x 4 (12)
Round 6
(1sc x 2, 2sc) x 4 (16)
Round 7 – 8
1sc x 16 (16)
Insert small safety eyes around round 5, leaving a gap of about four stitches between them.
Round 9
(1sc x 2, sc2tog) x 4 (12)
Round 10
(1sc, sc2tog) x 4 (8)
Fill the joey’s head with toy stuffing.
Round 11
sc2tog x 4, then using your yarn needle sew the circle closed. Tie off leaving a long strand of yarn.
Crochet Joey Ears

Chain four.
Skip the first stitch, slip stitch into the next stitch, then put a single crochet into the final two stitches.
Leaving a long tail of yarn, sew one ear onto each side of your joey’s head.
Amigurumi Joey Body

Round 1
Make a magic circle of six stitches.
Round 2
1sc x 6 (6)
Round 3
2sc x 6 (12)
Round 4 – 8
1sc x 12 (12)
Fill with toy stuffing.
Round 9
sc2tog x 6, then using your yarn needle sew the circle closed.
Hand sew your wallaby joey’s head onto the neck, which is the narrow end that began with a magic circle.
Crocheting the Arms and Legs

Your pattern for the arms and legs for your joey are identical.
Make a chain of five stitches. Skipping the first loop, make one single crochet into the remaining four.
Hand sew the tail end onto your joey’s body.
Making Your Tail
Chain six. Skip the first loop, then make 2 x slst, then 1sc x 3.
Hand sew onto the rear of your joey, making sure to secure it tightly as it will get compressed when you put him in and out of his mom’s pouch!
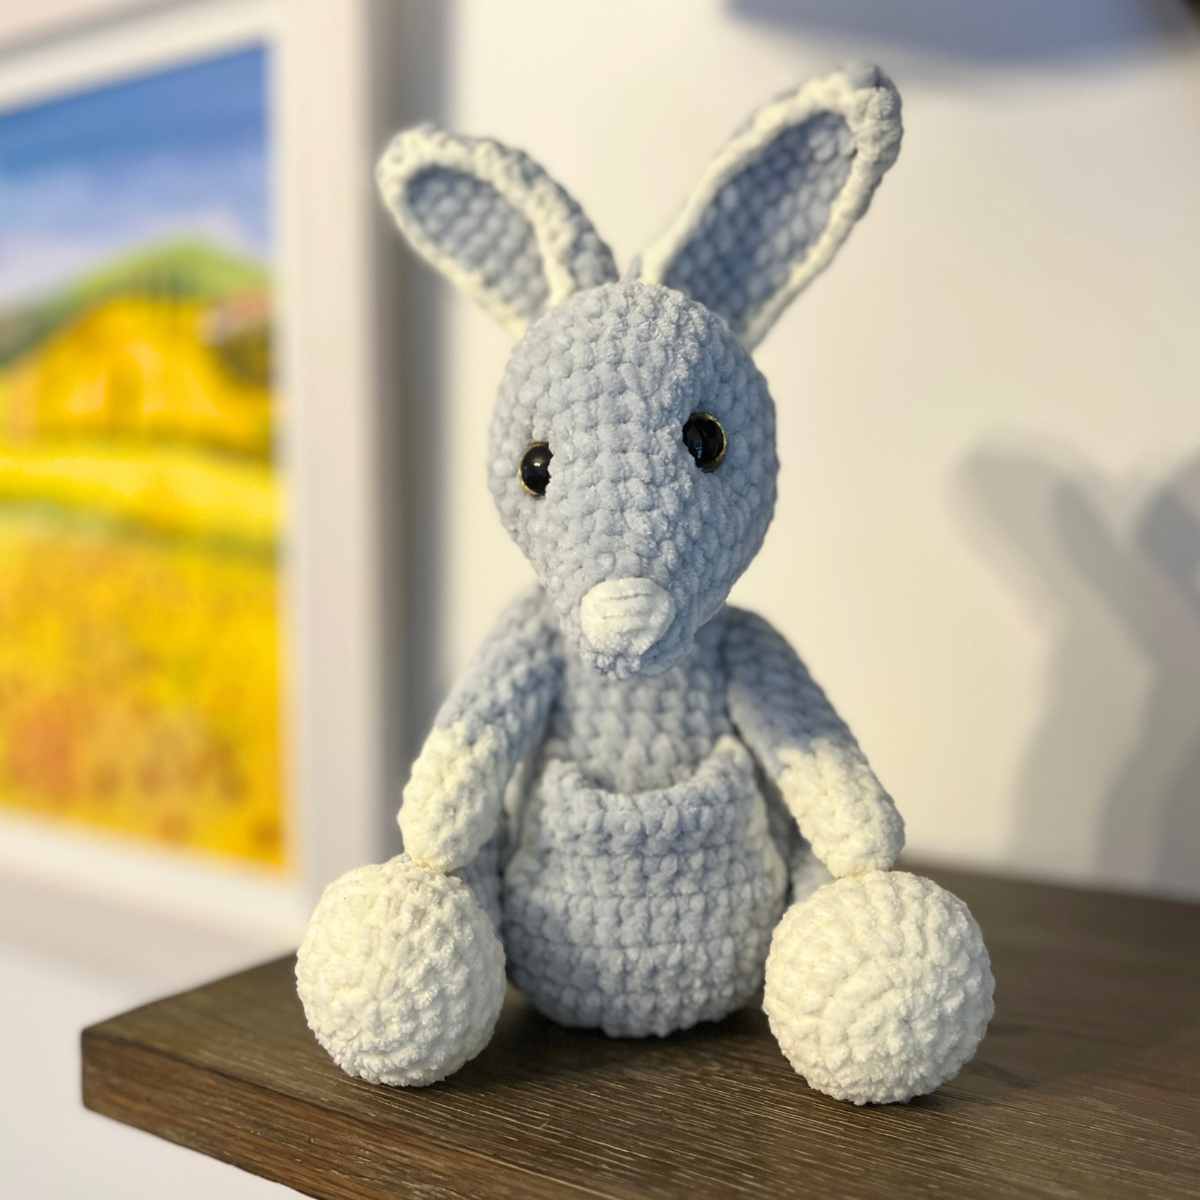
Your Wallaby and Joey
Your wallaby is now ready to have her joey safely tucked up into her pouch. This is designed to be removed and replaced, but do be a little careful as the pouch might come unravelled over time with the manipulating of the stitches.
I hope you’ve enjoyed this pattern, I think it’s a fun match for my old sugar glider or in a zoo style collection with the elephant and hippo!
Happy Crocheting,
Lucy Kate, x
*The products linked in this pattern were carefully selected by Lucy Kate Crochet. If you decide to purchase using the links provided, we may earn a small commission on that sale. This is at no extra cost to you.

Such a beautiful pattern! I have loved making this so thanks so so much for allowing us to use this pattern for free. It has to be my favourite item that I have crocheted!