Free Crochet Hippo Pattern

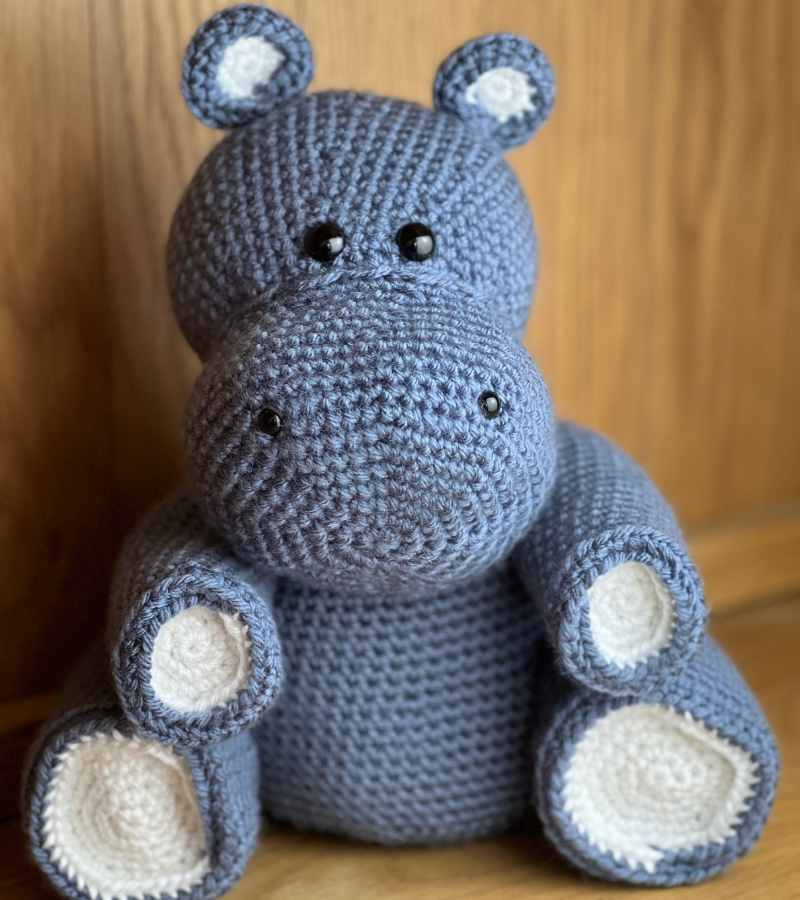
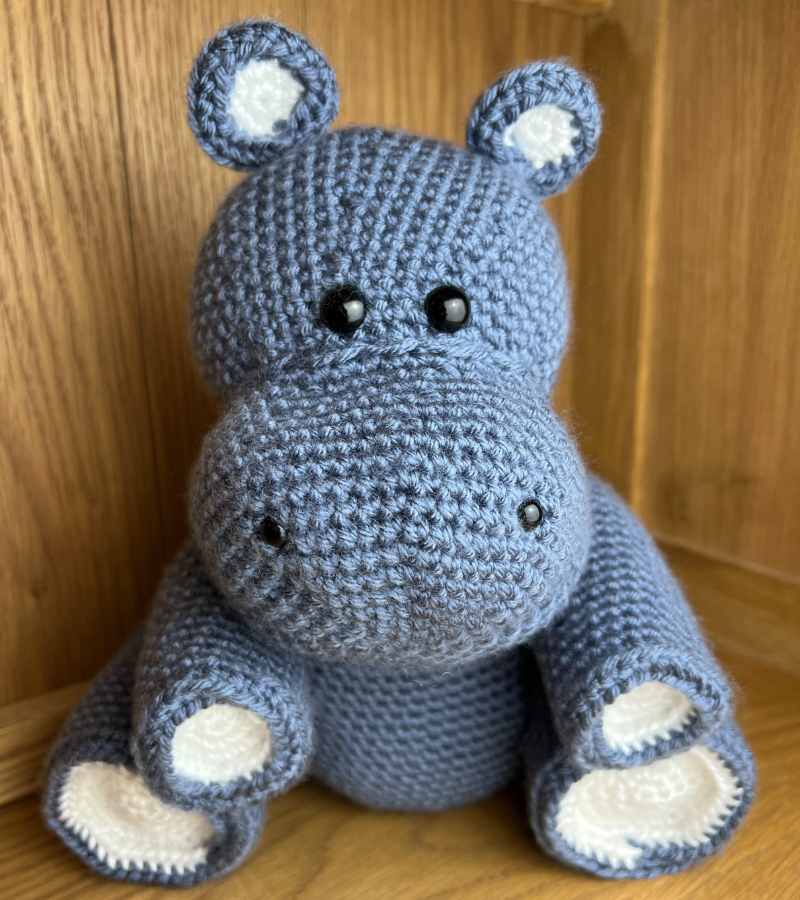
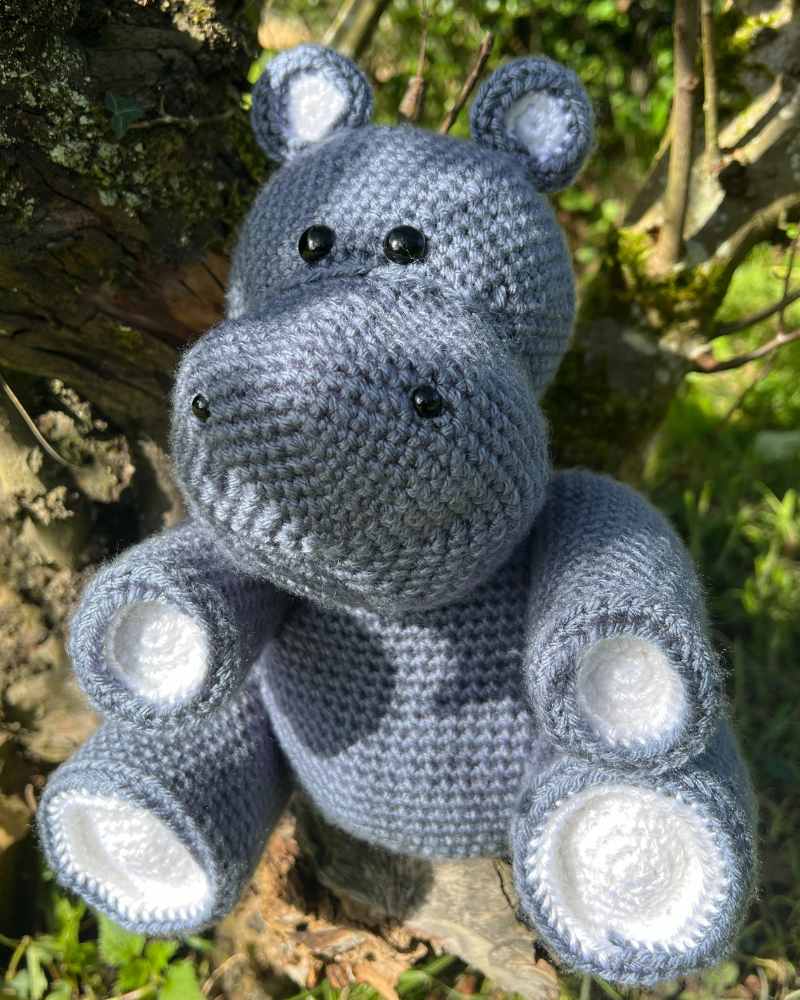
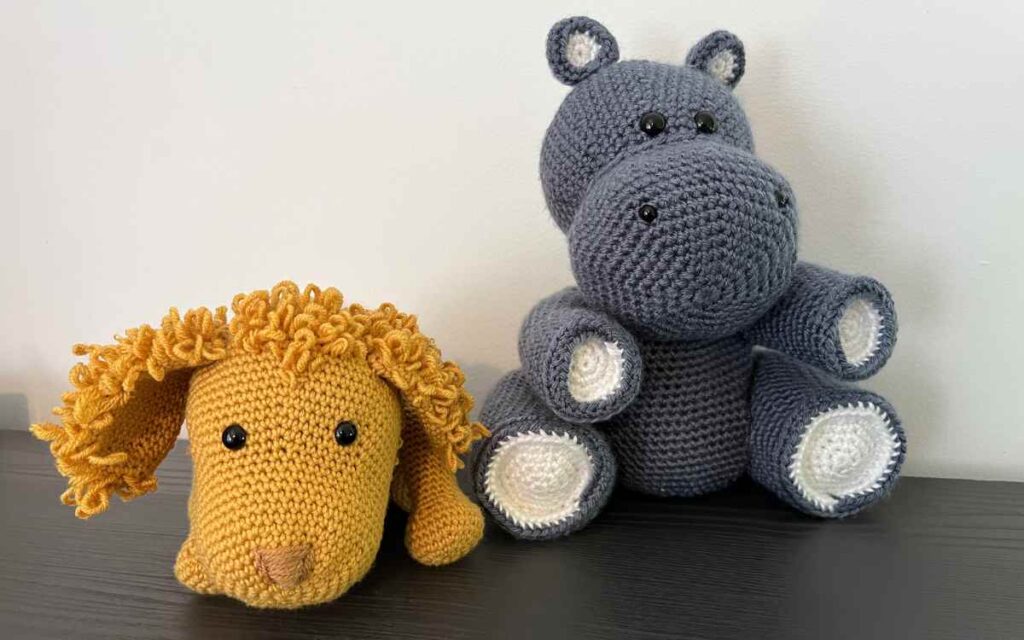
This crochet hippo pattern is designed to be fairly easy to work up, but with enough detail on the features to make it look uniquely awesome. The main crochet hippo toy is made from gray/blue yarn, but the inner ears and foot pads are highlighted in white to give it a bit more of a pop. My intention was for it to look good sitting next to the crocheted elephant on a shelf, and I must admit I’m pretty pleased with the result. I’d love to know what you think too if you’d care to leave a comment at the end of the article.
- The false start…
- Your crochet equipment list.
- Free hippo crochet pattern notes and abbreviations.
- My crochet hippo pattern – free instructions.
Crochet Designing Doesn’t Always Work Out First Time
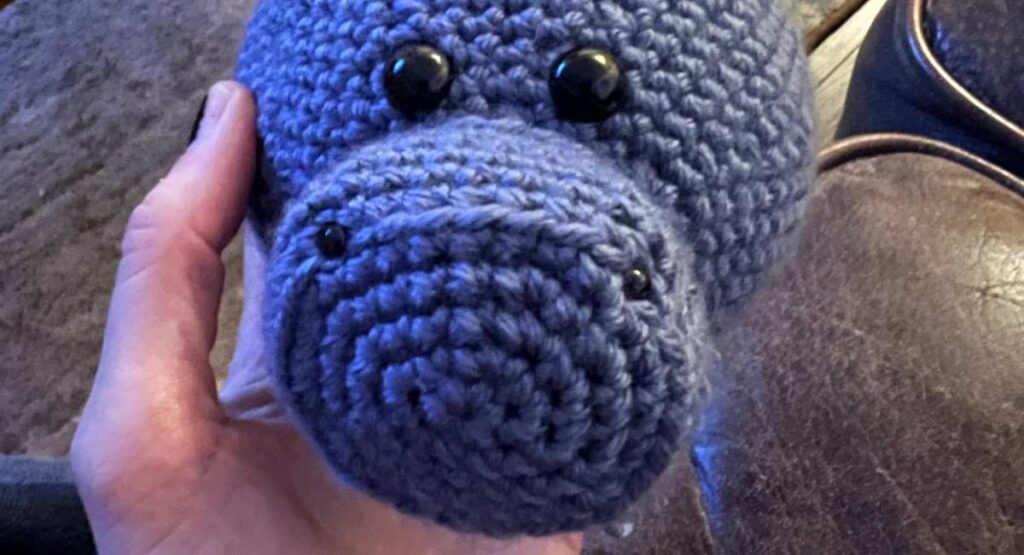
My crochet hippopotamus pattern had a bit of a false start. I worked on the shapes as I always do, and started to sew the muzzle onto the head. And it looked for all the world like a totally adorable, crochet pig. I stared at it but I couldn’t figure out where I’d gone wrong, so I showed it to my husband who immediately pointed out that the nose area was far too small. And I don’t know why I couldn’t see it! I just knew it looked like the wrong species! Anyway, it wasn’t a big deal, I unpicked the face and remade that section in a considerably larger size. And it worked!
Your Crochet Hippo Kit List
To create my crochet hippo toy you’ll need the following equipment:
- 100g gray/blue aran yarn – I used WI brand, but if you’re in the US this is a nice alternative*
- 25g white aran yarn*
- 5mm crochet hook
- Yarn needle*
- Toy safe stuffing*
- Four safety eyes: 2 x 4mm and 2 x 10mm *
You can crochet a hippo with another brand or even weight of yarn if you want to, just make sure you use a crochet hook that is designed to work with the yarn you pick. Most of them have a note on the packaging that gives you the desired size.
I used safety eyes for both the eyes and the nostrils, but you are welcome to hand sew these instead if that’s your preference!
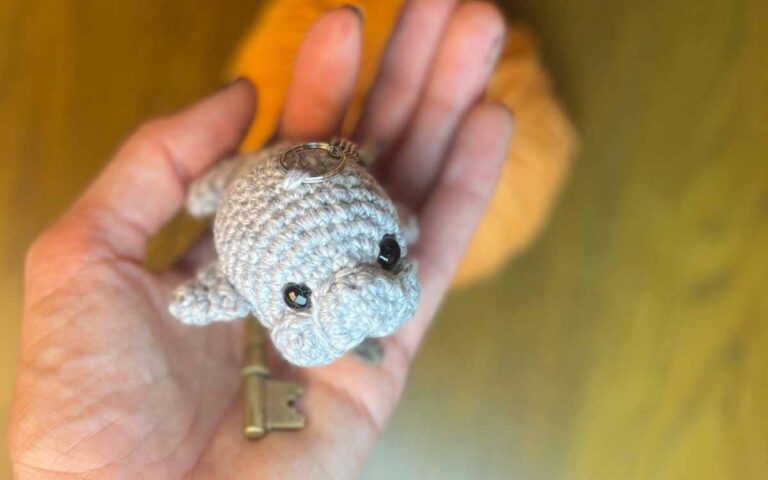
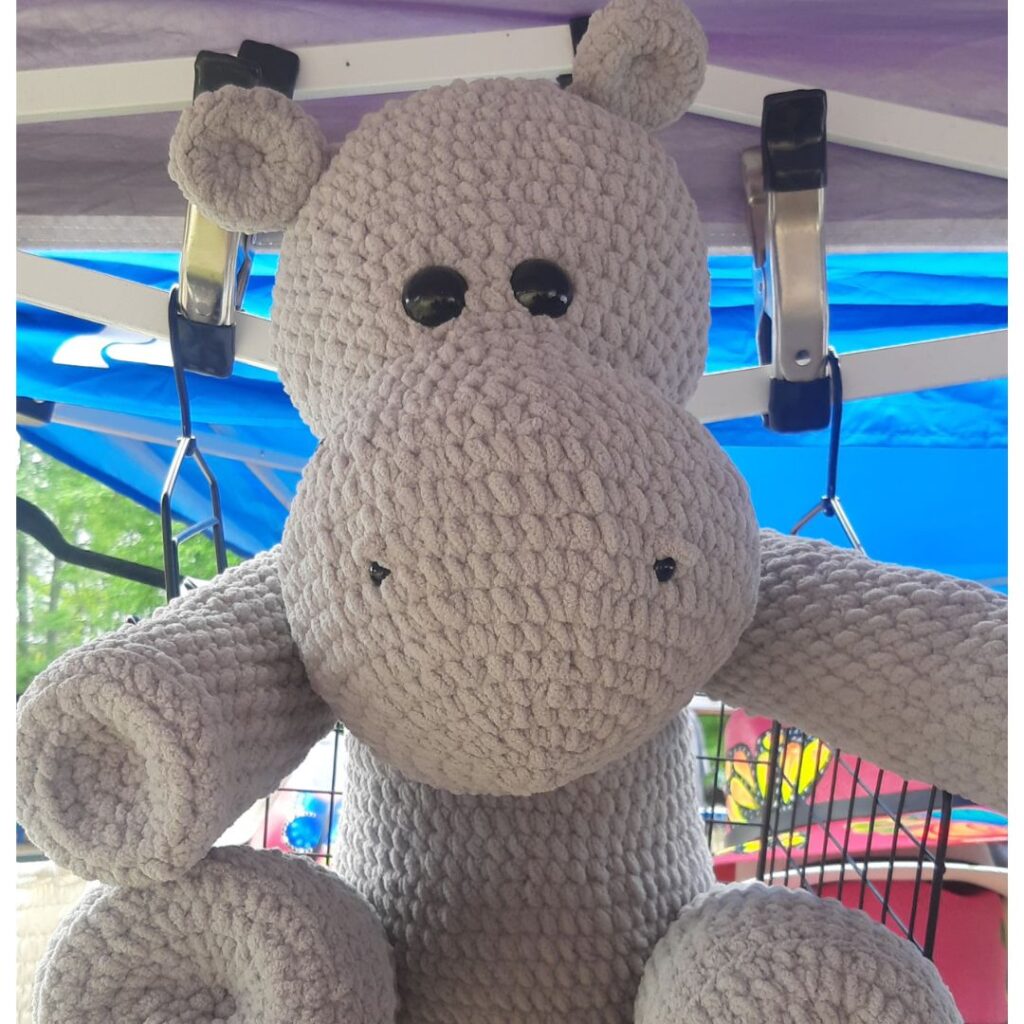
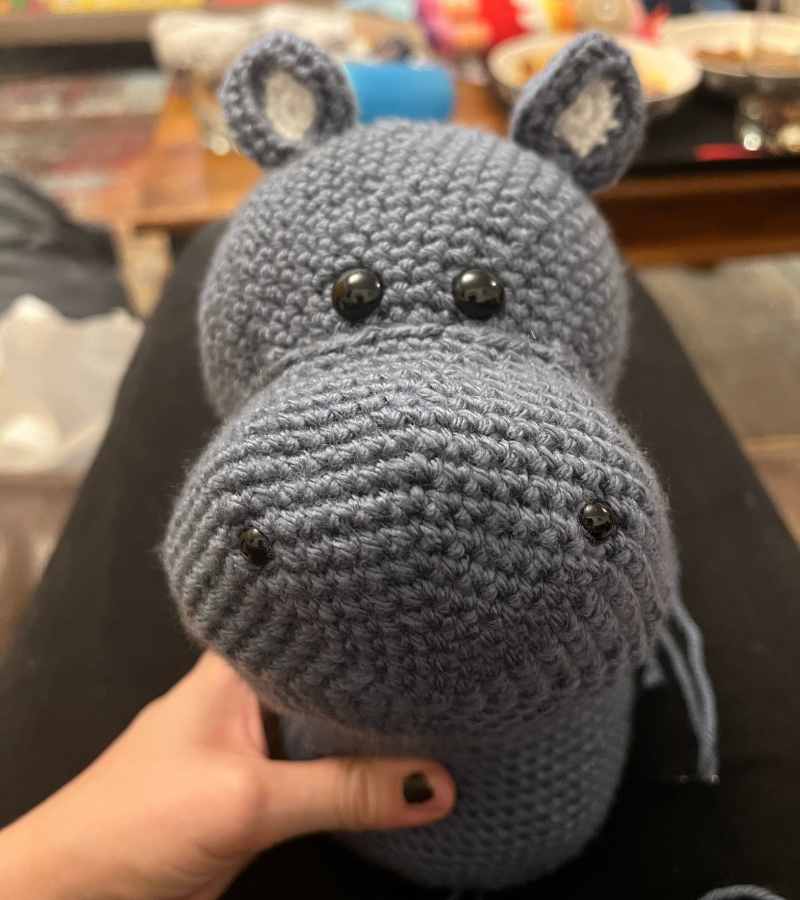
One of our lovely readers, Terri, was kind enough to share a photo of her completed hippo using a different yarn weight. So you’re not stuck using aran weight if you’d rather go with chunky!
Pattern Notes
My crochet hippo pattern is predominantly made from extending a magic circle. The color changes were simply done in round for this pattern, as it’s fairly easy to sew the feet and ears in a way that largely disguises the joins.
This free crochet pattern for hippopotamus fans uses a few different techniques and descriptions. I write my patterns using crochet abbreviations, I’ll put a quick explanation the first time I use each one but for your reference the main ones you’ll find here are:
- sc – single crochet
- 2sc – put two single crochets into one stitch
- sc2tog – join two single crochet stitches together
- blo – crochet into the back loop only
- cc – color change
My Free Crochet Hippo Pattern
I designed this crochet hippo toy in several different sections. For this crochet hippo the face will even be made in two parts, we’ll start with the muzzle.
Crochet Hippo Muzzle

Initially I was going to produce the muzzle in an oval, but in the end i’ve settled with the traditional circular shape. So you’ll be building the muzzle from a magic circle, in your gray yarn. Have two small safety eyes ready as nostrils, and some toy stuffing.
Round 1
Make a magic circle of 8 stitches (8)
Round 2
Put two single crochets into each stitch of the round.
2sc x 8 (16)
Round 3
(1sc, 2sc) x 8 (24)
Round 4
(1sc x 2, 2sc) x 8 (32)
Round 5
(1sc x 3, 2sc) x 8 (40)
Round 6
(1sc x 4, 2sc) x 8 (48)
Round 7
(1sc x 5, 2sc) x 8 (56)
Round 8 – 9
1sc x 56 (56)
Round 10
(1sc x 6, 2sc) x 8 (64)
Round 11 – 12
1sc x 64 (64)
Round 13
Single crochet once in each stitch, then single crochet the next two stitches together. Repeat for the round.
(1sc x 6, sc2tog) x 8 (56)
Round 14
1sc x 56 (56)
Round 15
(1sc x 5, sc2tog) x 8 (48)
Round 16
1sc x 48 (48)
Round 17
(1sc x 4, sc2tog) x 8 (40)
Slip stitch and tie off with a long length of yarn. Stuff the muzzle with toy stuffing and set to one side.
Crochet Hippo Head Pattern
Your crochet hippo’s head is going to be started from the back, and finished at the front of the head, where the muzzle will be attached.
Round 1
Make a magic circle of 8 stitches (8)
Round 2
2sc x 8 (16)
Round 3
(1sc, 2sc) x 8 (24)
Round 4
(1sc x 2, 2sc) x 8 (32)
Round 5
(1sc x 3, 2sc) x 8 (40)
Round 6
(1sc x 4, 2sc) x 8 (48)
Round 7
(1sc x 5, 2sc) x 8 (56)
Round 8 – 9
1sc x 56 (56)
Round 10
(1sc x 6, 2sc) x 8 (64)
Round 11 – 14
1sc x 64 (64)
Round 15
(1sc x 6, sc2tog) x 8 (56)
Round 16
1sc x 56 (56)
Round 17
(1sc x 5, sc2tog) x 8 (48)
Round 18
1sc x 48 (48)
Round 19
(1sc x 4, sc2tog) x 8 (40)
Round 20
1sc x 40
Round 21
(1sc x 3, sc2tog) x 8 (32)
Round 22
1sc x 32 (32)
Round 23
(1sc x 2, sc2tog) x 8 (24)
Round 24
1sc x 24 (24)
Round 25
(1sc, sc2tog) x 8 (16)
Insert safety eyes and fill with toy stuffing.
Round 26
sc2tog to close.
Now sew the muzzle onto the main head piece. Sew tightly around the circumference of the circle to ensure no toy stuffing falls out.
Crochet Hippo Ears
Hippos have small ears that sit upright at the upper sides of the head.
Round 1
Starting in the white yarn, make a magic circle of 6 stitches. (6)
Round 2
2sc x 6 (12)
cc gray
Round 3
(1sc, 2sc) x 6 (18)
Round 4
1sc x 18 blo (18)
Round 5
(1sc, sc2tog) x 6 (12)
Round 6
sc2tog to close, leaving a long thread of yarn to sew the ears to the head. Leave a wide space between them of about eight stitches, and set them back around eleven rounds from the eyes.
Crochet Hippo Body Pattern
Your crochet hippo’s body will be made entirely using the gray yarn with your 5mm crochet hook.
Round 1
Magic circle of eight stitches (8)
Round 2
2sc x 8 (16)
Round 3
(1sc, 2sc) x 8 (24)
Round 4
(1sc x 2, 2sc) x 8 (32)
Round 5
1sc x 32 (32)
Round 6
(1sc x 3, 2sc) x 8 (40)
Round 7 – 8
1sc x 40 (40)
Round 9
(1sc x 4, 2sc) x 8 (48)
Round 10
(1sc x 5, 2sc) x 8 (56)
Round 11 – 21
1sc x 56 (56)
Round 22
(1sc x 6, 2sc) x 8 (64)
Round 23 – 31
1sc x 64 (64)
Round 32
(1sc x 6, sc2tog) x 8 (56)
Round 33
(1sc x 5, sc2tog) x 8 (48)
Round 34
(1sc x 4, sc2tog) x 8 (40)
Round 35
(1sc x 3, sc2tog) x 8 (32)
Round 36
(1sc x 2, sc2tog) x 8 (24)
Round 37
(1sc, sc2tog) x 8 (16)
Fill with toy safe stuffing.
Round 38
sc2tog to close.
You can now sew the head to the body. The hippo’s body is a completely symmetrical shape, so as long as you sew the head onto the top it doesn’t matter which way the muzzle is facing.
Crochet Hippo Arms
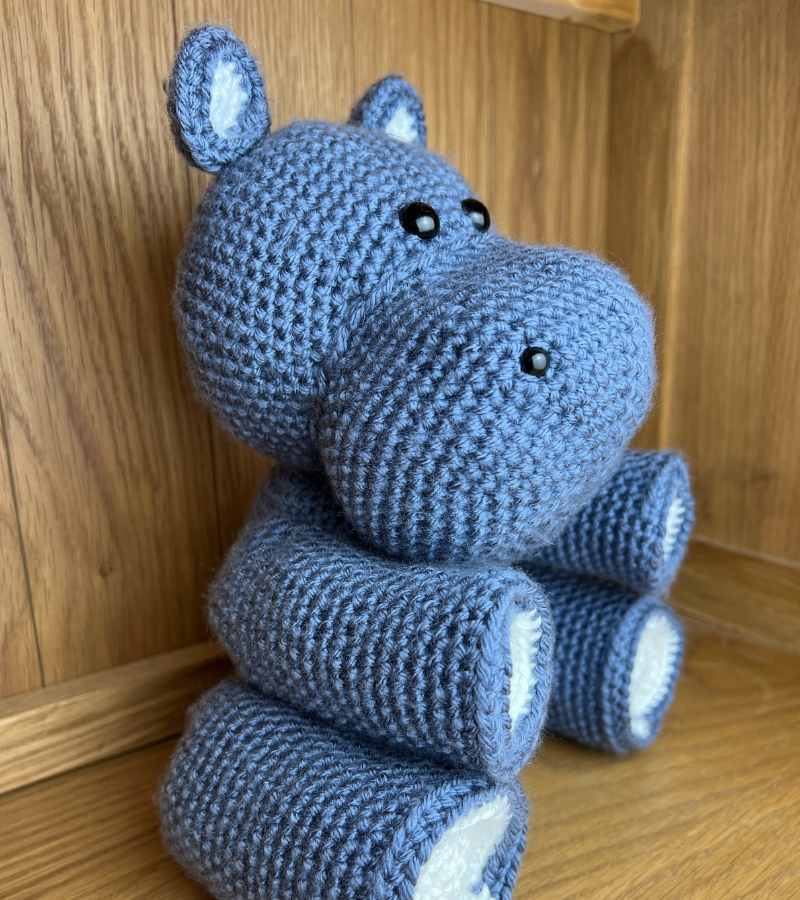
Your crochet hippo’s arms (or front legs, if you want to get all technically correct about this) will be started in white yarn for the flattened pads, then you’ll move on to using your gray yarn for the bulk of the arm.
Round 1
Magic circle of 6 stitches in white yarn (6)
Round 2
2sc x 6 (12)
Round 3
(1sc, 2sc) x 6 (18)
Round 4
(1sc x 2, 2sc) x 6 (24)
Cc gray
Round 5 – 7
Make a single crochet in the back loop only 24 times for two rounds.
1sc x 24 blo (24)
Round 8 – 26
1sc x 24 (24)
Round 27
(1sc x 2, sc2tog) x 6 (18)
Round 28
(1sc, 2sc) x 6 (12)
Fill two thirds full with toy stuffing.
Round 29
sc2tog to close
Crochet Hippo Legs Pattern
The crochet hippo free pattern for the legs is very similar to the arms, just a little wider.
Round 1
Magic circle of 6 stitches in white yarn (6)
Round 2
2sc x 6 (12)
Round 3
(1sc, 2sc) x 6 (18)
Round 4
(1sc x 2, 2sc) x 6 (24)
Round 5
(1sc x 3, 2sc) x 6 (30)
Round 6
(1sc x 4, 2sc) x 6 (36)
Cc gray
Round 7 – 9
1sc x 36 blo (36)
Round 10 – 26
1sc x 36 (36)
Round 27
(1sc x 4, sc2tog) x 6 (30)
Round 28
(1sc x 3, sc2tog) x 6 (24)
Round 29
(1sc x 2, sc2tog) x 6 (18)
Round 30
(1sc, 2sc) x 6 (12)
Fill two thirds full with toy stuffing.
Round 31
sc2tog to close
My Crochet Hippo Pattern
I am really fond of this gray/blue yarn, and was delighted to quickly find a use for it after completing my crochet elephant pattern a few days ago. If you only have gray yarn, or blue yarn, I think this crochet pattern would still look cool without the paler details too.
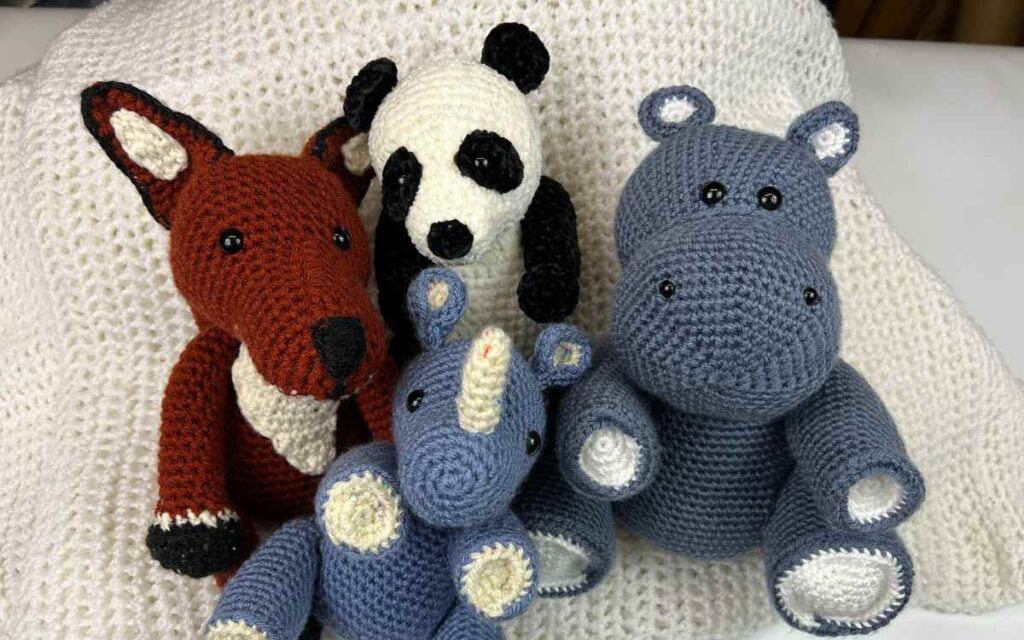
He also goes really nicely with my panda, rhino and elephant patterns, if you’re looking for something to match!
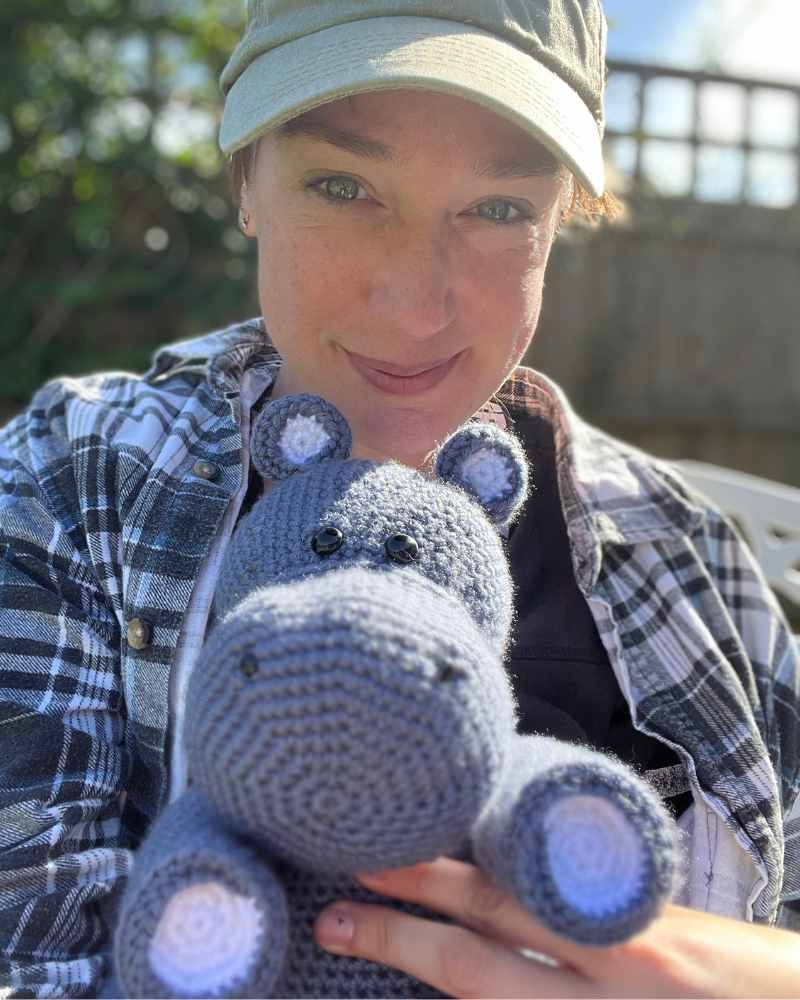
As always, I love to see your finished crochet toys so please do share by tagging me on insta or uploading your picture to my Facebook page.
See you there!
Happy crocheting,
Lucy Kate, x
*The products linked in this pattern were carefully selected by Lucy Kate Crochet. If you decide to purchase using the links provided, we may earn a small commission on that sale. This is at no extra cost to you.
