How To Design Crochet Patterns
I love being a crochet pattern designer. There is something very rewarding about creating something from scratch. Using your skills to produce a unique product. I enjoy following crochet patterns, but the real buzz I gain from this hobby is in crafting something new. The questions of how to design crochet patterns is not one that can be answered for all manner of designs at once.
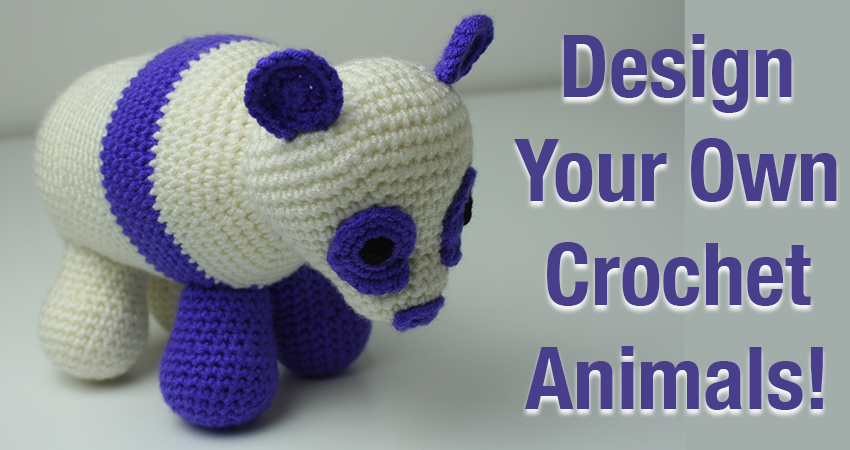
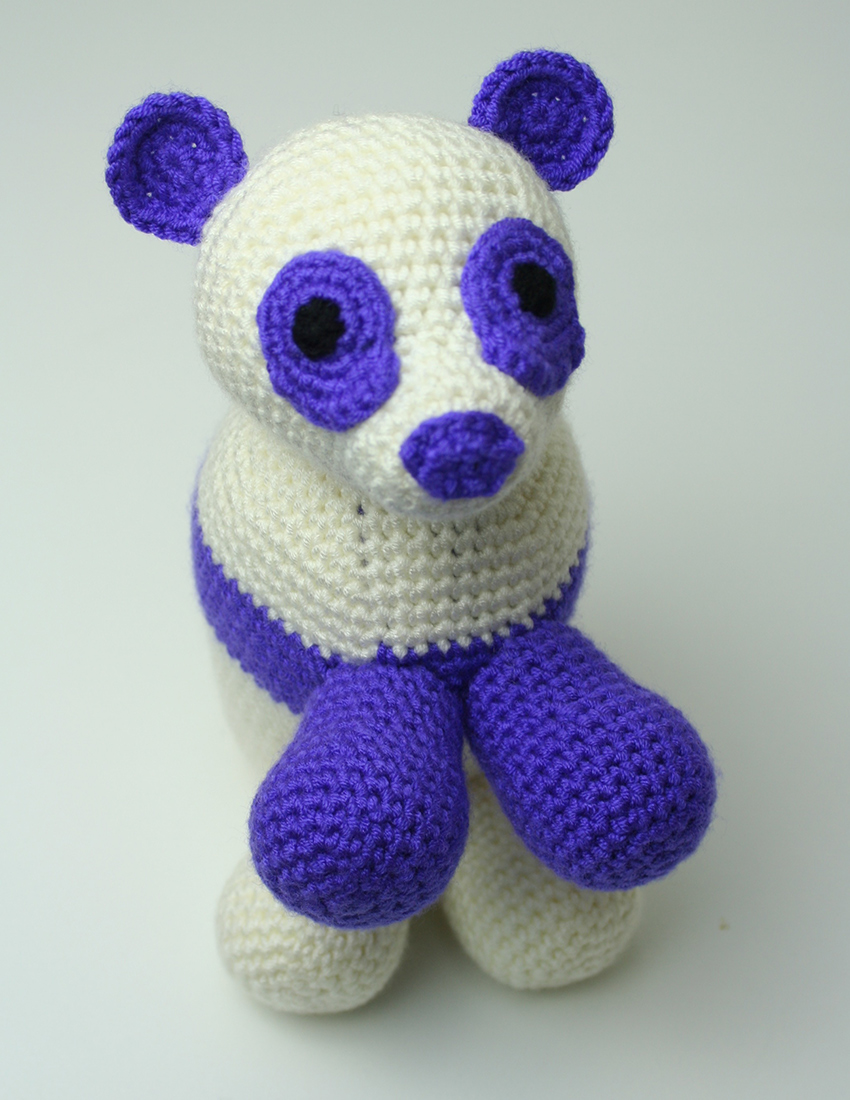
So in this article I am just going to show you how I go about creating crochet toys. Giving you an example of my most recent commission creation, a purple crochet Panda!
Simple Steps To Design Your Own Crochet Pattern
I have a set method for crochet design.
Step 1: Pick An Animal
Step 2: Image Search The Animal
Step 3: Draw Outline Sketches
Step 4: Choose A Style
Step 5: Translate The Shapes Into Crochet Shapes
Step 6: Pick Yarn Type
Step 7: Pick Colors
Step 8: Pick Eyes
Step 9: Prepare Your Crochet Equipment
Step 10: Make It!
Let’s take a look at what each of these steps entails.
Step 1: Pick An Animal
The very first step to becoming a crochet designer, is deciding what it is you want to make. The initial crochet design can give you the confidence to carry on, or frustrate you to tears. Make sure you pick the right thing the first time around.
Start Simple
If you have been crocheting for years and made lots of toys following other people’s patterns, then you will already have in your brain several key skills like shaping heads and attaching body parts. But it still pays to make the first thing as simple as possible.
I recommend beginning by picking an animal with a straight forward shape. This means that you can create it without worrying about how to actually make the composite pieces. Creatures like my beloved guinea pigs are basically a large cylinder with legs. A caterpillar is a lot of balls stuck together.
Start simple, find your feet before you get stuck into the trickier patterns. I have used a panda, not the most straight forward thing I have ever made, as the example here. This is because I have only just finished this commission and still have all my workings laying around conveniently to share with you!
Also, pandas are cute.
Step 2: Image Search The Animal
When you have picked your animal, you will want to look at a lot of pictures of it. However familiar you think you are, don’t skip this step. Make use of the Google Image Search tab, and make sure your search term is clear and concise. Just put the animal’s name into the search bar, then click ‘images’ and scroll down.
Choose A Selection Of Images From Different Angles
Don’t choose the prettiest images, or those that are the best quality. This isn’t important right now. What matters is getting to grips with a variety of views. Toys are of course three dimensional. This means that people will see them from all angles, not just the one or two best ones you select to share online.
For you to feel happy with your creation you need it to be recognisable as the animal you intend it to be, however you happen to view it. Here are some of the different images I stored for the crochet panda I made recently:
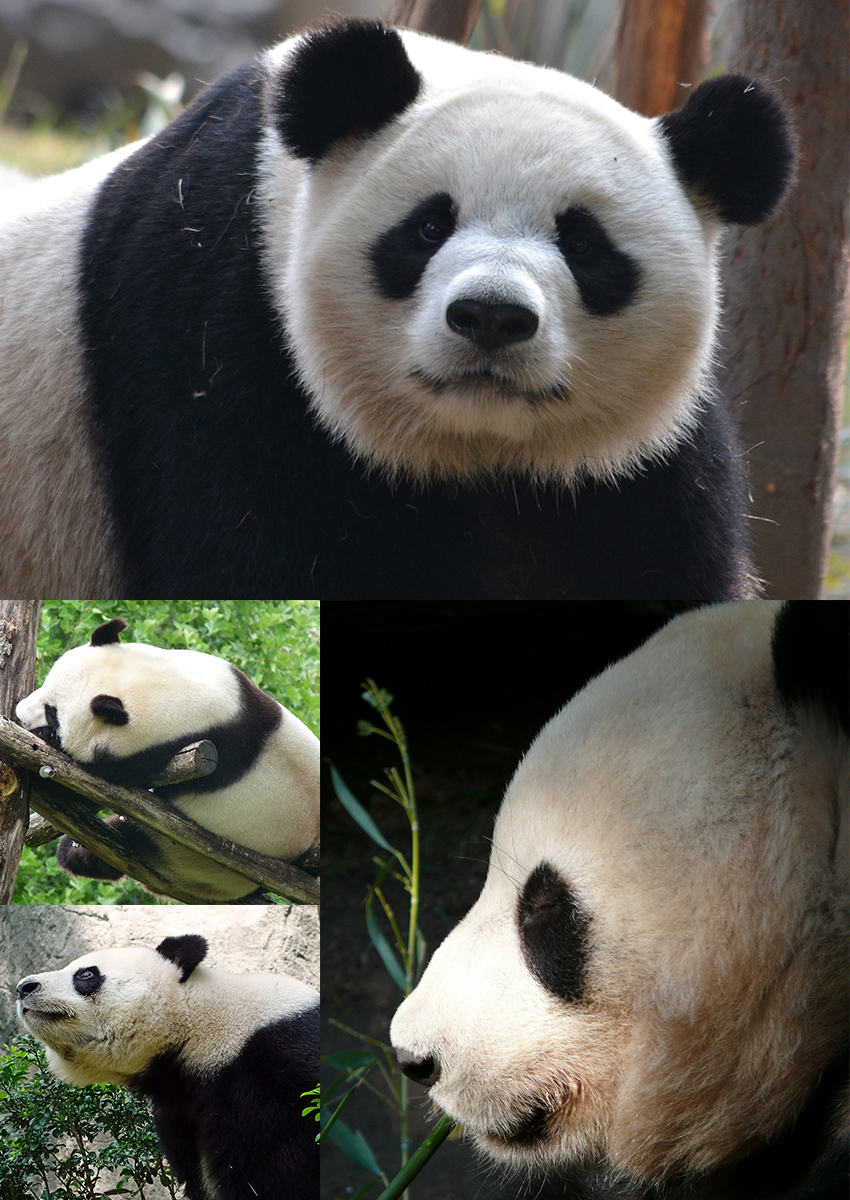
Collect these images into a folder for your own personal use (remember, Google images belong to real people. You cannot share these without permission. The images shown above came from a stock photo site, and are therefore copyright free.
Step 3: Draw Outline Sketches
I am not a natural artist. Despite having a great amount of enthusiasm for drawing, no matter how hard I practiced I was mediocre at best. Hands on, practical crafts have always been more my thing.
So I hope you won’t be too disappointed to hear that the next step of the journey involves putting pencil to paper (or using Paint or Photoshop). Drawing outline shapes and sketches of your chosen animal will help you to see what individual shapes you will need to crochet. Here are the sketches of the crochet panda:
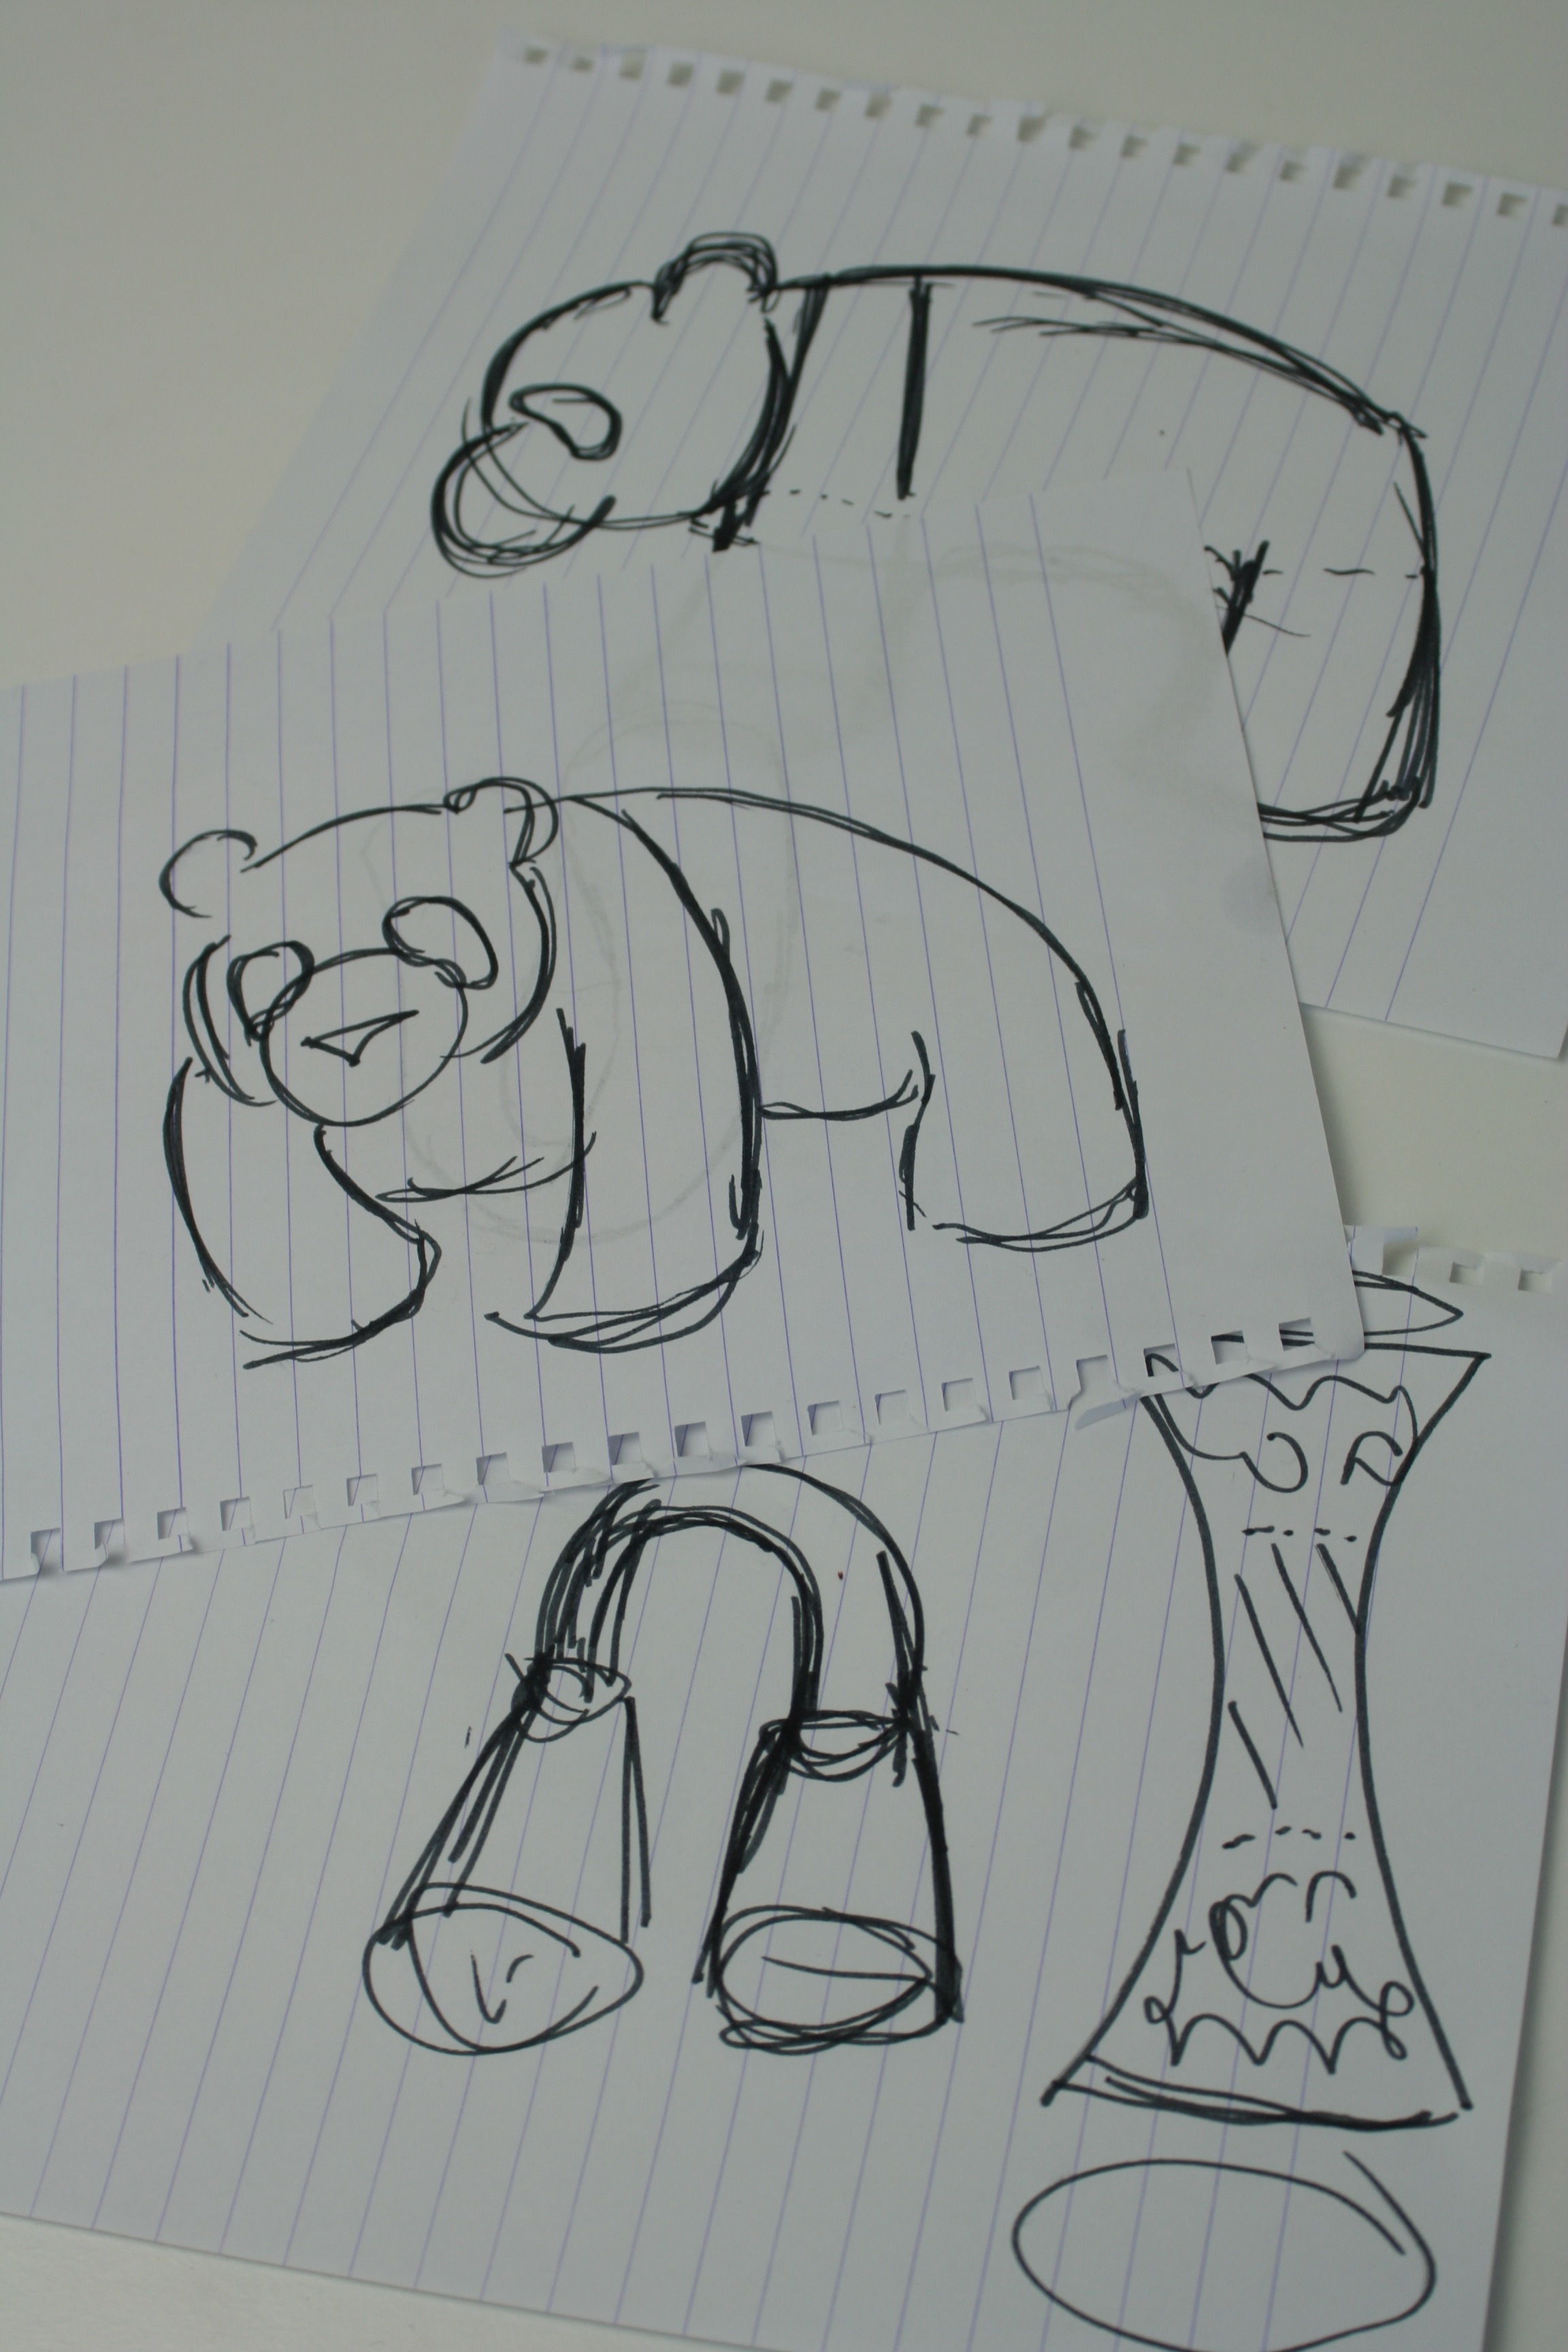
Although, I must admit that I didn’t actually draw them myself….
Truth Time……
Before I go further, however, I have to admit something to you. Whilst I normally do these drawings myself, using the methods above, this isn’t always the case. On two memorable occasions, this example and my crochet mouse included, things went less like the above and more like the following:
1st – I look at lots of images of the animal I am going to make.
2nd – I draw it in the form of individual shapes.
3rd – I find my own drawing disappointing, screw it up and throw it away.
4th – I repeat Steps 2 & 3 at least seven times.
5th – I call my husband into the room
6th – I watch as he draws a perfect cartoon representation of the animal
7 th– I praise him for his good work, but ask him to do it again just with the outlined shapes I asked for beforehand. Because, you know, I need to crochet this from them.
8th – He draws the animal in outline shapes. Really accurately.
9th – I ask him to draw it again from a few other angles too.
10th – He draws it from many angles. Really accurately.
11th – I thank him, he leaves the room. I feel unfairly irritated and jealous of my husband and his stupidly good, incredibly helpful drawing abilities.
12th – I return to my crochet designing.
The sketches of pandas here are not mine. You can tell, because they look like pandas. Likewise on the crochet mouse pattern, I share the sketch because it was nice. It was nice, because unlike my normal sketches, I didn’t sketch it….
However…..
Back To The Sketches
I maintain that my inability to accept my own less than perfect drawings doesn’t matter. Don’t like drawing? No problem! Print out your images or bring them up in Paint or Photoshop. Then draw the basic shapes over the top, like this:

If you can’t draw an animal, as long as you can find some way to visualise the shapes that make that animal up, then you will be fine.
Step 4: Choose A Style
Once you have started to think about the shapes that make up your chosen animal, you will need to consider the end product.
- What style of crochet toy do you want to make?
- Is it going to be as realistic as possible?
- Do you want to amp up the cute factor with big eyes?
- Are you wanting the human touch, with elongated limbs or the possibility of adding clothes?
With the crochet panda we are looking at today, I wanted to go for a quite traditional style. I therefore retained the approximate proportions of the real animal.
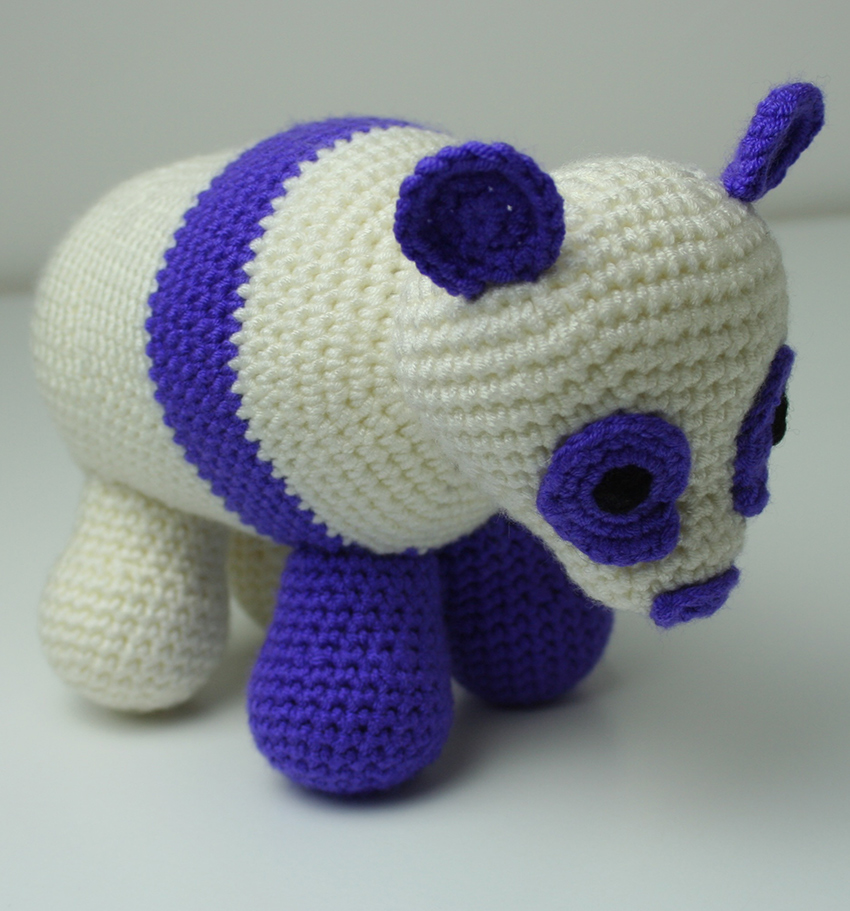
The commission requested was a ‘purple panda’, so it needed to have a fairly obviously panda-like style to it, in order to be quickly recognisable as that animal.
Step 5: Translate The Shapes Into Crochet Shapes
Once you are happy with your idea, you can start to translate it into the crochet shapes that will make it up. Don’t make them just yet. Draw them or make notes of the shapes you think it is possible for you to crochet yourself.
Smooth out edges. Simplify things. The easiest way to produce a toy is to keep the shapes as simple as possible, whilst still retaining the feel of the creature you are producing.
You will need to keep in mind the style you want your toy to have as well. More traditional, less ‘cartoony’ crochet toys often need extra shaping and detailing to get the look that you are going for. Circles and ovals are the quickest and easiest shapes to crochet, so try and translate your sketch into these where possible.
How To Crochet A Circular Shape
Here is a quick formula for you to follow to make a simple crochet circle. Work in a round as follows:
- Begin with a magic circle of 6 stitches
- Make 2 single crochets into each stitch
- Make 2sc in the first stitch, 1sc into the second stitch = (2sc, sc x 1) x 6
- (2sc, sc x 2) x 6
With each increasing round, add an extra single sc.
To decrease the circular object again reduce by 1sc each time, by single crocheting two stitches together. So following on from the step above:
- (sc2tog, sc x 2) x 6
- (sc2tog, sc x 1) x 6
- sc2tog x 6
To make a more oval shape, simply insert rows of single crochets at the elongated point.
Step 6: Pick Your Yarn Type
Your yarn type will need to reflect the style you have chosen for your toy, but also be practical. Think about who you want the toy to be for. Ask yourself the following questions:
- Will it be played with or purely decorative?
- How durable does it need to be?
- Will it need to be washed?
Check your chosen yarn’s label to find out whether it is machine washable.
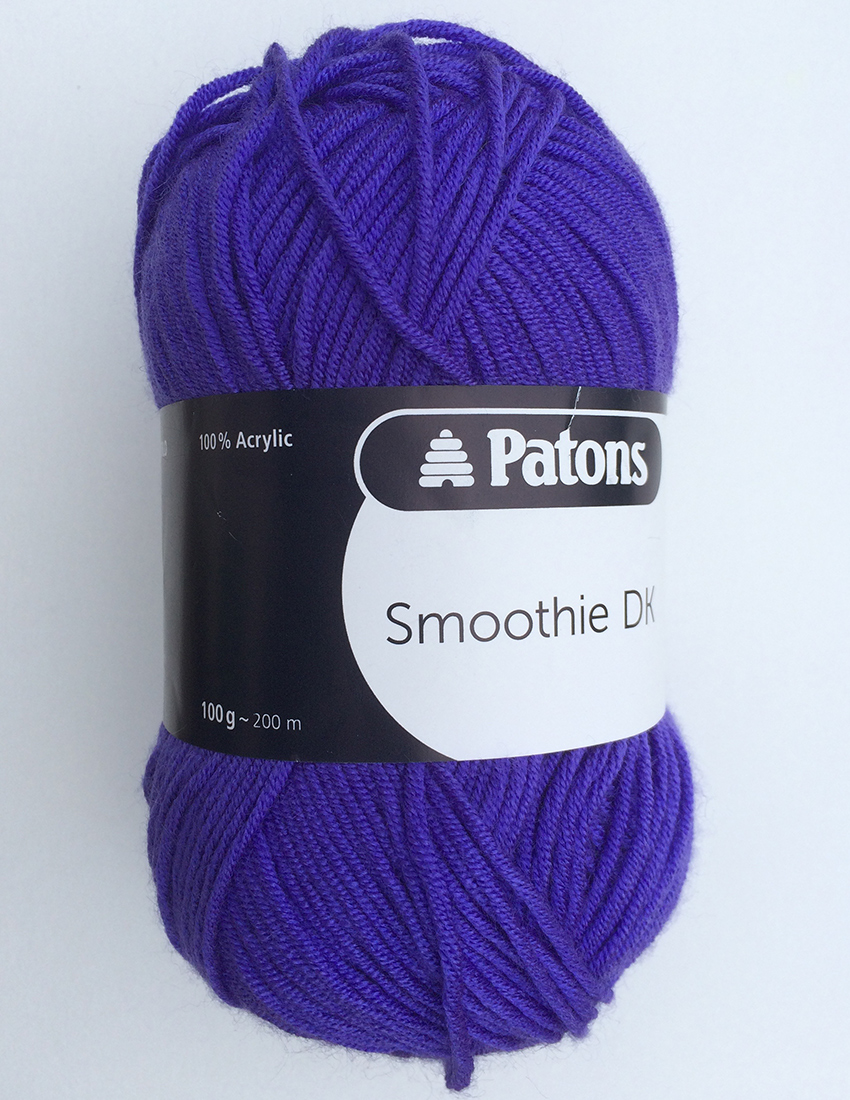 Paid Link
Remember that some acrylic yarns can be quite fragile, so give a strand a gentle tug before you begin to reassure yourself that it will be up to the task. For this Panda example I chose a brand of yarn I have used numerous times before, and therefore have a lot of confidence in.
Step 7: Pick Colors
The color you choose for your crochet toy will make a big difference to how it looks when complete. Think about what is important for your design to come to life. Do you want it to be instantly recognisable as a certain animal, or to have a fun or funky vibe.
Where possible check out your yarn options in real life, as they can look quite different in photos online. I chose a bright, fun purple for my panda. It’s for an eight year old child, who loves this shade.
Step 8: Pick Eyes
You have a few options to consider for eyes, and you will need to decide before you start crocheting your design. Because some eye types are attached before the toy is complete. Think about the look of the eyes that you look.
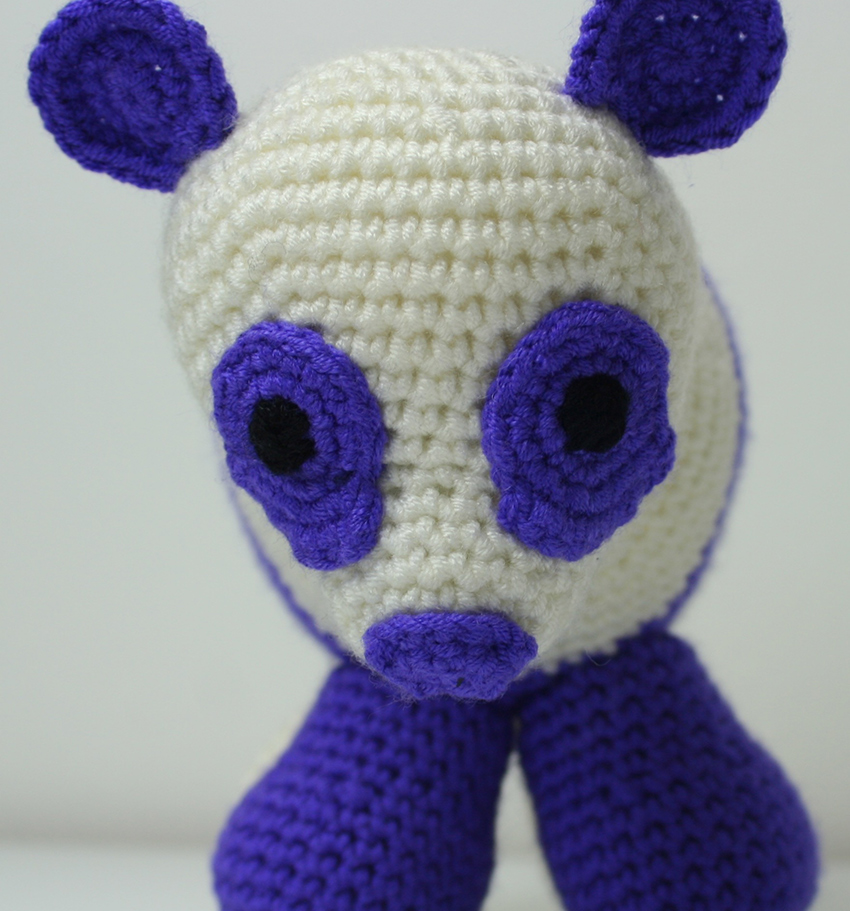
The main options for crochet toy eyes are safety eyesPaid Link, button eyes or to sew the eyes on yourself. Each option gives quite a different look. I have a big general preference for safety eyesPaid Link, but they don’t suit every crochet toy.
This crochet panda would not have been a good candidate because the eye patches add a layer. The eyes would not have been attached as securely. It would have also meant committing to the style of eye patch quite early on in the project, which I wasn’t keen to do.
Step 9: Prepare Your Crochet Equipment
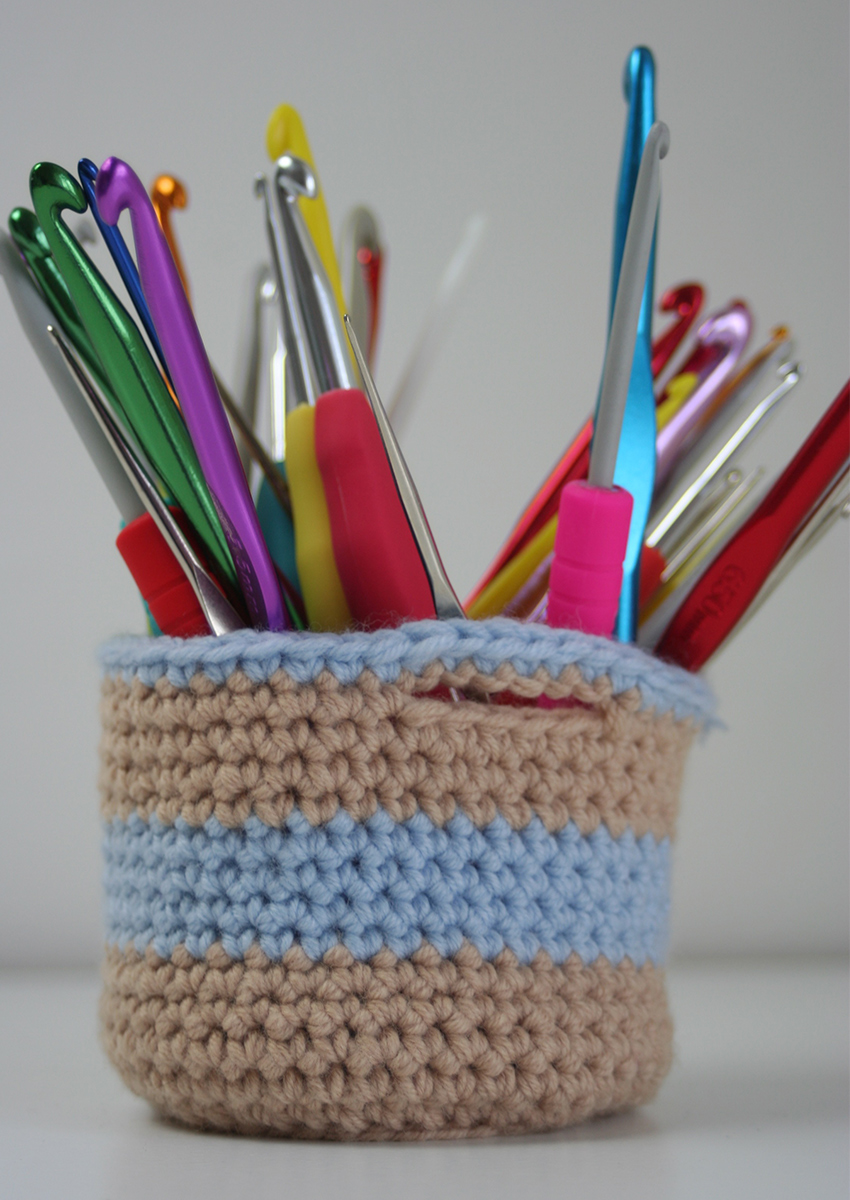
You have now made most of the important decisions when it comes to planning and styling your toy. Prepare your crochet equipment. Think about the size you want your finished toy to be, and pick a crochet hook that will give you that.
Step 10: Get Crocheting!
You’re ready! It’s time to create your own crochet pattern. You have designed your own crochet toy, and all that is left is to make the composite parts.
Remember, very rarely will a pattern come together perfectly on the first try. Don’t be disheartened by set backs, and before you begin why not check out some of my early creations here.
They don’t have the finish of the things I create now, but I am immensely proud of these early attempts all the same.
Best of luck and I hope that the above advice has been useful to you! If you have any questions for me at all about the design stages, then please do pop them in the comments section below. I will do my best to help!
Here Are Some Tips For Crochet Troubleshooting
- How difficult is it to crochet?
- Do you get bored crocheting?
- Is crochet time consuming?
- Ways to use yarn scraps
Happy Crocheting! Lucy Kate, x


3.7 is my favourite step in any creative process ever.