Star Stitch Variations – 5 Twinkling Possibilities
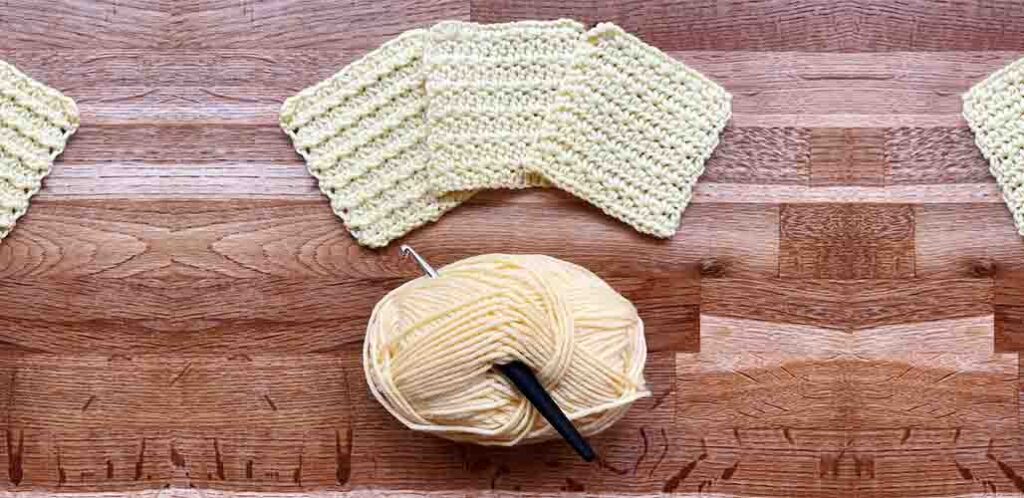
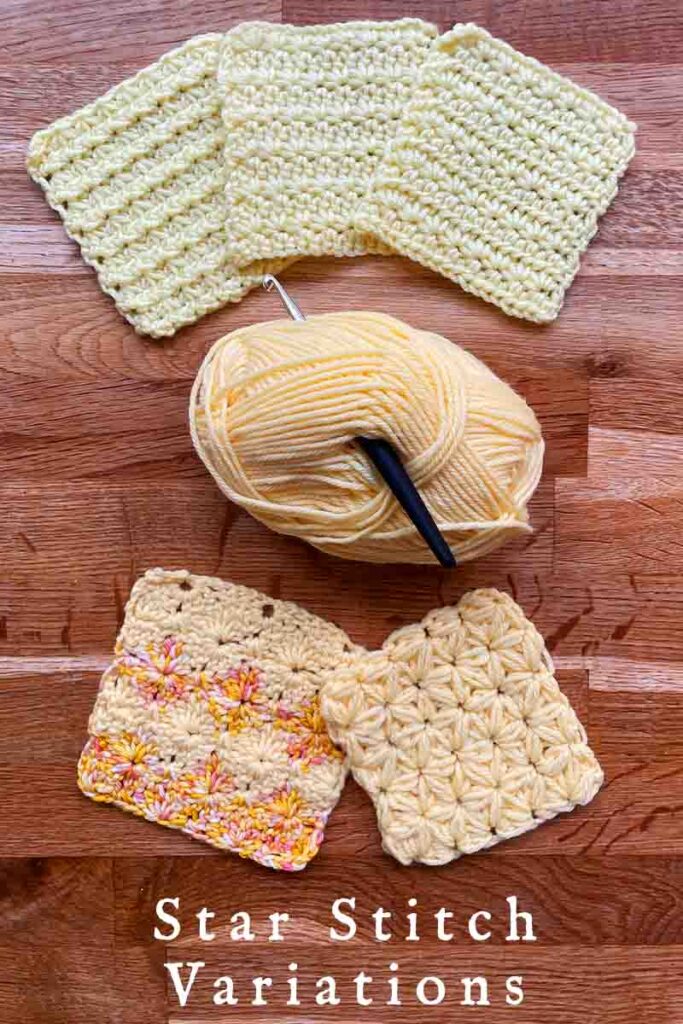
Star stitch variations are great fun to work with in crochet. Star stitch is a cluster stitch worked across two rows. There are two main variations of the classic star stitch. But there are other cluster stitches also which make a good substitute for star stitch. So if you also find the original star stitch a bit fiddly, or uninspiring, or if you want an easier alternative that allows you to binge watch a new TV series at the same time, you’ve come to the right place!
Contents
- Classic star stitch 1
- Classic star stitch 2
- Trinity stitch (mini stars!)
- Harlequin stitch (big stars!)
- Jasmine stitch (squashy stars!)
Star stitch
Star stitch is a gorgeous textural crochet stitch. It is also known as
- a spiked cluster
- the daisy stitch
- and the marguerite stitch (presumably after marguerite daisies).
The construction of the star stitch makes you wonder who ever had the vision to create it in the first place. Each cluster radiates out from the center of the stitch, and the ‘spokes’ of each star get longer as they go round clockwise. They actually remind me more of a snail shell or a golden ratio spiral more than a star.
The two main variations on star stitch are both worked over two rows. The first row is worked the same way for both. It demands some attention the first time you make it, because you’re going to pull five loops of yarn through your work onto your hook, and then take them all off again all at once to make a cluster. But you’re going to pull through those loops through in some pretty surprising places!
Luckily the second row is more simple – a straightforward row of single or half double crochet. So let’s take a closer look at how that first row is constructed, and how using single or half double crochet for the second row changes the overall look and feel of the stitch.
Classic star stitch 1
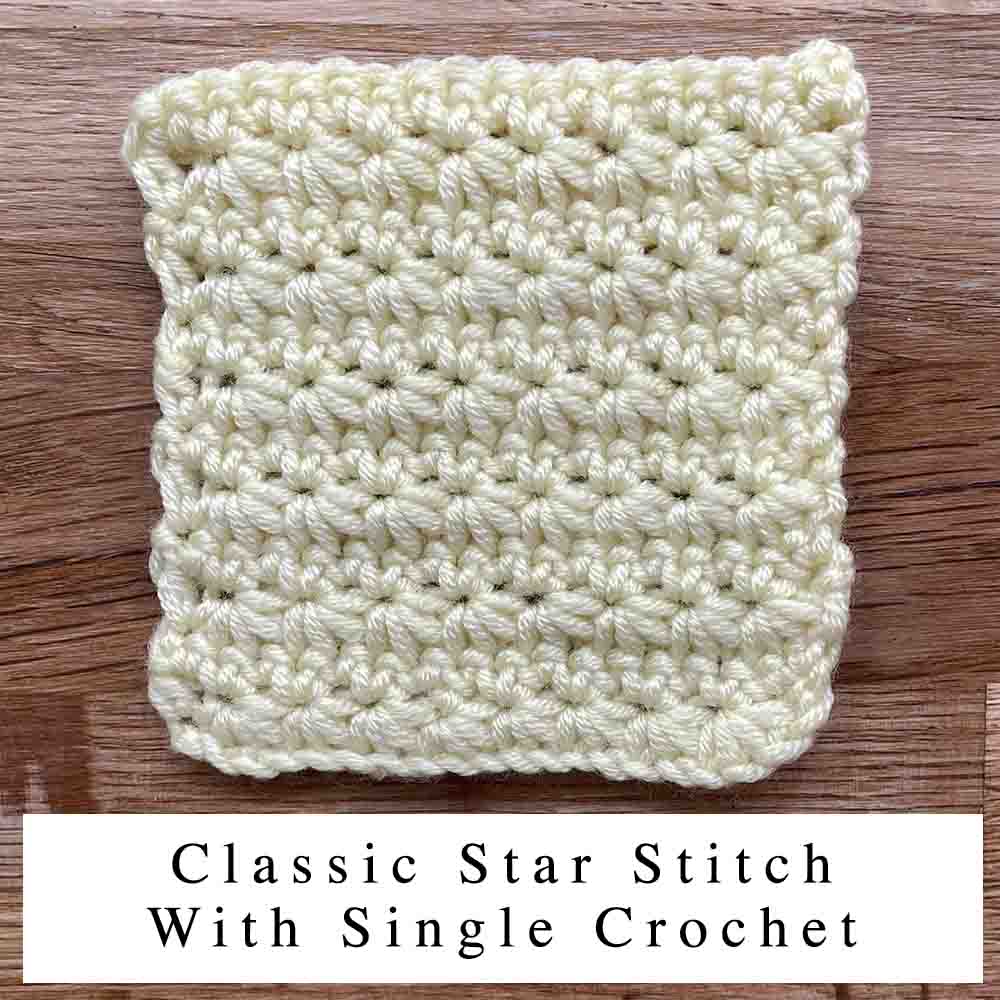
Here is the classic star stitch with alternate rows of single crochet. Isn’t it pretty? It’s very flat, one-sided (non-reversible), and dense. It looks finest when made with smooth yarns, to accentuate the detail in the stitch.
To make this star stitch
1. Make a foundation chain with an odd number of stitches.
2. Insert your hook through the 2nd chain from the hook, yarn over, and pull through (2 loops on hook). Repeat with the 3rd, 4th, 5th and 6th chains (6 loops on hook). Yarn over one more time, and draw through all 6 loops on the hook.
3. Chain 1 to close the stitch. This is the center of your star, the eye of your daisy, the middle of your stitch! Now to make its neighbor.
4. Insert your hook into the chain stitch from the previous step, yarn over, and draw through one loop. You’ll have 2 loops on your hook.
5. Insert your hook between the last spoke of your star and the one before it, yarn over, and draw through one loop. Now you have 3 loops on your hook.
6. Insert your hook into the 6th stitch of your foundation chain – the last place you drew a loop through in step 2 – yarn over, and draw through one loop. 4 loops on hook.
7. Insert your hook into the next stitch of your foundation chain, yarn over, and draw through one loop. 5 loops on hook.
8. Insert your hook into the next stitch of your foundation chain, yarn over, and draw through one loop. You should now have 6 loops on hook. Here’s a diagram of where each one was pulled through:
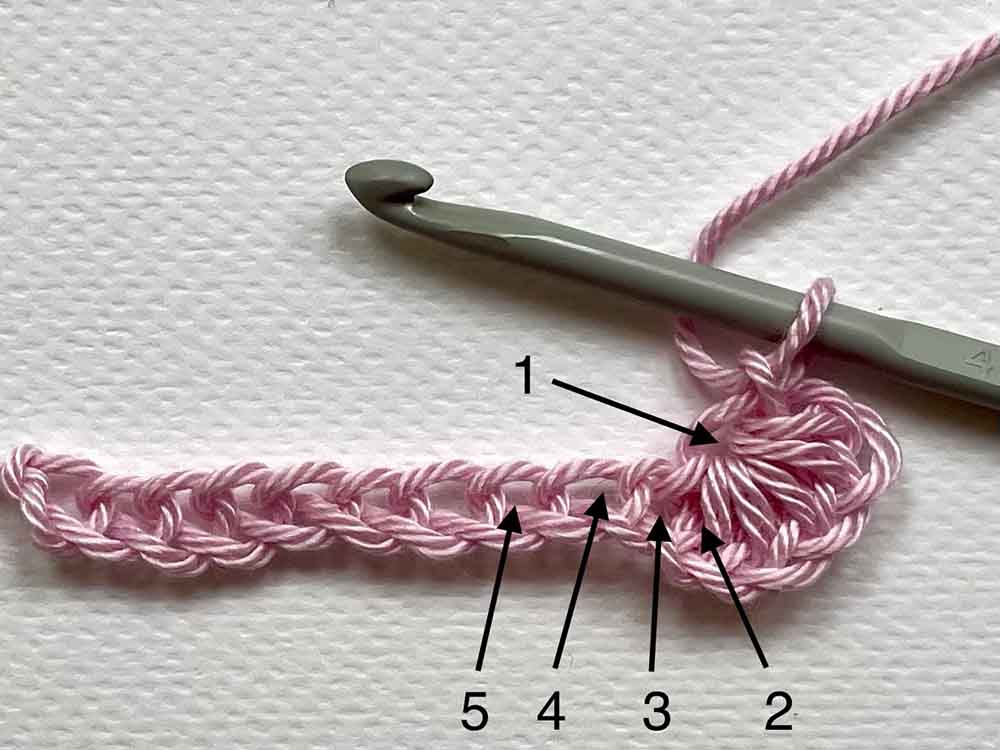
9. Yarn over, and draw through all 6 loops, and chain 1 to close the stitch.
10. Repeat steps 4 – 9, until there is 1 stitch left of your foundation chain. Half double crochet into that stitch.
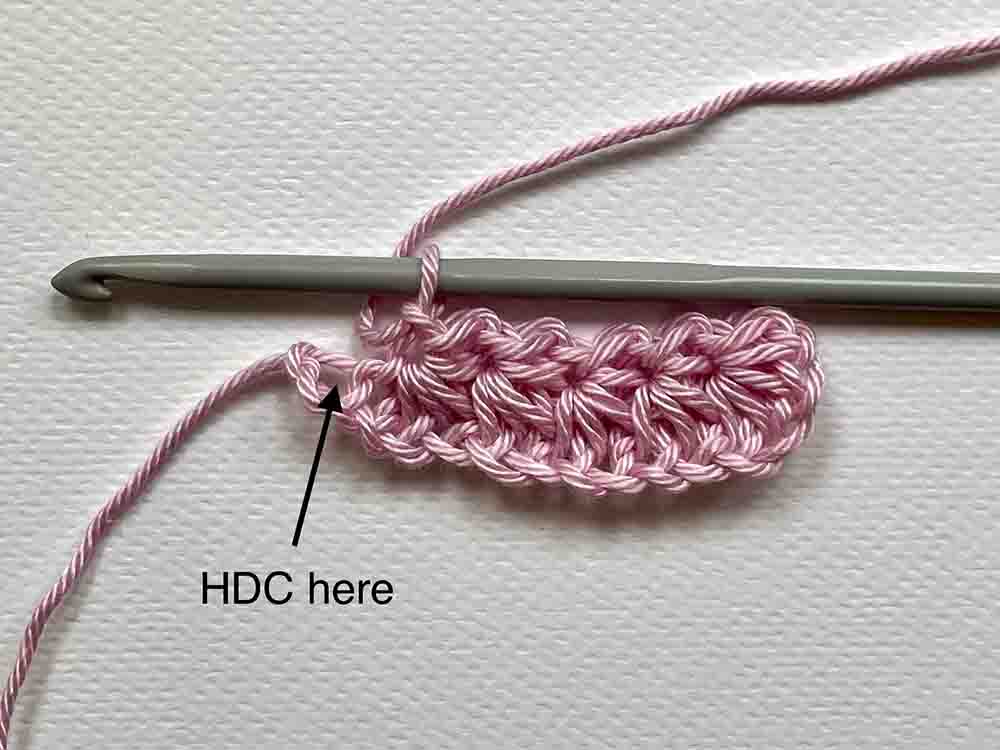
11. ROW 2: Chain 1, turn your work, and make a row of single crochet. It should look like this:
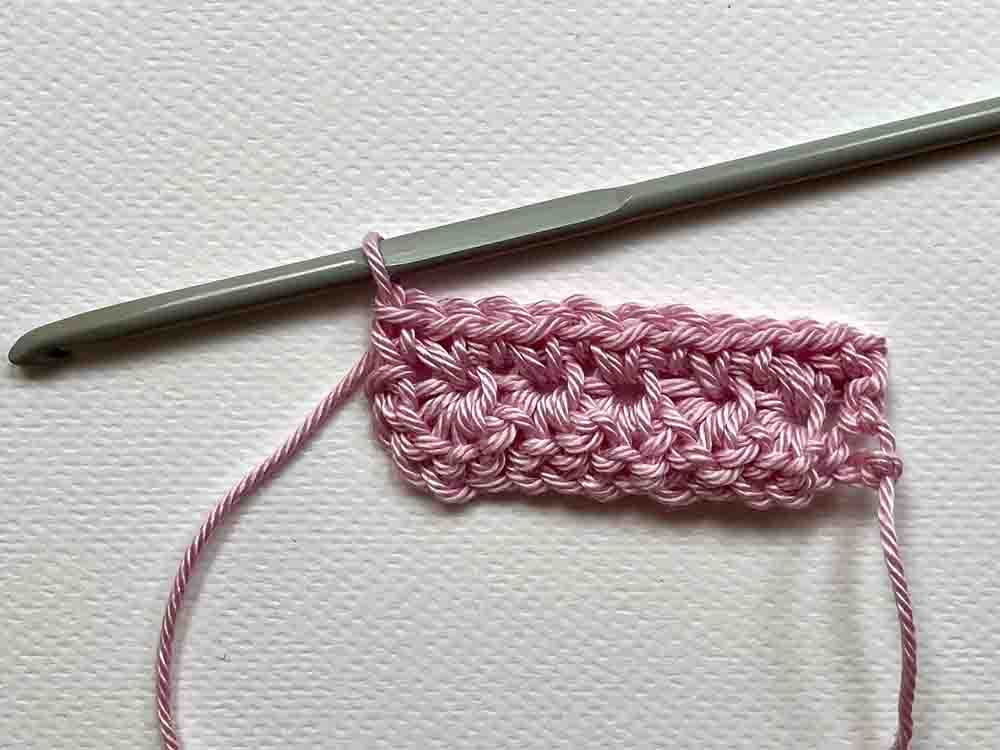
12. ROW 3: Chain 3, turn your work, and start from step 2 to make your next row of stars.
Classic star stitch 2
The closest alternative to the method above is to use rows of half double crochet in between your stars, rather than single crochet. The technique is exactly the same, except for at step 11, when you make a turning chain of two, and work a row of half double crochet stitches.
Can you see the difference?
The main difference between the two star stitches is height. Here you can see 6 rows of star stitch with alternate rows of single crochet on the left, and 5 rows of star stitch with alternate rows of half double crochet on the right. And they’re pretty much exactly the same size! Since the ‘star’ rows are very dense, creating more space between them with hdc stitches also makes the swatch on the left more supple. But, you do end up with a slightly conspicuous line between your rows of stars.
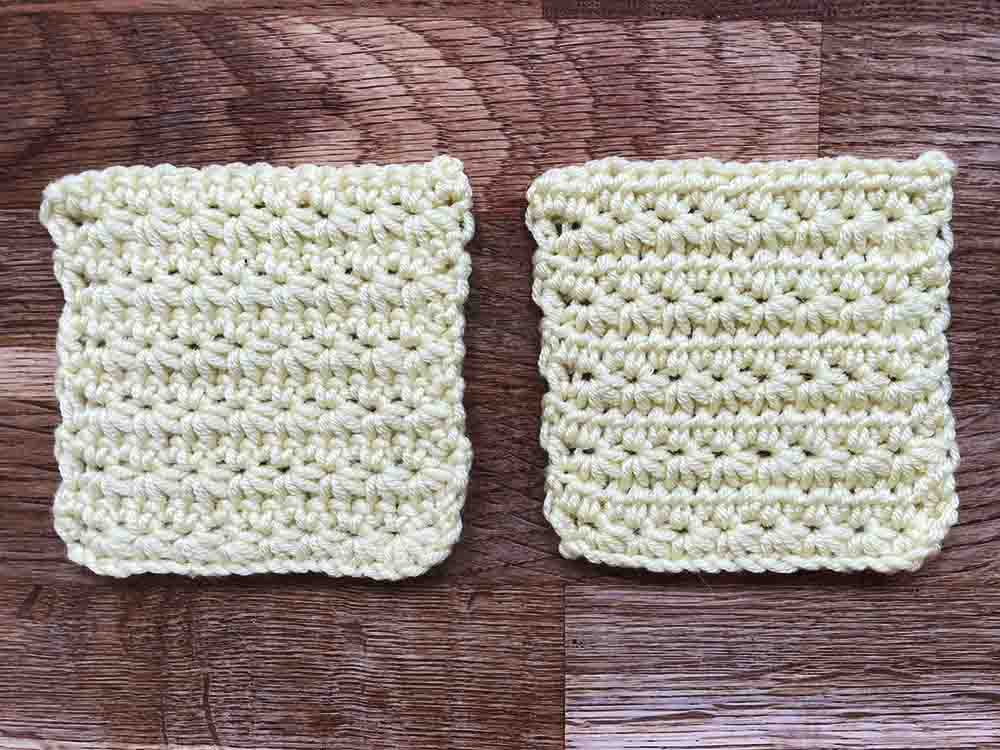
For freeform projects like scarves or blankets, you can try both and use whichever you prefer. But if you’re working to a pattern which specifies exactly which variation to use, don’t try to swap it for the other, because the difference in height will mess up your work.
Trinity stitch
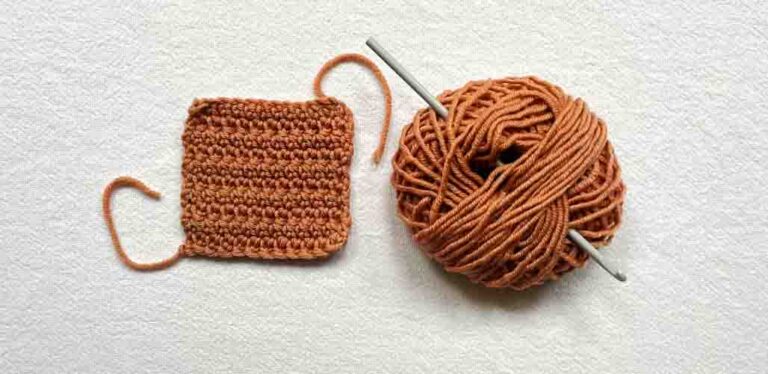
Star stitch variations don’t come any simpler or cuter than this one! Trinity stitch is also based on forming spiked clusters, but this time on a smaller scale. However, it differs from the the classic star stitches in three ways:
- Every row is worked in the same way.
- It looks the same on both sides.
- It has a slightly waffle texture (the classic variations are much flatter).
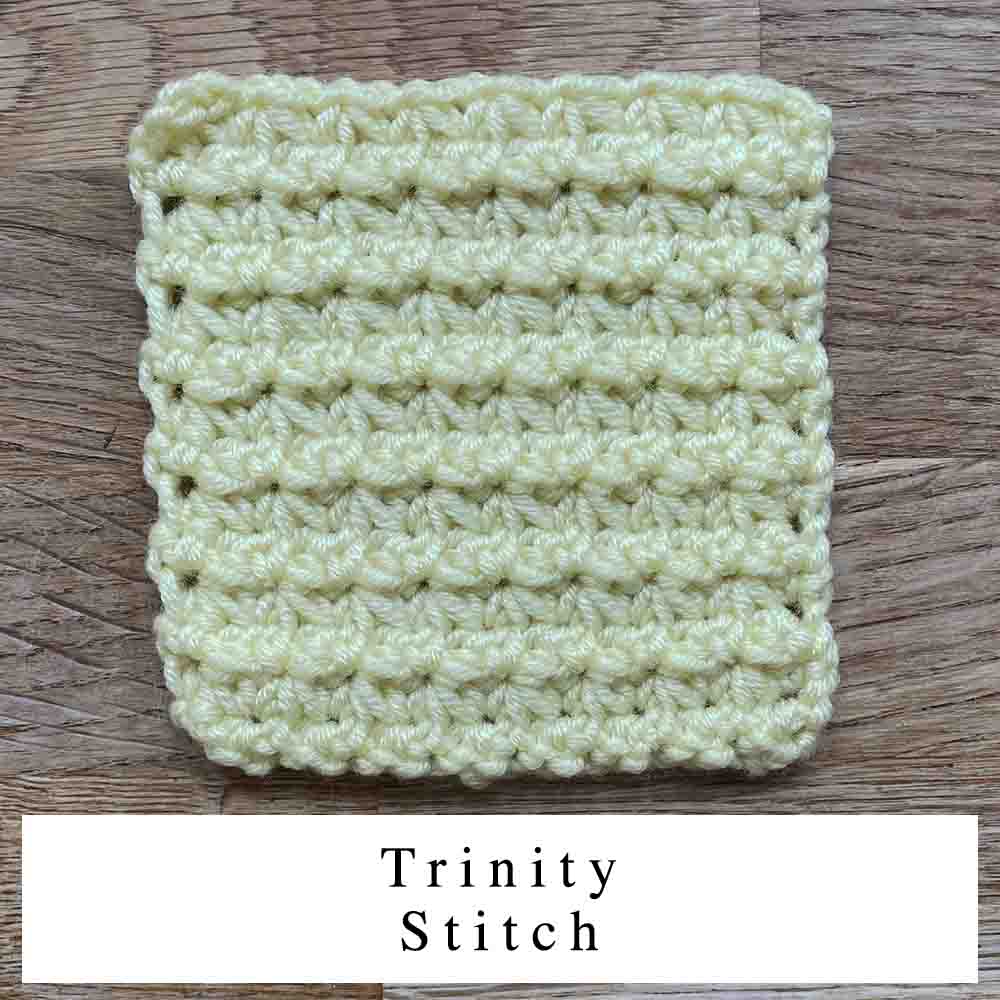
To crochet trinity stitch:
1. Make a foundation chain with an even number of stitches.
2. Sc into the 2nd chain from the hook.
3. Put your hook through the same stitch again, yarn over and pull through. 2 loops on hook.
4. Put your hook through the 3rd chain, yarn over and pull through. 3 loops on hook.
5. Put your hook through the 4th chain, yarn over and pull through. 4 loops on hook.
Steps 3 – 5 are also known as sc3tog, or ‘single crochet 3 together’. It’s easy to see now how this stitch gets its name!
6. Yarn over and draw through all 4 loops.
7. Chain 1 to close the stitch
8. Repeat steps 3 – 5, using the 4th, 5th, and 6th stitches on your foundation chain. Don’t forget the 4th chain is also the last chain you used in your previous stitch!
9. Keep going to the end of the row. You should use every stitch of your foundation chain.
10. Add an sc into the last stitch of the foundation chain.
11. Chain 1 and turn your work.
12. Sc into the top of the sc from step 10.
13. And start again from step 3!
Harlequin stitch
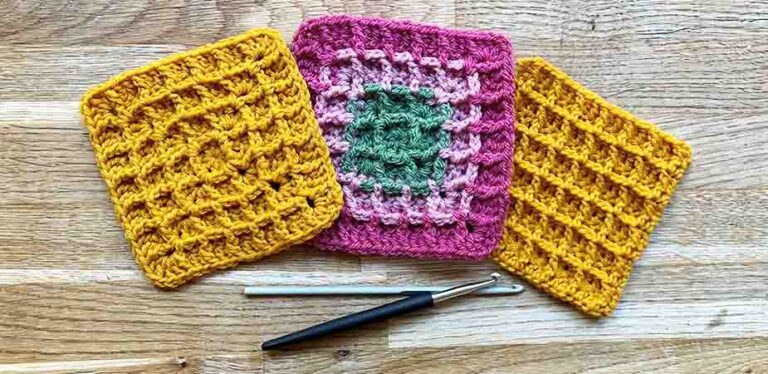
Harlequin stitch is yet another cluster stitch which is closely related to the star stitch variations. But it’s much bigger! It’s traditionally worked in stripes to form a striking diamond checkerboard pattern. I haven’t really done the diamond pattern justice with my choice of yarn in this swatch, but you can still clearly see the big starbursts in the center of each stitch!
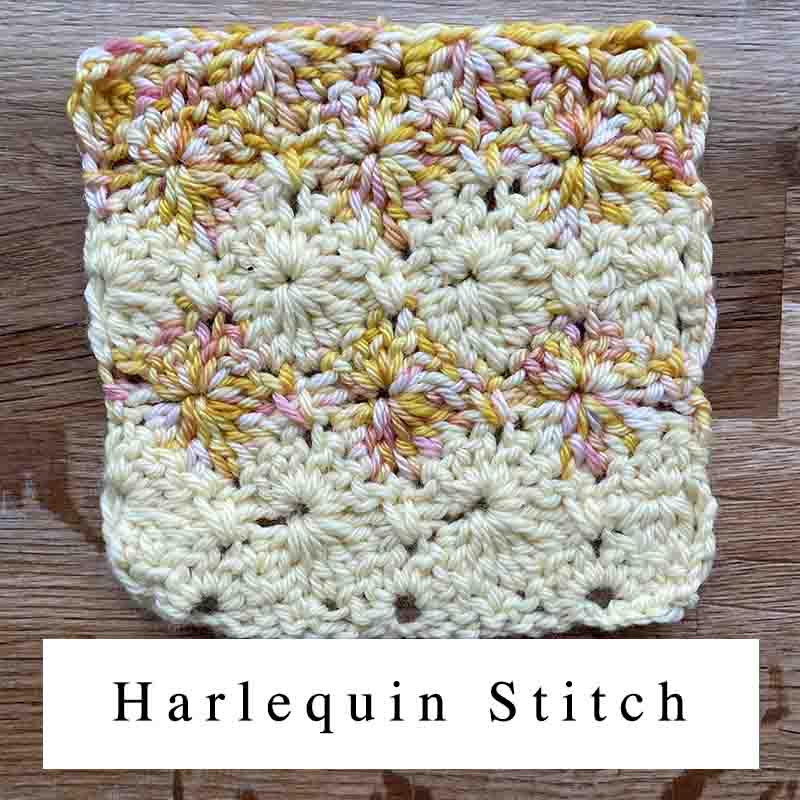
There’s a great video tutorial on how to crochet harlequin stitch. It’s worked over three rows, and it requires a lot of attention to counting!
Jasmine stitch
Finally, jasmine stitch is obviously named for its resemblance to the long oval petals of jasmine flowers. But this tactile and snuggly stitch could equally be compared to a grid of 6-pointed stars.
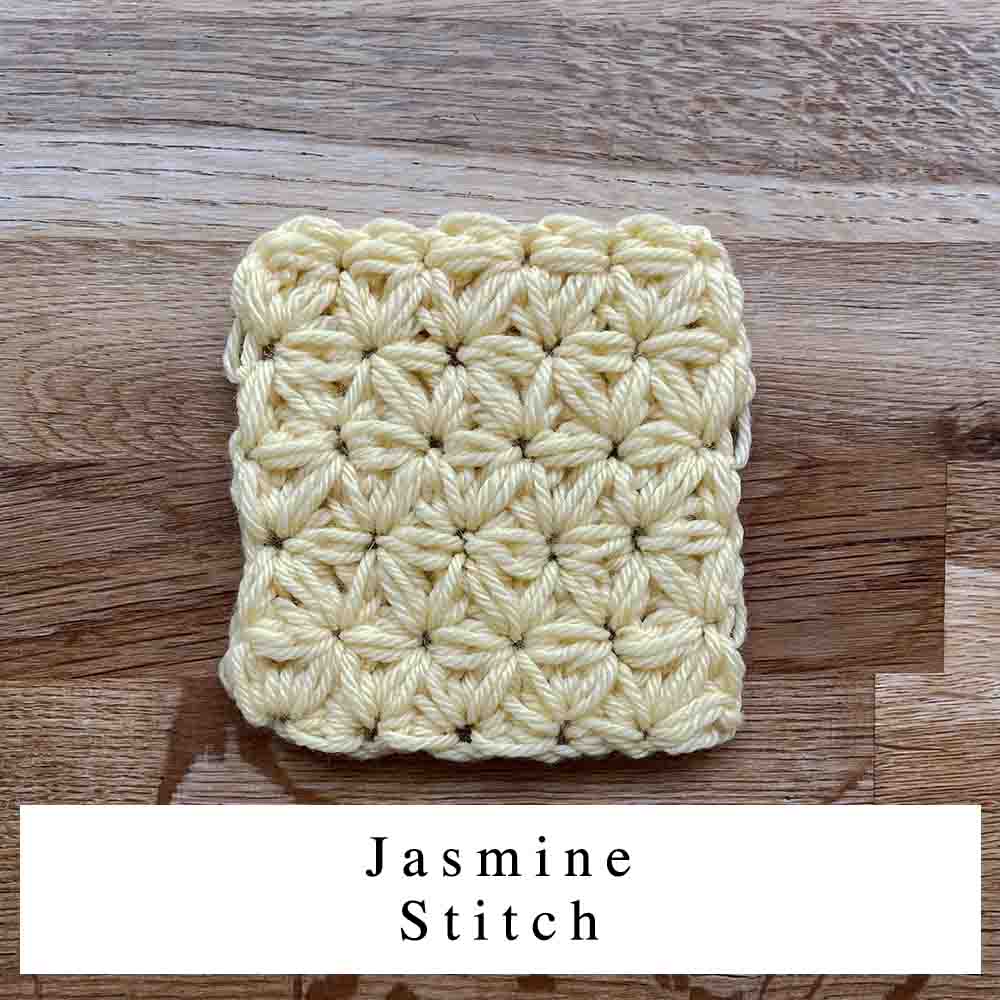
Despite its cute appearance, it’s a little notorious for being one of the trickier stitches to master. It is constructed from clusters of puff stitches, so achieving an even finish requires really steady tension, and accurately drawing through the same amount of yarn time and time again. Here’s a great tutorial explaining the process.
I think jasmine stitch is definitely worth experimenting with as an alternative to star stitch for your next crochet project. It’s a real ‘wow!’ stitch, which makes a high impact when used for throw pillows, jumbo blankets, or ultra-cosy snoods or cowls.
Some other stitches to consider
Still not seeing quite the right stitch for your next project? Here are three more options to look up.
- Catherine wheel stitch. Very similar to harlequin stitch, but swirlier. If you want your crochet stars to evoke a Vincent Van Gogh painting, this is the technique you need.
- Half Double Crochet V-stitch. HDC stitch is extremely quick and satisfying to work up. The cluster ‘stars’ aren’t as clearly defined as in the star stitch variations and substitutes, but the overall texture is definitely similar.
- Applique crochet stars. 5-point stars are super fast and easy to crochet in the round, and a fun way to use up short leftovers of yarn in your stash. If you can’t find a star stitch that works for you, this is a fun way to add a celestial nod of a different sort to your work!
Star stitch variations – summary
Star stitch variations tend to divide opinion. They’re undeniably beautiful, but inserting your hook into so many places that aren’t just the top of the next stitch means it’s hard to do well without giving it your full concentration. And if like me you like to crochet in front of a movie, that can be tricky! Still, I definitely think it’s work taking the time to experiment with some star stitch variations, because they’re all extremely satisfying. Learning how they’re constructed really cemented my admiration for the crafters who invented them too!
At the end of the day, I think my favorite star stitch variation is the trinity stitch. I’d love to hear what yours is in the comments box down below!
