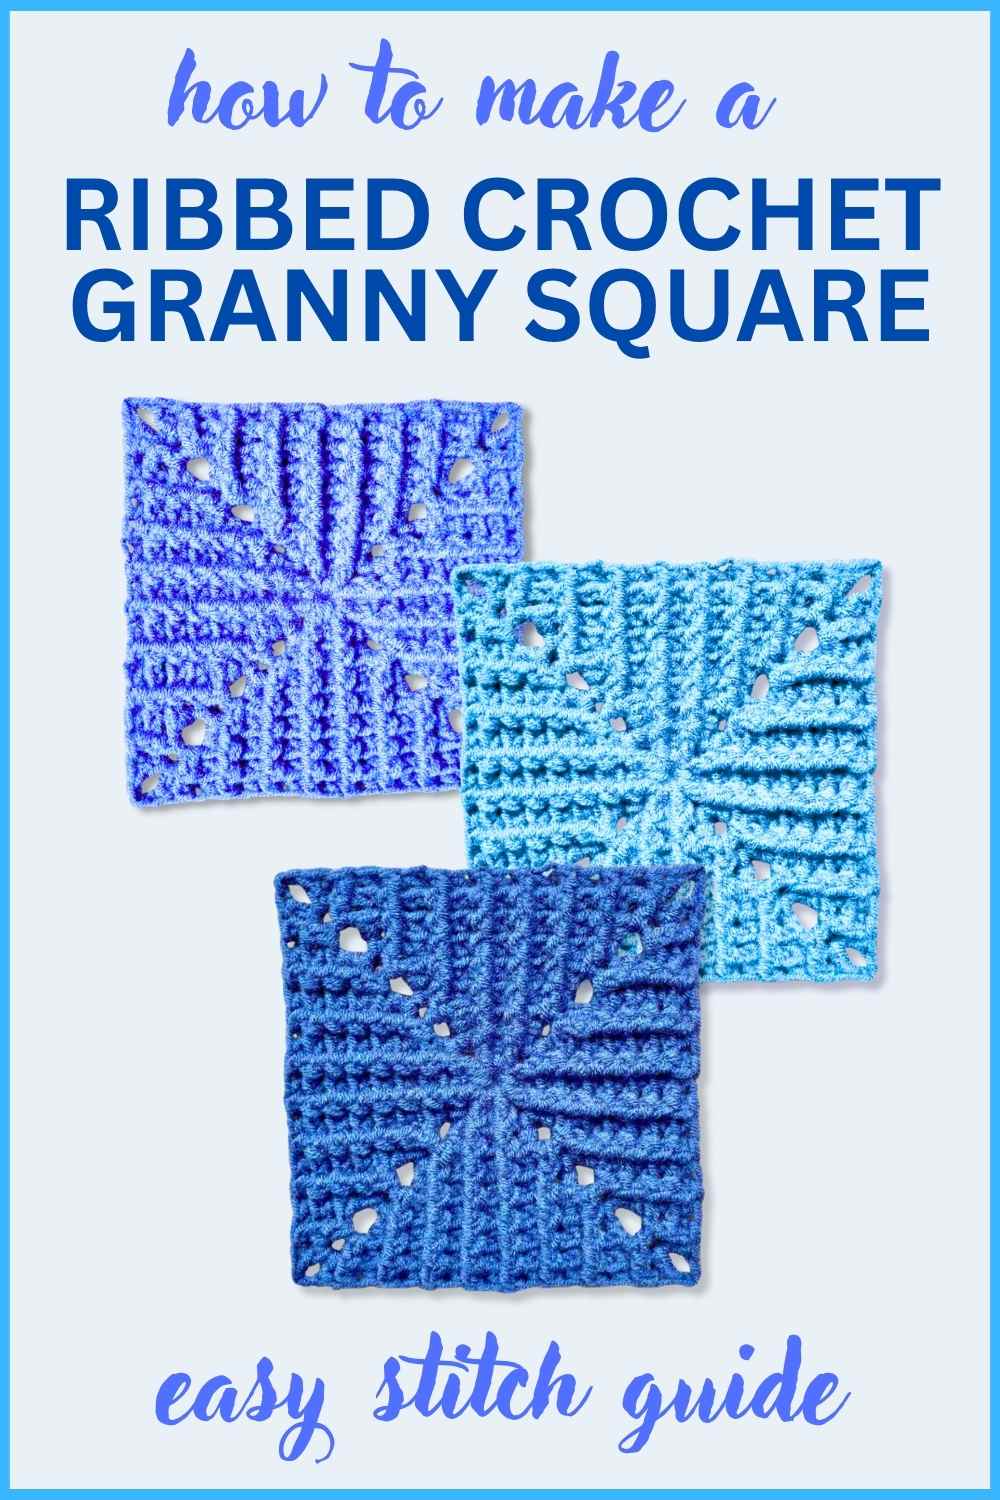
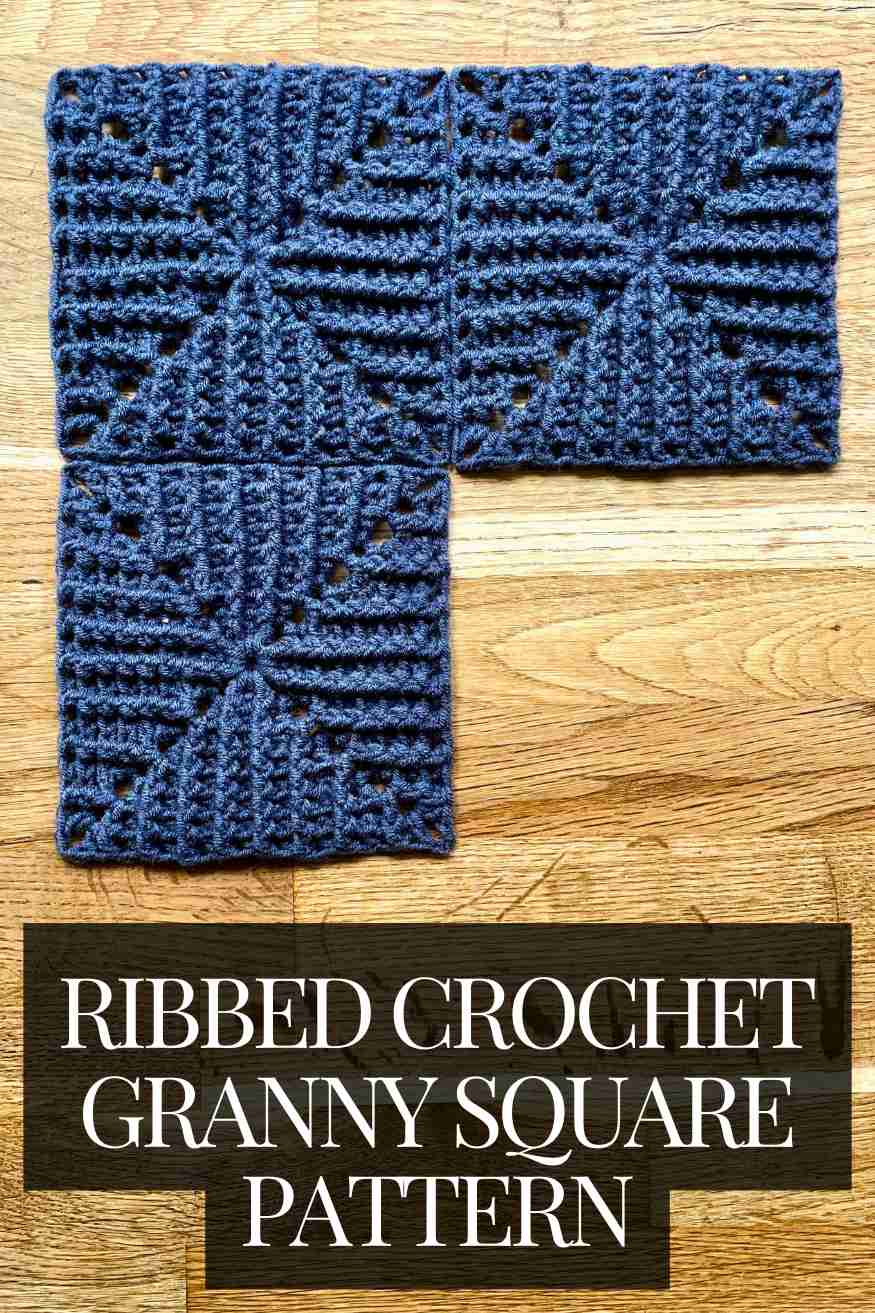
Ribbed Crochet Granny Square Pattern
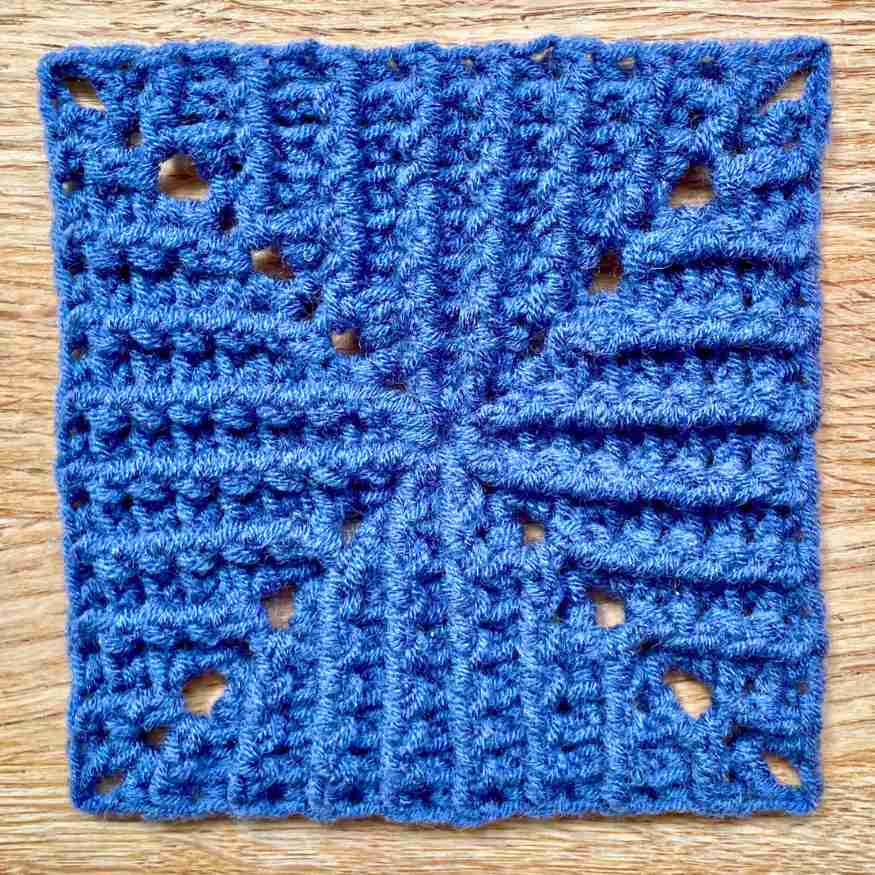
I love this ribbed crochet granny square pattern – it’s chunky, cozy, and almost sculptural to look at. It’s great for all sorts of blanket, throw pillow, or granny square sweater projects.
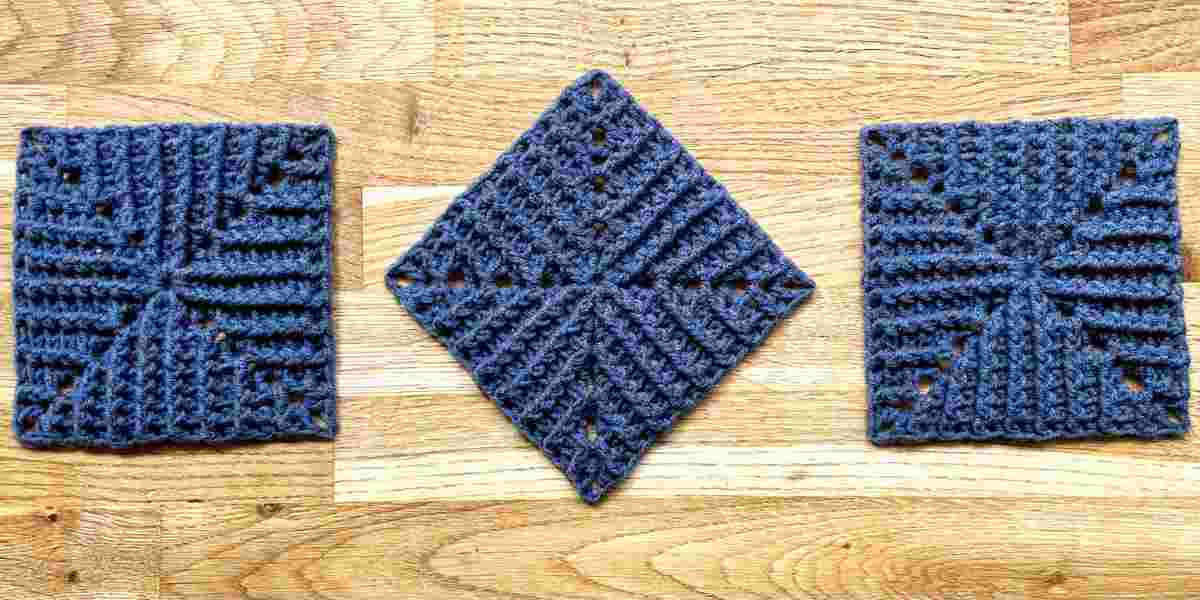
Combined together, these squares make a fabric which is quite heavy with a striking geometrical design. I think they really refute any suggestion that crochet can’t be masculine.
A blanket made from these squares would be a great Father’s Day gift, or present for anyone who prefers modern design over fussy or delicate motifs.
Choosing your materials
This granny square design looks best after blocking, to get the linear pattern looking really sharp. So I recommend using a yarn with a bit of natural elasticity, like wool or acrylic.
You get a bit more wiggle room with these fibers to make sure your pattern sits really square. Cottons and cotton blend fibers would be my second choice, and I’d steer clear from fluffy or chenille yarns altogether. There’s no point spending extra time making a ribbed pattern if the texture of the yarn is going to obscure the depth of the stitches!
Ribbed crochet granny square pattern
This pattern uses standard American crochet terms and abbreviations. You’ll need to know
Ch chain stitch
Dc doubcle crochet
Fpdc front post double crochet
Bpdc back post double crochet
Sl st slip stitch
If you’re unfamiliar with front post and back post double crochet, let’s take a closer look at those techniques. Click here to skip to the pattern if you already know them!
How to make a front post double crochet
There are several ways to make crochet ribbing, and here we’re going to do it by alternating front post and back post double crochets. Then in each subsequent round we’ll match the stitches to the round before. So front post double crochet in front post double crochet, and back post double crochet into back post double crochet.
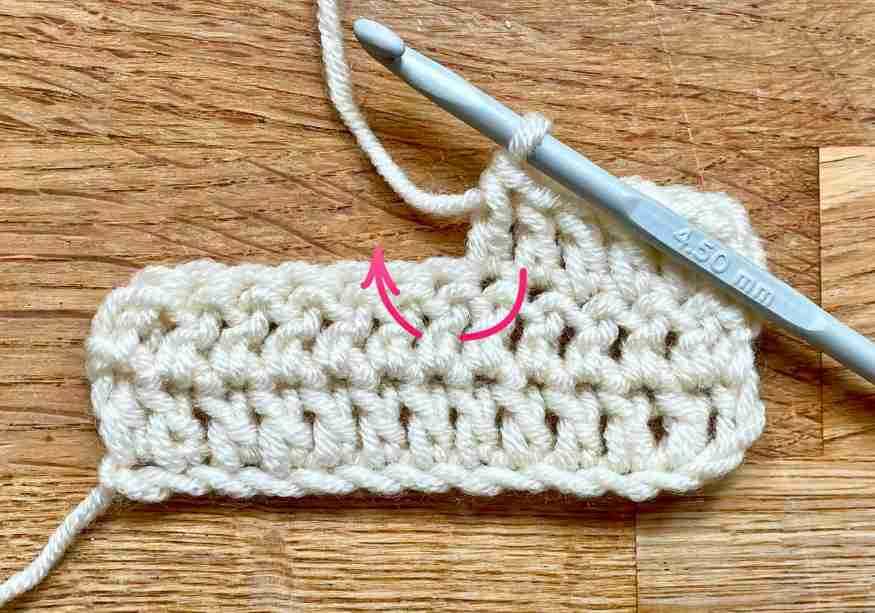
To make either stitch, we need to take a quick look at the anatomy of a double crochet. There’s the front and back loops at the top, and underneath them there’s the oft-overlooked third loop – take a look and you’ll see! Then beneath those looks are the post – the bit of the double crochet stitch which gives it its height.
Normally we make a new stitch by inserting the hook under the front and back loops at the top of the stitch, but for a front post crochet we’re going to insert the hook around the post, like this (remember to put your yarn over the hook first!):
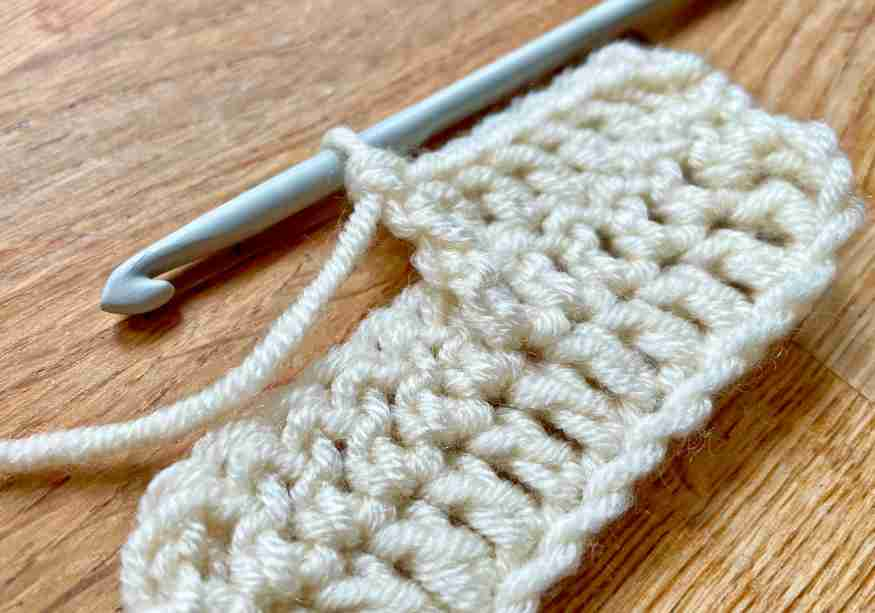
Now complete the rest of the double crochet stitch just like you usually would. Here’s what a finished fpdc looks like, when the other stitches around it a regular double crochets:
How to make a back post double crochet
A back post double crochet is just like a front post double crochet. Except instead of working around the post from the front, we’re going to work around the post from the back.
So put your yarn over the hook, and taking care not to drop it move the hook to the back of your work. Insert the hook through to the front of your work to the right of the post of the next stitch, and then back through the back on the left hand side of the stitch.
Now finish the double crochet as normal.
I find back post double crochets take a bit of concentration at first. They’re really at odds with the rest of my crochet muscle memory. But with a pattern like this, they’ll quickly become second nature.
Starting your square
You can start your ribbed granny square any way you like
- with a magic circle…
- with four chain stitches joined with a slip stitch to make a loop…
- or by making two chain stitches, and working the first round into the furthest chain from the hook.
Round 1
Ch 4, *dc 3, ch 2* 3 times, dc 2, sl st into the 3rd st of the ch 4 to close. Sl st again into the corner space. You’ve got three sides comprising 3 dcs, a 4th side comprising 2 dcs and 3 of the chain stitches, and 4 corner spaces.
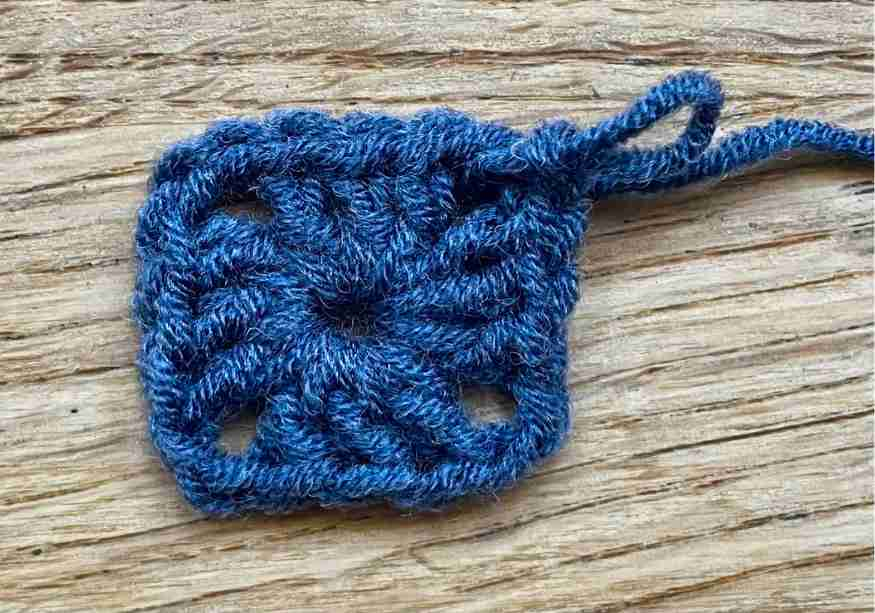
Round 2
Ch 4, dc into the corner space. Fpdc, bpdc, fpdc along the first side. *(Dc, ch 2, dc) into the next corner space, fpdc, bpdc, fpdc along the next side* 3 times. Sl st into the 3rd st of the ch 4 to close, and sl st again into the corner space.
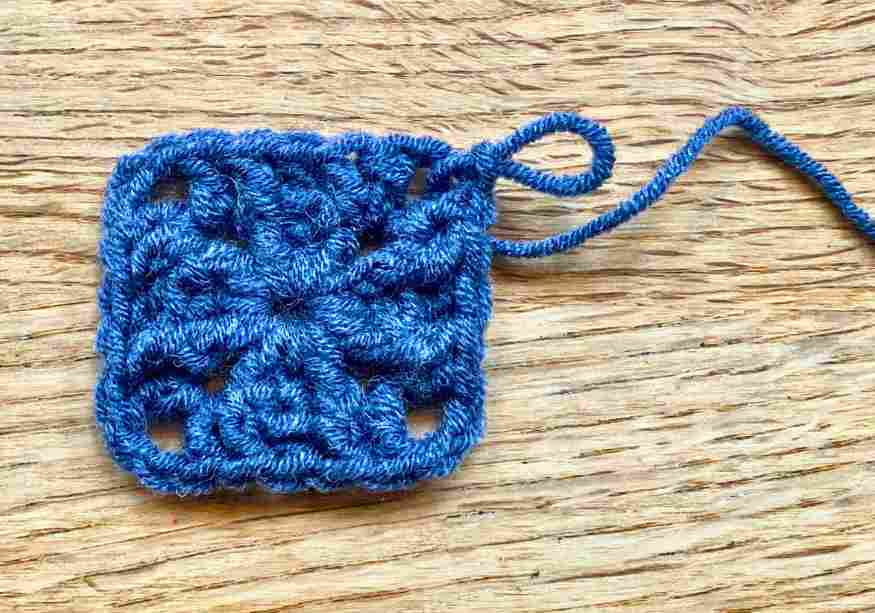
Round 3
Ch 4, dc into the corner space. Bpdc, fpdc, bpdc, fpdc, bpdc along the first side. *(Dc, ch 2, dc) into the next corner space, bpdc, fpdc, bpdc, fpdc, bpdc along the next side* 3 times. Sl st into the 3rd st of the ch 4 to close, and sl st again into the corner space.
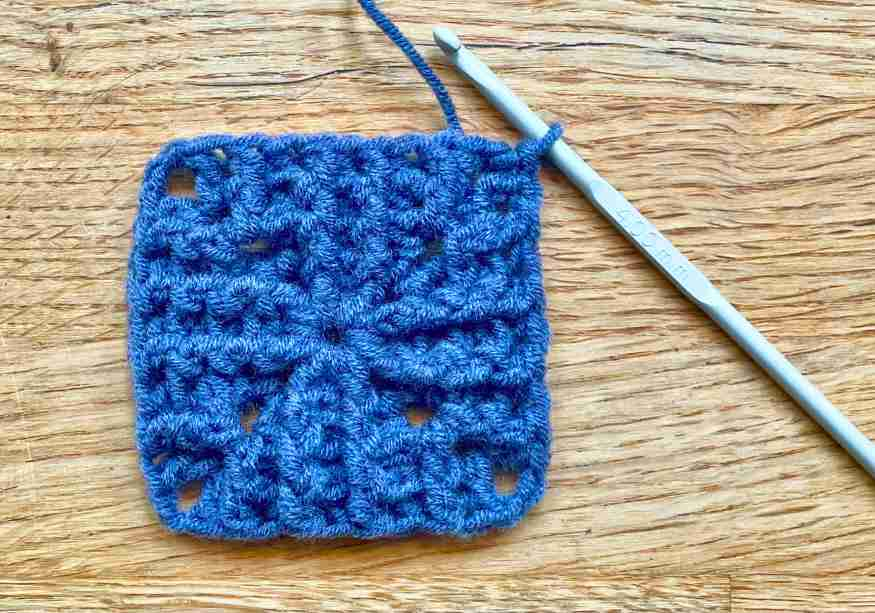
Round 4
Ch 4, dc into the corner space. Fpdc, bpdc, fpdc, bpdc, fpdc, bpdc, fpdc along the first side. *(Dc, ch 2, dc) into the next corner space, fpdc, bpdc, fpdc, bpdc, fpdc, bpdc, fpdc along the next side* 3 times. Sl st into the 3rd st of the ch 4 to close, and sl st again into the corner space.
Round 5 onwards
Now the pattern is established it’s easy to keep going.
- Start every new round with 4 chain stitches and a double crochet into the corner space.
- Alternate front post and back post double crochets along the sides, matching the stitch to the one below.
- Dc, ch 2, dc in every corner space.
- Finish each round by slip stitching into the 3rd of the 4 chain stitches, and slip stitching again into the corner space.
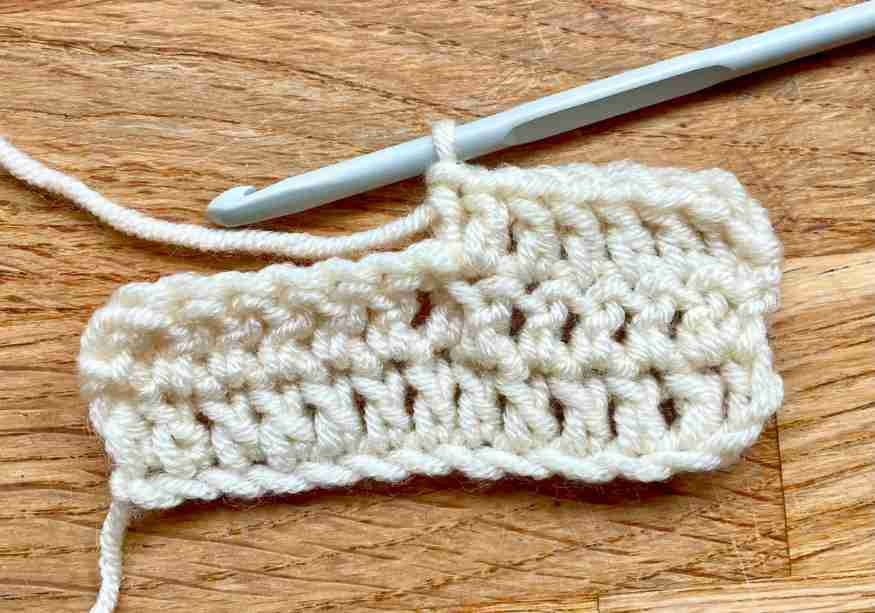
Finishing off
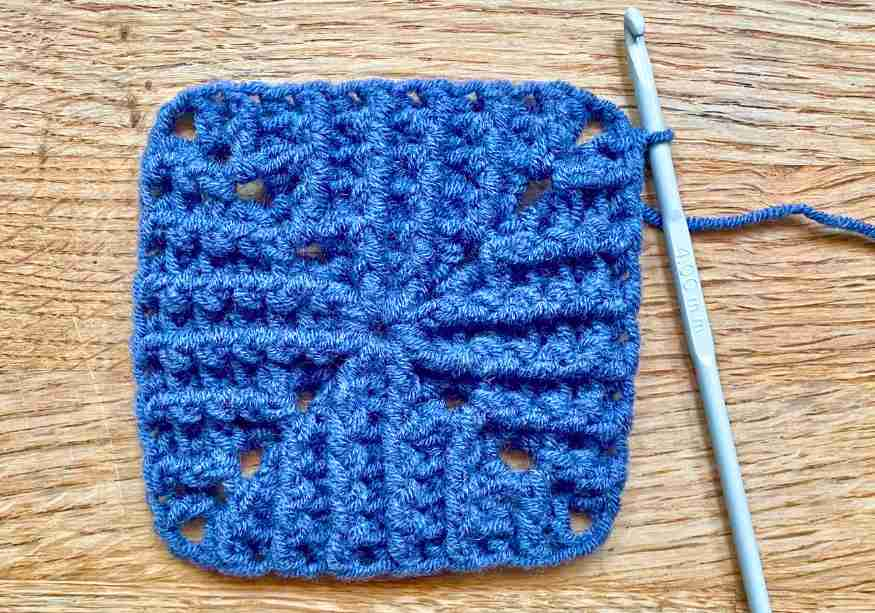
Finish on an even-numbered round – I’ve made 8 rounds in total. At the end of your last round, slip stitch to close, but don’t make the second slip stitch into the corner space. Cut your yarn and weave the end securely into your square. Another great thing about this design is that it’s really quick and easy to hide the yarn tails inside the ribs!
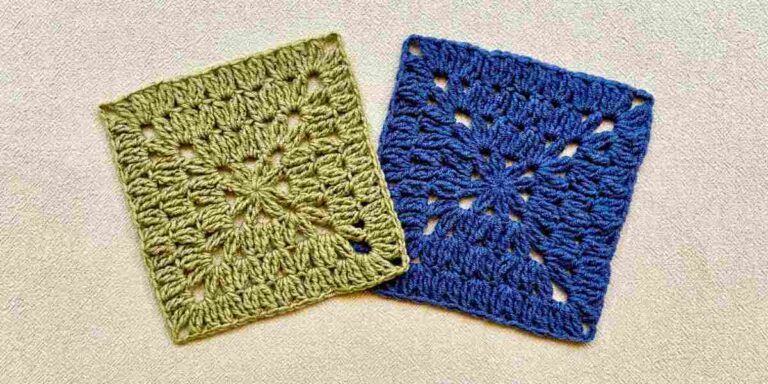
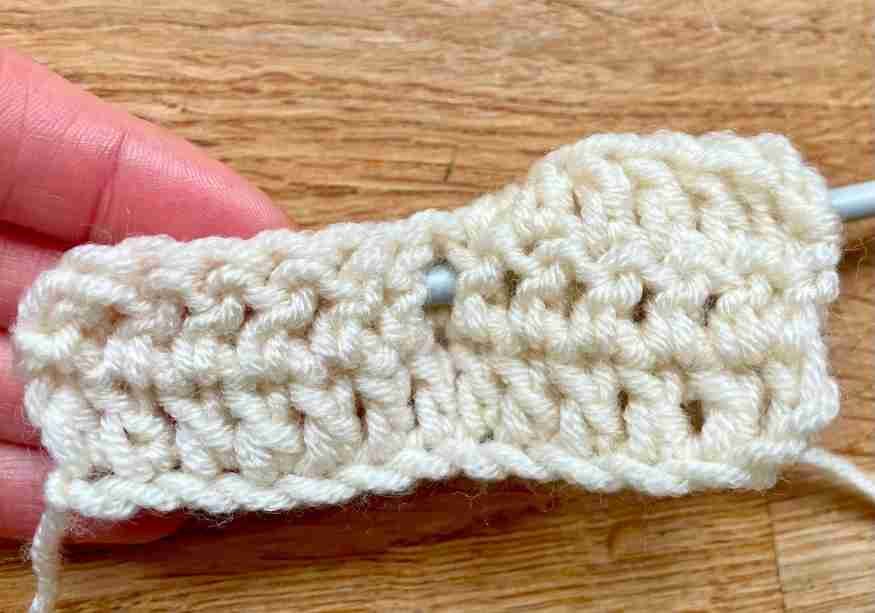
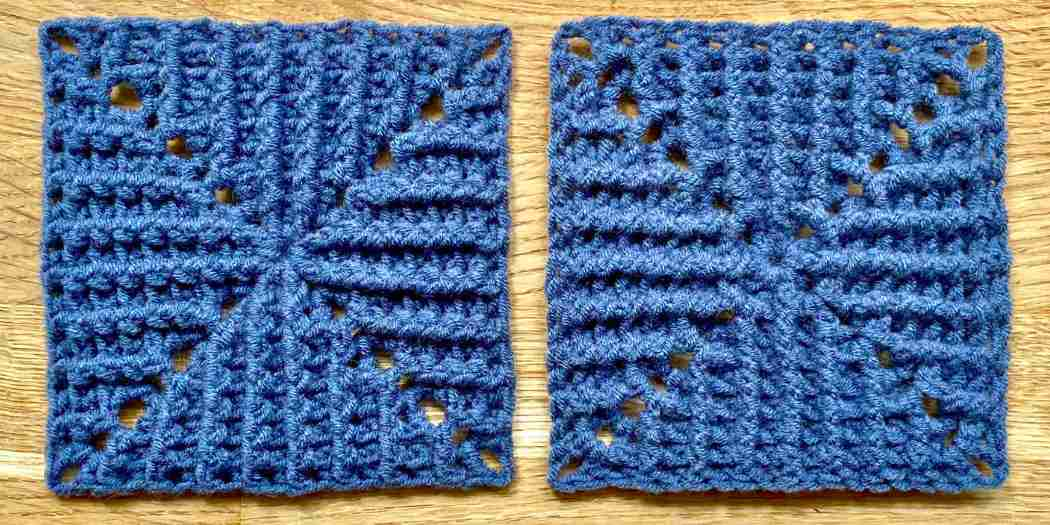
Here’s how the back and front of a finished ribbed granny square look. They’re not quite identical, but they’re close enough that you won’t need to worry about a blanket having a right way up.
And that’s everything I have to share with you about ribbed granny squares – have fun!