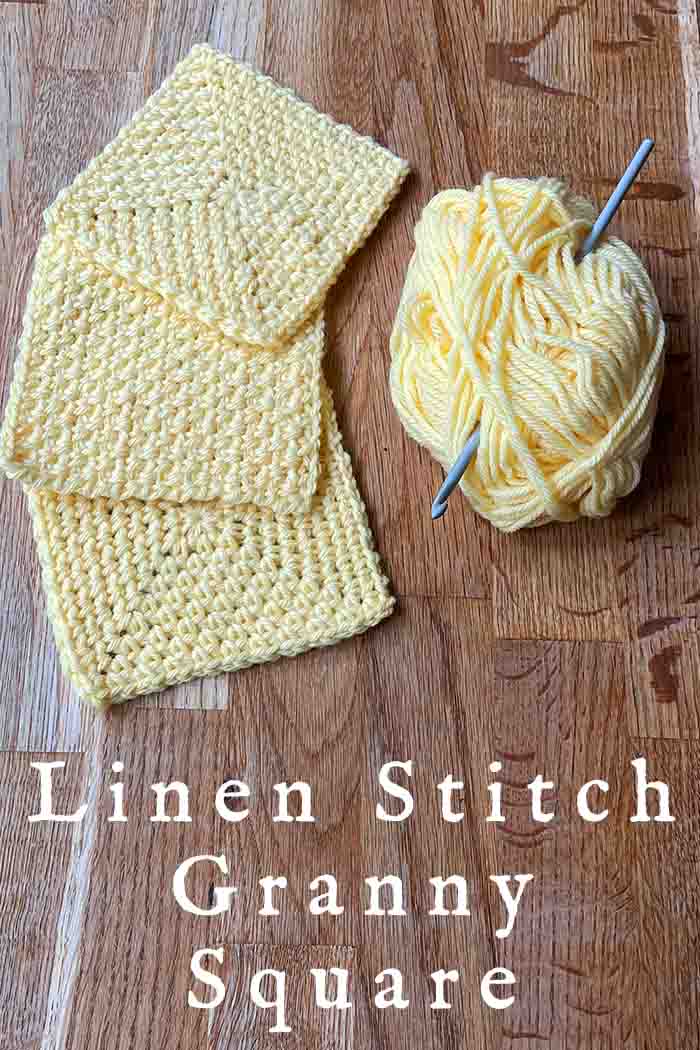
Linen Stitch Granny Square
A linen stitch granny square is also known as a moss stitch square, or a granite stitch square. Granny squares come in all kinds of textures, designs, and sizes, and the linen square is one of the simplest. Linen stitch has a pleasing, closed texture that’s easy to work, and it’s also incredibly good at trapping warmth regardless of the yarn you’ve chosen. But it can also be time consuming, which might put you off using it for larger projects. Linen stitch granny squares can be made in three ways, and this article, I’ll show you them all!
- Is linen stitch good for granny squares?
- How to make a linen stitch granny square in the round
- Working back and forth instead of in the round
- One more variation to try
Is linen stitch good for granny squares?
Linen stitch, which I knew as moss stitch for years, and still other people refer to as granite stitch, is one of the simplest and densest crochet stitches that you can use for granny squares. Here’s what you need to know about using it:
- It’s easy peasy. Linen stitch is simple repeating pattern of alternating single crochet stitches and chain stitches. There’s no counting yarn-overs, or clusters, or how many stitches go where. You could follow a film, follow a podcast, or have a conversation at the some time.
- It’s therapeutic. Sometimes adding row upon uniform row of simple stitches to a project is blissfully soothing and mindful. This is a perfect example of that.
- It. Is. So. Slow. Single crochet stitches are short, and in linen stitch they even overlap. So when it comes to adding size to your work, you won’t see quickly results.
- It’s warm. All those short, sturdy, overlapping stitches create heavyweight squares that make toasty blankets and cardigans.
- And it’s reversible. This is really unusual in granny squares – usually working in the round means that squares have a distinct right side and wrong side (although which you prefer the appearance of is entirely a matter of personal taste!) But the linen stitch’s distinctive appearance relies on turning your work between each row – so it’s completely reversible, even when used for granny squares!
3 types
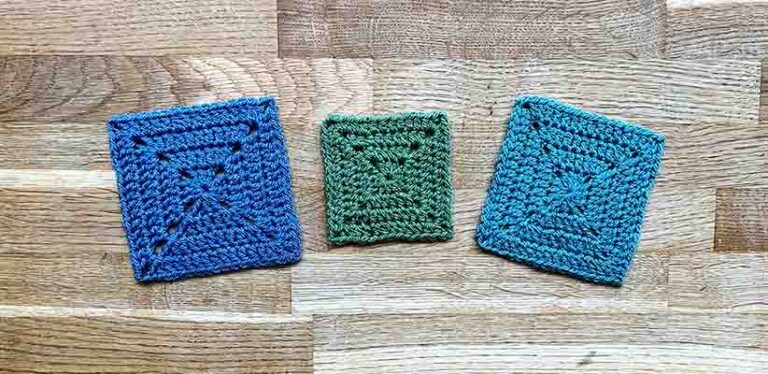
I’ve been experimenting with making three different types of linen stitch square. The first two involve changing direction at the end of each round or row, to preserve the original linen stitch look. The last is worked in the round without changing direction – because I know you’re wondering what happens.
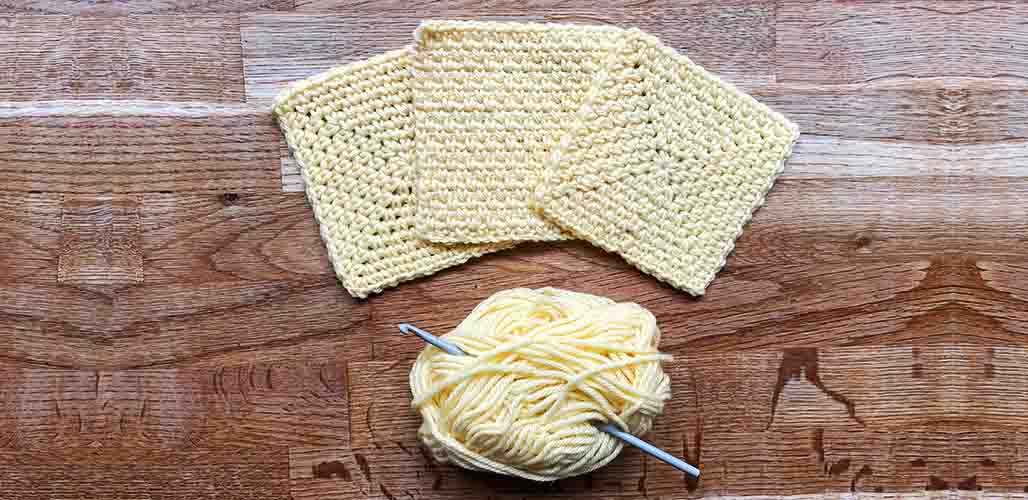
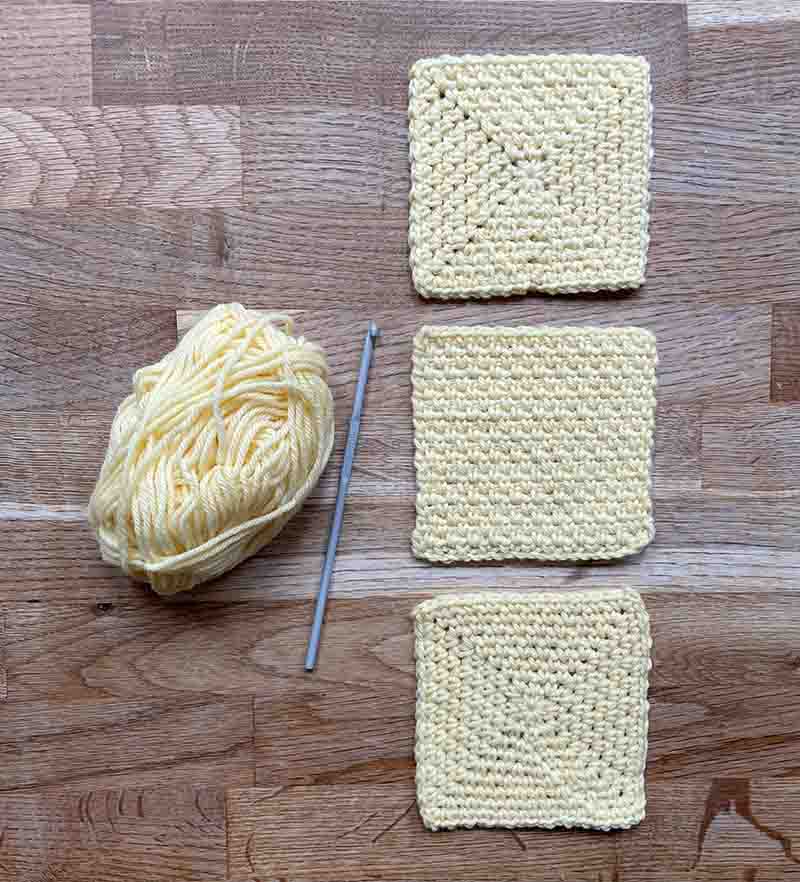
Here they are, from top to bottom:
- Traditional linen stitch, worked in the round.
- Traditional linen stitch, worked in rows.
- Linen stitch worked in the round, but without changing direction between rows.
How to make a linen stitch granny square in the round
Granny squares are traditionally made from the center outwards (‘in the round’). Using linen stitch in the round is really straight forward, but you’ll be doing two things that you might not be used to:
- Since linen stitch’s distinctive texture is achieved by working alternate in rows in opposite directions, you’ll need to turn your work between rounds.
- If you’re used to making traditional granny squares with taller stitches, you’ll also be used to using chain stitches at the beginning of each row. Forget that here! (I actually find overcoming the muscle memory to do it anyway is the only bit of making a linen stitch square that’s a bit tricky!)
Here’s the pattern:
- Make a magic circle.
- Round 1: Ch1. Into the magic circle work: *sc 1, ch 2, sc 1, ch 1* 4 times. Slip stitch into the top of the first sc to join. The ch 2 spaces are your corner spaces, and the ch 1 spaces are side spaces.
- Turn your work over. Move your yarn clockwise to the back of your work.
- Round 2: Sc 1 into the first side space. Ch 1. *Sc 1, ch 2, sc 1, ch 1* into the first corner space. Then working in the chain spaces only *sc 1, ch 1* into every side space, and *sc 1, ch 2, sc 1, ch 1* into each corner. Slip stitch into the top of the first sc to join.
- Turn your work over. Move your yarn clockwise to the back of your work.
- Round 3: *Sc 1, ch 1* into every side space, and *sc 1, ch 2, sc 1, ch 1* into each corner. Slip stitch into the top of the first sc to join.
- Repeat round 3 until your square reaches the desired size.
Working back and forth instead of in the round
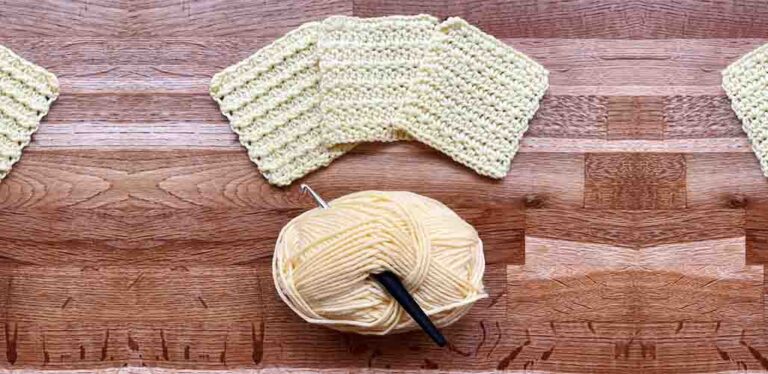
The obvious alternative to a classic granny square worked in the round is to work in rows instead. This has one big advantage: you won’t have to remember to turn your work over. You will turn your work over, but at the end of each row, which doesn’t require you to remember to do it. Another more subtle advantage, I think, is that linen stitch squares worked in the round have an unavoidable seam line from the center to the edge, where each new round begins. Working in rows avoids this.
On the other hand, linen stitch squares worked in rows are a bit more plain. However, they can still look extremely effective if you join them at right angles to each other in a checkerboard pattern!
To make a linen stitch granny square in rows:
- Make a foundation chain with an even number of chain stitches.
- Row 1: Sc into the 2nd chain from the hook. Ch1. Skip 1 chain. *Sc 1 ch 1* into the next chain. Continue working 1 sc into every other stitch, and making 1 ch between each sc, finishing with a sc in the final chain. Ch 1.
- Row 2: Turn your work, *sc 1, ch 1* into each chain space (don’t miss the one at the very end!). Turn your work.
- Repeat row 2 until your square is as tall as it is wide.
One more variation to try
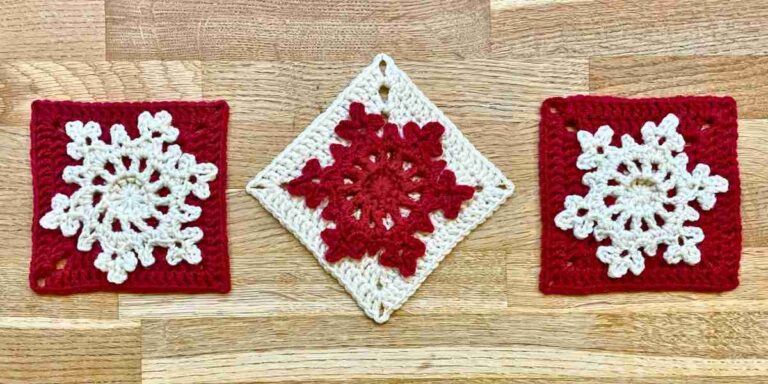
What if you follow the pattern for a linen granny square in the round, but didn’t turn it? How far wrong can you possibly go? I thought you’d never ask! The result will look like this:
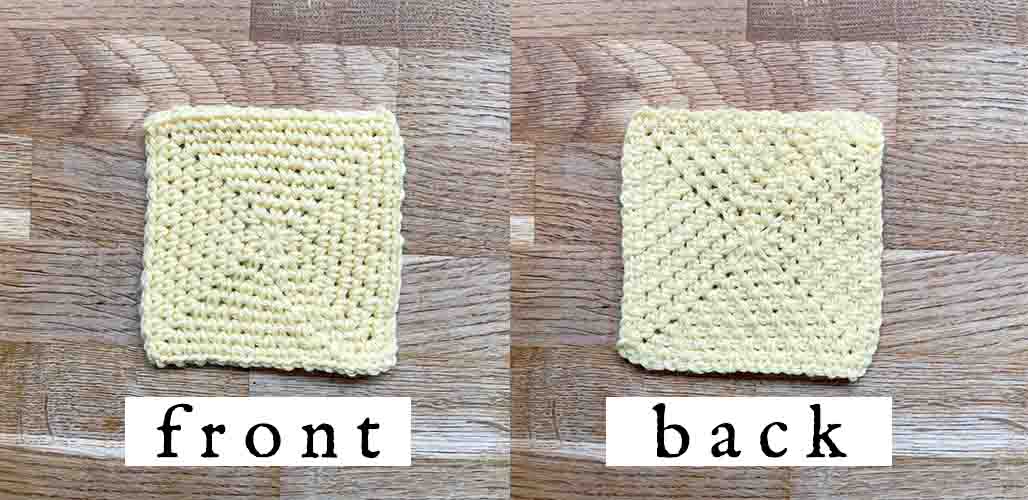
Firstly, we need to talk about that seam from the center to the edge, where each new round starts. It’s very prominent, almost like a scar. Secondly, the sides don’t sit straight any more, they all have an slight S-curve in them. And finally, it’s no longer reversible – it has a distinct front and back. So this technique gets a thumbs down from me for projects like blankets, but it could still work for things like face scrubbies.
Linen stitch granny square – summary
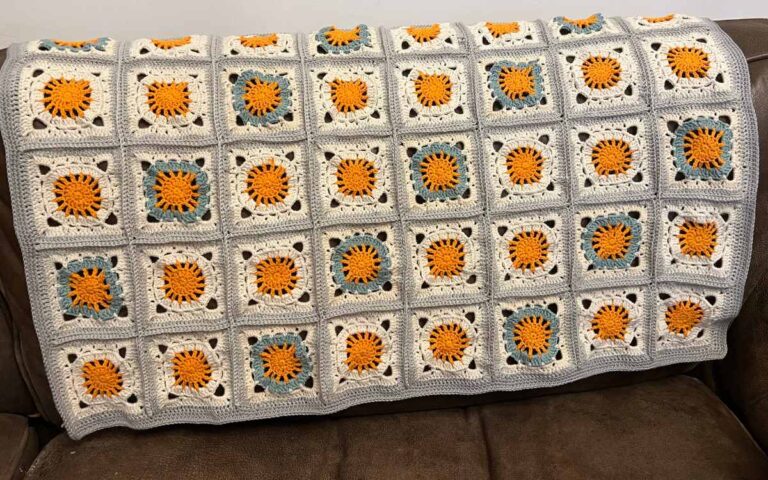
This might be controversial, but I think works better worked in rows than in the round. I’d just rather not have the seam from center to edge where each round starts. But, I still love how linen stitch looks, and I think it would make a fantastic granny square project. I’d use it by making single-color squares in several bright retro hues, and joining them at right angles to make a throw pillow cover.
What about you? What name do you usually call the linen stitch by, and would you consider it for making granny squares?