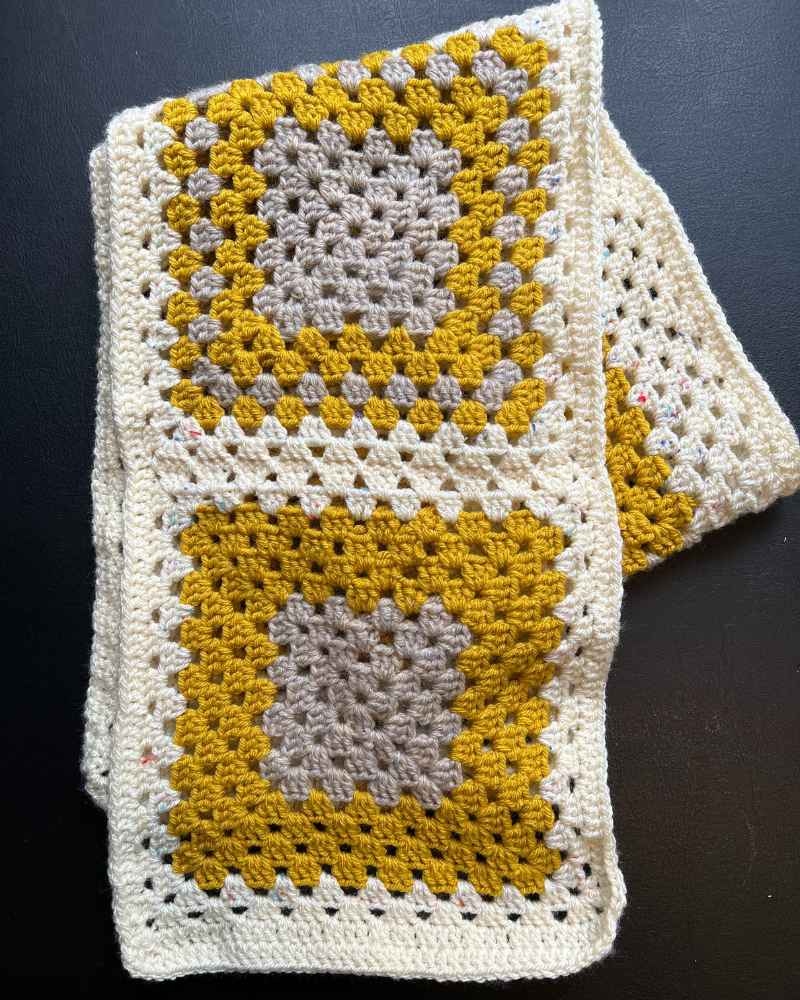
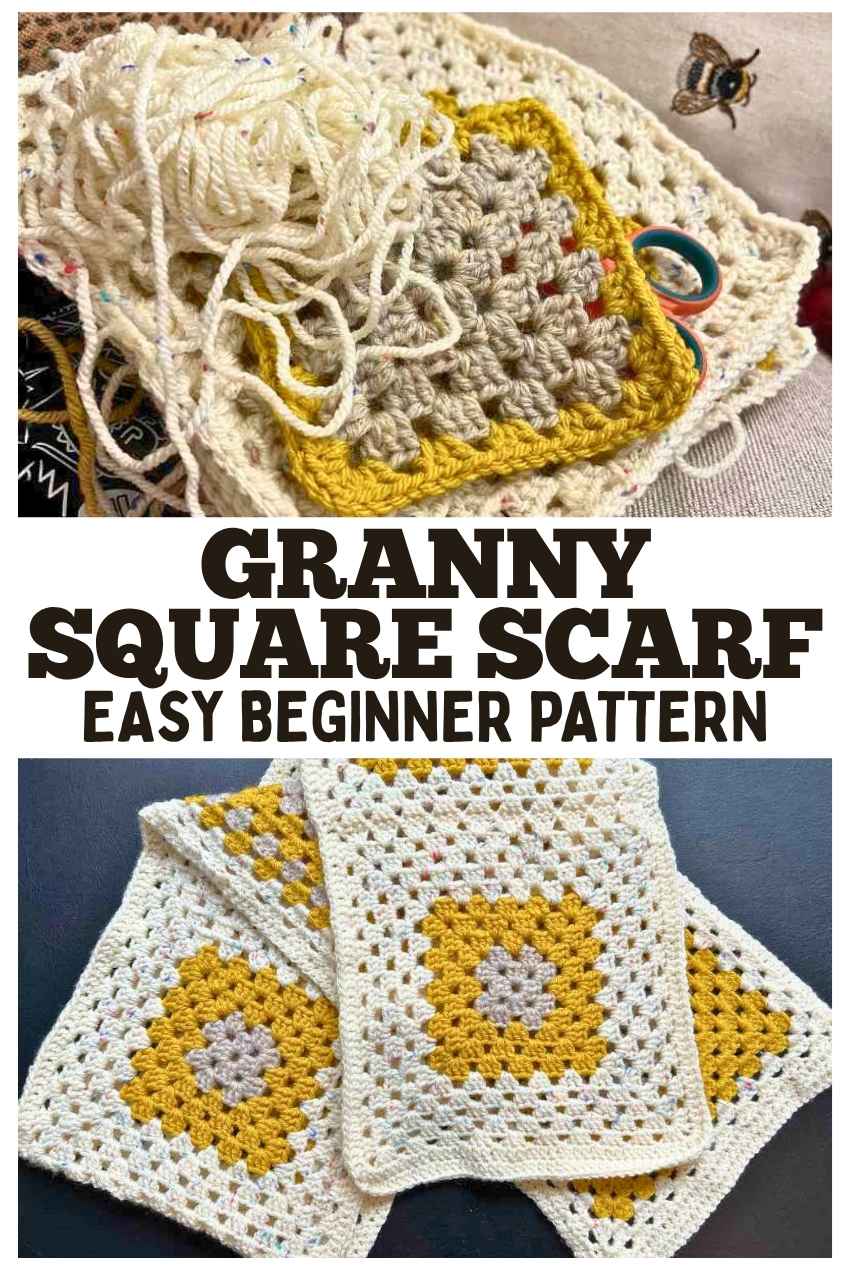
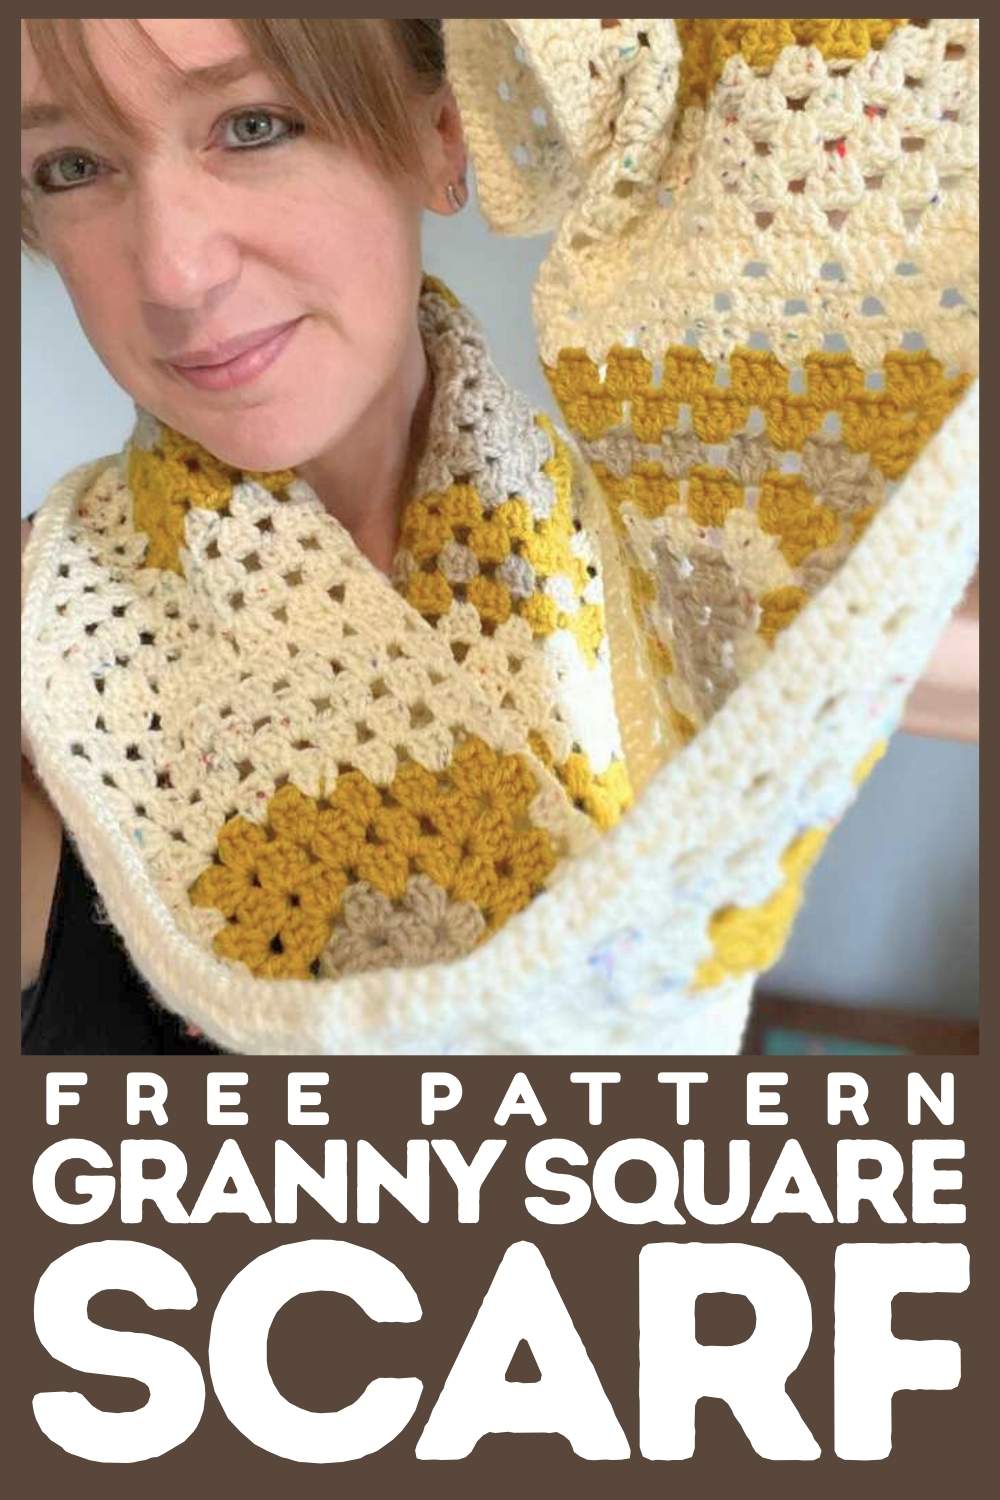
Yarn Scrap Granny Square Scarf Pattern

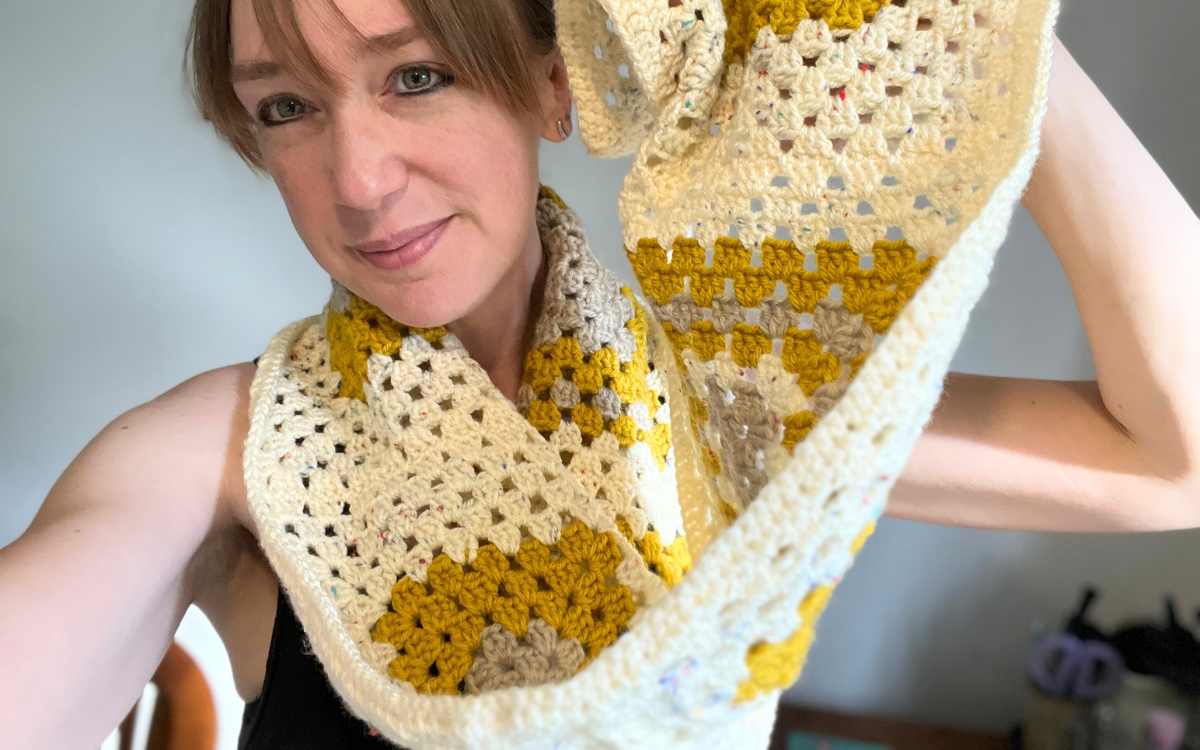
This free yarn scrap granny square scarf pattern is a great way to use up your partial skeins, and make a gorgeous item of crocheted clothing in the process.
It’s beginner friendly and you can use pretty much any yarn type. This project will help you to use up that precious scrap yarn in a fun and productive way.
I have laid this design out in clear steps, so that even someone brand new to crocheting should have no trouble following along.
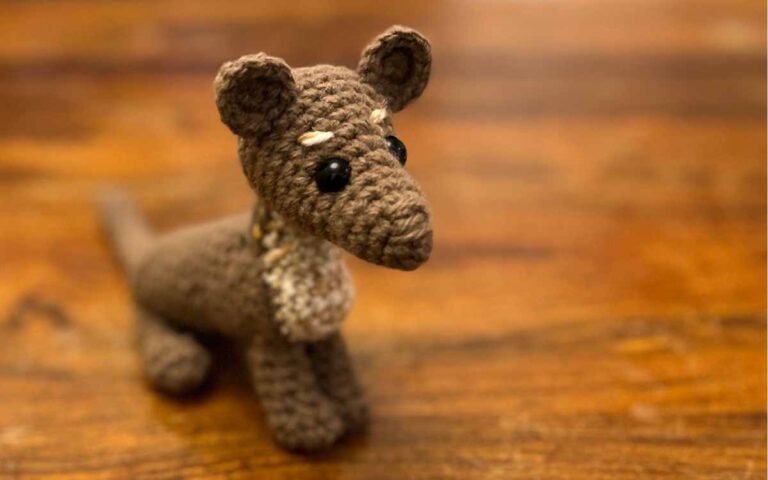
I made this crochet scarf from yarn skeins left over from my recent crochet plushie designs. I hate waste, and I love crocheted scarves. What could be better!
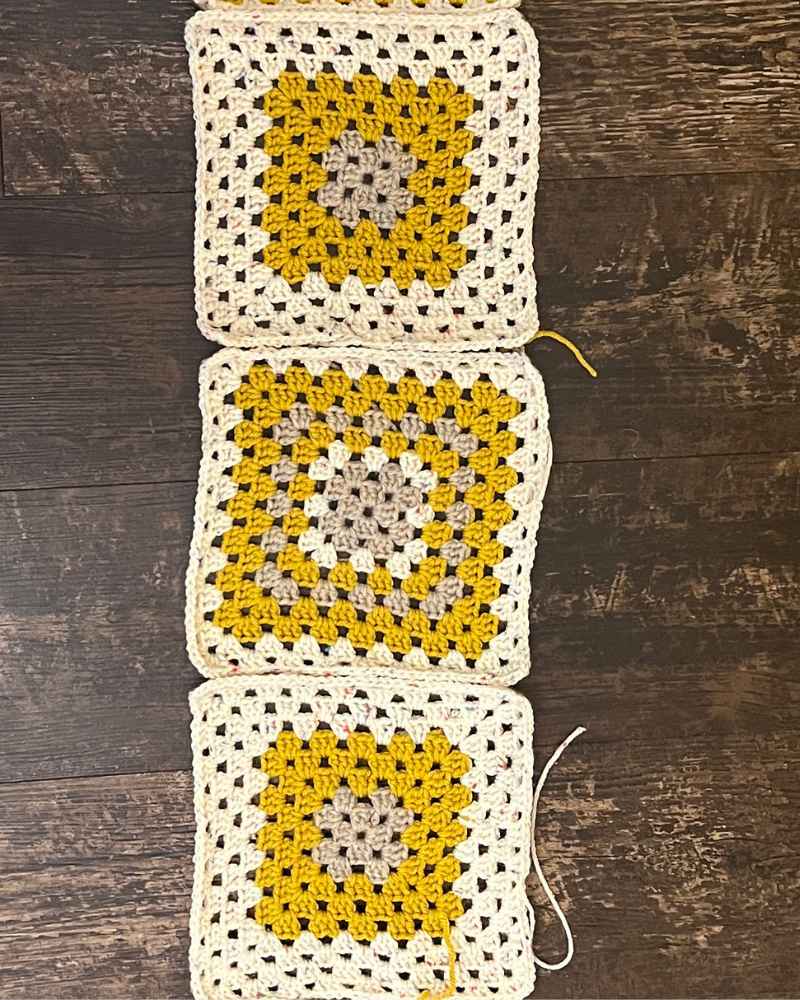
I made four different color changes within my scarf. So three granny squares are identical, and the remaining three squares all differ. This enabled me to work with the yarn I had left over, although I still had some nerve wracking yarn chicken moments finishing the edges!
Yarn Scraps, Hooks and More
The partial scrap skeins I used to make this scarf included four different aran yarns.
- Brown aran yarn (first color)
- Yellow aran yarn (second color)
- Mixed cream aran yarn (third color)
- Cream aran yarn (fourth color)
- 5mm crochet hook
- Yarn needle (optional for sewing in the ends)
Because this pattern is designed for using up your scrap skeins of yarn, you can swap any colors you like over. So in the pattern I’ve given you instructions noting both the colors I used, by numbering the colors too so if you’re using different ones you can still easily follow along.
The Main Granny Square Scarf Pattern
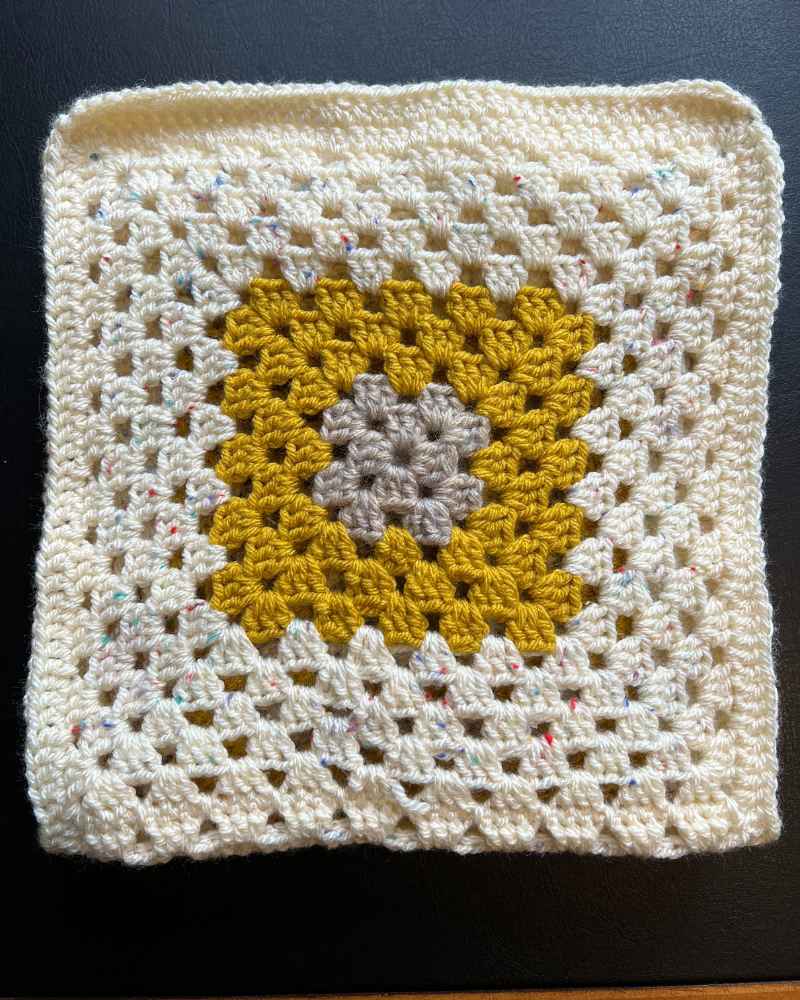
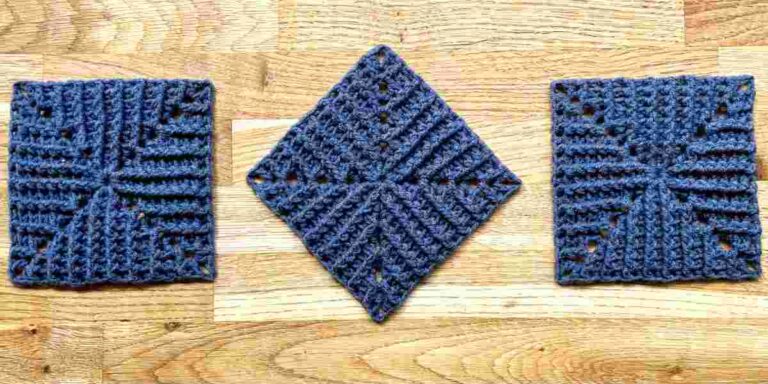
Create three squares with the following pattern:
Round 1
Begin with your brown yarn, or primary color.
- Make a chain of five stitches.
- Slip stitch into the first chain of the row to form a ring.
- Chain three as the first double crochet.
- Make two double crochets into the central loop
- *Chain three
- Make three double crochets into the central loop.
- Repeat two more times from the *.
- Slip stitch into the top of the first chain three, tie off and cut.
Round 2
- Chain three into one of the open corners of the square.
- Double crochet twice into the same corner.
- Chain three.
- Double crochet three times into the same corner.
- *Chain one.
- Into the next corner make three double crochets.
- Chain three.
- Make three further double crochet stitches into the same corner.
- Repeat two more times from the *.
- Slip stitch into the top of the first chain three, tie off and cut.
Swap yarns to yellow or your second color.

Round 3
- Chain three into one of the open corners of the square.
- Double crochet twice into the same corner.
- Chain three.
- Double crochet three times into the same corner.
- *Chain one.
- Make three double crochet stitches into the next space.
- Chain one.
- Into the next corner make three double crochets.
- Chain three.
- Make three further double crochet stitches into the same corner.
- Repeat two more times from the *.
- Slip stitch into the top of the first chain three, tie off and cut.
Round 4 – 5
Repeat round 3, extending the pattern for the increased length.
Change yarns to variegated cream or the third color.
Round 6 – 9
Continue the pattern, increasing the central sections as the square grows.
Change yarns to plain cream, or your fourth chosen color.
Round 10
Continue the pattern in the new colored yarn.
Second Style Granny Square
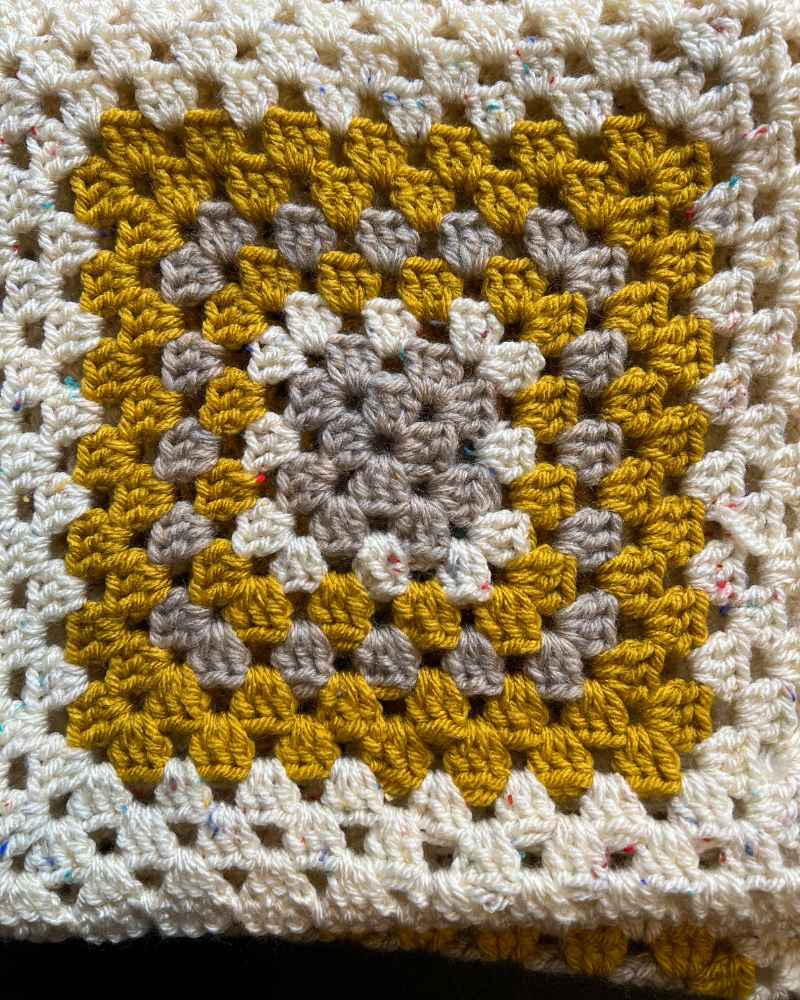
Create one of the following:
Round 1
Begin with your brown yarn, or primary color.
- Make a chain of five stitches.
- Slip stitch into the first chain of the row to form a ring.
- Chain three as the first double crochet.
- Make two double crochets into the central loop
- *Chain three
- Make three double crochets into the central loop.
- Repeat two more times from the *.
- Slip stitch into the top of the first chain three, tie off and cut.
Round 2
- Chain three into one of the open corners of the square.
- Double crochet twice into the same corner.
- Chain three.
- Double crochet three times into the same corner.
- *Chain one.
- Into the next corner make three double crochets.
- Chain three.
- Make three further double crochet stitches into the same corner.
- Repeat two more times from the *.
- Slip stitch into the top of the first chain three, tie off and cut.
Swap yarns to variegated cream or your third color.
Round 3
- Chain three into one of the open corners of the square.
- Double crochet twice into the same corner.
- Chain three.
- Double crochet three times into the same corner.
- *Chain one.
- Make three double crochet stitches into the next space.
- Chain one.
- Into the next corner make three double crochets.
- Chain three.
- Make three further double crochet stitches into the same corner.
- Repeat two more times from the *.
- Slip stitch into the top of the first chain three, tie off and cut.
Swap to yellow or your second color yarn.
Round 4
Repeat round 3, extending the pattern for the increased length.
Change yarns to brown or the first color.
Round 5
Repeat round 3, extending the pattern for the increased length.
Change yarns to yellow or the second color.
Round 6 – 7
Continue the pattern, increasing the central sections as the square grows.
Change yarns to variagated cream, or your third chosen color.
Round 8 – 9
Continue the pattern, increasing the central sections as the square grows.
Change yarns to cream, or your fourth chosen color.
Round 10
Continue the pattern in the new colored yarn.
Third Style Granny Square
Make one granny square with the following color combinations.
Round 1
Begin with your brown yarn, or primary color.
- Make a chain of five stitches.
- Slip stitch into the first chain of the row to form a ring.
- Chain three as the first double crochet.
- Make two double crochets into the central loop
- *Chain three
- Make three double crochets into the central loop.
- Repeat two more times from the *.
- Slip stitch into the top of the first chain three, tie off and cut.
Round 2
- Chain three into one of the open corners of the square.
- Double crochet twice into the same corner.
- Chain three.
- Double crochet three times into the same corner.
- *Chain one.
- Into the next corner make three double crochets.
- Chain three.
- Make three further double crochet stitches into the same corner.
- Repeat two more times from the *.
- Slip stitch into the top of the first chain three, tie off and cut.
Round 3
- Chain three into one of the open corners of the square.
- Double crochet twice into the same corner.
- Chain three.
- Double crochet three times into the same corner.
- *Chain one.
- Make three double crochet stitches into the next space.
- Chain one.
- Into the next corner make three double crochets.
- Chain three.
- Make three further double crochet stitches into the same corner.
- Repeat two more times from the *.
- Slip stitch into the top of the first chain three, tie off and cut.
Round 4
Repeat round 3, extending the pattern for the increased length.
Change yarns to yellow or the second color.
Round 5 – 6
Repeat round 3, extending the pattern for the increased length.
Change yarns to brown or the first color.
Round 7
Repeat round 3, extending the pattern for the increased length.
Change yarns to yellow or the second color.
Round 8
Continue the pattern, increasing the central sections as the square grows.
Change yarns to variegated cream, or your third chosen color.
Round 9
Continue the pattern, increasing the central sections as the square grows.
Change yarns to cream, or your fourth chosen color.
Round 10
Continue the pattern in the new colored yarn.
Fourth Style Granny Square
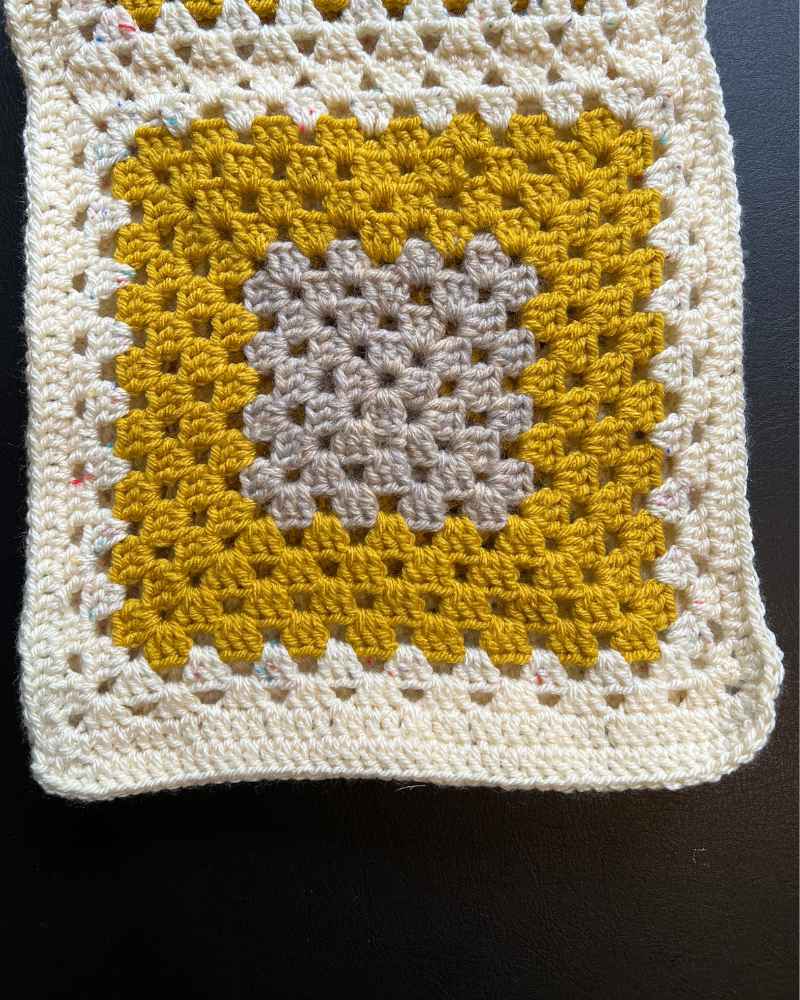
Create a final style of granny square.
Round 1
Begin with your brown yarn, or primary color.
- Make a chain of five stitches.
- Slip stitch into the first chain of the row to form a ring.
- Chain three as the first double crochet.
- Make two double crochets into the central loop
- *Chain three
- Make three double crochets into the central loop.
- Repeat two more times from the *.
- Slip stitch into the top of the first chain three, tie off and cut.
Round 2
- Chain three into one of the open corners of the square.
- Double crochet twice into the same corner.
- Chain three.
- Double crochet three times into the same corner.
- *Chain one.
- Into the next corner make three double crochets.
- Chain three.
- Make three further double crochet stitches into the same corner.
- Repeat two more times from the *.
- Slip stitch into the top of the first chain three, tie off and cut.
Round 3
- Chain three into one of the open corners of the square.
- Double crochet twice into the same corner.
- Chain three.
- Double crochet three times into the same corner.
- *Chain one.
- Make three double crochet stitches into the next space.
- Chain one.
- Into the next corner make three double crochets.
- Chain three.
- Make three further double crochet stitches into the same corner.
- Repeat two more times from the *.
- Slip stitch into the top of the first chain three, tie off and cut.
Round 4
Repeat round 3, extending the pattern for the increased length.
Change yarns to yellow or the second color.
Round 5 – 8
Continue the pattern, increasing the central sections as the square grows.
Change yarns to variegated cream, or your third chosen color.
Round 9
Continue the pattern, increasing the central sections as the square grows.
Change yarns to plain cream, or your fourth color.
Round 10
Continue the pattern in the new colored yarn.
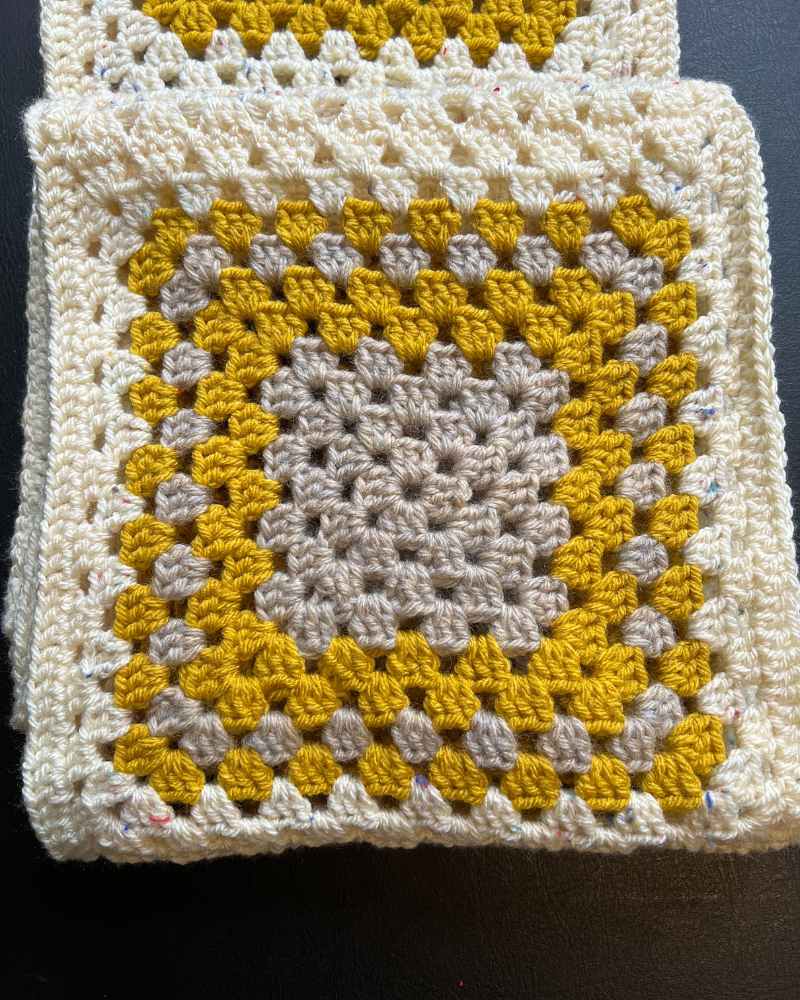
Sewing Granny Squares Together
Take your squares and put them into an order that you’re happy with. Lay them out on a hard surface, and then turn them upside down. The rougher side should be facing you.
Cast your cream or fourth colored yarn onto your hook. Put your hook through the first set of adjoining corner spaces, so that both granny squares are hanging on the same hook. Yarn over, pull the yarn through the gaps, yarn over again, and pull through both loops.
Repeat this motion moving through every pair of stitches, corner to corner.
You’re going to join each set of squares in the same fashion.
Crocheting Your Border
There are some fabulous, complex ways to create crochet borders. But I went for something simple for this design, due to the unknown quantities of yarn! If you’ve made your out of scraps from incomplete skeins I recommend you following these simple instructions to reduce the odds of running out half way around. But go nuts with something a bit more fancy if you’re feeling flush with yarn!

Cast onto your crochet hook, and insert it into one of the corner spaces. Chain three as your first double crochet, then make two further double crochets into the corner.
Moving along the edge of the scarf, make a double crochet into each stitch.
At each corner, make three double crochets.
When you reach your starting point, slip stitch into the top of your initial chain three.
You can stop here, or add another set of stitches to the narrow end sections of the scarf.
Finishing The Ends
To give the scarf a more complete look, I lengthened the narrow ends of the piece.
Insert your hook into the corner stitch, and make a single crochet, then double crochet along then end, putting one final single crochet into the corner stitch.
Repeat for both ends, then sew in your loose threads of yarn with a yarn needle or hook as you prefer.
Your Yarn Scrap Scarf
You are unlikely to have the exact same leftover skeins as I do, and so your scarf is probably going to be a little different to mine. And that’s great! One of the best things about handmade items is that even when they follow the same pattern, they are always a little unique.
Happy Crocheting!
Lucy Kate, x