How to Crochet a Blanket with Multiple Granny Squares
In my early days of crochet making, I produced a fairly insane quantity of granny squares. Even now with a lot more skills under my belt, they are still the thing I default to. And I still believe that making your first crochet blanket from granny squares is the best way to start.
If you are not quite sure what style of blanket you want to make, you might want to take a look at these articles first


Ready to begin? Then let’s get started with making your perfect multiple granny squares blanket.
Avoiding Common Mistakes
The first multiple granny square blankets that I designed were presents for my daughter, niece and nephews.
Unfortunately, quite a lot of them ended up hitting brick walls. Either because I ran out of the right colour of yarn, or because I messed up the pattern early on and continued without noticing until it was irreparably late.
Sadly, of those which did turn into beautiful pieces that I gave away with pride, only a few still survive.
In hindsight I am certain this was as a direct result of picking inappropriate or poor quality yarns to be used as children’s blankets.

On the bright side, I learned a great deal from those early mistakes.
Each blunder has to some extent influenced my style, technique and even currently favoured equipment for crocheting not just pretty but practical granny square blankets today.
The biggest influence stylistically is definitely that I without fail always make a granny square with a magic circle at the center these days.
Magic Circles and Granny Squares!
Granny square blankets are not a thick stable piece. Their beauty is born of the blank spaces left behind, and the pattern that they form together.
But it is my prefered choice not to include the middle of each square in this holey pattern any more. The trouble is that although it can fit in absolutely fine to make a chain circle, it doesn’t seem to hold up as well to use.
For blankets that are going to be draped delicately on an unused antique piece of furniture in the corner of your room, by all means make whichever circle is easier for you. But for anything that is going to be tugged at by tiny fingers, or stuck in the wash when a toddler gets a veritable pallet of jam and dribble on it? You have to think practically.
Magic circles are tight and solid. Harder to tug apart and harder to snap.
To make a basic early granny square blanket from multiple squares, the obvious first step is to make as many squares as you desire, in a uniform size.
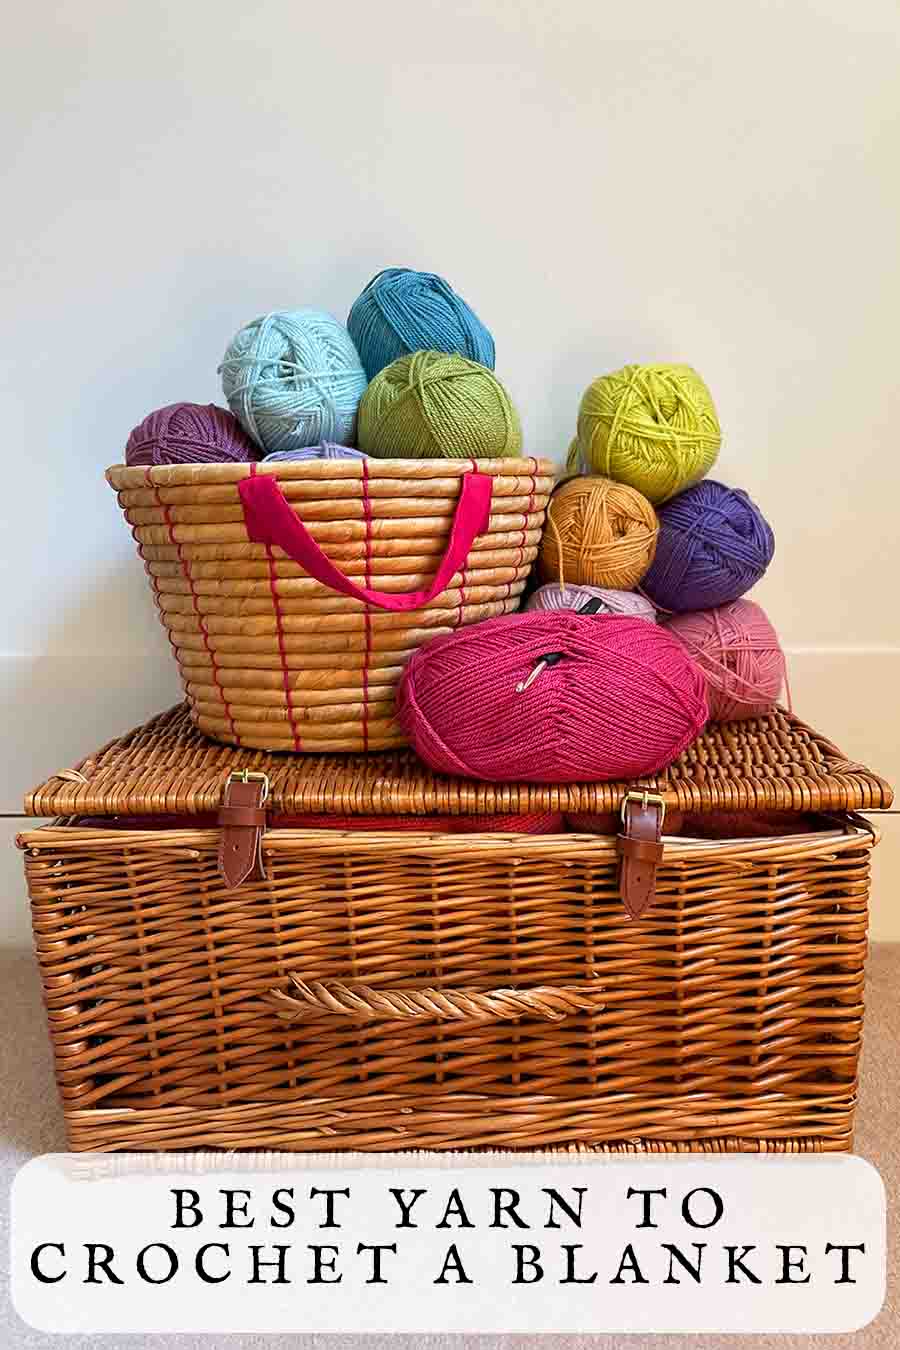
- You will need a size 4.5mm hook, three different colours of fairly soft 4 Ply yarn, some scissors and ideally a yarn needle for sewing in the loose ends.
- My suggested starter for this is to make 12 squares, six of one colour and six of another. The final colour will be used to crochet the squares together
- Each square should contain five rows – a magic circle and four additional stitched rows.
I have a free crochet pattern for making a granny square blanket, which comes with a youtube tutorial for ease of use. So to make your initial squares visit this page.
Choosing a pattern or style of blanket
There are a huge variety of granny squares to choose from. It’s a good idea to have a look at some different examples and patterns for inspiration. Then add your own twist to come up with something personal.
You’ll find examples of patterns here: 26 Free Crochet Blanket Patterns & Ideas. Or you could just dive straight in with something like this:
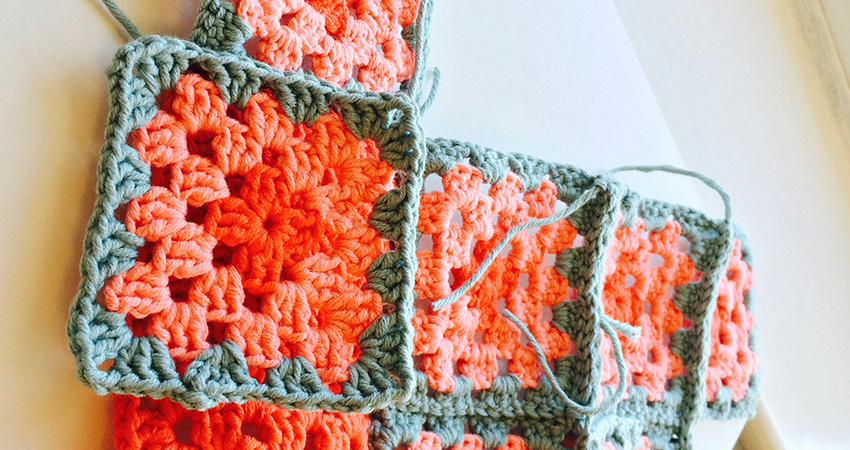
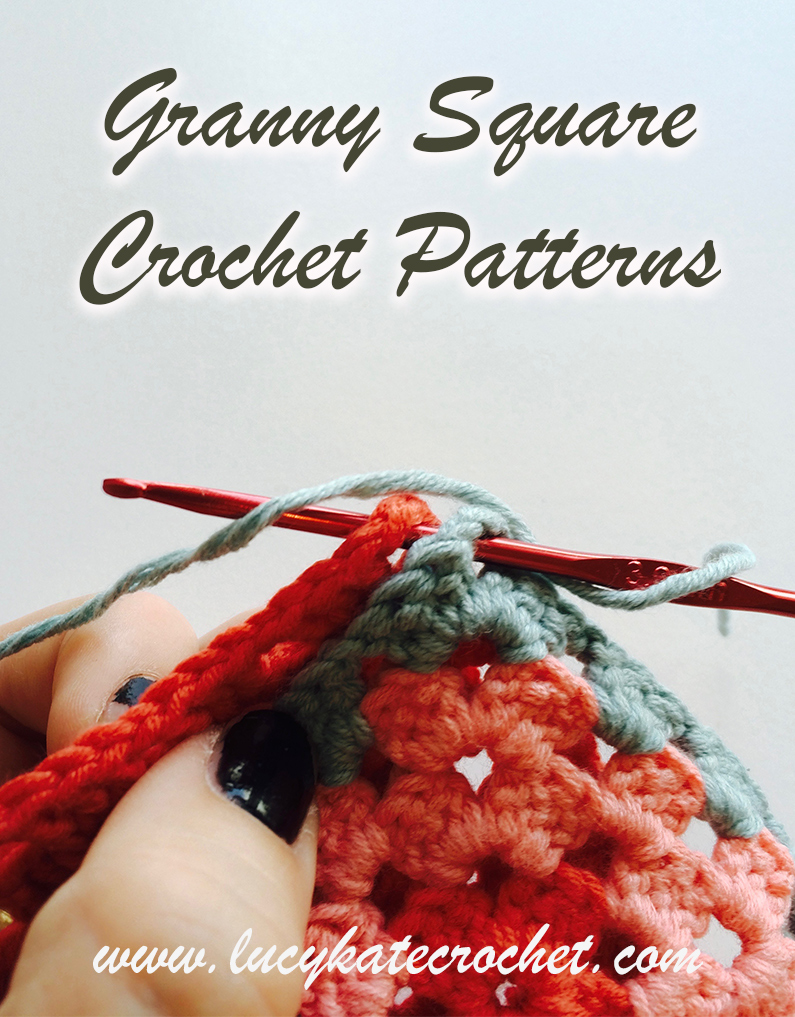
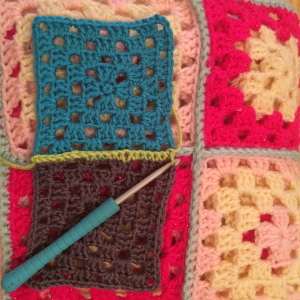
How to join Granny Squares together
I’ll give you some simple joining instructions below. But there are several different ways to join granny squares together, and each one has a different ‘look’. So when you are ready for this stage, you can hop over to my tutorial with step by step instructions for each of them: Joining Granny Squares – 5 Simple Methods
Here’s an example of a very simple method
 Take your 12 squares and lay them on the table in four rows of three.
- Put the side of each square that you want to be the front down onto the table.
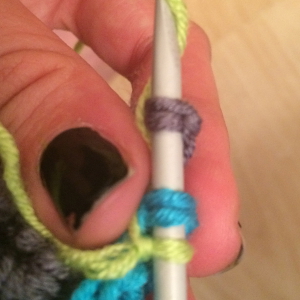
- Slip your yarn onto your hook
- Pick up the bottom left and bottom middle squares.
- Put your hook through the corner stitch of the bottom left of your bottom middle square.
- Make sure the hook goes through the front and back of the stitch. There should be two strands on top and one underneath
- Do the same through the corresponding bottom right corner of your other square
- Yarn over and pull through both loops of the squares
- Yarn over and pull through the remaining loops on your hook
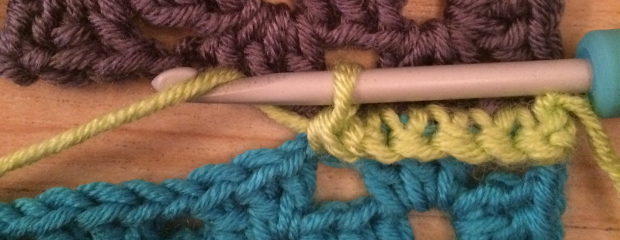
- Repeat this all the way up the side of the square until you reach the top of that side
- Pick up your next two squares and repeat the pattern
- Repeat this until you have reached the top of your blanket
- Slip and tie off, leaving a long tail to make it easier to sew in later.
- You will now have a dangling chain of single crochets with four squares hanging off each side!
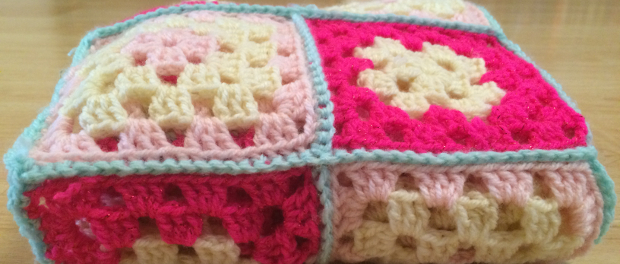
 Repeat this for the corresponding sides, taking care when you cross over your single crochet chain at the joins
- When all the sides are crocheted together, simply make a single crochet into the outer edge of each stitch of the square. Make sure this goes through both loops of each stitch again.
- Once you have completed your square all that remains is to sew in your ends with your yarn needle.
Congratulations! You have made a small but perfectly formed multiple granny squares blanket.
How to use your Granny Squares
There is no end to the colour combinations and patterns you can create once you know how to put a granny square blanket together.
You can easily wing it with a granny square blanket. Some of the most amazing examples I have seen were vast, with no apparent rhyme or reason to the colour choices or how they were presented.
However, if you want to make something deliberately to match a theme, or a friend or client’s personal taste, then it’s great to have a structure to follow.
Advanced Granny Square Tips
Before making a new granny square blanket that will be comprised of anything more than two alterate colours, I make a plan. Sometimes it is rough and ready, other times it is intricate.
When going for detailed, I tend to follow the process below:
- Decide upon the purpose of the blanket. Is it a decorative piece, or will it be used in a busy family home? Are you intending to keep it or is a gift for someone else? What colour scheme will it need to fit in with?
- Sketch out design ideas on paper. Noting the patternation of the overall blanket, and colour changes within the squares themselves. Use coloured pencils if you have them kicking around. Get a real feel for what it will become.
- Choose your equipment. Decide what size blanket you want to end up with and how close you want the weave to be. Pick your hook accordingly. Choose the texture and thickness of yarn you will use. Make sure it fits with the final purpose of the blanket.
- You are ready to get going!
It’s Time To Get Started
Multiple granny square blankets can be as complex or as simple as you want in design. Planning ahead is the key to making sure that your finished blanket adds up to the image in your head. Make sure you have all the yarn you will need before you begin – there is nothing like the frustration of being nearly to the point of completion and realising you are 20g short!
Although occasionally tricky to plan, the beauty of the granny squares design is that once you have decided where you are going with it, all you have to do is follow this very familiar and repetitive pattern.
Simple design, fantastic results. What are you waiting for?