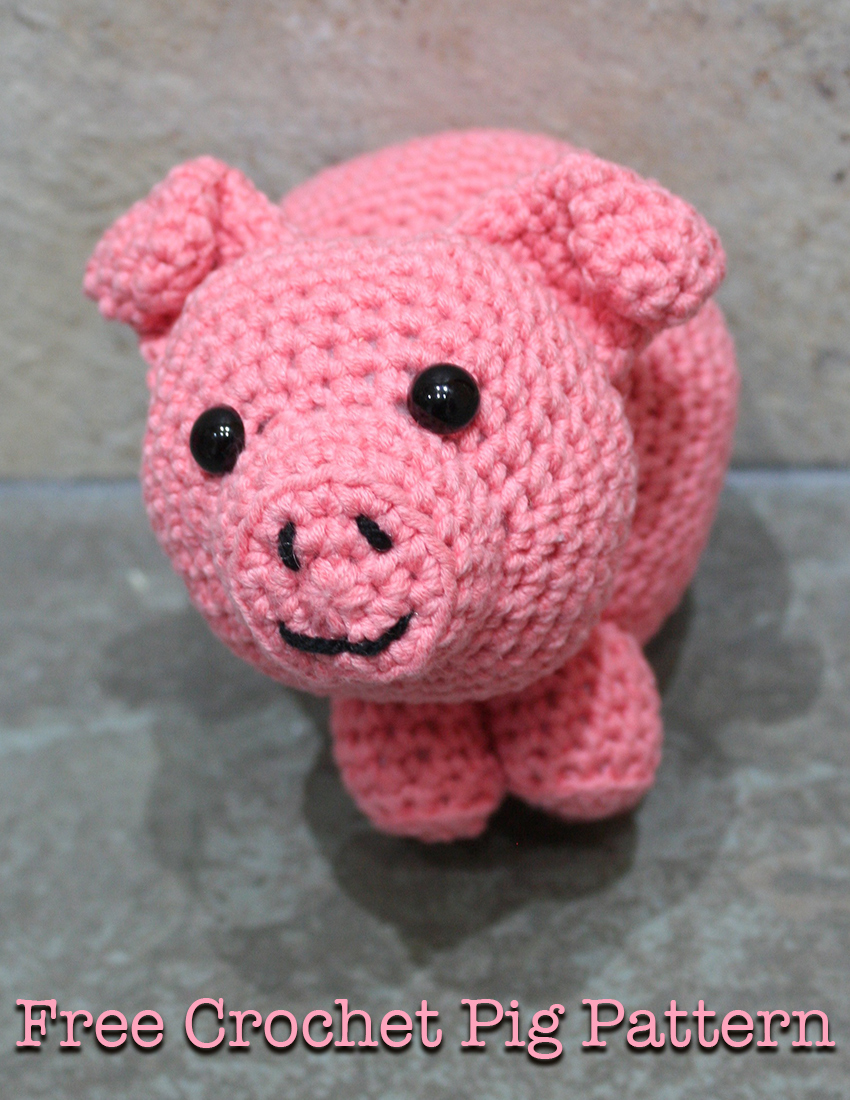
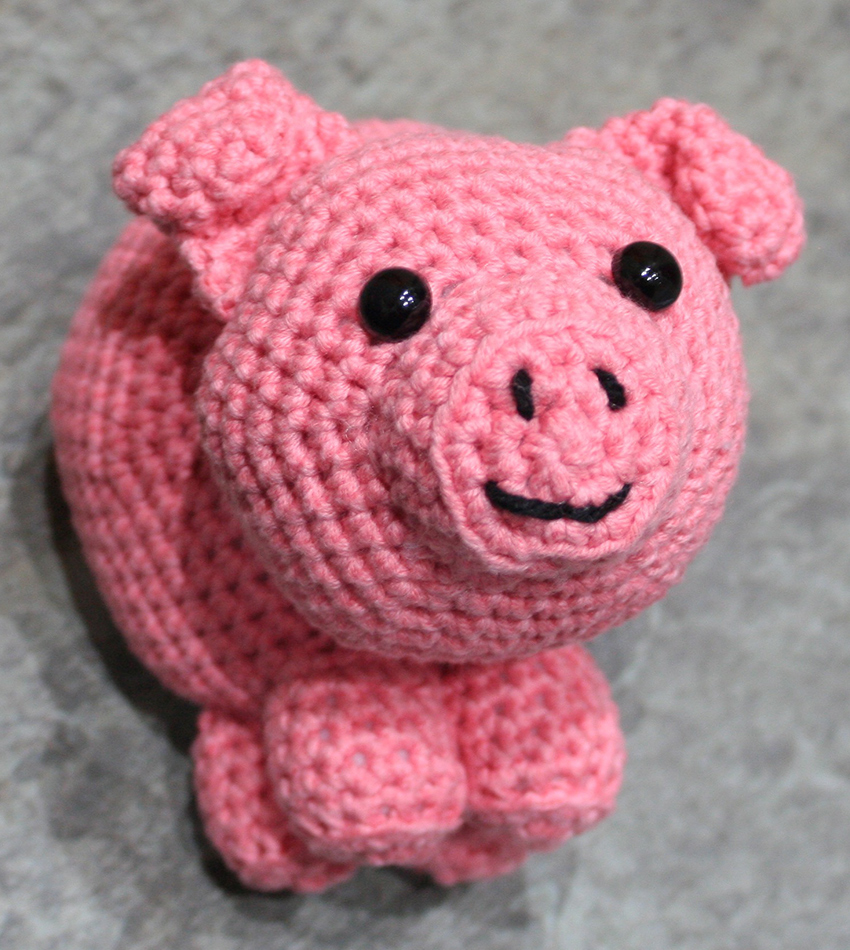
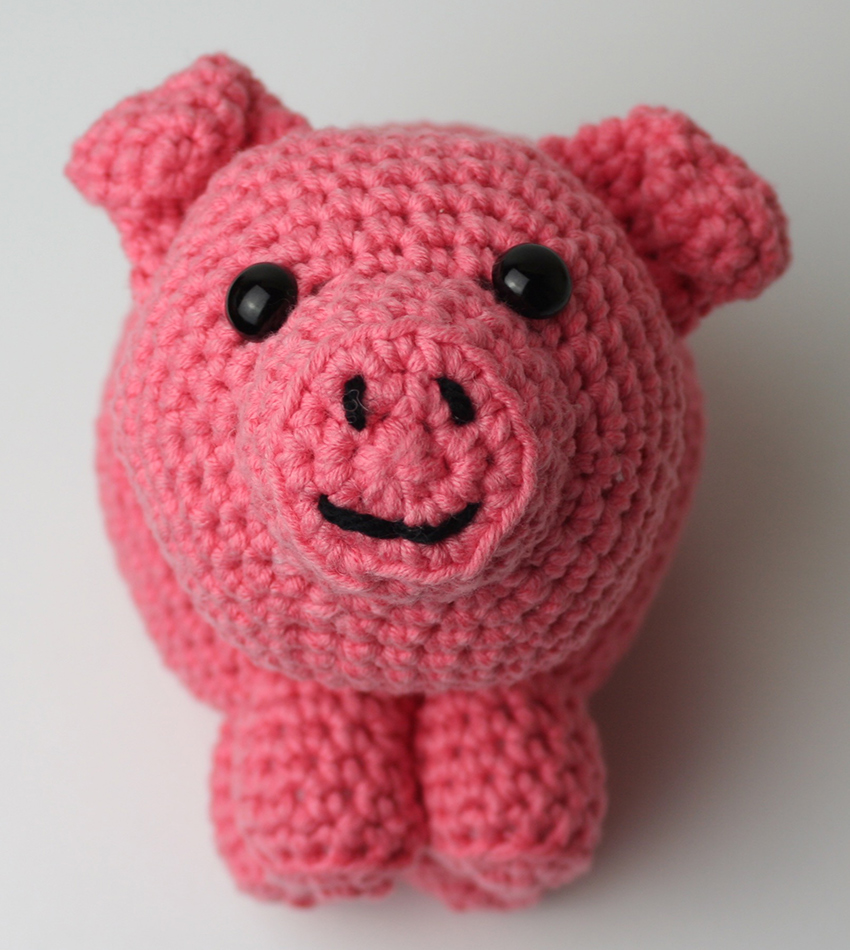
Free Crochet Pig Pattern
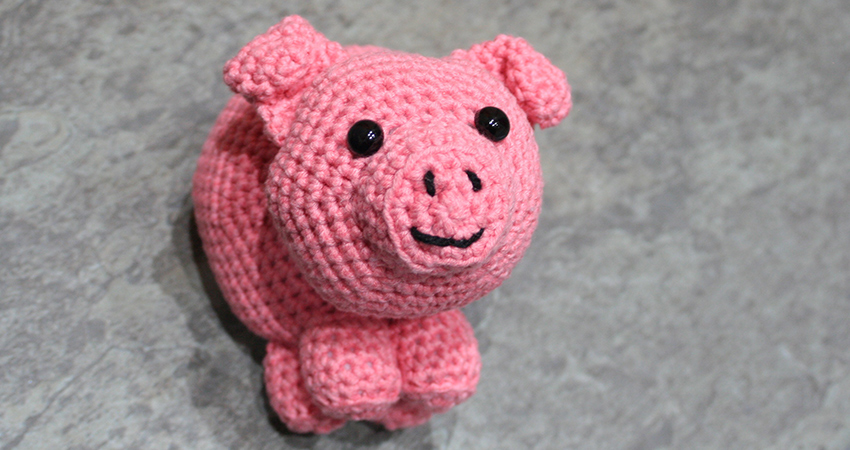
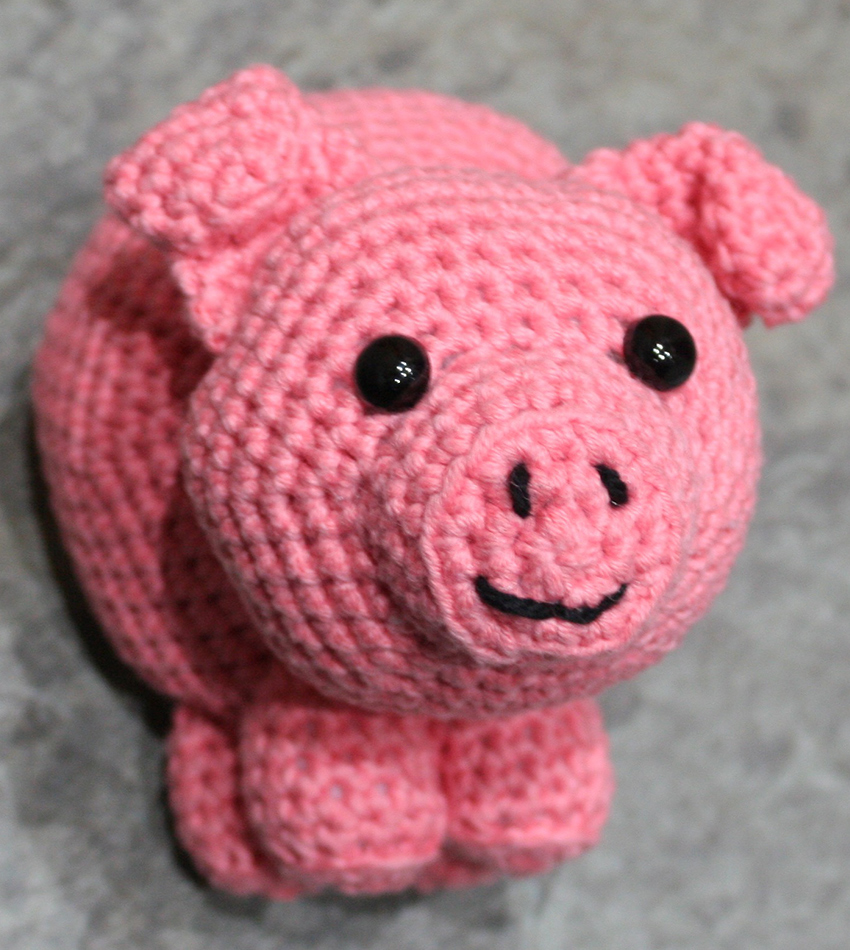
My beginner friendly crochet pig pattern is quick and cheap make, with a seriously cute result. Your sweet little swine uses basic crochet stitches, and will be complete and ready to play in just a few hours.
Your Crochet Pig Equipment List
To make your crochet pig toy you will need the following equipment:
- 100g / 219 yards of Sirdar Cotton Rich Yarn in ClamshellPaid Link
- 10g of Black DK YarnPaid Link
- 4.5mm Crochet HookPaid Link
- Toy StuffingPaid Link
- 2 x Safety EyesPaid Link
- Steel Yarn NeedlePaid Link
- Stitch MarkersPaid Link
Crochet Pig Pattern Notes
If you are new to crochet, then you can check out the tutorials below to find out how to make the basic stitches used in this pattern:
I will give you each instruction in full with the relevant crochet abbreviations to begin with. Following this the pattern will be given using the abbreviations shown. The number shown in brackets denotes the total number of stitches in the round. You will be making the toy in sections, then sewing them together to complete.
Crochet Pig Pattern
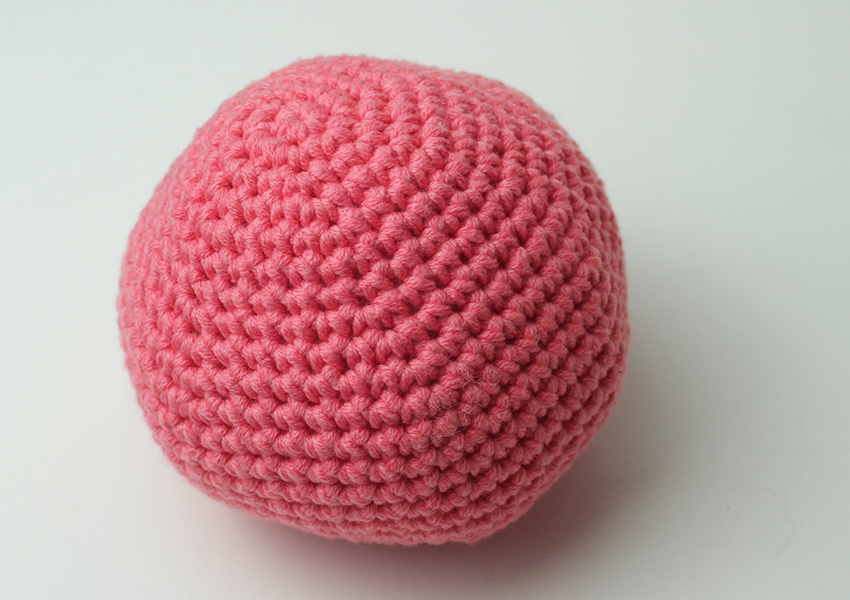
Make your crochet pig’s head using your 4.5mm crochet hook and your pink yarn.
Round 1
Make a magic circle of 6 stitches. (6)
Round 2
Put two single crochets into each stitch.
2sc x 6 (12)
Round 3
Make one single crochet in the first stitch, then two into the next. Repeat for the length of the round.
(1sc, 2sc) x 6 (18)
Round 4
1sc into the back loop only of each stitch. (18)
Round 5 – 6
1sc x 18 (18)
Round 7
(1sc x2, 2sc) x 6 into the front loop only of each stitch (24)
Round 8
(1sc x3, 2sc) x 6 (30)
Round 9
(1sc x4, 2sc) x 6 (36)
Round 10
(1sc x5, 2sc) x 6 (42)
Round 11
(1sc x6, 2sc) x 6 (48)
Round 12 – 13
1sc x 48 (48)
Round 14
(1sc x 6, sc2tog) x 6 (42)
Round 15
(1sc x 5, sc2tog) x 6 (36)
Round 16
(1sc x 4, sc2tog) x 6 (30)
Round 17
(1sc x 3, sc2tog) x 6 (24)
Insert safety eyes above the pig’s muzzle.
Round 18
(1sc x 2, sc2tog) x 6 (18)
Round 19
(1sc, sc2tog) x 6 (12)
Fill with toy stuffing
sc2tog to close. Slip stitch, tie off and cut a long line of yarn.
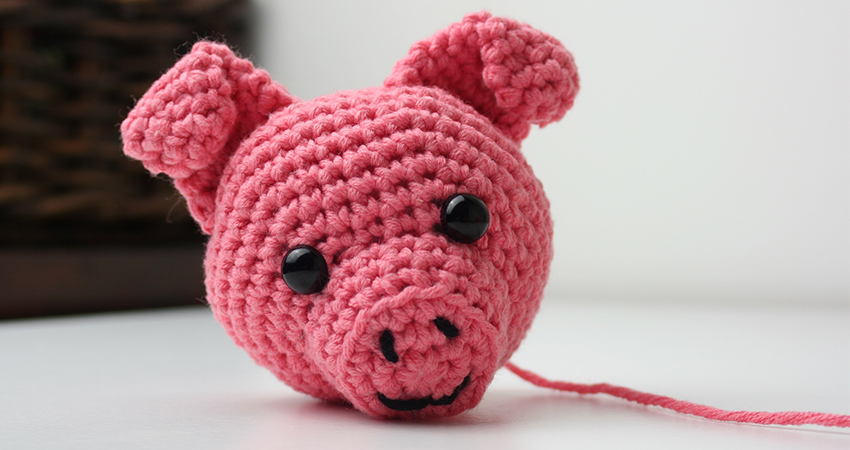
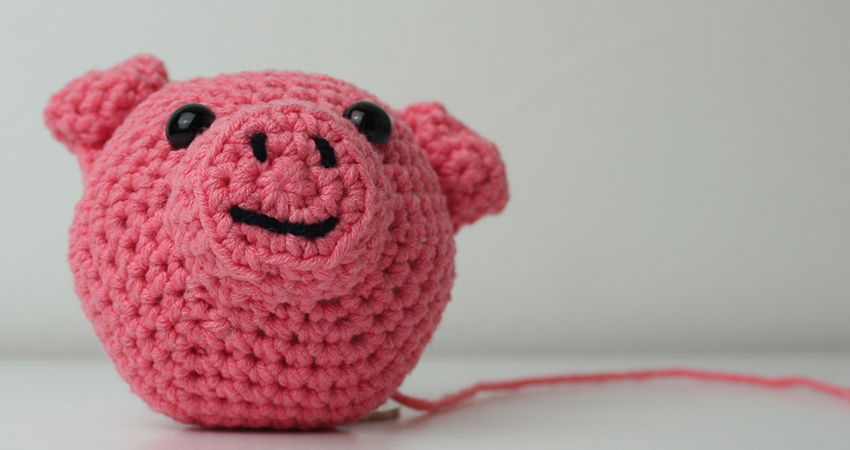
Put your crochet pig’s head to one side and move on to the ears.
Crochet Pig Ears
Make two ears with the following pattern:
Round 1
Make a magic circle of 5 stitches. (5)
Round 2
2sc x 5 (10)
Round 3 – 7
1sc x 10 (10)
Round 8
(1sc, 2sc) x 5 (15)
Round 9
1sc x 15
At the end of the round, slip stitch, tie off and cut a long tail of yarn.
Thread your yarn needle with this tail, fold the ear in half and sew it closed.
Then tip over the top 3rd and stitch it together, to give the tilted effect.
You can then attach the ears onto the top of your pig’s head.
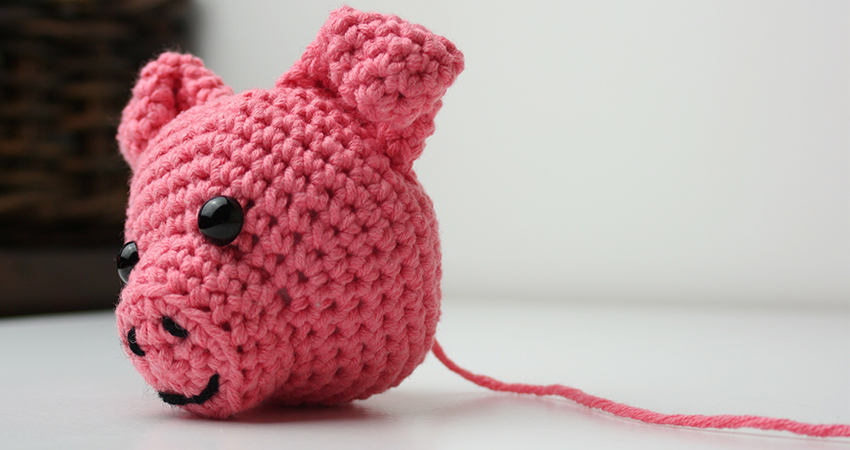
Sewing Your Crochet Pig’s Face
Finish your crochet pig’s face by sewing on his nostrils and mouth. Use your black DK yarn and steel needle to sew them directly onto his muzzle.
Crochet Pig Body
Make your crochet pig’s body using your 4.5mm crochet hook and pink yarn.
Round 1
Make a magic circle of 6 stitches. (6)
Round 2
2sc x 6 (12)
Round 3
(1sc, 2sc) x 6 (18)
Round 4
(1sc x 2, 2sc) x 6 (24)
Round 5
(1sc x 3, 2sc) x 6 (30)
Round 6 – 7
1sc x 30 (30)
Round 8
(1sc x 4, 2sc) x 6 (36)
Round 9
(1sc x 5, 2sc) x 6 (42)
Round 10
(1sc x 6, 2sc) x 6 (48)
Round 11
(1sc x 7, 2sc) x 6 (54)
Round 12 – 17
1sc x 48 (54)
Round 18
(1sc x 7, sc2tog) x 6 (48)
Round 19
(1sc x 6, sc2tog) x 6 (42)
Round 20
(1sc x 5, sc2tog) x 6 (36)
Round 21
(1sc x 4, sc2tog) x 6 (30)
Round 22
(1sc x 3, sc2tog) x 6 (24)
Round 23
(1sc x 2, sc2tog) x 6 (18)
Fill with toy stuffing
Round 24
(1sc, sc2tog) x 6 (12)
Round 25
sc2tog to close. Slip stitch, tie off and cut a long line of yarn.
Put the crochet pig’s body to one side and move on to the legs.
Crochet Pig Legs
Crochet your four pig legs separately, then sew them together before attaching them onto your crochet pig’s body.

Round 1
Magic circle of 6 stitches (6)
Round 2
2sc x 6 (12)
Round 3
1sc x 12 into the back loop only (12)
Round 4 – 7
1sc x 12 (12)
Fill with toy stuffing
Round 8
sc2tog to close. Slip stitch, tie off and cut a long line of yarn.
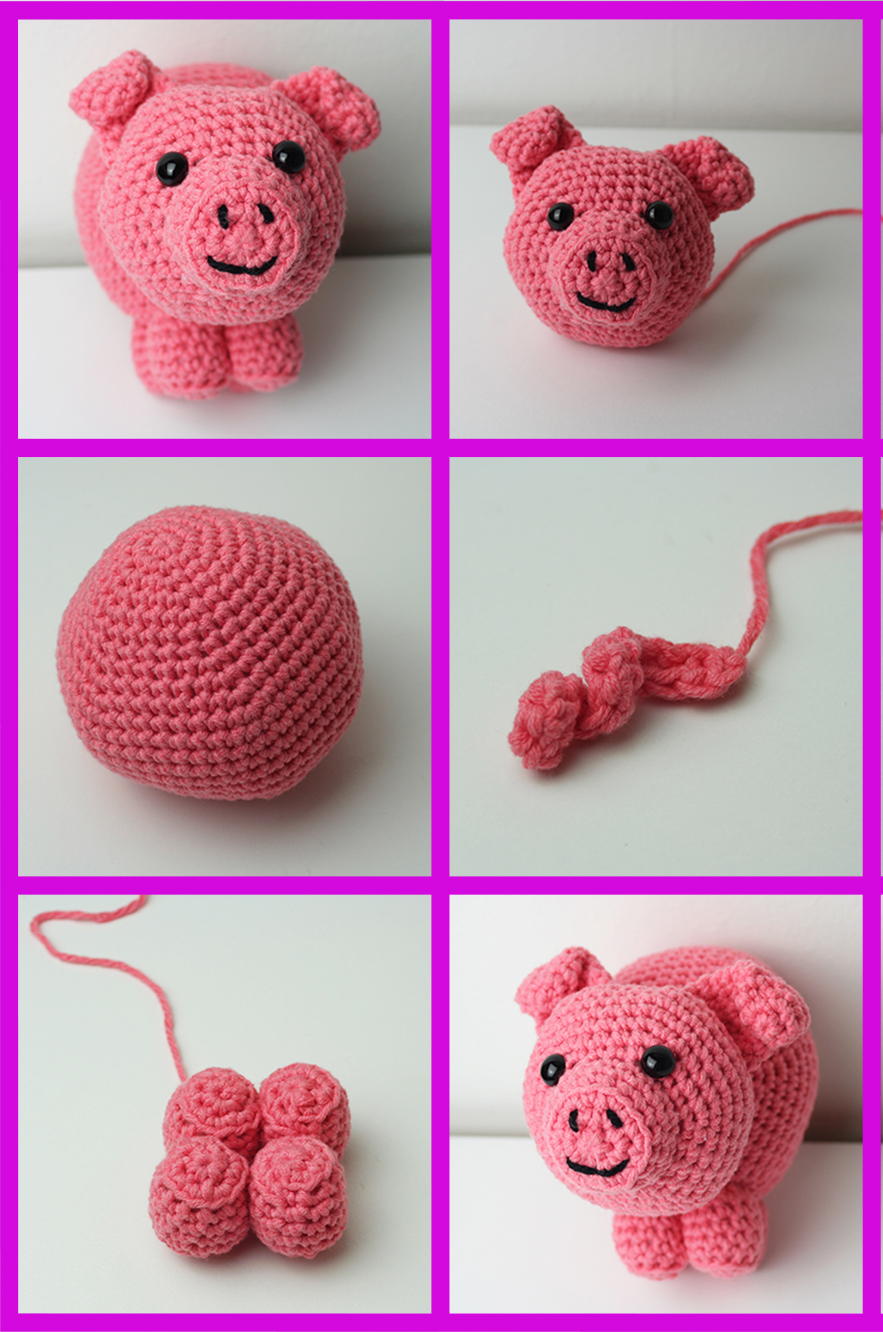
Make four legs and then attach them together, before joining them onto the body.
Take the tail of yarn you left over on each leg, and use to it attach the legs together by weaving in a straight line in and out of the stitches.
Put the legs to one side and move on to the crochet pig’s tail.
Crochet Pig Tail
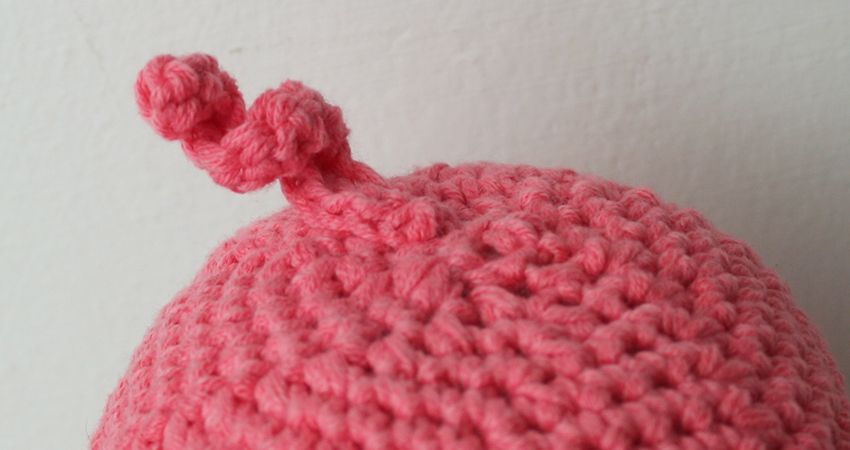
Make a chain of 15 stitches.
Make 1sc into the 2nd stitch from the hook.
Then make 1sc into the remaining 13 stitches.
Slip stitch and cut off a long end.
Joining Your Crochet Pig Together
You now need to sew the component parts of your crochet pig together.
You should have the following:
- 1 head, with ears attached and face sewn on
- 1 body
- 1 set of four legs, all joined together
- 1 tail
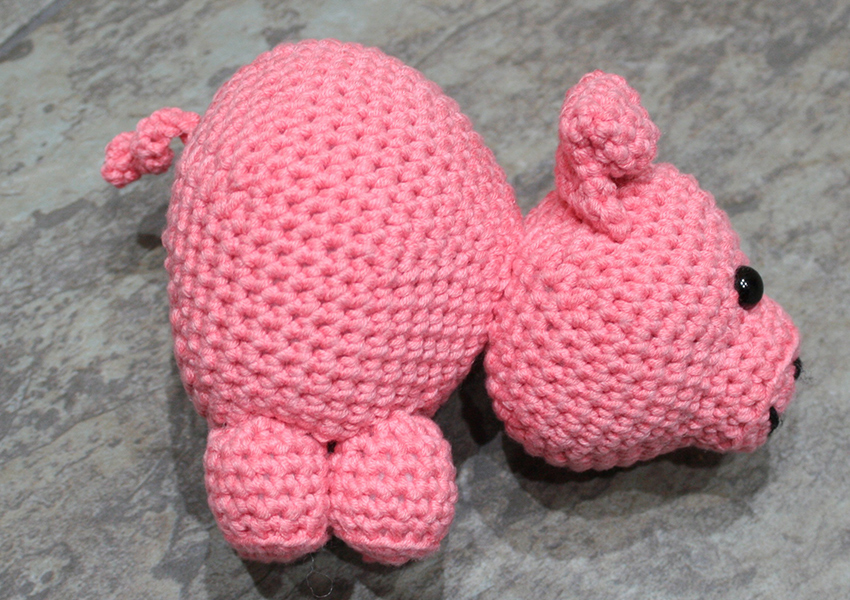
Begin by sewing the head onto the body. Attach the back of the head onto the starting magic circle of the body. Sew around in a circle following the stitches, until the head feels securely attached in place.
Then sew the set of legs underneath the body. Moving around the circumference of each leg, joining them onto the underneath of the body.
Finally sew the tail onto the finishing point of the crochet pig’s body, leaving the curl unfurled.
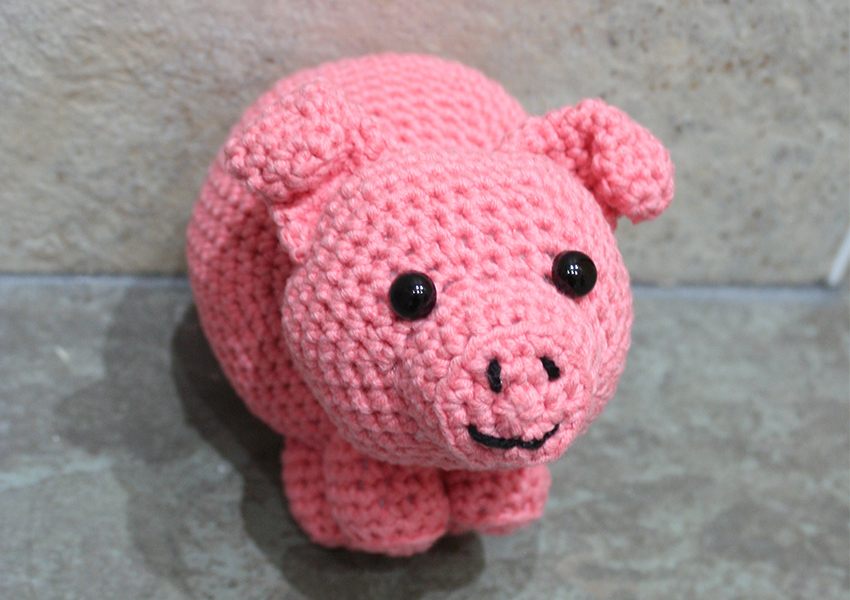
Your Crochet Pig Toy
I hope you enjoy making your own crochet pig using this pattern. Don’t forget to make your pig a guinea pig buddy when you’re done!
Why not let me know how you got along in the comments section below, or share a photo of your finished toy on my Facebook page?
More Crochet Toy Ideas
- Crochet your own unicorn
- How to crochet a toy cat
- Free crochet horse pattern
- Crochet teddy instructions
Happy Crocheting! Lucy Kate, x


I just can’t wait to make this wee piggy, he’s so cute. Thank you
So cute.
Very nice work or really fun. I so enjoy making Amigurumis Do you ever list a price range?? Saw your FB post today.
Hi Sandi, Thanks for your comment. I don’t charge for my patterns, they are available free through the website. If you are interested in commissions, you can find out more about them on this page: https://lucykatecrochet.com/commissions Hope this answers your question 🙂
Loving this cute pig. Am unsure of round 7. of the pigs head. Is it single crochet x 2
then single crochet twice or slip stitch in same stitch?
Hi Flo, I’m so pleased that you like him.
Round 7 = (1sc x2, 2sc) x 6 into the front loop only of each stitch (24)
This means put 1 single crochet into the first stitch, 1 single crochet into the next stitch, then 2 single crochets into the stitch after that. Then repeat until the round is complete.
Hope this helps!
Lucy Kate, x
Where is the instruction for making the muzzle?
Deanna
Hi Deanna, The early steps for the head will make up the muzzle, it isn’t a separate section. Hope that helps!