Crochet Coaster Patterns
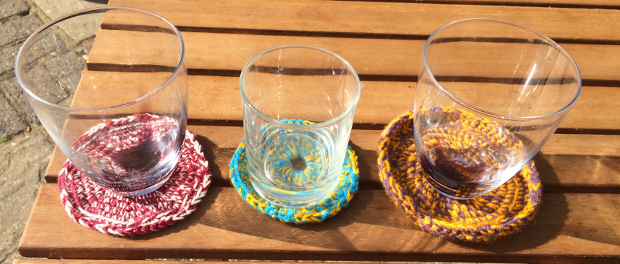
Crochet coasters are a practical way to add a bit of your hobby to your home decor. Today I share three very simple crochet coaster patterns. You’ll need a 4.5mm hook and some firm yarn which without much stretch or texture. It’ll need to hold it’s shape under your drink, and not ruin if you accidentally spill your glass!
Contents
These little drinks mats are a fab accessory to have around your home. They are ideal for finishing off your newly decorated space, or making as little gifts for your friends and family.
Simple Crochet Coaster
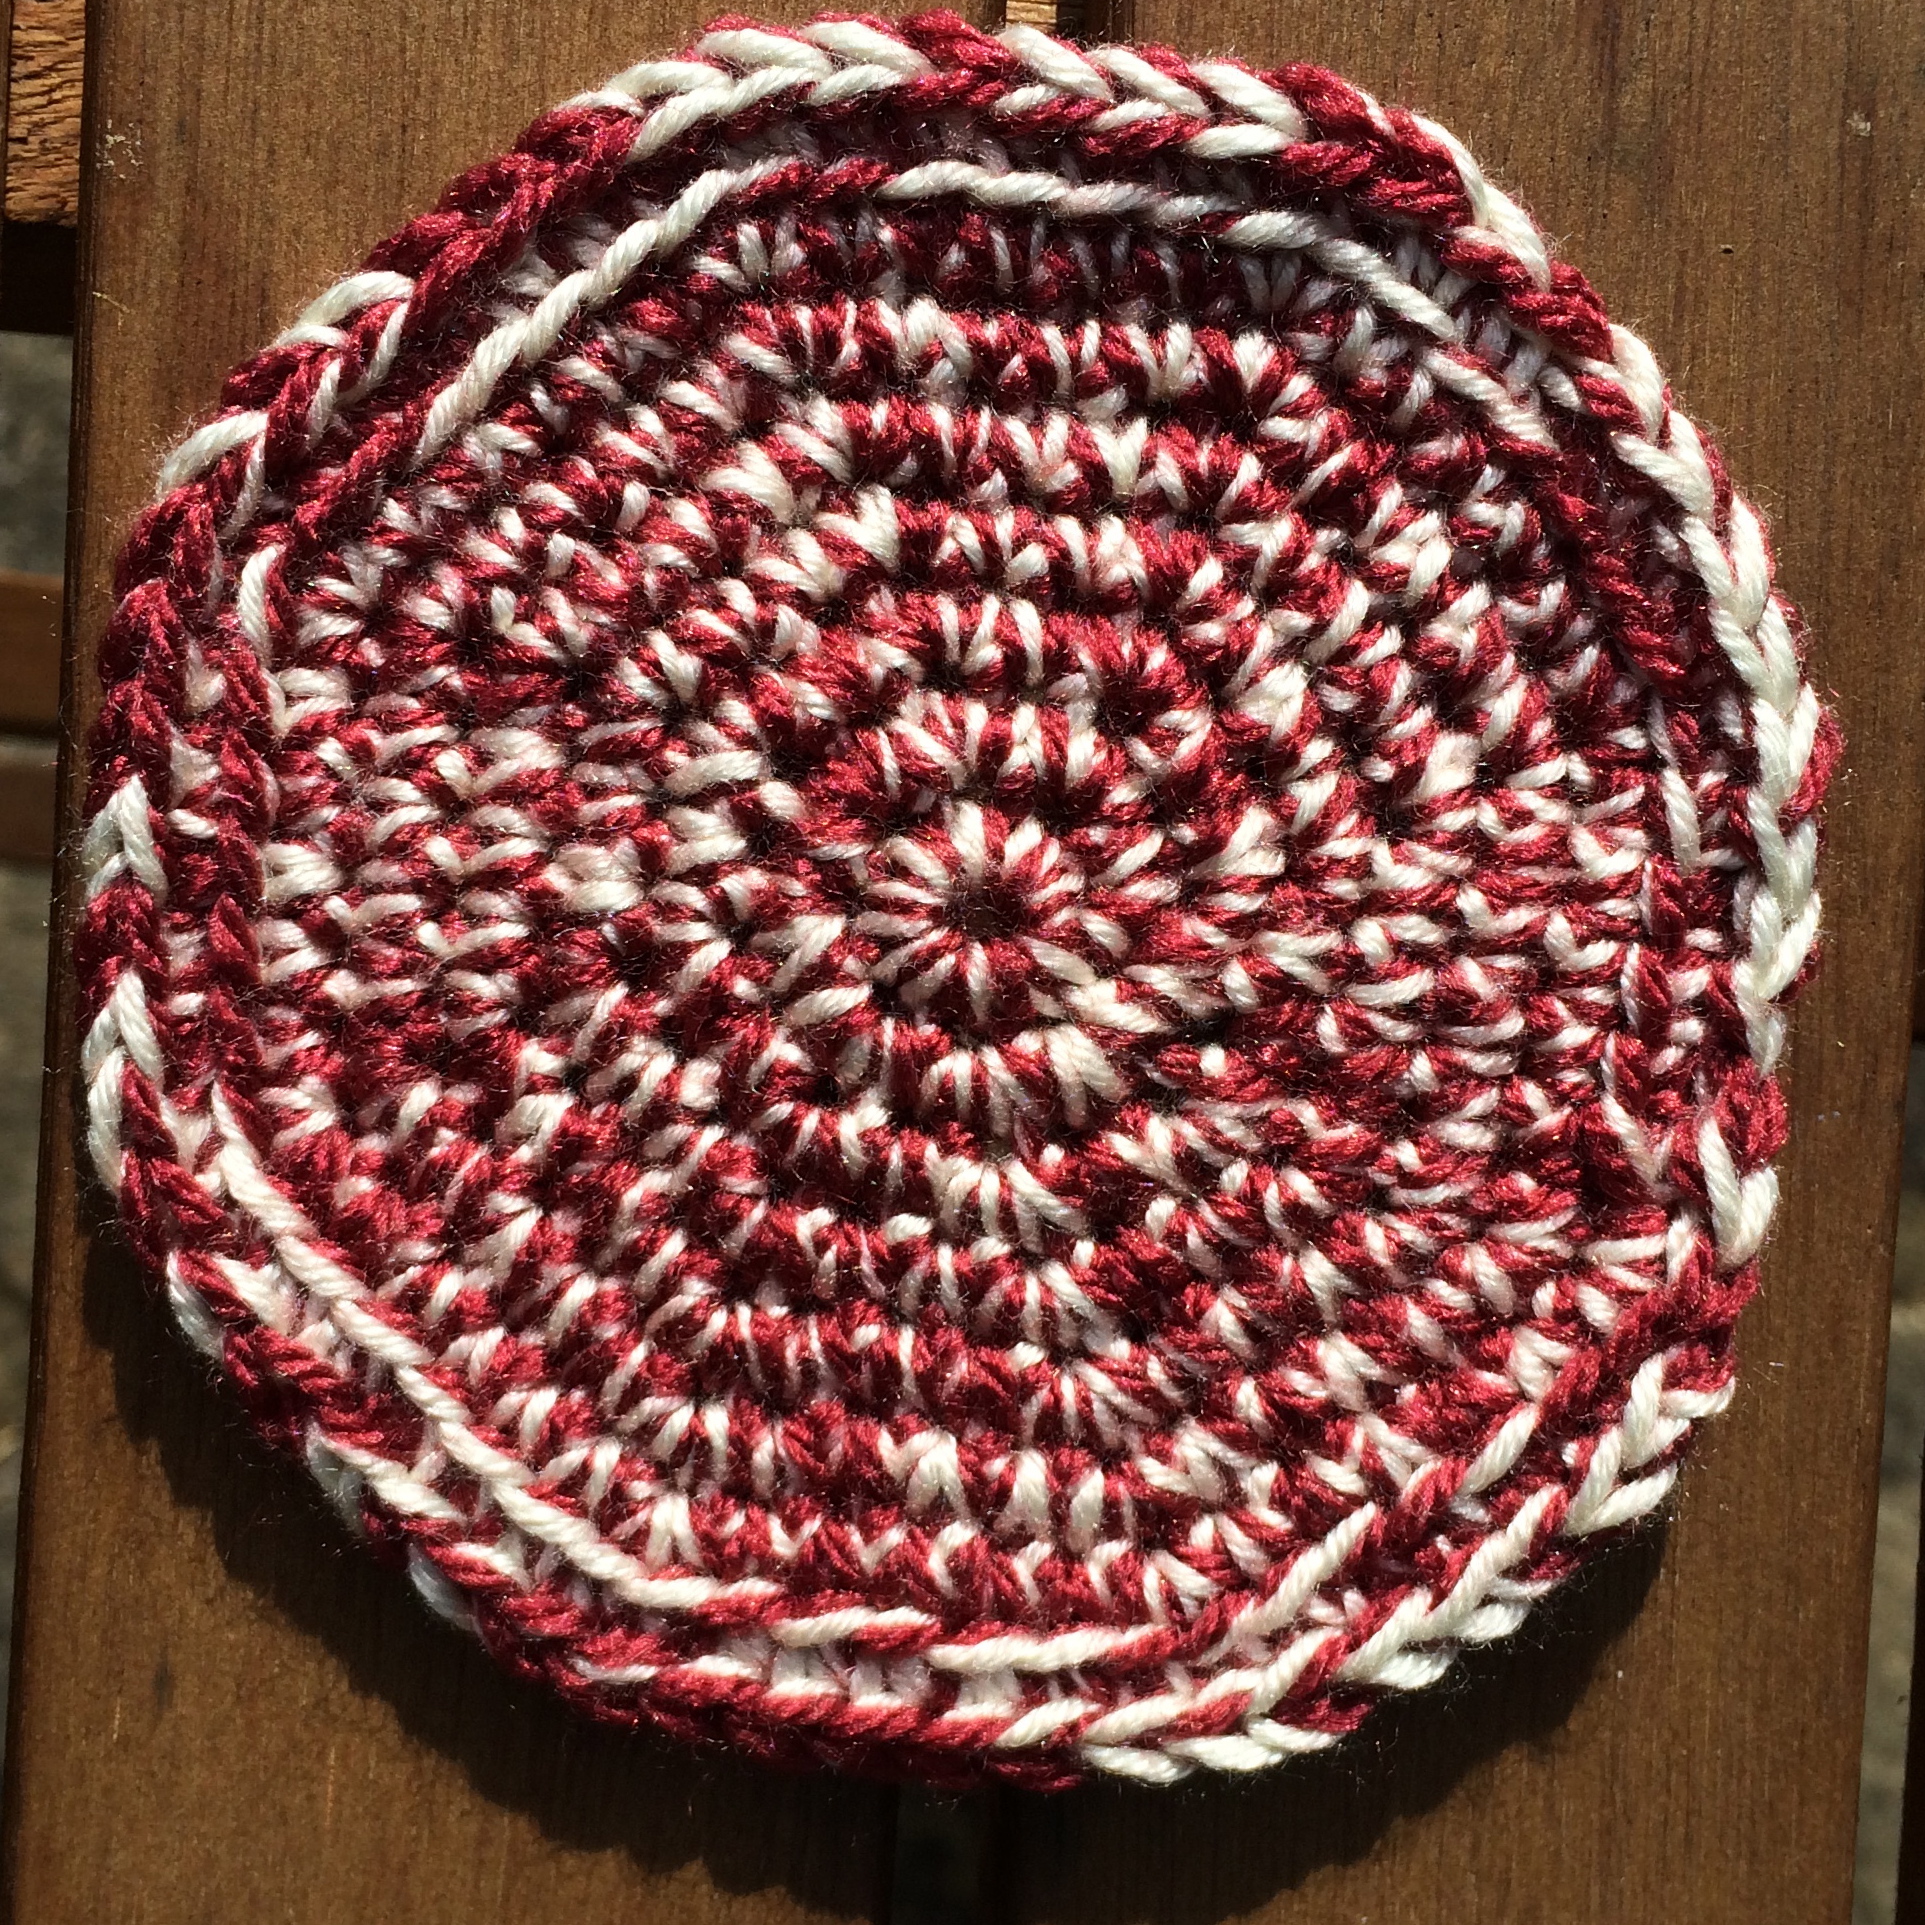
You’ll find crocheting a simple coaster rewarding. Not only does it look great, it’s practical and so fast to put together. No swapping yarns, cutting ends or changing colors. Just a simple increasing pattern with a flattened edge.
You will need two contrasting colors of yarn and a 4.5mm hook. You’ll also find things easier if you have some scissors, a stitch marker and a yarn needle. This will help you to neatly sew in your ends when you’re done, as the hook can be a bit of a struggle to push back into the coaster when it’s finished.
The brackets at the end of each instruction tell you how many stitches each circle should contain. You will find it easiest to keep track of the pattern if you put a stitch marker in the first stitch of each row.
Simple Crochet Coaster Pattern
- Row 1 – Take the two ends of your yarn balls together, and crochet a double thickness magic circle with eight stitches (8)
- Row 2 – Put two single crochets (US) into each stitch (16)
- Row 3 – Single crochet once into the first stitch, twice into the next stitch. Repeat to the end of the row. (24)
- Row 4 – Single crochet once into the first two stitches, twice into the third. Repeat to the end of the row.
- Row 5 – Single crochet once into the first three, then twice into the fourth. Repeat.
- Row 6 – Single crochet once into the first four, then twice into the fifth. Repeat.
- Row 7 – Single crochet once into each stitch, through the back loop only. At the end of the row, slip stitch tightly into the next stitch. Cut off with a long tail so that you can sew it in neatly.
Creating Raised Edges
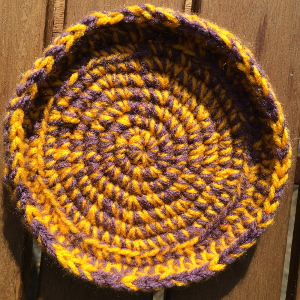
These only deviate slightly from the pattern shown above, but they are more practical in design terms. The raised edge prevents the glass from slipping off the side!
You will need the same equipment as before, though now you are more confident you might like to try using more similar colors, or two strands of the same color.
Pattern Changes
- Follow the instructions for rows 1 – 6 of the Basic Coaster.
- Row 7 – Single crochet into the back loop of each stitch
- Row 8 – Double crochet (US) once into both loops of every stitch. At the end of the row slip stitch into the second stitch from the hook and tie off and sew in the ends!
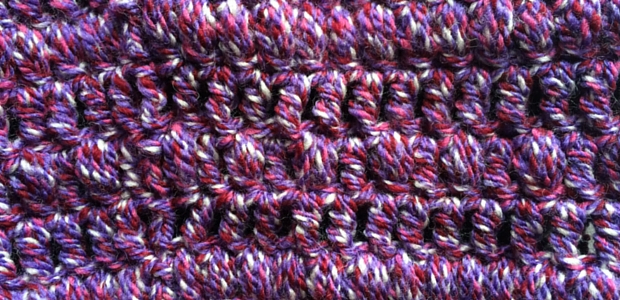
Crochet Coaster
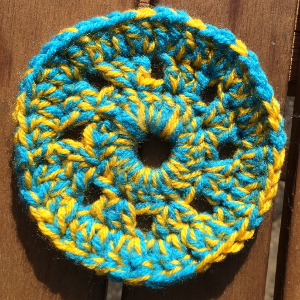
Your next coaster is something a bit different. You will find that this finished product is thicker than the others, and has a slightly smaller radius.
You can choose your colors based on personal preference, but I find bright contrasting colors make this one pop.
How to Crochet a Patterned Coaster
- Row 1 – Chain 8 and slip stitch into the first stitch to form a ring.
- Row 2 – Chain three then make 23 double crochets into the centre of your ring. Slip stitch the top stitch of your chain three to join.
- Row 3 – Chain three then make 2 double crochet into the stitch. Skip one stitch then make 3 double crochet into the next. Continue around the ring making 3 double crochets into every other stitch. At the end, slip stitch the top of the chain to join and tie off
- Row 4 – You will now need to double crochet into the top of each of the previous double crochets. Begin at one edge of a trio, put two double crochets into the first stitch, one into the middle, two into the third. Skip the interlocking chains. Then repeat, two double crochet into the first stitch, one into the second, two into the third.
Continue in this pattern to the end of the row!