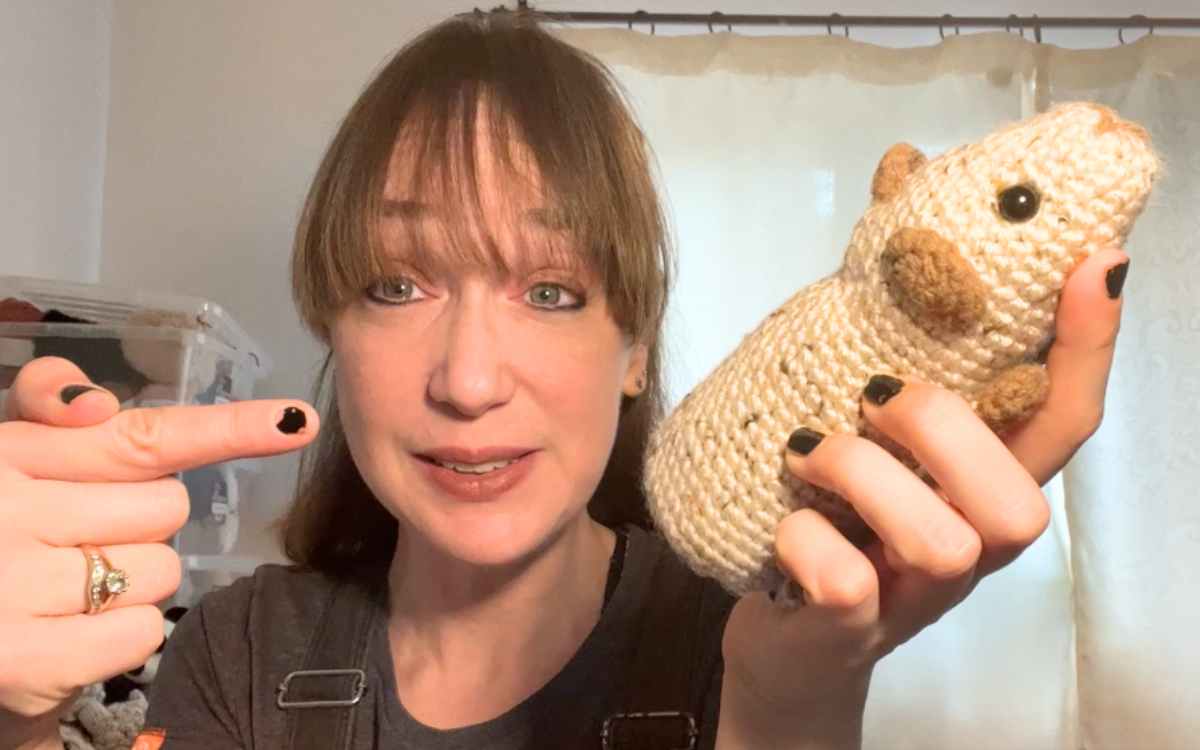
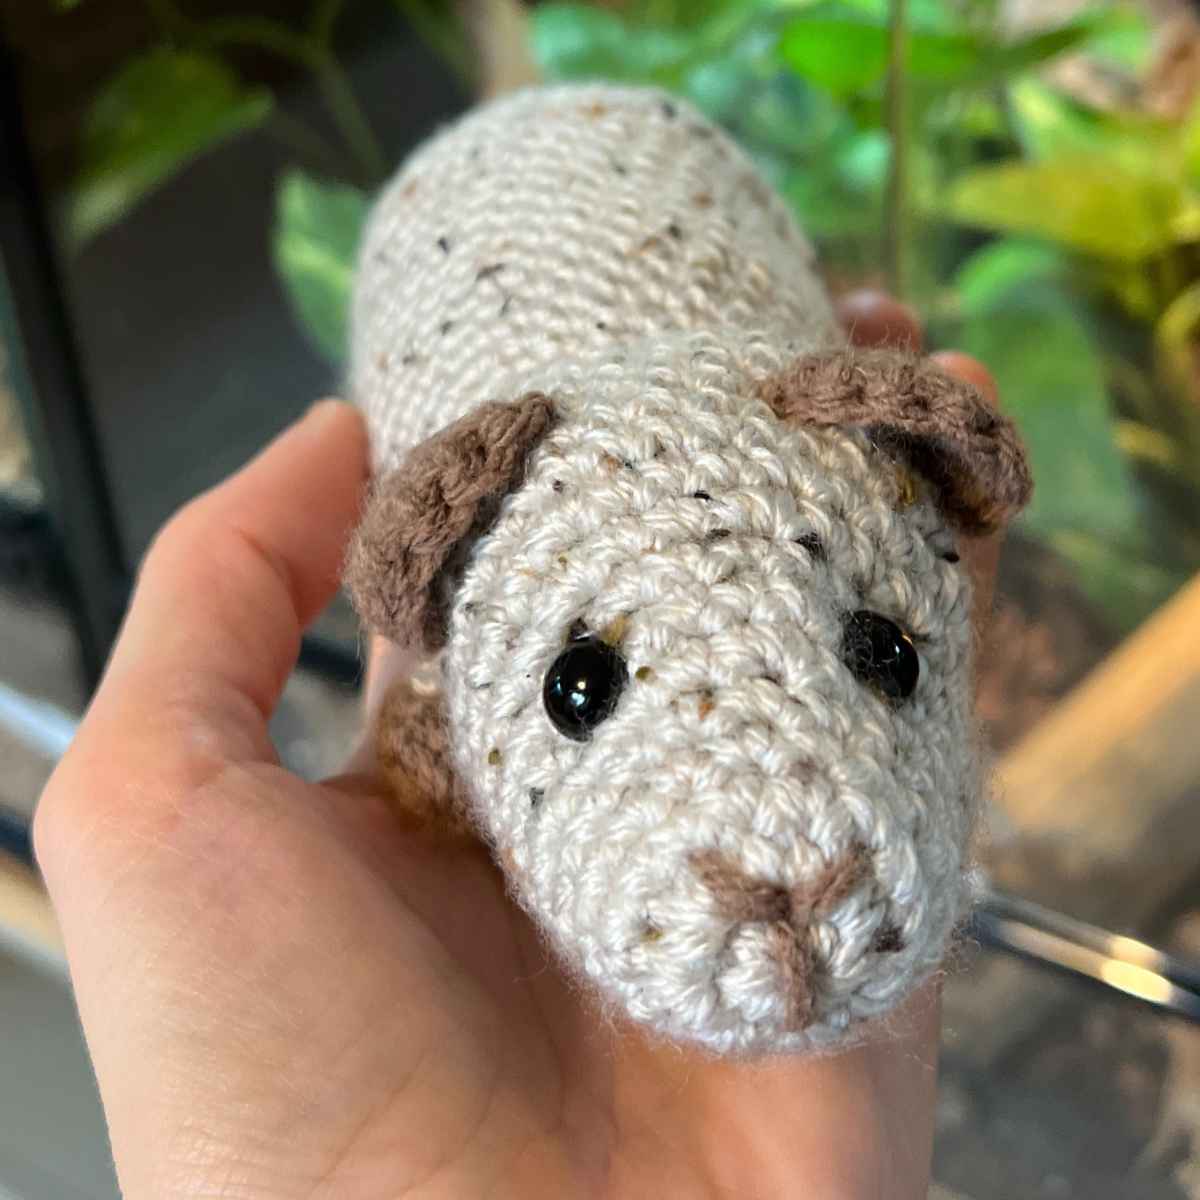
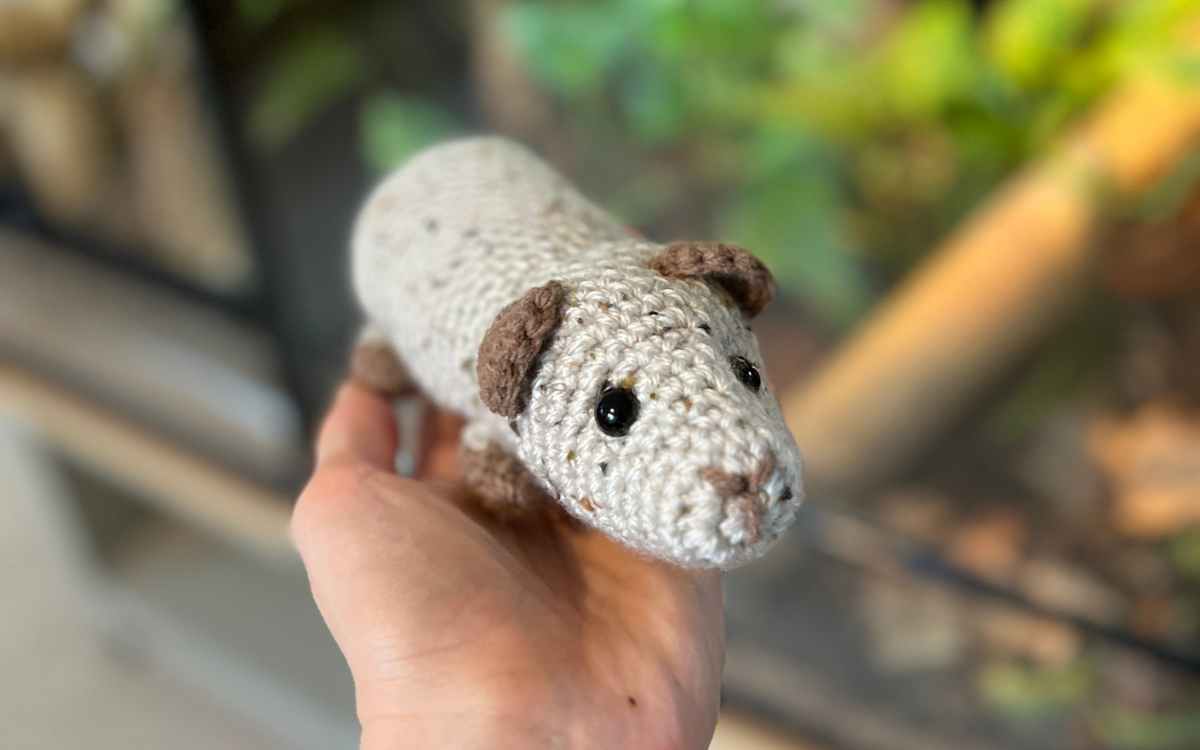
Himalayan Crochet Guinea Pig
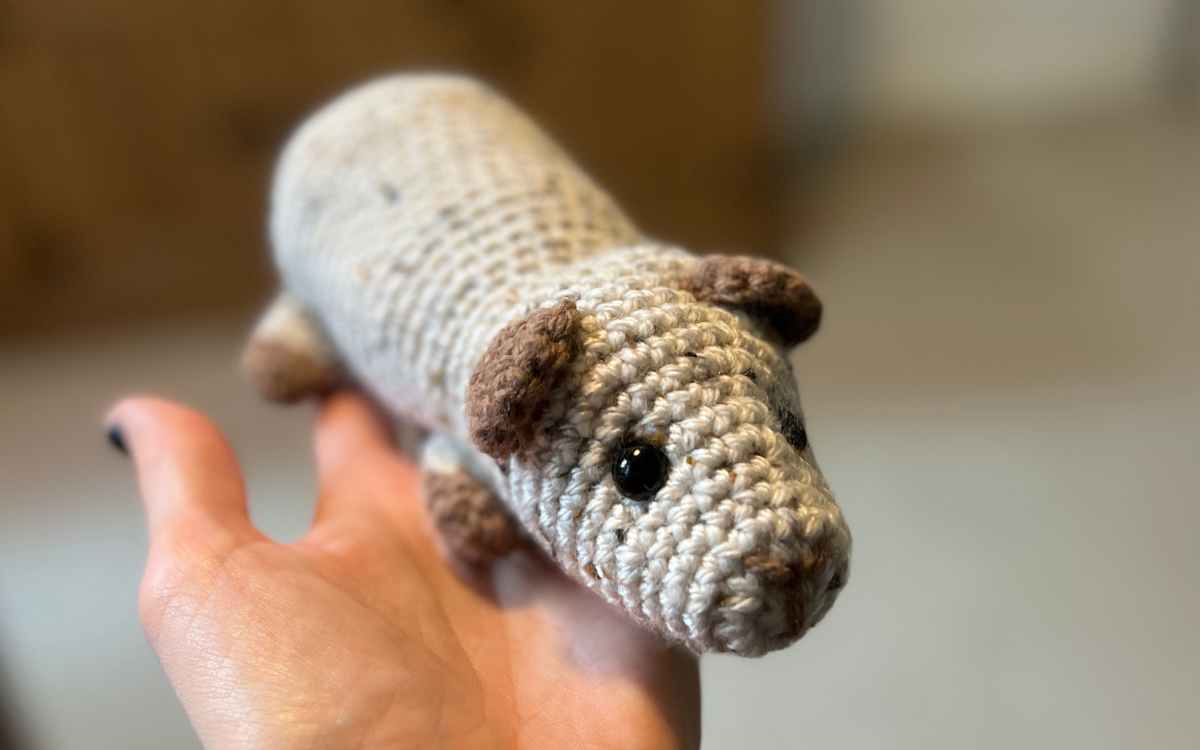
My crochet guinea pig pattern is beginner friendly, simple and quick for you to work up. I created this design in just a few hours, so you should have no issues crocheting your own amigurumi guinea pig in no time at all!
My crochet guinea pig pattern will come as no surprise to those who know me. I have over a dozen of the little cuties in a specially built outbuilding, and have been obsessed with them forever. I based this crochet guinea pig pattern on the Himalayan guinea pig breed, giving him dark points and a pale coat.
What You’ll Need In Your Crochet Bag:
- 4.5mm crochet hook
- Women’s Institute Soft and Smooth Tweed, aran weight, marl cream yarn
- Sirdar Supersoft, aran weight, brown yarn
- 2 safety eyes
- Toy safe stuffing
Useful Pattern Notes
To create this crochet pattern you’ll need to use magic circles, single crochets and a couple of chains. There are limited color changes, and even just a small amount of hand sewing to attach the legs and ears.
As always, I’ll explain any abbreviations I use the first time they come up, but let me know if you’d like clarification on any of the instructions.
Himalayan Guinea Pig Crochet Pattern
You’ll make your amigurumi guinea pig in just a handful of sections. The body and head, ears and legs.
Crocheting Your Guinea Pig’s Head and Body
Your crochet guinea pig’s head and body are made in one continuous section, using the 4.5mm crochet hook and cream yarn.

Round 1
Make a magic circle of eight stitches (8)
Round 2
Put two single crochets into each stitch.
2sc x 8 (16)
Round 3 – 5
Make one single crochet in each stitch of the round.
1sc x 16 (16)
Round 6
Put one single crochet in the first stitch, two in the next, then repeat for the round.
(1sc, 2sc) x 8 (24)
Round 7 – 8
1sc x 24 (24)
Round 9
Make one single crochet in two stitches, then two into the next. Repeat this three times, then put one single crochet into the remaining stitches of the round.
(1sc x 2, 2sc) x 3, 1sc x 15 (27)
Round 10
(1sc x 3, 2sc) x 3, 1sc x 15 (30)
Round 11 – 15
1sc x 30 (30)
Round 16
(1sc x 3, sc2tog) x 3, 1sc x 15 (27)
Round 17
(1sc x 2, sc2tog) x 3, 1sc x 15 (24)
Attach your eyes
You can now add your safety eyes onto the front of the amigurumi guinea pig’s head. Insert them approximately six stitches apart and six rounds in from the nose. If you’d like to add definition, tie the backs of the safety eyes together with a short piece of yarn.
Round 18
1sc x 24 into the Front Loop Only
Round 19
(1sc x 2, 2sc) x 8 (32)
Round 20 – 29
1sc x 32 (32)
Round 30
(1sc x 3, 2sc) x 8 (40)
Round 31 – 34
1sc x 40 (40)
Round 35
(1sc x 3, sc2tog) x 8 (32)
Round 36
(1sc x 2, sc2tog) x 8 (24)
Round 37
(1sc, sc2tog) x 8 (16)
Fill with toy stuffing, being careful not to use too much padding.
Round 38
Sc2tog x 8 then hand sew to close.
Sewing Facial Features
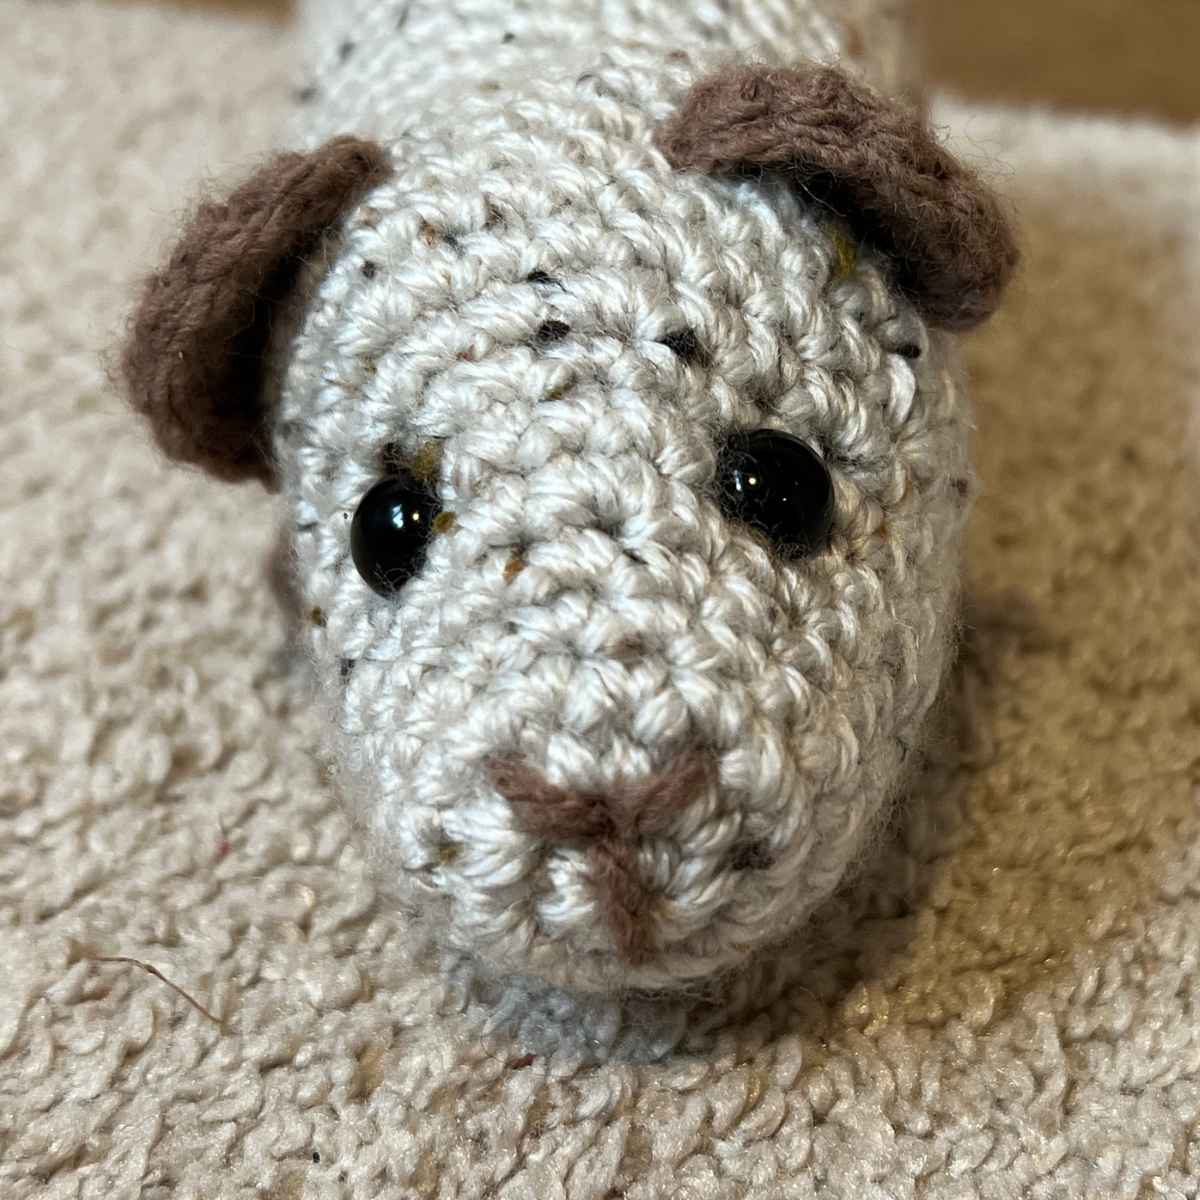
To give your guinea pig a bit more character, use the brown yarn to hand sew a nose onto the front of his face.
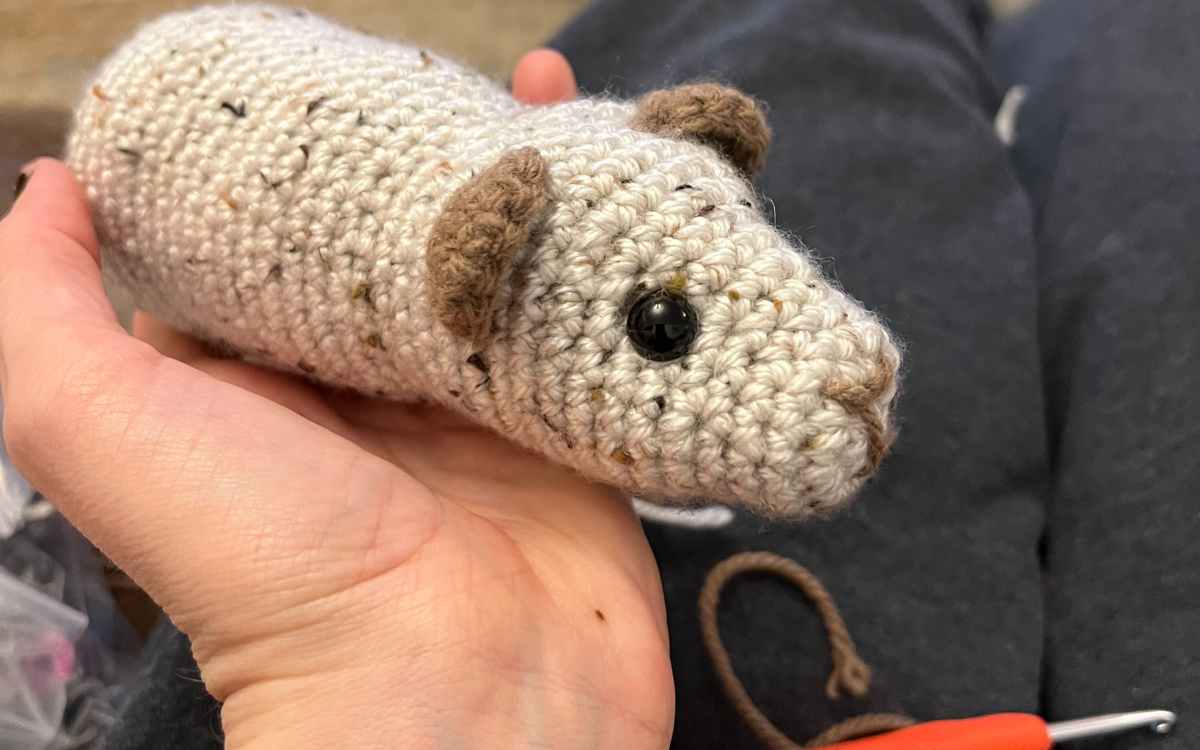
Crocheting Guinea Pig Ears
Crochet your amigurumi guinea pig’s ears in the brown yarn with your 4.5mm crochet hook. The pattern for your guinea pig ears is a little different. Make sure to leave the magic circle open at the start, and flip after each section.
Round 1
Make a magic circle of six stitches, but do not close (6)
Round 2 – 3
Turn over the ear.
Chain 1, then make 1sc into each stitch.
When complete, sew the ears onto the sides of the head, remembering that guinea pig ears tip forwards. Around five rounds back from the eyes looks best.
Crochet Guinea Pig Legs
Begin your guinea pig’s legs in the brown yarn, you’ll switch over to the cream yarn after a few rounds. Use your 4.5mm crochet hook for these pieces.
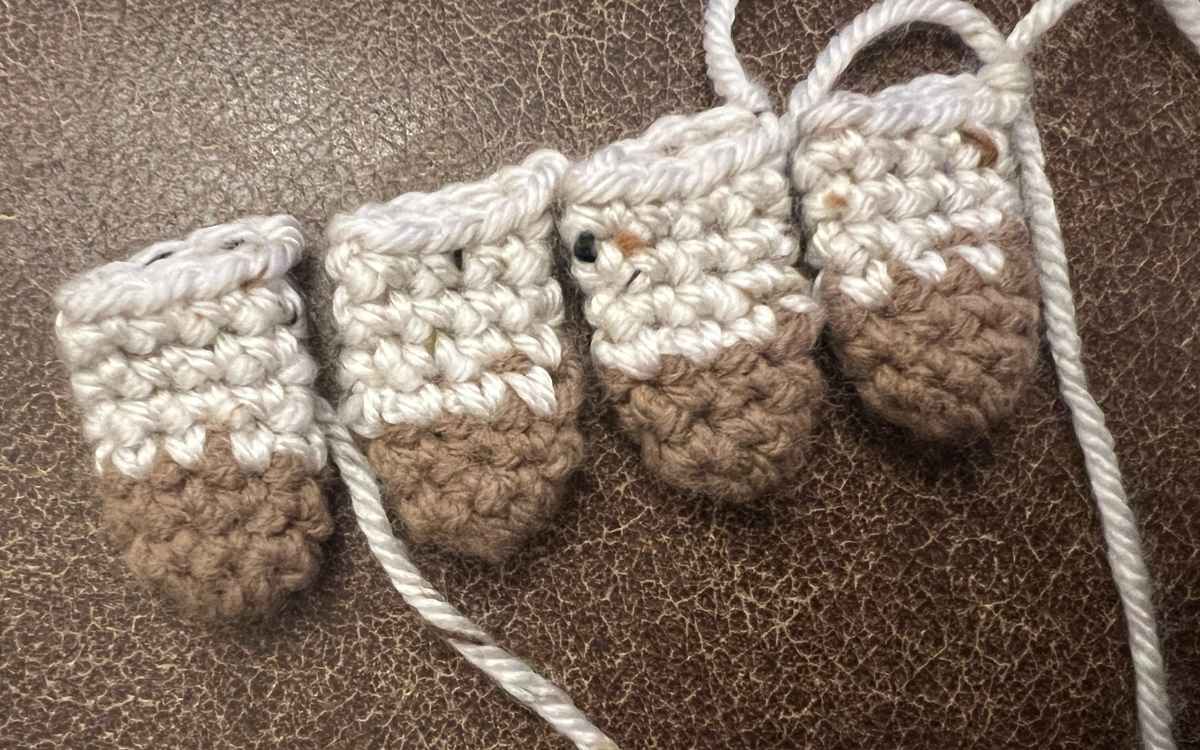
Round 1
Make a magic circle of eight stitches (8)
Round 2 – 3
1sc x 8 (8)
Color change to brown
Round 4 – 7
1sc x 8 (8)
Leave the feet unstuffed, and sew the ends onto the underside of your guinea pig.
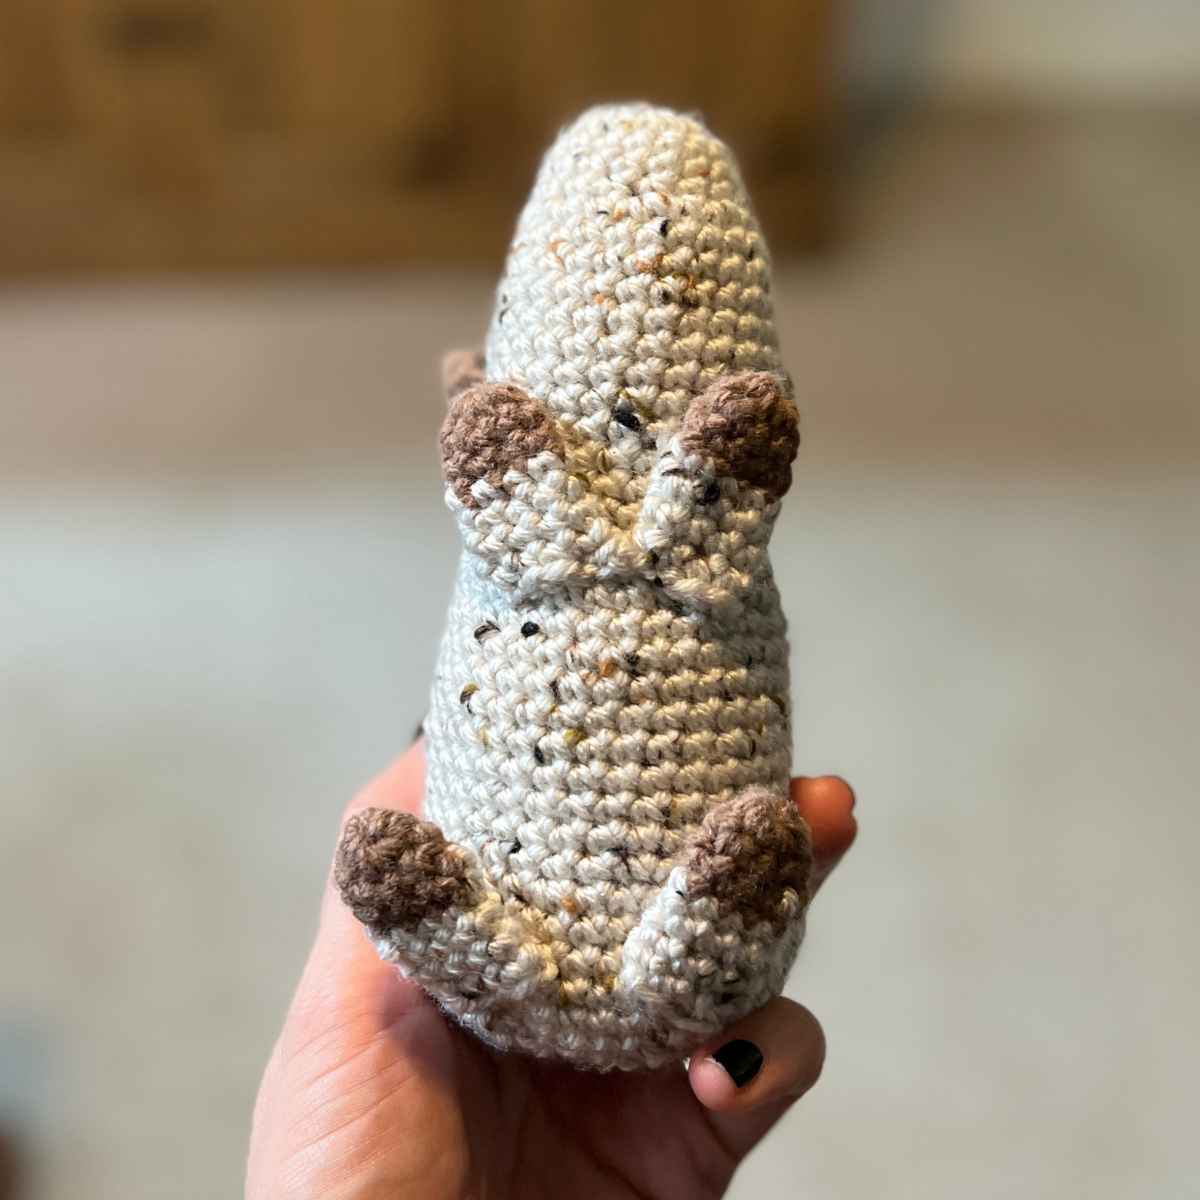
Crocheting Your Amigurumi Guinea Pig
Guinea pigs come in some many fabulous varieties, why not make this little guy look like your squeaky friend? I am definitely going to make some more crocheted guinea pigs to reflect my own little buddies.
Happy Crocheting!
Lucy Kate, x