Adding Finishing Touches To Amigurumi Patterns
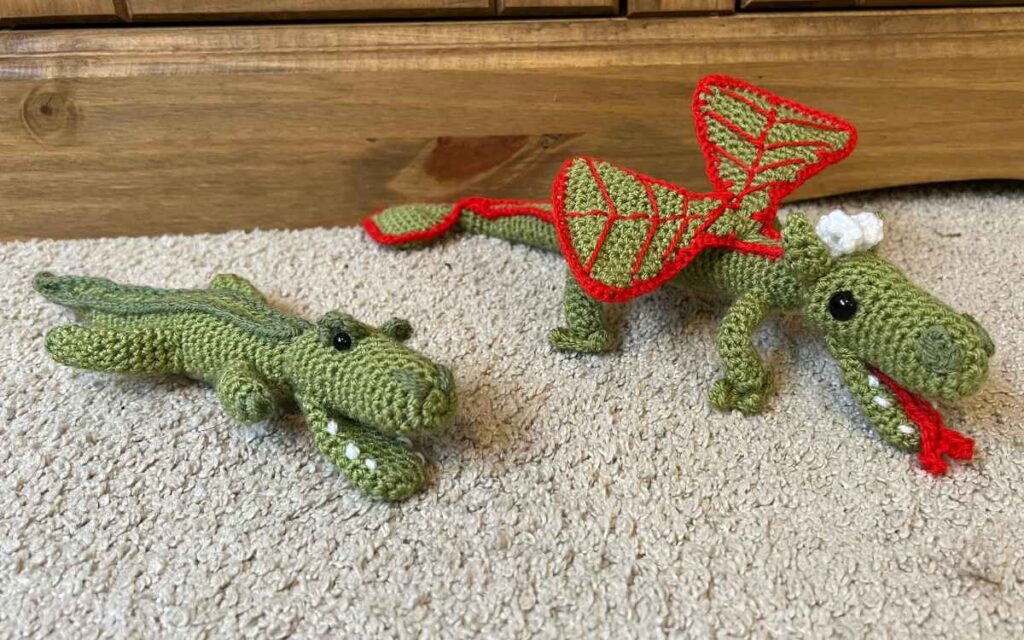
I never feel like my amigurumi designs are complete until they’ve got some finishing touches! And although there is something fun about simple crochet patterns, my passion really lies in pushing my crochet toys that extra mile.
Small details can have a huge impact on your finished toy. Whether you’re creating your own design, or giving your own unique twist to the pattern you’re following.
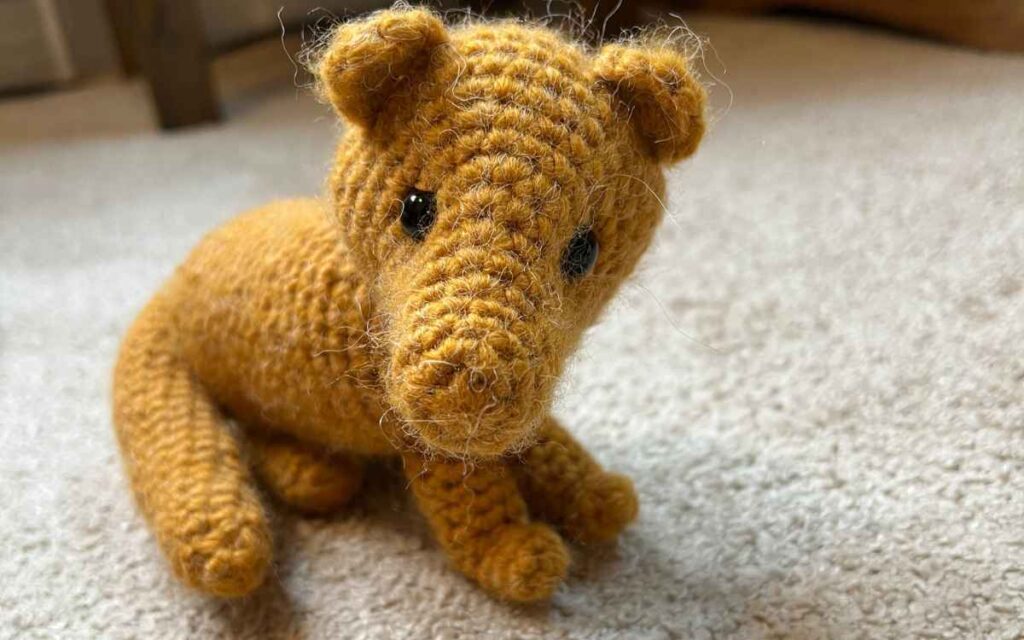
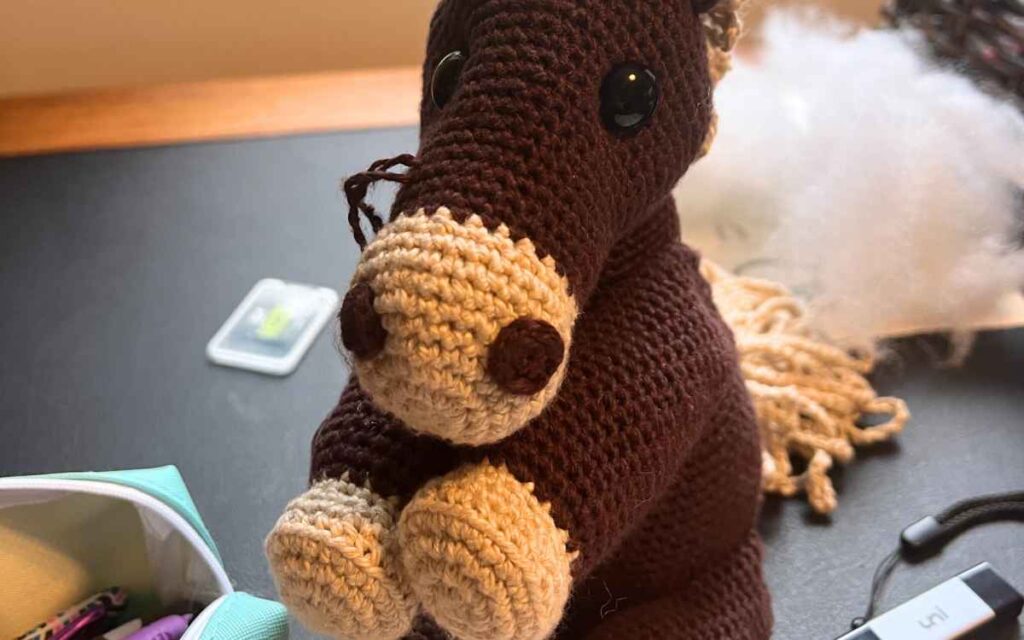
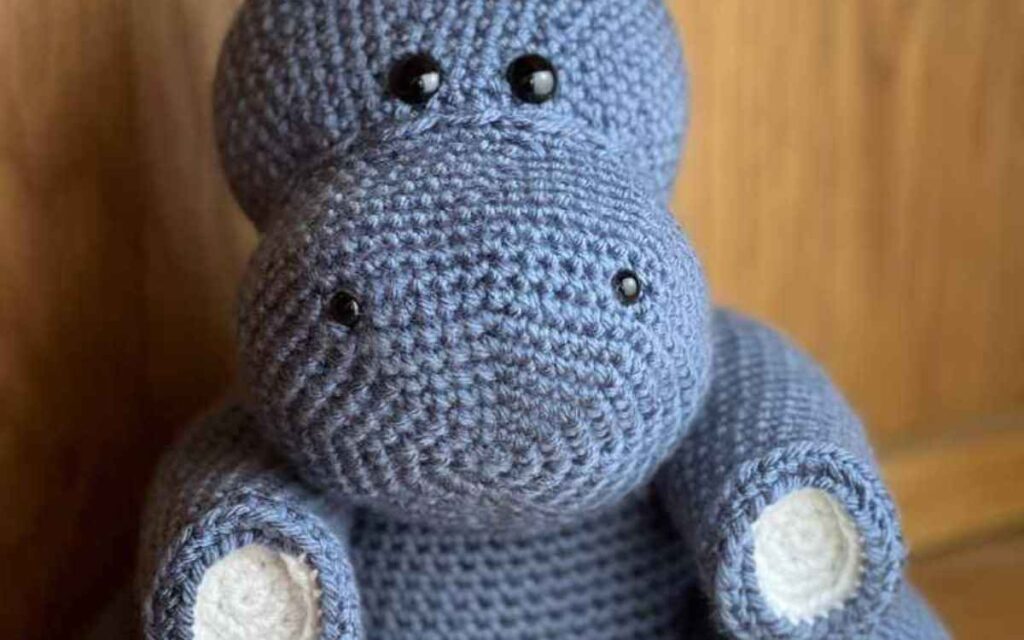
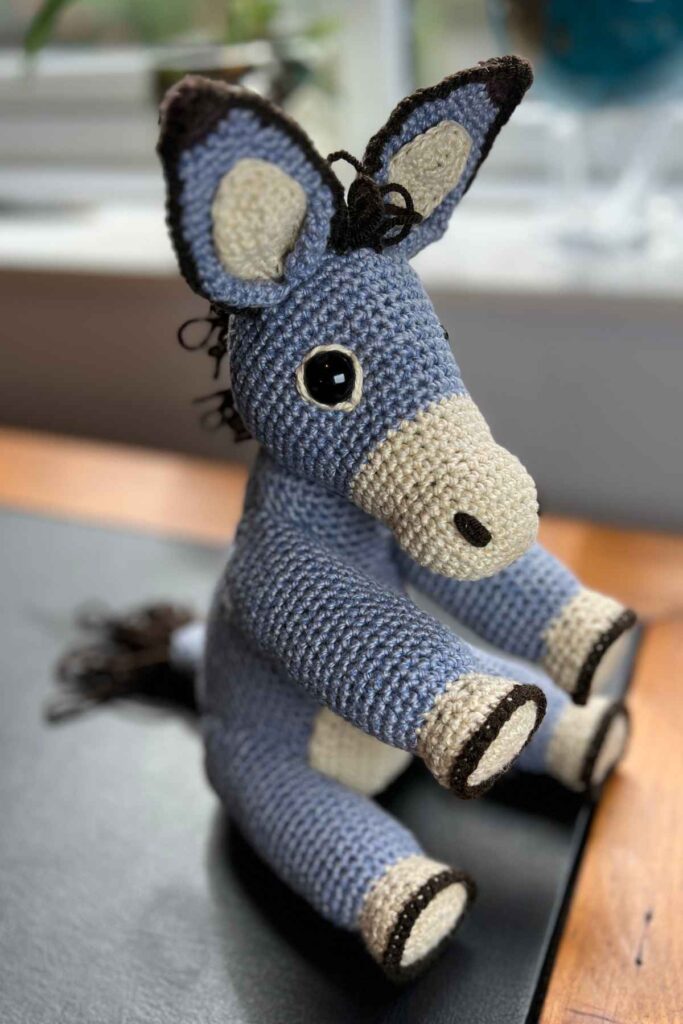
I recently gave my dragon veins on her wings with surface crochet, I added eyeliner to my donkey with hand sewing, and gave my hippo nostrils using teeny tiny safety eyes. But there is so much more than you can do. And I’m going to share my experience today, and inspire your creations onto the next level.
Neat Finishes
The first and most important way I ensure that my patterns look complete is by closing the sections tightly and hiding my loose ends securely.
Closing off rounds
When I am working from a magic circle, which is most of the time, I really focus in when I’m closing the shape. Here’s the reason. When I am expanding in the round I start with a magic circle of a certain number of stitches, then I increase and decrease as needed to make the three dimensional shape I require. But when I get down to that final round, technically on stitch counts alone the last reduction takes me to the same number of stitches I had on that starting magic circle.
What I therefore do to close it neatly is a single crochet for an additional round, then I swap my hook for my yarn needle* and weave in and out between the remaining stitches, gently pulling them tightly. Finally I hide the loose end of the yarn tail.
Securing and hiding loose ends
To keep loose ends from wiggling their way out of my toys, you might be surprised to hear that I don’t often tie knots in the yarn. Instead, I sew the long ends in and out through the nearest large section, which enables the fibers of the yarn to intertwine with the stuffing inside the toy*.
Amigurumi Faces
Faces make our crocheted toys come to life, and they are also a great way of making your copied pattern look unique for very low effort.
Highlighting the eyes
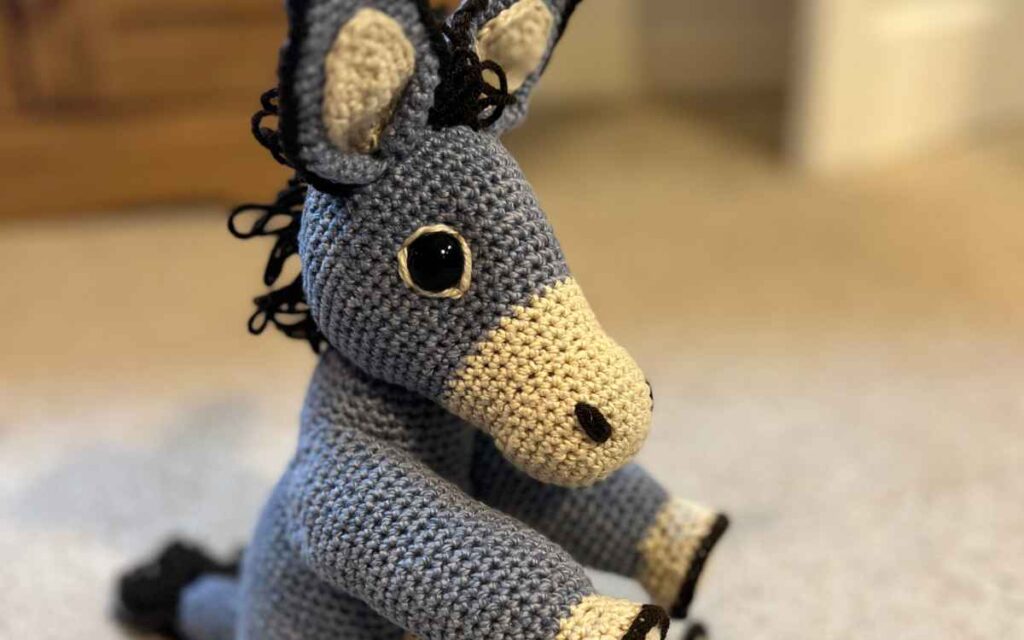
I love making a feature out of the eyes. To do this I usually use some hand sewing, working around the safety eye* with a contrasting color to make it stand out. If you’re crocheting a doll you can give it some eyeliner with sewing, or bring out those gorgeous lashes. The key is consistency of stitch sizes even with hand sewing, and to use a yarn that doesn’t blend into the background as it just won’t be noticed.
I also occasionally use the same colored yarn as the rest of the face to create eyelids, which can be achieved by stitching back and forth a couple of times over the top of the safety eye.
Creating mouths and noses
I don’t often give my patterns mouths, but my son really likes his toys to have a full face so I’m creating them more often lately.
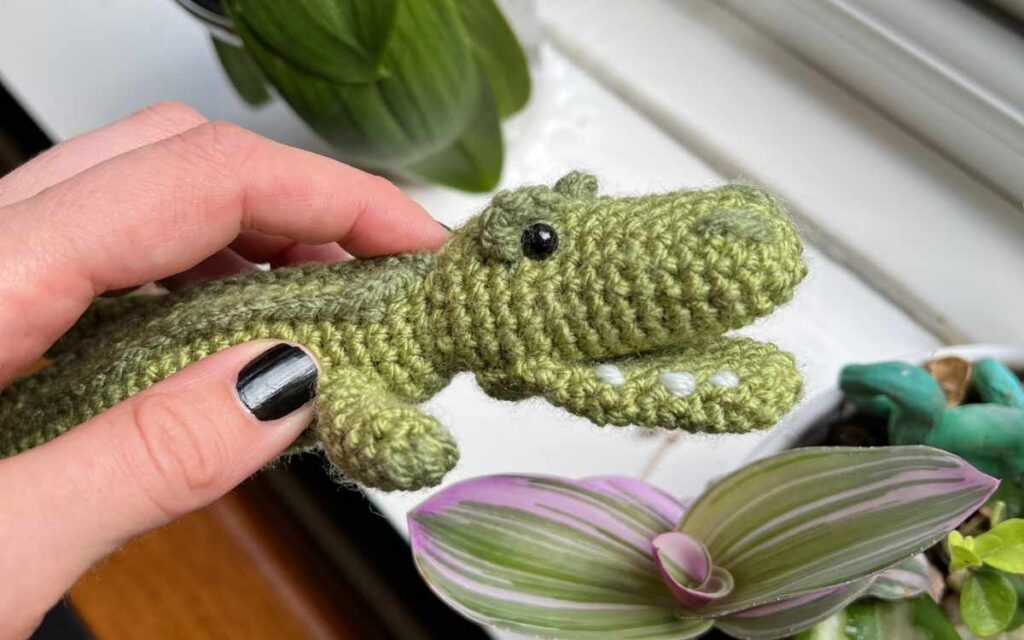
For an open jaw on an animal you can make a whole separate piece of crochet to attach underneath as I have done with my crocodile. This has the benefit that you can add cute little teeth too. But for most of the designs I give a smile too, it will be hand sewn working back and forth few a handful of stitches.
Noses are a fun addition too, and you’ll find they are mostly created by sewing two little lines of stitches either side of the muzzle for animals.
You can also stitch on a magic circle in an alternate color to give a more rounded shape.
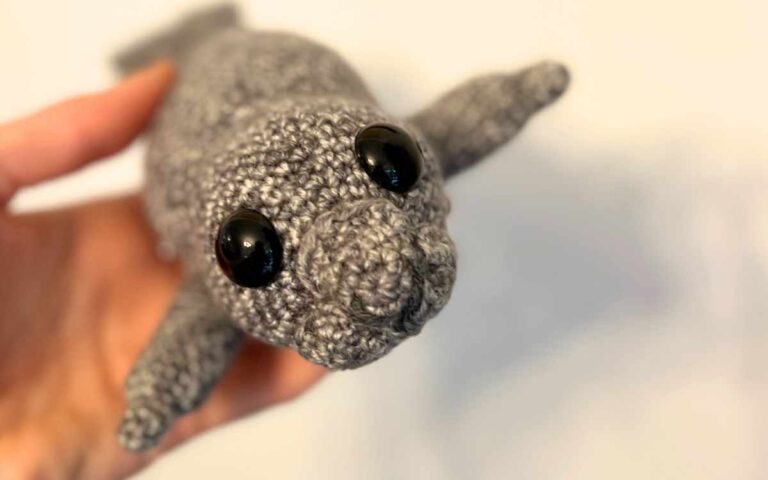
Safety eyes can also make awesome nostrils, and that’s what I used for my hippopotamus pattern last year.
Adding makeup
Real makeup can be used carefully to create cheeks or even faded laughter lines on the face of a crochet doll, but you must use a steady hand and start with a very little powder, working it into the fabric with the tip of a brush. I’m always terrified I am going to stain the whole thing!
Amigurumi Markings
Patterns are a big part of creating animals in amigurumi, and spots and stripes of varying types are definitely the most common markings we come across.
Spots
Technically you can create spots with color changes, but they are rarely perfectly round. The best ways I find to make flat spots are by sewing a star shape and connecting the points, or by closing a magic circle and then sewing that onto the toy.
Stripes
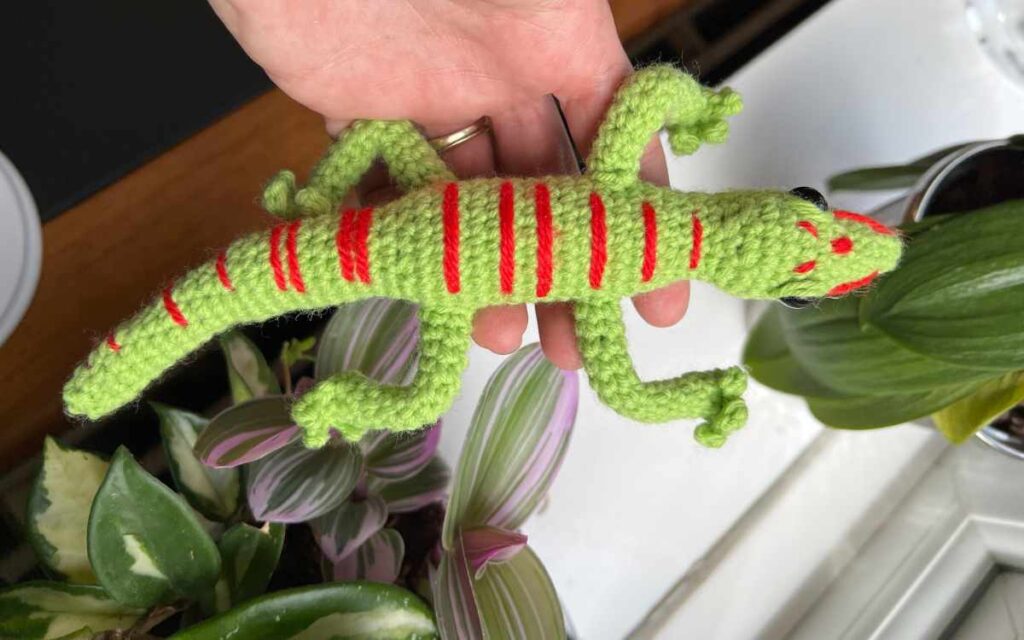
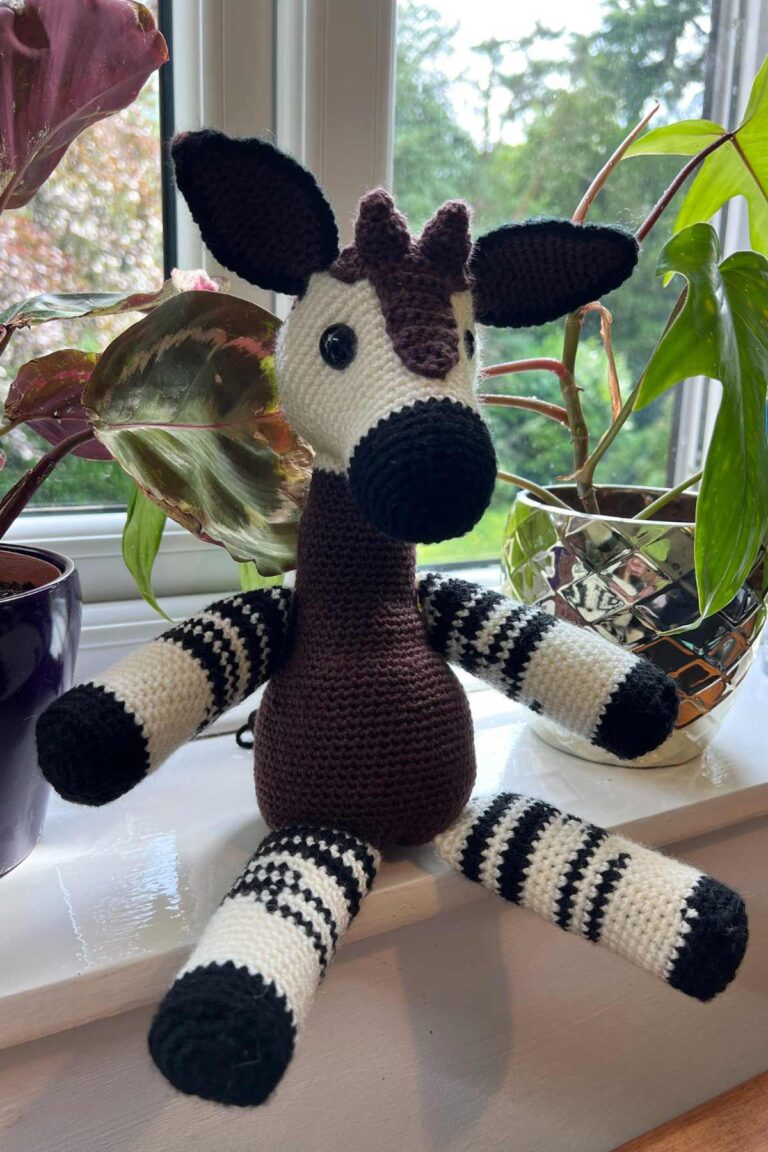
Stripes are a little easier to make in rounds, but recently i’ve been crocheting a new zebra pattern and I wasn’t happy with the positioning of the stripes using color changes. So I decided to have a go with surface crocheting, hand sewing and sewing on strips of crocheted material too. I’ll report back on which I settle on, but for now it’s looking likely that sewing chains in place is the best option for the natural look I am going for.
Crochet Stitch Locations
If you’ve been crocheting for a while, you’ll be familiar with the idea that not all stitches are made into the same place. The first incidence we all come across with this is the different between crocheting into a chain and then working into your first round of traditional stitches. But beyond that, you can also crocheting into the back loop, front loop or post only. And you can even crochet into the surface of a previously crocheted material!
Surface crochet for raised details
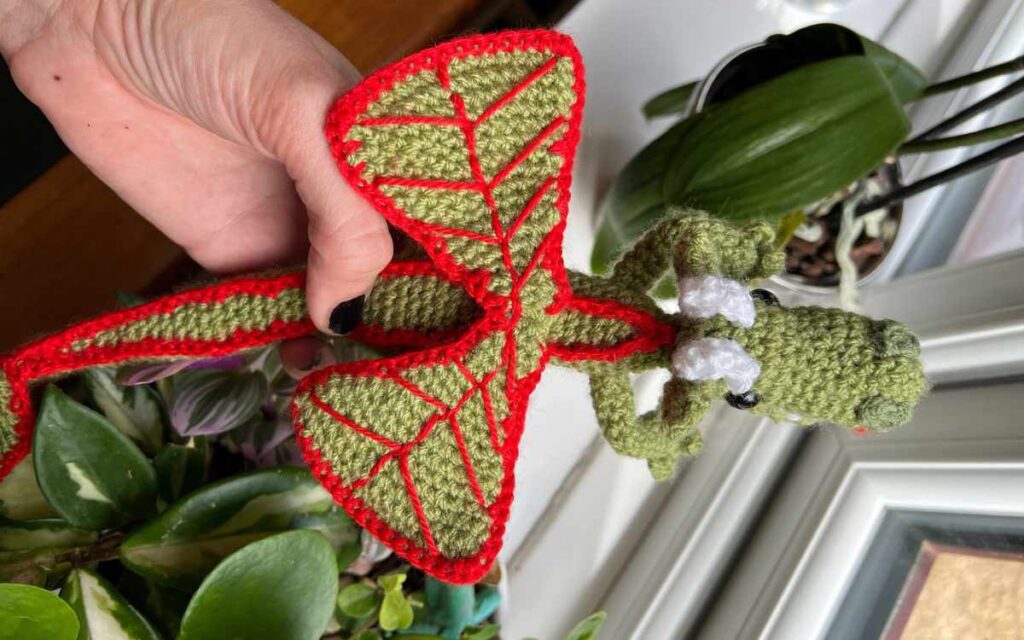
I use surface crochet techniques a lot in my patterns. I most frequently make lines of single crochets into the surface to define textures or patterns that are either impossible to make in line with a round, or that I want to be raised up above the rest of the material.
This technique helps me to define wrists, ankles, hooves, and most often I use it for edging ears. It’s a great way to define the shape as well as to add a contrasting color.
Back and front loop only
I frequently use back loop only, and occasionally front loop only. This is to give definition to the hands and feet of my amigurumi patterns. This gives a more defined and jarring change of shape, that works well for parts of the body that just don’t flow as gently in reality.
*The products linked in this pattern were carefully selected by Lucy Kate Crochet. If you decide to purchase using the links provided, we may earn a small commission on that sale. This is at no extra cost to you.

Love all your ideas!!! Thank you
I’m so pleased you like them!