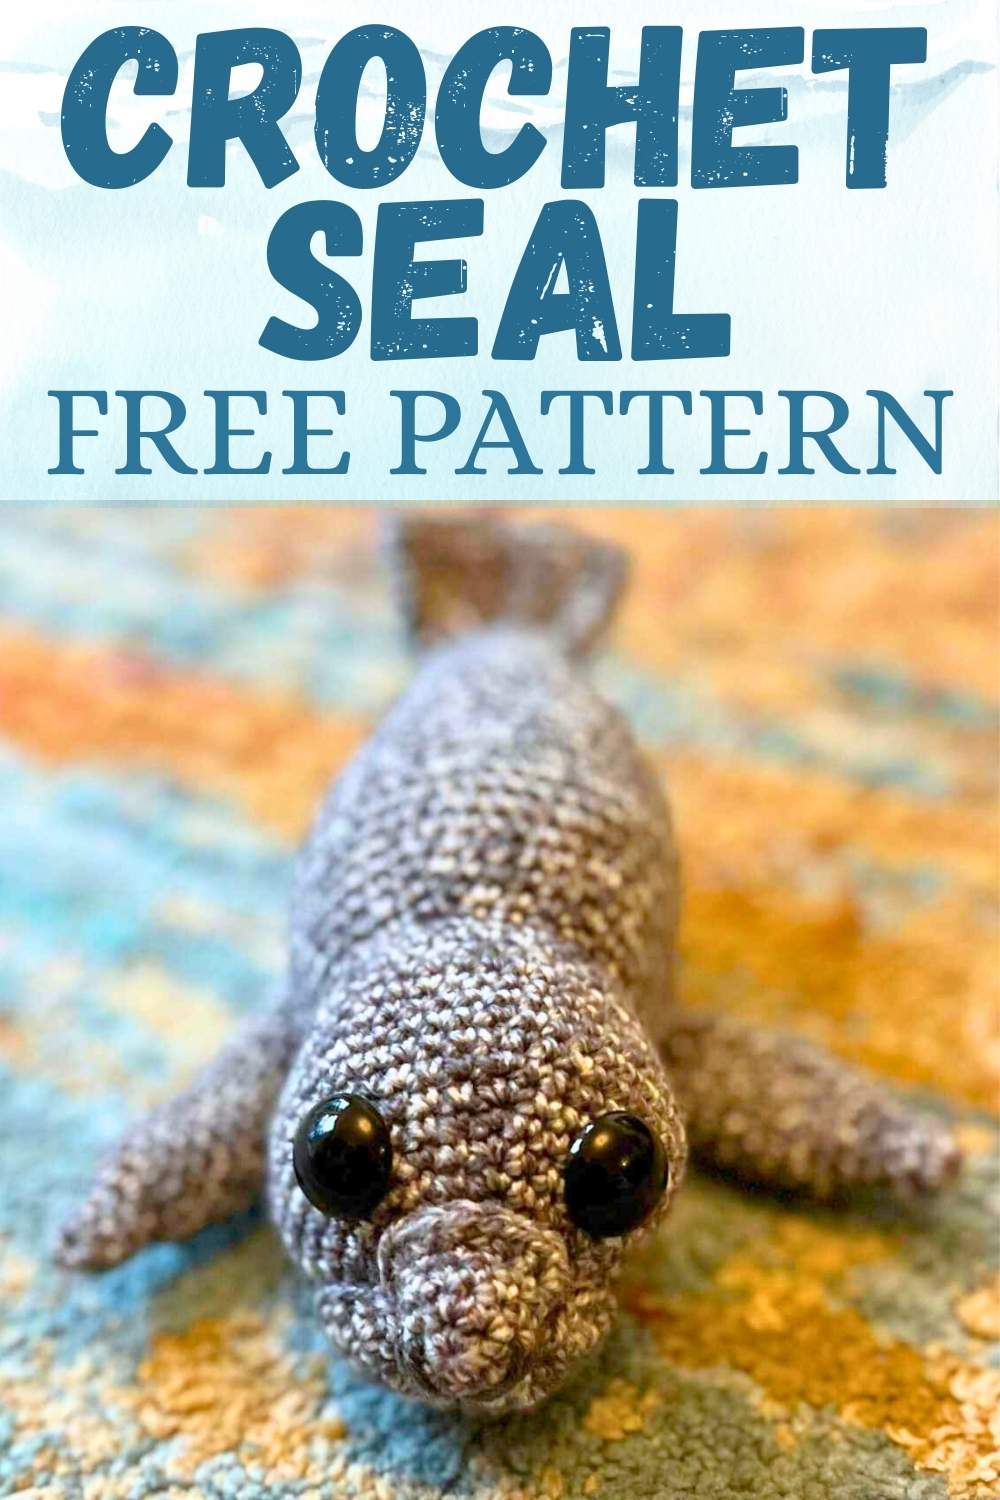
Crocheting An Amigurumi Seal
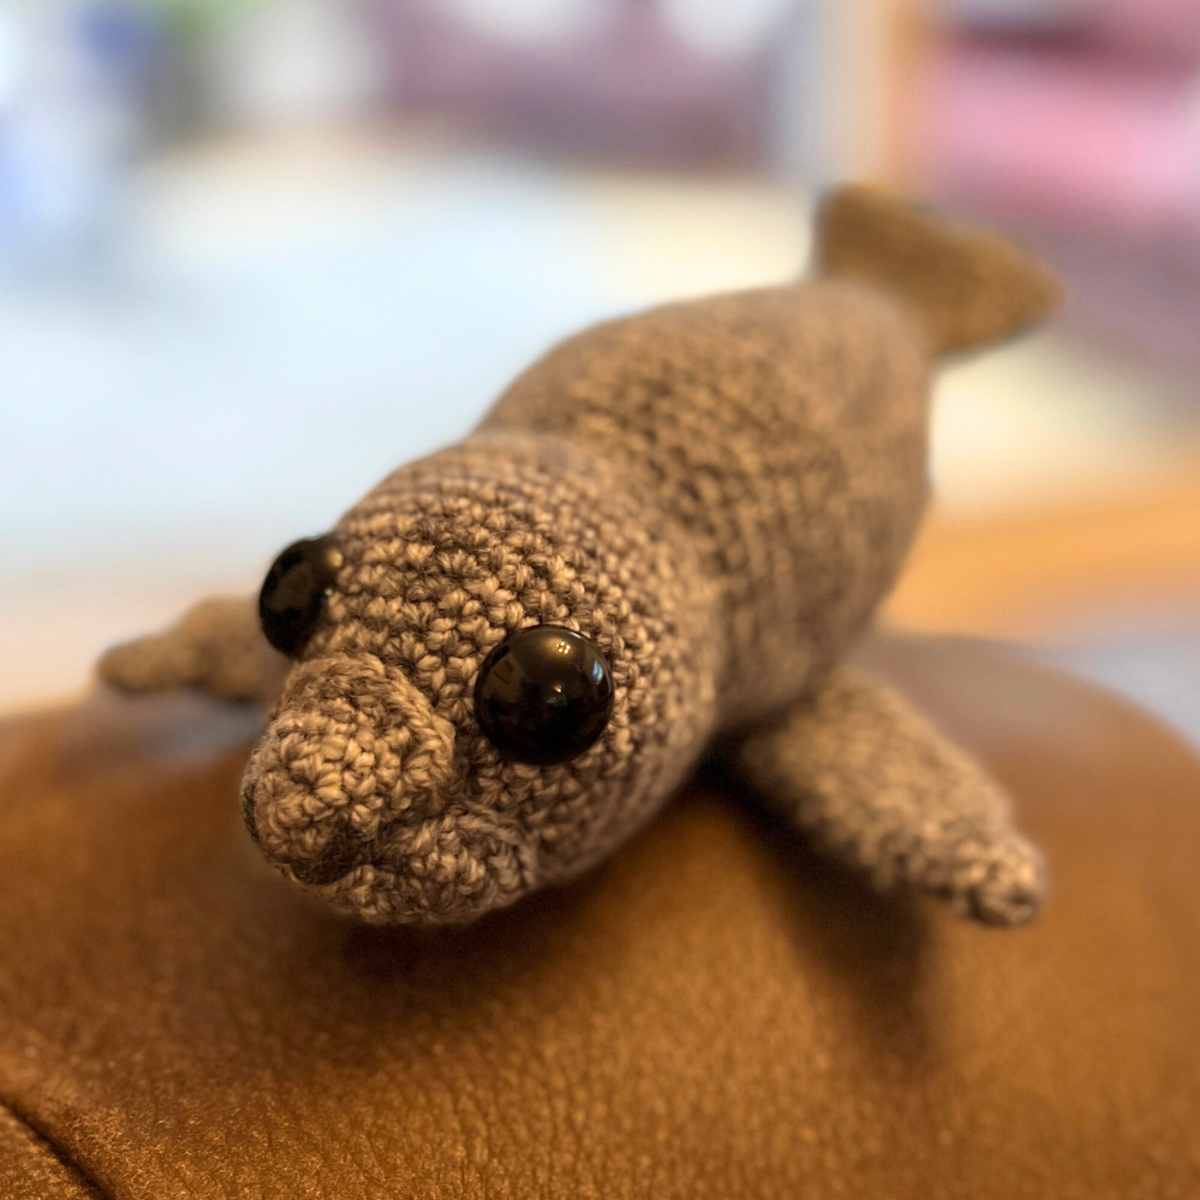
This crochet seal is beginner friendly and low-sew, with just the muzzle and fins needing a bit of needling! I used the mottled pattern of the yarn to show off that sealy pattern without multiple color changes.

Working out how to crochet a seal is a bit of a big task for a beginner, but with this pattern you’ll be away in no time.
I first crocheted this seal as a Christmas gift for my sister in law, who is a big fan of the species! I loved seeing the look on her face as she unwrapped it. I always feel a little tense when I make amigurumi for people as presents, but thankfully she loved it as much as me! Plus, the pattern makes a nice addition to our growing family of crochet sea animals, like Simone the sea otter.
*The products linked in this pattern were carefully selected by Lucy Kate Crochet. If you decide to purchase using the links provided, we may earn a small commission on that sale. This is at no extra cost to you.
Crochet Kit List
I used the following to create my seal pattern:
- Stylecraft Batik DK yarn in Graphite
- 18mm safety eyes*
- Toy safe stuffing
- Steel yarn needle*
- 3.5mm (or E/4) crochet hook*
- Stitch markers (optional)
Pattern Notes and Tips
I designed my seal using simple increases and decreases from the round. You’ll need to use magic rings to begin each section, and to make single crochets into the circle.
Increases are achieved through making two single crochets into the stitch instead of one. Decreases are made by joining two stitches together with one single crochet stitch.
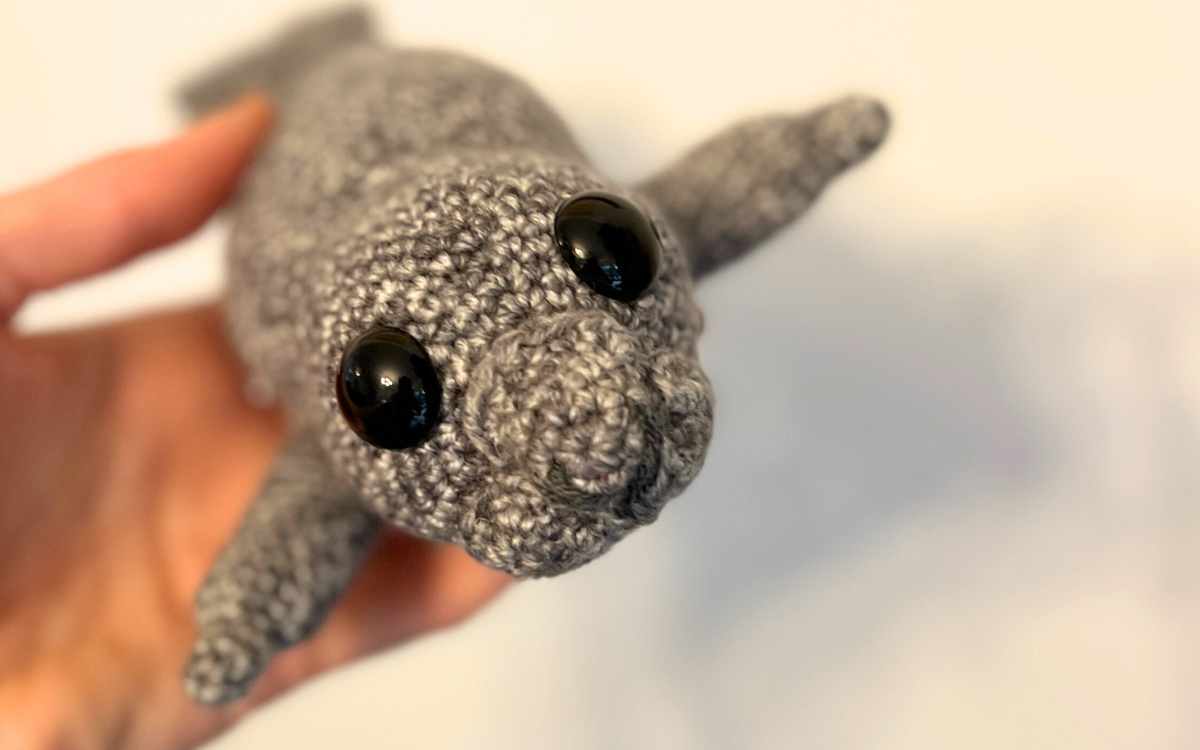
The seal’s face is created with a nose section and two cheeks, which will need hand sewing on after you’ve finished the head.
I have also given definition to the nostrils with a darker gray yarn scrap, but this is totally optional. After all, not all of us have a tiny bit of a different shade of yarn hanging around for the occasion.
Free Crochet Seal Pattern
To crochet your seal you’ll need a 3.5mm crochet hook and some variegated gray DK yarn.
Round 1
Make a magic circle of six stitches (6)
Round 2
Put two single crochets into each stitch of the round.
2sc x 6 (12)
Round 3
Make one single crochet into the first stitch, then two into the next. Repeat in that pattern for the round.
(1sc, 2sc) x 6 (18)
Round 4
1sc x 18 (18)
Round 5
(1sc x 2, 2sc) x 6 (24)
Round 6
(1sc x 3, 2sc) x 6 (30)
Round 7
1sc x 30 (30)
Round 8
(1sc x 4, 2sc) x 6 (36)
Round 9
(1sc x 5, 2sc) x 6 (42)
Round 10 – 14
1sc x 42 (42)
Round 15
Make one single crochet into the first five stitches, then use a single crochet to join the next two together. Repeat for the duration of the round.
(1sc x 5, sc2tog) x 6 (36)
Round 16
(1sc x 4, sc2tog) x 6 (30)
Round 17
(1sc x 3, sc2tog) x 6 (24)
Continuing To Crocheting The Body
Your crochet seal’s head and body are made as one piece, but we are now going to increase again to create the body.
Round 18
(1sc x 3, 2sc) x 6 into the Front Loop Only (30)
Round 19
(1sc x 4, 2sc) x 6 (36)
Round 20
(1sc x 5, 2sc) x 6 (42)
Round 21
(1sc x 6, 2sc) x 6 (48)
Round 22 – 25
1sc x 48 (48)
Round 26
(1sc x 6, sc2tog) x 6 (42)
Round 27 – 30
1sc x 42 (42)
Round 31
(1sc x 5, sc2tog) x 6 (36)
Round 32 – 35
1sc x 36 (36)
Round 36
(1sc x 4, sc2tog) x 6 (30)
Round 37 – 39
1sc x 30 (30)
Insert the safety eyes at this point. They need to be inserted now because you’ll need to be able to push the backs in to secure them.
Once the eyes are secured, fill just the head section with toy safe stuffing.
Round 40
(1sc x 3, sc2tog) x 6 (24)
Round 41 – 43
1sc x 24 (24)
Round 44
(1sc x 2, sc2tog) x 6 (18)
Round 45
1sc x 18 (18)
Round 46
(1sc, sc2tog) x 6 (12)
Fill with toy safe stuffing.
Round 47
sc2tog x 6 (6)
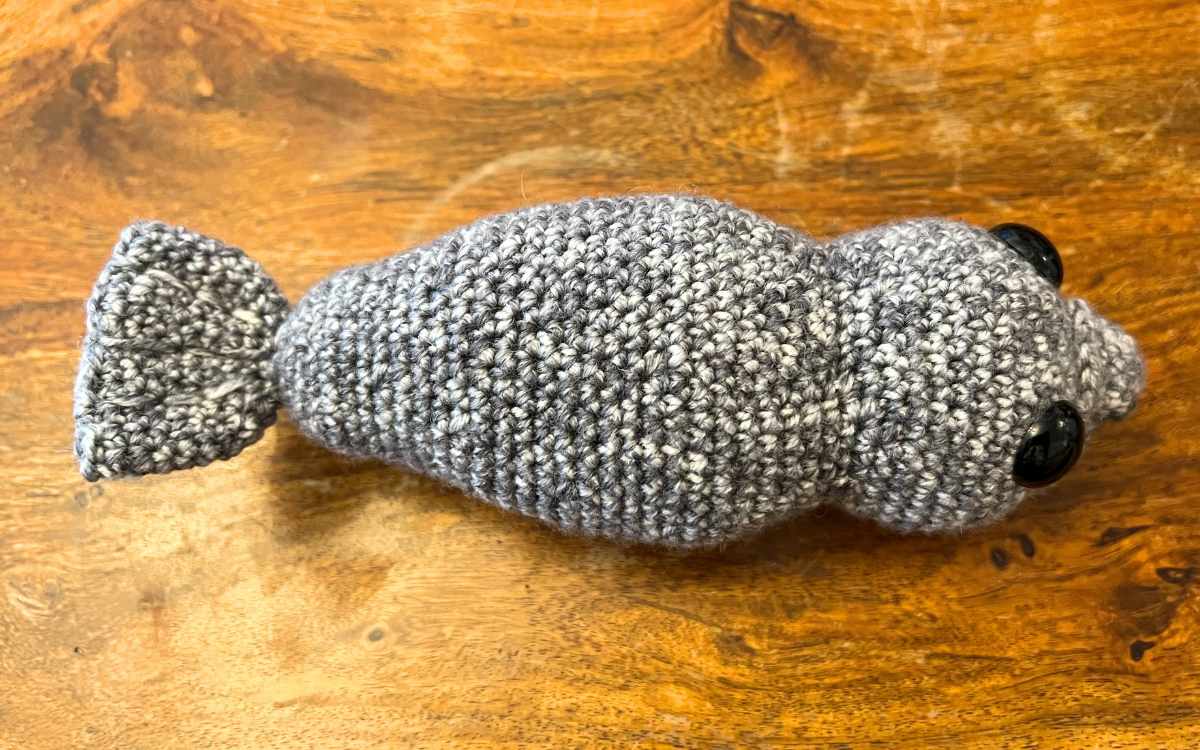
Creating the Tail
You’re now going to increase again, to form the seal’s tail. This section will be unstuffed and sewn flat upon completion.
Round 48
2sc x 6 (12)
Round 49
(1sc, 2sc) x 6 (18)
Round 50
(1sc x 2, 2sc) x 6 (24)
Round 51 – 55
1sc x 24 (24)
Round 56
(1sc x 3, 2sc) x 6 (30)
Adding The Seal’s Tail Detail
Cast your yarn onto the wide needle, and sew the tail closed flat by weaving in and out of the end stitches.
You can now add detail to the tail by sewing lines up and down the flattened tail too.
Crochet Seal’s Muzzle

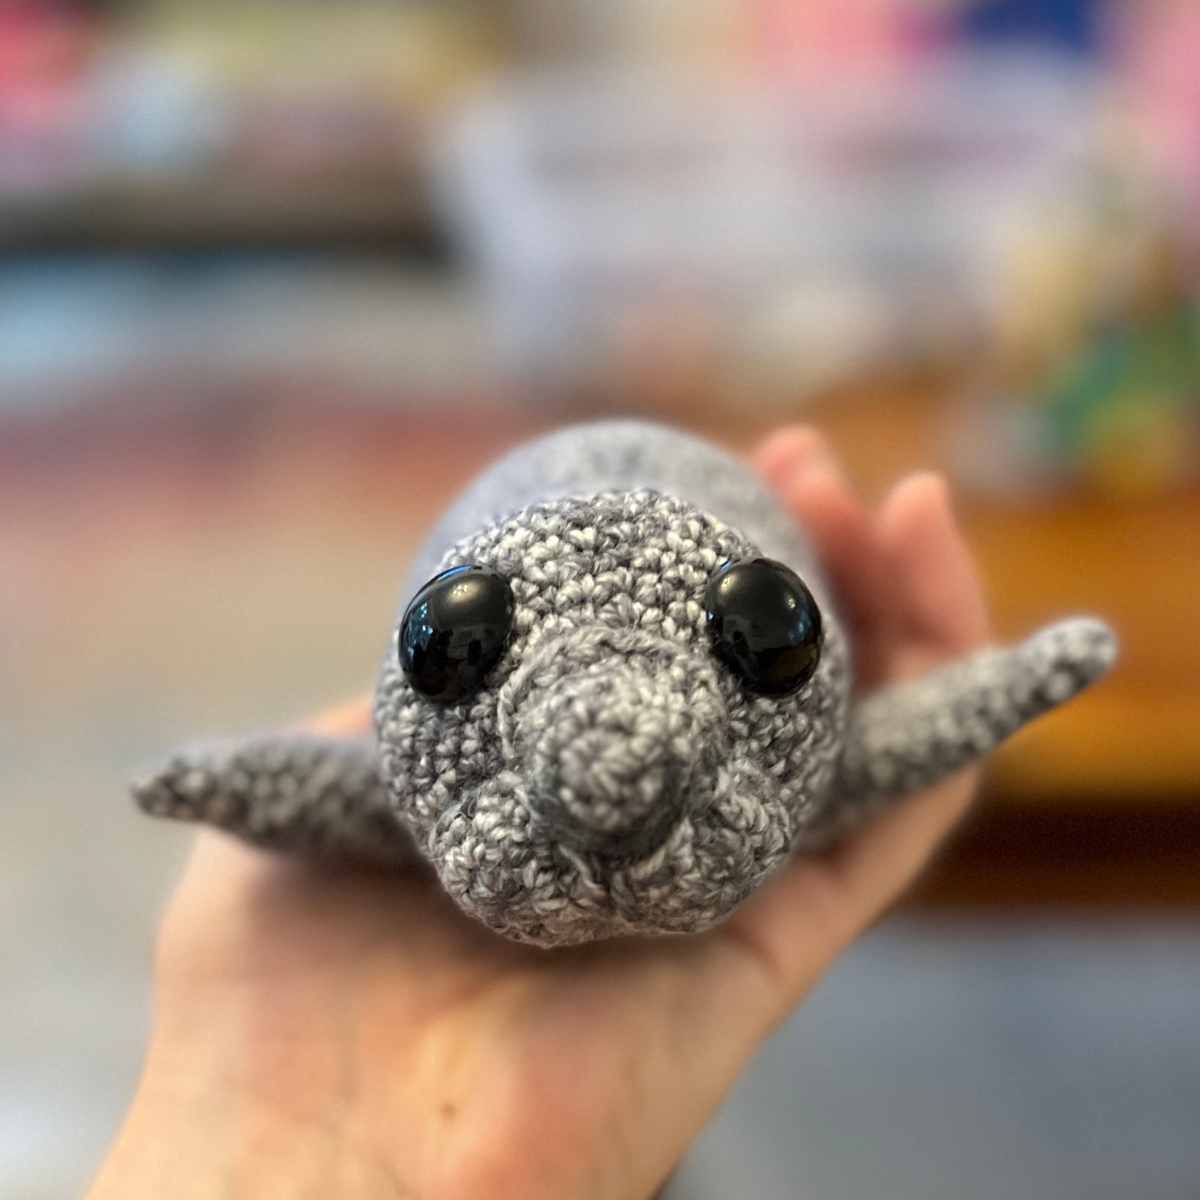
The amigurumi seal’s face is made up of three pieces, a nose and two cheeks.
The Nose
Working with your graphite yarn and 3.5mm crochet hook:
Round 1
Make a magic circle of six stitches (6)
Round 2
2sc x 6 (12)
Round 3
1sc x 12
Round 4
(1sc, 2sc) x 6 (18)
The Cheeks
Round 1
Make a magic circle of eight stitches (8)
Round 2
2sc x 8 (16)
Round 3
1sc x 16 (16)
Attaching The Face
First attach the nose to the center of your seal’s face, aligning it just below the eyes and initial magic circle.
Then sew in and out of the cheek sections to attach them to the bottom half of that nose section.
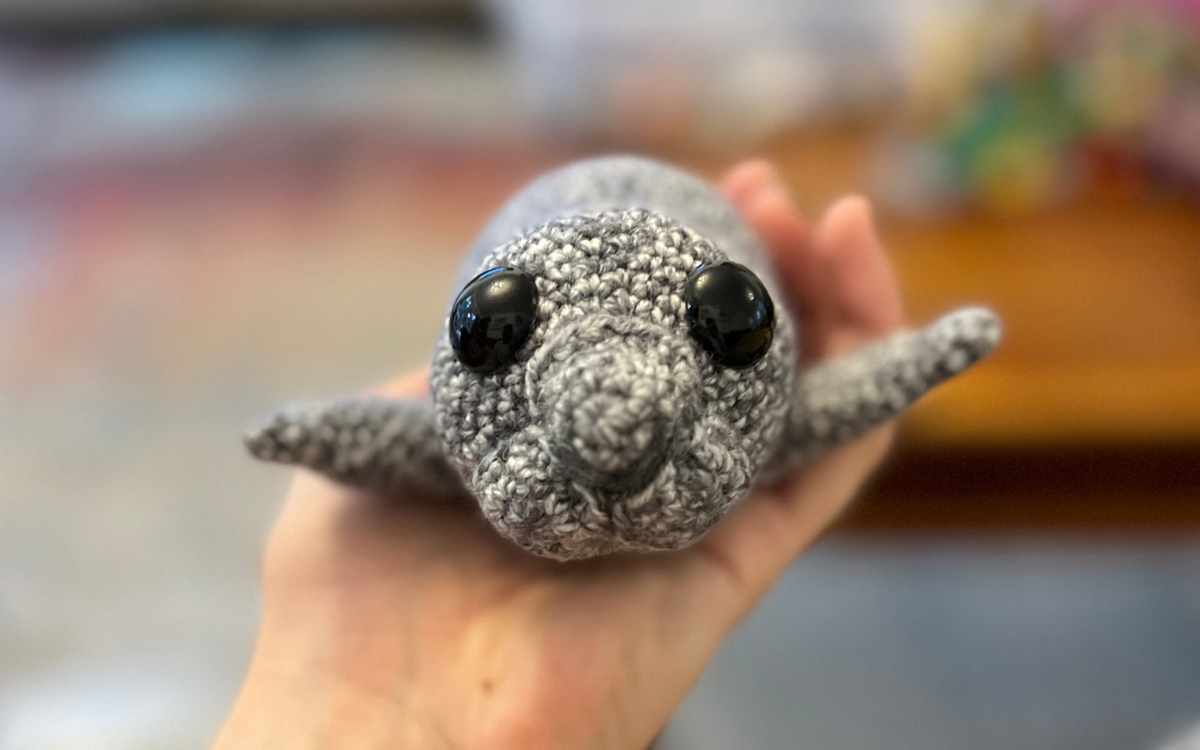
Crochet Seal Fins
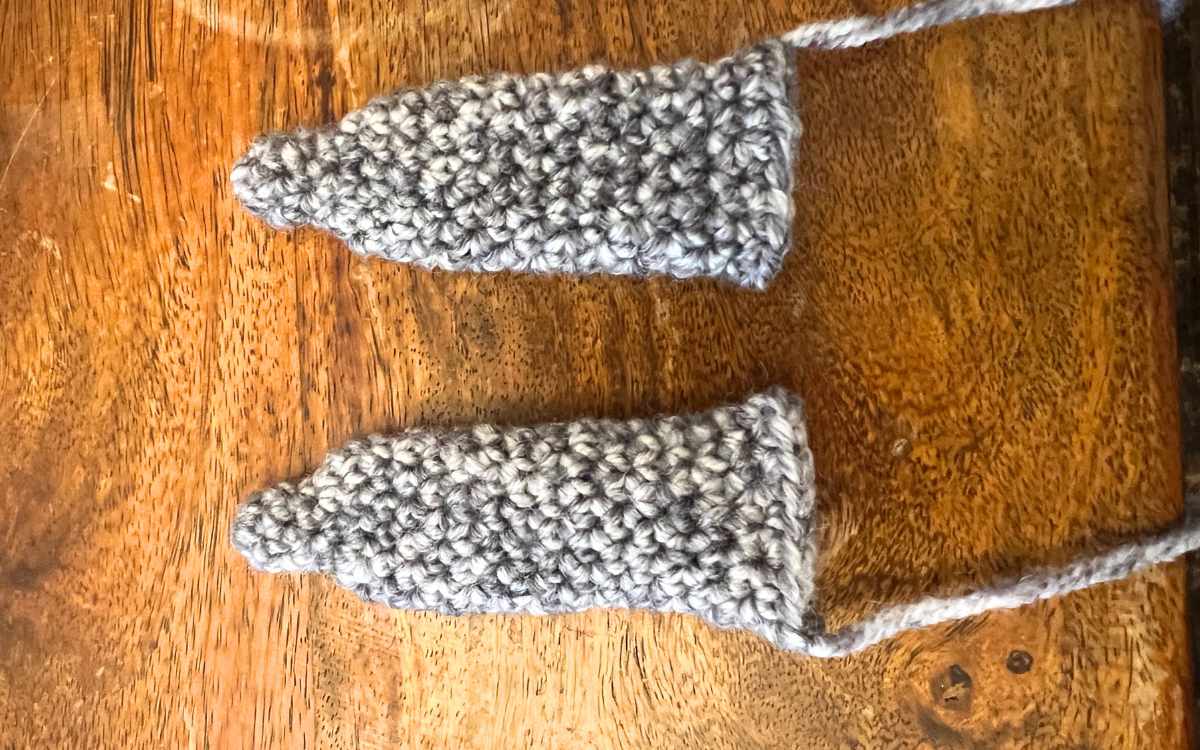
To make your seal’s flippers you’ll crochet again from a central magic circle, using your gray yarn and 3.5mm crochet hook.
Round 1
Make a magic circle of six stitches (6)
Round 2 – 4
1sc x 6 (6)
Round 5
2sc x 6 (12)
Round 6 – 17
1sc x 12 (12)
Round 18
(1sc, 2sc) x 6 (18)
Don’t stuff the flippers, instead keep them flat.
Thread a yarn needle with the same colored yarn, and use it to sew the flippers facing forward onto the seal’s body.
Crocheting Your Own Amigurumi Seal
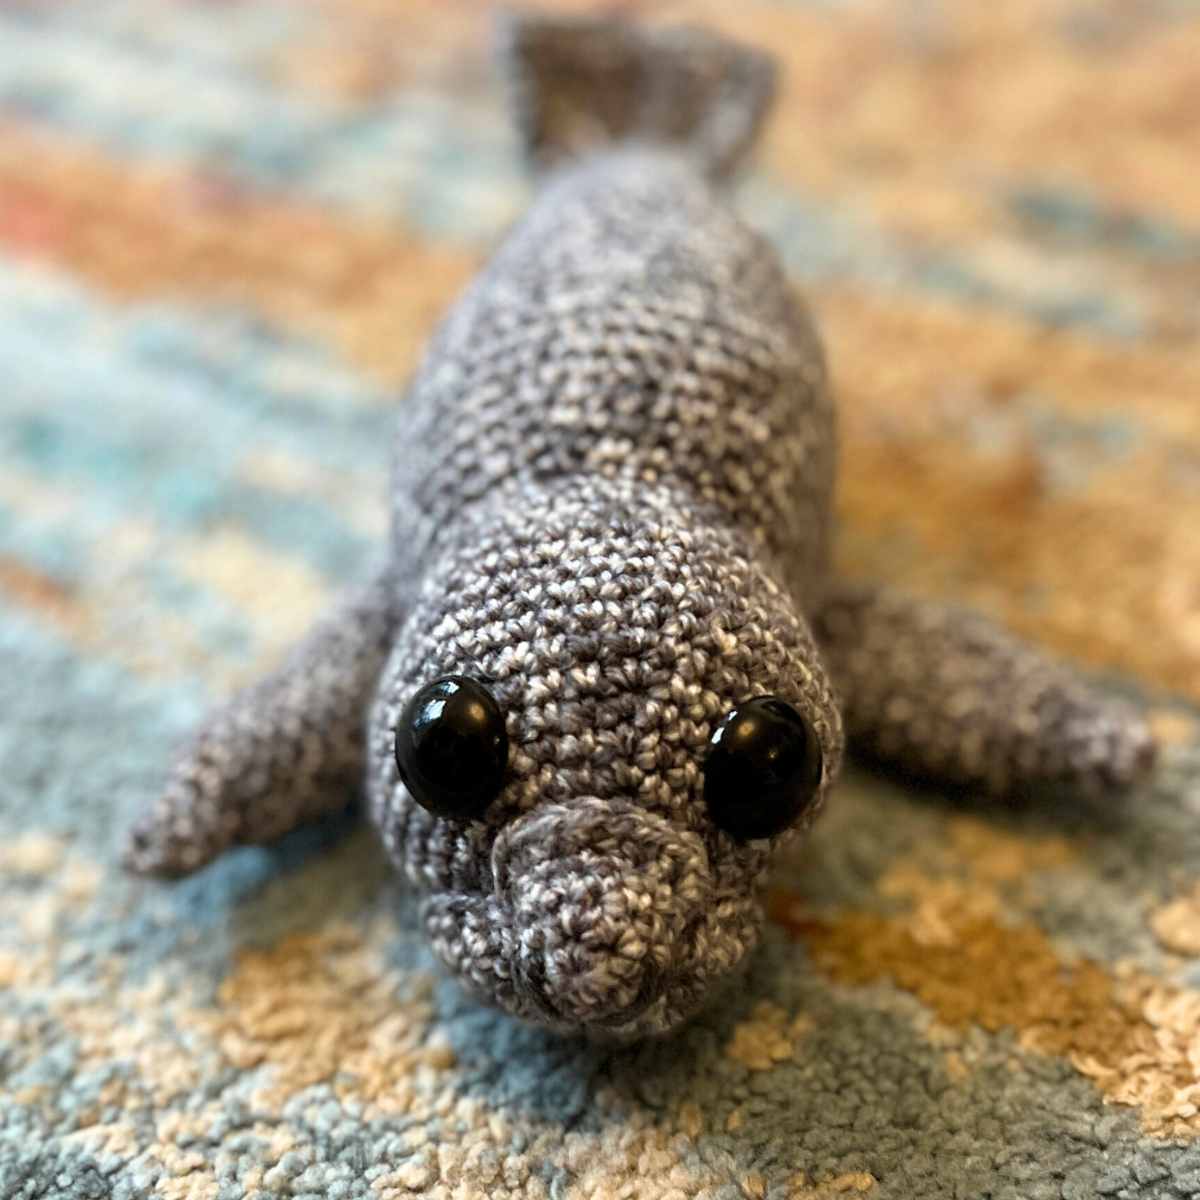
This is a fun little project, that works up with a lovely realistic tone to it. At least I think so! It’s caused quite a stir here, with my immediate family trying to convince me to let them keep it instead of giving it away.
I’d love to hear what you think too, so let me know!
Happy Crocheting,
Lucy Kate, x
Hiya I’m in the process of making this lovely little seal and I’m confused on which round the eyes go into?
Any help would be most appreciated