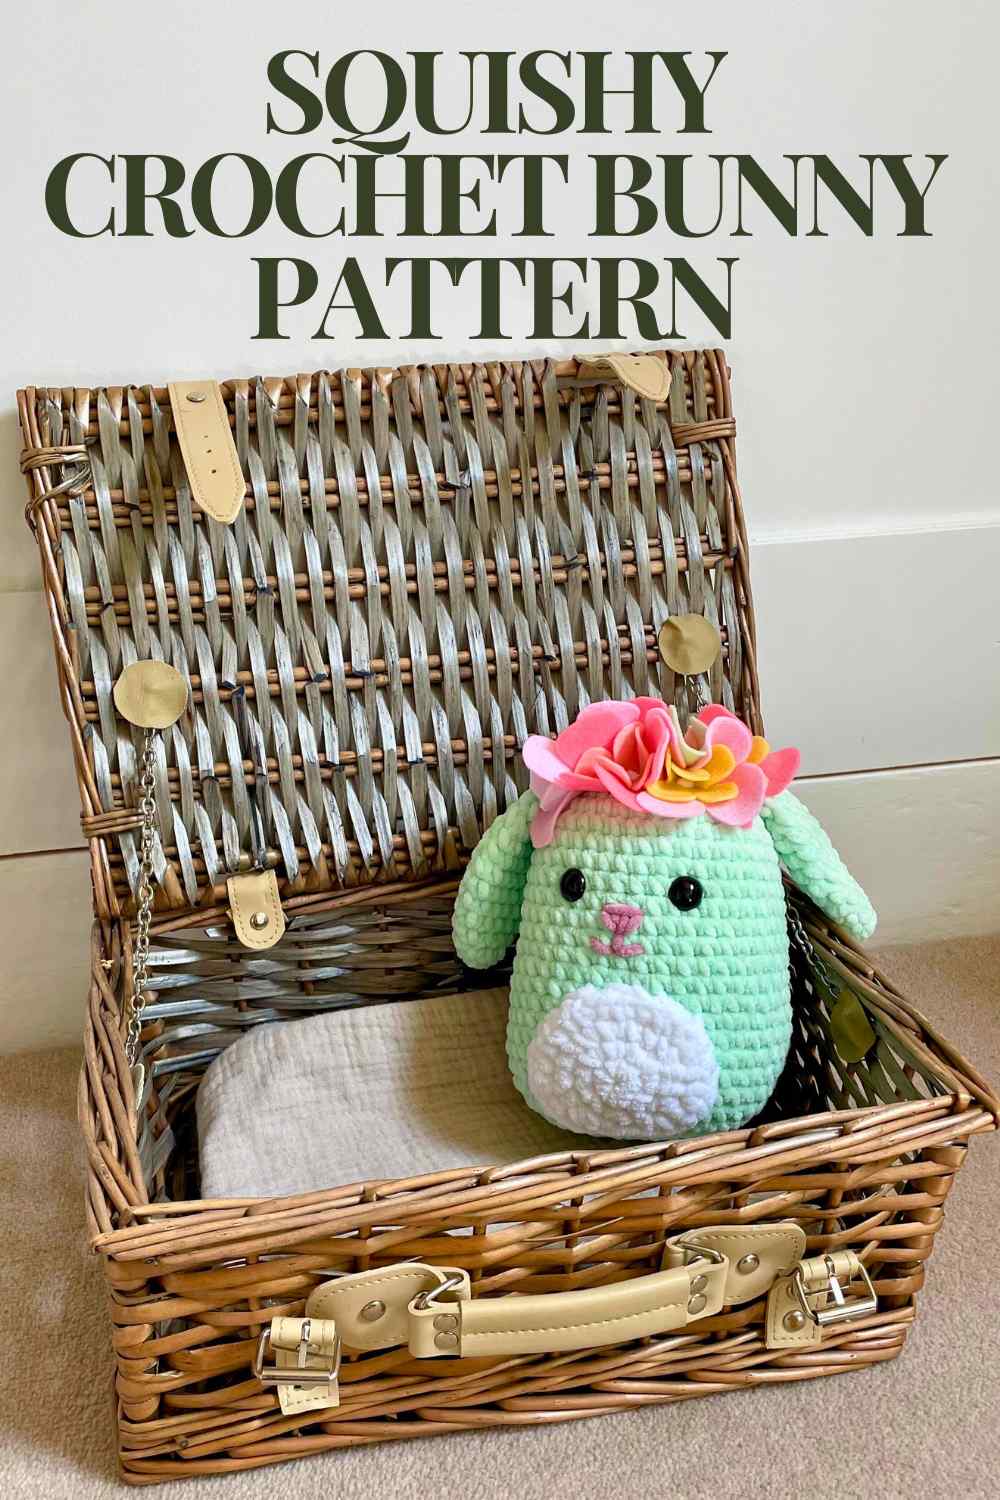
Squishy Crochet Bunny Pattern
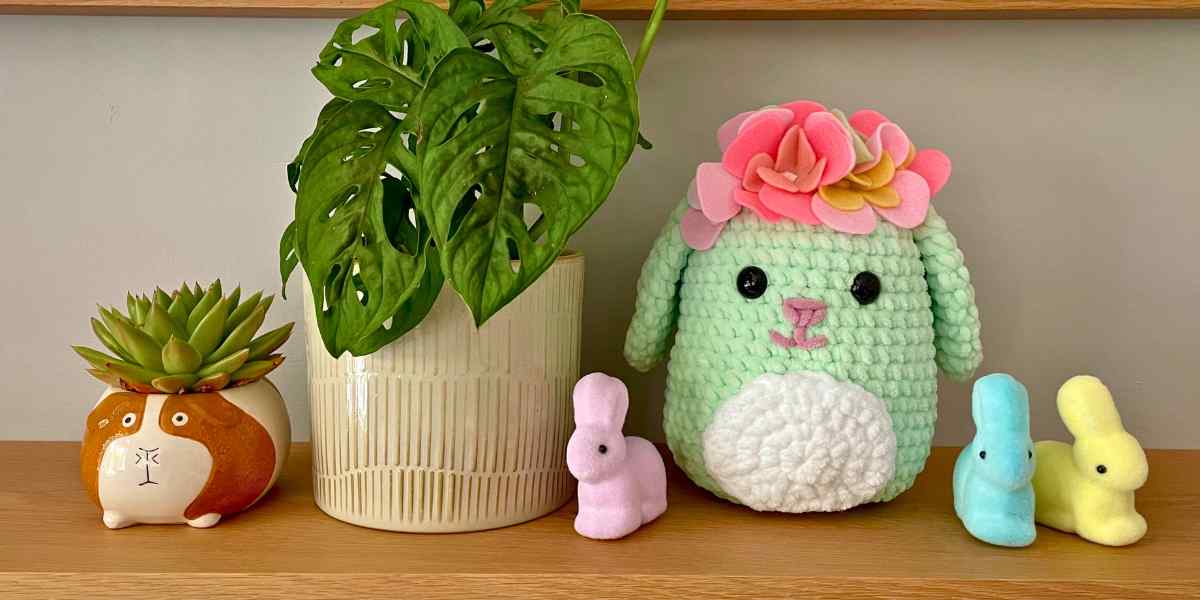
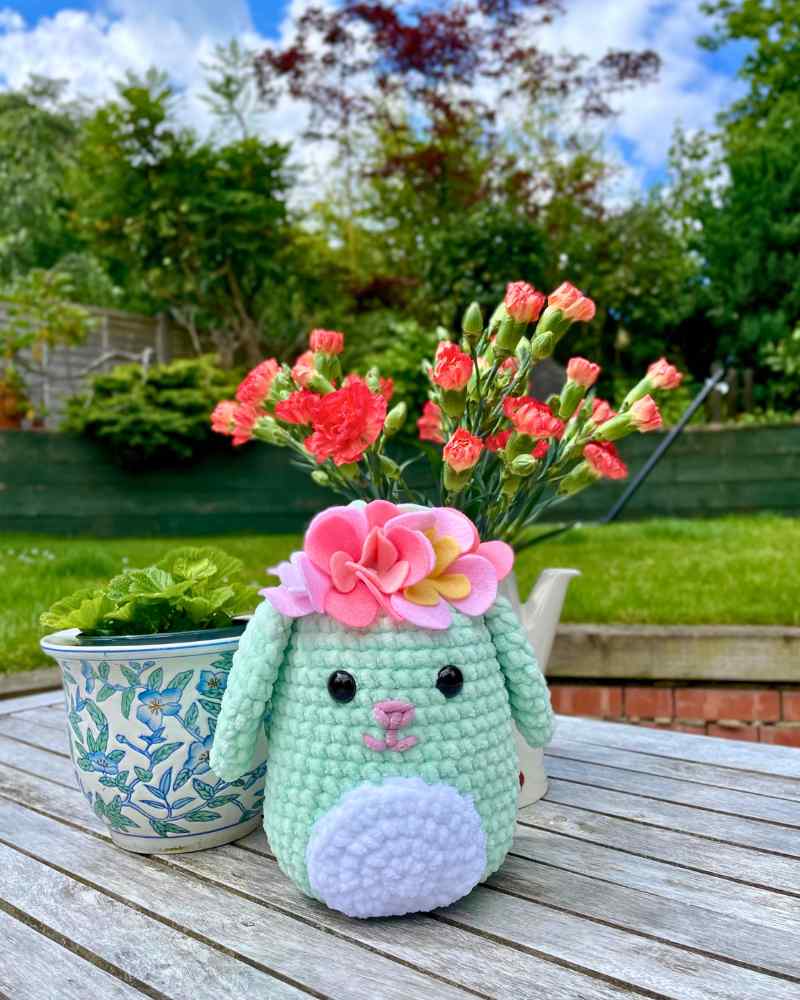
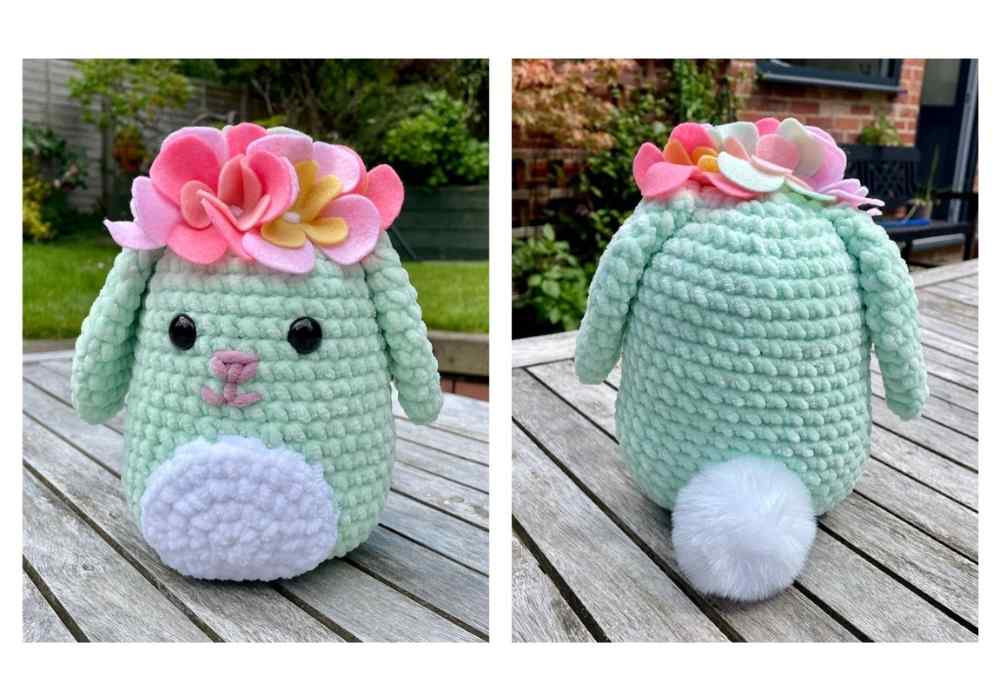
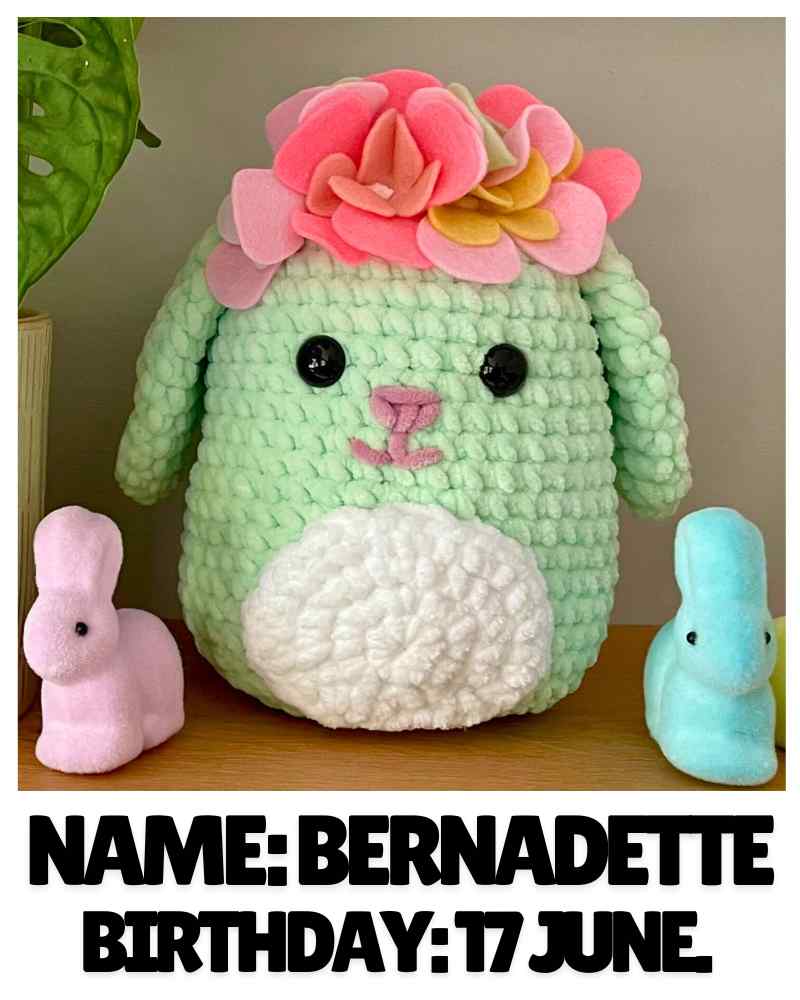
Good day! This is Bernadette, my squishy crochet bunny pattern. What do you think? It all started with a pompom I spied in a craft store, and ended with a return trip to pick up felt for a flower crown. I don’t think any amigurumi idea has ever sent me shopping so many times!
Obviously, the pompom became her tail. And the felt was transformed into a deceptively simple yet impressive-looking flower crown. Which all in all means this pattern is completely adorable, but still easily accessible to any beginner crocheter. It would be a sweet decoration or gift at Easter, or at any time of year for a rabbit owner or bunny-loving child.
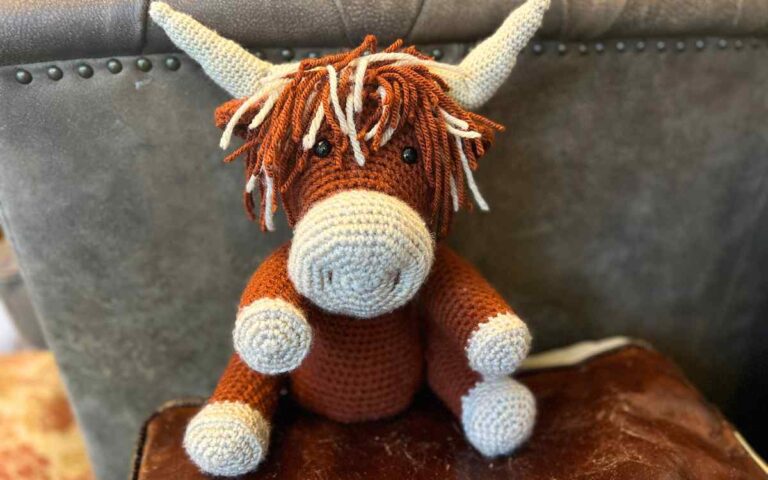
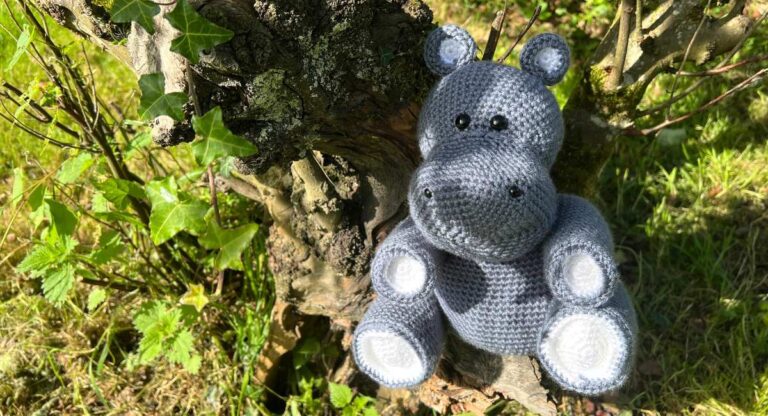
It’d also look pretty cute alongside my cow and duck patterns too!
Materials
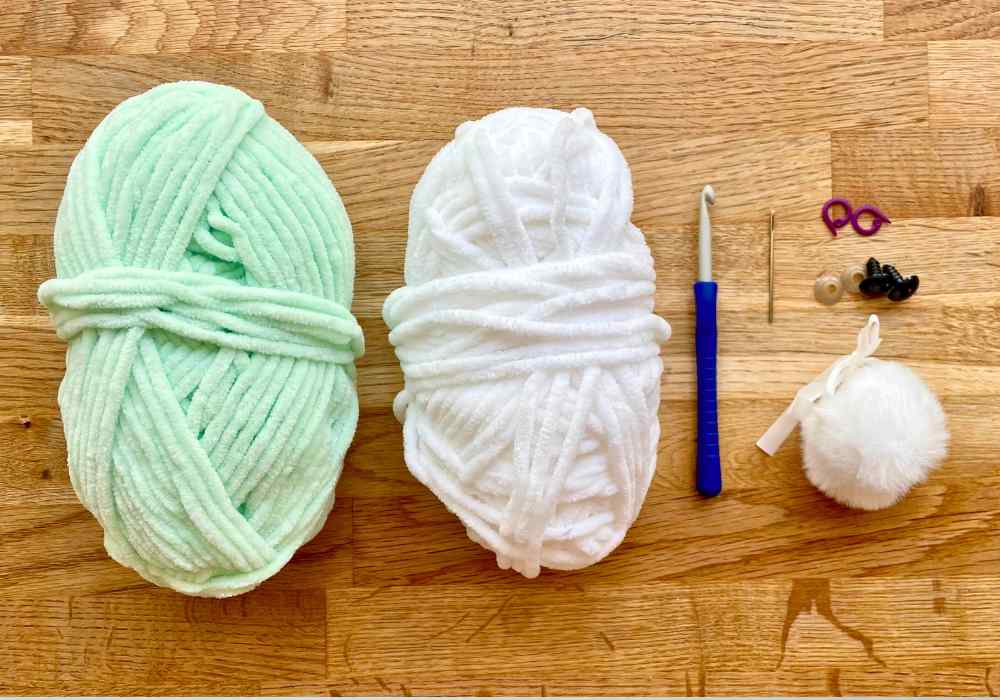
Let’s dive straight in, with what you’ll need to make your own squishy crochet bunny:
- Yarn. You can use any weight, fiber, or color you like. Smooth DK yarns make palm-sized Easter ornaments, and super bulky chenille yarns make irresistibly squashy plush toys. Traditional rabbit colors like brown, gray and white work well of course, but so do fresh springtime pastels, like this King Cole Yummy yarn in mint green. Sometimes it pays to just embrace what you have in your stash! As well as a main color for the body and ears, you’ll need a contrasting color in the same weight for the tummy (I’m using King Cole Yummy yarn in white) , and small quantities of yarn for the nose, mouth and flower crown.
- Crochet hook. I recommend using a size smaller than the yarn wrapper recommends, so that you can stuff your squishy bunny firmly without the stuffing bulging out between its stitches.
- Safety eyes. I’ve used 16mm safety eyes with a super bulky yarn. For lighter weight yarns, you might like to try 10 or 12mm eyes, and for heavier yarns 20mm eyes will be more to scale.
- A pom pom. You can buy a pom pom like me, or make one the old fashioned way, by wrapping yarn around two cardboard donut shapes.
- Toy stuffing.
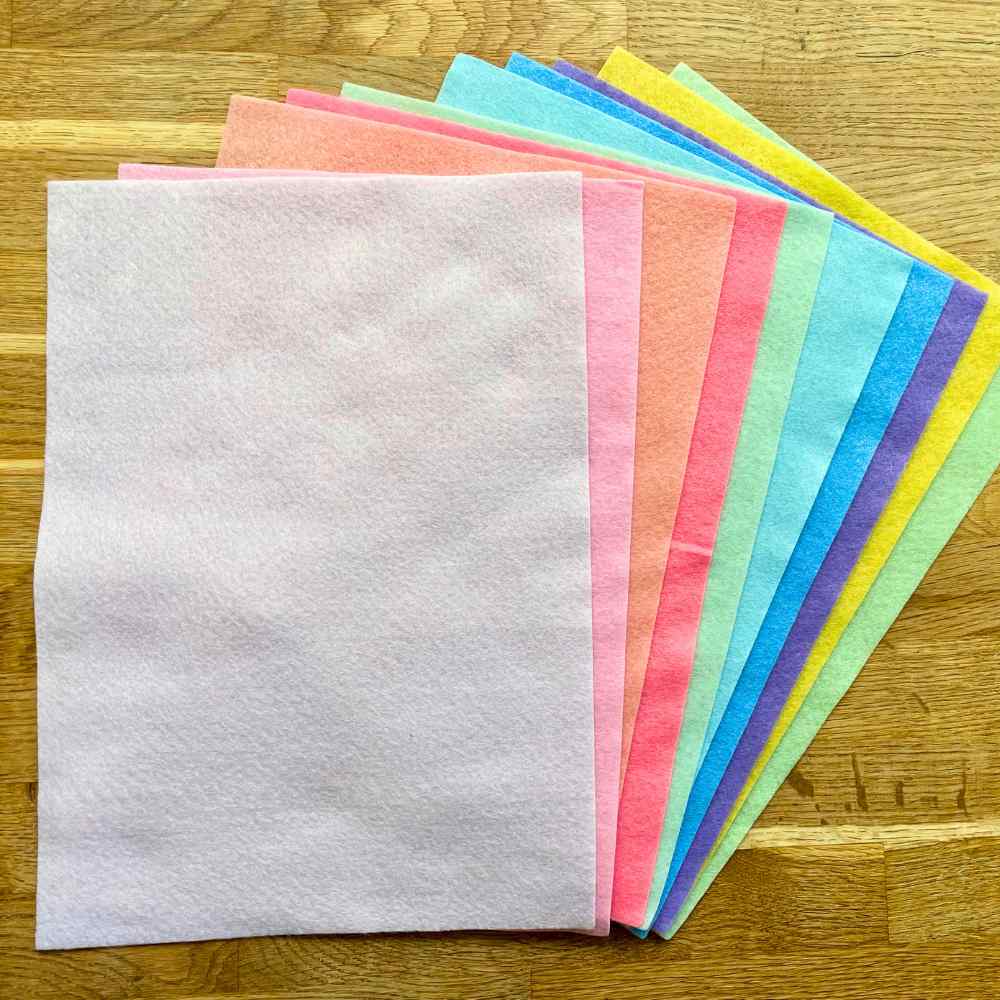
- Felt. Or relatively heavy, stiff fabric, in several floral colors (optional).
- A darning needle.
Pattern notes
How tall your pattern will turn out depends on what weight yarn you use. As a (very) rough guide:
- Jumbo yarns make a bunny 9 to 12 inches tall.
- Super bulky yarns make a bunny 7 or 8 inches tall.
- Bulky yarn makes a bunny 6 inches tall.
- Worsted yarn makes a bunny 5 inches tall.
- DK yarns make a bunny 3-4 inches tall.
That’s just from the base to the top of the head – not including the flower crown!
To make your bunny, you only need to know a small number of basic (US) crochet terms:
Ch chain stitch
Sl st slip stitch
Sc single crochet
Hdc half double crochet
Inc increase (make 2 sc in the same space)
Hdc-inc make 2 hdc in the same space
Dec decrease
Since the pattern decreases rapidly to form a relatively flat base, I recommend using the invisible decrease method. Insert the hook into the front loop only of the next two stitches (left, below). Put the yarn over the hook and draw it through both front loops (two loops left on the hook). Yarn over again, and draw it through the remaining two loops (right, below).

Squishy crochet bunny pattern
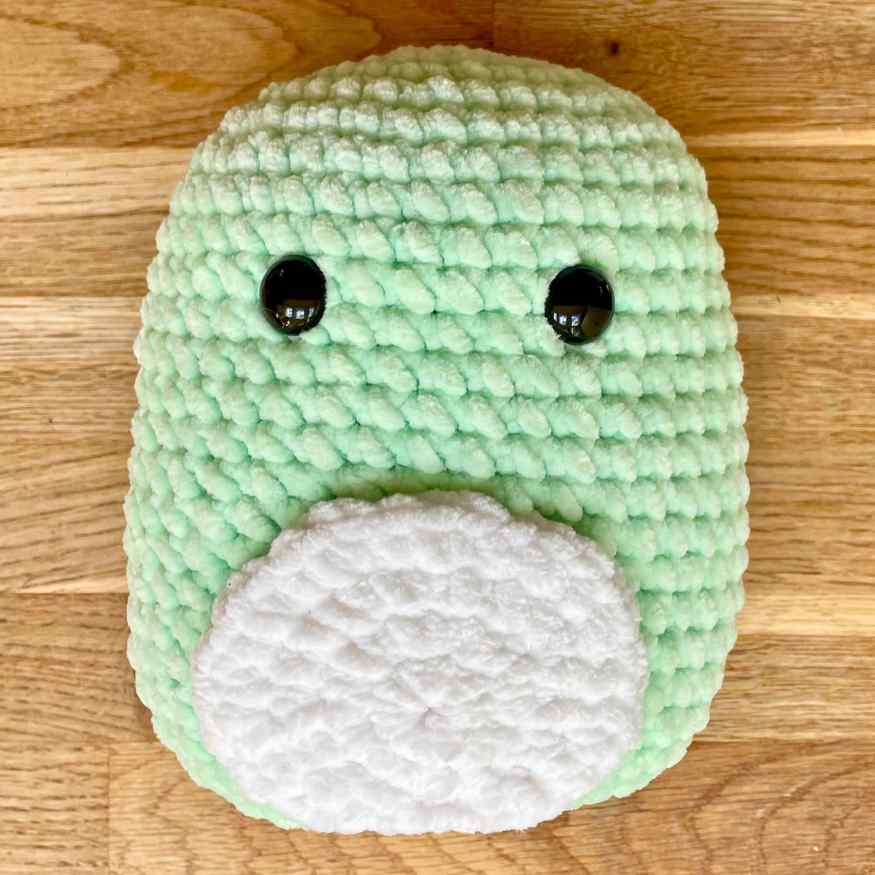
Bernadette’s body, ears and belly patch were all made separately. The eyes and belly are added to the body before stuffing and closing it, and the ears, nose, mouth and tail are added after.
The body
You can start all of your bunny’s parts with either a magic circle, or by making four chains and joining them with a slip stitch to form a loop. I prefer a four chain loop for fluffy yarns like the one I’m using here, because in my experience they’re easier to tighten.
- Make a magic circle, or ch4 and sl st to join.
- 1st round: Ch 1, sc 8 into the magic circle or 4-ch loop (8 sts)
- 2nd round: 8 inc (16 sts)
- 3rd round: *1 sc, inc* 8 times (24 sts)
- 4th round: *2 sc, inc* 8 times (32 sts)
- 5th round: *3 sc, inc* 8 times (40 sts)
- Rounds 6 – 23: Sc all the way round
- 24th round: 3 dec, sc 8, 6 dec, 8 sc, 3 dec (28 sts)
- 25th round: 3 dec, sc 2, 6 dec, 2 sc, 3 dec (16 sts)
- Put a stitch marker into the loop on your hook, and cut your yarn leaving a 24 inch tail.
I should say now – I took these photos over the course of a whole day, during which the weather changed by the minute. So I don’t think there are any two photos where the yarn looks the same color!
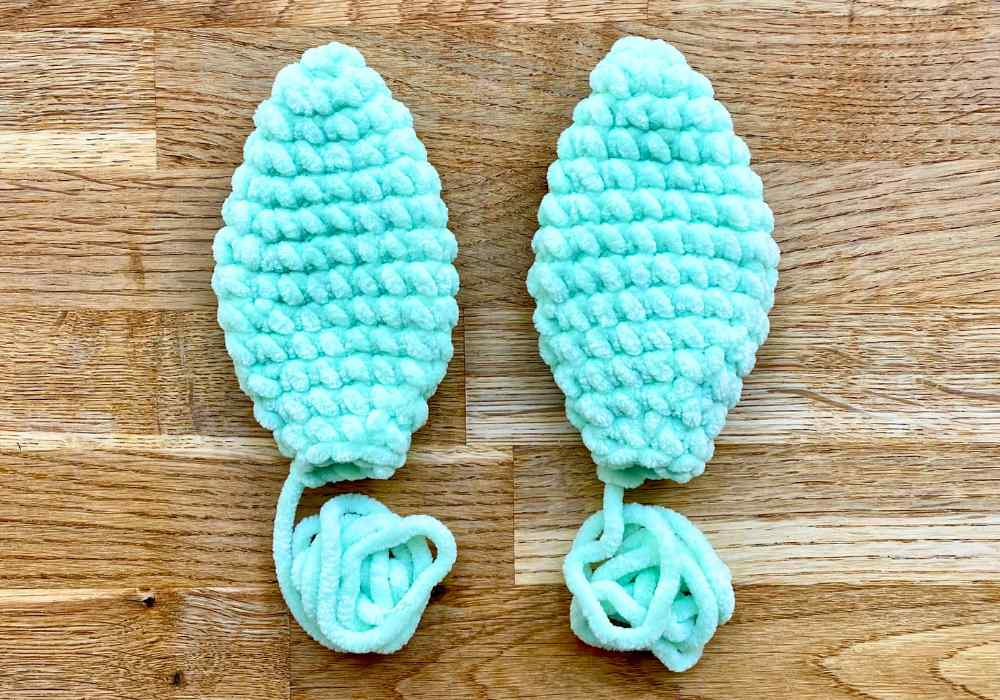
The ears
Make two.
- Make a magic circle, or 4-ch loop.
- 1st round: Ch 1, sc 8 into the magic circle or 4-ch loop (8 sts)
- 2nd round: *Sc 3, inc* twice (10 sts)
- 3rd round: *Sc 4, inc* twice (12 sts)
- 4th round: *Sc 5, inc* twice (14 sts)
- 5th round: *Sc 6, inc* twice (16 sts)
- 6th round: *Sc 7, inc* twice (18 sts)
- 7th round: Sc all the way round (18 sts)
- 8th round: *Sc 7, dec* twice (16 sts)
- 9th round: Sc all the way round (16 sts)
- 10th round: *Sc 6, dec* twice (14 sts)
- 11th round: *Sc 5, dec* twice (12 sts)
- 12th round: *Sc 4, dec* twice (10 sts)
- 13th round: *Sc 3, dec* twice (8 sts)
Cut the yarn about 12″ from the hook, slip stitch once, and pull the yarn end all the way through the stitch.
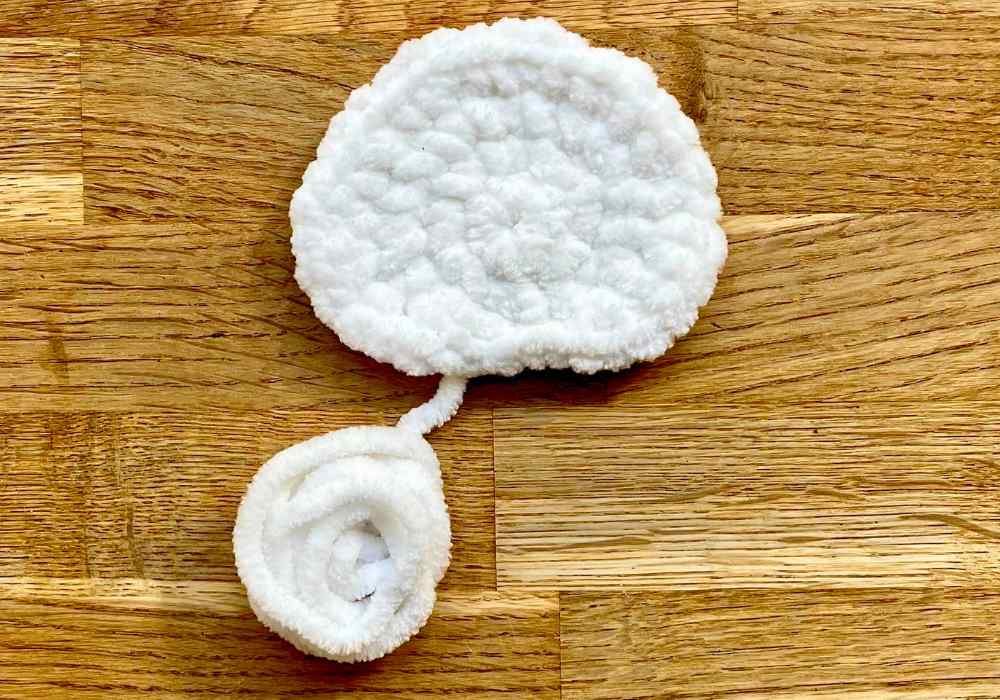
The tummy
My bunny pattern’s tummy is a kind of flattened semi-circle. It’s still made in rounds, but with a symmetrical pattern of half double crochet stitches and increases to create the right outline. Make one, using your contrasting yarn.
- Make a magic circle, or ch4 and sl st to join.
- 1st round: Ch 1, sc 8 into the magic circle or 4-ch loop (8 sts)
- 2nd round: 8 inc (16 sts)
- 3rd round: Sl st, sc, hdc-inc, hdc, inc, sc 2, inc 2, sc 2, inc, hdc, hdc-inc, sc, sl st (22 sts)
- 4th round: Sl st 3, inc, hdc-inc 2, *sc, inc* 5 times, sc, hdc-inc 2, inc, sl st 2 (33 sts)
Cut the yarn leaving a long tail for sewing, and pull the tail all the way through the last slip stitch.
Assembling your squishy crochet bunny
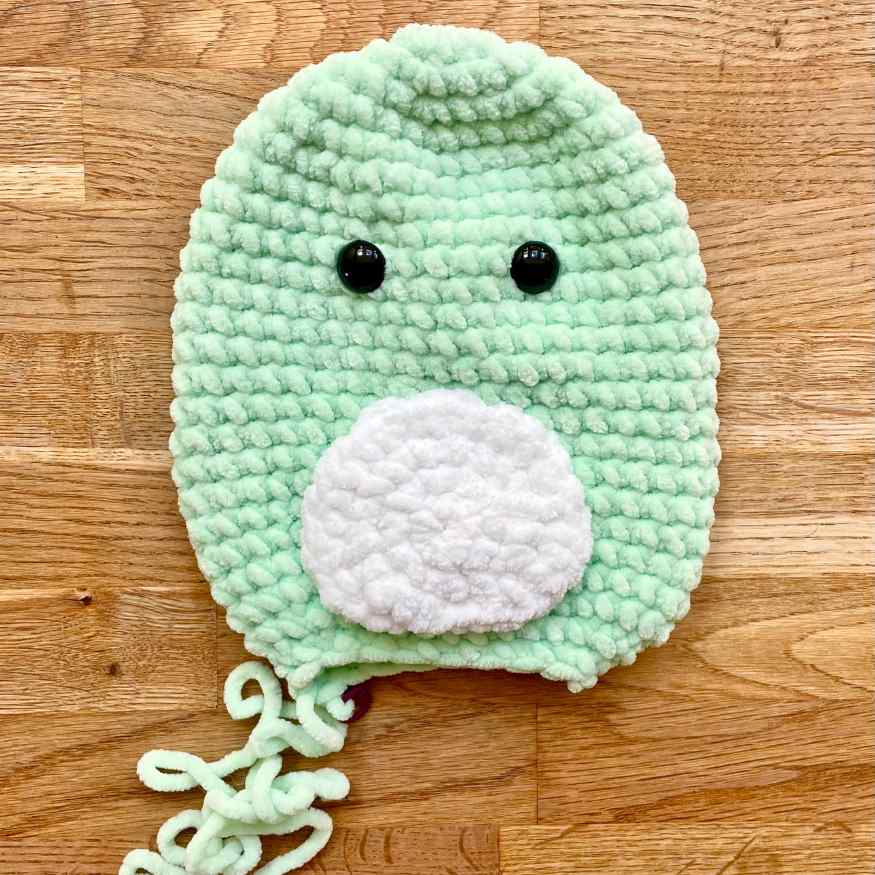
First, spread the body out flat. Since the decreases are clustered at the sides, it will only lie flat with the opening at the bottom running from side to side. Position the safety eyes 6 stitches apart, between rows 10 and 11, and push the backs on firmly. Line up the straight bottom edge of the tummy patch along the gap between rows 22 and 23. Make sure it’s central, and use the yarn tail to sew it down.
Fill the body firmly with toy stuffing, then use the yarn tail to work one more round:
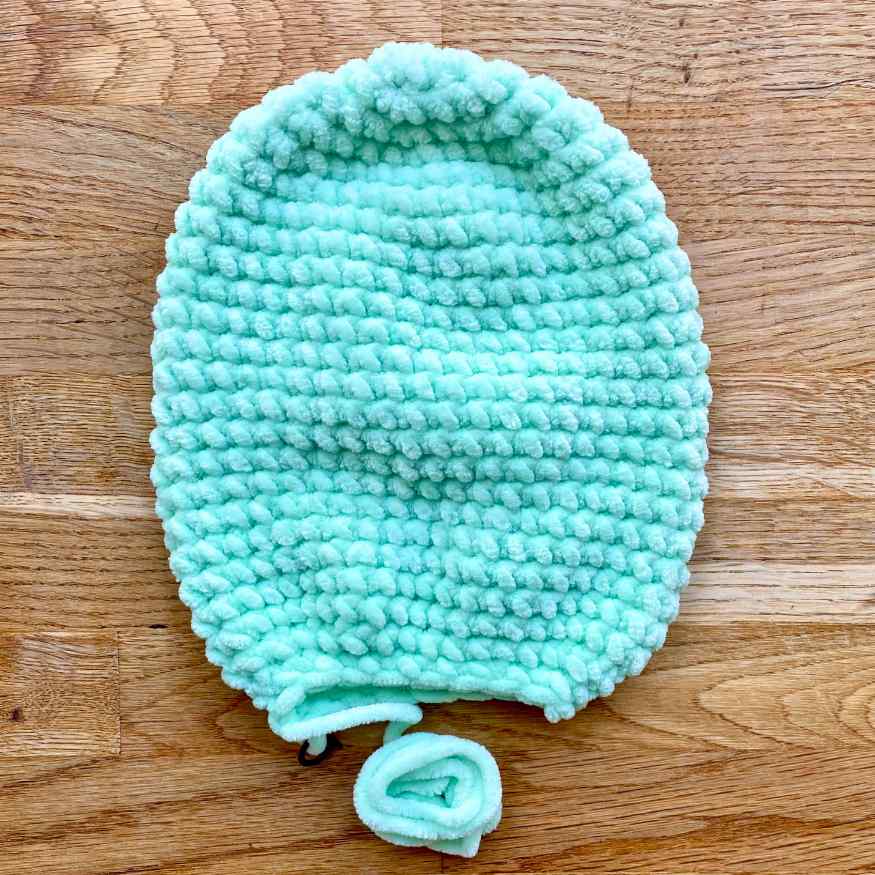
- 26th round: 8 dec (8 sts). Sl st, and pull the yarn tail right through the stitch.
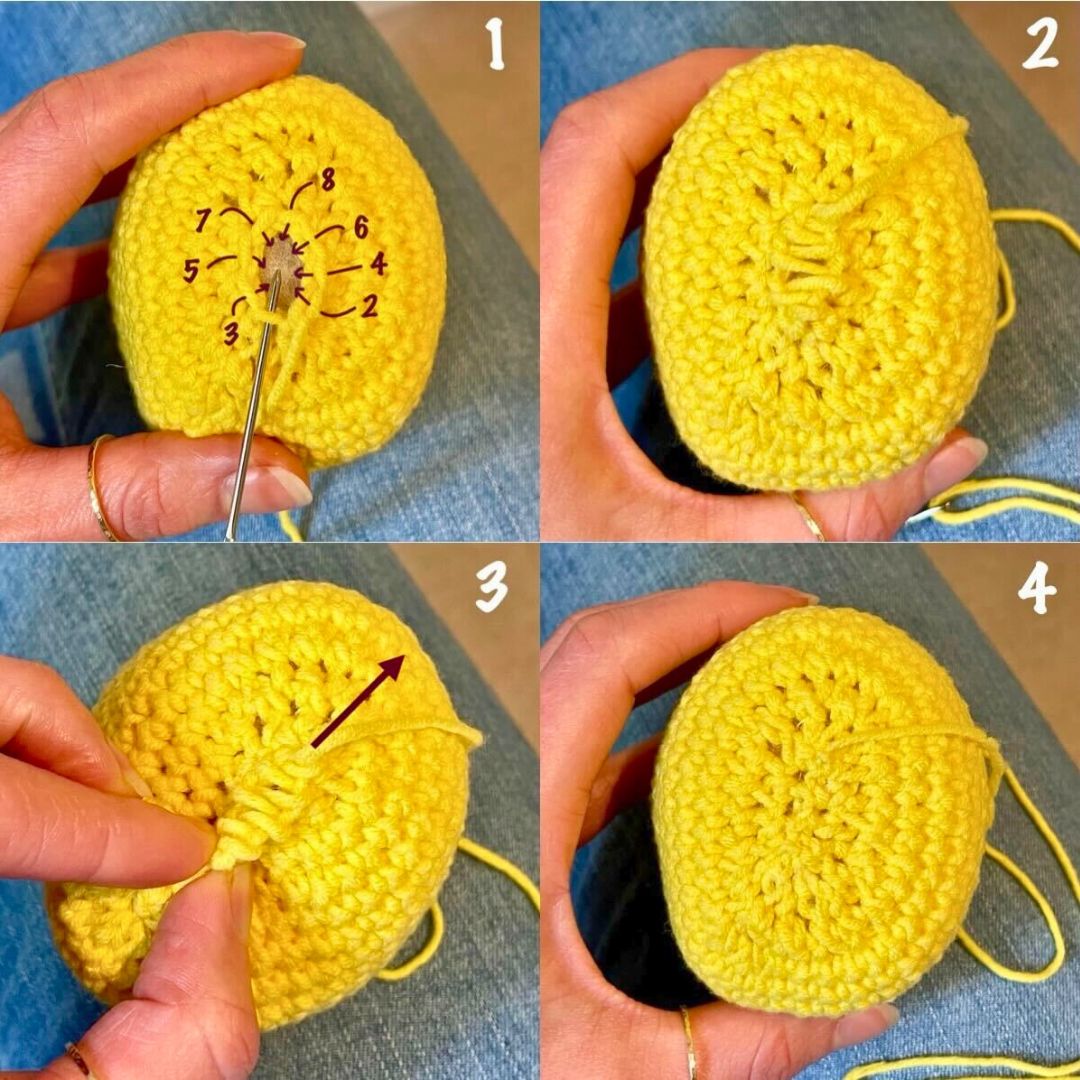
Close the remaining hole using mattress stitch through the front loops only. Make the stitches loosely at first following the guide in picture 1. Then pinch the start point firmly, and pull the yarn tail in the opposite direction to zip up the opening.
This is what your bunny should look like so far:
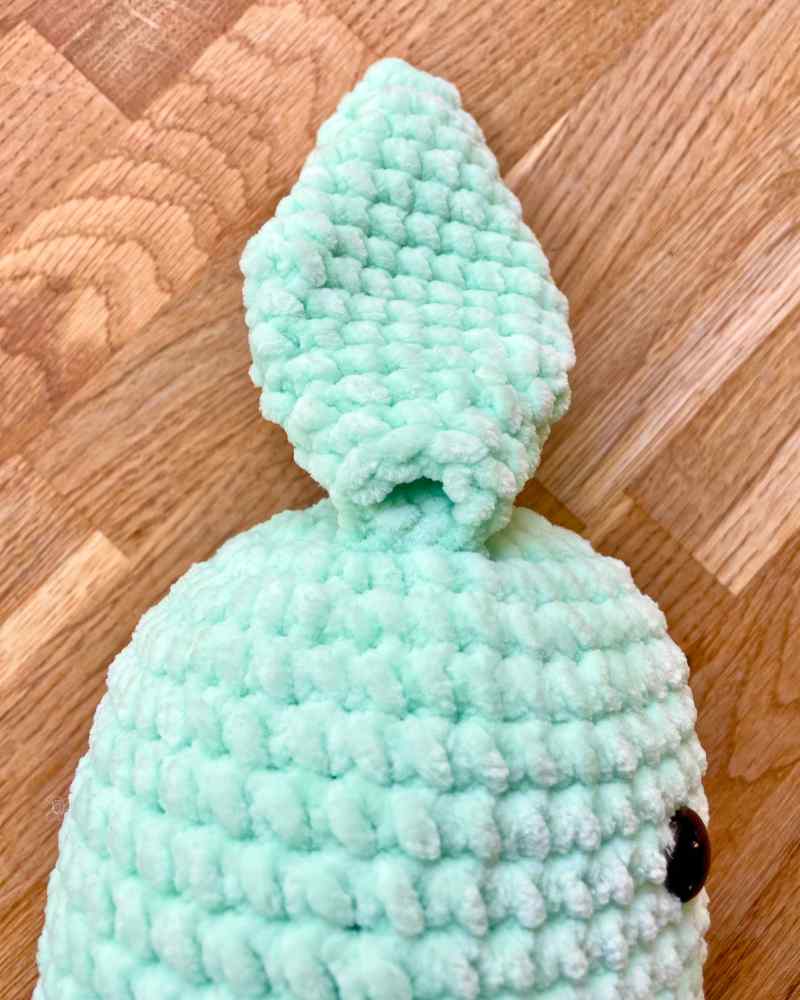
Sewing on the ears
Sew the ears onto the sides of the head, with the tops about level with the 4th round of the body. I decided to only catch the uppermost edge of the opening at the top of the ear in my stitches. This helps the ears sit flat against the top of the head, but it’s not essential. If you’re planning to give your squishy bunny to a small child, it might be a good idea to sew through all of the stitches, so the ears are joined as securely as possible.
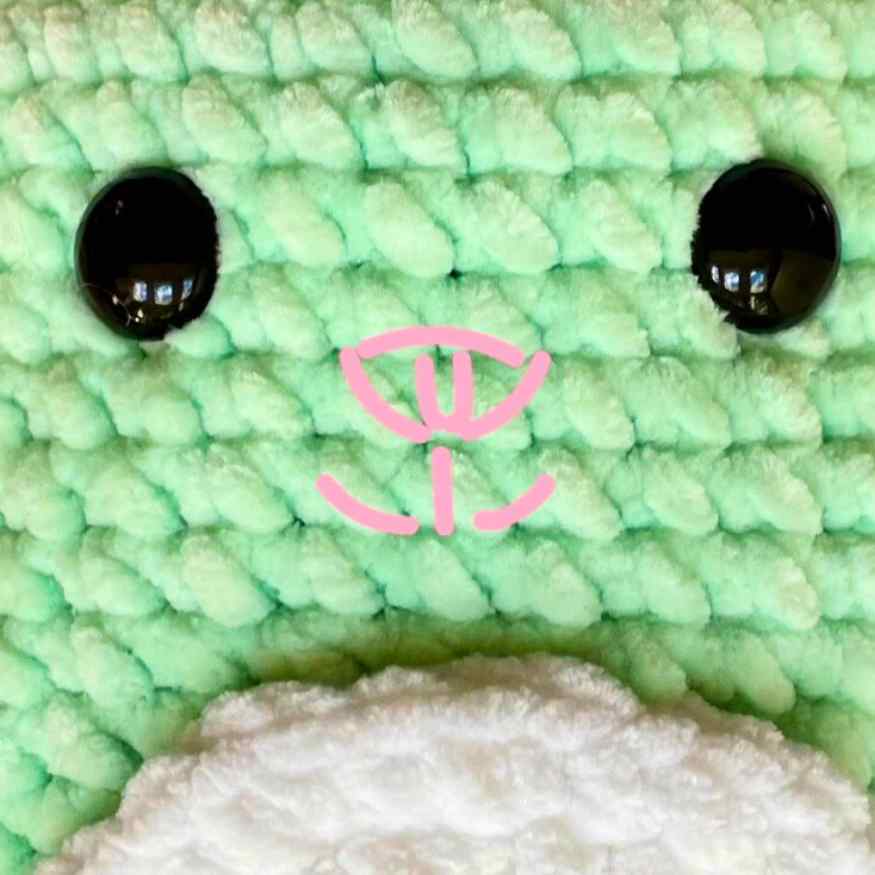
Embroidering the nose and mouth
To embroider the nose, mouth and whiskers, you’ll need a length of yarn 2-4 times the depth of your squishy from front to back. Thread it onto a darning needle, and push it through from the center of the back to a point between rows 12 and 13, and halfway between the eyes. This is going to be the bottom tip of the nose. Embroider the vertical stitches on the nose first, then the horizontal stitch along the top of the nose, and finally add the mouth. Here’s an illustration of where the stitches go:
Alternatively, if you’d rather not embroider the nose, you could make a crochet nose following the same pattern as for my squishy crochet cat pattern, and sew it on.
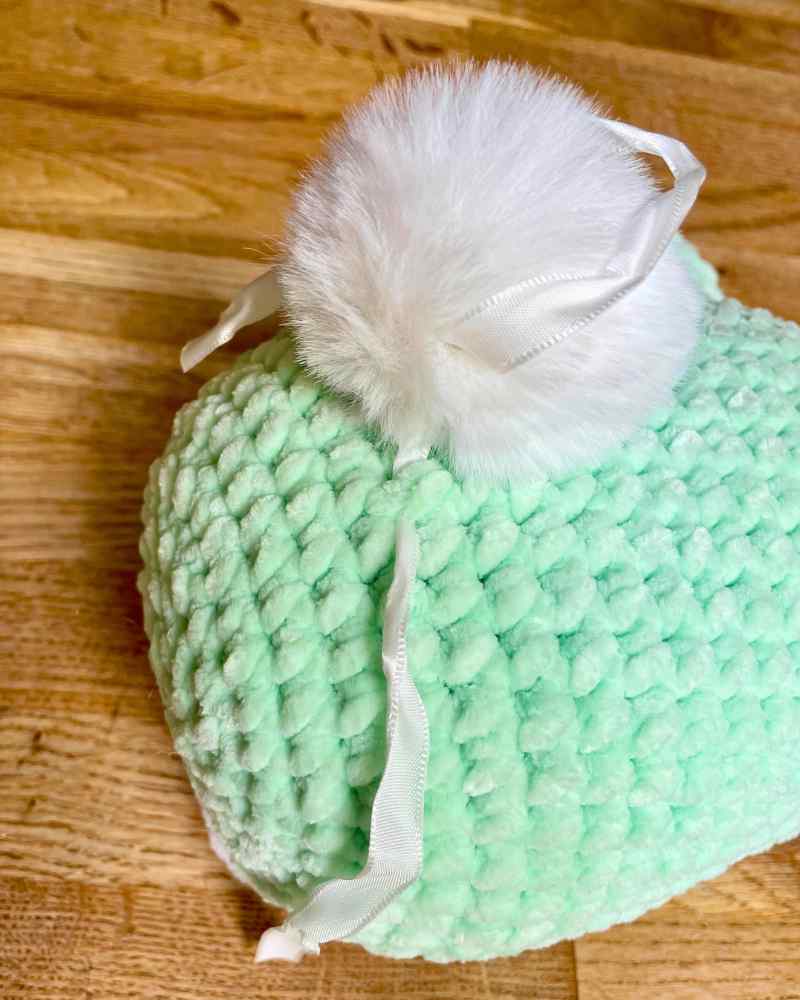
Tail time!
I’m hooked on the delayed gratification of saving finishing touches like this for last (or next-to-last, in this case). If you’ve also managed to wait until now to add your bunny’s tail, well done. But if you’ve already jumped the gun, I won’t judge!
To attach Bernadette’s tail, I sat her on a flat surface and gave her whole body a gentle downwards squash, so that she stood up unaided. Then I positioned the tail so that it just touched the table. Since my pompom is store bought, it came with two ribbons for tying it in place, but obviously a length of yarn stabbed through the center of the pompon will work just as well.
Adding a flower crown
When I was designing this pattern, I couldn’t imagine it working without a flower crown. I think I was concerned it would look a bit underwhelming and forgettable without one. As it is, I think the pattern turned out pretty dang cute, so I’m downgrading the flower crown to simply ‘optional’. But I do love it, and it’s super simple to make.
You’ll need some felt, or heavy fabric. I found this pack of fresh pastel shades, to echo Bernadette’s minty fur. In these pictures, I’ve cut out enough pieces to make 6 flowers, but in the end I only use 5. There’s no harm in having a little extra choice!
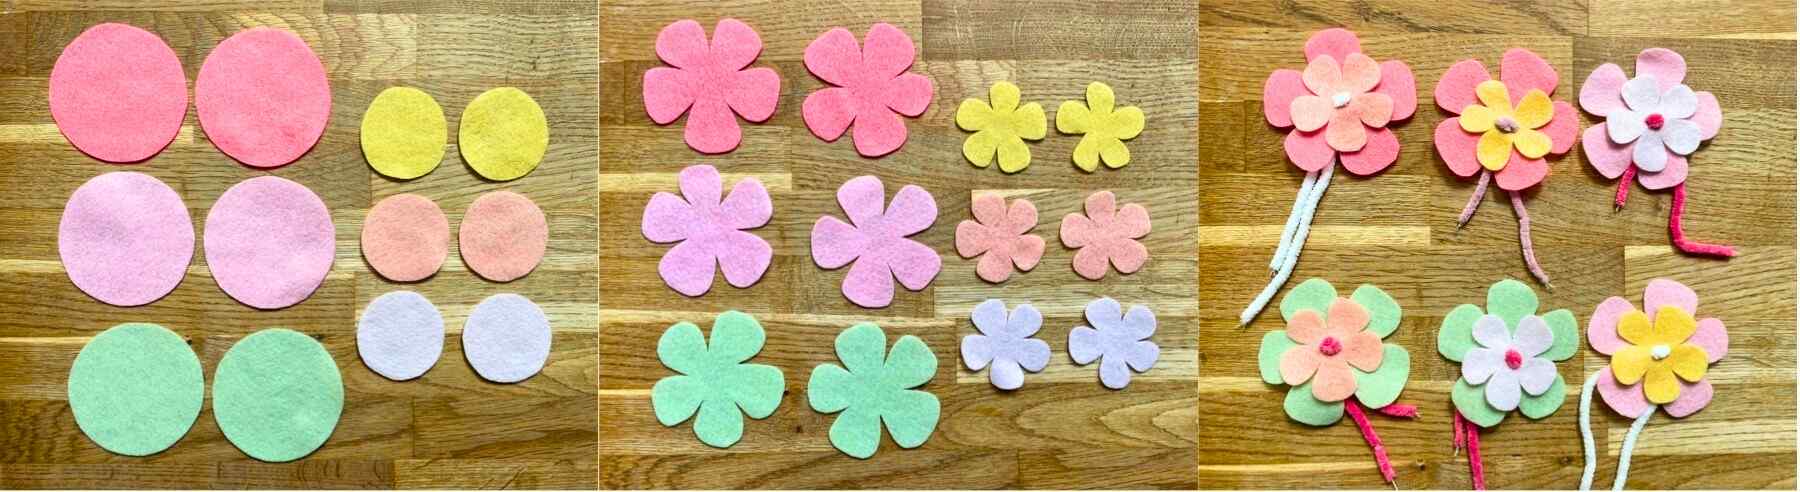
Each flower starts with two circles (below, left). The larger circle has roughly the same diameter at the distance between the bunny’s ears – find a household item about the right size to draw around. The smaller circles are about ½ to ⅔ of the diameter of the larger circles.
Cut approximately equal-sized petals around the edge of the circles (below, center). I’ve gone for five petals, but four, six, or a mix of different quantities would all be very effective. Place a smaller flower on top of each large flower. Thread 12” of yarn onto a darning needle, and make 1 or 2 stitches through the center of the flowers to hold both pieces together. Leave the yarn tails in place for tying the flower to the head (below, right).
Arrange the flowers in roughly this area at the front of your bunny’s head:
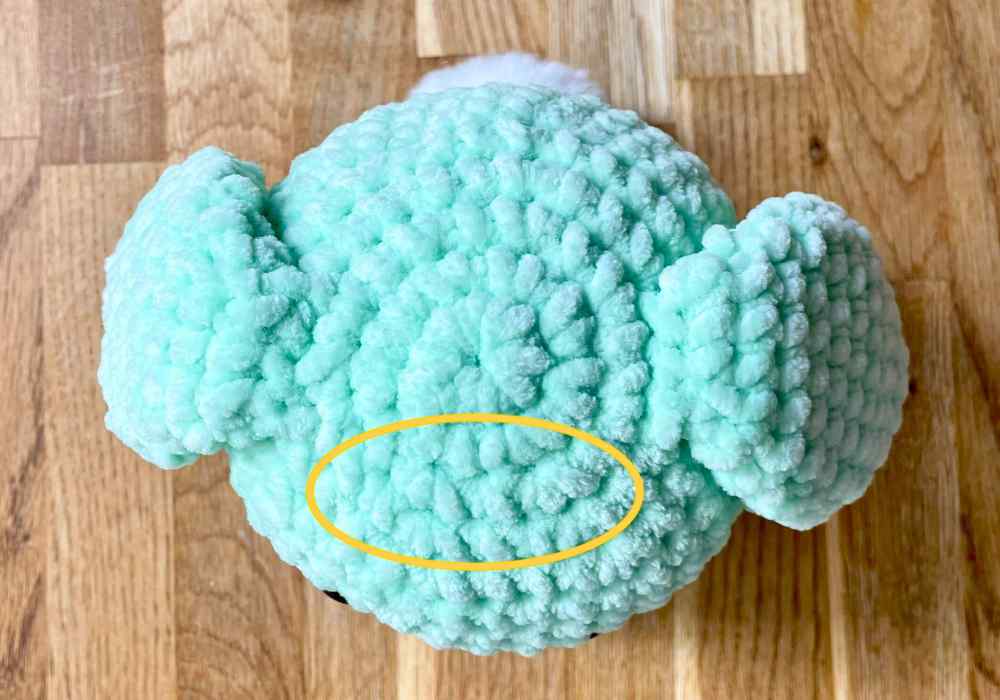
They ought to be gathered closely enough together that they prop each other’s petals up. But not so close that they push each other closed! Thread one yarn tail under the closest stitch on your bunny’s head then tie it to the other yarn tail.
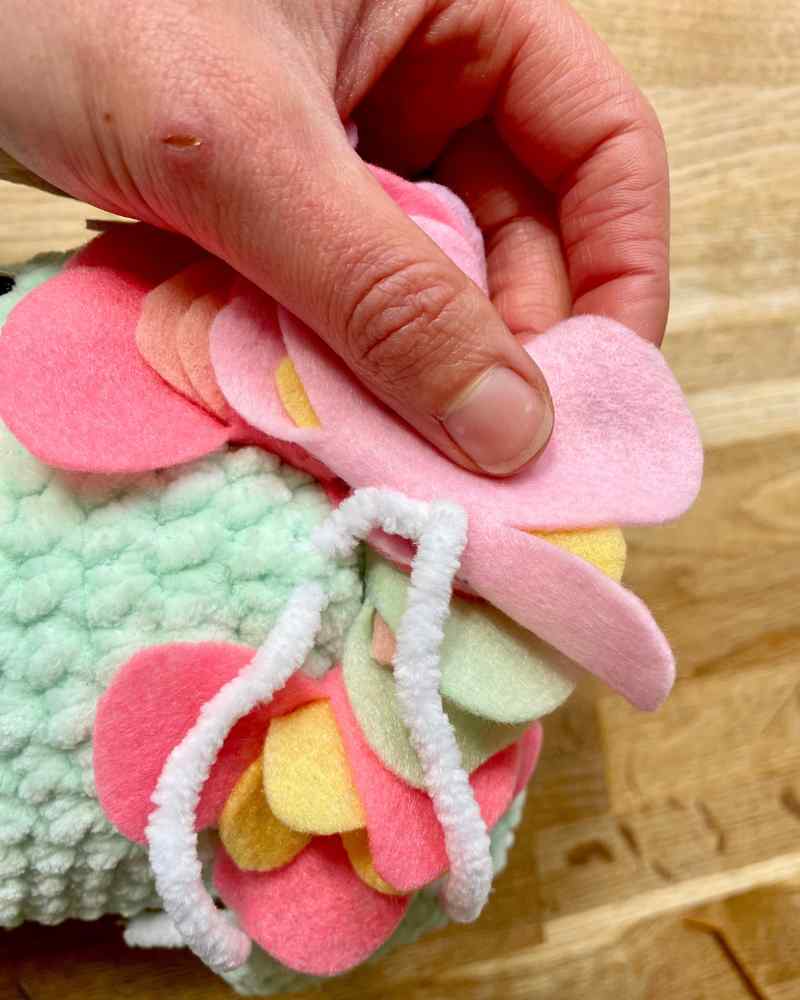
Trim the ends to an inch long, and poke them inside the body.
Finished!
And there you have it! A simple route to a quick and cute crochet bunny. For a different take on an amigurumi rabbit, don’t miss Lucy’s bunny and wild rabbit patterns. I love how two crocheters can hear the words ‘crochet bunny’ and picture such different end results!
Are you going to make your own squishy crochet bunny?
Let us know what color you’ll use in the comments box down below. Will you make your own pompom tail, or leave off the flower crown? Show off your finished project by tagging Lucy on Facebook or Instagram. And happy crocheting!