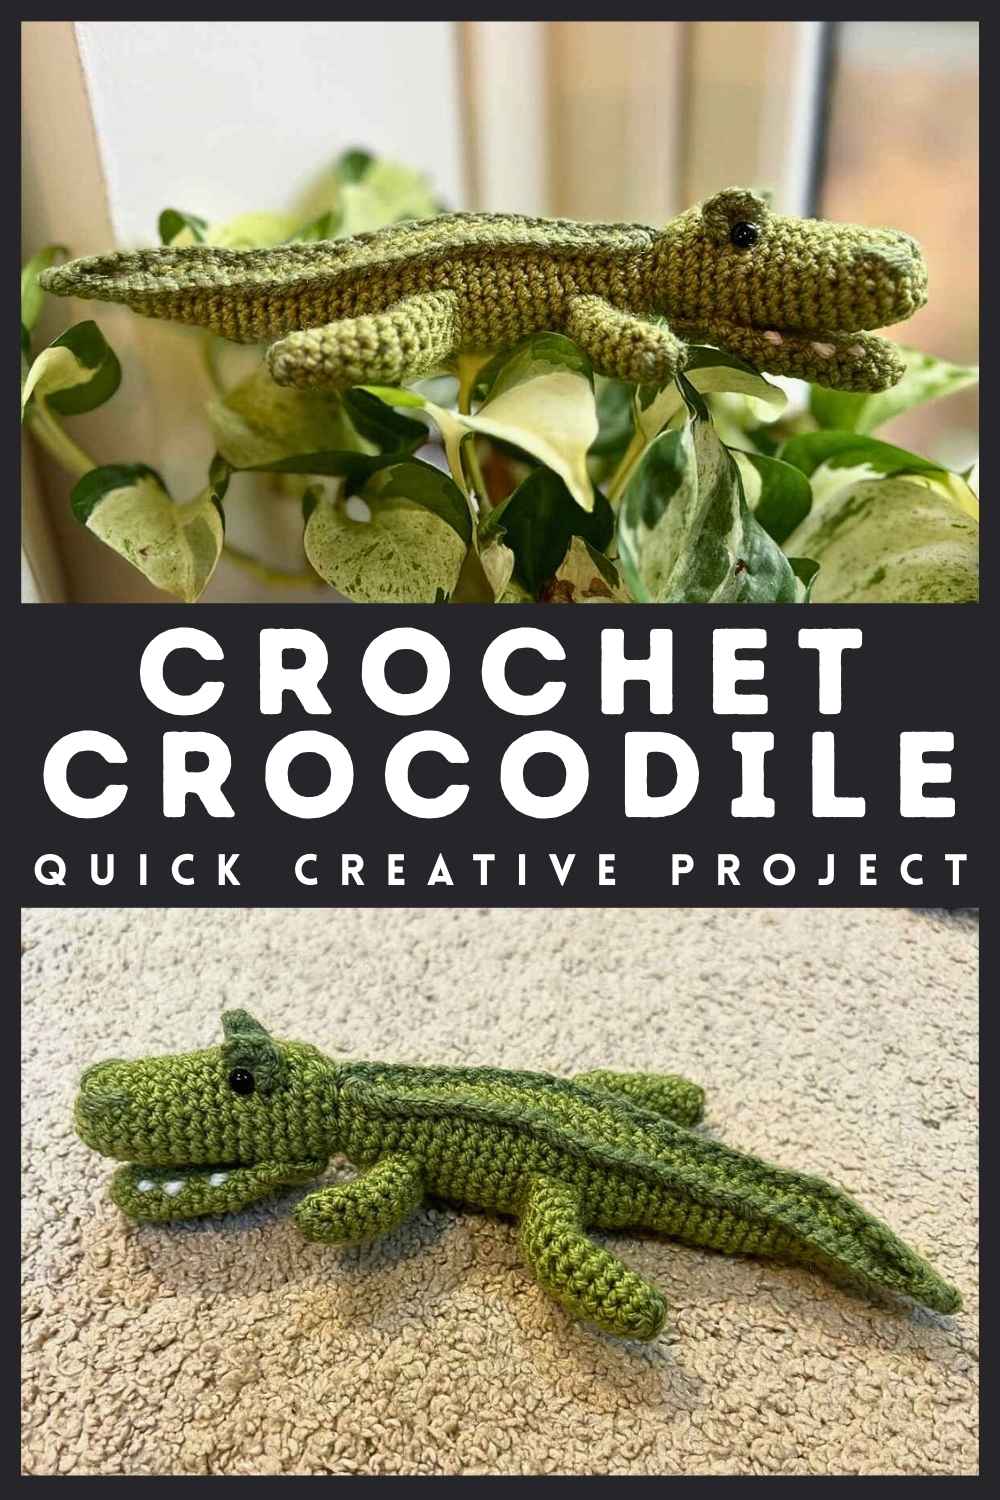
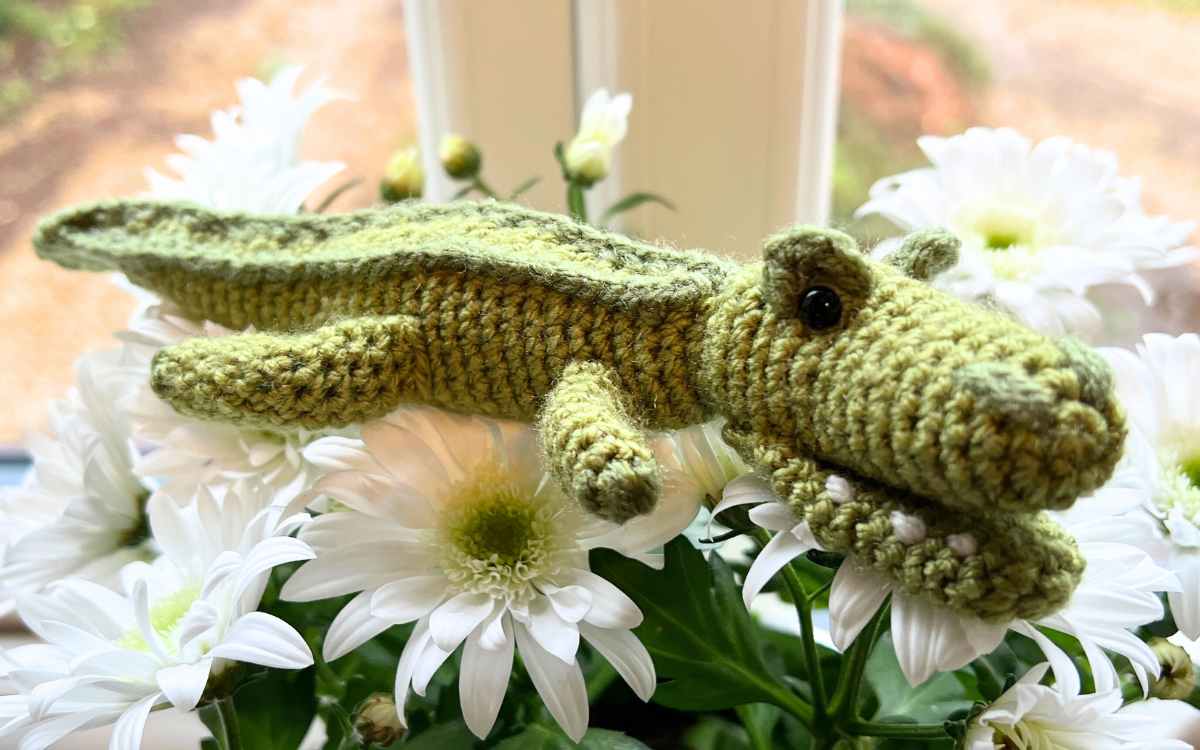
My Free Crochet Crocodile Pattern

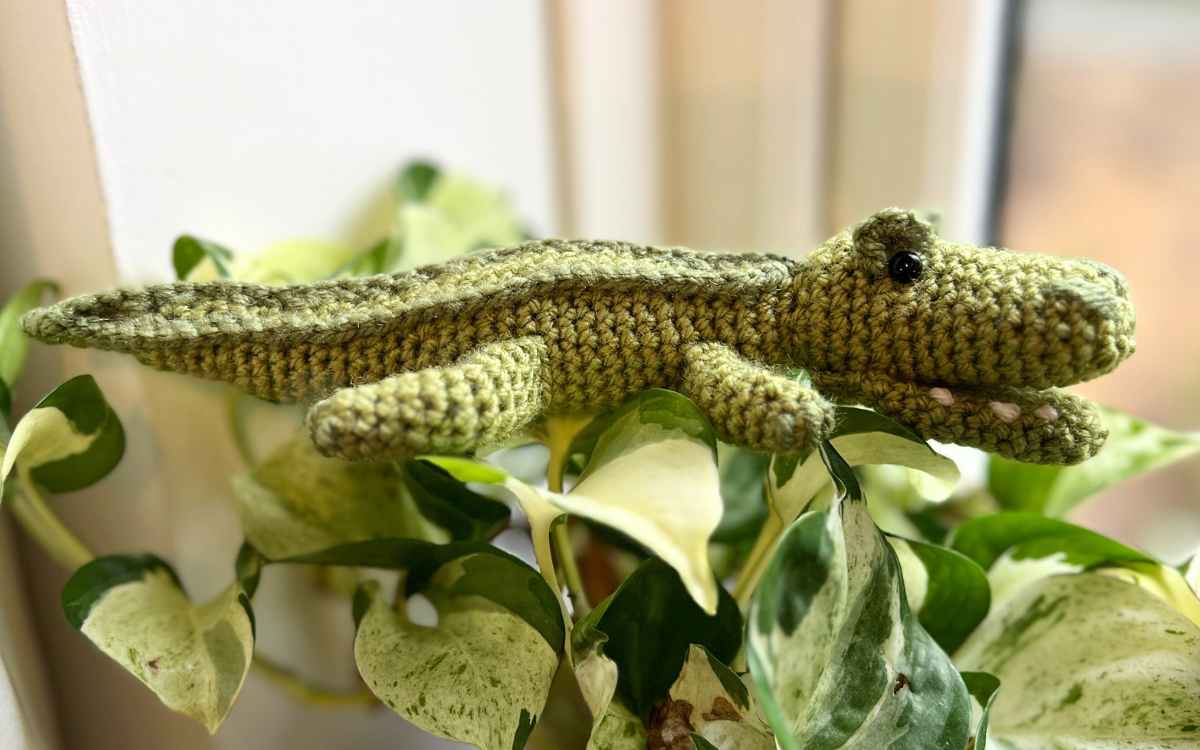
I am so totally excited to introduce you to my new free crochet crocodile pattern. This pattern is fairly quick to hook up, uses mostly basic stitches and I’ve added plenty of detail for the more intermediate skills to allow anyone from crochet beginners to advanced experts to make their own cute amigurumi crocodilian.
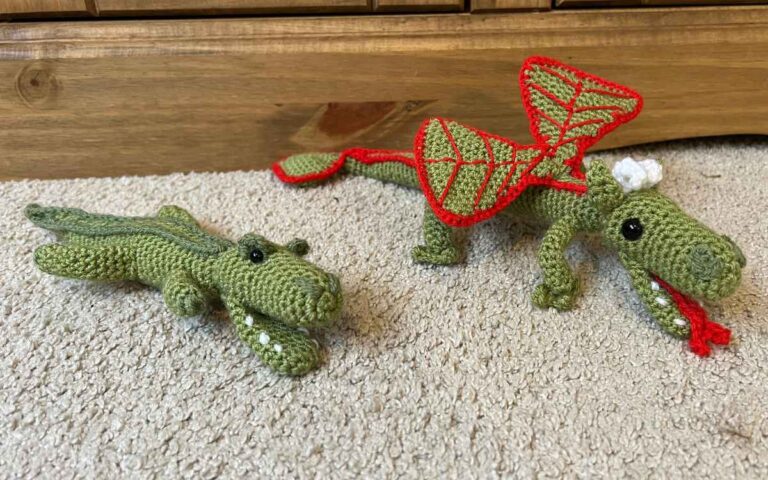
I’ve also recently turned this pattern into a dragon, too!
What You’ll Need To Crochet Your Crocodile
- 50g light green DK yarn
- 25g dark green DK yarn
- Scraps of white DK yarn
- 3.5mm crochet hook
- 3mm crochet hook
- Toy safe stuffing*
- 6mm safety eyes*
- Tapestry/yarn needle*
- Stitch markers
- 4 pipe cleaners (optional)
The yarns I used were Knit Craft’s Everyday DK and The Women’s Institute’s Premium Acrylic. They are UK based brands so might be hard to source elsewhere, but any green acrylic DK yarns should work up very similarly.
If you don’t have any stitch markers then scraps of a different colored yarn can work well for the same job, but you will need something to keep your place for this crocodile pattern.
Pattern Techniques and Tips
Here are the abbreviations you’ll find for the main stitches in the pattern, and what they mean:
- sc – single crochet
- 2sc – two single crochets into the same stitch
- sc2tog – join two stitches together with one single crochet
- slst – slip stitch
- ch – chain
You’ll see a few strings of instructions like this one:
1sc, 2sc, 1sc x 5, 2sc, 1sc x 4 (14)
This means make 1 single crochet in the first stitch, two in the next stitch, then one single crochet in the next five stitches, then two in the following stitch, then finally one single crochet in the last four stitches. Hope that’s helpful!
Techniques you’ll need to use to create your own amigurumi crocodile include the following terms, which I’ve linked to guides for them if you’re unfamiliar:
My New Free Crochet Crocodile Pattern
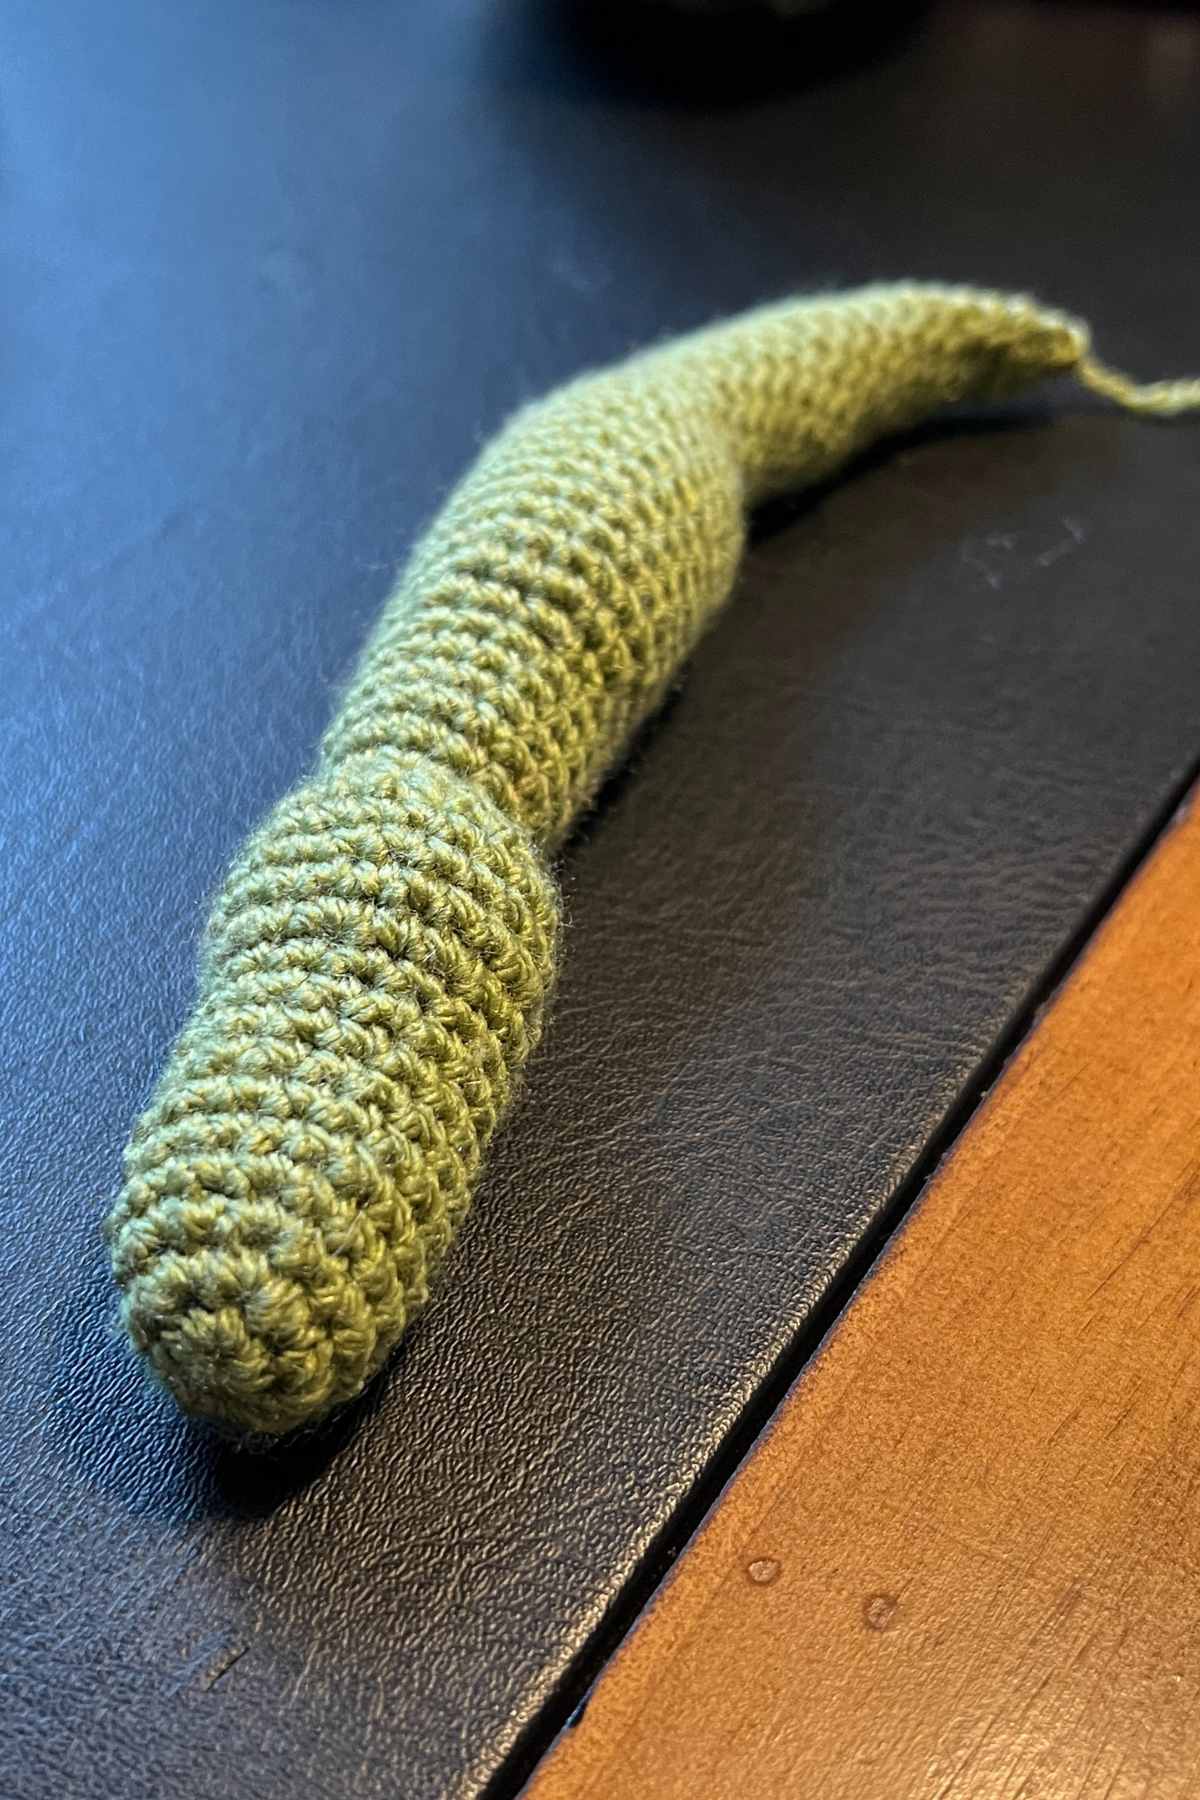
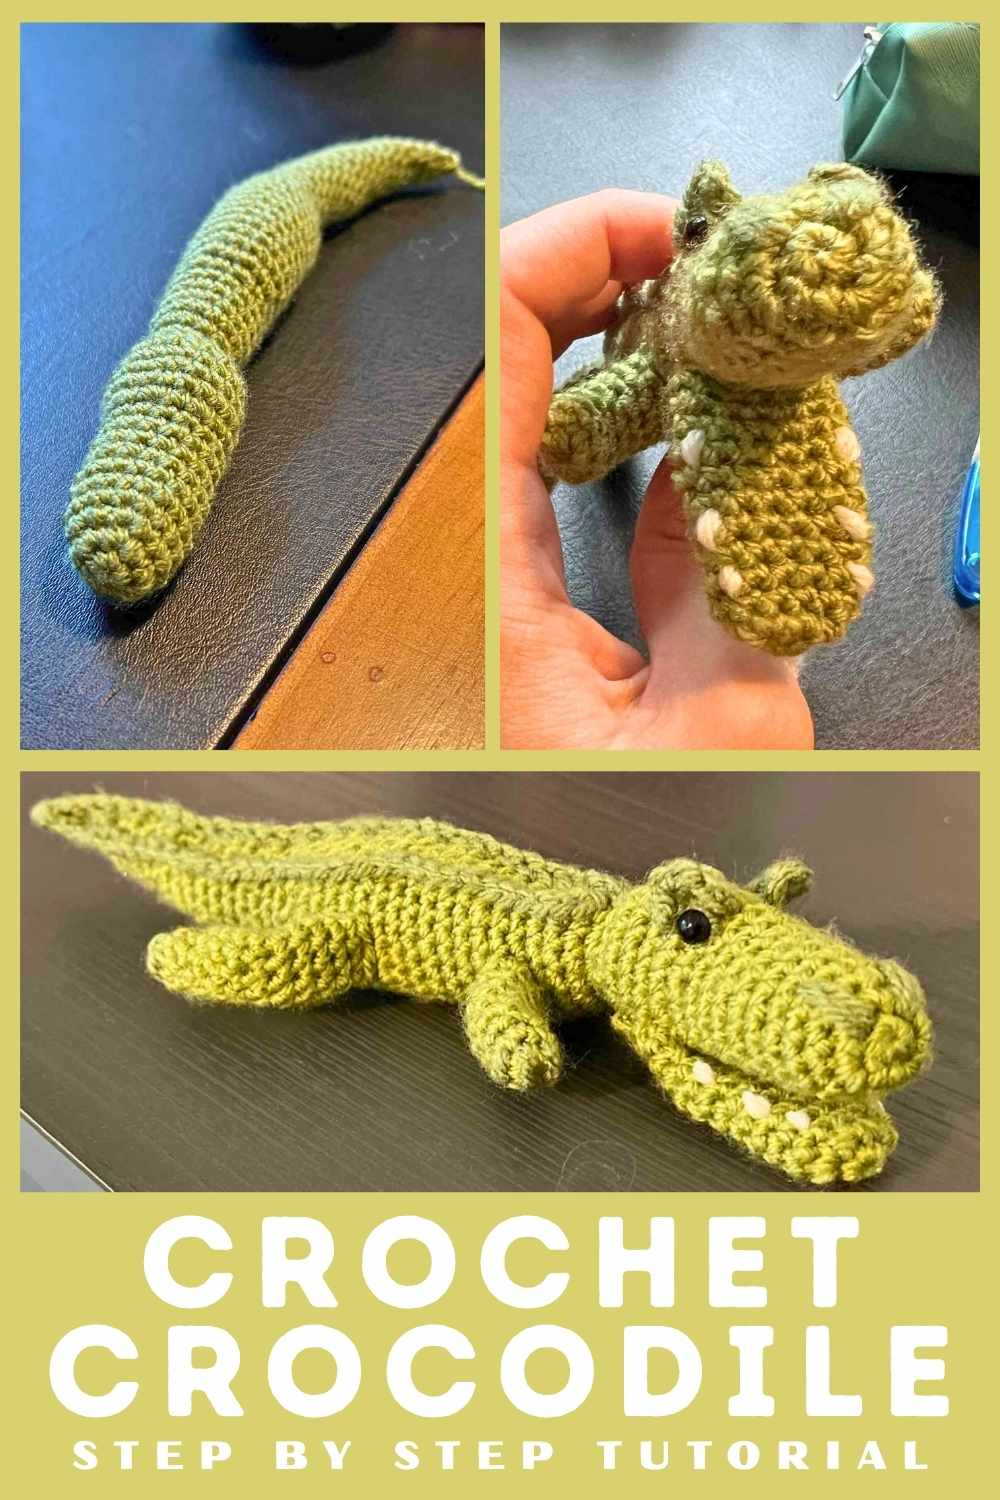
You’re going to crochet your croc in a few separate sections, which you’ll need to hand sew together as we go. However, the main bulk of the toy is crocheted in one long piece.

Your Crocodile’s Head, Body and Tail
Work this section with your 3.5mm crochet hook and light green DK yarn.
Round 1
Make a magic circle of six stitches (6)
Round 2
2sc x 6 (12)
Round 3
1sc, 2sc, 1sc x 5, 2sc, 1sc x 4 (14)
Round 4
1sc x 2, 2sc, 1sc x 6, 2sc, 1sc x 4 (16)
Round 5 – 10
1sc x 16 (16)
Round 11
1sc x 8, ((1sc, 2sc) x 4) (20)
Round 12 – 15
1sc x 20 (20)
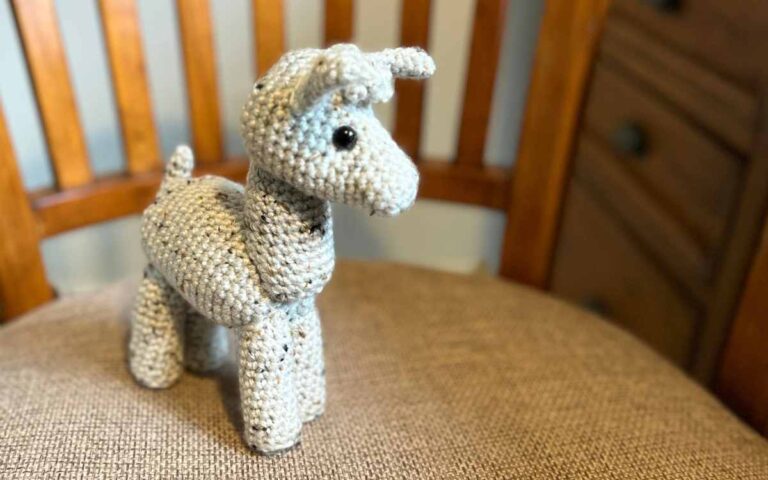
It’s time to add your safety eyes. Insert them around round 11, into the eye ridge section. Sit them around six stitches apart.
Round 16
1sc x 8 ((1sc, sc2tog) x 4) (16)
Stuff the toy so far.
Round 17
sc2tog x 8 (8)
Round 18
2sc x 8 (16)
Round 19 – 23
1sc x 16 (16)
Round 24
(1sc, 2sc) x 2, 1sc x 12 (18)
Round 25
(2sc, 1sc) x 3, 1sc x 12 (21)
Stuff the toy so far.
Round 26 – 34
1sc x 21 (21)
Round 35
(sc2tog, 1sc) x 3, 1sc x 12 (18)
Round 36
sc2tog, 1sc x 5, sc2tog x 2, 1sc x 5, sc2tog (14)
Stuff the toy so far.
Round 37 – 45
1sc x 14 (14)
Round 46
1sc, sc2tog, 1sc x 8, sc2tog, 1sc (12)
Round 47
1sc, sc2tog, 1sc x 6, sc2tog, 1sc (10)
Round 48 – 52
1sc x 10 (10)
Stuff the toy so far.
Round 53
Sc2tog, 1sc x 3, sc2tog, 1sc x 3 (8)
Round 54 – 55
1sc x 8 (8)
Finish stuffing your crocodile’s body.
Round 56
sc2tog x 6, then hand sew to close.
Crocheting the Croc’s Lower Jaw
Work the lower jaw in the 3.5mm crochet hook and light green DK yarn too.

Round 1
Make a magic circle of six stitches (6)
Round 2
2sc x 6 (12)
Round 3 – 10
1sc x 12 (12)
Round 11
1sc x 6 then stop, turn, and ch 1.
Round 12
1sc x 5
Slst into the next stitch, tie off with a long tail of yarn.
Sew the Jaw onto the Body
Using the same color yarn, attach your needle and weave in and out across two sections. Attach the longer slab section onto round 16 directly below the eyes. Then sew the open area of the inside of the mouth a few rounds up.
Crochet Crocodile’s Eye Ridges
You’re going to make the crocodile’s defined eyes using your darker shade of yarn.
Create a magic circle of six stitches, tighten but do not close the circle.
Sew the ridge above each safety eyes, from around round 11 to round 13.
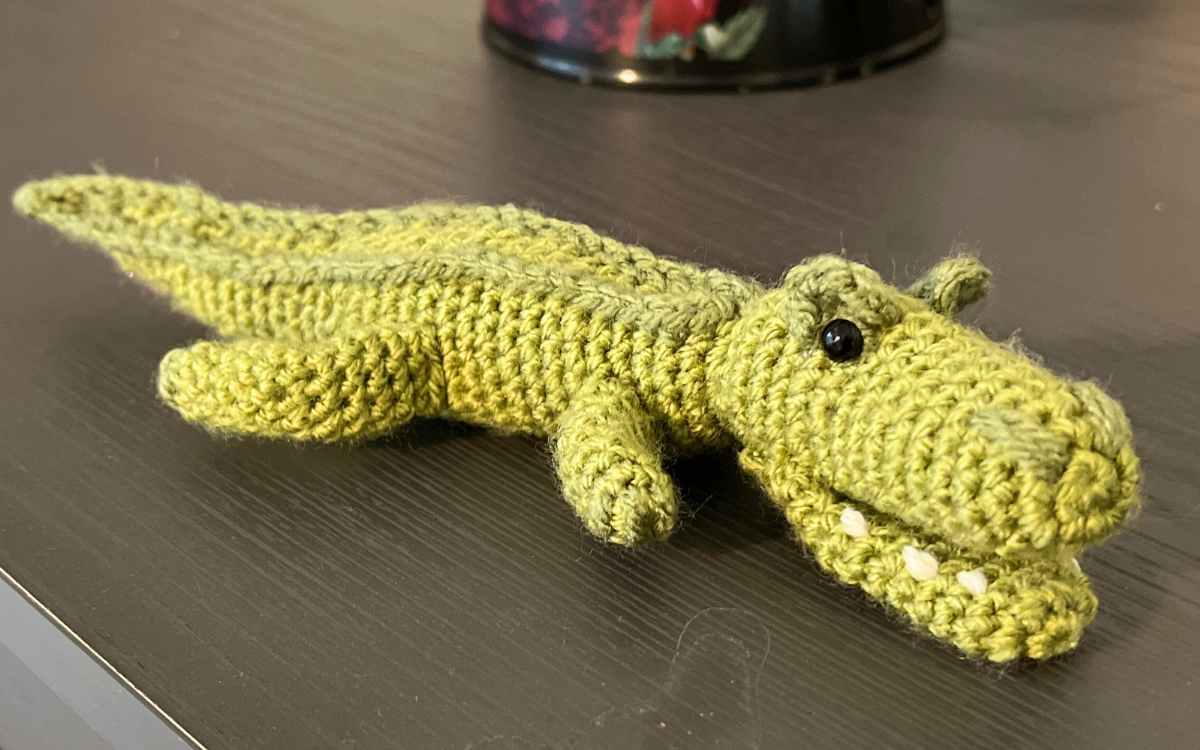
The Teeth and Nostrils
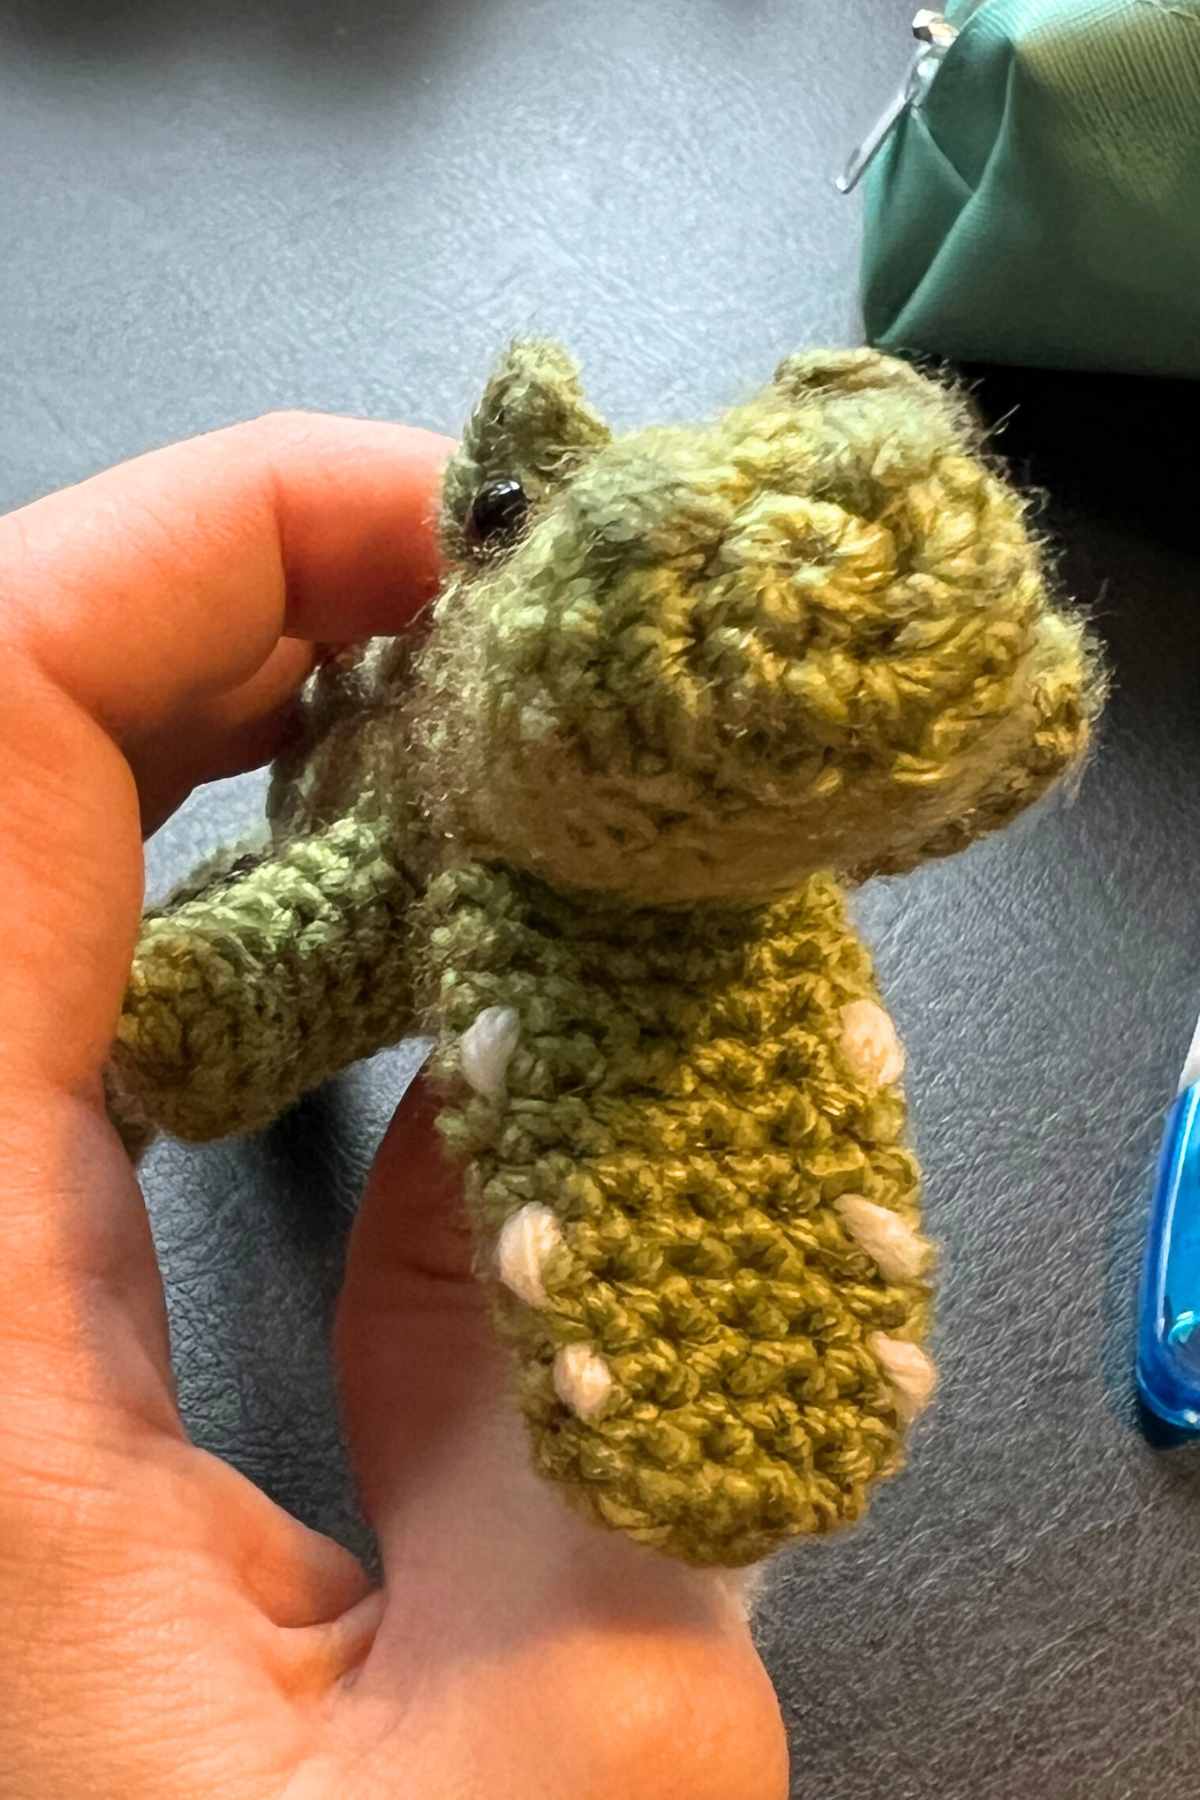
To create the teeth, you’ll just need a scrap of white yarn and a tapestry needle. Work around the edge of the bottom jaw’s opening, sewing twice over one stitch about every other stitch.
For the nostrils, attach your dark green yarn and work back and forth over a three stitch deep space. I’d start at round two and go back towards each eye at about round four.
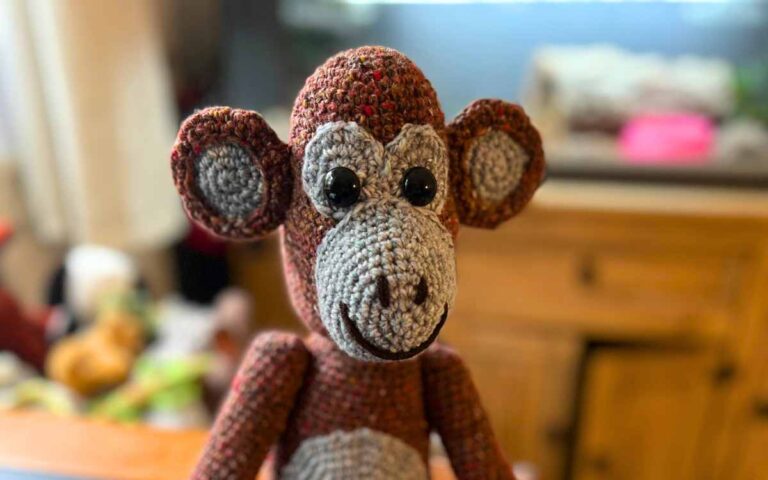
Surface Crocheting The Crocodile’s Scales
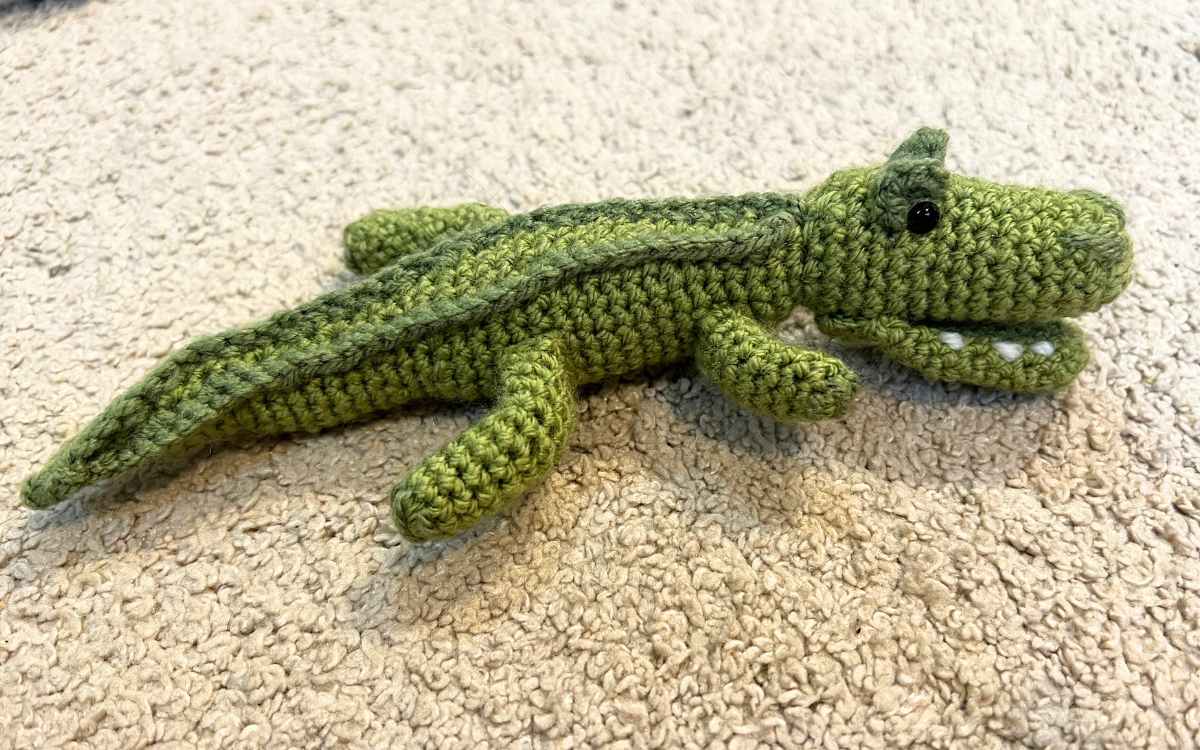
To create the ridged scales along the back of your amigurumi crocodile, use a 3mm crochet hook and your dark green DK yarn.
Each stitch is a single crochet, begun at the back of the neck, working in widening slopes along the body then coming back together by the tip of the tail. You’ll find this tutorial helpful if it’s not a technique you’ve much experience with.
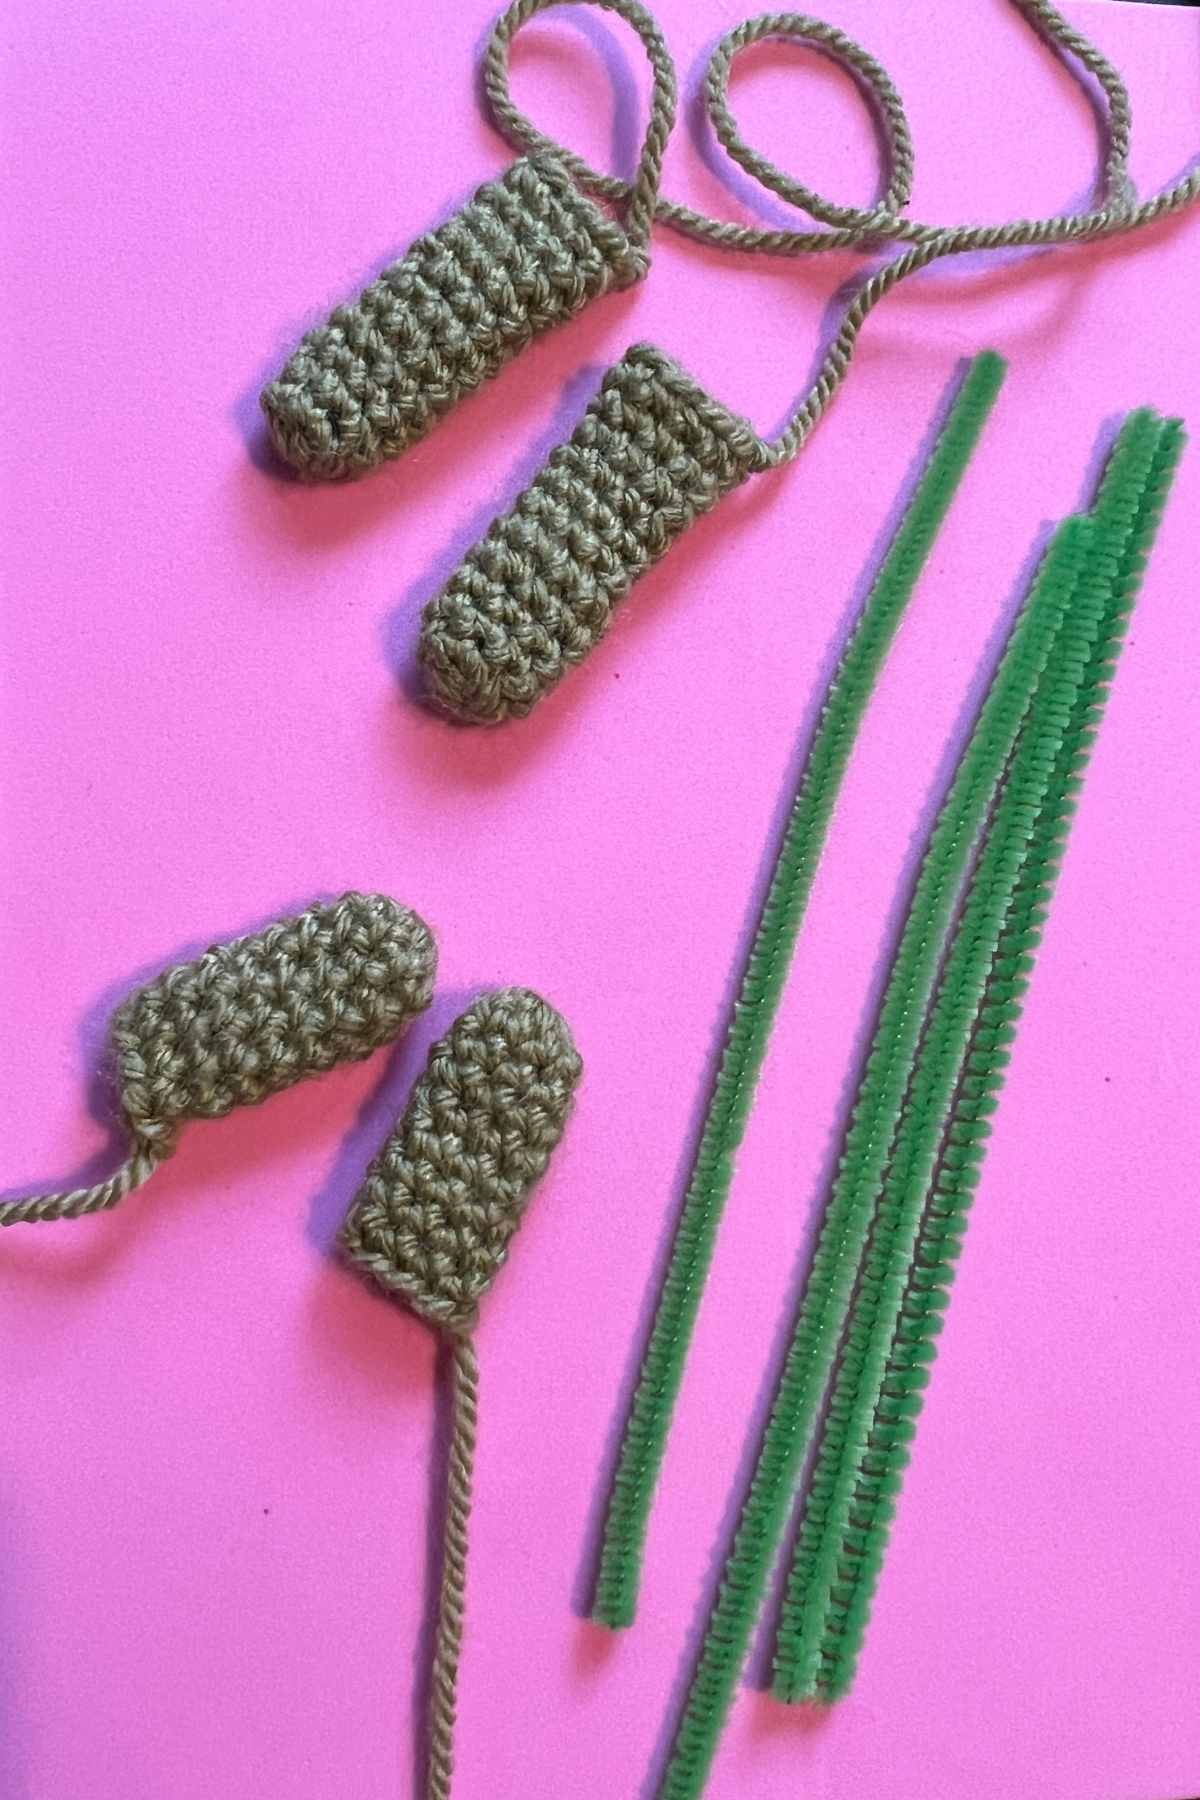
Crocheting the Front Legs
Use your 3.5mm crochet hook and light green DK yarn.
Round 1
Make a magic circle of eight stitches (8)
Round 2 – 8
1sc x 8 (8)
Slst, tie off with a long tail.
You can either stuff the legs with toy stuffing, or bend a pipe cleaner to shape and use that to fill the leg and bend it into a more crocodilian shape!
Your Crochet Crocodile’s Back Legs
Continue working with your 3.5mm crochet hook and light green DK yarn.
Round 1
Make a magic circle of eight stitches (8)
Round 2 – 12
1sc x 8 (8)
Again, you have the option to fill either with a pipe cleaner or just to use toy stuffing.
Sewing the Legs
Use your needle and the light green yarn to sew the legs onto your croc. Put them facing outward rather than sitting underneath the toy for that maximum crocodile look.
I attached my front legs around round 21 and the back legs at round 30.
Once they’re attached, use your yarn needle and dark green yarn to make little stitches on each foot to represent the toes. I make three through the magic circle that are about a stitch or two deep.
Crocheting Your Own Crocodile
I hope you’ve enjoyed making this one, it’s been a big deal for me because I love reptiles and have been putting off dabbling in the more complicated shapes for a while. Let me know what you think, and if you have any questions just pop them in the comments box below.
Happy Crocheting!
Lucy Kate, x
*The products linked in this pattern were carefully selected by Lucy Kate Crochet. If you decide to purchase using the links provided, we may earn a small commission on that sale. This is at no extra cost to you.
