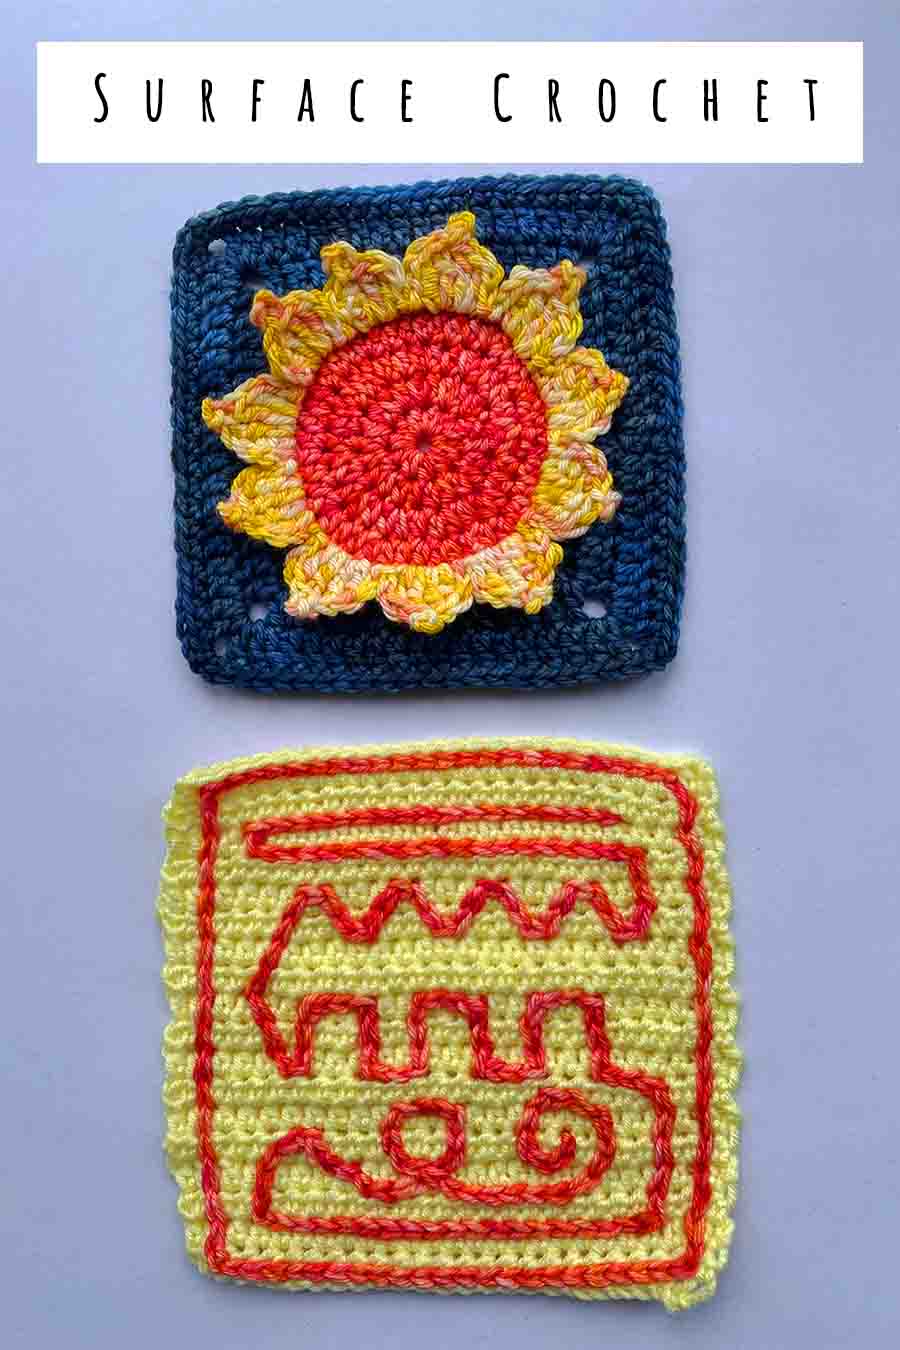
Surface Crochet
Surface crochet is a method of adding decorative crochet to the surface of a project. You can surface crochet onto crochet, onto knitting, and even onto plastic or wire mesh! Surface crochet can be flat like embroidery, or used to create dramatic three dimensional shapes like ruffles. It’s a fun and effective technique that anyone with the most basic crochet skills can try.
Contents
What is surface crochet?
Exactly as its name suggests, surface crochet is worked onto the flat face of a project, rather than along the edge. You can use it as an alternative to embroidery for adding two-dimensional decorative patterns. It’s great for anyone who’s happy wielding a crochet hook, but breaks out in a cold sweat when handed an embroidery needle! You can also use surface crochet to create tactile and visually interesting three-dimensional embellishments.
How it works
Here’s how to work a simple slip stitch surface crochet design onto your project, taking a blanket as an example:
- Make a slip knot in your yarn, leaving a 6” tail for weaving in later.
- Support the blanket on your lap or work surface with the yarn behind the blanket and your crochet hook in front of the blanket.
- Where your design is going to begin, pick a space between the stitches and insert the hook from front to back through the surface of the blanket.
- Draw the slipknot up through the blanket.
- Insert the hook back through the blanket using a different space close to the first one.
- Put the working end of the yarn over the hook, then draw it up though the blanket and the loop of yarn already on the hook, forming a slip stitch.
- Insert the hook through the blanket in a 3rd space, and repeat step 6.
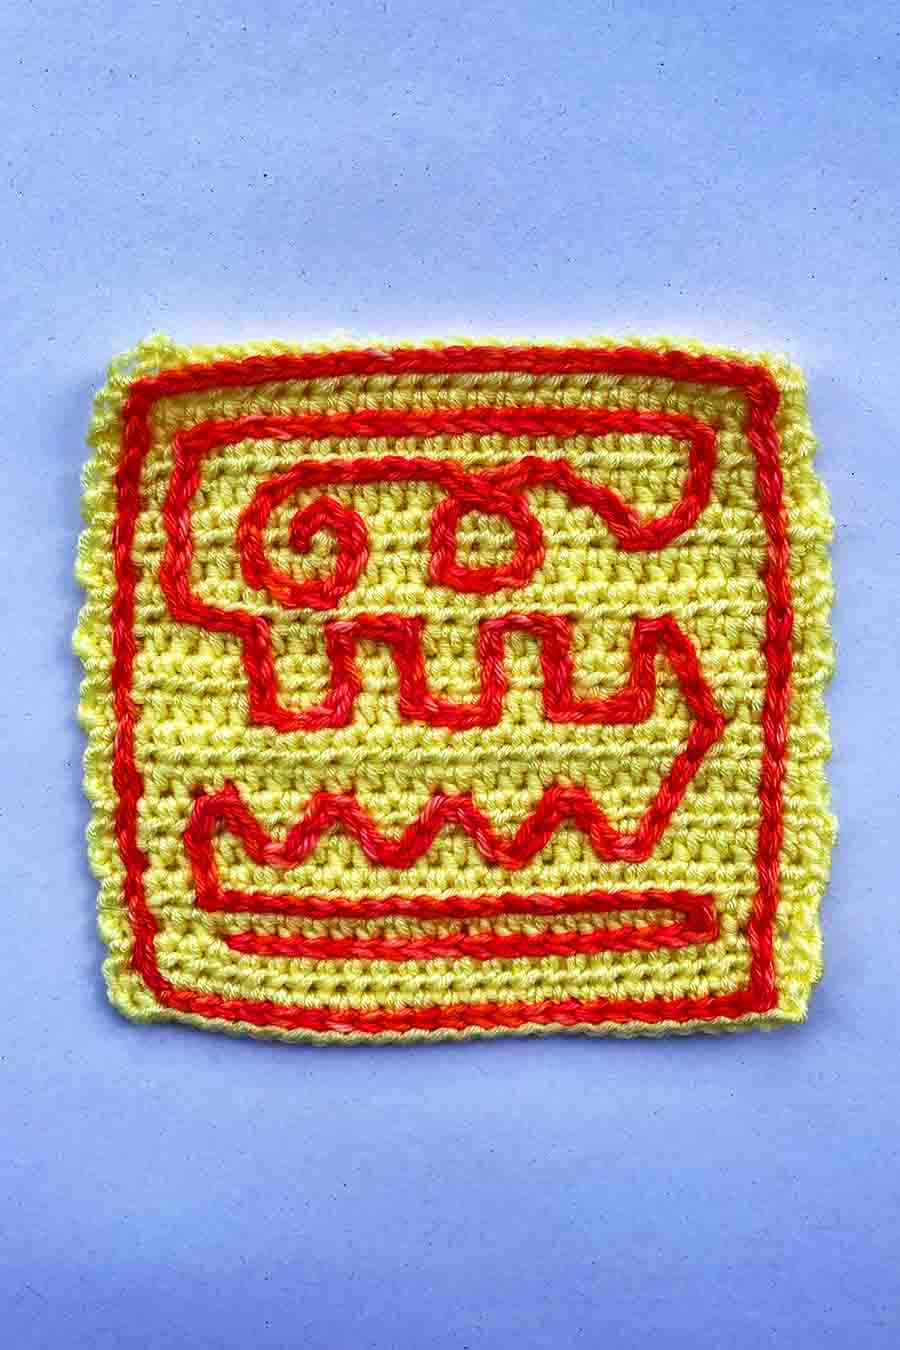
Now experiment! You can work in any direction, and make stitches of any length you like. Here’s an example of what’s possible:
TIP: Keep an eye on your tension – remember that the amount of yarn you draw though for each slip stitch needs to be long enough to reach the next spot where you insert the hook into your work. Making your surface crochet too tight will cause the front of your work to curve inwards. Using a larger hook size than the yarn usually calls for might help.
Getting 3-dimensional
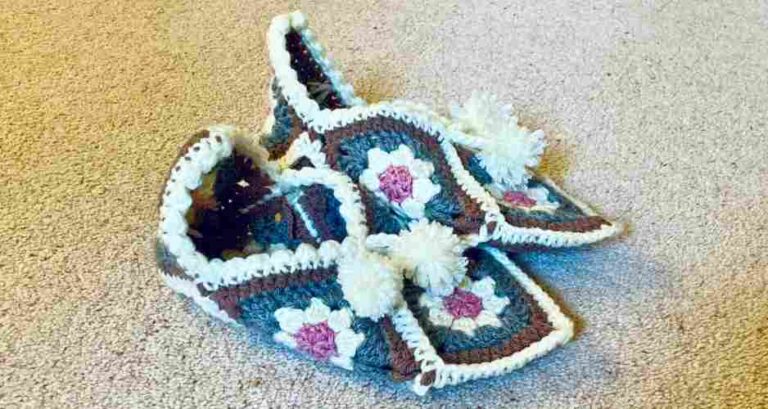
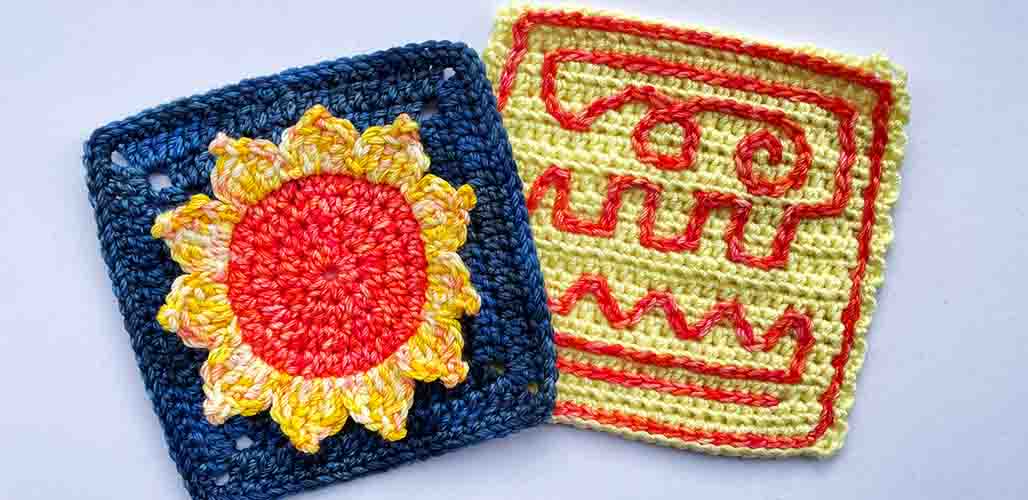
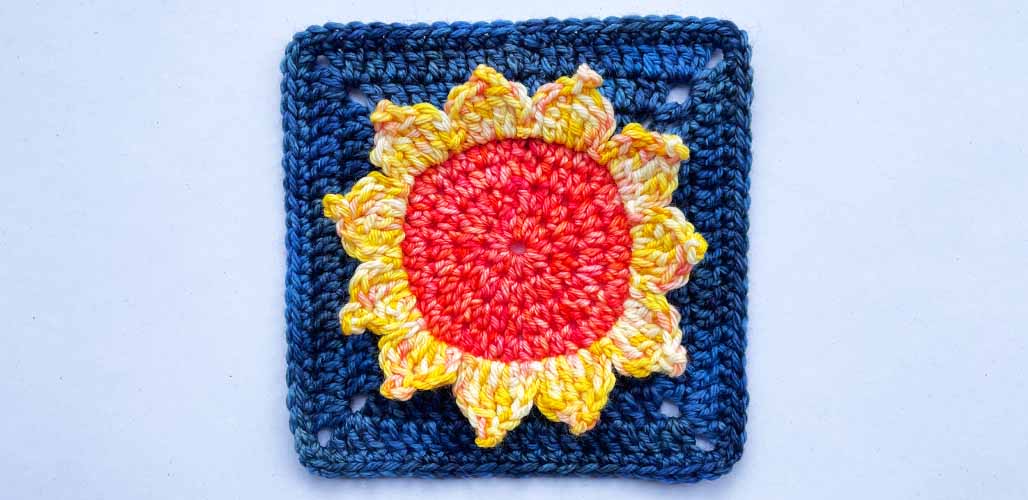
For 3-dimensional surface crochet, simply treat your row of slip stitch like a foundation chain. In this flower granny square I outlined the center of the flower with surface slip stitch, and used that as a foundation for a adapted triangle border with long treble stitches and 3-chain picot stitches at the points.
With your foundation row of surface slip stitch in place, there’s no limit on how where you can go next! This method is fantastic for adding eye-catching ruffles and dramatic flounces to garments. It also looks gorgeous on tightly formed linen stitch granny squares.
TIP: When you’re going to use your surface slip stitches as a foundation chain, think about how many stitches you’re going to put into each slip stitch. The petals of the flower above have some clusters of two stitches, so I made the slip stitches nice and loose to accommodate them.
Finishing up
A couple of notes on finishing up. Just like usual, the ends of the yarn you use for your surface crochet will need tidying up by weaving them in. For simple slip stitch surface crochet this can be a little tricky. All that shows of your surface crochet on the wrong side of your work is a line of stitches similar to back stitch in sewing or embroidery. So there’s not a lot or room for concealing yarn tails in a contrasting color to the rest of your work.
Getting started with surface crochet
You can add surface crochet to just about anything! Some easy projects to try it out on for the first time are:
- Flat items like blankets, granny squares and sweaters. These are good for getting used to supporting the yarn behind your work.
- Surfaces with lots of small, evenly laid out spaces between the stitches. For example projects made in single, extended single or half double crochet.
Surface crochet can also be an effective way to add detail to amigurumi creations. But like everything else on an amigurumi scale, it’s more fiddly and requires more patience. Working with the yarn inside an amigurumi body shape can be awkward too, especially if the opening of the cavity is small. For amigurumi bodies, you’ll also need to think about adding increases into your surface crochet, so that it doesn’t end up tight or stretched across the surface of your work.
Where to use surface crochet
Some fun projects for using surface crochet on are:
- Monogrammed items. From mug cozies and mittens to coasters and Christmas stocking, surface crochet is a great way to add a name, initial or some kind of personalization to crochet projects.
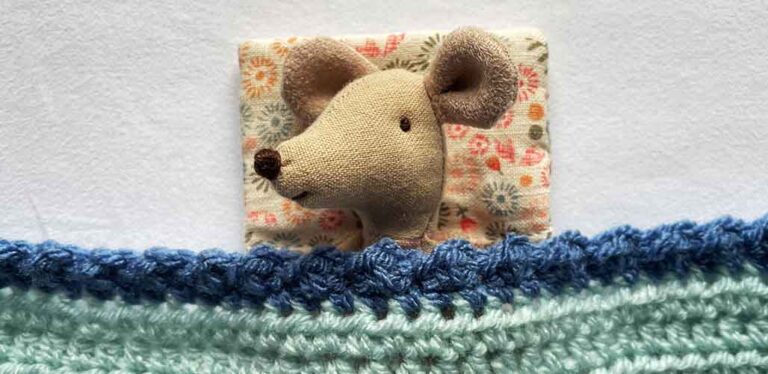
- Patches and pockets. Cover a hole in a well-loved sweater with a crochet patch embellished with a crochet heart. No holes in your sweaters? No problem! Use the same patch as a breast pocket instead!
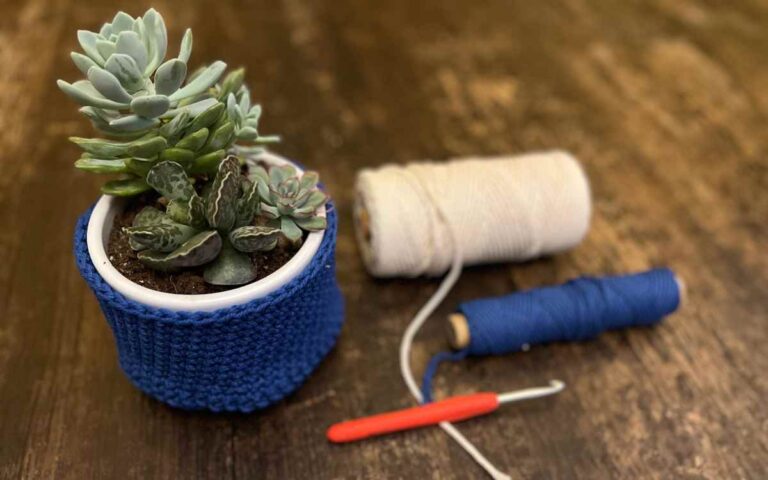
- Upcycling. Add stripes, linear designs or ruffles to knitted or crochet items you already own to make them feel brand new again.
Surface crochet isn’t just for crochet either. It’s a great way of adding embellishment like vertical stripes to knitting, as you can see here. It can be added to plastic or wire mesh. Why not get adventurous and use leftover yarn to surface crochet a funky design onto a basket?
Summary
Surface crochet is a simple decorative technique for embellishing all kinds of work, from blankets and sweaters to plastic or wire mesh. The method is straightforward for anyone who has learned basic crochet. The trickiest bit is adapting your tension and keeping it even, so your decorations don’t distort the face they’re anchored on. Although hand sewing details is debatably easier, this gives a whole unique look you don’t want to miss out on.
Most of all, this is a really easy and accessible skill to experiment and have fun with. Let us know what you’re planning to make in the comments box down below!