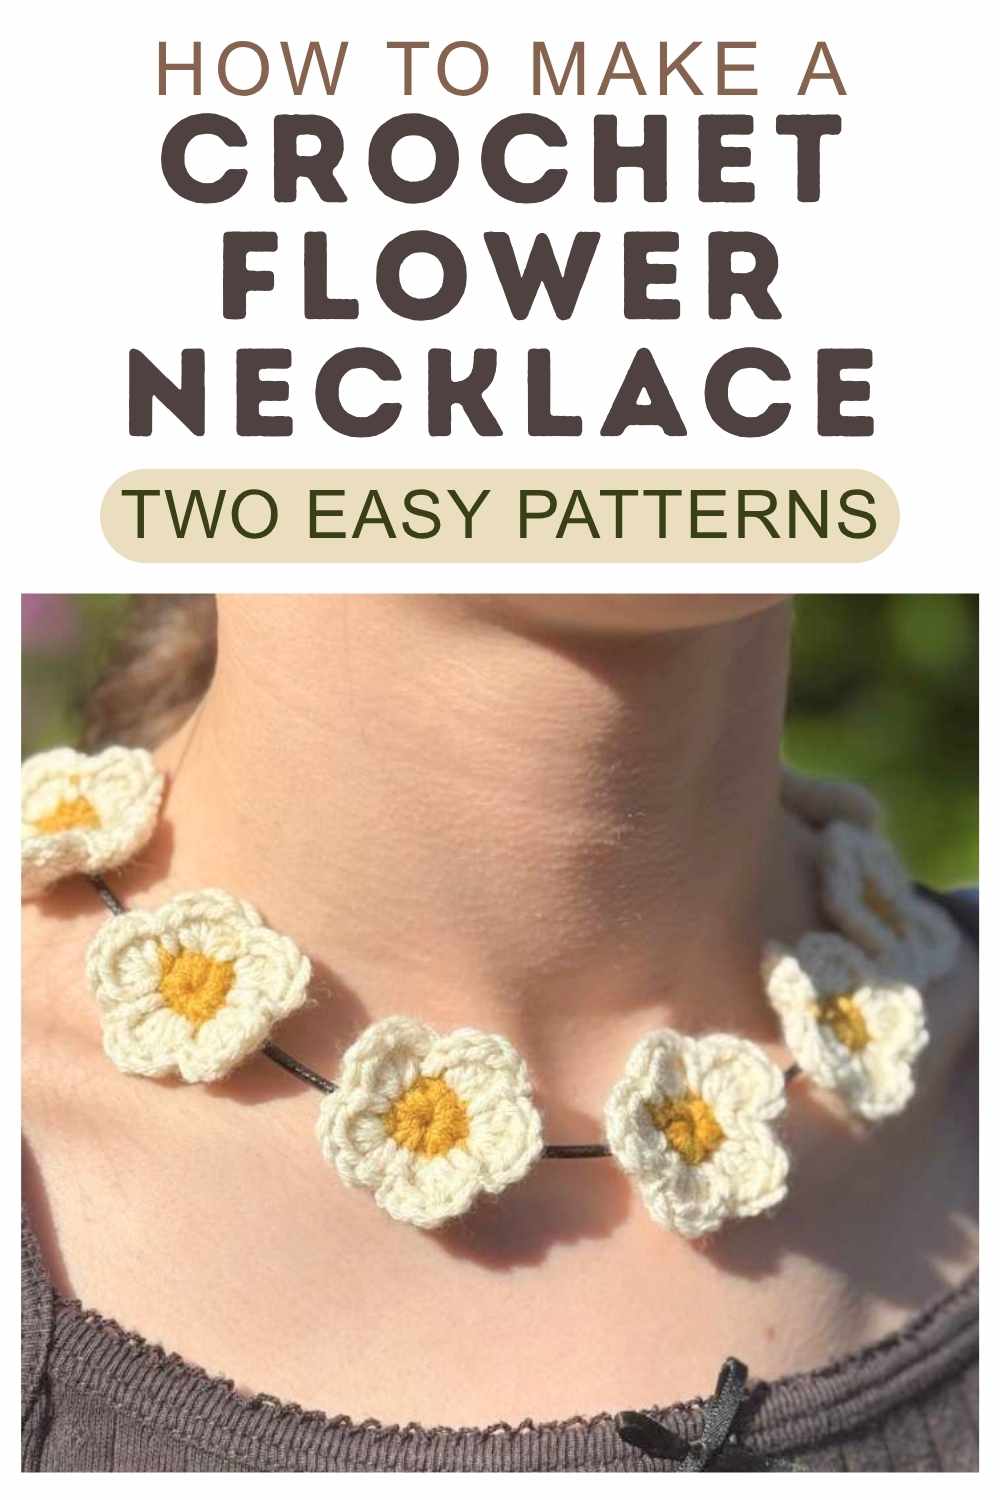
Daisy Crochet Flower Necklace – Two Easy Options
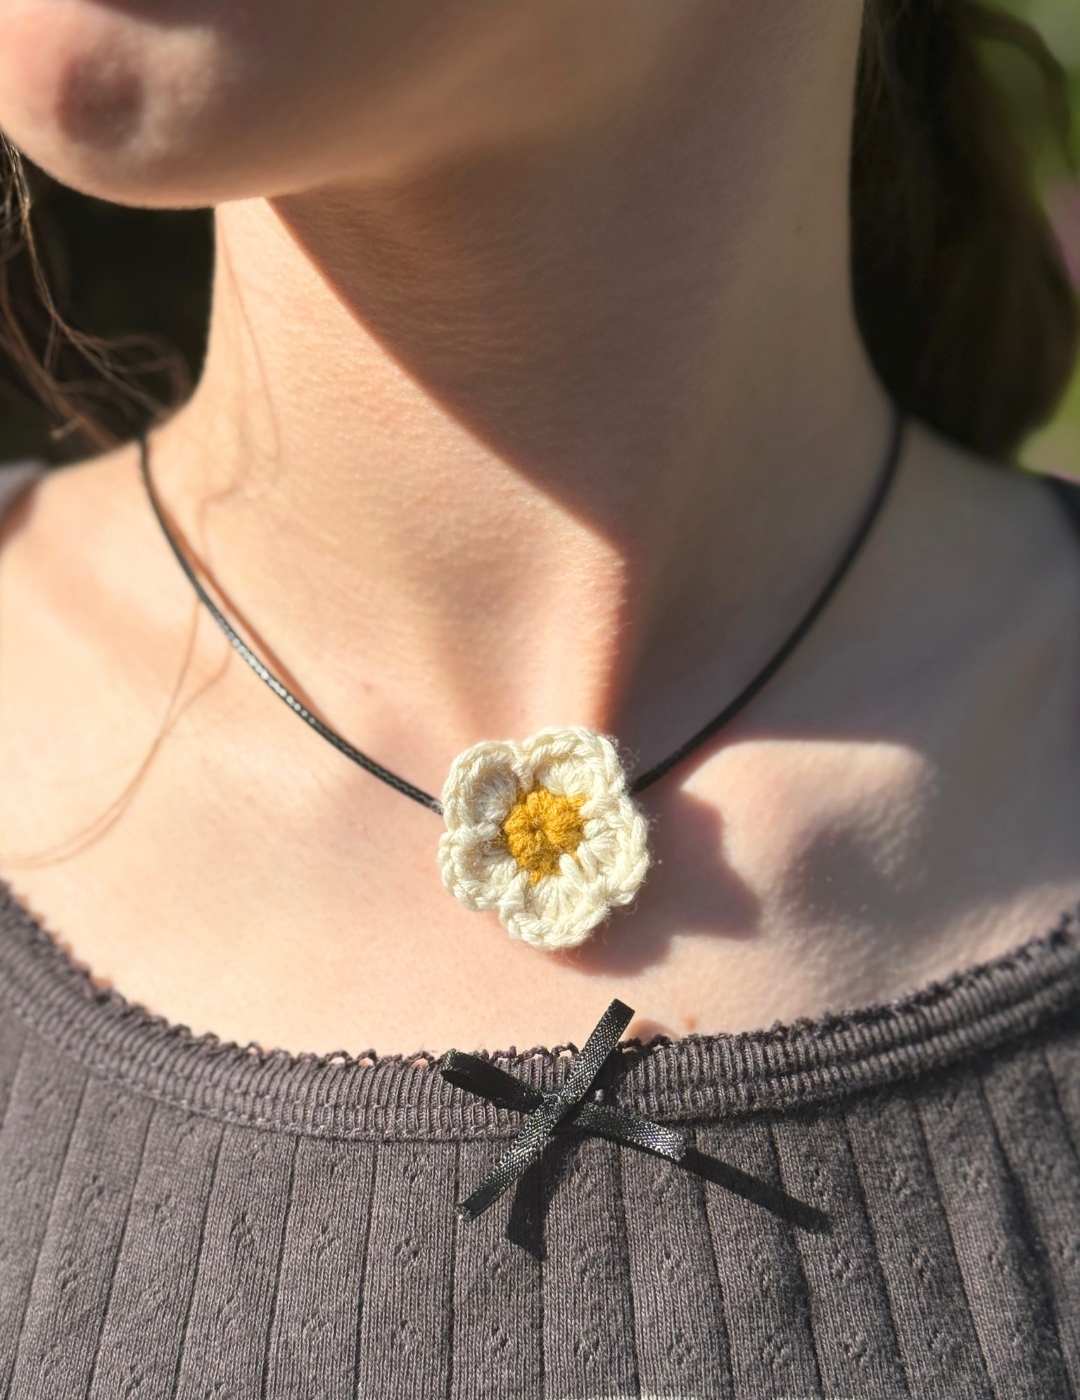
I couldn’t decide how I wanted my daisy crochet flower necklace to look, so I made two options! I’m still not sure which is my favorite, but that’s not a bad thing. I can wear them on different occasions, after all. Although, that said, I’m not sure I’m getting them back from my teenage daughter since I asked her to model them for me…
These crochet flower necklaces should be easy for any confident beginner to crochet who has made a few amigurumi or granny squares that begin with magic circles. If you’ve not made a magic loop before then I’ve linked a simple tutorial for you below to help with that.
What You’ll Need
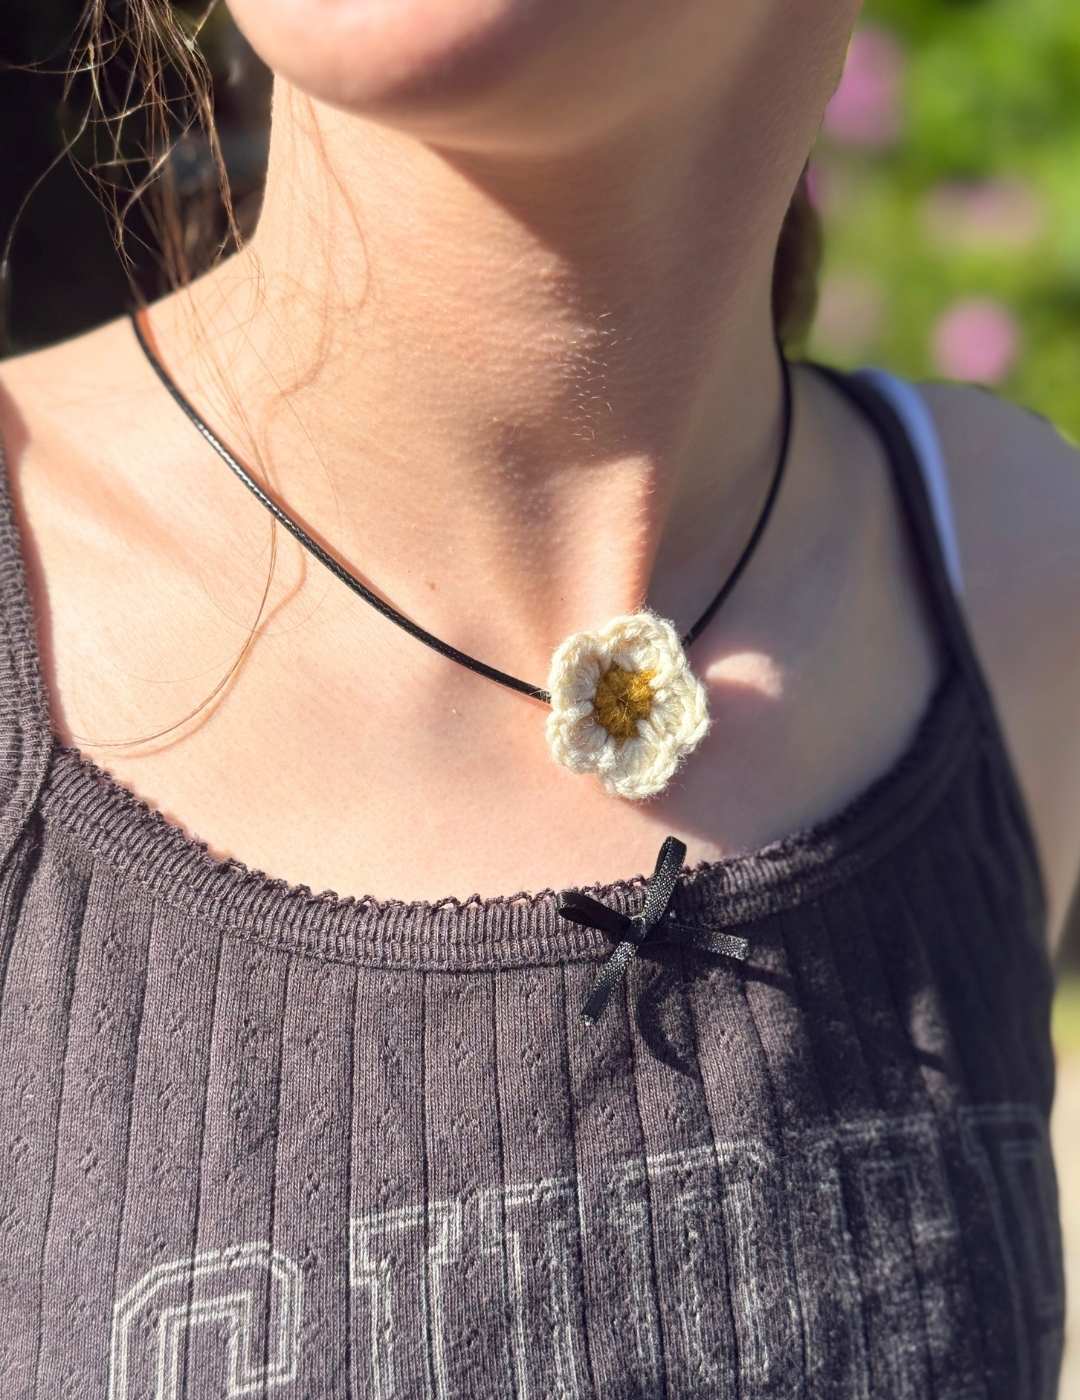
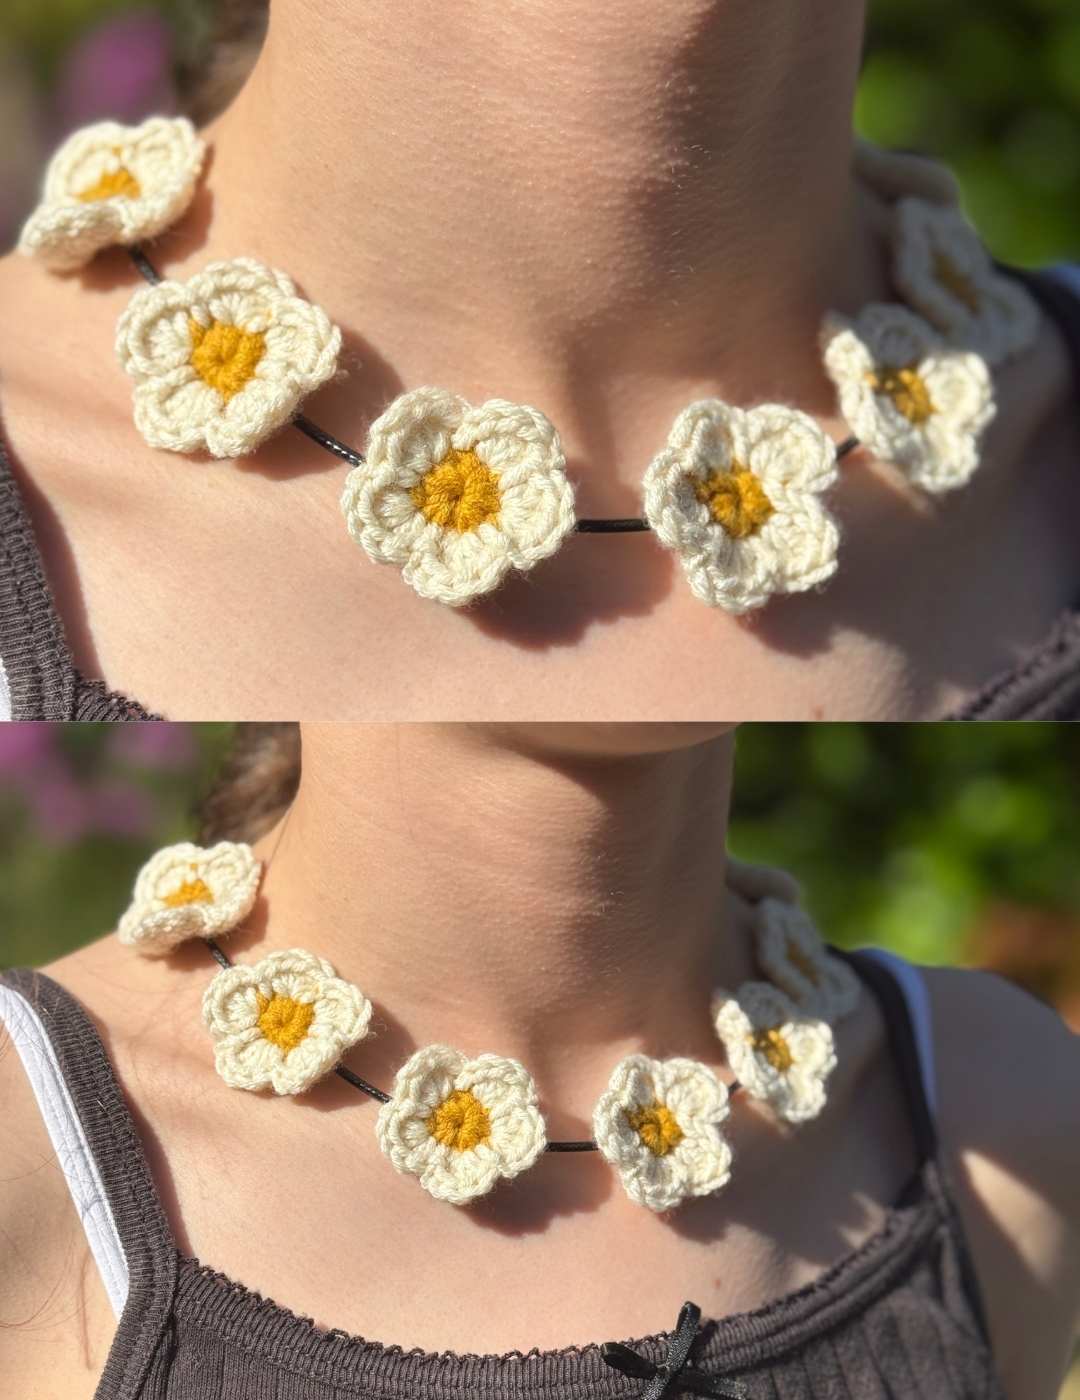
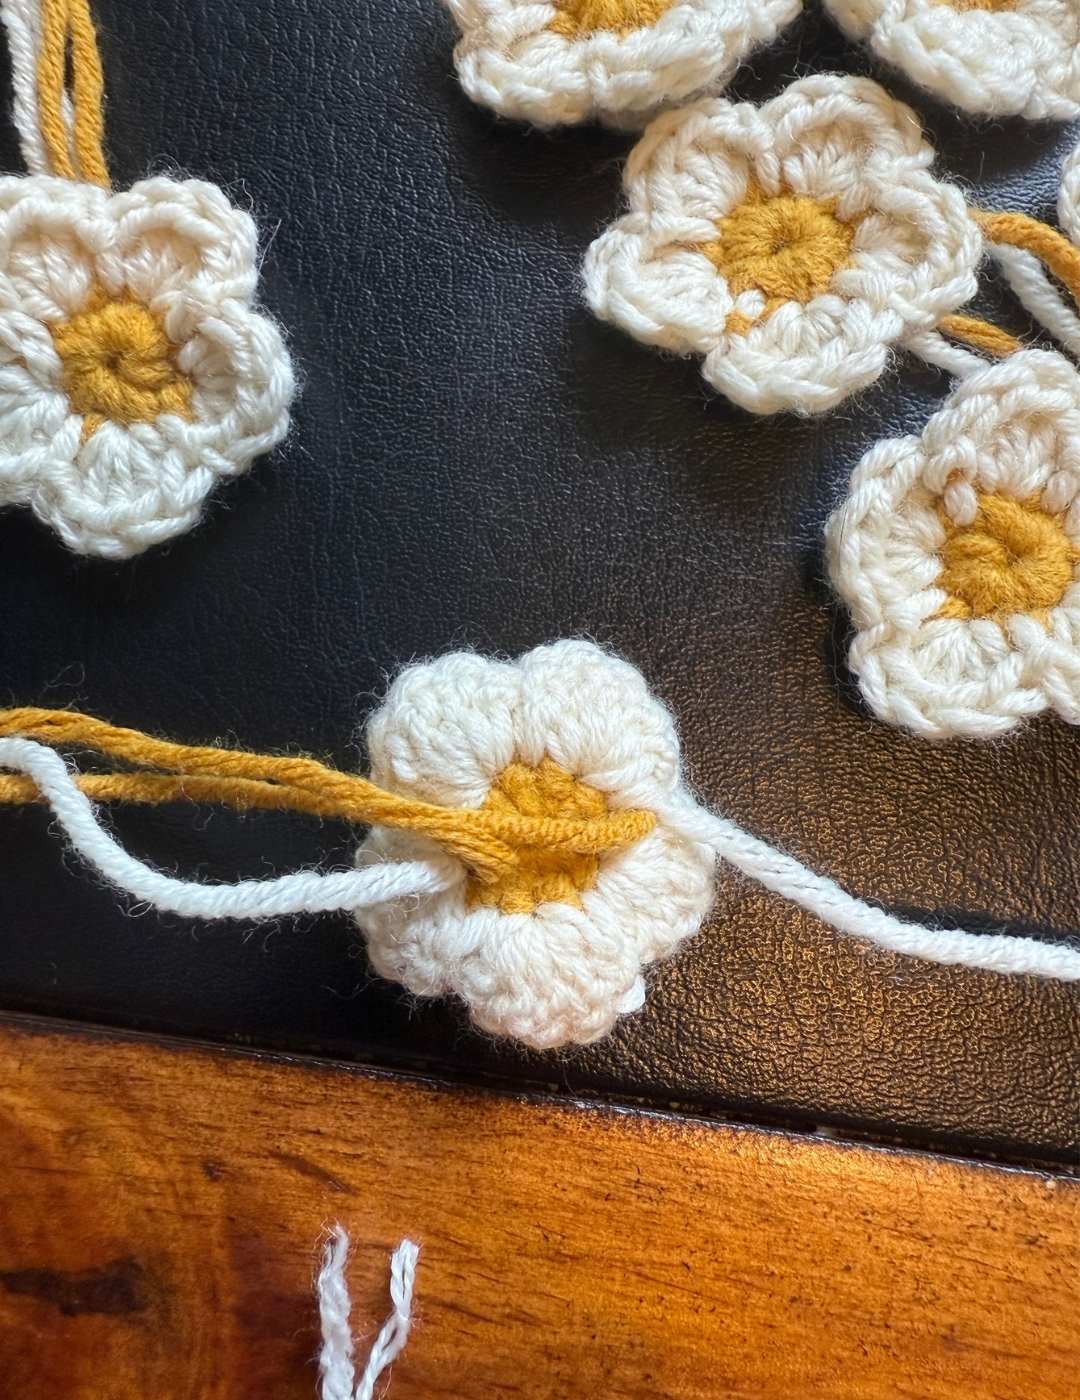
I’m not sure that it’s clear from the photographs, but the flowers on each necklace are a slightly different size. For the single crochet daisy necklace I used a 2.5mm crochet hook, and for the multiple flower version I used a 3.5mm hook. The interesting thing here, is that I used the same DK weight yarn for both, it really demonstrates just how much of a difference a millimetre of hook makes.
- 2.5mm or 3.5mm crochet hook
- DK yellow yarn
- DK white yarn
- Yarn needle
- Necklace blank
I used a cord blank necklace, but any necklace will work. And if you don’t have a necklace blank, just crochet a long chain, and slip stitch the end to the beginning to make a loop.
The Stitches
- Magic circle
- dc – double crochet
- 5dc – make five double crochets into the same stitch
- slst – slip stitch
- cc – color change
Crochet Flower Necklace Pattern
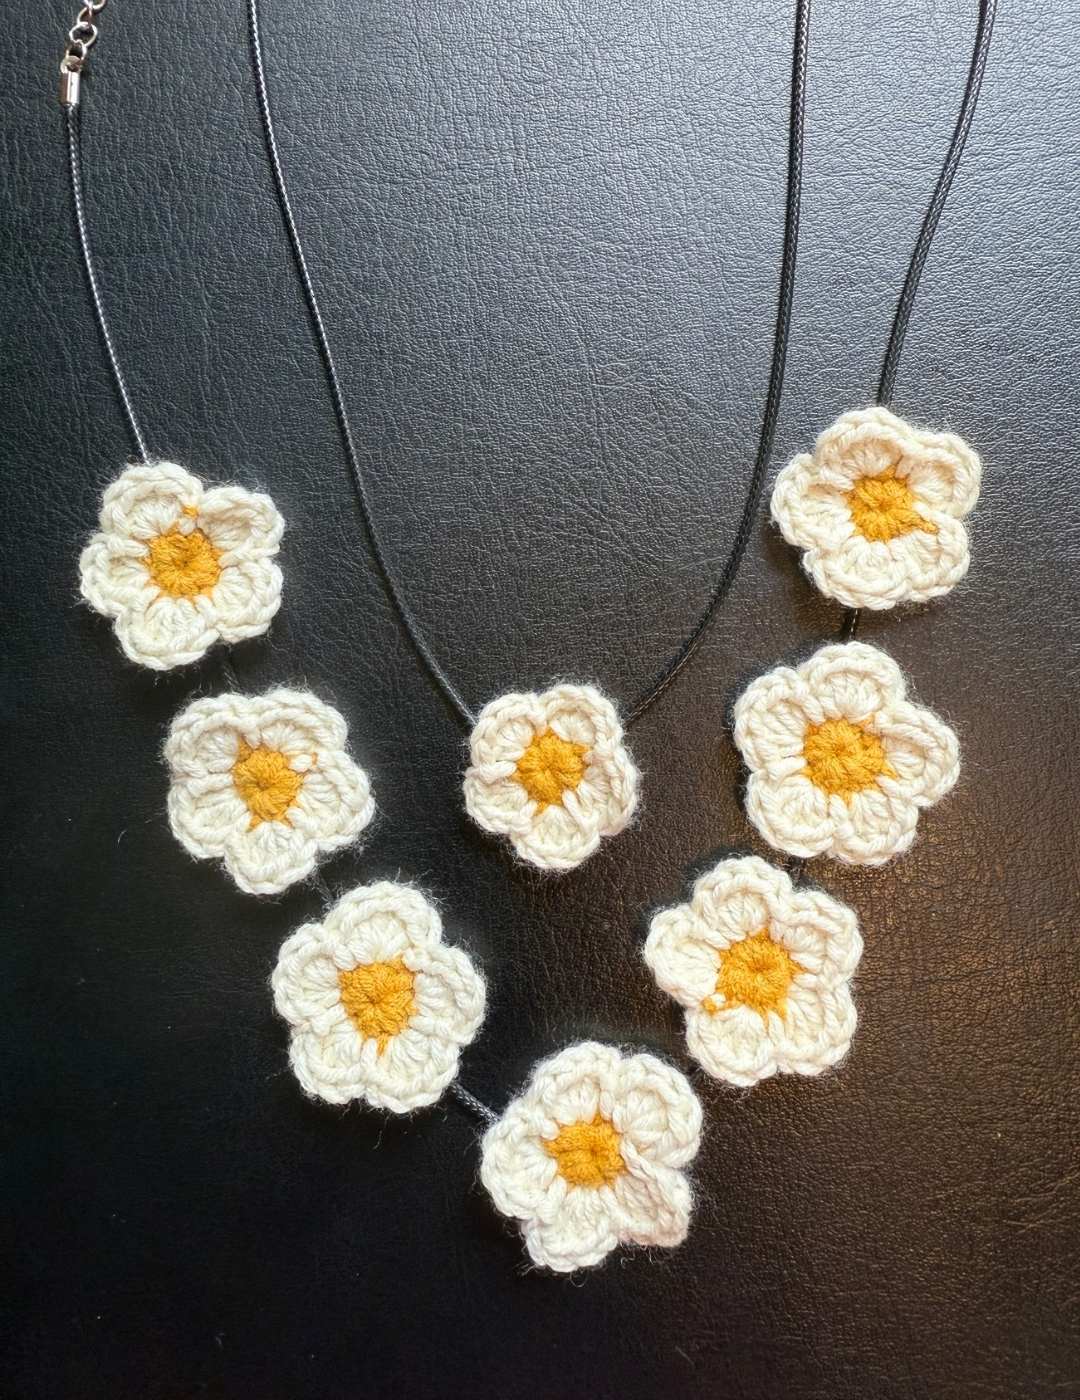
For the necklace with multiple flowers, make seven of these with your 3.5mm hook. For the necklace with one you’ll only need to do it once with your 2.5mm hook.
Round 1
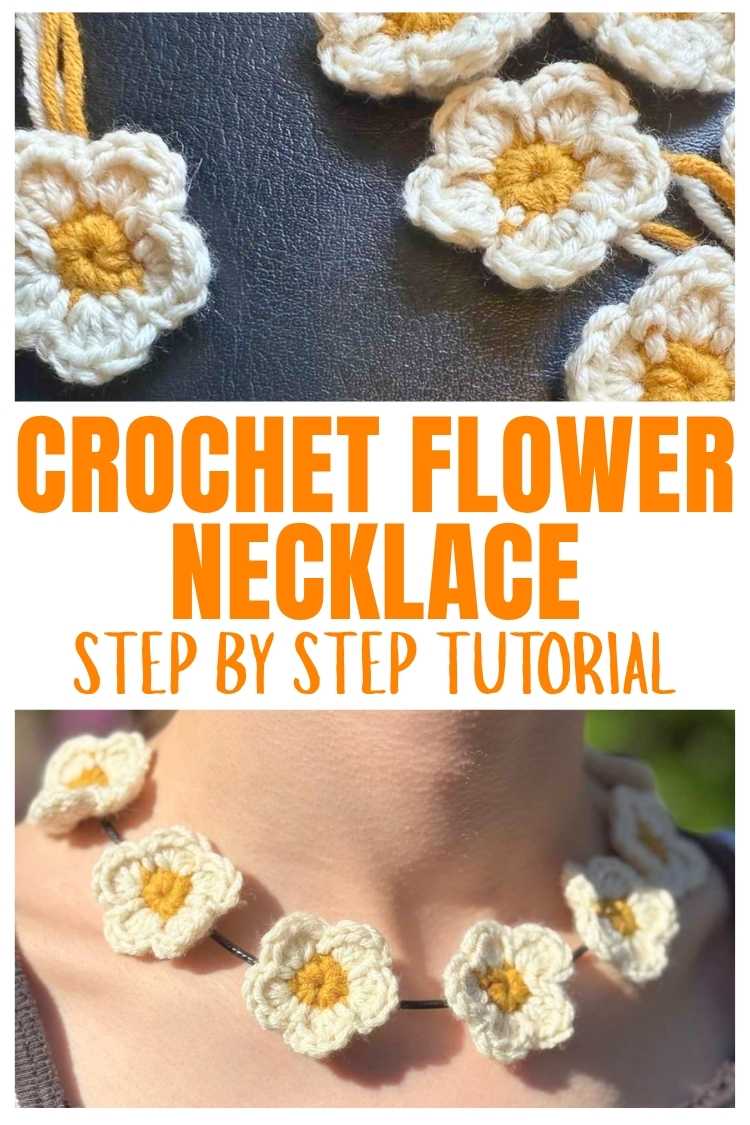
Begin in your yellow yarn. Make a magic circle of eight stitches.
Close the circle then cc to white.
Round 2
(5dc, slst) * 5
Beginners – This translates as make 5 double crochets into the next stitch, then slip stitch into the following. Repeat around the edge of the magic circle, slip stitching to close into the final stitch.
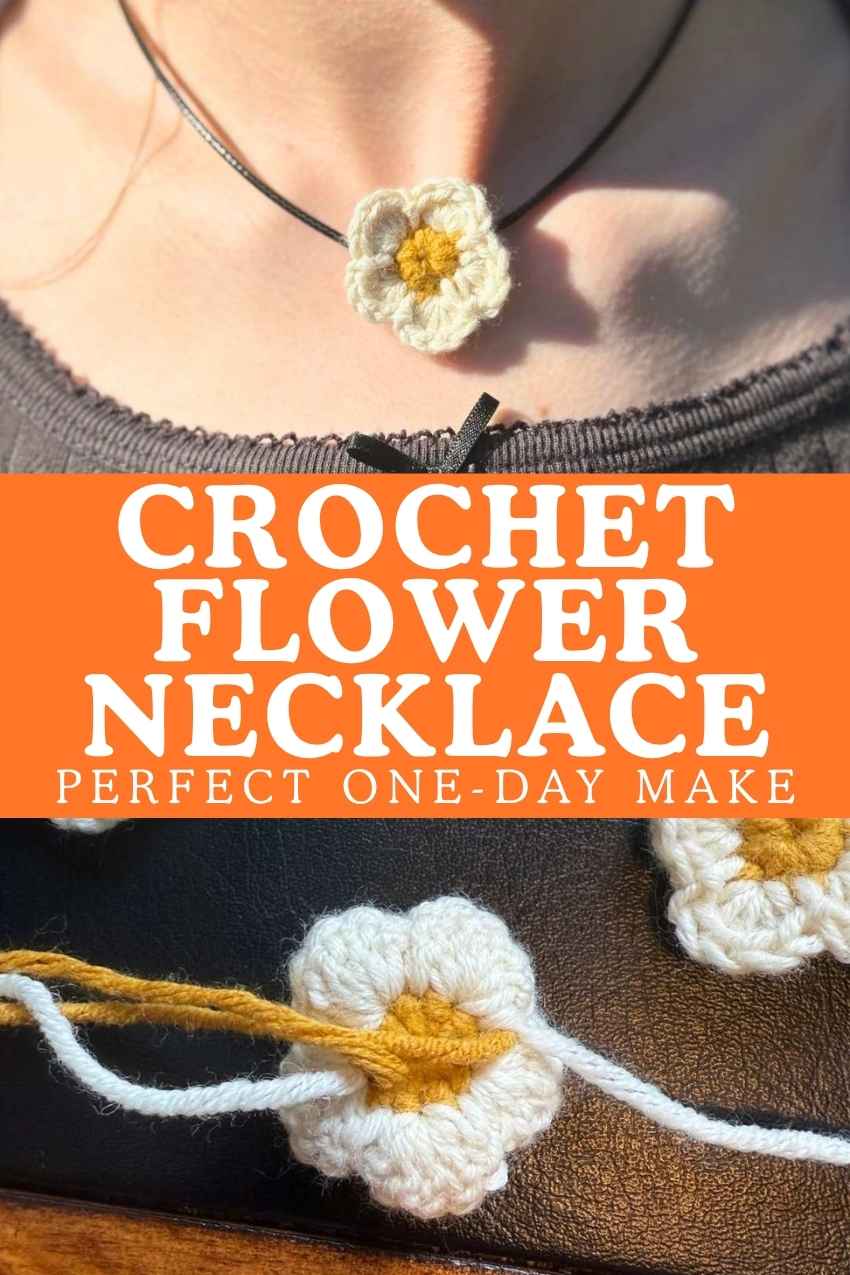
at the end of the round tie in your loose ends very securely, leaving one strand of yellow yarn free to sew onto the necklace.
Assembling the Necklace
Lay your necklace on the desk, and place the flowers face down with their loose tail exposed. Attach a yarn needle and sew back and forth across the back of the necklace. I went back and forth at least three times for each, and then sewed in the loose end as I would after crocheting.

For the necklace with multiple flowers, slide then so that one is in the center opposite the clasp, and the rest are about half a centimeter apart, at even intervals.
Then pop it on your neck, and smugly strut away to show off your awesome crocheting skills. And if you like the flower theme, definitely check out my flower bracelet, earrings and headband patterns as well!