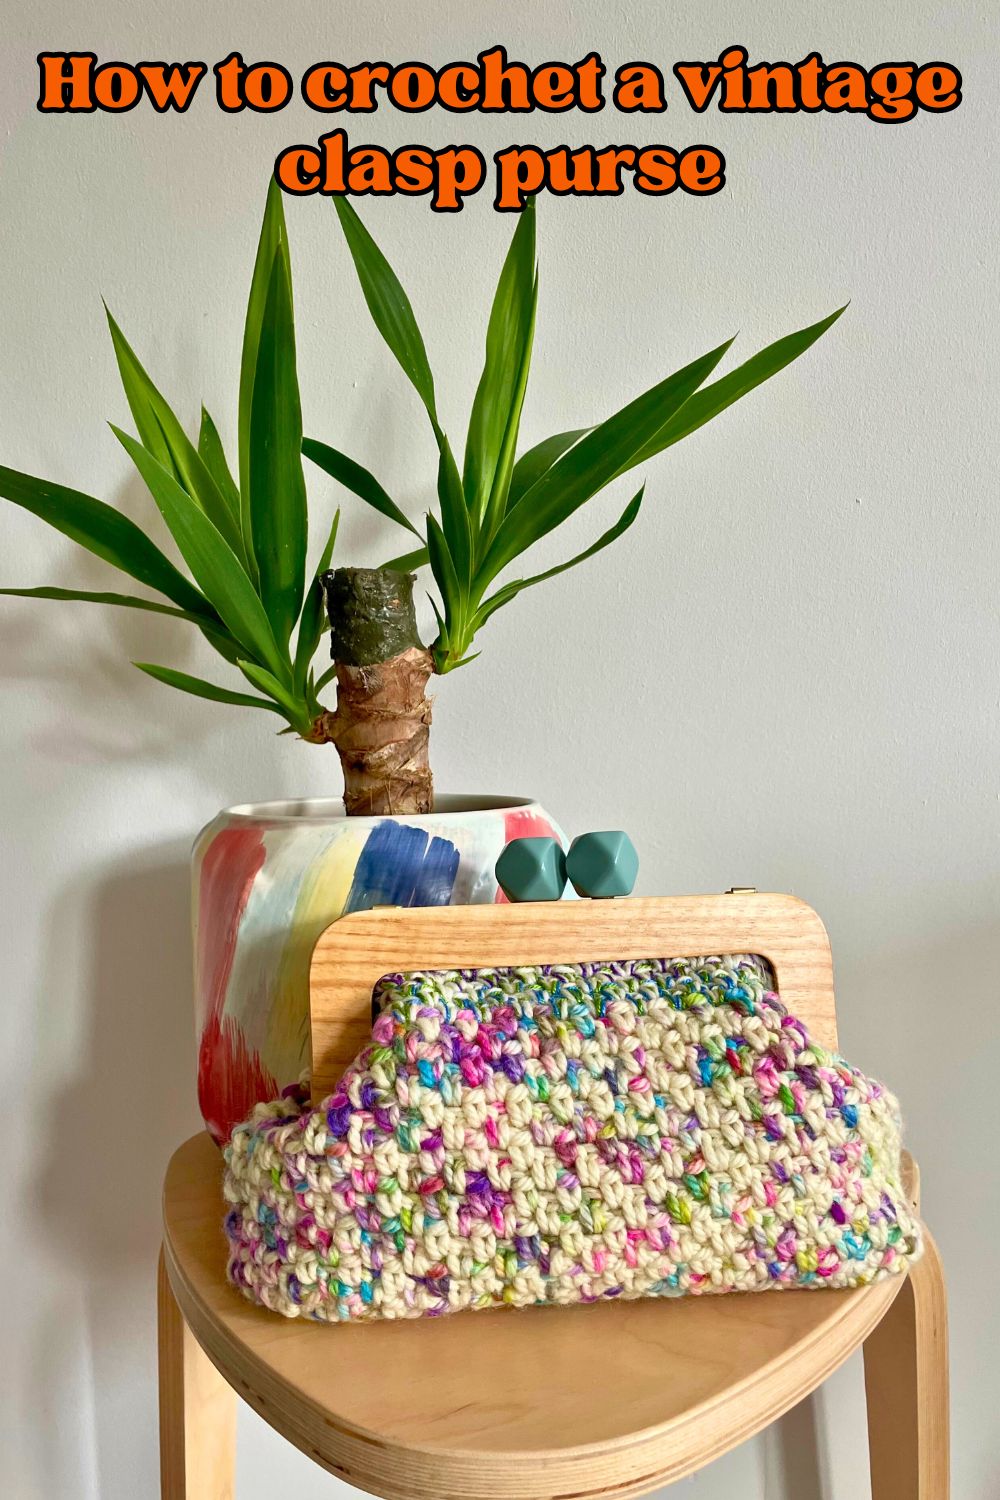
How to Make a Pretty Crochet Vintage Clasp Purse

One of my favorite things about fiber festivals and fairs is knowing that I’ll leave not just with armfuls of new yarns, but with ideas for projects I hadn’t even considered before too. Some of them go down in flames again pretty quickly (I’m looking at you, rug hooking), but some are so triumphant I just want to shout about them. This story of how to make a pretty crochet vintage clasp purse is one such example.

I’m sure you’re already familiar kiss clasp purses. They’ve been around since the mid-19th century, but their heyday was in the early 1900s. I’ve never really given them a lot of thought before, until I saw this beauty at a fiber fair last month:

I guess it’s not a true kiss clasp, because the blue acrylic shapes don’t actually hold this frame shut. In fact it winds my husband up a great deal that they don’t even touch! There are small magnets embedded in the frame which hold the two sides closed – they snap together in a very pleasing way.
How to make a pretty crochet vintage clasp purse
This is the epic crafting tale of how I turned my frame and a gorgeous skein of yarn from the same fair into a finished, functional purse. It isn’t a step by step pattern that requires you to go out and buy exactly the same materials as me, so you can produce a clone of my purse. Rather, it’s a description of the steps I went through, and the decisions I had to make along the way. So that you can find any purse frame, and pair it with any yarn that you love, and turn them into a purse which is uniquely and beautifully yours alone!
Finding kiss clasp purse frames
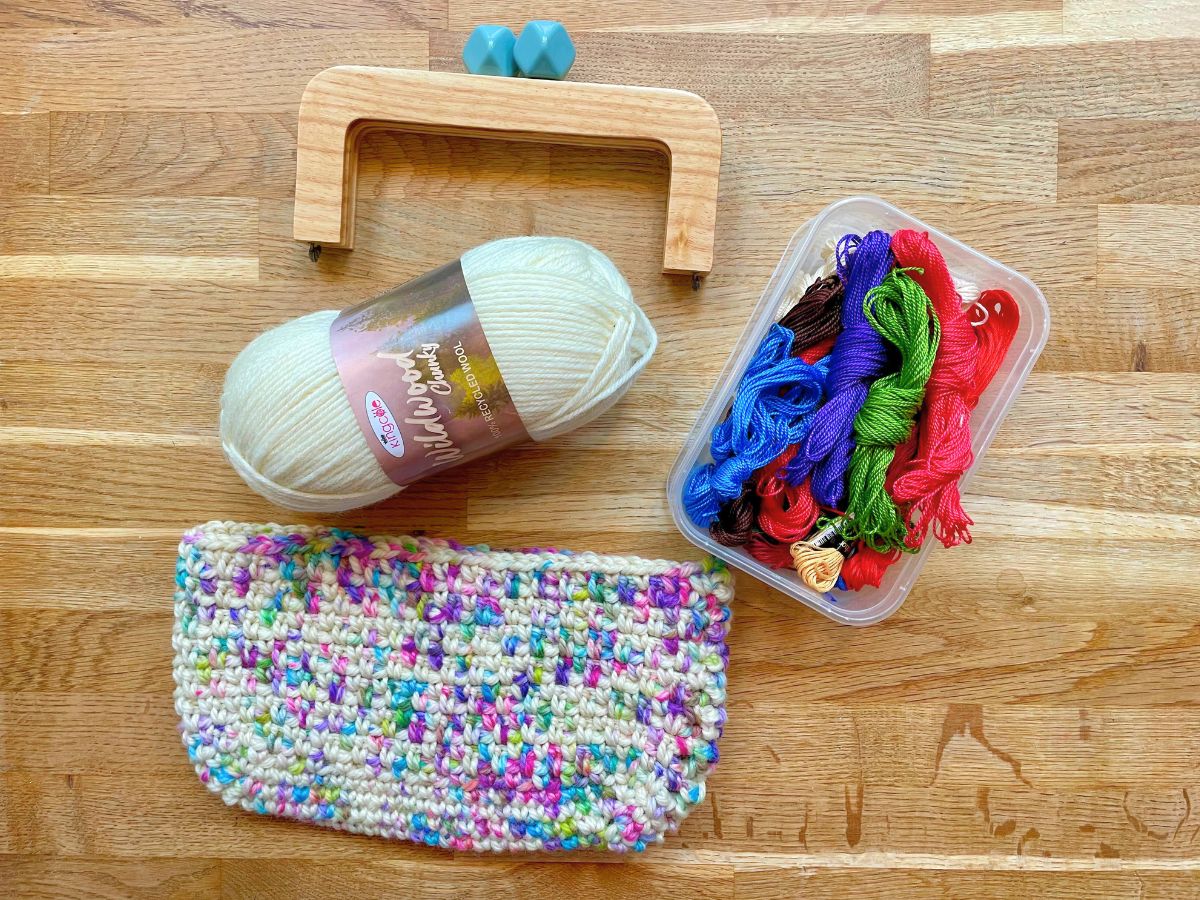
You can find empty kiss clasp purse frames online, on sites like Etsy, eBay and AmazonPaid Link. You can also find them for sale at big retailers like Hobby Lobby and Michaels. Like me, you might get lucky and find one at a fiber fair, or in an independent local craft store. My frame is wooden, but they can also be made from metal or plastic.
Before you commit to a frame, it’s a good idea to check how the purse’s bag will join to it. My frame has a channel for pushing the bag into. There are screw holes and screws for anchoring the bag inside the channel, but others rely on glue. And still other frames have small holes around the opening, for sewing the bag to.
Obviously since the width of the channel in my frame is fixed, it partly dictated what weights of yarn I could choose from to make the bag. Happily, since I was already at a fiber fair, I could buy the frame, then dedicate the rest of my visit to finding the perfect yarn to go with it. If you already have the yarn, you’ll need to pick a frame which fits it instead!
Before you start
Choosing your yarn. Choosing the right weight isn’t the only thing to think about. Hand dyed yarns in dark colors may bleed onto your clothes if the purse gets wet. Unplied or loosely twisted yarns will be more prone to bobbling as they bump or rub against your body. Pale colors may show dirt and marks more quickly. Wool and acrylic will stretch out of shape faster than cotton or bamboo unless you add a lining. And so on. My Adriafil Pascal yarn is pure wool, with a fine twist – it’s not the most durable, but I plan to treat my purse very carefully!
If, like me, you’ve bought a skein of yarn without considering the fact that you don’t own a yarn baller, this video has a super quick explanation of how to unravel your skein and get it ready to use:
Hook size. I’m using a super bulky yarn, and the wrapper recommends a size L (8mm) hook. But I’m going to use a size J (6mm). I recommend going down at least one hook size when crocheting a purse, so that your fabric is dense and robust.
Which stitch? For several days, I was intent on using a fabulously textural 3D stitch for my purse. I experimented with bobble stitch, bobble shapes, and both types of bean stitch, but I realized they were going to gobble up the yarn too quickly, or their texture was obscured by the speckled pattern in my yarn. In the end, I settled for half double crochet. It ain’t fancy, but it’s one of my go-to favorite stitches.
Crocheting your purse
To make the bag of my purse, I’m going to crochet a pretty straightforward crochet basket with a flat base and vertical sides. To fit my frame the rim of the basket needs to be at least as big, or ideally slightly larger than, the inside of the channel in the opening of the frame – represented by the pink line in this photo.

The most important thing is that I can at least tuck the bag in far enough that the screws go through it!
A big advantage of this particular frame is it doesn’t matter if the circumference of my bag isn’t exactly the same as the pink line. As long as it’s bigger, and not smaller. If my bag is a little bigger, I can simply bunch it up slightly when I tuck it in (but if it’s smaller it won’t fit at all). So I’m not going to sweat too much about gauge testing my yarn, or calculating how many stitches the rim of my basket needs to end up with. I’m going to eyeball it.
If you’re using a frame with holes for stitching the bag to, you’ll need your bag to match the size of the frame accurately, or you’ll end up with unsightly gaps. So make a swatch of your chosen yarn and stitch, 10 stitches wide and 3 or four rows deep. Then count how many times the top edge of your swatch fits into the space where your bag joins the frame. If it fits, say, 3.5 times, you know you need your bag must have a circumference of 35 stitches.
Starting the bag
I’ve made a foundation chain about the same length as the inside of the long edge of my frame. I make a lot of crochet projects with strict and detailed patterns, so it’s quite freeing not actually counting the stitches for this!
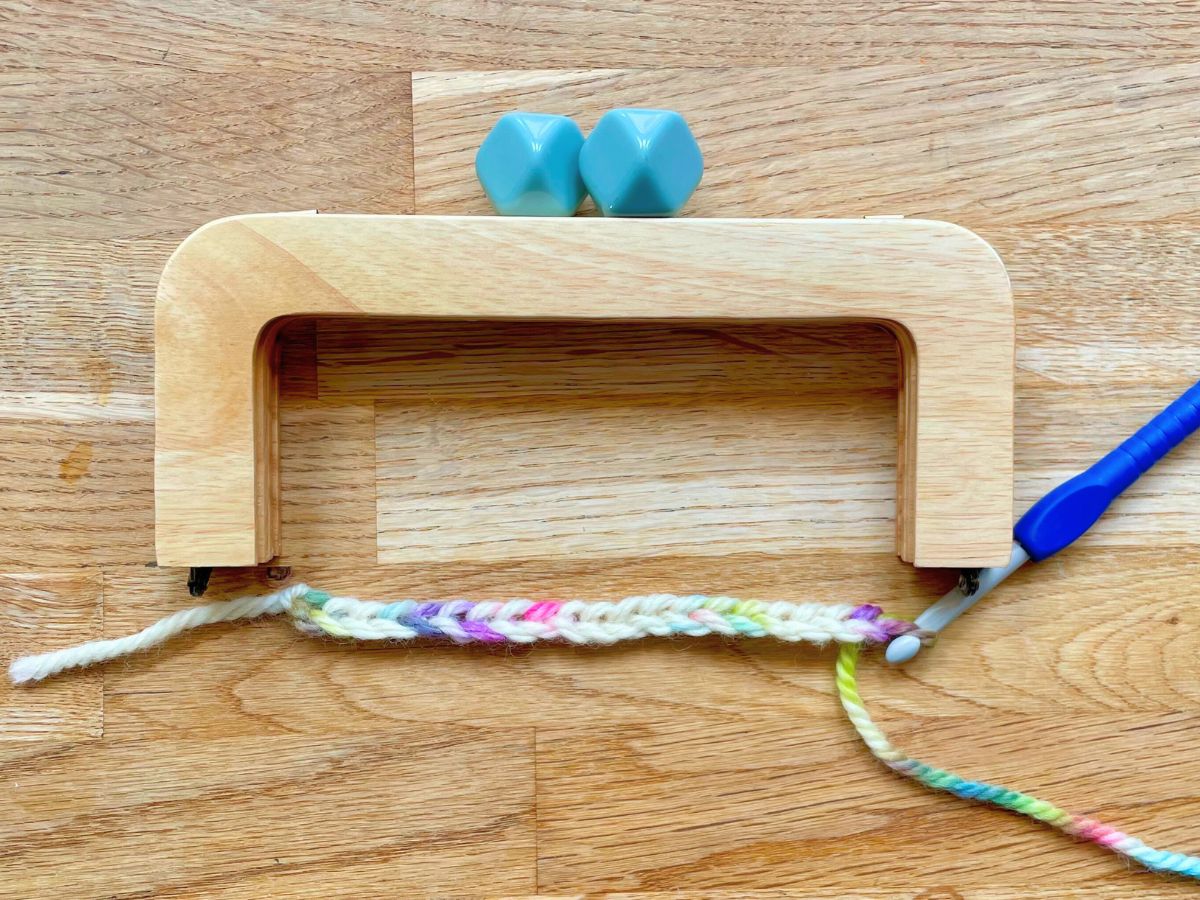
I’m going to make the bottom of my bag in single crochet, and switch to half double crochet for the sides. So for round 1:
- Add another ch st to the foundation chain.
- Sc 2 into the 2nd ch from the hook, then sc along the remaining chain until there is 1 st left.
- 4 sc into the last ch.
- Sc back along the other side of the chain until there is one st remaining (which has 2 sc in it from earlier).
- Sc 2 into the last st, and sl st into the first sc.

Before going any further, can we just stop to admire how mouthwatering the colors in this yarn are. It is so joyful to work with!
On to round 2
I’m going to turn my long skinny lozenge into a long skinny rectangle now. And literally the only reason is that I’ve realized I can’t be bothered counting stitches to make it bigger. Working in a rectangle is like making a solid granny square – with each expanding round, extra stitches are added in the corner spaces. Working in an oval means counting the gaps between the increases. If you’d like to do it that way (which does have the advantage of not leaving small holes at the corners) you can find the formula for crocheting a perfect oval here. But what I do is:
Chain 1. Starting in the same single crochet you slip stitched into at the end of the previous round: (Sc 2), ch 2, (sc 2), sc until you reach the 4 sc worked into the same chain at the other end. Into those, work (sc 2), ch 2, (sc 2), (sc 2), ch 2, (sc 2). Then work in sc along the final long edge until you have 2 sts remaining. (Sc 2), ch 2, (sc 2) into those, and sl st to join.
Don’t worry if your rectangle is a little bulbous at the ends at this stage – that will sort itself out during the next steps!

Subsequent rounds
For each new round I ch 1, work 1 sc into all the side spaces, and (sc 1, ch 2, sc1) into the corner spaces, then sl st to join at the end. I keep adding rounds until the total distance around the edges of my rectangle match the length of the pink line earlier.
Bear in mind the proportions of the long and short edges don’t have to match exactly. My pink line in the photo above was 6½” x 5½”. And my basket base ends up being 10” x 2½”. But
6½ + 6½ + 5½ + 5½ = 24 inches
and
10 + 10 + 2½ + 2½ = 25 inches
So the top of the bag should fit comfortably into my frame.
Now the sides
To make the sides of my bag I’m going to switch to half double crochet and start making rounds without any more increases. You’ve got a choice here, to either:
- Work the first row into the back loops only of the previous row. This helps make the sides of your purse stand up vertically, and produces a really distinct transition between the bottom and sides of your purse. You can see what I mean in these fair isle crochet baskets Lucy made. If you want to put a solid bottom in your purse later, a row of back-loop on stitches will help hold it in place, and give your purse a much more structural vibe overall.
- Work the first row into both loops of the previous row. The shape of your purse will end up more squashy and organic, and it won’t be so obvious where the base ends and the sides begin. This is the route I’ve decided to go down.

Add rows to the sides of your bag, until you reach the height you want (don’t forget that the top row or two may be tucked inside your frame). Or as in my case, keep going til you run out of yarn. Time for a size check!
Size check

It’s looking promising, but a little on the small size. So I have a rummage in my crafting stash and come back with these bits:
I didn’t have any suitable yarn the same weight as my Adriafil yarn, but I do have some slightly more lightweight yarn from King Cole in the same fiber and shade. And I have these embroidery silks which I bought so long ago I can’t even remember what they were for. I think if I use them together, they will end up about the right weight overall. I actually love it when crochet projects take an unexpected turn, and force me to get creative. The result is almost always better than my original vision, and it’s incredibly satisfying (not to mention vindicating) to finally use up a craft supply that I’ve been holding onto for years!
I end up having to use two strands of the embroidery thread at a time, and I love how it turns out. The introduction of a new texture just elevates the whole thing and makes it a bit more interesting.

Blocking the bag out
But there is one drawback. The thread is silk, and I don’t think the combined weight of the new yarn plus two strands of thread quite matched the weight of the previous yarn. So once my sides reach the height I need, the circumference of the opening is only about 23”. 1” shorter than the channel in my frame. So, I pin out the top as wide as I can, steam it with the iron, tug it a bit wider, re-pin it, steam it again and leave it to cool. Which gains me back another inch – phew!

Adding a lining
Lining your bag is optional, but it does mean you can carry heavier items in it, without worrying about it stretching out of shape. I’ve used one of my husband’s old shirts to make a lining – I think the neat blue stripes contrast with the painterly yarn really effectively. If you haven’t lined a crochet bag or purse before, the template for you lining should look something like this:

Where A and B are the dimensions of the base of your purse, and C is the height of the sides (including any that will be tucked into the frame). The hatched area is your seam allowance, and it can be as wide or narrow as you feel comfortable with. I aim for ¼ to ½ an inch.
Assemble your lining by placing the edges with the corresponding numbers right sides together, and sewing them all the way along. Finally fold the top edge of the lining over by about half an inch, and press it down using an iron. I find it helps to join the pressed edge of the lining to the top of the crochet bag using whip stitch too. Just to keep them aligned while you join them both to the frame.
Joining the bag to the frame
At last, the moment of glory has come! Frame is finally going to meet bag, and make a purse. I use a table knife to carefully tuck the bag into the purse frame. Go slowly and patiently, so that it doesn’t pop out in one place as you poke it in another. It works best if you lie the bag down flat in front of you to find the top two corners, and line these up with the hinges of the frame first.

My bag came with screws to anchor the bag in place, and the vendor who sold it to me at the craft fair recommended filling the channel with hot glue too.
And now my bag is ready to show off!

The frame has anchor points for a strap as well, but I haven’t decided yet exactly what kind to add. A silk scarf? A chain? Or should I crochet a strap too? Let me know what you think I should do in the comments box!
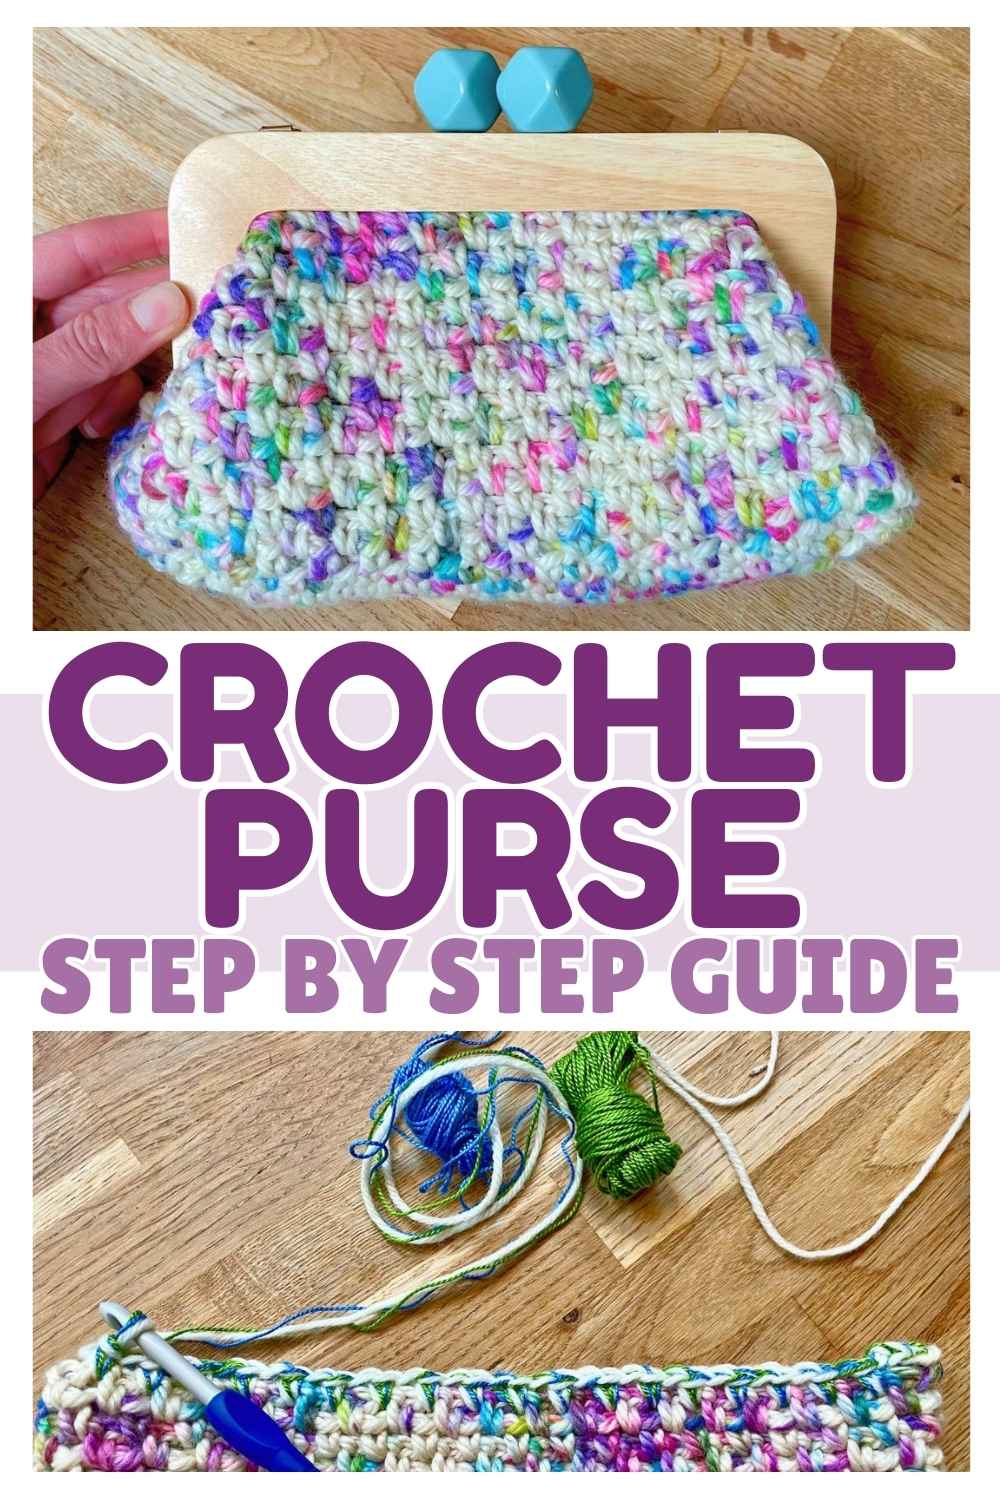
How to make a pretty crochet vintage clasp purse – summary
So there you have it – one way to make a pretty vintage clasp purse with a kiss lock frame and crochet bag. I had lots of fun making this project. I enjoyed the opportunity to take on a new challenge, and I love how the changes I had to improvise along the way turned out. Let us know if you’re also going to try crocheting a kissing clasp purse now, in the comments.

cute
I would love to see a step by step video tutorial of this
The instructions for the foundation seem clear but I’m confused about how the bag expands up the sides