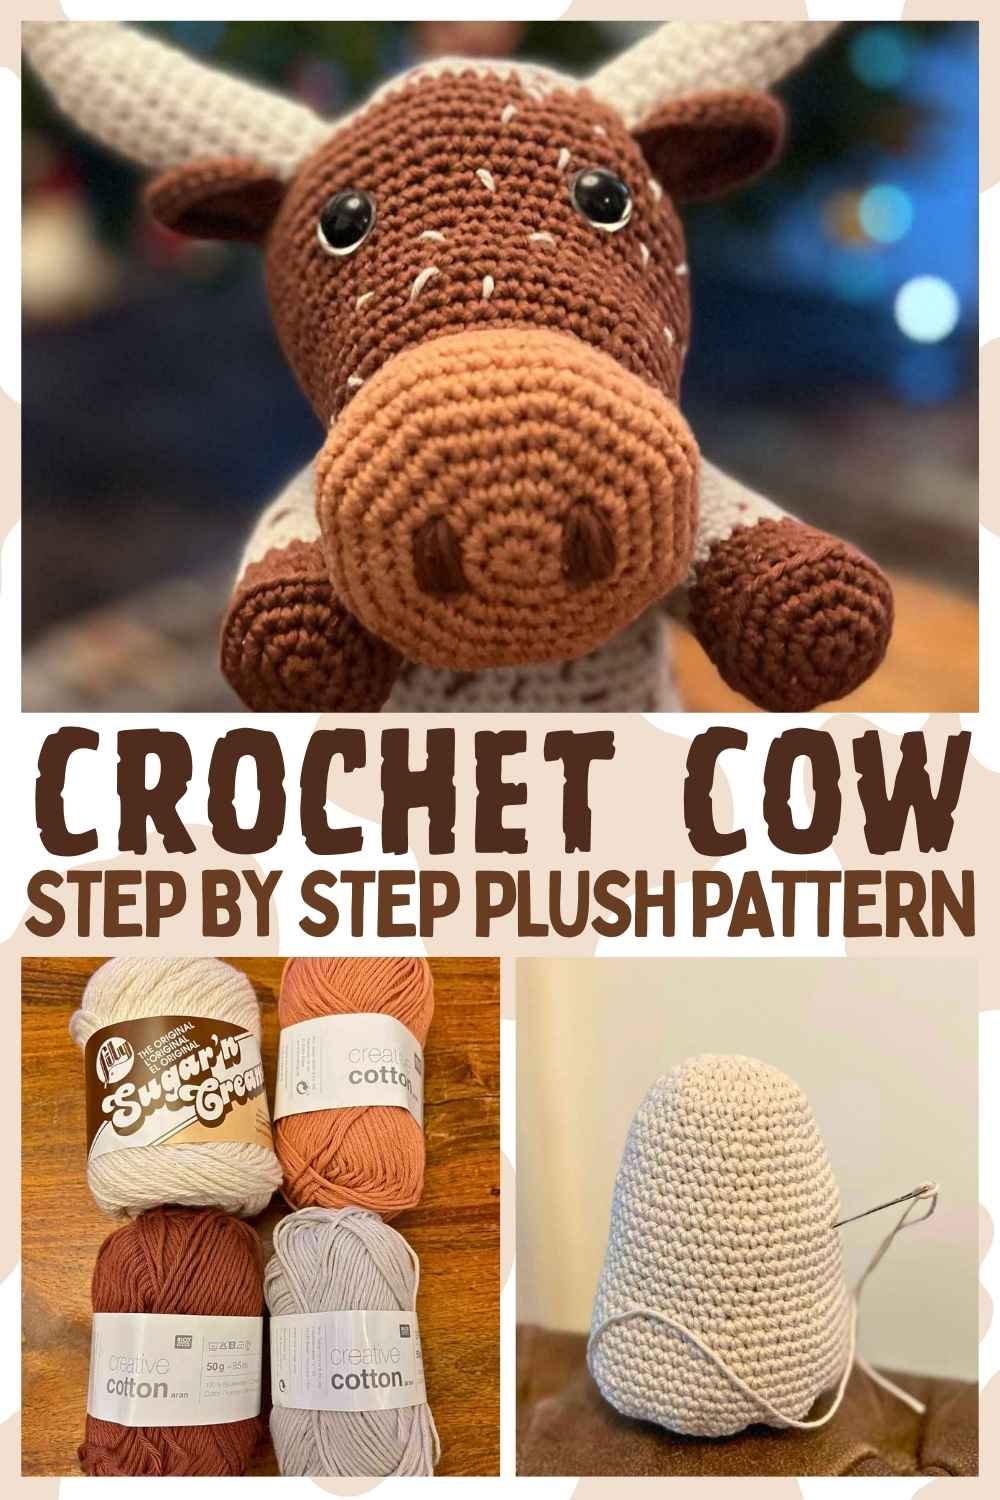
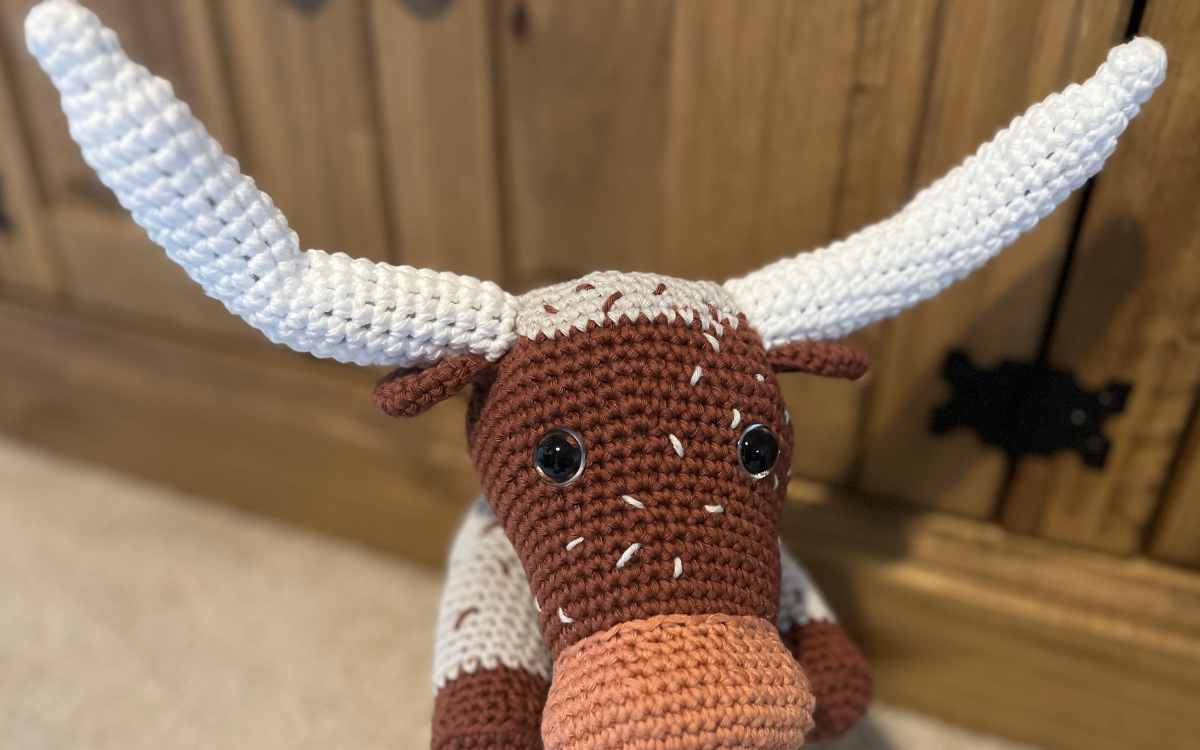
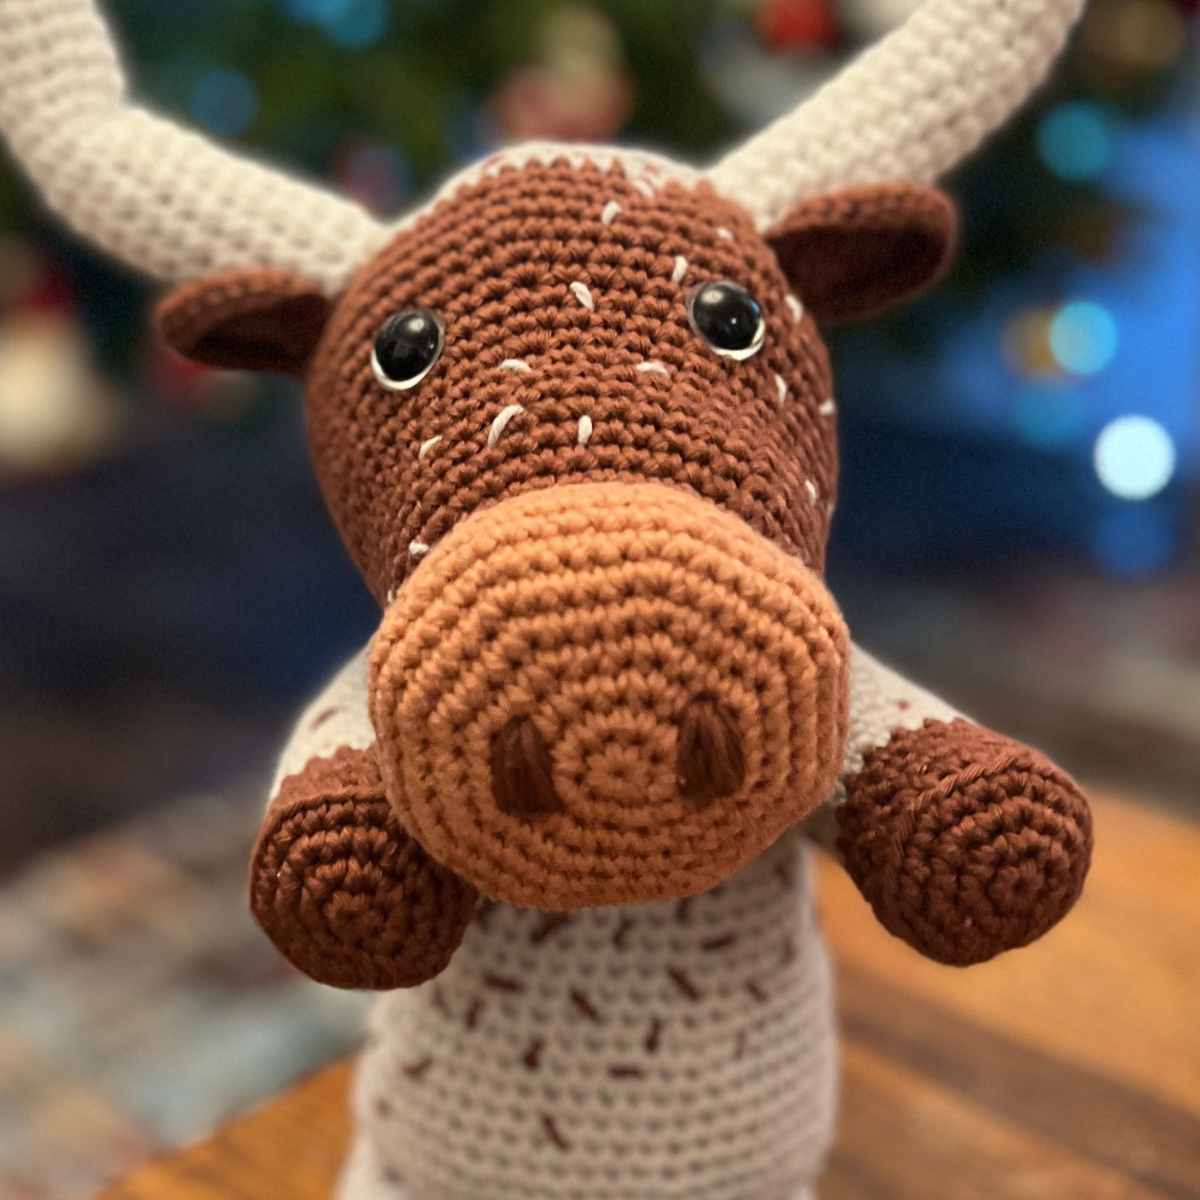
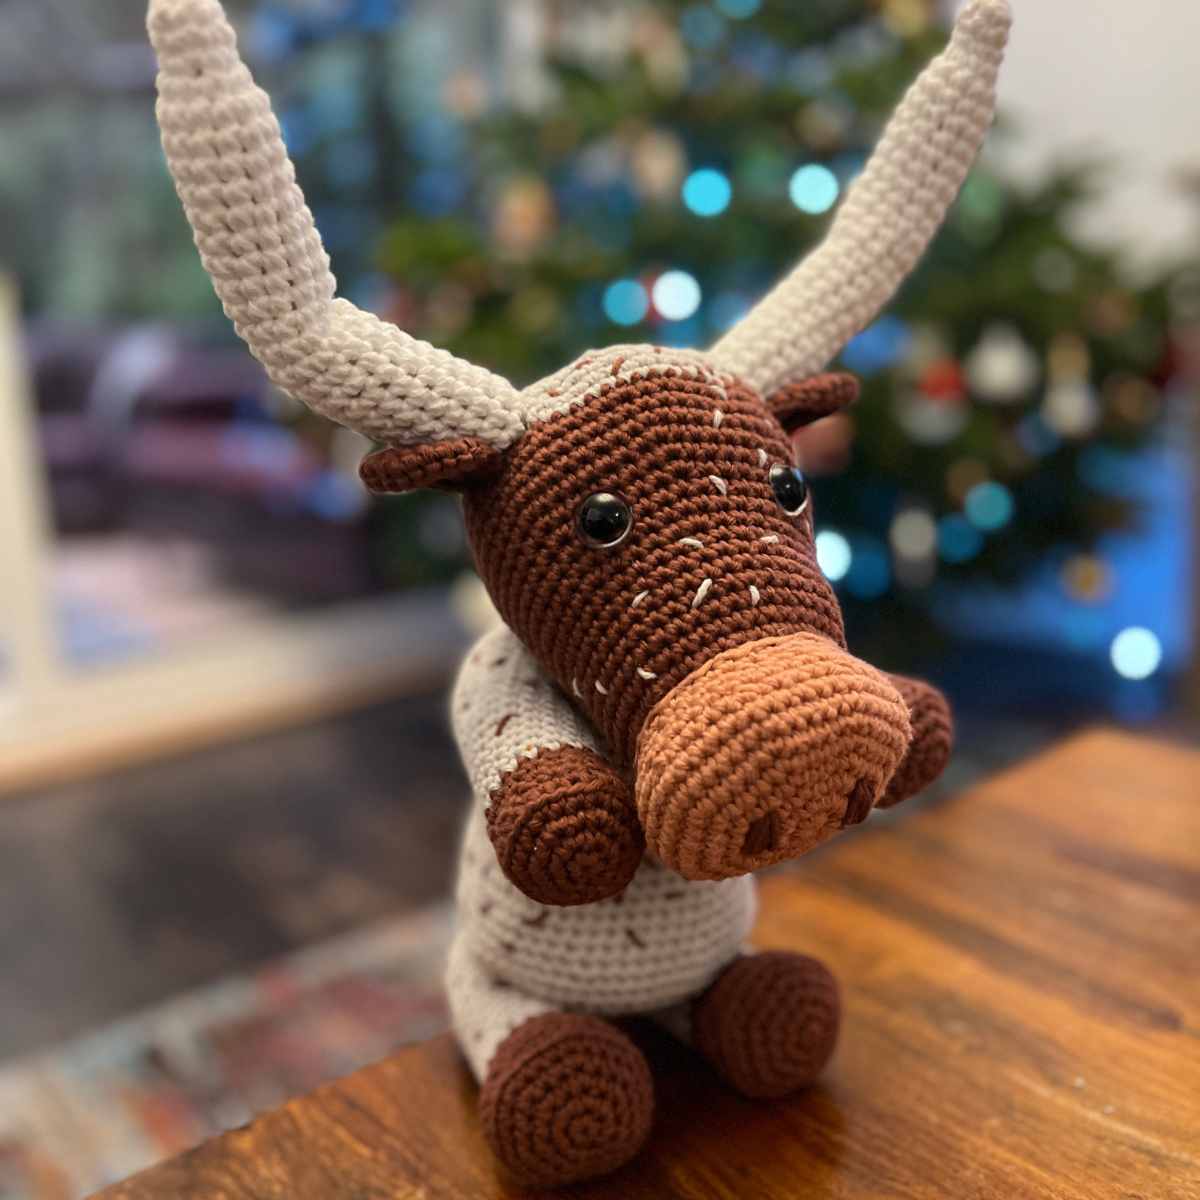
Crochet Texas Longhorn Cow Pattern
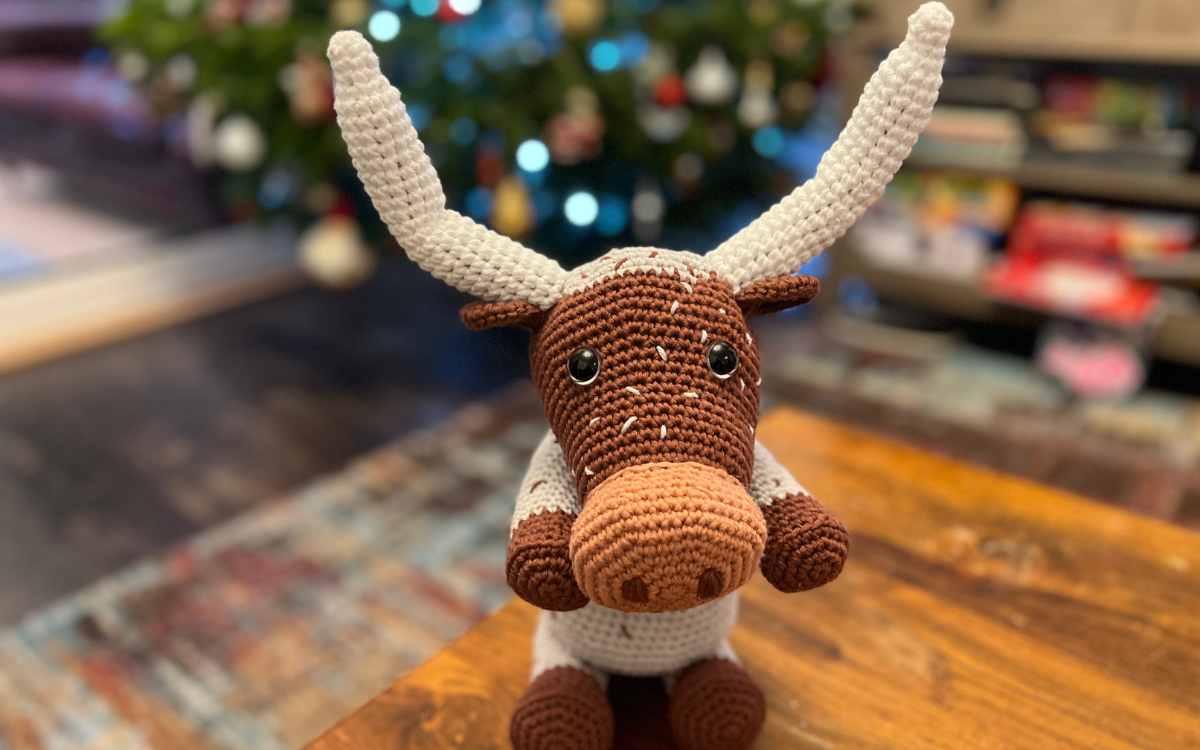
My crochet Texas Longhorn cow pattern is relatively beginner friendly, and I’ve included written instructions along with the pattern details to keep you on track if you’re newer to amigurumi. You’ll love creating a farmyard classic creature that isn’t celebrated in yarn as often as it should be!
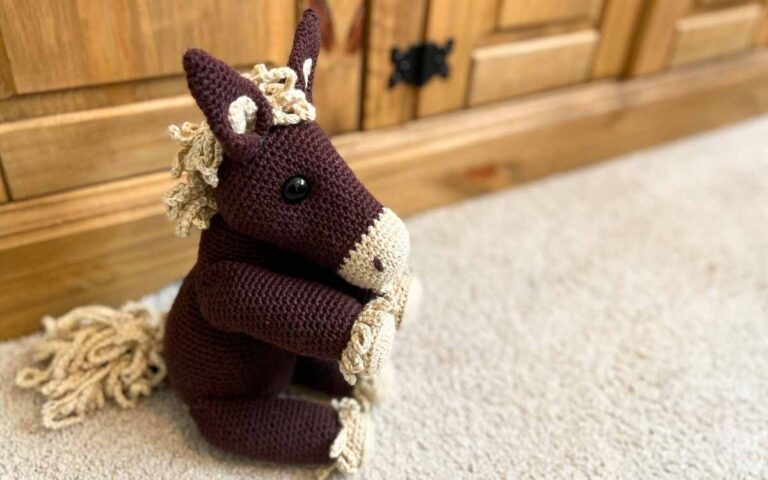
This crochet cow pattern was initially based on my Highland Cow pattern, but the amigurumi Texas Longhorn rather quickly took on a life of its own.
What You’ll Need
- 4mm crochet hook
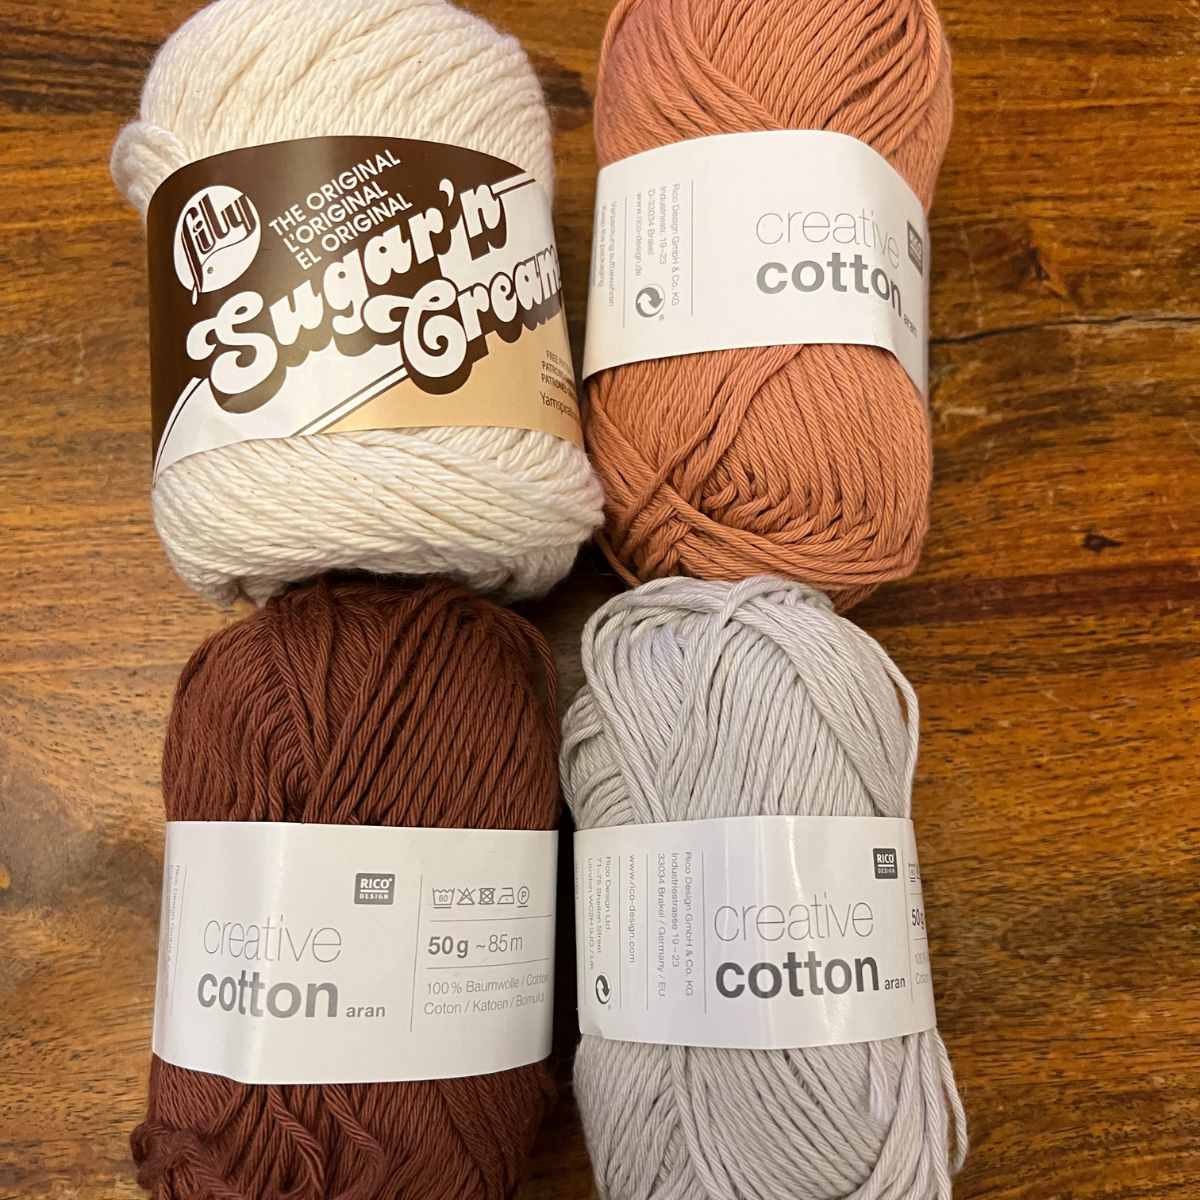
- 1.8oz/50g Rico Design’s Creative Cotton* aran yarn in pink
- 3.6oz/100g Rico Design’s Creative Cotton* aran yarn in brown
- 3.6oz/100g Rico Design’s Creative Cotton* aran yarn in gray
- 2.5oz Lily Sugar ‘n Cream* worsted weight yarn in white
- Toy safe stuffing
- Yarn needle
- Scissors or a yarn cutter
- Stitch markers (optional)
I used a combination of medium weight cotton blend yarns from Lily Sugar n Cream and Rico for this pattern. If you’d like to use different yarns try to match the weight, and if that’s not possible swap hooks to the appropriate size too.
Remember that changing yarn weight and hook size will alter the size of your crochet cow too.
Crochet Cow Pattern Information
You are going to work this amigurumi cow pattern in rounds from central magic loops. The bulk of the stitches are single crochets, but watch out for the regular and irregular increases and decreases.
Your Texas Longhorn’s tail will be crocheted from a simple chain. The horns are two separately crocheted pieces, which you will sew into shape. The markings are worked after
The Free Crochet Texas Longhorn Pattern
Watch out for a couple of quick color changes within this pattern, and irregular increases. Make sure you count your stitches carefully using a stitch marker or a yarn scrap to mark the start of each round.
Each time I use an abbreviation for the first time in this pattern, I’ll add a description above in italics for you.

Crochet Texas Longhorn Cow’s Fur Markings
You’ll know that Texas Longhorns have intricately patterned fur. Some are more mottled than others, but they all have these awesome flecks of color throughout their coat.
We’re going to add this through hand stitching once each section is complete. Attach a long strand of the complimentary yarn color to your needle, and weave in and out of the crochet cow’s pieces at random intervals. You’ll find it looks best if you make each marking a stitch in length and switch between diagonals, horizontal and vertical lines.
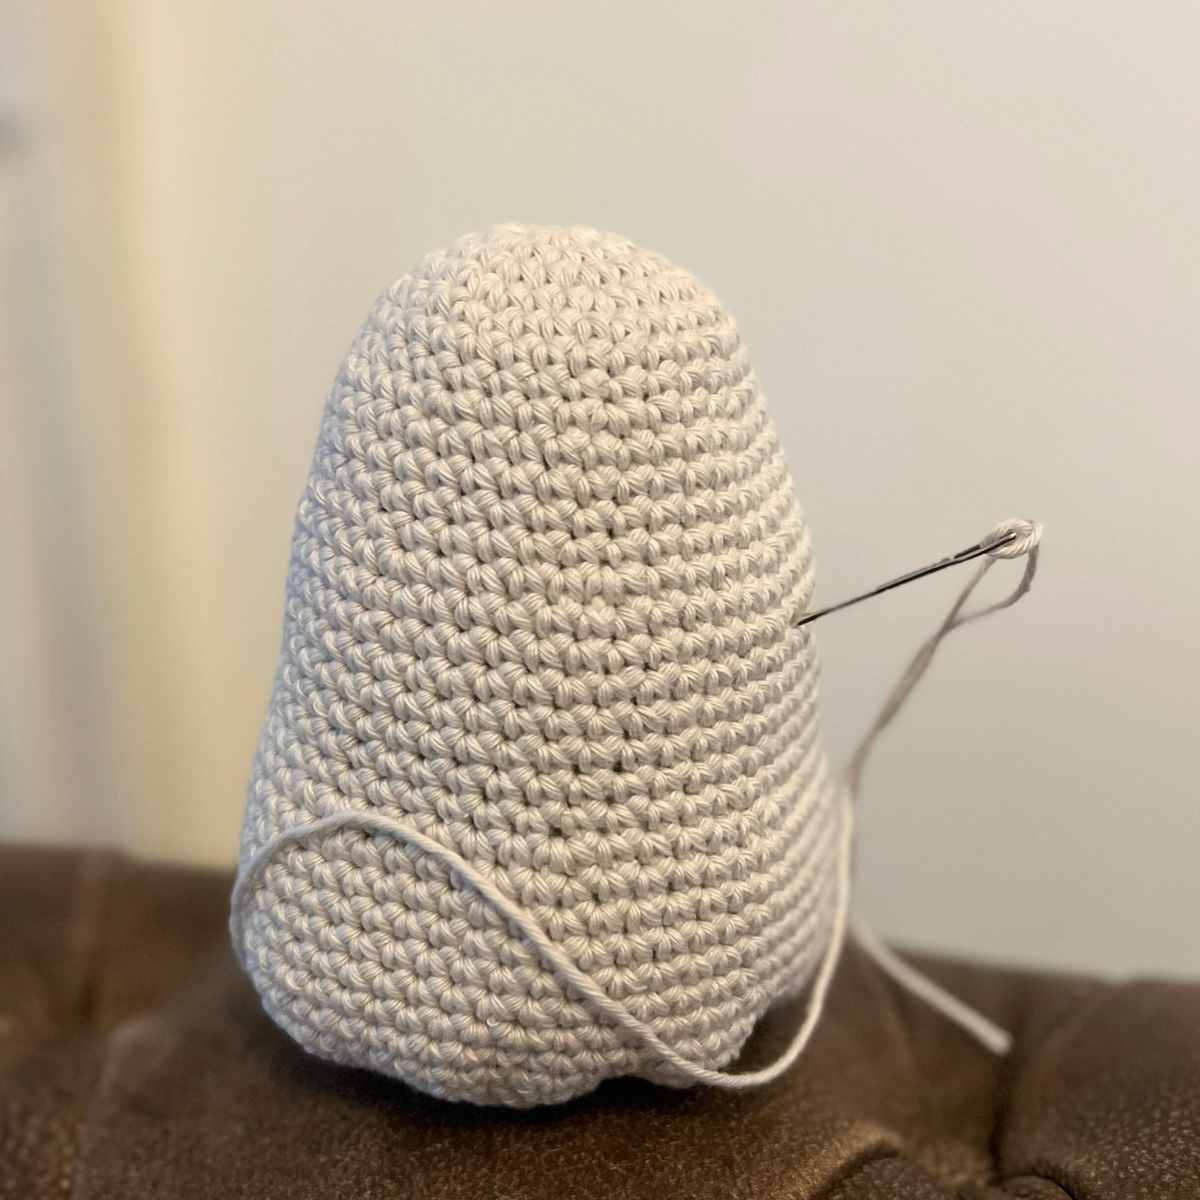
How To Crochet Texas Longhorn Horns!
Use your white yarn and 4mm crochet hook. Try to keep the tension fairly tight. You’ll define the shape by sewing.
Round 1
Make a magic circle of six stitches (6)
Round 2 – 4
Put one single crochet in each stitch for three rounds.
1sc x (6)
Round 5
Make two single crochets in each stitch for the round.
2sc x 6 (12)
Round 6 – 14
1sc x 12 (12)
Stuff your horn so far.
Round 15 – 26
1sc x 12 (12)
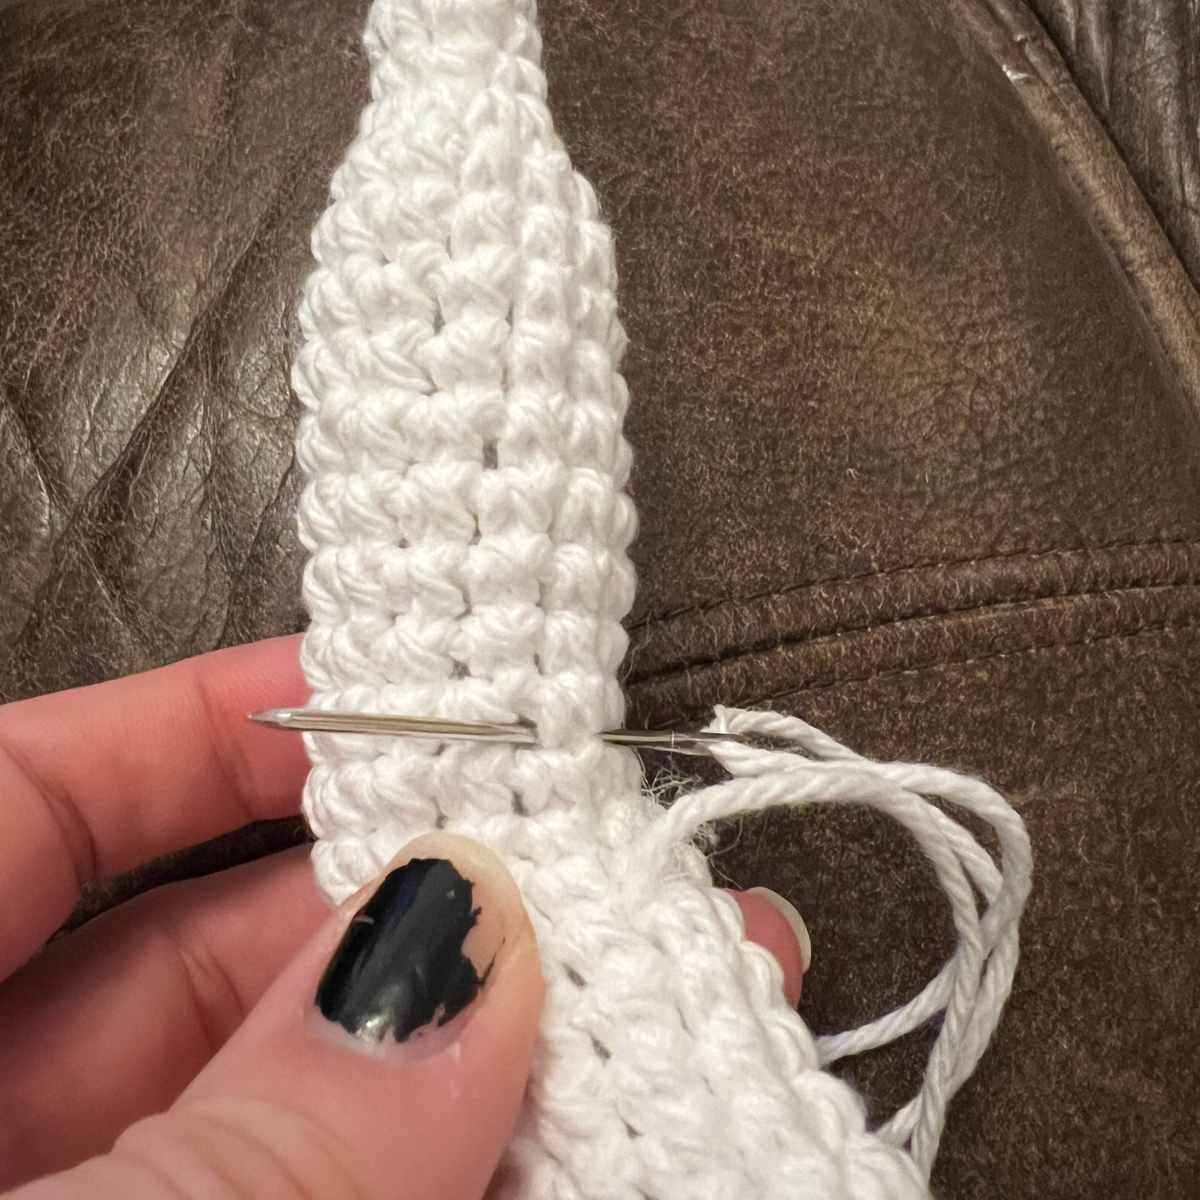
Thread your yarn needle with a length of yarn the same color as your cow’s horns. Weave back and forth a few times between rounds 14 and 16 and to bend the horns.
Stuff the remaining length of horn.
Round 27
Single crochet two stitches together until the circle is closed.
sc2tog to close, leaving a long tail of yarn for later sewing.
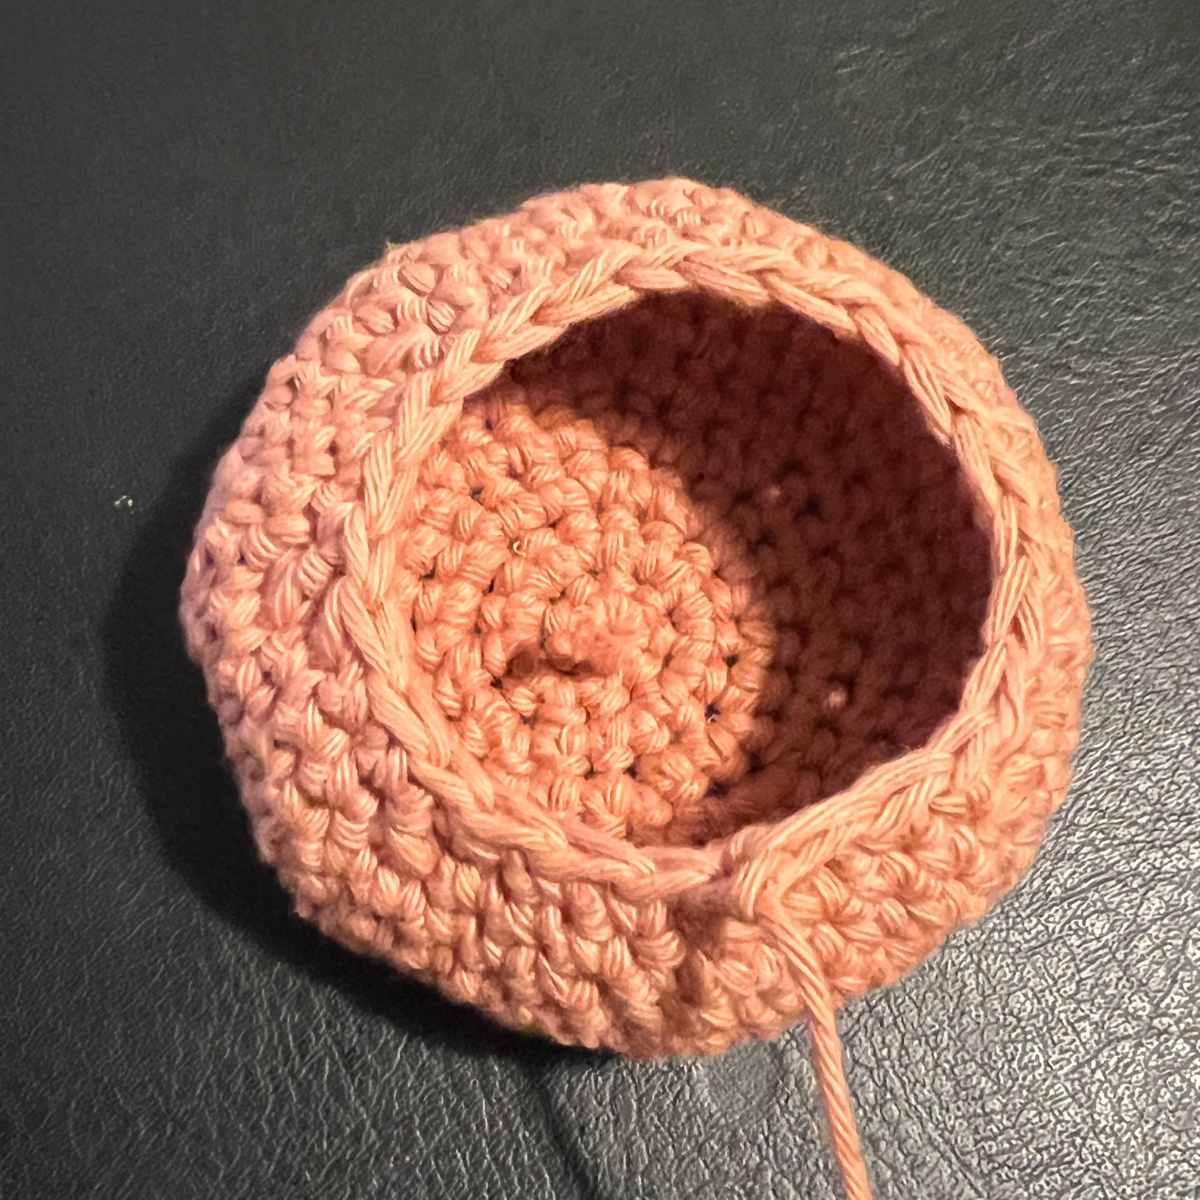
Crochet Texas Longhorn’s Muzzle
You will begin this section in your pink yarn with the 4mm crochet hook.
Round 1
Make a magic circle of eight stitches (8)
Round 2
Put two single crochets into each stitch of the round.
2sc x 8 (16)
Round 3
Make one single crochet into the first stitch, and two into the next. Repeat a further seven times to complete the round.
(1sc, 2sc) x 8 (24)
Round 4
(1sc x 2, 2sc) x 8 (32)
Round 5
(1sc x 3, 2sc) x 8 (40)
Round 6
(1sc x 4, 2sc) x 8 (48)
Round 7 – 8
1sc x 48 (48)
Round 9
Make one single crochet into the first four stitches, then use a single crochet to join the next two stitches together. Repeat for the length of the round, reducing the overall stitch count by eight.
(1sc x 4, sc2tog) x 8 (40)
Round 10
1sc x 40 (40)
Round 11
(1sc x 3, sc2tog) x 8 (32)
Round 12
1sc x 32 (32)
Slip stitch into the next stitch, then tie off and leave a long train of yarn. Fill the cow’s muzzle with toy safe stuffing and set it to one side.
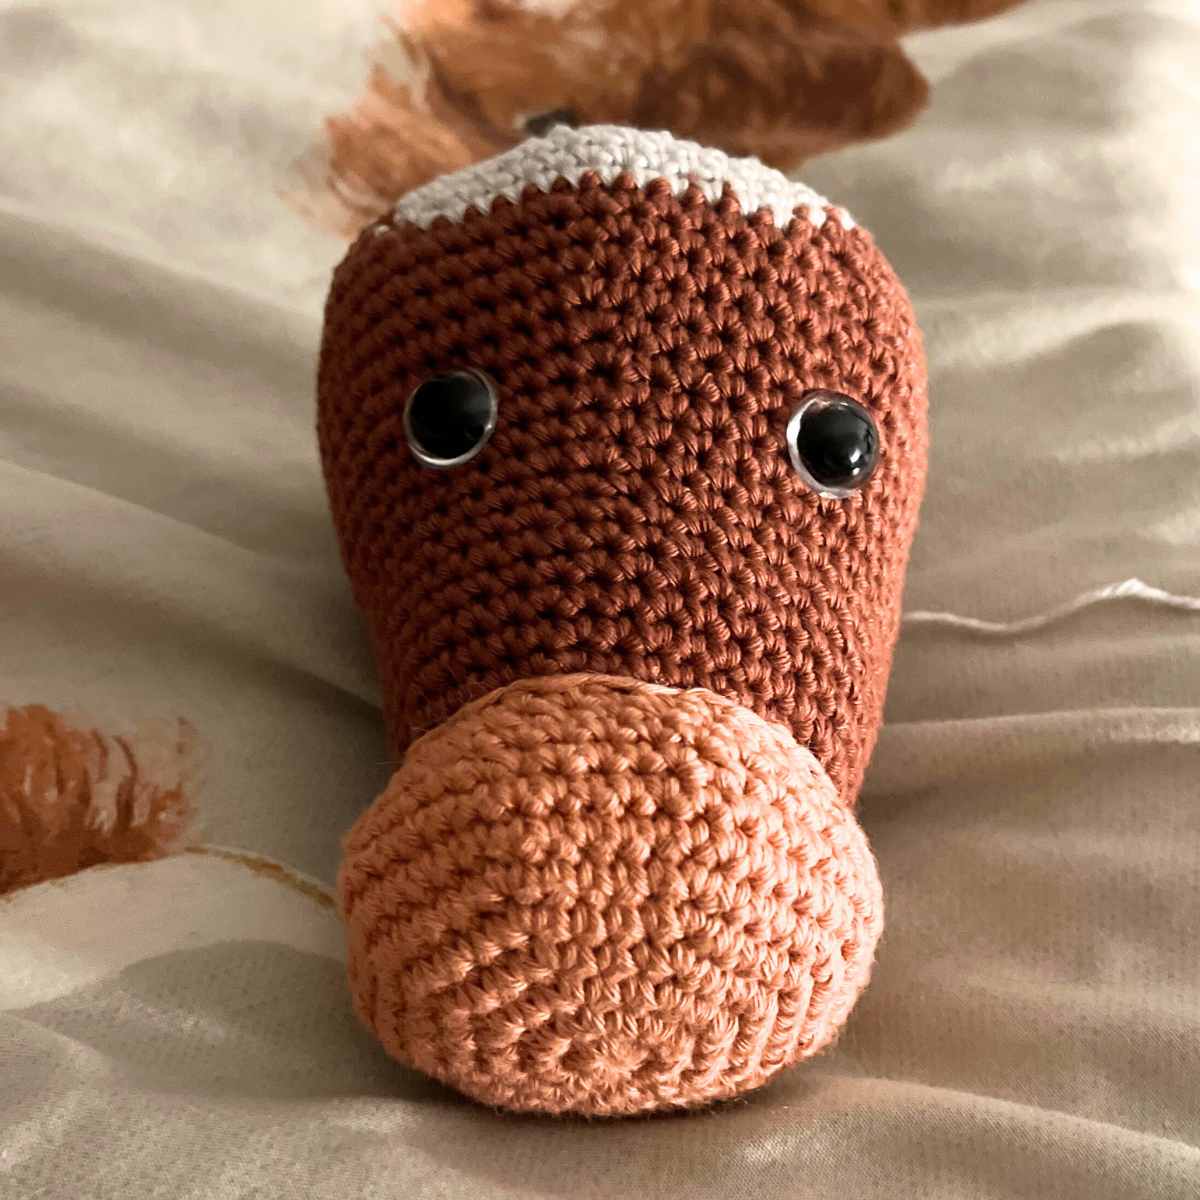
Crocheting Your Texas Longhorn Cow’s Head
Your Texas Longhorn’s head will be made using your brown and gray yarns, with your 4mm crochet hook.
Round 1
Make a magic circle of eight stitches (8)
Round 2
2sc x 8 (16)
Round 3
(1sc, 2sc) x 8 (24)
Round 4
(1sc x 2, 2sc) x 8 (32)
Round 5
1sc x 32 (32)
Round 6
(1sc x 3, 2sc) x 8 (40)
Round 7 – 13
1sc x 32 (32)
Round 14
(1sc x 4, 2sc) x 8 (48)
Round 15 – 16
1sc x 48 (48)
Round 17
(1sc x 5, 2sc) x 3, 1sc x 30 (51)
Round 18
(1sc x 6, 2sc) x 3, 1sc x 30 (54)
Round 19
(1sc x 7, 2sc) x 3, 1sc x 30 (57)
Round 20 – 21
1sc x 57 (57)
Round 22
(1sc x 8, 2sc) x 3, 1sc x 30 (60)
Round 23
1sc x 10 cc gray 1sc x 12 cc brown 1sc x 38 (60)
Round 24
1sc x 10 cc gray 1sc x 16 cc brown 1sc x 32 (60)
Round 25
1sc x 8 cc gray 1sc x 18 cc brown 1sc x 32 (60)
Round 26
1sc x 8 cc gray, sc2tog, (1sc x 8, sc2tog) x 2, 1sc x 30 (57)
Round 27
(1sc x 7, sc2tog) x 3, 1sc x 30 (54)
Round 28
(1sc x 6, sc2tog) x 3, 1sc x 30 (51)
Round 29
(1sc x 5, sc2tog) x 3, 1sc x 30 (48)
Round 30
(1sc x 4, sc2tog) x 8 (40)
Round 31
(1sc x 3, sc2tog) x 8 (32)
Round 32
(1sc x 2, sc2tog) x 8 (24)
You are now going to attach the muzzle. Using a long thread of the SHADE shade of yarn, weave in and out of the circumference of the muzzle to attach it to the initial magic circle area of the head.
Once the muzzle is attached, sit the head on a flat surface and place the safety eyes. Initially put them both in and look to see if they are symmetrical before you stick the backs on.
When you are happy they are well placed, attach the backings then fill the head with toy stuffing.
Round 33
(1sc, sc2tog) x 8 (16)
Round 34
sc2tog to close. Leave a tail of yarn to insert back into the head.
Hand Sew the Nostrils
Your crochet cow’s nostrils are hand sewn using the yarn needle and brown yarn. Start at a point three rounds from the central magic circle, the top of each nostril will be about two stitches up and the bottom comes out in a triangular shape.
Crocheting Texas Longhorn Ears
The ears of your Texas Longhorn will also be made in brown yarn using the 4mm crochet hook.
Round 1
Make a magic circle of six stitches (6)
Round 2
2sc x 6 (12)
Round 3
(1sc, 2sc) x 6 (18)
Round 4
(1sc x 2, 2sc) x 6 (24)
Crocheting the Texas Longhorn’s Body
Your Texas Longhorn’s body will be crocheted using the 4mm hook and gray shade of yarn.
Round 1
Make a magic circle of eight stitches (8)
Round 2
2sc x 8 (16)
Round 3
(1sc, 2sc) x 8 (24)
Round 4
(1sc x 2, 2sc) x 8 (32)
Round 5 – 7
1sc x 32 (32)
Round 8
(1sc x 3, 2sc) x 8 (40)
Round 9 – 12
1sc x 40 (40)
Round 13
(1sc x 4, 2sc) x 8 (48)
Round 14 – 20
1sc x 48 (48)
Round 21
(1sc x 5, 2sc) x 8 (56)
Round 22 – 26
1sc x 56 (56)
Round 27
(1sc x 6, 2sc) x 8 (64)
Round 28 – 29
1sc x 64 (64)
Round 30
(1sc x 6, sc2tog) x 8 (56)
Round 31
(1sc x 5, sc2tog) x 8 (48)
Round 32
(1sc x 4, sc2tog) x 8 (40)
Round 33
(1sc x 3, sc2tog) x 8 (32)
Round 34
(1sc x 2, sc2tog) x 8 (24)
Round 35
(1sc, sc2tog) x 8 (16)
Fill the body firmly with toy stuffing, leaving a gap of around half an inch at the top. When you’ve closed you can squeeze the body to even distribute the filling.
Round 36
sc2tog to close. Tie of the yarn, and weave the loose end back into the body.
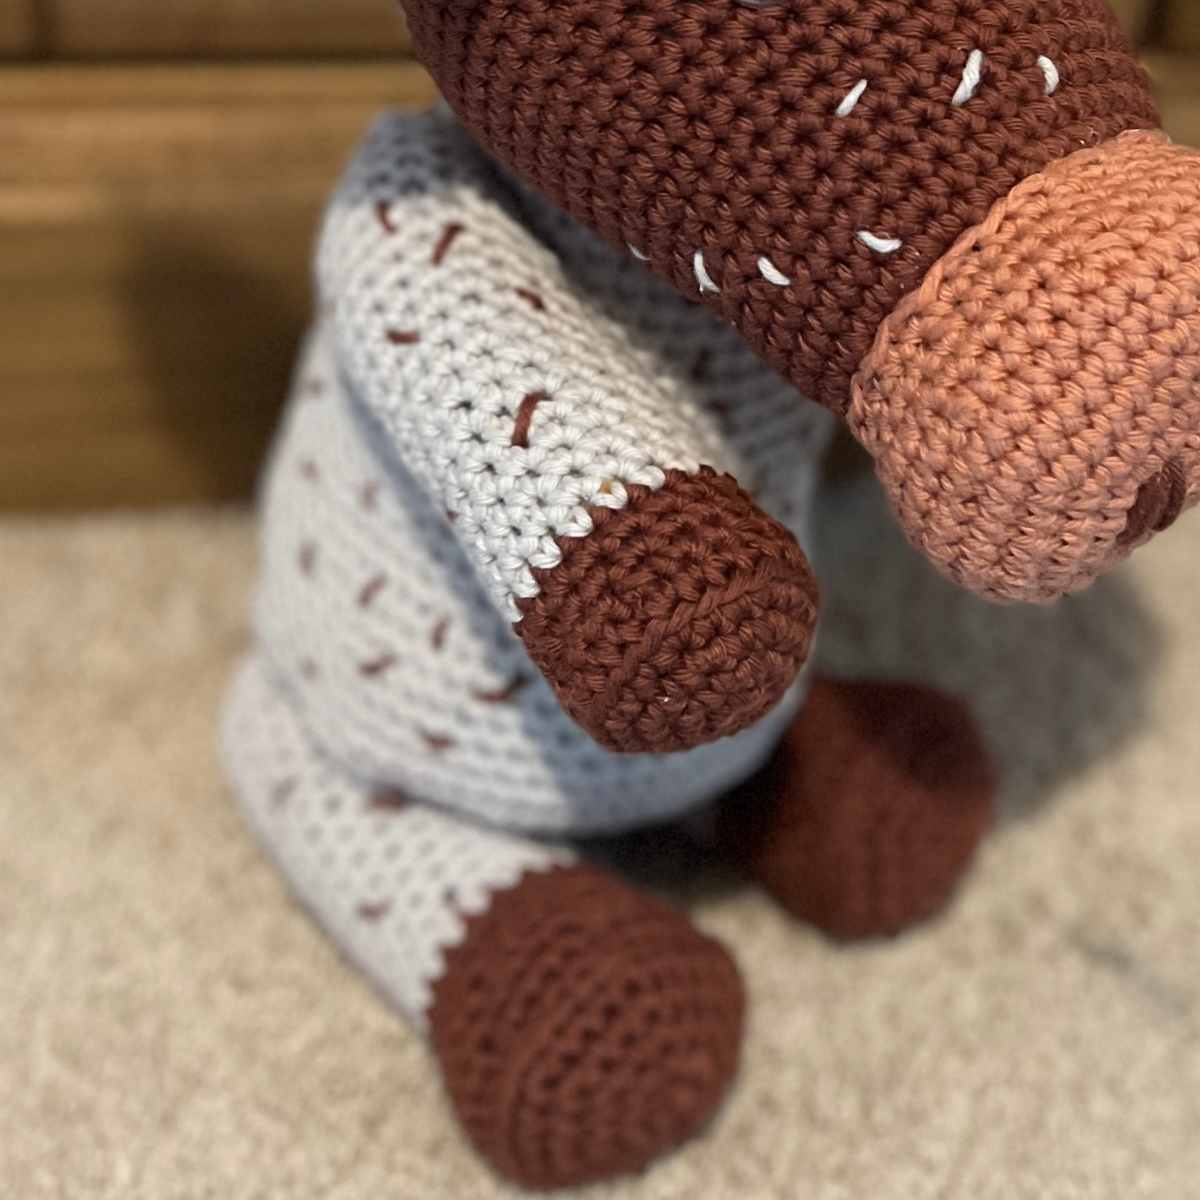
Crocheting The Front Legs
Begin with your brown yarn and 4mm crochet hook.
Round 1
Make a magic circle of six stitches (6)
Round 2
2sc x 6 (12)
Round 3
(1sc, 2sc) x 6 (18)
Round 3
(1sc x 2, 2sc) x 6 (24)
Round 4
1sc x 24 into the back loop only (BLO)
Round 5
(1sc x 2, sc2tog) x 6 (18)
Round 6 – 7
1sc x 18 (18) cc to gray
Round 8 – 24
1sc x 18 (18)
Round 25
(1sc, sc2tog) x 6 (12)
Fill with toy stuffing, leaving the top four rows empty.
Round 26
sc2tog to close.
Crochet The Back Legs
This is a very similar crochet pattern to the front legs, but gives wider hooves to your cow. Begin with your brown yarn and 4mm crochet hook.
Round 1
Make a magic circle of six stitches (6)
Round 2
2sc x 6 (12)
Round 3
(1sc, 2sc) x 6 (18)
Round 4
(1sc x 2, 2sc) x 6 (24)
Round 5
(1sc x 3, 2sc) x 6 (30)
Round 6
1sc x 30 BLO (30)
Round 7
(1sc x 3, sc2tog) x 6 (24)
Round 8
1sc x 24 (24)
Round 9
(1sc x 2, sc2tog) x 6 (18)
Round 10 – 11
1sc x 18 (18) cc to gray
Round 12 – 24
1sc x 18 (18)
Round 25
(1sc, sc2tog) x 6 (12)
Fill with toy stuffing..
Round 26
sc2tog to close.
Sewing The Crochet Texas Longhorn Together
I sewed my crochet Texas Longhorn together with a steel yarn needle. Then I attached the features to the face first, adding the ears then the horns. Finally, I attached the head to the body, and the limbs in pairs to ensure they stayed symmetrical.
Your Crochet Cow
I hope you have as much fun making this crochet cow pattern as I did designing it! I am really pleased with how it turned out, and it compliments the Highland Cow really well.
Now I’m off to design another breed!
Happy Crocheting,
Lucy Kate, x
*The products linked in this pattern were carefully selected by Lucy Kate Crochet. If you decide to purchase using the links provided, we may earn a small commission on that sale. This is at no extra cost to you.