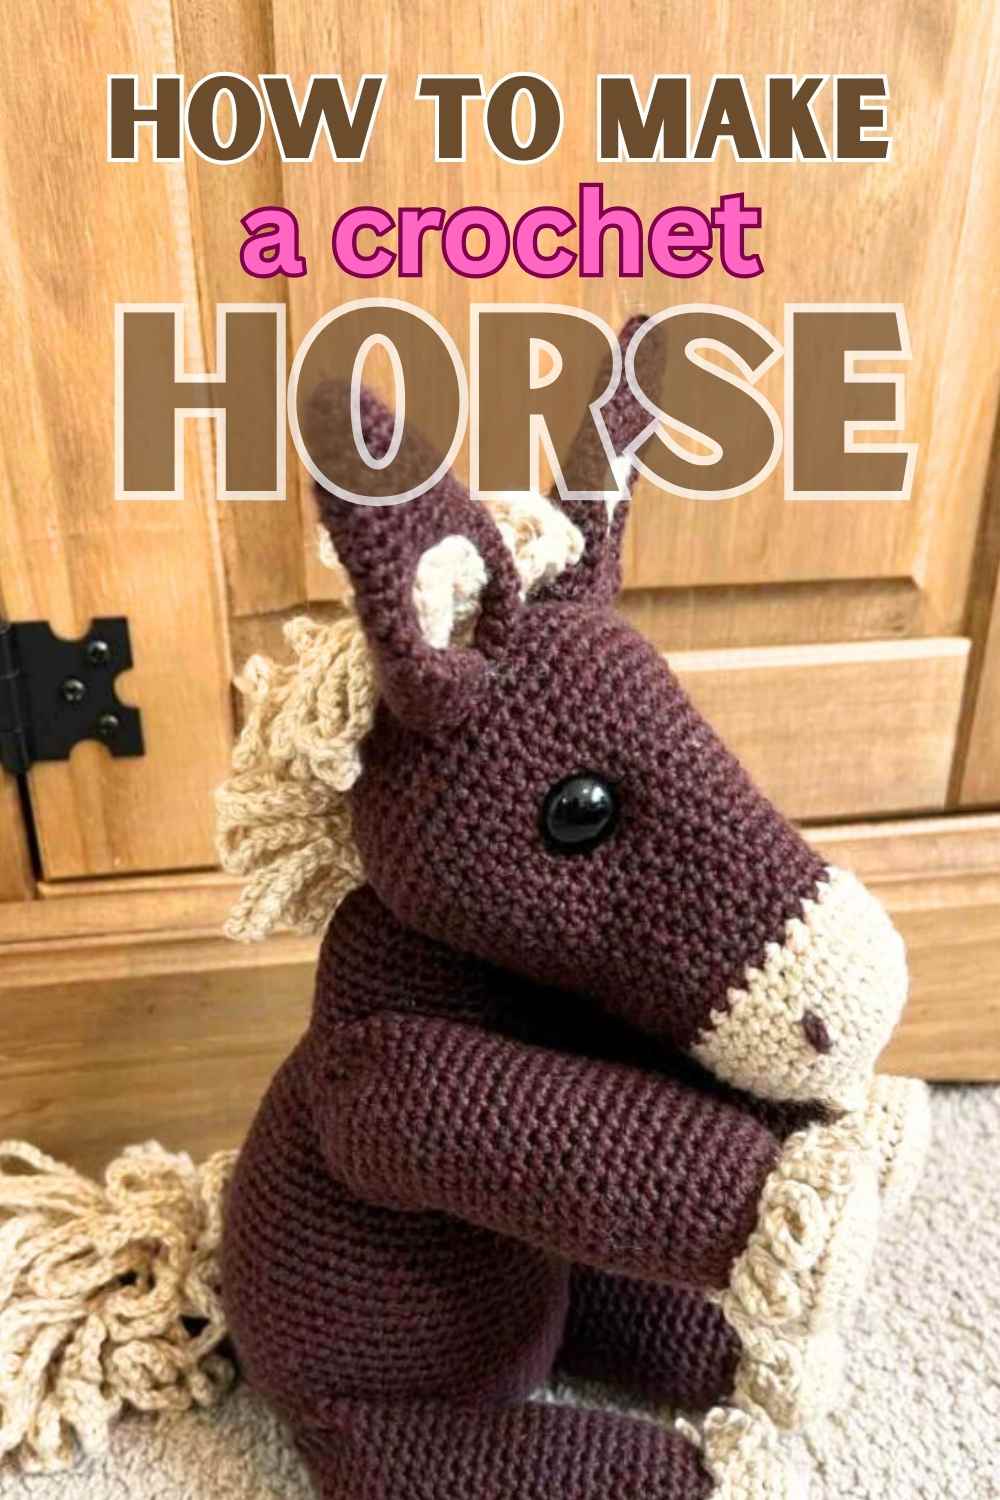
Jeremy the Crochet Horse – Free Pattern

I created Jeremy the crochet horse last week for my daughter. This a beginner friendly crochet pattern, and the perfect addition to any pony lover’s amigurumi collection! I’ve used simple stitches in this design, and there are just a handful of color changes to make along the way.
The mane might look gloriously complex, but in reality it’s just a series of neatly looped chain stitches!
Funnily enough, my crochet cart horse took a little longer than some of my other patterns to plan out, because I was under an extra layer of pressure to get the proportions and overall equine feel down just right.
You see, my daughter is horse mad. This is not an exaggeration. If we let her, she’d forgo all other daily activities and spend every minute with horses. She’s got the horse fever. I am telling you this, because I want you to appreciate that when I say getting this pattern right was rather important, I don’t want you to think i’m being glib. She’s a good kid, she was going to thank me and compliment the finished toy regardless, but the stakes here were more than slightly higher than normal. Thank goodness it turned it well, and I even ended up creating a similar donkey and zebra pattern too!
Your Kit List
- 3.5mm crochet hook
- 100g brown DK yarn
- 50g cream DK yarn
- 16mm safety eyes*
- 2mm crochet hook (optional)
- Tapestry needle*
- Toy safe stuffing*
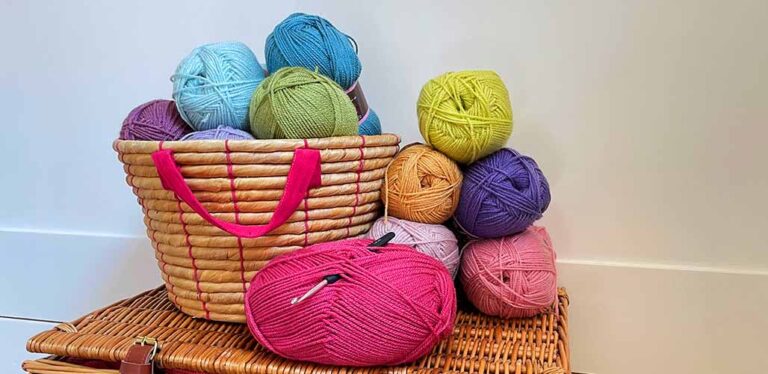
I used hobbii’s friends cotton silk yarn for this pattern, but any DK weight yarn will work just fine. Make sure to check the recommended hook size on the packaging if you use a different brand, and you’ll usually need to size down at least .5mm from that to get nice tight stitches.
You’ll want to have the smaller size yarn needle to pull the loose ends of the mane into the body to hide them, or to leave a long train at the end of your yarn to attach the needle and do the same.
Techniques
- sc – single crochet
- 2sc – two single crochets into one stitch
- sc2tog – join two stitches together with one single crochet
- cc – color change
- BLO – crochet into the back loop only
- ch – chain
- slst – slip stitch
Challenges
This crocheted cart horse is definitely beginner friendly, but it is not my quickest project. I found the body and head work up fairly fast, but the hair is made of a series of long, looped chains and they took a little time for me to work up in the bulk numbers I needed to get the look just right. That said, there is something very relaxing about a repeating pattern, so if you are anything like me, that bit of extra time will fly past nicely.
The Free Crochet Horse Pattern
You’re going to construct your crochet cart horse in sections, and sew them together as you go along.
The head
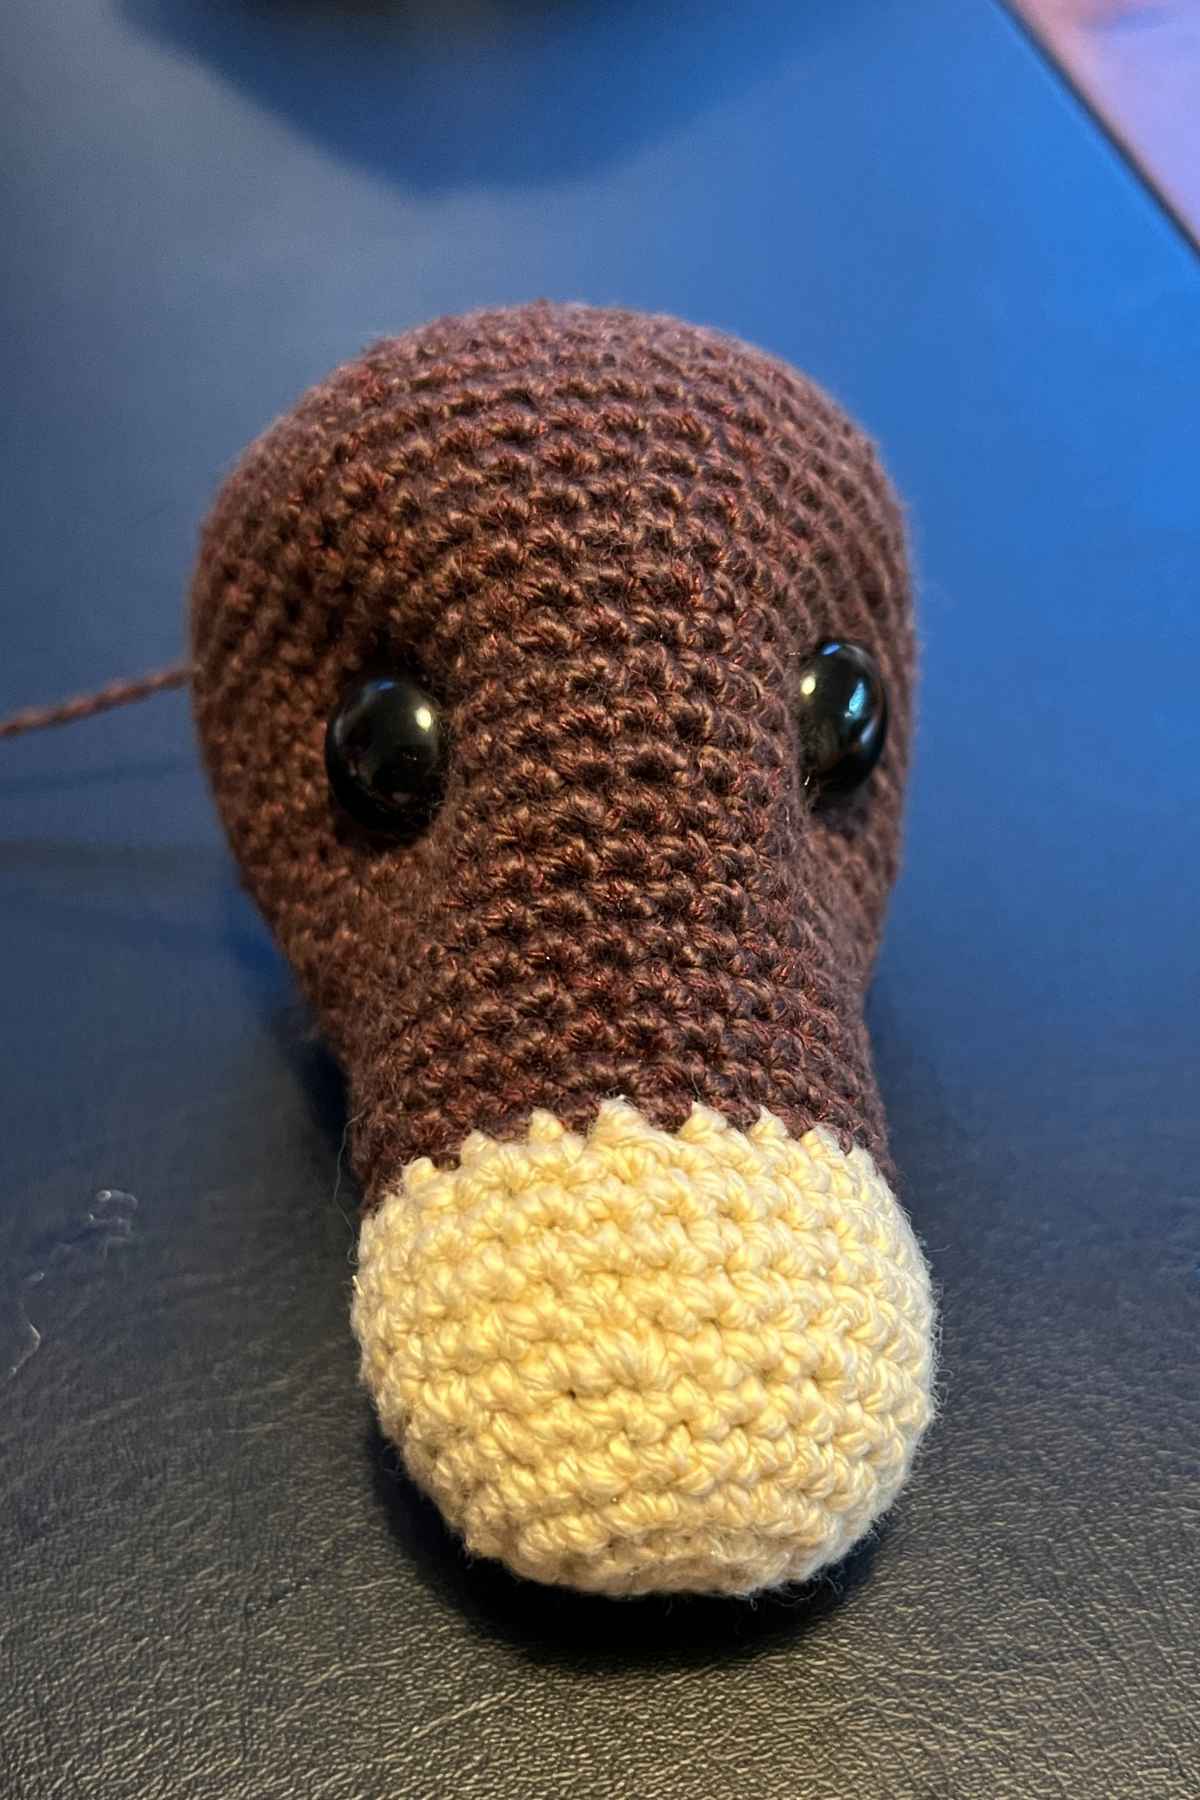
Begin in your cream yarn, using your 3.5mm crochet hook.
Round 1
Make a magic circle of eight stitches (8)
Round 2
2sc x 8 (16)
Round 3
(1sc, 2sc) x 8 (24)
Round 4 – 5
1sc x 24
Round 6
(1sc x 2, 2sc) x 8 (32)
Round 7 – 9
1sc x 32
Round 10
(1sc x 2, sc2tog) x 8 (24)
cc brown
Round 11
1sc x 24
Round 12
(1sc x 2, 2sc) x 8 (32)
Round 13 – 18
1sc x 32
Round 19
(1sc x 3, 2sc) x 8 (40)
Round 20 – 22
1sc x 40
Round 23
(1sc x 4, 2sc) x 8 (48)
Round 24 – 26
1sc x 48
Round 27
(1sc x 5, 2sc) x 8 (56)
Round 28 – 30
1sc x 56
Round 31
(1sc x 5, sc2tog) x 8 (48)
Round 32
1sc x 48
Round 33
(1sc x 4, sc2tog) x 8 (40)
Round 34
1sc x 40
Round 35
(1sc x 3, sc2tog) x 8 (32)
Stuff your head so far.
Round 36
1sc x 32
Insert safety eyes, place them approximately at the level of round 30 and about a third of the circumference of the head apart. To give definition to the cheeks, I use a strand of yarn to tie the backs of the safety eyes together more tightly than they would naturally sit.
Round 37
(1sc x 2, sc2tog) x 8 (24)
Finish filling with toy stuffing.
Round 38
(1sc, sc2tog) x 8 (16)
Round 39
sc2tog to close, and hide the yarn tail within the head.
The outer ears
Your crochet horse’s outer ears will be in brown yarn, worked with your 3.5mm crochet hook.
Round 1
Make a magic circle of six stitches (6)
Round 2 -3
1sc x 6
Round 4
2sc x 6 (12)
Round 5 – 9
1sc x 12
Round 10
(1sc, 2sc) x 6 (18)
Round 11 – 14
1sc x 18
Round 15
(1sc x 2, 2sc) x 6 (24)
Round 16 – 17
1sc x 24
Round 18
(1sc x 3, 2sc) x 6 (30)
Round 19
1sc x 30
Slst, and tie off, leaving a long tail of yarn which you’ll use to sew the ear into shape then onto the head a little later.
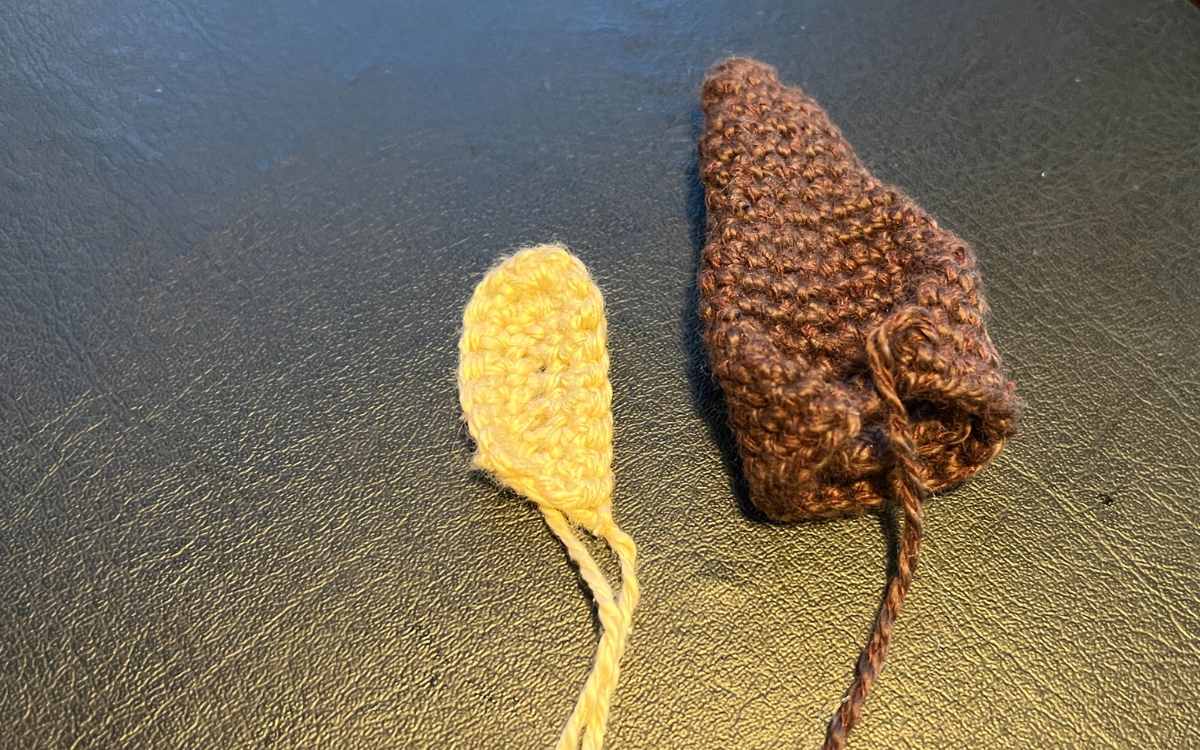
The inner ear panel
Use your cream yarn and 3.5mm crochet hook.
I worked back and forth around a starting chain to get this effect.
Ch 8, 1sc x 6, 3sc, 1sc x 6
Turn
Ch1, 1sc x 6, 3sc, 1sc x 7, slst.
Sewing your crochet horse’s ears
First you are going to construct the ear sections, then you’ll sew them onto the top of your horse’s head.
Lay your brown section, flattened, on a desk. Place the cream section lined up with the bottom of the ear, in the center. Using a length of cream yarn and your needle, weave around the edge of the cream inner ear to attach it.
Now fold the brown sections bottom corners to meet in the middle, over the cream section, securing it firmly.
Holding the pointed end upright, now sew them to the top of your horse’s head. The ears should sit in line with the position of the eyes.
Your horse’s body

This section will be made entirely in brown yarn, with the 3.5mm crochet hook.
Round 1
Make a magic circle of eight stitches (8)
Round 2
2sc x 8 (16)
Round 3
(1sc, 2sc) x 8 (24)
Round 4
(1sc x 2, 2sc) x 8 (32)
Round 5 – 16
1sc x 32
Round 17
(1sc x 3, 2sc) x 8 (40)
Round 18 – 19
1sc x 40
Round 20
(1sc x 4, 2sc) x 8 (48)
Round 21 – 24
1sc x 48
Round 25
(1sc x 5, 2sc) x 8 (56)
Round 26 – 42
1sc x 56
Round 43
(1sc x 5, sc2tog) x 8 (48)
Round 44
(1sc x 4, sc2tog) x 8 (40)
Round 45
(1sc x 3, sc2tog) x 8 (32)
Round 46
(1sc x 2, sc2tog) x 8 (24)
Round 47
(1sc, sc2tog) x 8 (16)
Fill with toy safe stuffing.
Round 48
sc2tog to close, tie off and hide the end of the yarn within the body.
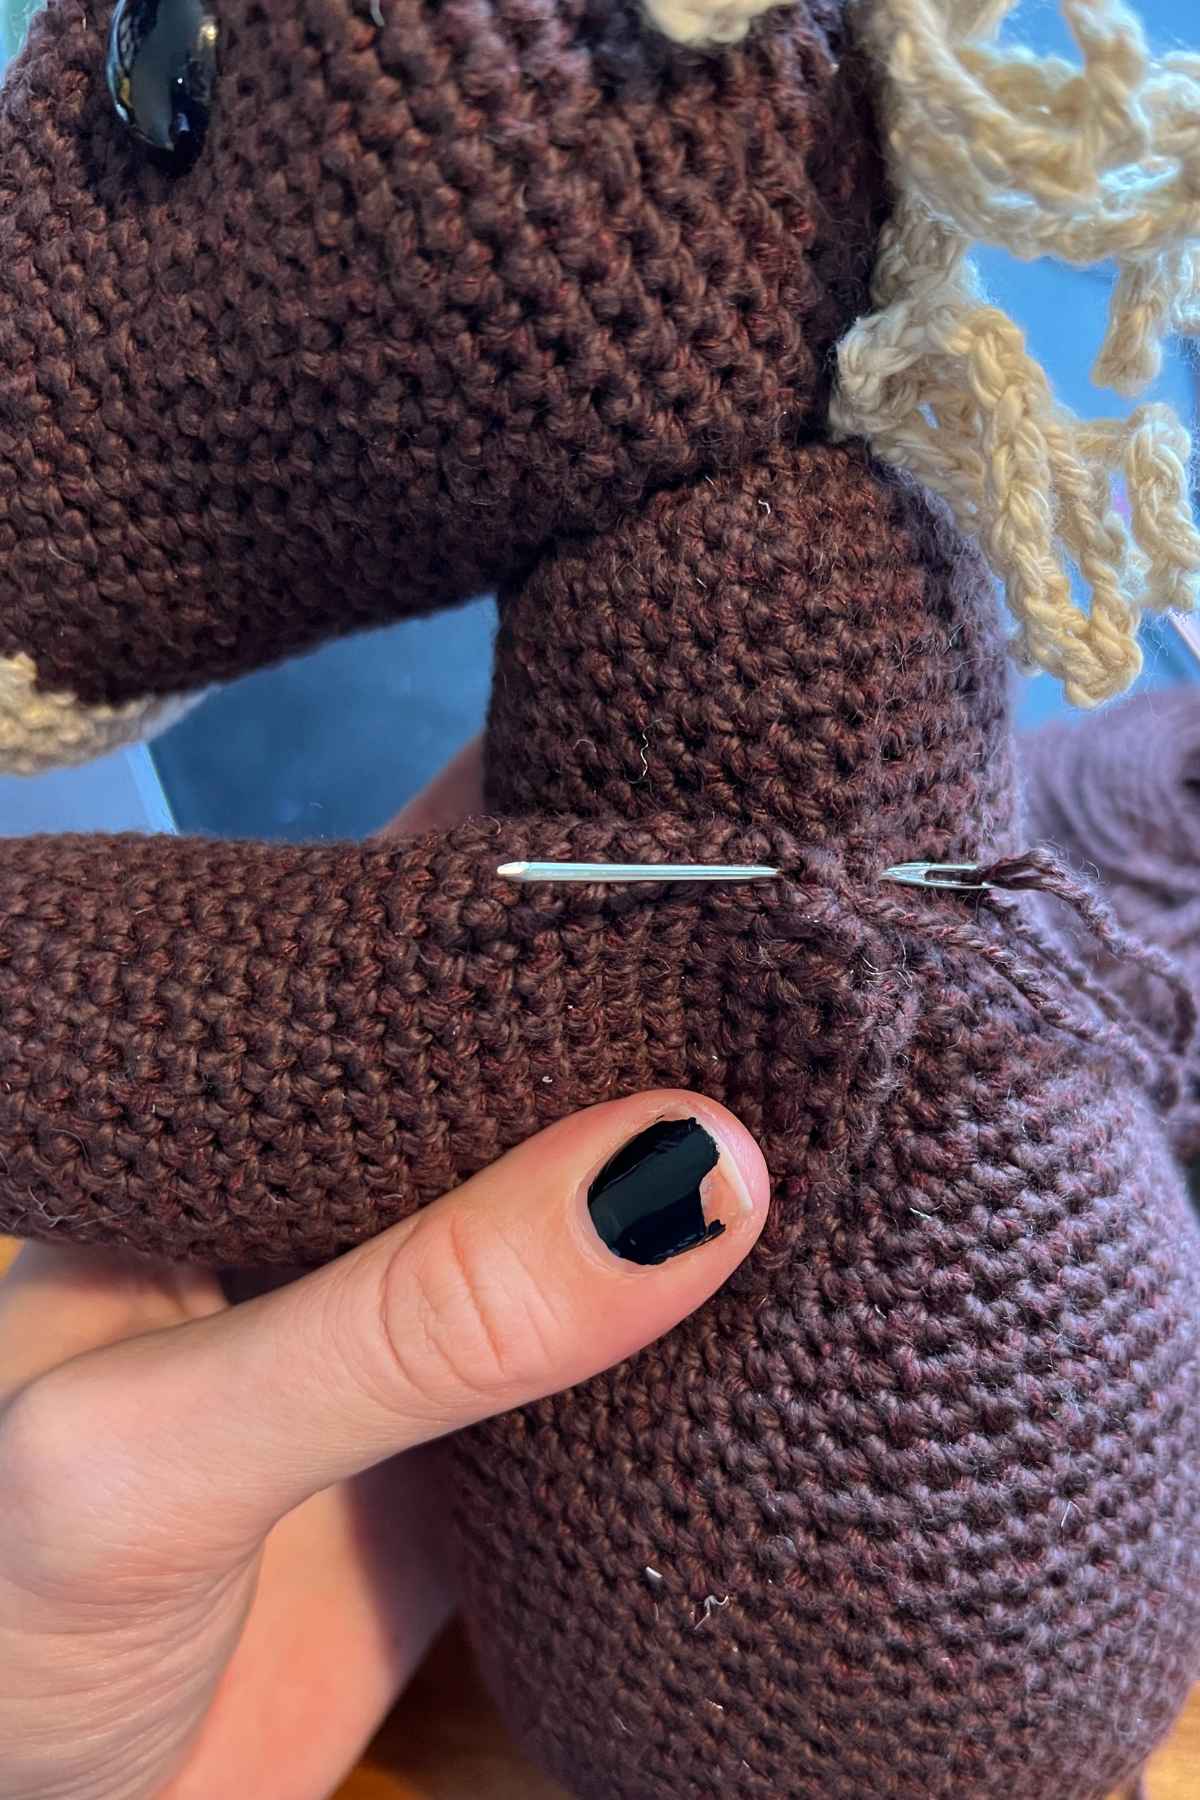
Sewing the horse’s head to the body

I like to position my crochet toys so that their chins are sloping downwards, but you can go with whatever you think looks best. Position the head to your satisfaction, then holding it in place with your non-dominant hand, use your dominant hand to weave in and out between the head and body securing each stitch together.
Crocheting the mane
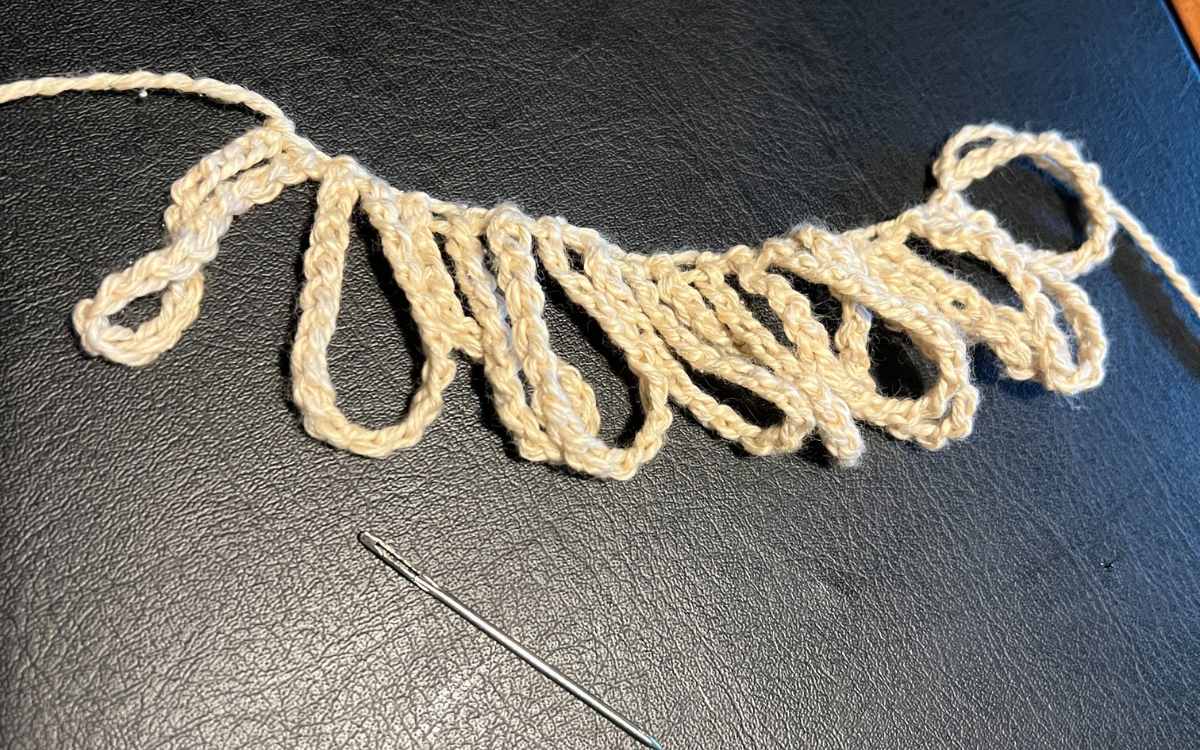
Your horse’s mane is going to be made up of chains, using the cream yarn.
Ch21, slst into 1st loop
*ch21, slst into 2nd loop of that chain
*repeat for as long as you want your horse’s mane to reach down the back!
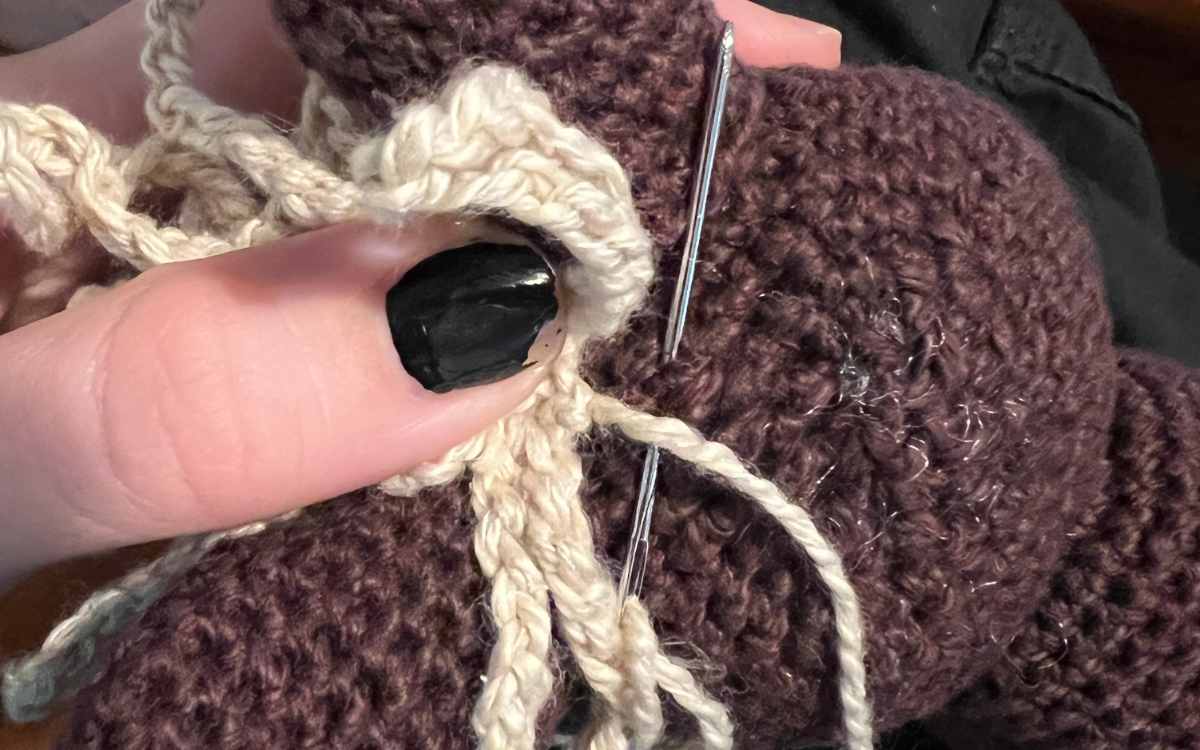
Attach the chains with your yarn needle, sewing them directly onto the location you’d like them to sit. Remember horse’s manes run in a line down the neck, not spread out.
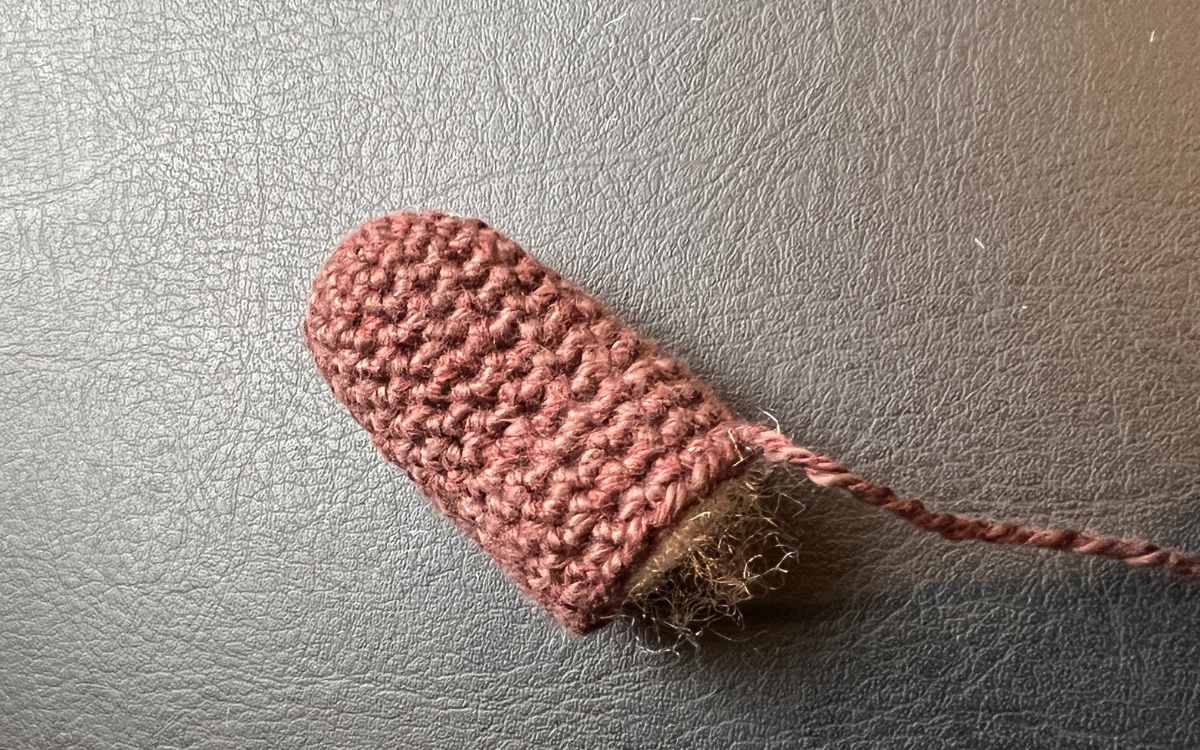
Amigurumi horse legs

Begin the legs at the hooves, using your 3.5mm crochet hook and cream yarn.
Round 1
Make a magic circle of eight stitches (8)
Round 2
2sc x 8 (16)
Round 3
(1sc, 2sc) x 8 (24)
Round 4
(1sc x 2, 2sc) x 8 (32)
Round 5
BLO (1sc x 2, sc2tog) x 8 (24)
Round 6
1sc x 24
Round 7
(1sc, sc2tog) x 8 (16)
Round 8
1sc x 16
cc brown
Round 9
(1sc, 2sc) x 8 (24)
Round 10 – 32
1sc x 24
Round 33
(1sc, sc2tog) x 8 (16)
Stuff up to round 26, leave the rest empty.
Round
sc2tog to close
Attaching the legs
Sew your legs on around the edge of the empty section of each limb. Arms should sit about round 16, legs should sit either side of the base of the body section.
Crocheting the hoof feathering

To give the effect of feathering around your amigurumi horse’s hooves, create a series of looped chains in the same manner that you did for the mane. However, for this section you’ll need loops that are eight chains long, with a one chain gap between, and each leg will need 9 chain loops to fit around the foot.
Use a tapestry needle to sew the chain loops around each hoof as though they were tiny bracelets!
Crochet the horse’s tail
Your horse’s short tail section will be worked in brown yarn with the 3.5mm crochet hook.
Round 1
Make a magic circle of six stitches (6)
Round 2
2sc x 8 (16)
Round 3 – 15
1sc x 16
Slst and tie off, leave a long tail for sewing. Fill to the top, then place against your horse at the back, and sew it tightly in place.
The tail fur
Your horse’s tail is going to be made in the same way as the mane and hoof hair, using long looped chains in cream yarn. I sewed these onto the tail stub winding around in the same style as the rounds were crocheted. Vary the chain loop lengths between 20 and 30 stitches each.
*The products linked in this pattern were carefully selected by Lucy Kate Crochet. If you decide to purchase using the links provided, we may earn a small commission on that sale. This is at no extra cost to you.

