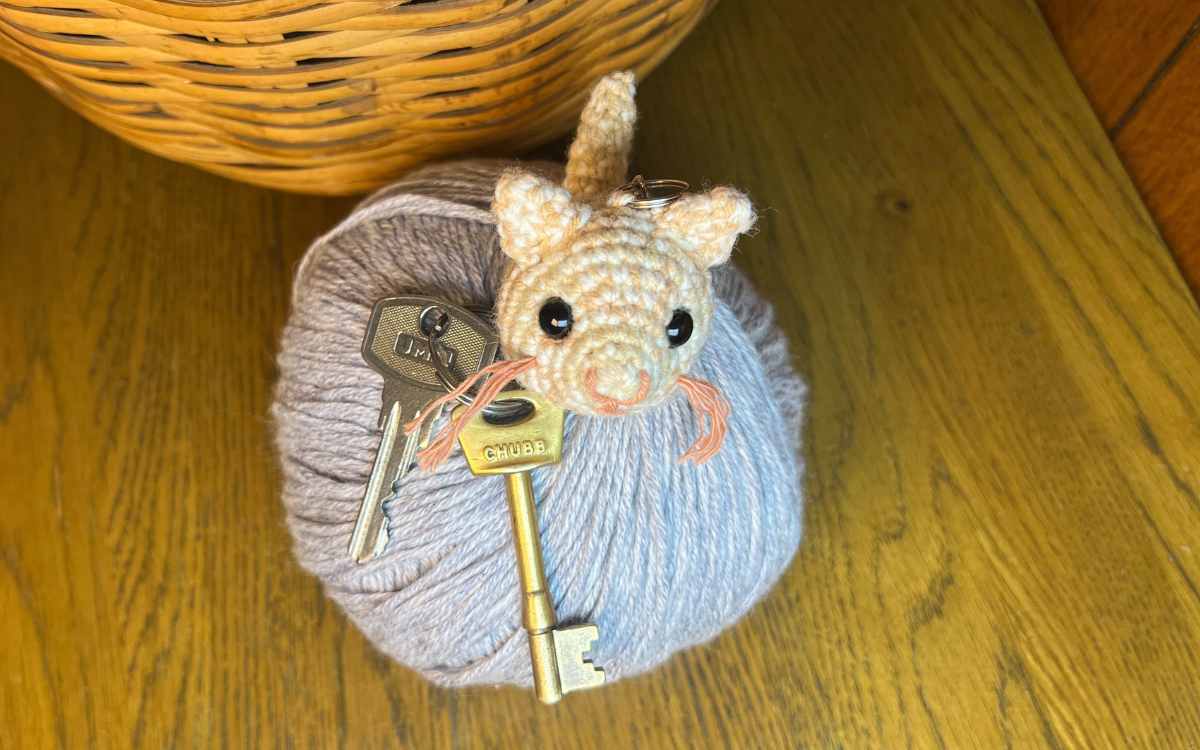
Free Amigurumi Kitten Keychain Pattern

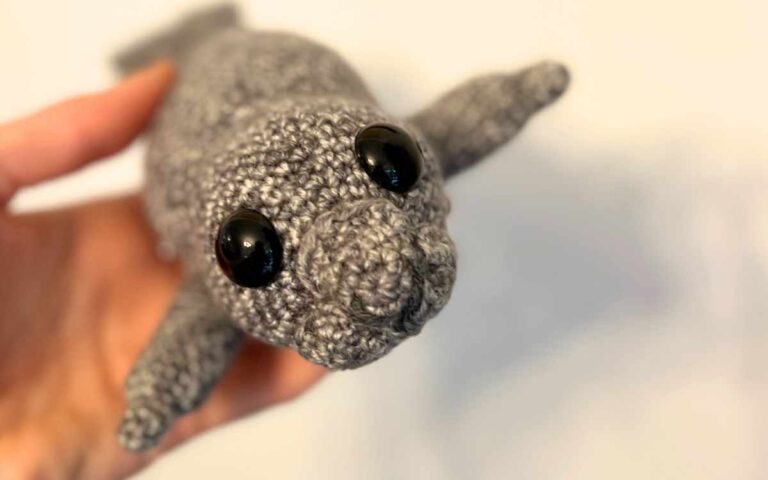
What’s better than a crochet cat? An amigurumi kitten keychain, of course!
I am so pleased with the amount of character I’ve managed to fit into this teensie kitty pattern. And it’s super quick and simple to make too. Stick on your favorite movie, and the kitten will be finished before it ends! Then you can start making him a mouse pal to play with…
Your Equipment List
My kit included a bunch of stuff from my stash!
- 2.5mm crochet hook
- 30g DK Berges de France yarn in orange blend
- Scrap of dark orange yarn for nose and whiskers
- 10mm safety eyes*
- Toy safe stuffing*
- Tapestry needle
- Optional pipe cleaner
Techniques and Abbreviations
- magic circle
- sc – single crochet
- 2sc – put two single crochets into one stitch
- sc2tog – join two stitches with one single crochet
- ch – chain
- sk – skip the next stitch along
- slst – slip stitch
The Free Amigurumi Kitten Keychain Pattern
The kitten is crocheted in a few sections. First you’ll make the body and tail, then you’ll crochet the ears and finally you’ll add the facial details.
Head, Body and Tail
Work in your blended orange yarn using the 2.5mm crochet hook.
Round 1
Make a magic circle of eight stitches (8)
Round 2
1sc x 8
Round 3
2sc x 8 (16)
Round 4
1sc x 16
Round 5
(1sc, 2sc) x 8 (24)
Round 6
(1sc x 2, 2sc) x 8 (32)
Round 7 – 12
1sc x 32
Round 13
(1sc x 2, sc2tog) x 8 (24)
Round 14
1sc x 24
Insert the safety eyes at round five level.
Round 15
1sc x 24
Round 16
(1sc, sc2tog) x 8 (16)
Round 17
sc2tog x 8
Fill with toy stuffing.
Round 18 – 28
1sc x 8
Insert the pipe cleaner, or stuff if you don’t have one!
Round 29
sc2tog x 4 and sew closed.
Crocheting the Ears
Use your 2.5mm crochet hook and orange blended yarn.
Round 1
Make a magic circle of five stitches (5)
Round 2
1sc x 5
Round 3
2sc x 5 (10)
Round 4
1sc x 10
Sew your ears three rounds behind the eyes.
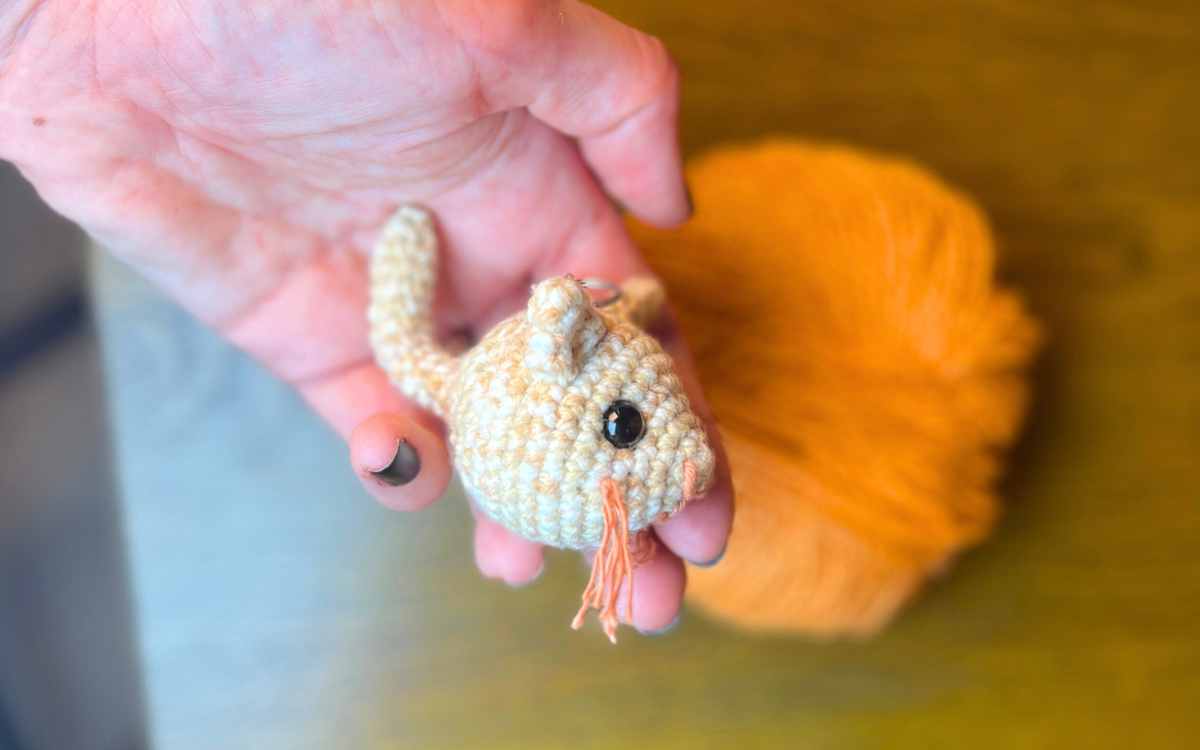
Amigurumi Kitten’s Face
Attach your dark orange yarn scrap to the needle and sew your nose with four lines of yarn, then create the whiskers by sewing from one cheek to the next and fraying your yarn into strips.
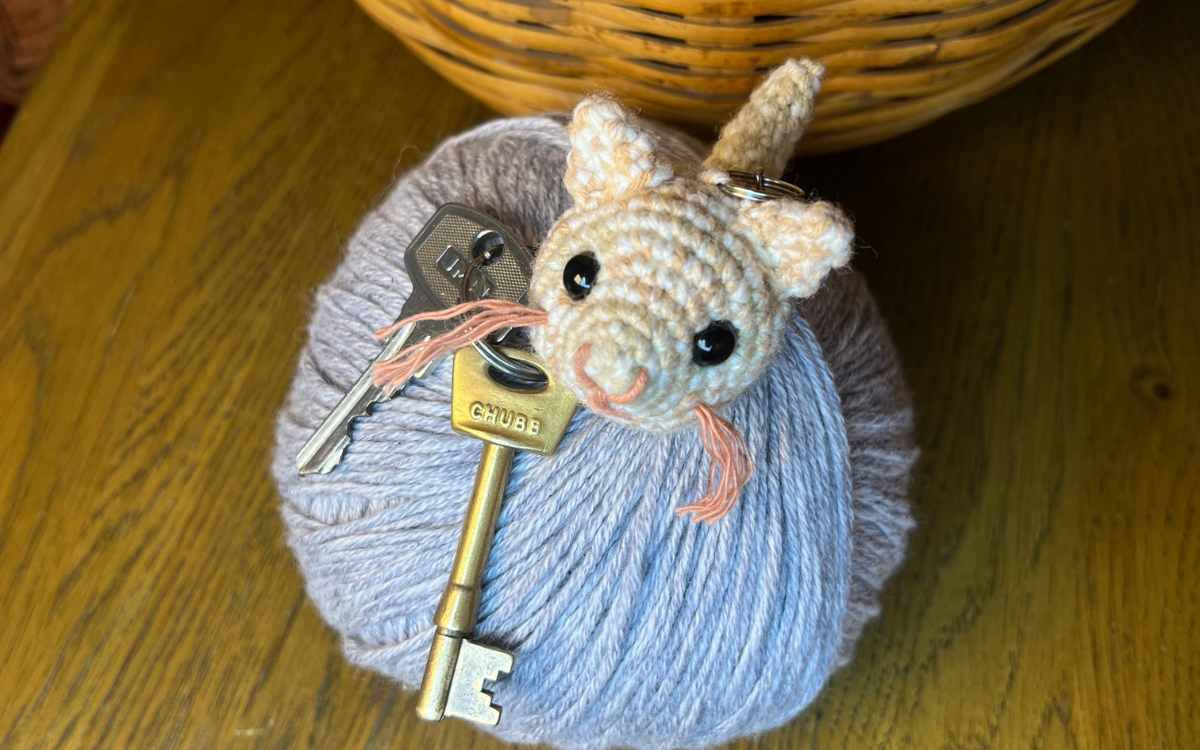
Attaching the Keychain
You are now ready to attach the keychain. Either slip the metal ring through a stitch towards the top of the toy, or sew the ring on to avoid mis-shaping the stitches.
*The products linked in this pattern were carefully selected by Lucy Kate Crochet. If you decide to purchase using the links provided, we may earn a small commission on that sale. This is at no extra cost to you.

