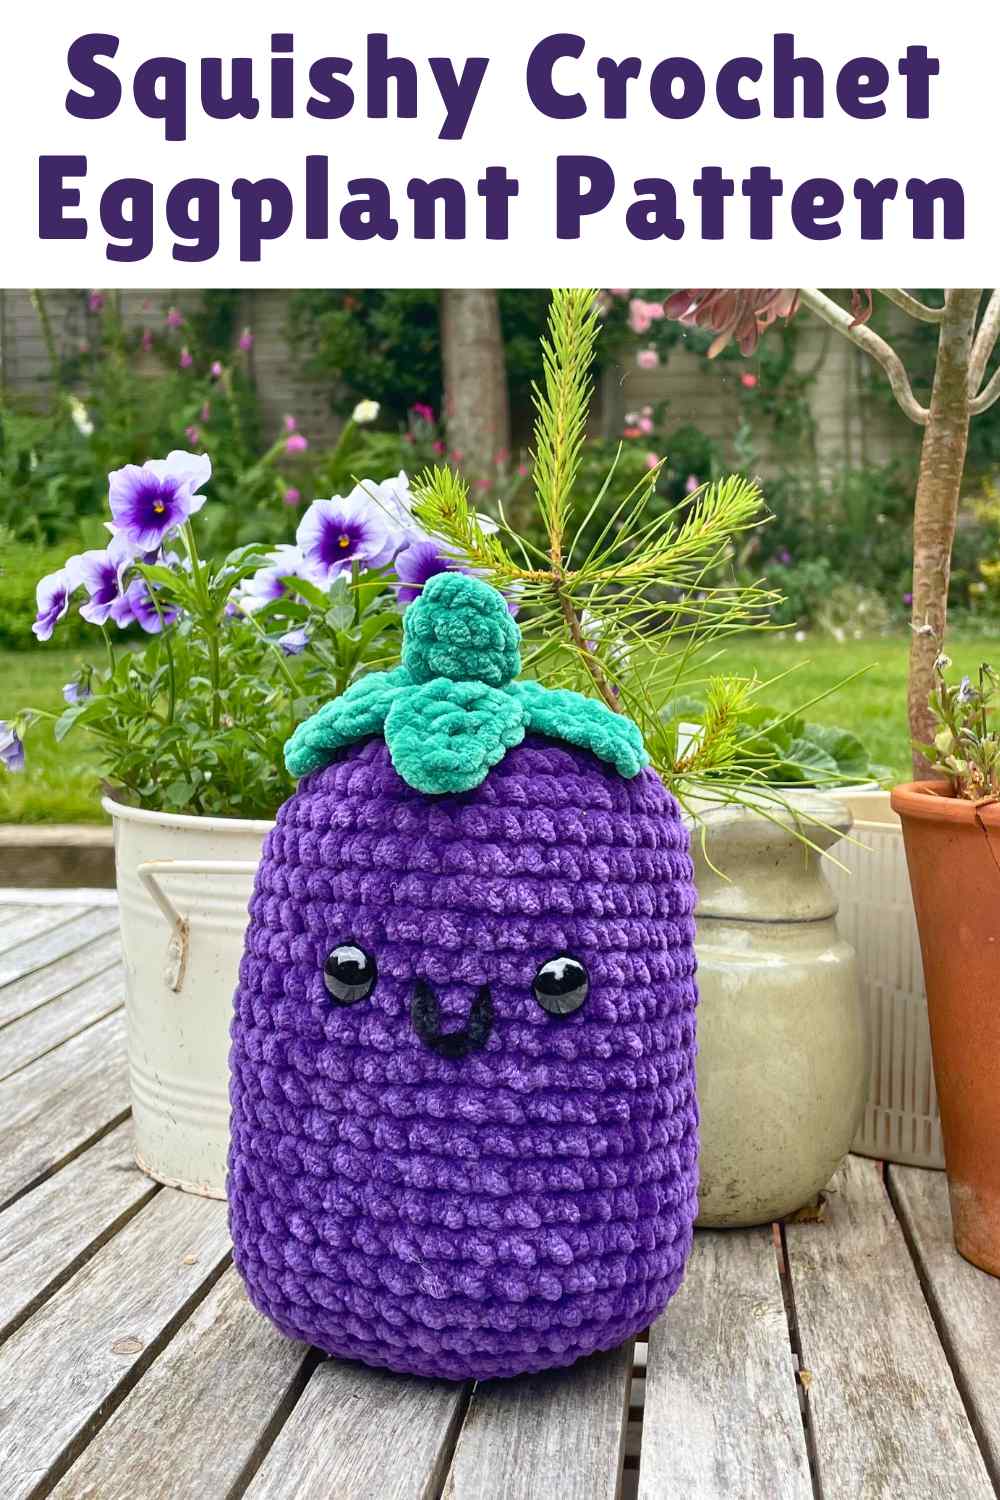
Squishy Crochet Eggplant Pattern
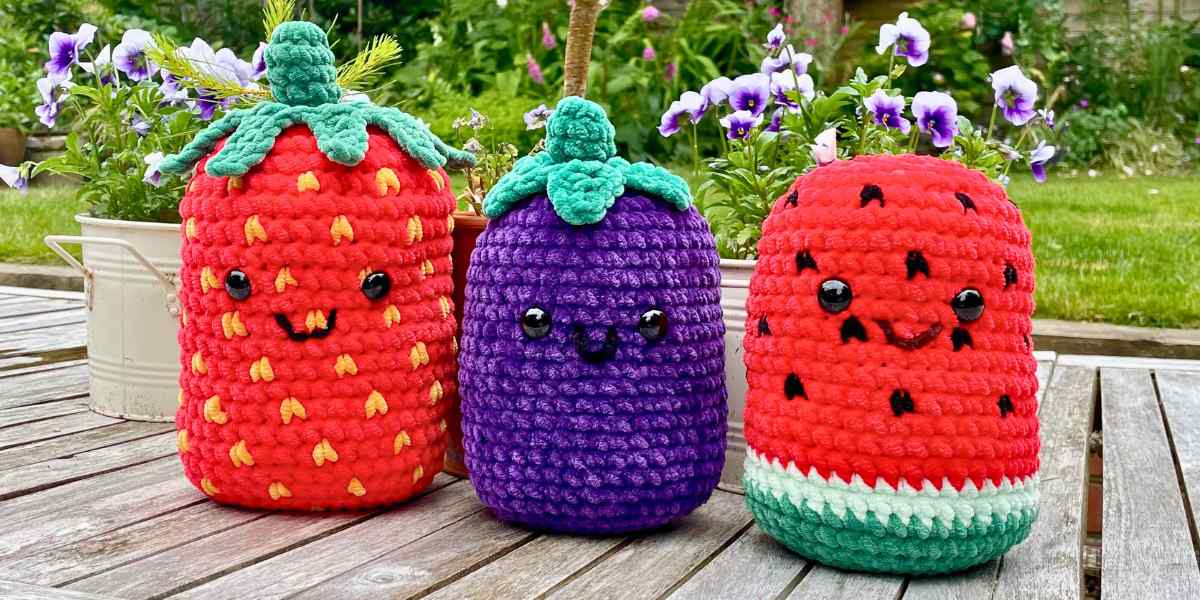
Hello! This is Otto, my squishy crochet eggplant pattern (pictured with my previous strawberry and watermelon designs – I’ll have a whole produce aisle soon!).
He’s so simple to make, I feel almost sheepish writing it up. It’s as if I can’t expect you to take me seriously, if my patterns don’t possess some minimum degree of sophistication. But he’s so dang cute, I’m going to force myself to overcome such qualms. After all, this pattern is perfect for anyone looking for a really accessible introduction to amigurumi, using just the most basic crochet techniques. It could be a quirky and unusual cuddly toy for a child, or you could make a small one as a kitchen mascot for a foodie friend along with a quirky can of soup! There’s one thing that’s for sure – you won’t need to worry about someone else giving the same gift!
Materials
You can use any weight of yarn to make your own squishy eggplant, and the thickness you choose will determine how big it turns out.
- DK yarn – 4 inches tall
- Worsted yarn – 5 inches tall
- Bulky yarn – 6 inches tall
- Super bulky yarn – 7 inches tall
- Jumbo yarn – 8+ inches tall
These measurements are just a rough guide – the exact size will depend on the yarn you use, its fiber, etc. Otto is made from super bulky yarn (approx 130 yards per 100g) and he’s 6¾ inches tall, not including his stalk.

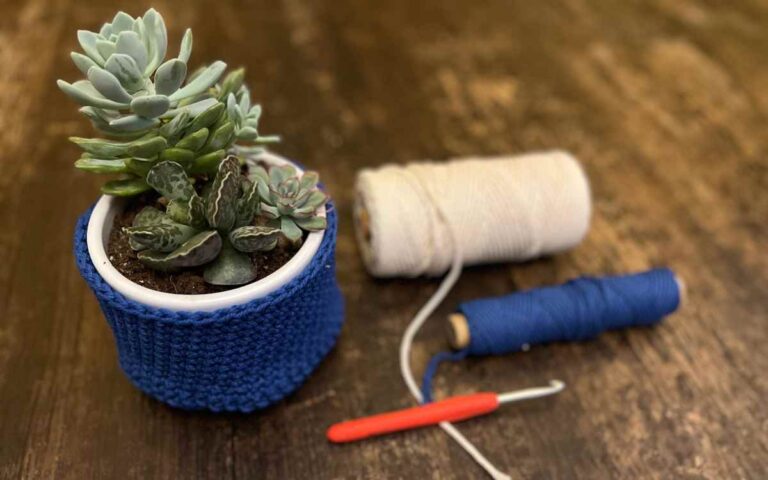
To make your own squishy eggplant you’ll need:
- Yarn for the body. Obviously the classic color to choose is purple! Although I did recently discover white eggplant seedlings for sale at a plant fair, and the seller told me they can also be green, red, or black! I’m using Cygnet jelly baby chunky yarn in deep violet – it’s a bit brighter than your regular eggplant, but I think that helps to prevent the eyes and mouth getting lost against their background.
- Green yarn. This needs to be the same weight as the yarn for the body, but you can get creative with a different fiber if you like. I’m using Cygnet jelly baby chunky yarn in forest green.
- A scrap of black yarn for the smile.
- A crochet hook. Unless you already crochet tightly, use one size smaller than the yarn wrapper recommends. This will make your stitches slightly on the tight side, and prevent the stuffing showing between them.
- Safety eyes. I’ve used 16mm eyes, which would also be about the right size if you’re using bulky yarn. With DK or worsted yarn use 12mm eyes, and with jumbo yarns try 20mm eyes.
- Toy stuffing.
- Stitch markers or yarn scraps for marking the start of each round.
- A darning needle.
Pattern notes
This pattern is written in standard U.S. crochet terms. The stitches you’ll need to know are:
Ch chain
Sl st slip stitch
Sc single crochet
Inc increase (make 2 sc in the same space)
Dec decrease (see below)
Hdc half double crochet
Dc double crochet
Tr treble crochet
Take a look at Lucy’s guide to basic crochet stitches if any are unfamiliar to you. For your decreases, I recommend using the invisible decrease method, which is perfect for amigurumi:
- Insert the hook through the front loop only of the next two stitches (fig. 1). Yarn over and pull through both front loops.
- Yarn over and pull through the two remaining loops (fig. 2).

Squishy crochet eggplant pattern
Let’s start with the biggest component of your squishy eggplant, which is of course, the body. It’s made in spiraling rounds, so count the stitches in each round carefully, or put a stitch marker in the last stitch of the previous round, so you can easily tell when you’ve come full circle again.
- To begin, either make a magic circle, or ch 4 and sl st to join.
- 1st round: Ch 1, sc 8 into the magic circle or 4-ch loop (8 sts)
- 2nd round: 8 inc (16 sts)
- 3rd round: *1 sc, inc* 8 times (24 sts)
- 4th round: *2 sc, inc* 8 times (32 sts)
- 5th round: *3 sc, inc* 8 times (40 sts)
- Rounds 6 – 23: Sc all the way round
- 24th round: 3 dec, sc 8, 6 dec, 8 sc, 3 dec (28 sts)
- 25th round: 3 dec, sc 2, 6 dec, 2 sc, 3 dec (16 sts)
- Put a stitch marker into the loop on your hook, and cut your yarn leaving a 24 inch tail.
Adding the eyes and closing the body
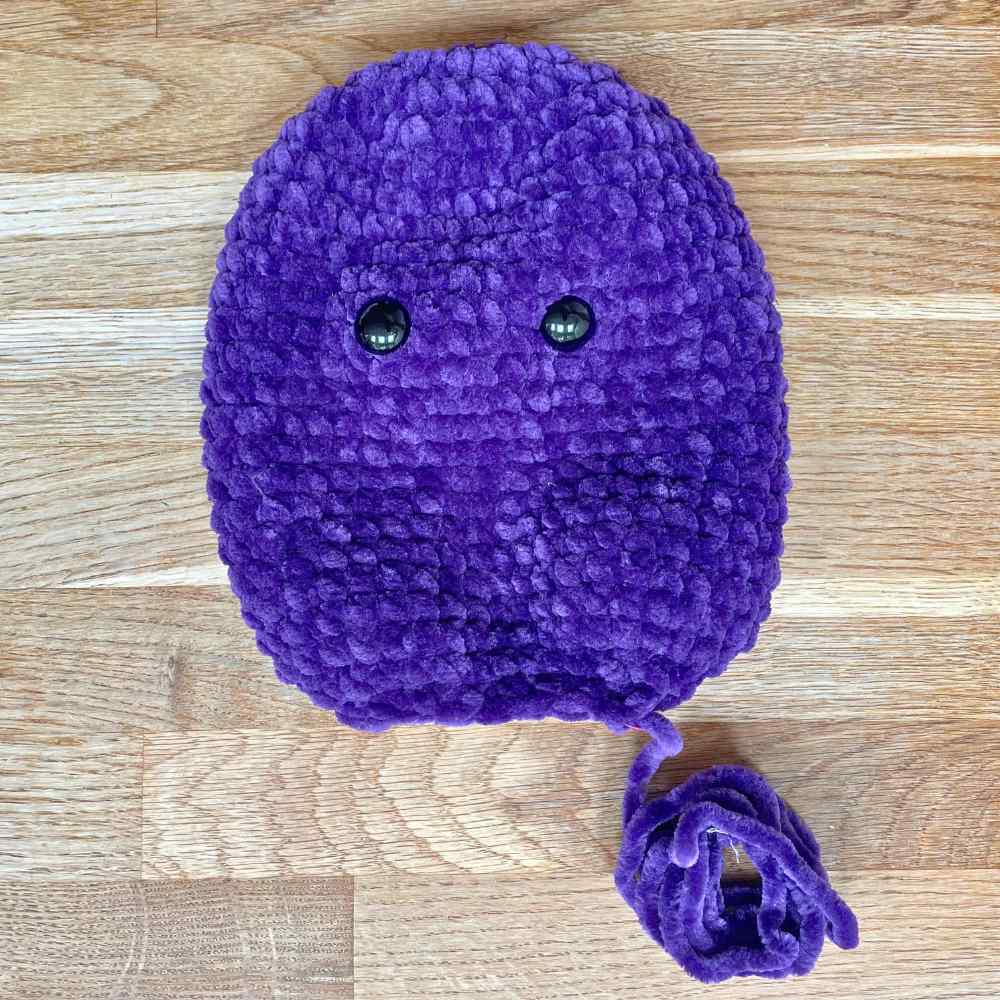
Before finishing the body, it’s time to add the eyes. Spread the body out flat in front of you – since the decreases are grouped in clusters at the sides of the body, it will only lie relatively flat with the opening running from side to side. Position the eyes between rows 12 and 13, and about 6 stitches apart (the exact distance isn’t important – you can judge what looks right!) Press the backs on securely.
Now a fun bit – fill your eggplant firmly with toy stuffing. Stuffing always squashes down a bit more than you expect later, so pack in as much as you can without stretching the stitches. Now to close the body:
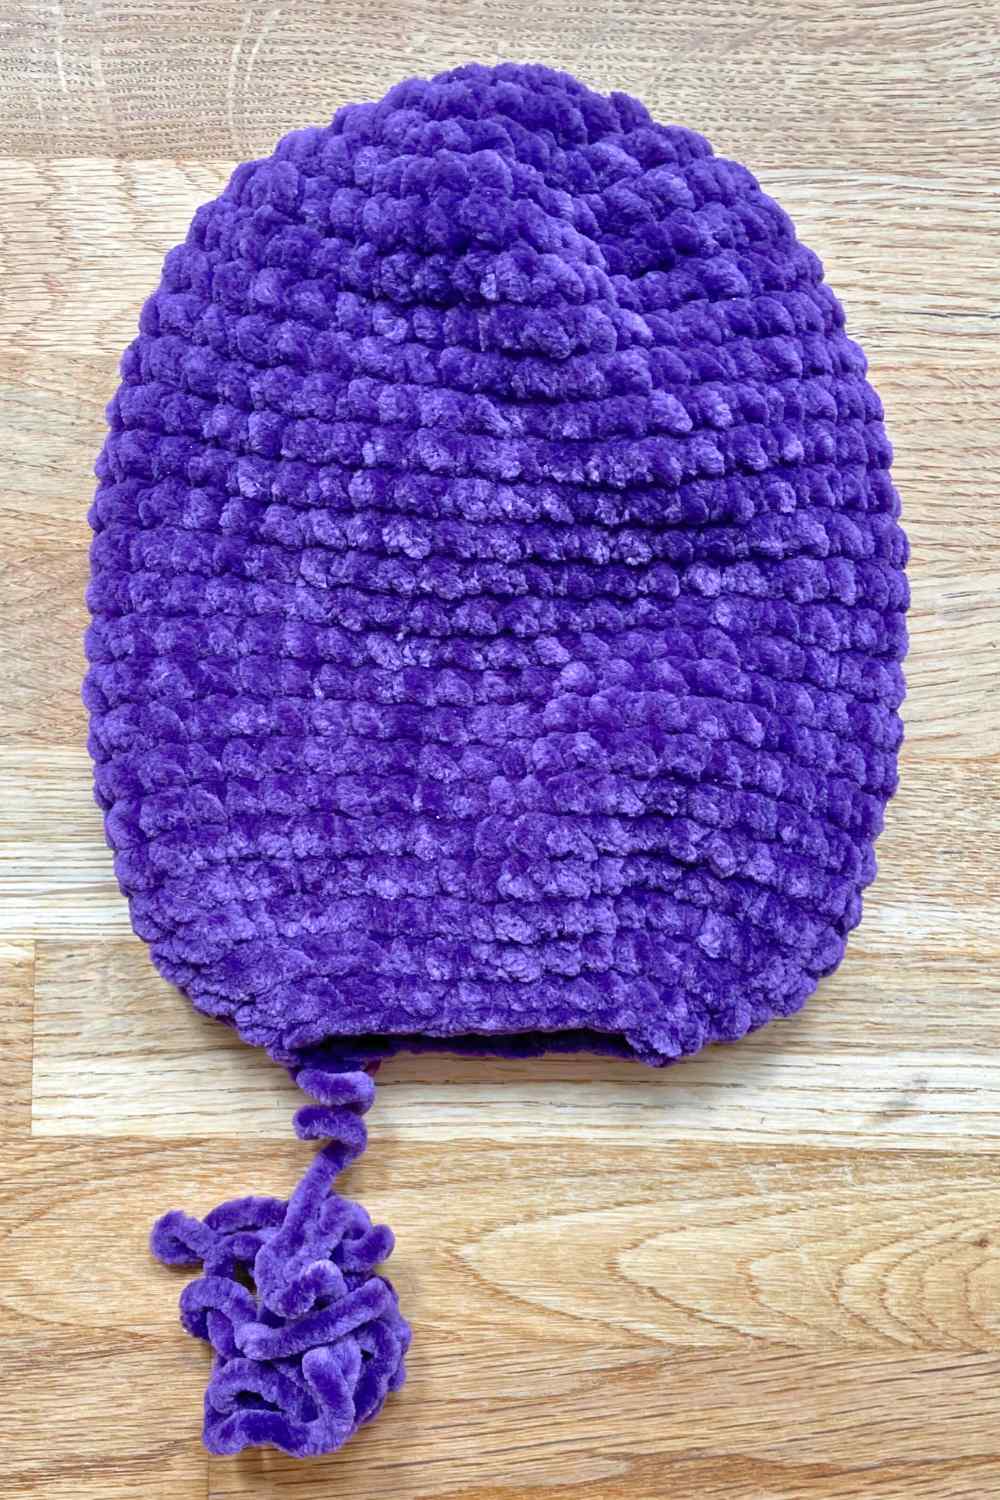
- 26th round: 8 dec (8 sts)
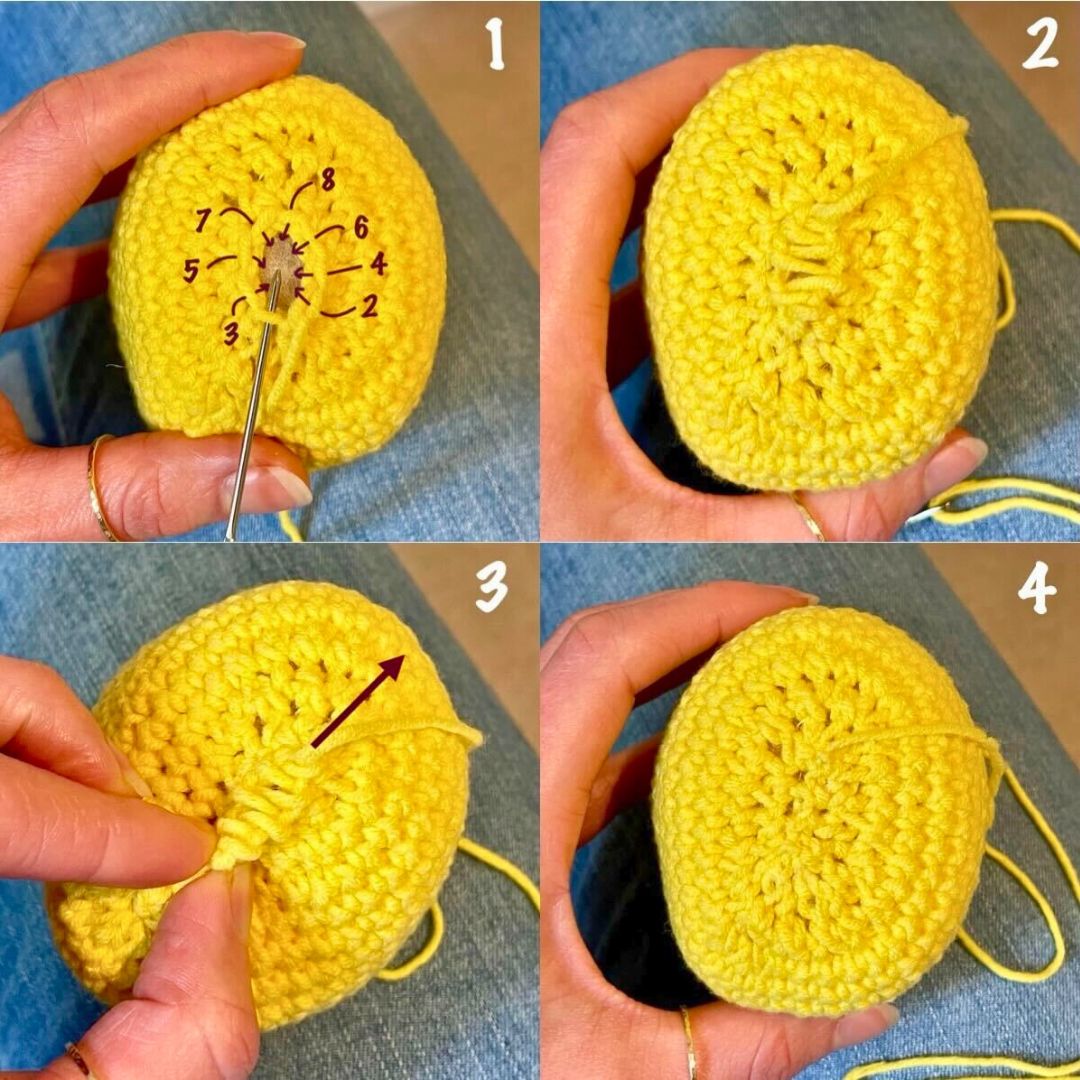
Close the remaining opening with mattress stitch through the front loops only. If that’s not something you’ve used before, picture 1 below shows where each stitch goes – the needle is already in position to make the first stitch. Make the stitches loosely first, so you can see clearly to position the next one (picture 2). With smooth yarns you can tighten them by pinching the seam at the beginning and pulling the yarn tail in the other direction (picture 3). But for fluffy yarns, tighten the stitches one at a time.
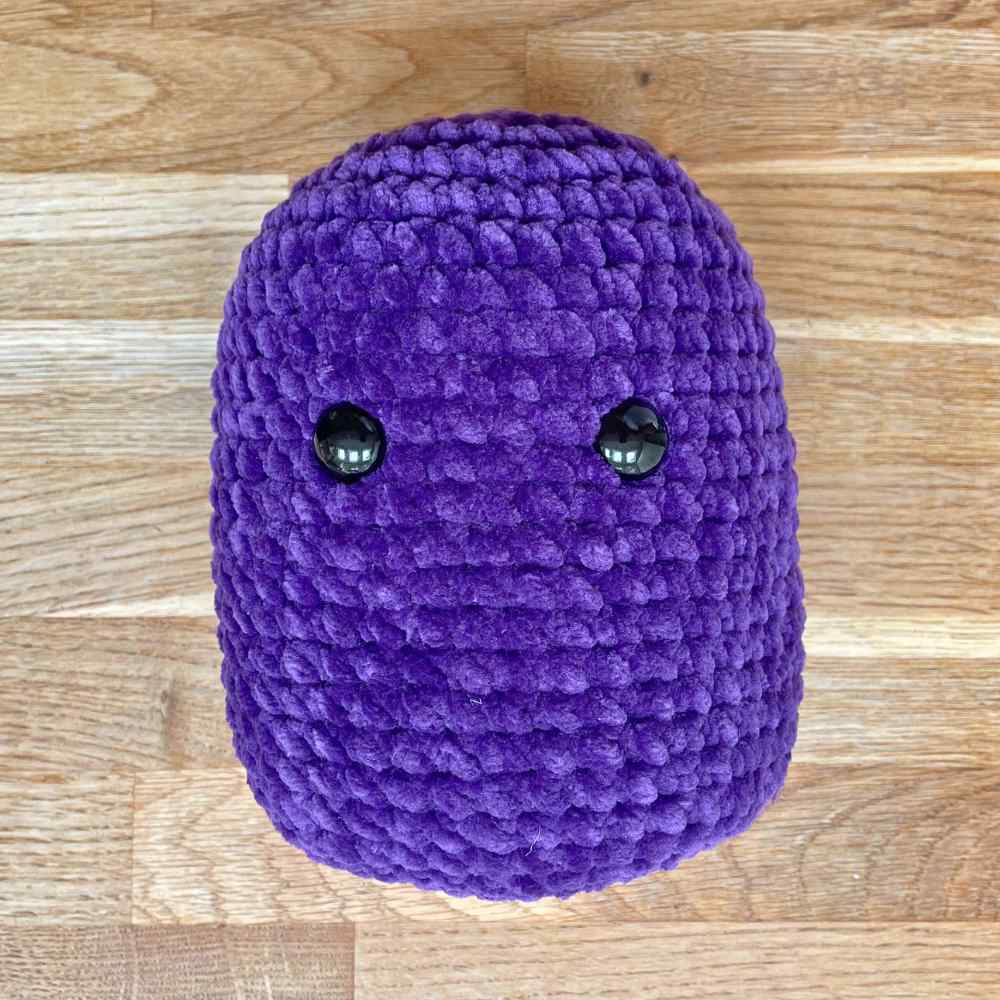
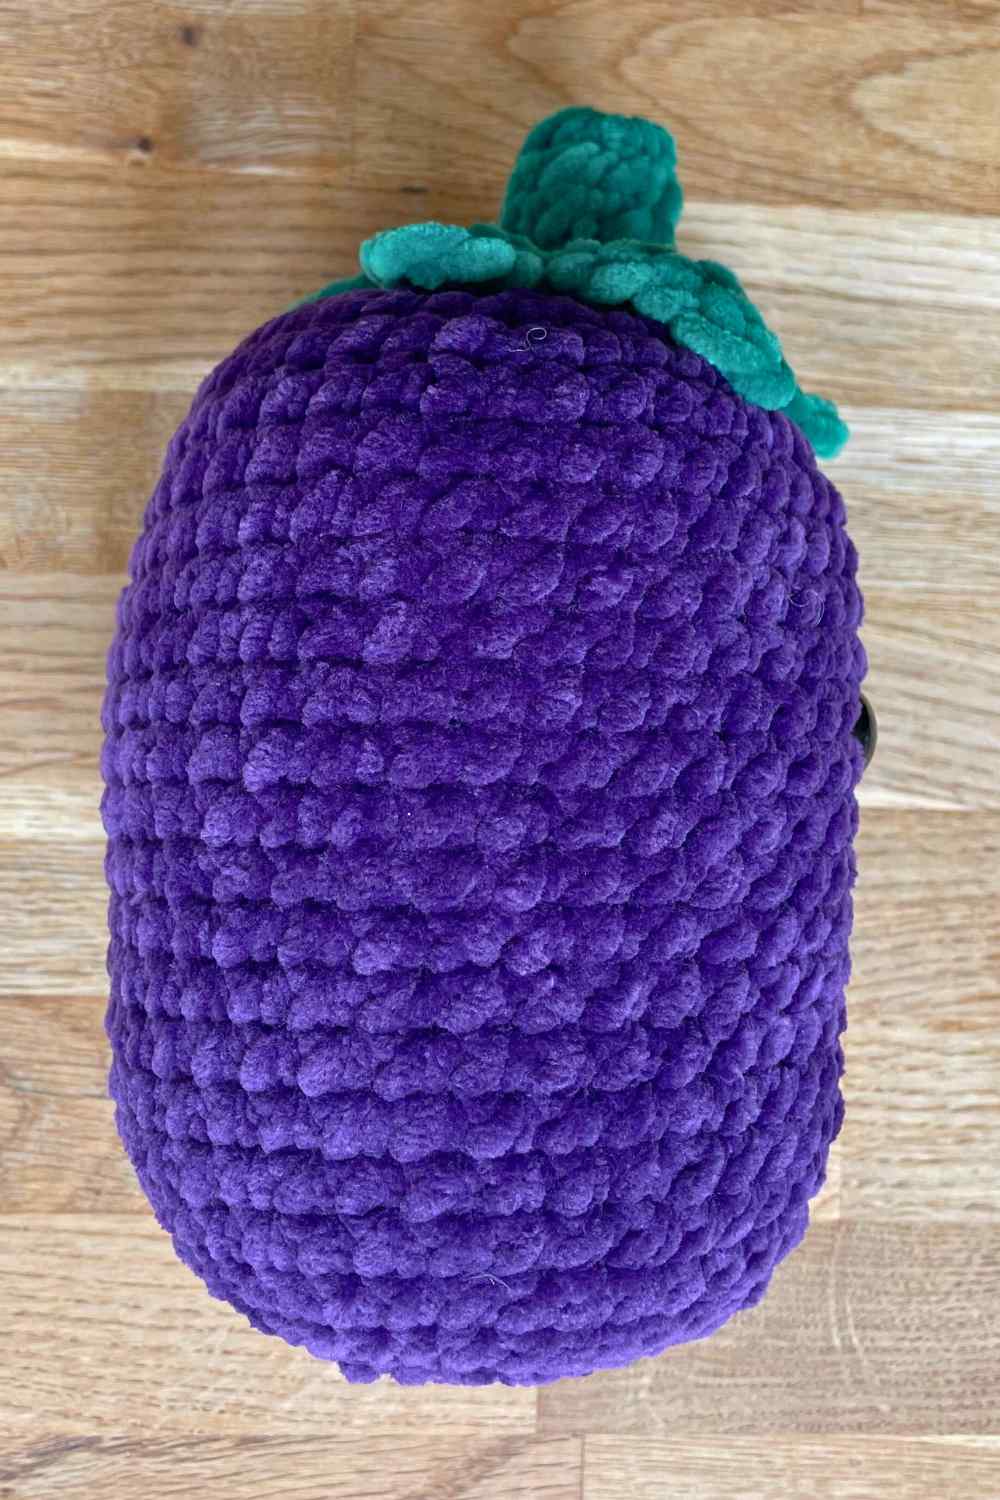
Here’s how your eggplant should look so far:
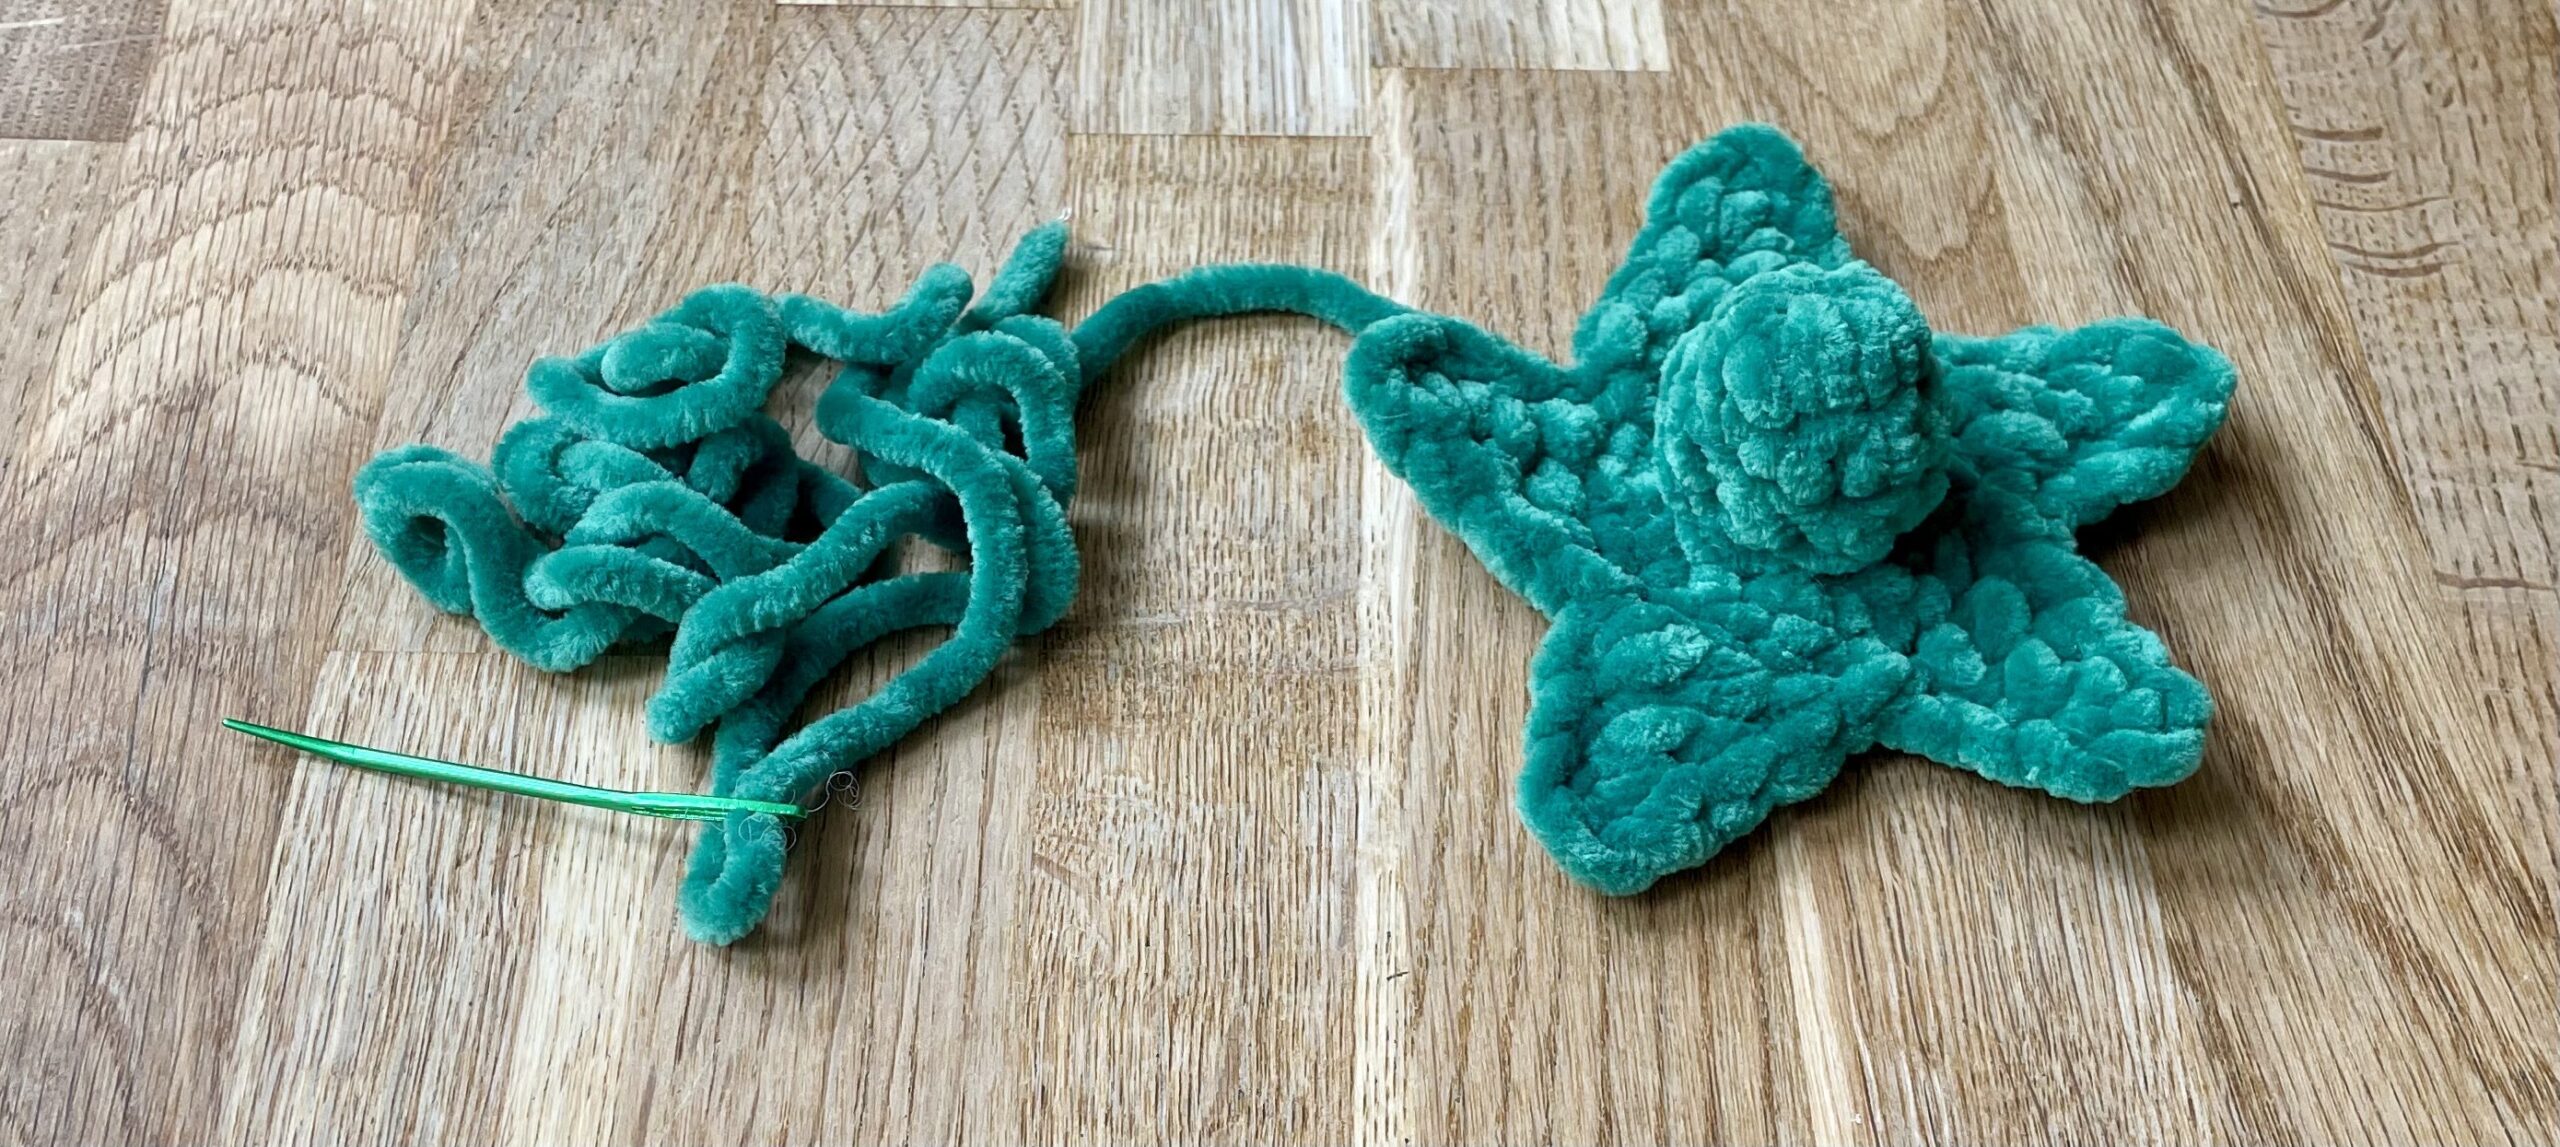
Adding the stalk and calyx
Here’s a bit of botany for you: each of the green leaves around the top of an eggplant is called a sepal, and altogether they are called the calyx. For this squishy, the calyx and the stalk are made separately, then joined to each other, and finally to the body.
First the calyx:
- To begin, make a magic circle or ch 4 and sl st to join.
- 1st round: Sc 10 into the magic circle or 4-ch loop (10 sts).
- 2nd round: Inc 10 (20 sts).
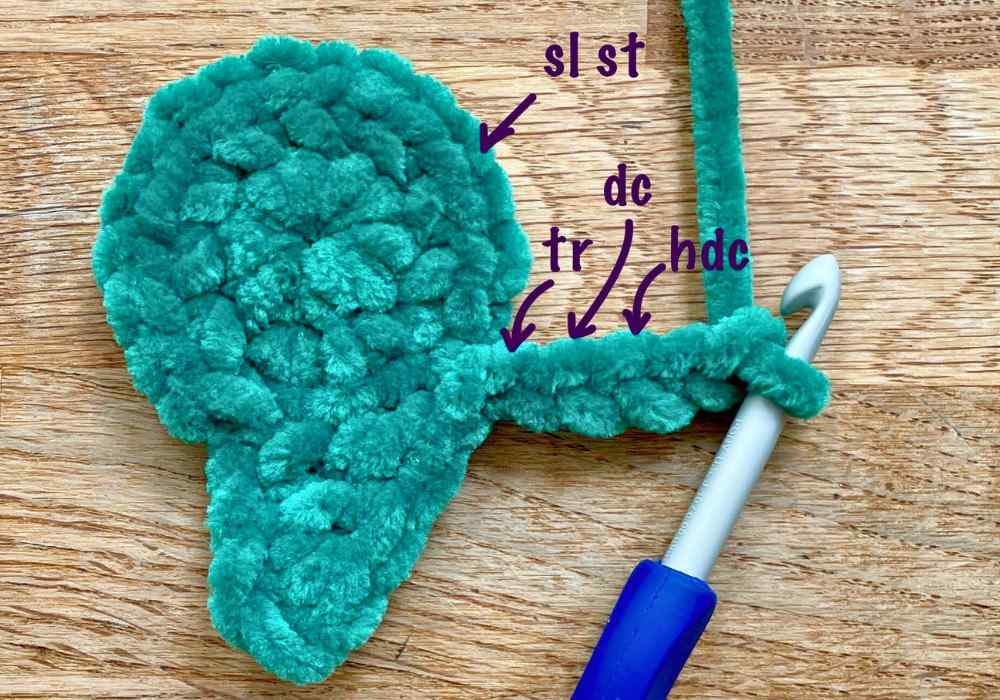
- 3rd round: *Sl st, ch 5, skip 2 ch, hdc, dc, tr, skip 3 sc on the previous round* 5 times, sl st.
Cut the yarn leaving a long tail for sewing, and pull the tail right through the final slip stitch.
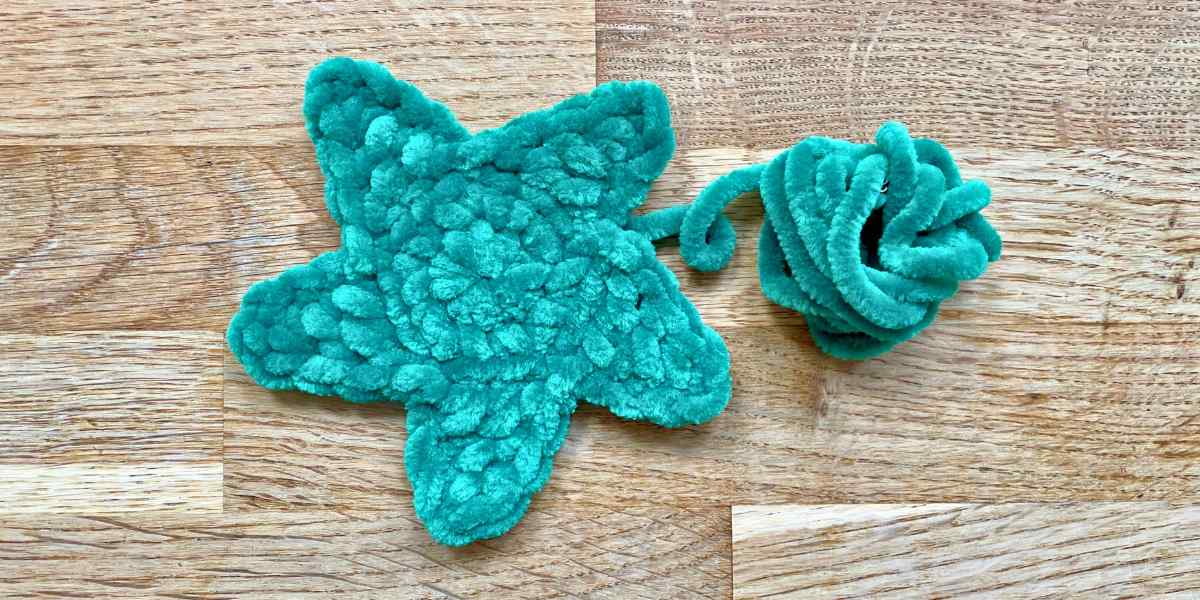
Now the stalk:
- To begin, make a magic circle or ch 4 and sl st to join.
- 1st round: Sc 8 into the magic circle or 4-ch loop (8 sts).
- 2nd & 3rd round: Sc all the way round (8 sts).
- Sl st, cut the yarn with a tail for sewing, and pull it all the way through the last stitch.
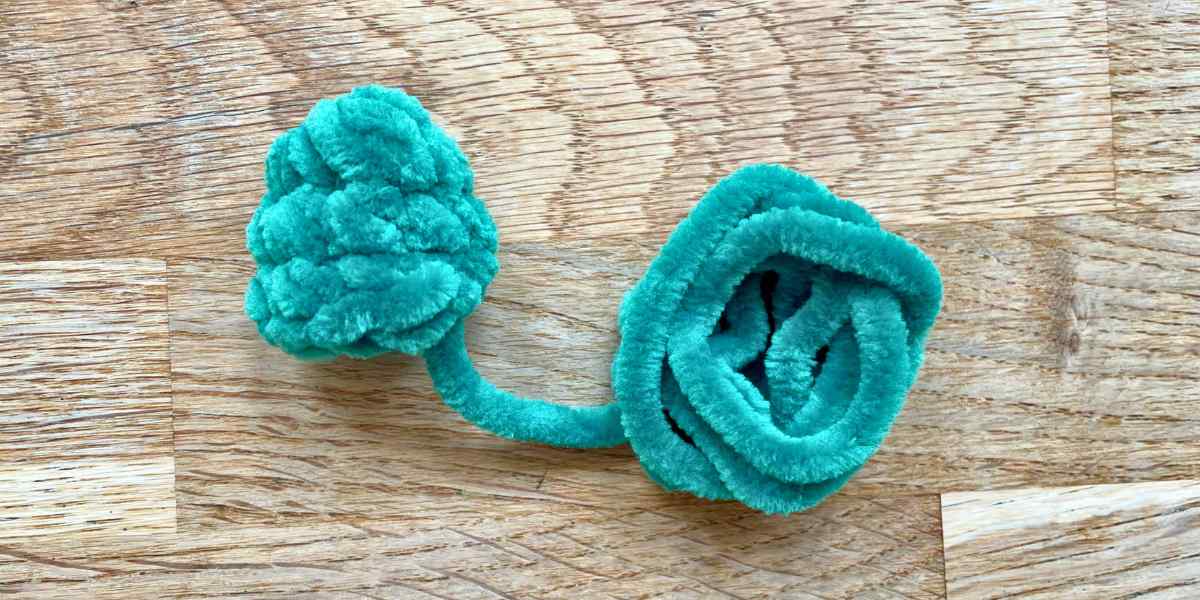
Poke a little stuffing into the stalk, and sew it to the center of the calyx.
Then position the stalk and calyx slightly forwards of center at the top of your eggplant, and use the yarn tail from the calyx to sew it down.
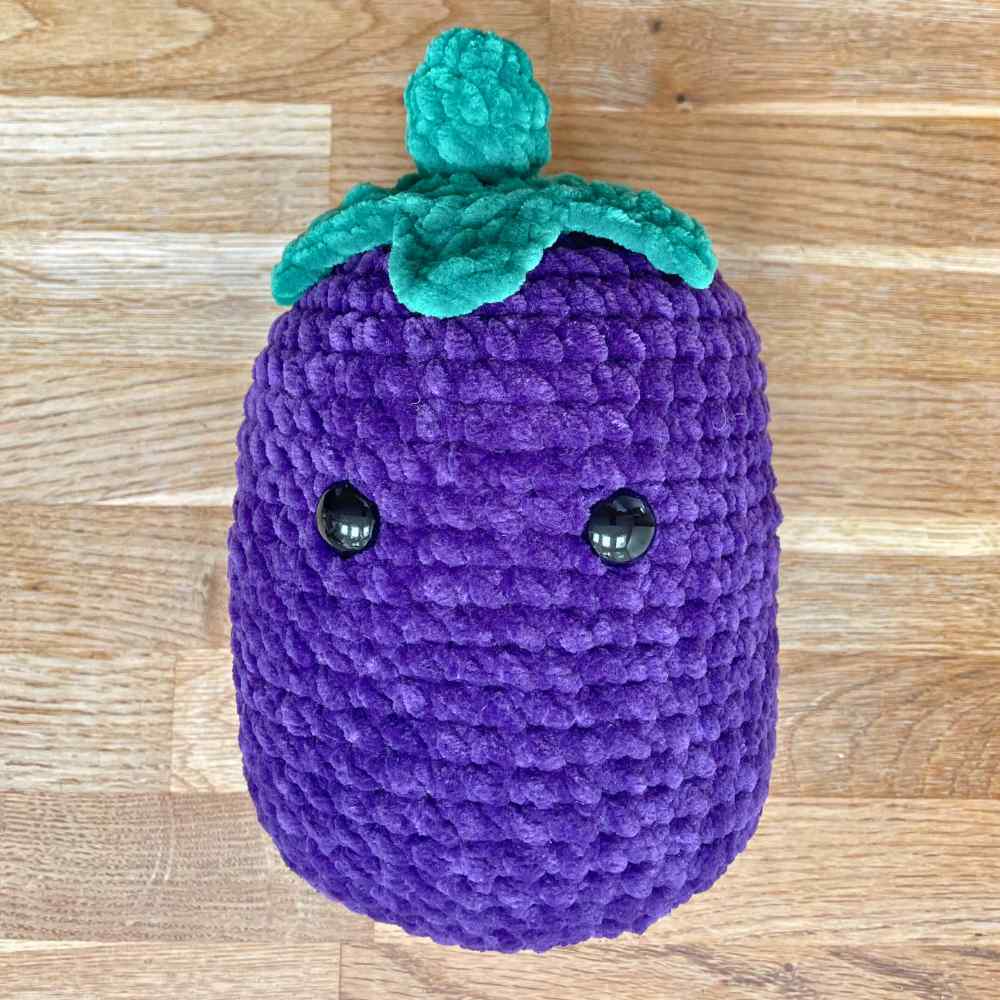
Embroidering the mouth
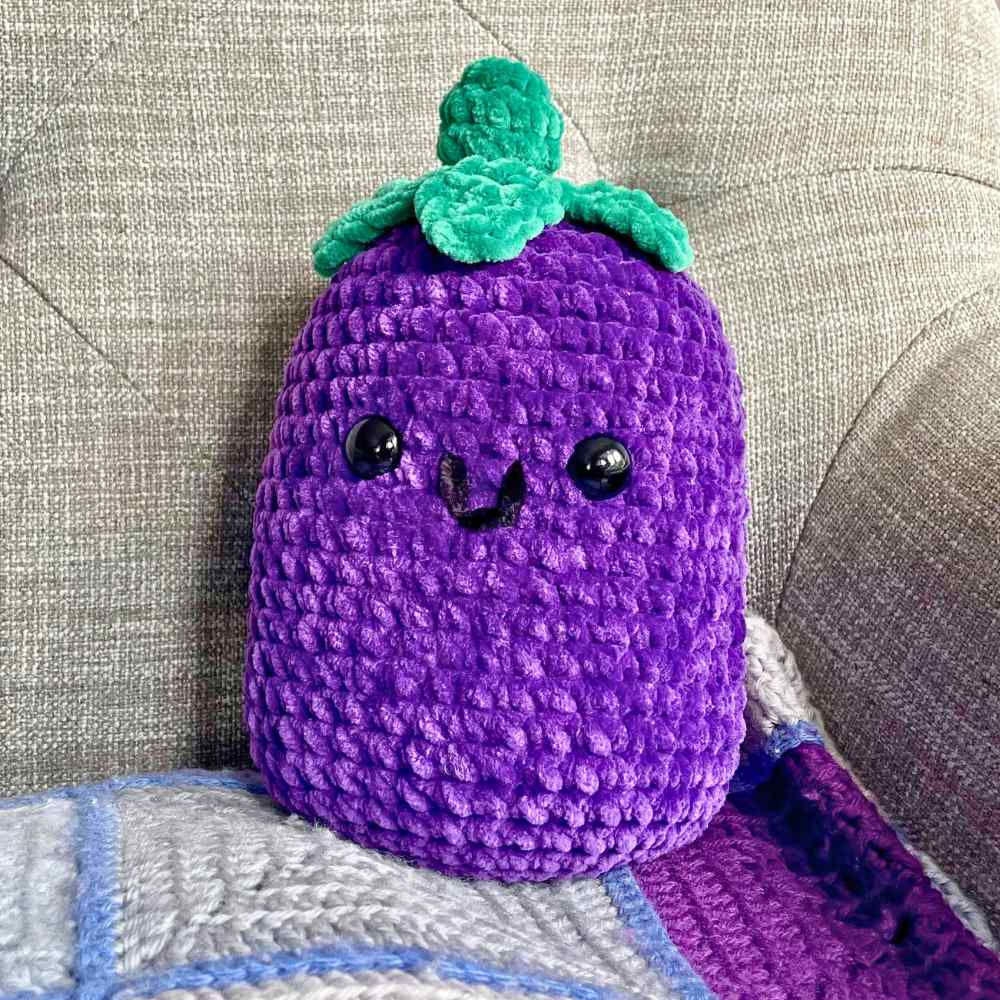
Your squishy just needs one more finishing touch to bring it to life – a smile! Thread your scrap of black yarn onto a darning needle, and follow the grid pattern in the stitches to give your eggplant a cheery grin.
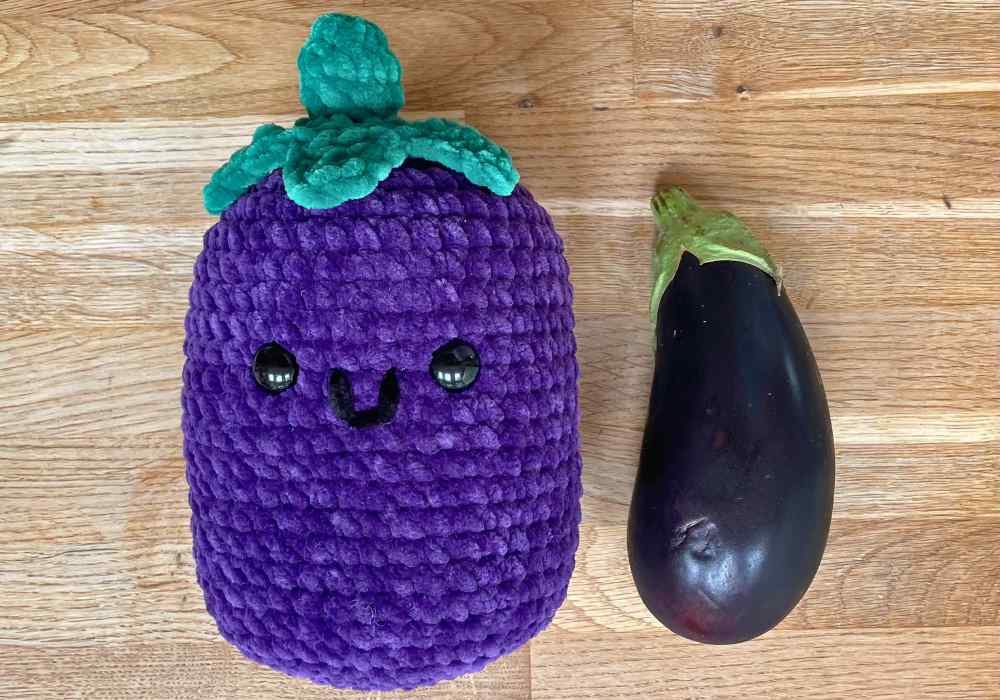
Here’s my finished crochet eggplant (left), posing with my vegetable muse. Really if it wasn’t for the face, I don’t see how you could tell them apart at all!
Squishy eggplant complete!
I hope you’ve had fun making your own crochet eggplant. If you’re on social media, we’d love to see a photo – please tag Lucy on Facebook or Instagram. And let me know what other squishy fruit and vegetables you’d like patterns for in the comments box down below. Happy crocheting!