Beginner Amigurumi Crochet Stitches and Help Reading Patterns
Crochet toys are three dimensional objects, made up primarily of spheres and oval shapes. Basic amigurumi designs only require you to know how to do a few crochet stitches, but it can feel confusing because different designers format their patterns and give instructions in a variety of ways.
Today I’m going to demystify beginner crochet patterns, so that you can pick up any simple crochet toy pattern and follow it along without any added stress. I’ll cover the basic amigurumi stitches, and how to read different patterns’ terminology, abbreviations and the techniques involved.
If you want to have a hand with literally getting started in terms of casting on and tension, check out this article first.
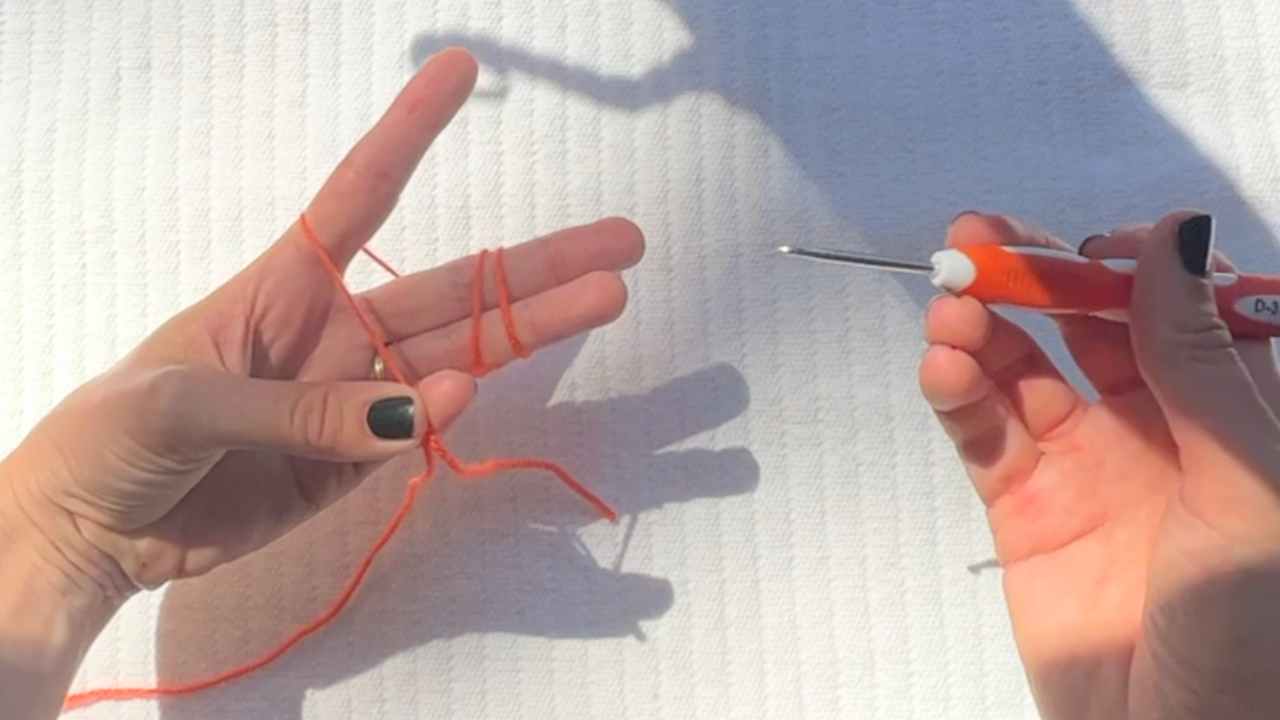
Magic circles
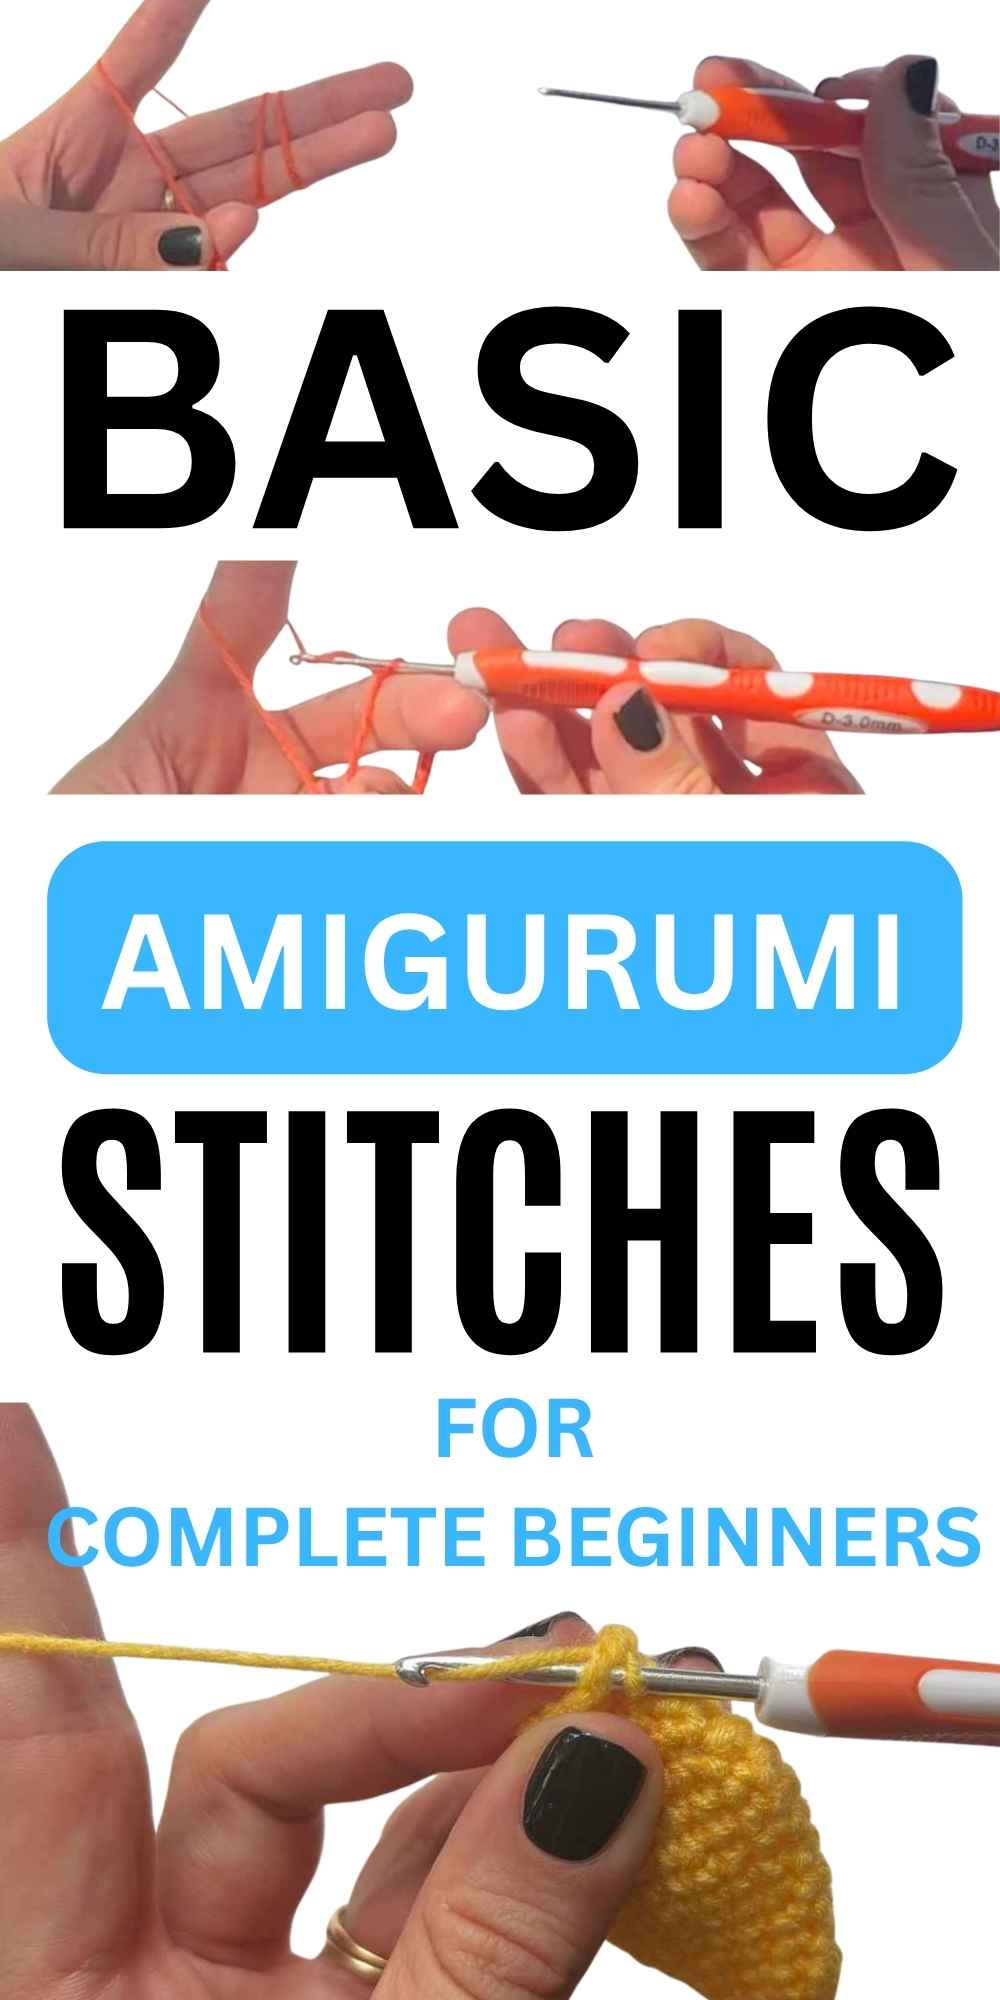
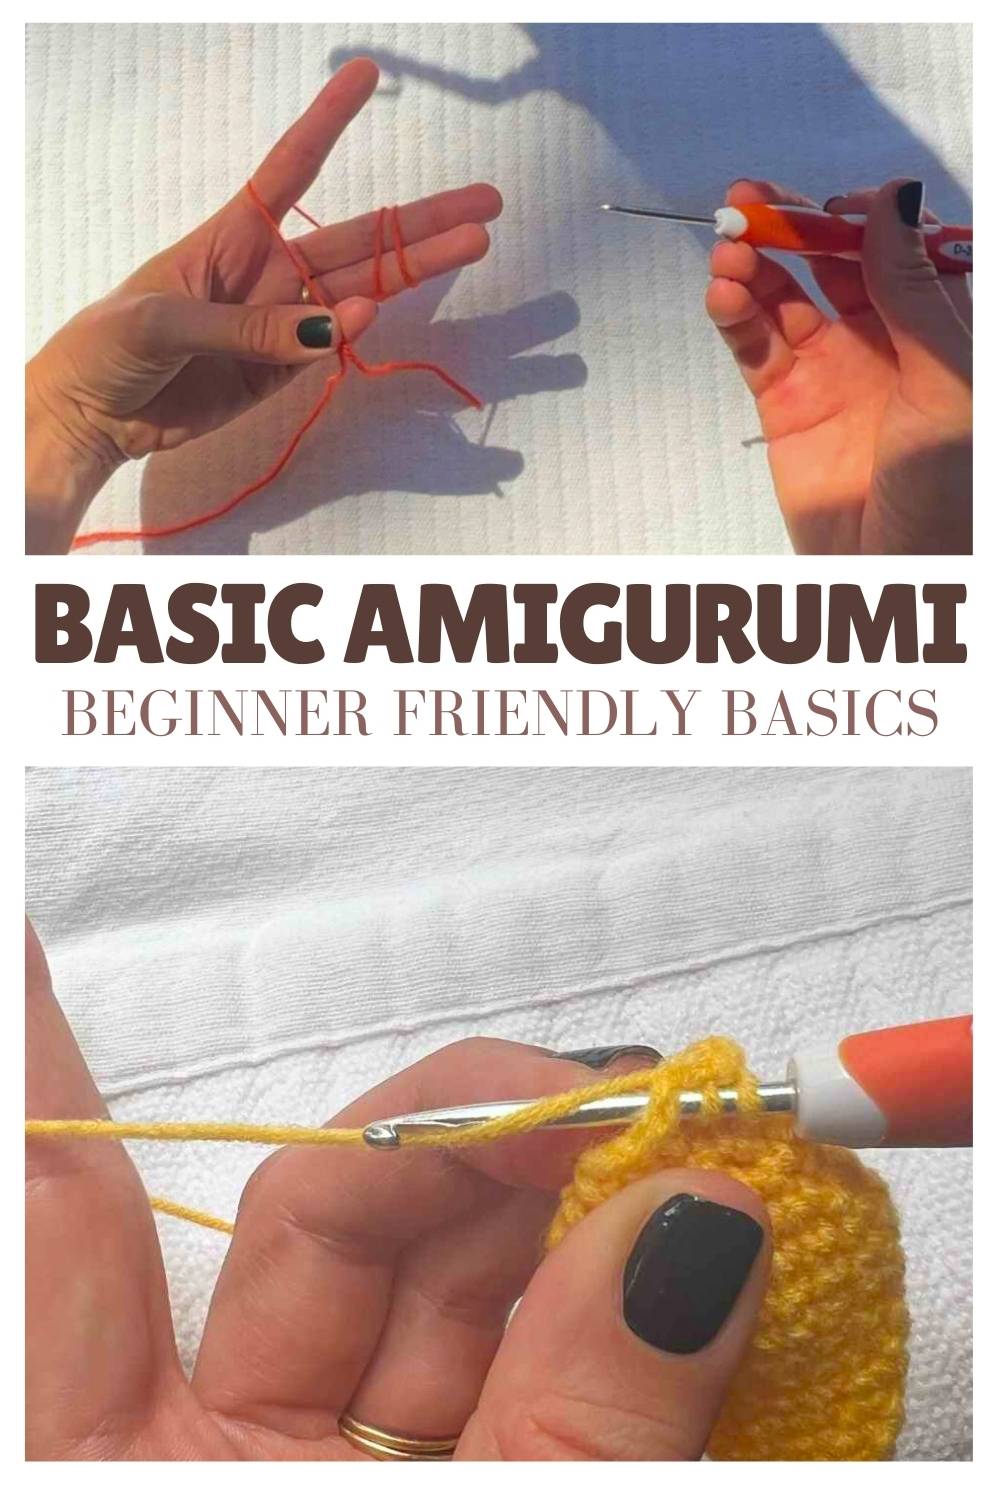
We begin with a magic circle. This is a way of creating a central point to your crochet sphere that is completely closed. It enables us to put stuffing into toys without it falling out, and it just looks a lot neater than the other options.
Here’s how your magic circle begins:
- Wrap your yarn around your third and fourth fingers twice. Pinch the yarn ends between your thumb and little finger.
- Put your hook through the loops around your fingers, pick up the yarn and pull it through.
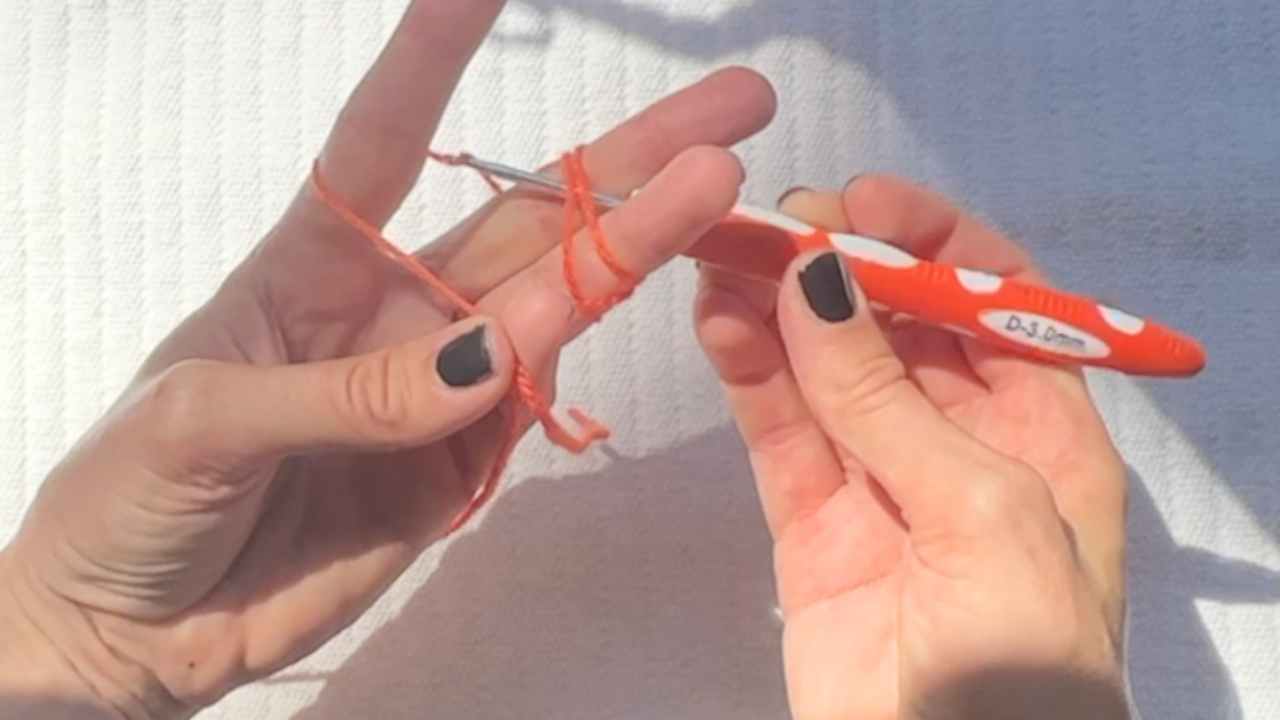
- Pick up the yarn and pull it through the loops on the hook.
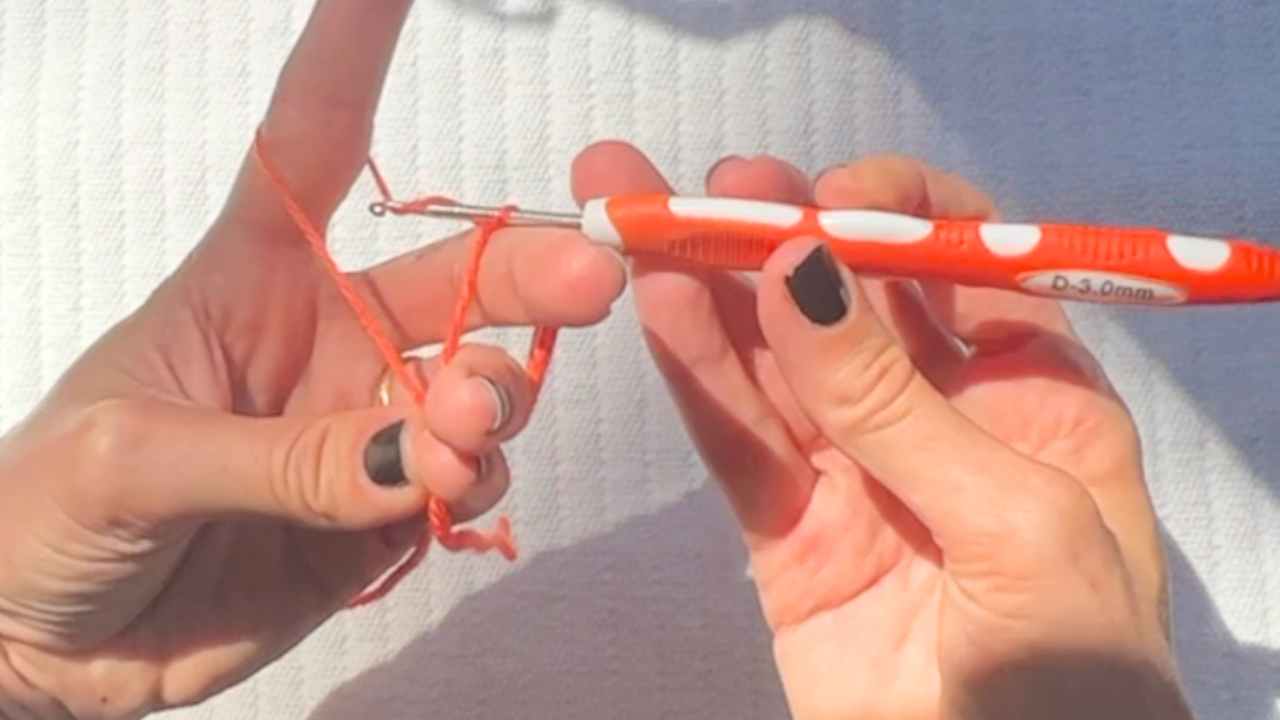
Starting Your Toy
Your amigurumi pattern will almost always begin with a magic circle, into which you’ll work a set of single crochets. Usually 6 or 8, but it can differ.
The first instruction will be written as:
- ‘Make a magic circle of six stitches’
- Or ‘make a magic’, and then the next instruction will be along the lines of
- ‘Make 6 single crochets’, or ‘6sc’.
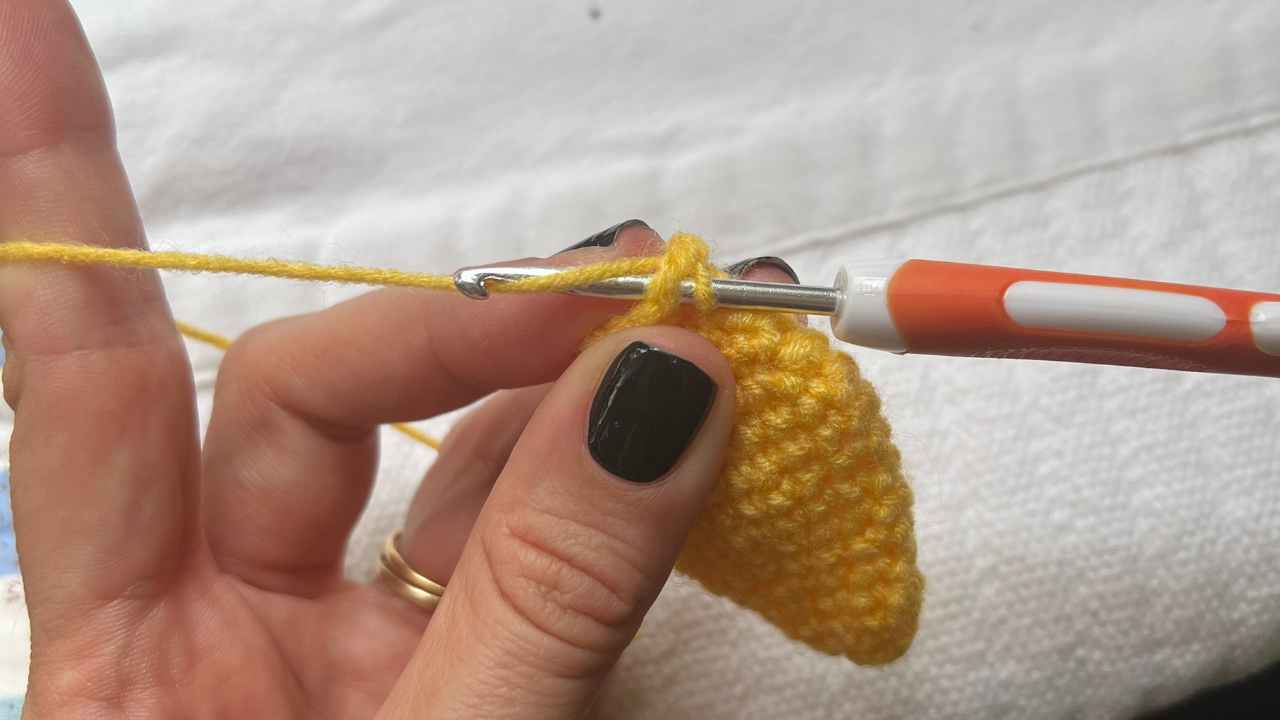
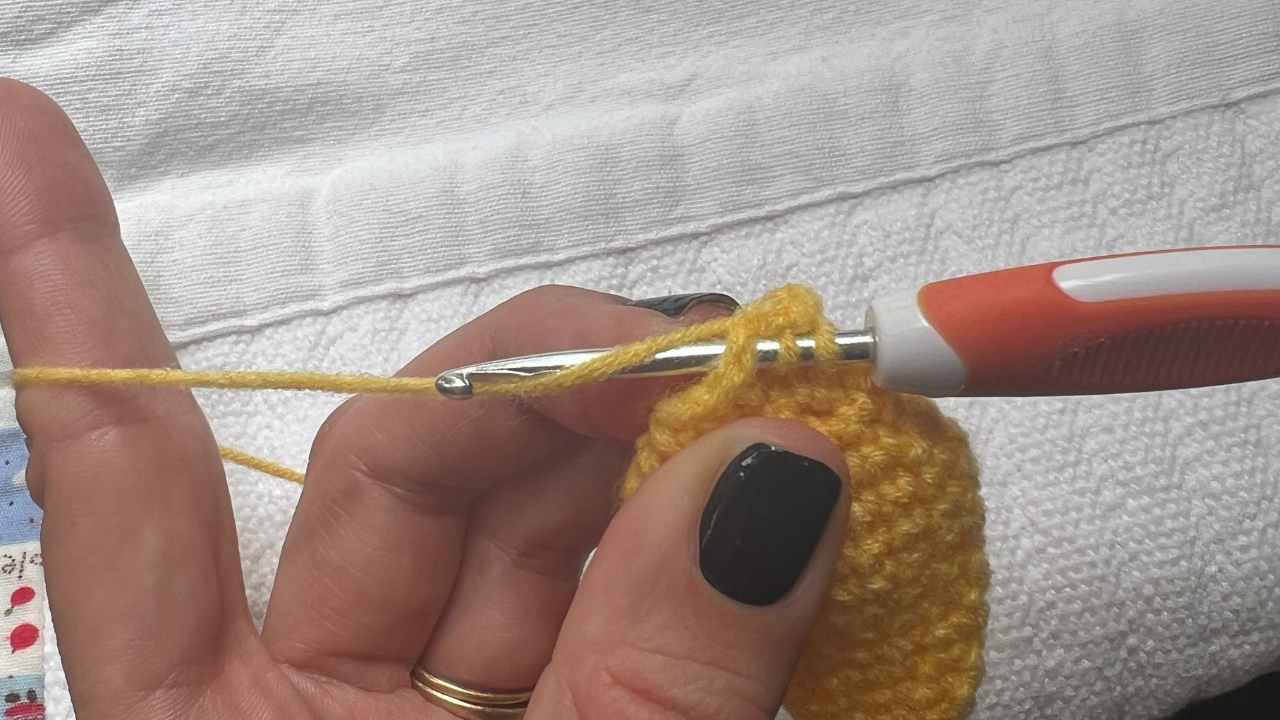
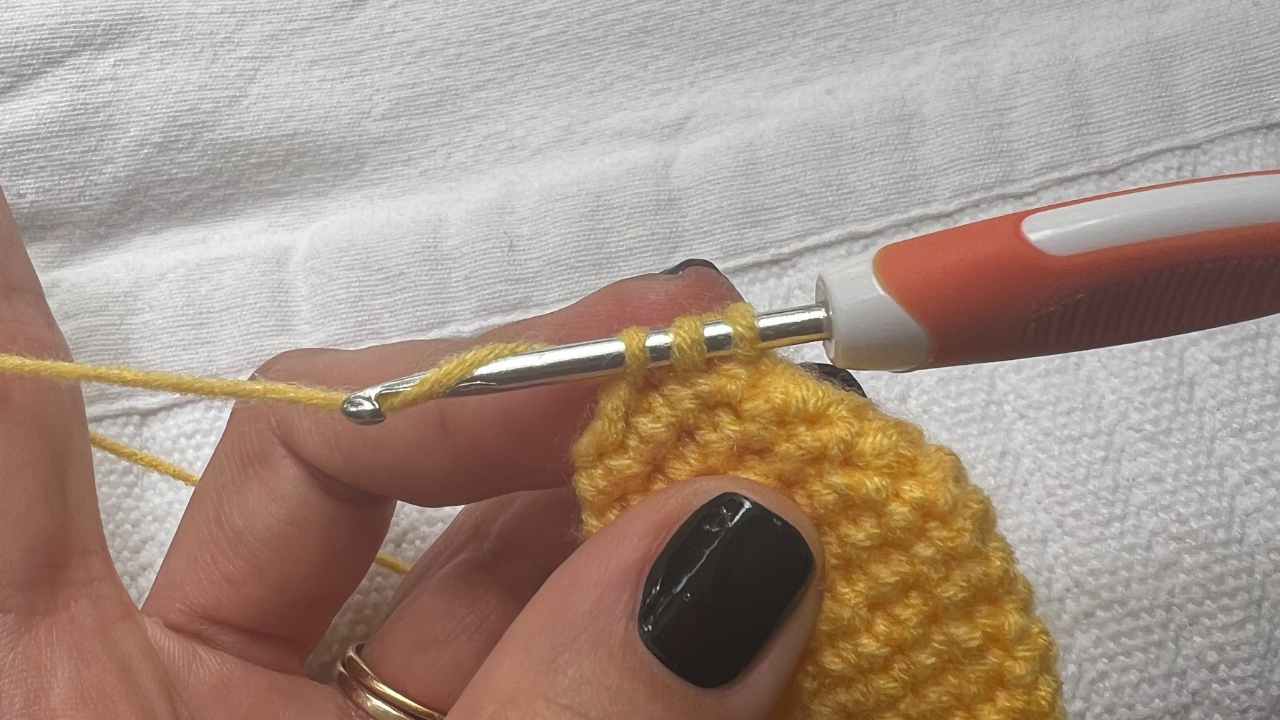
Single crochets
To make single crochets (US, this is known as double crochet in the UK just to keep us on our toes), put your hook through the next stitch or center of the magic circle, yarn over, and pull through the stitch. Yarn over again, and pull through the two loops on the hook.
Sections of the pattern that require the same diameter of crocheted stitches will use one single crochet in each stitch. It’ll be written as ‘single crochet’ or ‘sc’, and then a note of the number of stitches in the round.
Single crochet increases
To create a wider sphere, you are going to need to make single crochet increases. This is as simple as putting two single crochet stitches into the same stitch. How many times you do this will depend on how far along the pattern you are.
Your initial increase from the magic circle will include two single crochets in each stitch, but as you carry on you’ll intersperse them with a number of individual single crochets.
- Increases are either written as ‘increase X times’ or ‘INC’. Or mathematically as ‘2sc’.
- So ‘increase six times’ or ‘2sc x 6’ mean the same thing.
Ongoing Patterns
As your pattern expands, you’ll need to spread out your increases to create a gradually increasing shape. So you could explain this as
- ‘(2sc, 1sc x 2) x 6’
Which would mean, make two single crochets into the next stitch, then one single crochet into the following two stitches. Repeat six times.
Single crochet decreases
Decreasing in the round involves joining two stitches together. Here’s how it’s done:
Hook through the next stitch, yarn over and pull through.
Hook straight through the next stitch, yarn over and pull through.
Yarn over and pull through all the loops on the hook.
This will be written as ‘decrease,’ ‘DEC’, ‘single crochet two together’ or ‘sc2tog’ with a number to denote how many times you’ll need to do it.
Learn by Doing
The best advice I can give you now when starting to crochet amigurumi, is to learn by doing. To fully understand how to make crochet stitches, the best thing you can do is to throw yourself into attempting them. Look at YouTube tutorials, read patterns, ask a friend, but make sure you’ve got some yarn and a hook in your yarn while you’re doing it. And you never know, it might be easier than you expect.
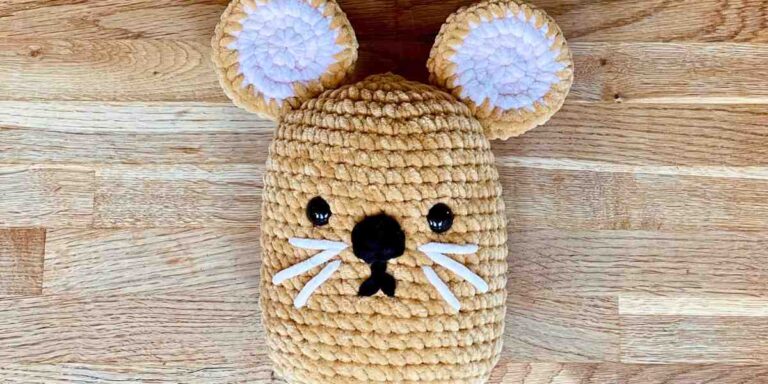
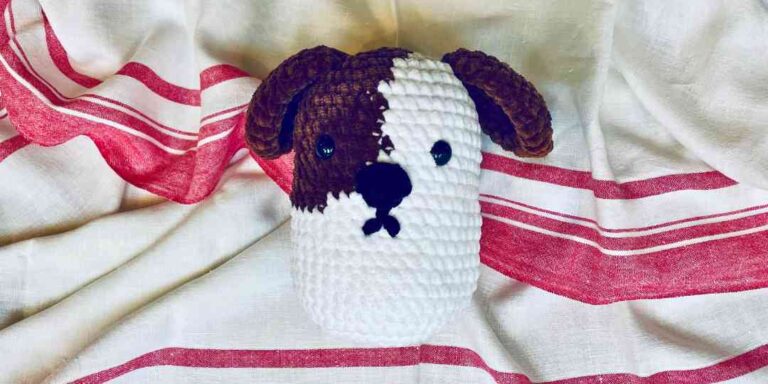
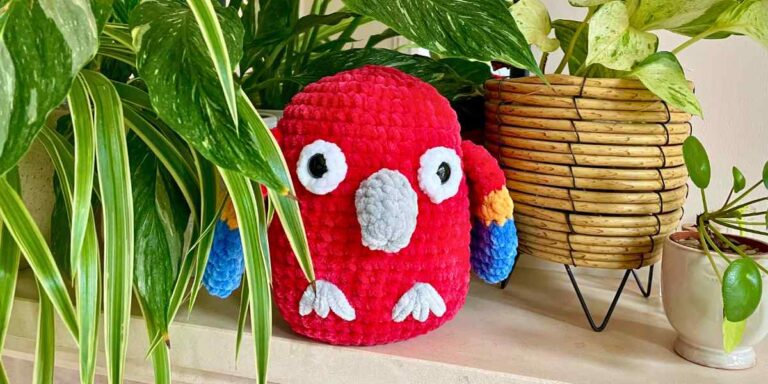
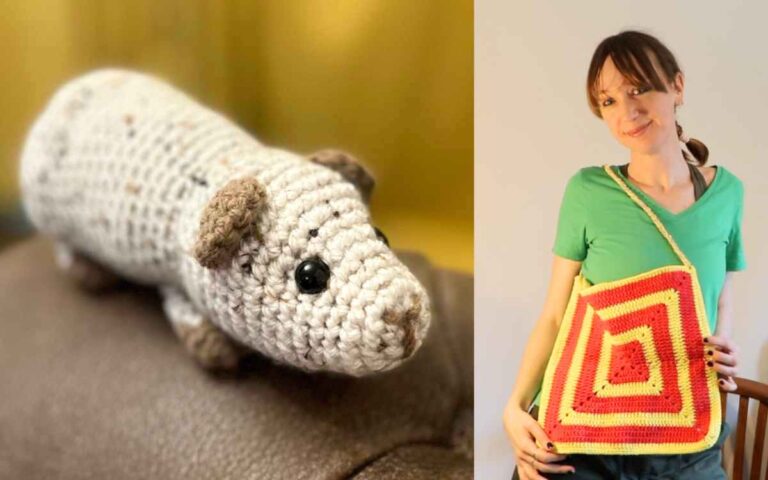
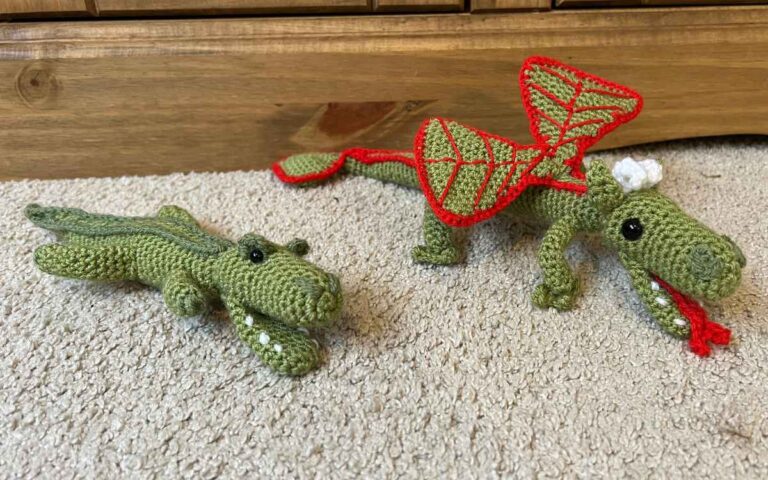
Here are a few super simple toys to get you started. And if you want to move onto granny squares, I recommend starting here.