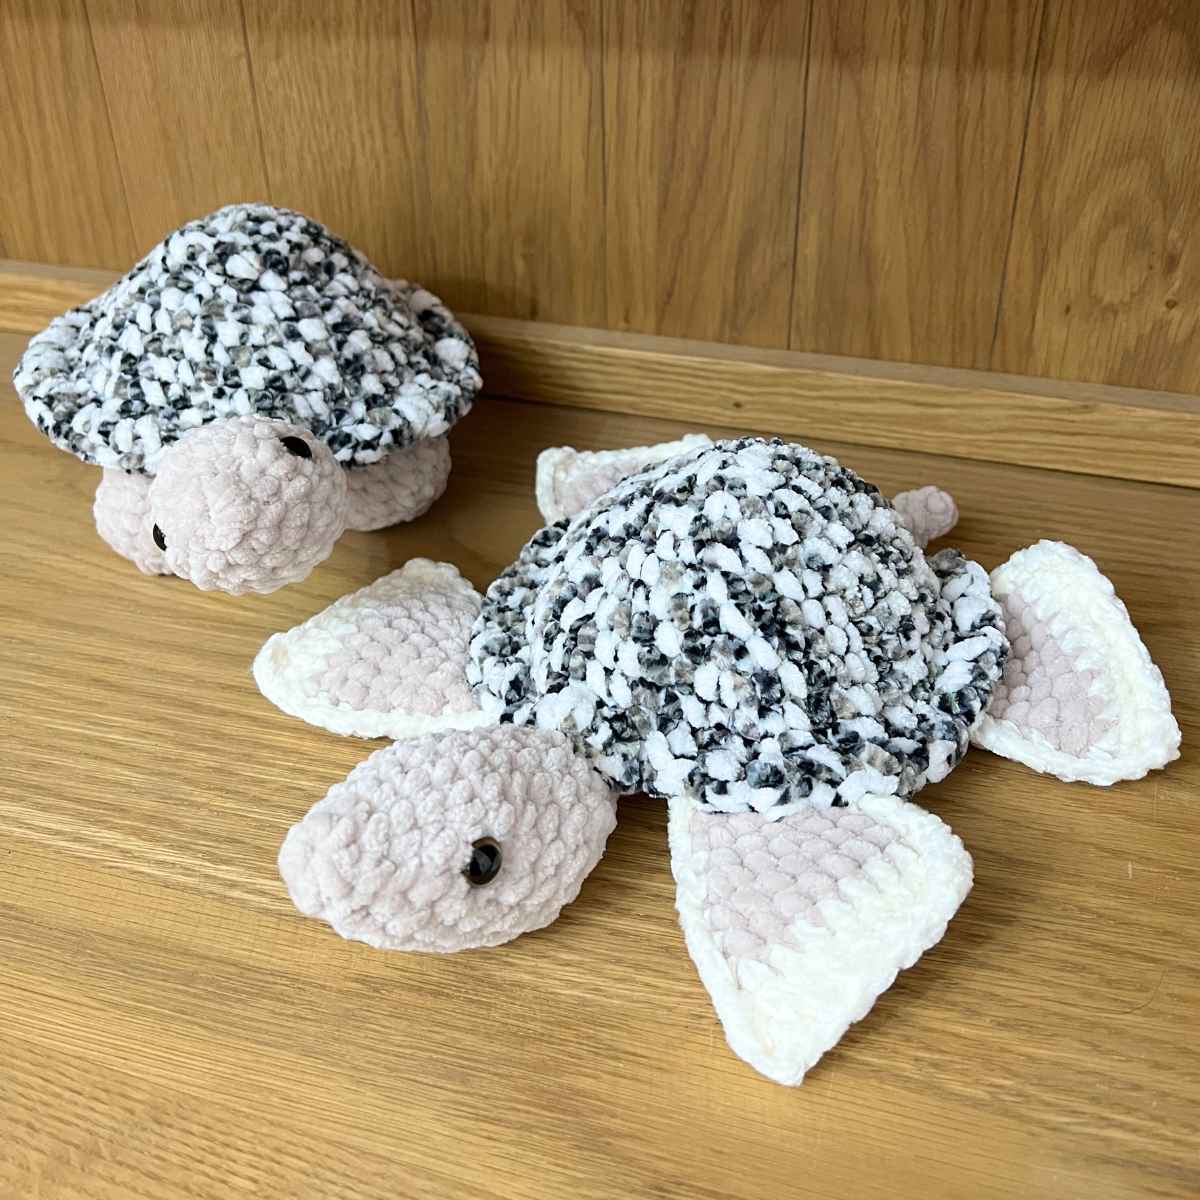
Easy Crochet Sea Turtle – Free Pattern
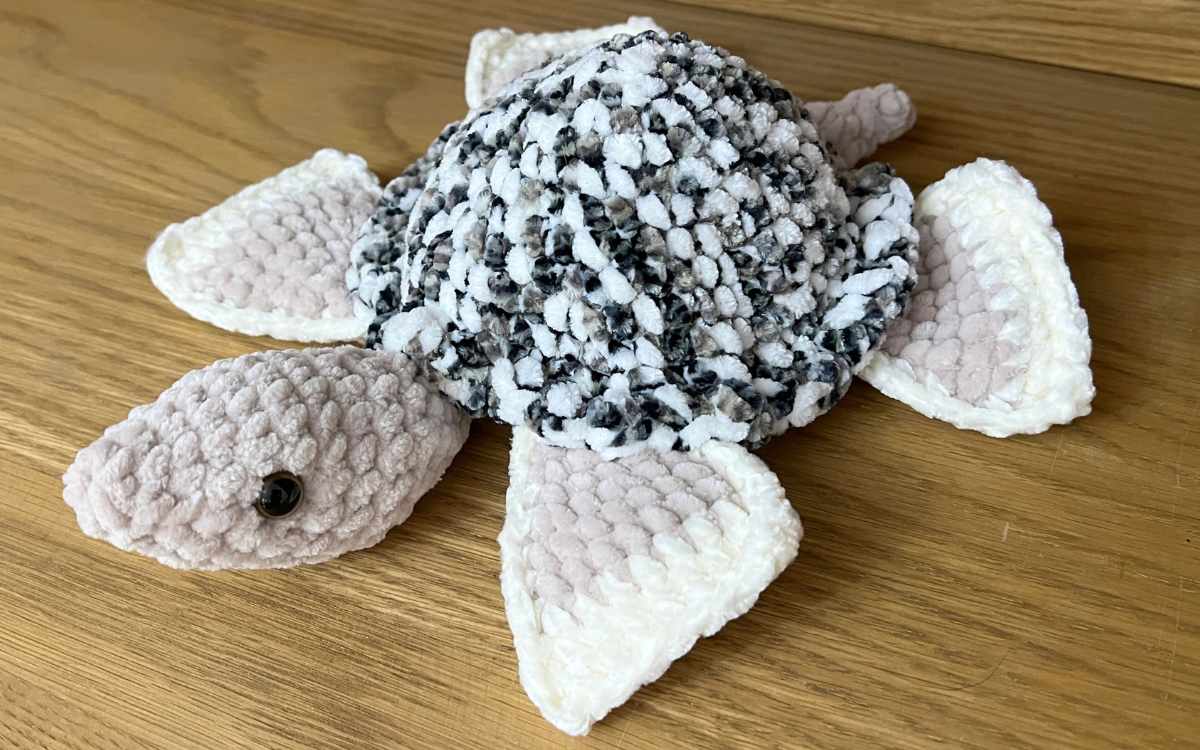
My crochet sea turtle pattern is quick to work up, made with super soft yarn, and is totally beginner friendly. I’ll share step by step instructions with the pattern, and some top tips for working with super soft chenille yarn.

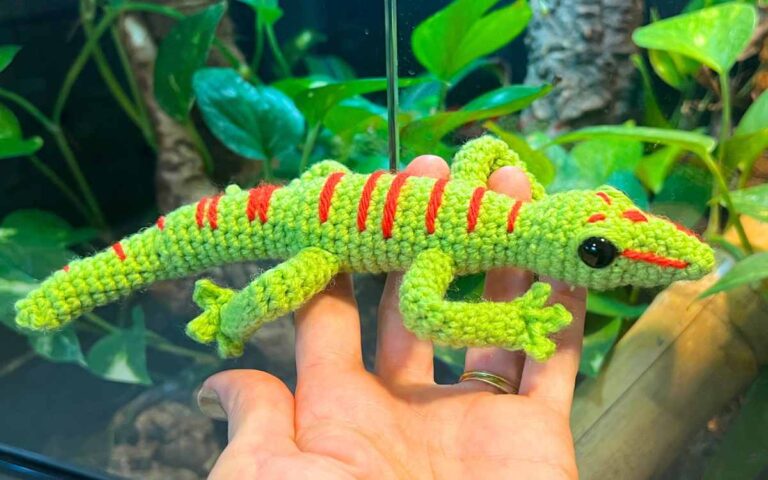
Sea turtles have got plenty of character and a streamlined shape, which is fun to recreate with crocheting! And if sea animals are your thing, you might also like my cute sea otter and amigurimi seal patterns
Yarn, Hooks and Eyes
- 50g King Cole Yummy chenille yarn* in liquorice
- 50g King Cole Yummy chenille yarn* in champagne
- 50g Jubilee chenille yarn in zen
- 5.5mm crochet hook*
- Stitch markers (optional)
- Safety eyes*
- Toy stuffing*
- Yarn needle*
Some tips!
I am a big fan of the King Cole Yummy yarns. They are silky smooth and come in some funky color combinations. However, like all chenille yarns they are liable to snap when you make a magic circle.
If you’re finding this part frustrating, just chain three instead and slip stitch to make a loop. Then put the number of single crochet stitches you need for your magic ring into that central stage.
Newer crocheters will find this stitch technique guide helpful, along with my abbreviations code cracker.

Crochet Sea Turtle Pattern
For this pattern, you are going to sew the pieces together as you go along. Have your yarn needle ready, and use a yarn color to sew that matches.
Crocheting The Shell
Use your 5.5mm crochet hook and the liquorice yarn.

Round 1
Make a magic circle of eight stitches (8)
Round 2
Make two single crochets into each stitch of the round.
2sc x 8 (16)
Round 3
Put one single crochet into the first stitch, then two into the next. Repeat for the duration of the round.
(1sc, 2sc) x 8 (24)
Round 4
1sc x 24 (24)
Round 5
(1sc x 2, 2sc) x 8 (32)
Round 6
(1sc x 3, 2sc) x 8 (40)
Round 7
1sc x 40 (40)
Round 8
(1sc x 4, 2sc) x 8 (48)
Round 9
(1sc x 5, 2sc) x 8 (56)
Round 10
1sc x 56 (56)
Round 11
(1sc x 6, 2sc) x 8 (64)
Round 12
Make one single crochet into the first stitch, then a puff stitch into the next. Repeat for the duration of the round.
At the end of the round, slip stitch to join, tie off and sew the loose end into the carapace.
The Head
Crochet your sea turtle’s head with the champagne yarn and 5.5mm crochet hook.

Round 1
Make a magic circle of six stitches (6)
Round 2
1sc x 6 (6)
Round 3
2sc x 6 (12)
Round 4
1sc x 12 (12)
Round 5
(1sc, 2sc) x 6 (18)
Round 6 – 9
1sc x 18 (18)
Round 10
Put one single crochet into the first stitch, then single crochet two stitches together. Repeat for the duration of the round, reducing the count by six.
(1sc, sc2tog) x 6 (12)
Round 11
1sc x 12 (12)
Round 12
sc2tog (6)
Attach safety eyes into a slightly upwards facing position around round 5. Stuff the head section.
Round 13 – 16
1sc x 6 (6)
Sew the Neck onto the Shell

Lay your sea turtle’s head over the inside of the shell, and attach near the base of the neck. Use a yarn needle to weave in and out between the stitches. I’d add another couple of stitches to the front too if you want it to hold its head up a little higher.
Making The Tail
The tail is also made with the champagne yarn and 5.5mm crochet hook.

Round 1
Make a magic circle of four stitches (4)
Round 2
1sc x 4 (4)
Round 3
2sc x 4 (8)
Round 4 – 6
1sc x 8 (8)
Join the Tail onto the Carapace
Using your yarn needle again, sew the tail onto the underside of the shell.
Crochet Sea Turtle Flippers
Stick with the same yarn and hook for the flippers, but be ready to switch to zen for the last few rounds.

Round 1
Make a magic circle of six stitches (6)
Round 2
1sc x 6 (6)
Round 3
2sc x 6 (12)
Round 4
1sc x 12 (12)
Round 5
(1sc, 2sc) x 6 (18)
Round 6 – 7
1sc x 18 (18)
Color change to zen
Round 8 – 9
1sc x 18 (18)
Finishing Details
Make 1sc along in a row, then 3sc into the corner stitch, then 1sc down the side of the flipper, then 3sc into the end, then 1sc to the start where you will slip stitch to join.
Tie off and weave the loose end into the fin.
Sew the Flippers onto the Shell
Lay your flippers in front of you, and pair them up. Attach them in pairs, two at the front and two at the back. Make sure you place them the same way up, so that they match nicely.
Weave with your yarn needle attaching around a quarter of the outer stitches of the flipper to the shell.
The Sea Turtle’s Plastron
Your sea turtle’s plastron is crochet in zen yarn with the 5.5mm crochet hook.

Round 1
Make a magic circle of six stitches (6)
Round 2
2sc x 6 (12)
Round 3
(1sc, 2sc) x 6 (18)
Round 4
(1sc x 2, 2sc) x 6 (24)
Round 5
(1sc x 3, 2sc) x 6 (30)
Round 6
(1sc x 4, 2sc) x 6 (36)
Round 7
(1sc x 5, 2sc) x 6 (42)
Round 8
(1sc x 6, 2sc) x 6 (48)
Completing the Sea Turtle by Attaching the Plastron
Lay your plastron over the inside of the shell. Weave in and out, securing the plastron to the shell along with the flippers, tail and head.
My Sea Turtle Crochet Pattern
I love reptiles, and they were bound to start increasingly sneaking their way into my crochet patterns as a result. But this pattern was necessitated by the fight that broke out between my kids after I made the leopard tortoise. I didn’t want to make a duplicate so they had one each, so I quickly worked up a very similar alternative. Which was fortunately met with delight by my son, leaving my daughter happily clutching the tortoise!
I hope your friends and family are as delighted with these easy crochet patterns as my children were.
Happy Crocheting!
Lucy Kate, x
*The products linked in this pattern were carefully selected by Lucy Kate Crochet. If you decide to purchase using the links provided, we may earn a small commission on that sale. This is at no extra cost to you.