Crochet Greylag Goose
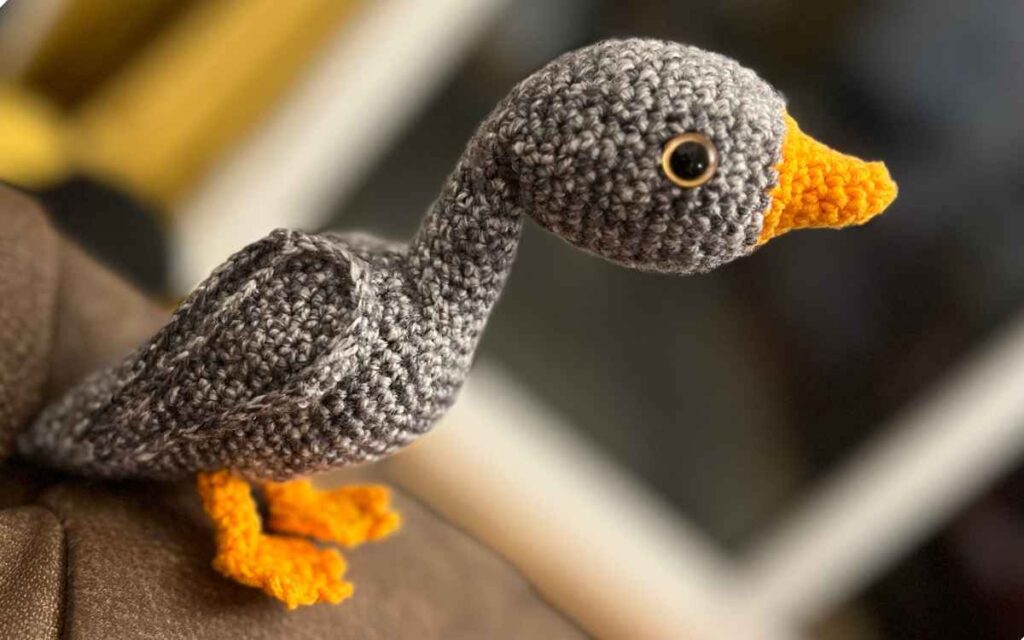
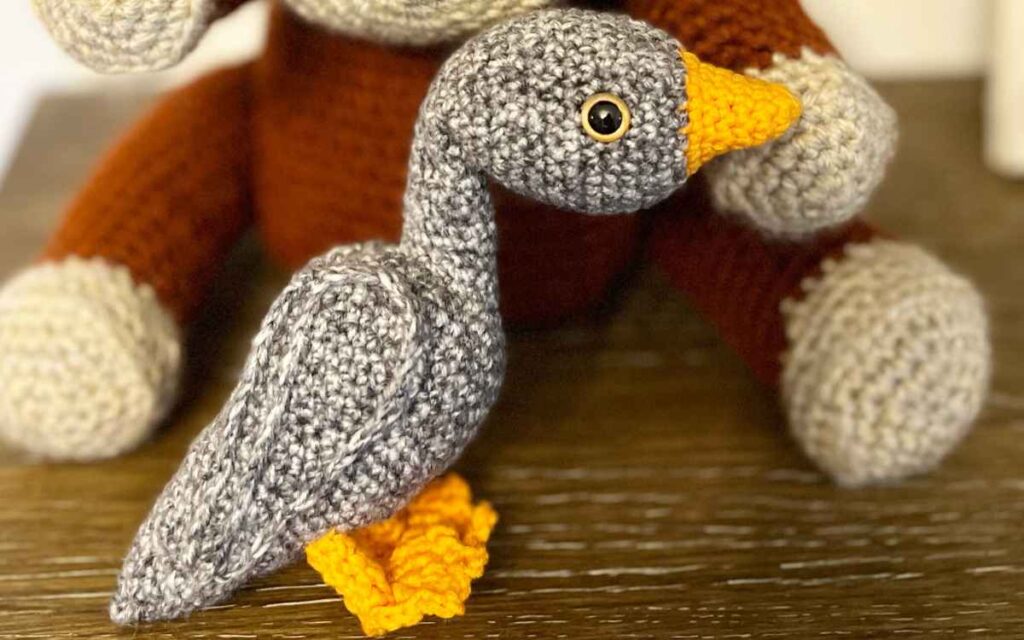
My crochet goose pattern is beginner friendly, and fast to hook up because of its small size and simple design. To crochet my greylag goose you’ll need to be happy with a little sewing, as well as taking on the basic crocheting techniques. I’ll provide all the information even a complete crochet beginner will need.
Equipment List
- 50g Sirdar Snuggly DK yarn* in Tangerine Twist
- 50g Stylecraft Batik DK yarn* in Graphite
- 3.75mm crochet hook
- 2.25mm crochet hook
- Toy safe stuffing*
- Safety eyes*
- Steel yarn needle*
I’ve noted the yarn I used in case you want to get the same, but any DK variety should be fine for this pattern.
The majority of the pattern is made using the 3.75mm crochet hook and variegated gray yarn. Your smaller crochet hook is for the surface single crocheting that you’ll be doing to give the amigurumi goose’s wings definition.
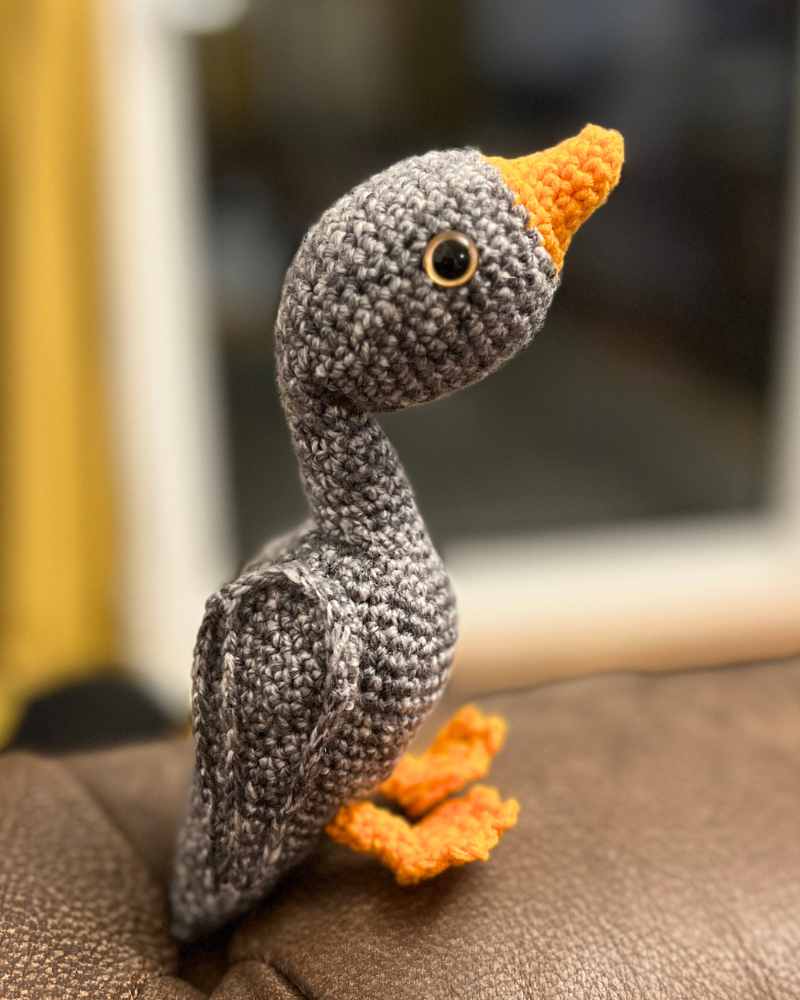
Pattern Instructions and Tips
Most of the pattern involves straight forward standard increases from a central magic circle.
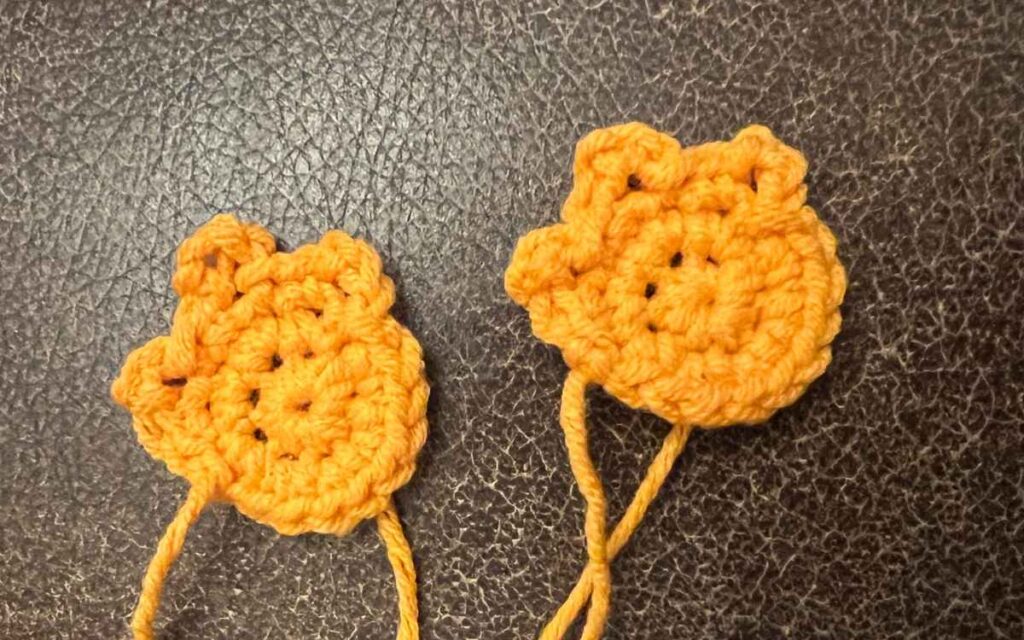
The only point you’ll need to watch out for deviation is in the feet, which use chaining techniques to give the impression of those classic greylag goose webbed feet.
For those newer to crocheting, I’ve explained each instruction within the pattern the first time it comes up. You can also find a list of abbreviations here, and more details on the basic crochet techniques here.
Crochet Greylag Goose Pattern
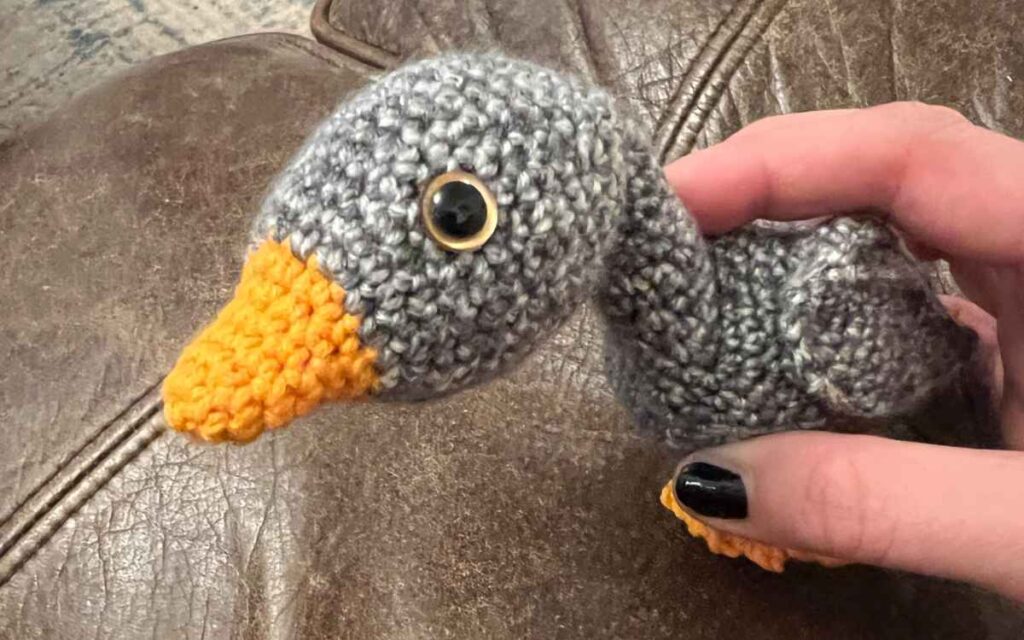
Most of your crochet goose is made in one piece. You’ll start in the orange yarn with your 3.5mm crochet hook.
Round 1
Make a magic circle with six single crochet stitches (6)
Round 2
Put two single crochets into each stitch of the round, doubling the number of stitches.
2sc x 6 (12)
Round 3 – 6
Make one single crochet into each stitch.
1sc x 12
Round 7
Put one single crochet into the first stitch, then two into the next. Repeat this pattern for the duration of the round, increasing by six stitches in total. Color change to gray yarn at the end of the round.
(1sc, 2sc) x 6 cc to gray (18)
Round 8
(1sc x 2, 2sc) x 6 (24)
Round 9
(1sc x 3, 2sc) x 6 (30)
Round 10 – 18
1sc x 30 (30)
Round 19
Make one single crochet in the first three stitches, then using a single crochet join the next two together. Repeat for the round, and at the end it should be six stitches smaller.
(1sc x 3, sc2tog) x 6 (24)
Round 20 – 21
1sc x 24 (24)
Round 22
(1sc x 2, sc2tog) x 6 (18)
Insert safety eyes into the head and stuff the head, leaving the beak empty.
Round 23
(1sc, sc2tog) x 6 (12)
Round 24 – 37
1sc x 12 (12)
Round 38
(1sc, 2sc) x 6 (18)
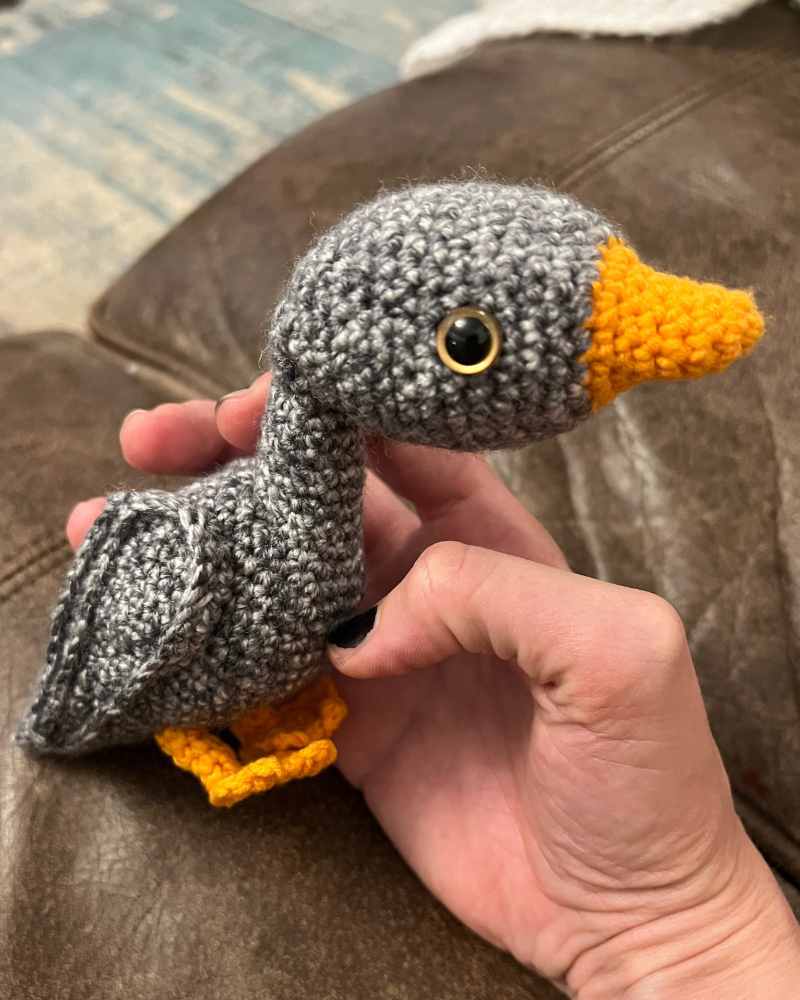
Fill the neck with toy stuffing.
Round 39
(1sc x 2, 2sc) x 6 (24)
Round 40
(1sc x 3, 2sc) x 6 (30)
Round 41
1sc x 30 (30)
Round 42
(1sc x 4, 2sc) x 6 (36)
Round 43 – 46
1sc x 36 (36)
Round 47
(1sc x 4, sc2tog) x 6 (30)
Round 48 – 51
1sc x 30 (30)
Round 52
(1sc x 3, sc2tog) x 6 (24)
Round 53 – 58
1sc x 24 (24)
Round 59
(1sc x 2, sc2tog) x 6 (18)
Round 60 – 62
1sc x 18 (18)
Round 63
(1sc, sc2tog) x 6 (12)
Round 64 – 65
1sc x 12 (12)
Fill with toy stuffing.
Round 66
sc2tog to close.
Crochet Greylag Goose Wings
Your crochet goose wings are made entirely using the gray color of yarn. Begin with your 3.75mm crochet hook.
Round 1
Make a magic circle of six stitches (6)
Round 2
2sc x 6 (12)
Round 3
1sc x 12 (12)
Round 4
(1sc, 2sc) x 6 (18)
Round 5 – 9
1sc x 18 (18)
Round 10
(1sc, sc2tog) x 6 (12)
Round 11 – 14
1sc x 12 (12)
Round 15
sc2tog x 6 (6)
Round 16 – 19
1sc x 6 (6)
Round 20
sc2tog to close, slip stitch and tie off. Weave the tail of the yarn back into the wing.
Adding wing definition
You are now going to surface crochet around the edge of the wing, and make a single stripe of single crochets down it. You will need to use your 2.25mm crochet hook.
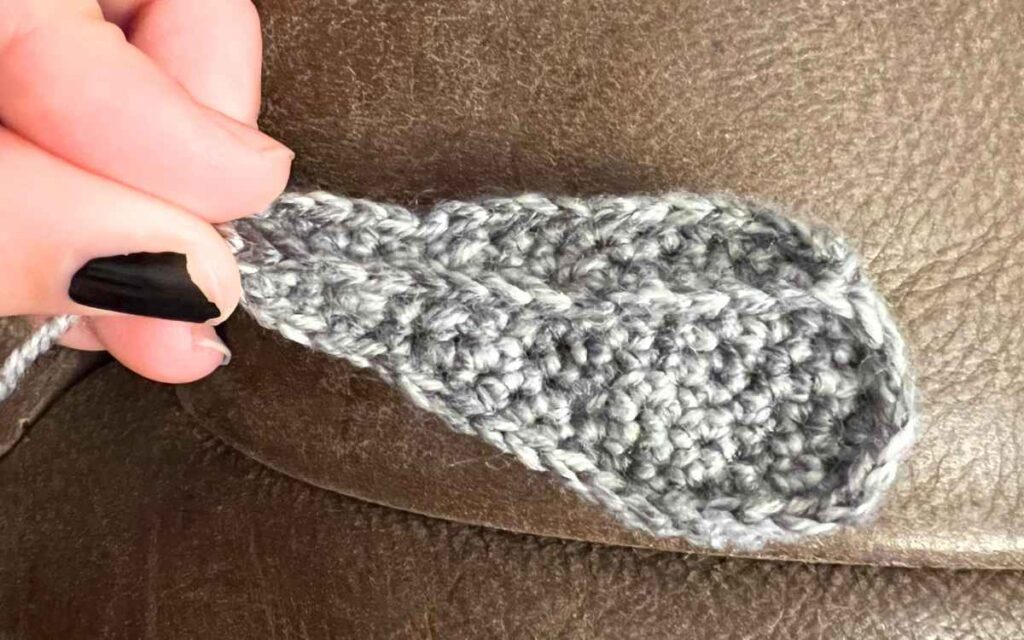
It’s not impossible to surface crochet with a larger size if you don’t have one available, but it’s a lot more work as you’re going to need to push the hook through the existing piece.
Flatten your wing into shape, and decide which side you want to be the exposed surface. Not cast the yarn onto your hook, and inserting the hook into anywhere around the circumference of the wing make a single crochet.
Work around the edge, single crocheting into the wing. When you’re finished make a line of single crochets down the off-set center of the wing in the same manner. You can find full instructions on surface crocheting in this article.

Attach the wings
Lay your wing flat wherever you think it looks best along the crochet bird’s body. Using a steel yarn needle, weave in and out of the wing and body to attach it.
Crocheting Your Goose’s Feet
Work with the 3.75mm crochet hook and your orange DK yarn.
Round 1
Magic circle of eight stitches (8)
Round 2
2sc x 8 (16)
Slip stitch into the next stitch. * Then chain three, single crochet in the next stitch, slip stitch into the next stitch. Repeat from * twice then tie off with a long tail of yarn.
Crochet Greylag Goose Legs
Crochet the goose legs in the orange yarn, using your 3.75mm crochet hook.
Round 1
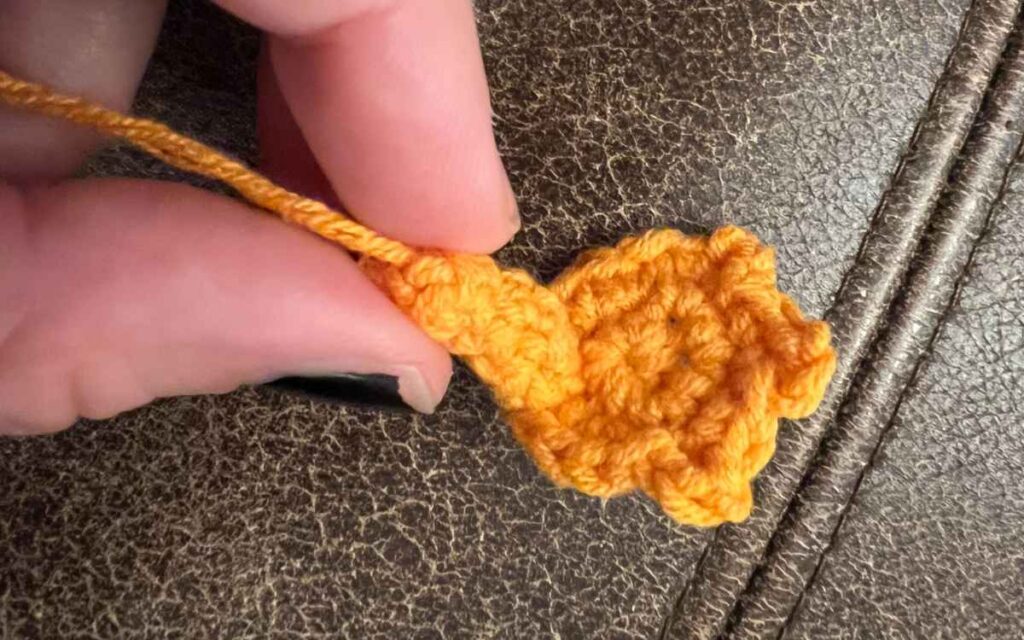
Magic circle of five stitches (5)
Round 2 – 6
1sc x 5 (5)
Leave a long tail of thread, cut off and leave for later sewing. You don’t need to stuff the legs, they should stand firm as they are.
How To Sew Your Crochet Goose Together
I hand sewed my crochet goose’s feet to their legs first, using simple weaving stitches. Once I was happy they were secure, I then attached the legs onto the body. Make sure that the webbed feet are facing forward, and the legs are attached fairly low down the body.
You will then want to swap over to the gray yarn on your needle, and add a couple of stitches to neck to bring the posture into that classic goose position.
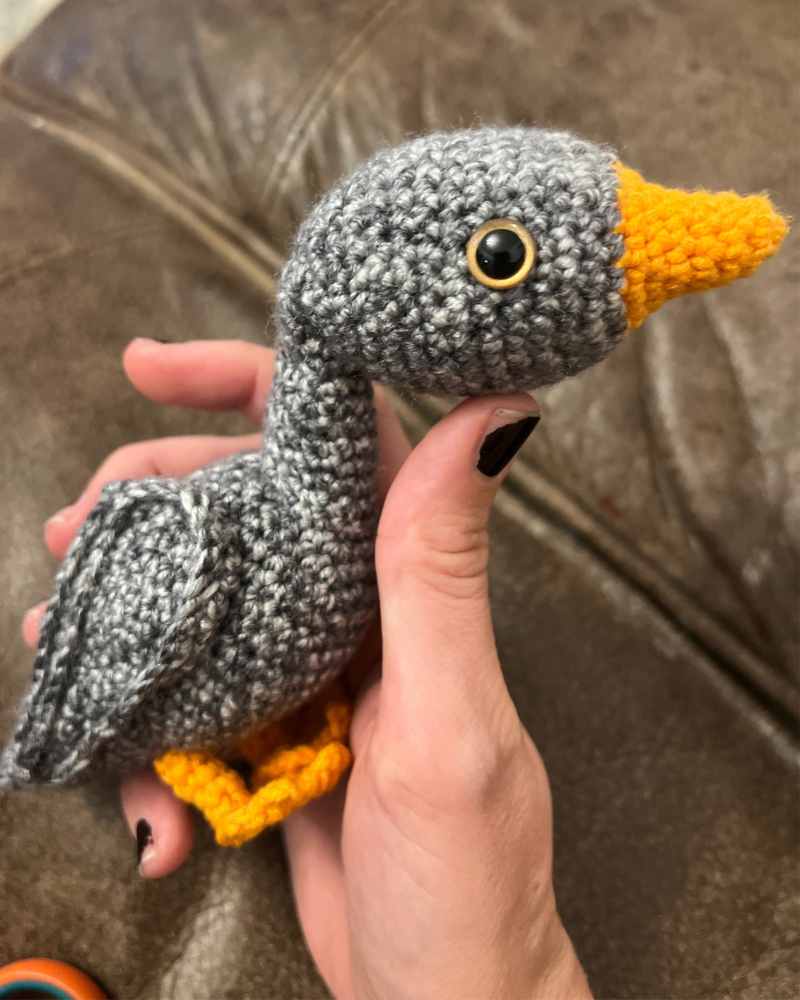
The Crochet Greylag Goose Pattern
This project had the single most false starts I’ve ever had when creating a crochet pattern. I have several random half beaks scattered around my house, and an absolute boat load of yarn scraps from the attempts. But I got there in the end, and honestly I’m quite delighted with the results.
I’d love to hear your thoughts, please do share them in the comments section below.

Happy Crocheting!
Lucy Kate, x
Hello love her, beautiful pattern seems simple enough going to write the pattern down for later thank you for sharing