Free Crochet Scorpion Pattern
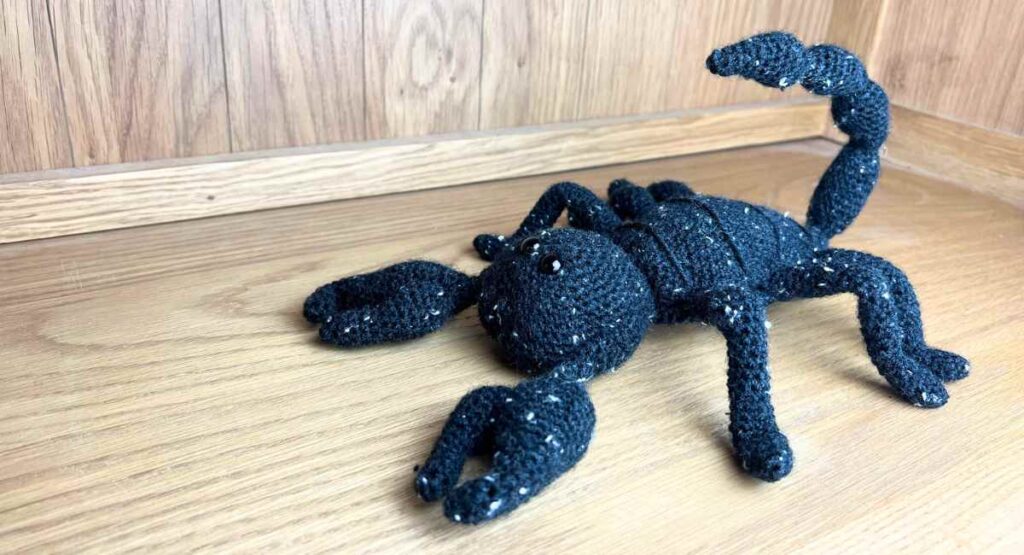
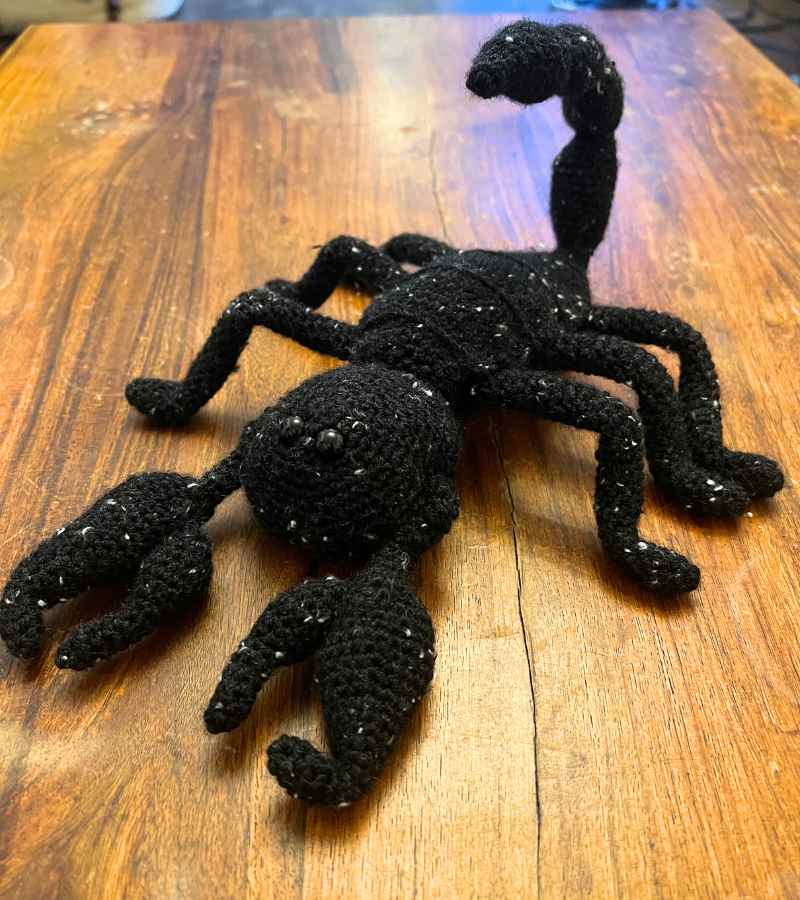
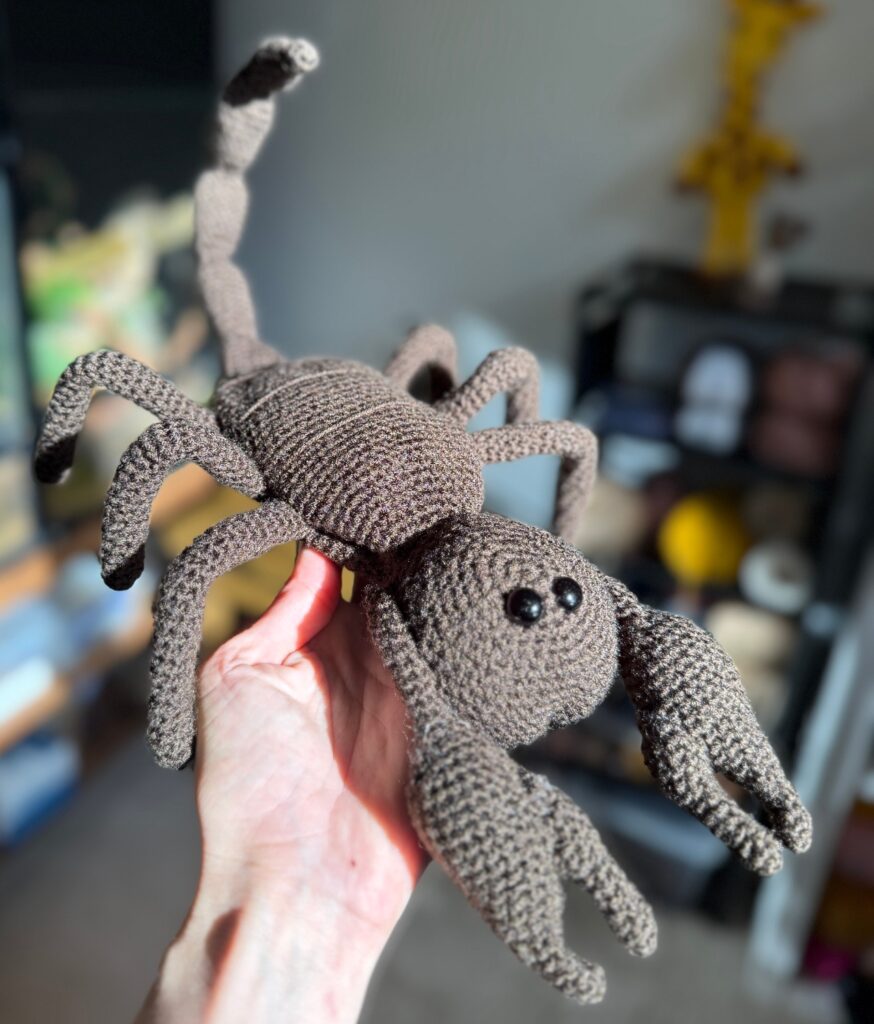
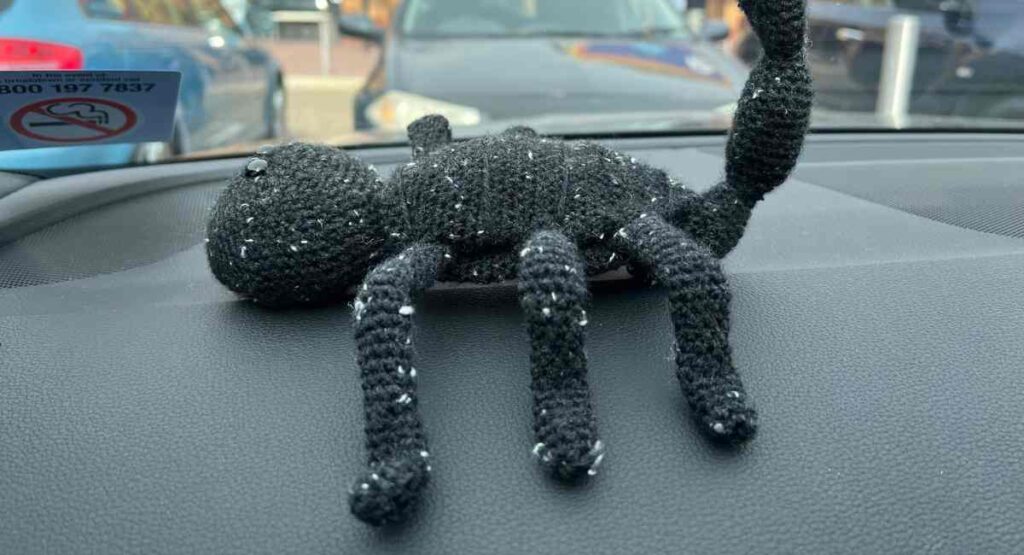
My crochet scorpion pattern is quick and easy to make, and surprisingly detailed for a project that uses just one color of yarn. You’ll have fun putting together simple stitches to create a rather unique addition to your amigurumi collection.
- Equipment you’ll need to crochet your scorpion.
- Pattern instructions and help.
- The free crochet scorpion pattern.
This crochet pattern should be a great display piece for one of the funnest, spookiest times of year too – Halloween! Along with my adorable crochet tarantula and frog, of course.
Crochet Equipment List
- 4mm crochet hook
- 100g DK black yarn*
- Toy safe stuffing*
- 8mm safety eyes*
- 10 pipe cleaners*
Pattern Notes and Help
This crochet pattern does involve a fair amount of hand sewing for the features. You’ll use your yarn needle to sew the shape of the face, and to give details to the plated thorax.
Abbreviations
In the crochet scorpion pattern I will be using a few abbreviations. For a full list of common terms check out this article, but today we’ll be mostly using the following:
- sc for single crochet
- sc2tog for single crochet two stitches together
- 2sc for single crochet twice in the same stitch
If you are new to crochet and find the pattern a bit too much, then I’ve got some youtube videos and information here for beginners that should help you along. And you can always message me in the comments if you have any questions.
Free Crochet Scorpion Pattern
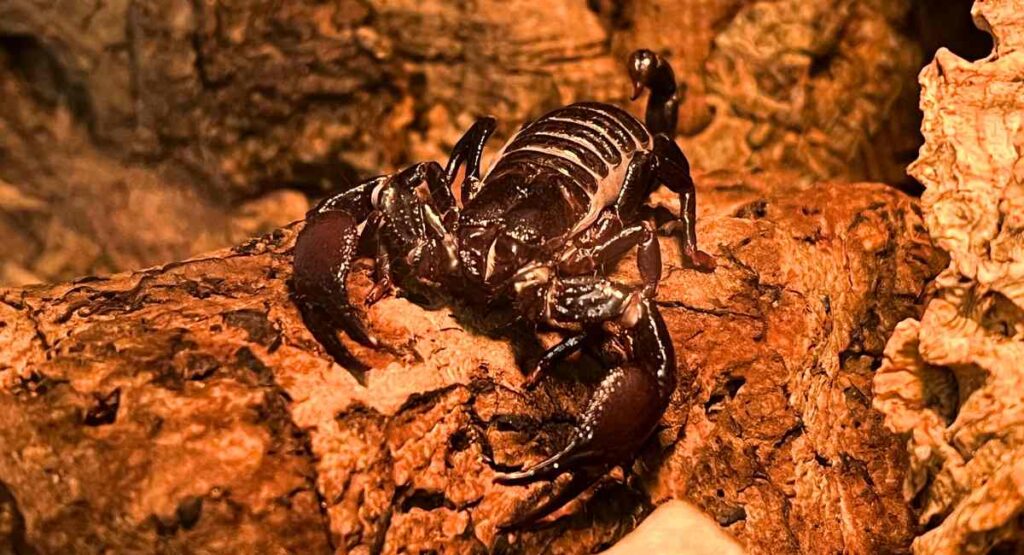
Most of this pattern will be worked in a continuous round, using your 4mm hook and black yarn. Although if you want to make a different type of scorpion you can swap out the black yarn for brown or red, depending on the variety.

The Crochet Scorpion’s Head
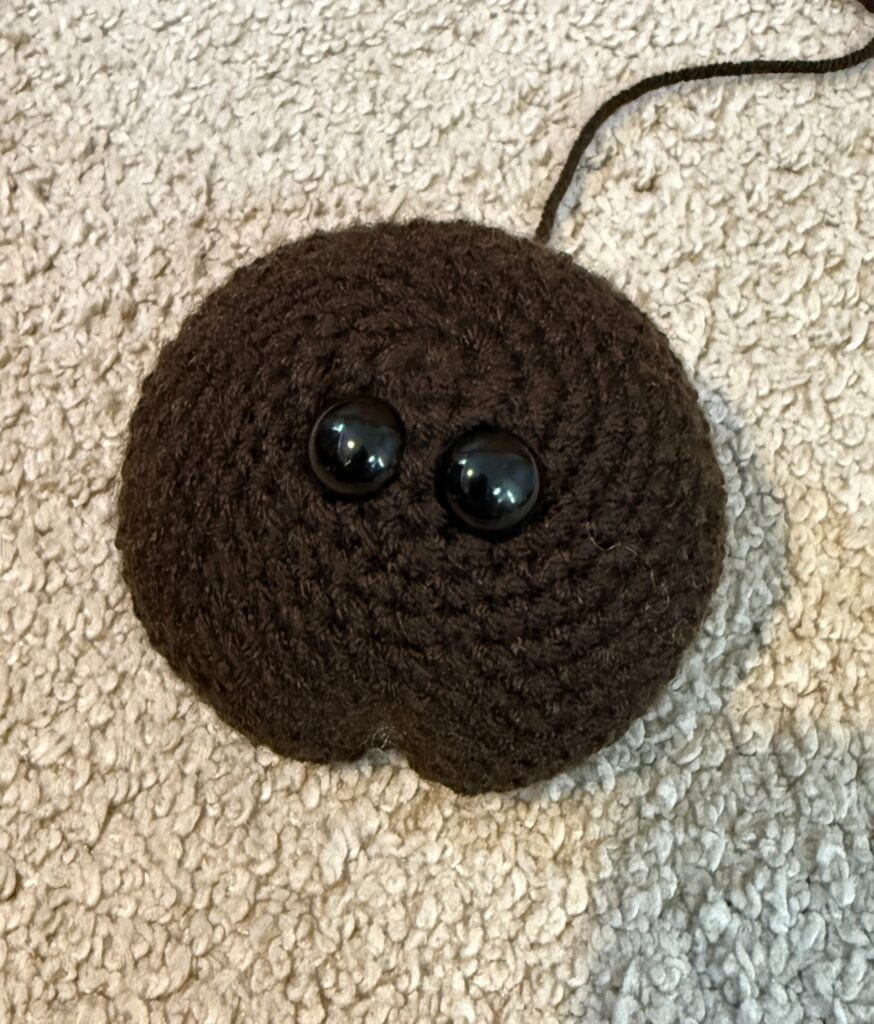
The crochet scorpion’s head will be made working in a continuous round from a magic ring, and once stuffed and complete we will add a few tweaks to give it that classic look.
Round 1
Crochet a magic circle of eight stitches (8)
Round 2
2sc x 8 (16)
Round 3
(1sc, 2sc) x 8 (24)
Round 4
1sc x 24 (24)
Round 5
(1sc x 2, 2sc) x 8 (32)
Round 6
1sc x 32 (32)
Round 7
(1sc x 3, 2sc) x 8 (40)
Round 8
1sc x 40 (40)
Round 9
(1sc x 4, 2sc) x 8 (48)
Round 10
1sc x 48 (48)
Round 11
(1sc x 5, 2sc) x 8 (56)
Round 12 – 15
1sc x 56 (56)
Round 16
(1sc x 5, sc2tog) x 8 (48)
Round 17
1sc x 48 (48)
Round 18
(1sc x 4, sc2tog) x 8 (40)
Round 19
(1sc x 3, sc2tog) x 8 (32)
Round 20
(1sc x 2, sc2tog) x 8 (24)
Add safety eyes at the top of the head. The magic circle is the direct top of the head, and each eye is going to be inserted about three rounds from the middle, aligned to one edge about three stitches apart.
Round 23
(1sc, sc2tog) x 8 (16)
Round 24
sc2tog to close.
Using the tail of your yarn and need, bring the thread to the front of the face and make a small stitch in the center of the mouth opening. This will bring the face inwards a little, giving it a more scorpion like shape.
Your Crochet Scorpion’s Body
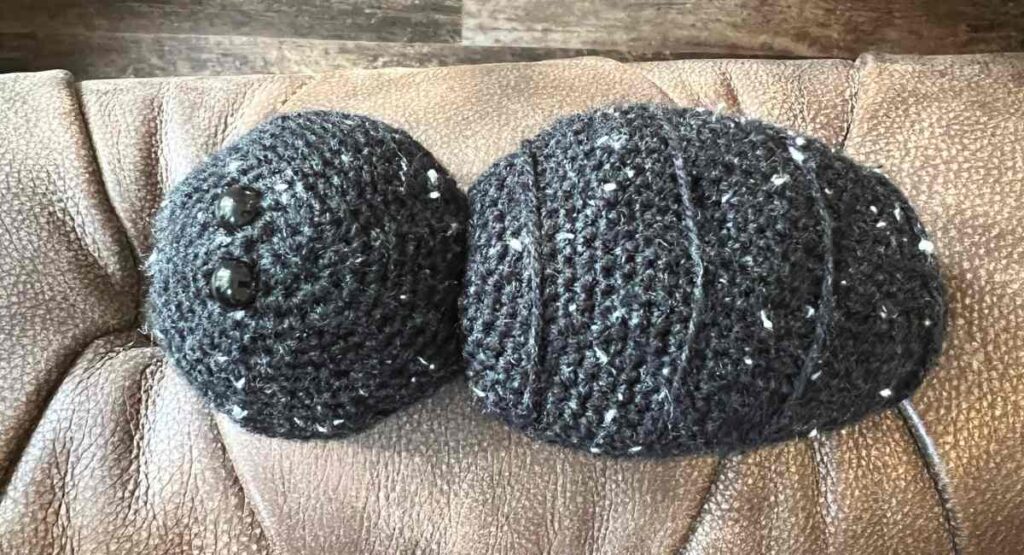
To create the scorpions body you will begin working in a continuous round. When you’ve finished the section, following the instructions to hand sew the features, and be careful not to over fill the body.
Round 1
Crochet a magic circle of eight stitches (8)
Round 2
2sc x 8 (16)
Round 3
(1sc, 2sc) x 8 (24)
Round 4
1sc x 24 (24)
Round 5
(1sc x 2, 2sc) x 8 (32)
Round 6
1sc x 32 (32)
Round 7
(1sc x 3, 2sc) x 8 (40)
Round 8
1sc x 40 (40)
Round 9
(1sc x 4, 2sc) x 8 (48)
Round 10
1sc x 48 (48)
Round 11
(1sc x 5, 2sc) x 8 (56)
Round 12 – 27
1sc x 56 (56)
Round 28
(1sc x 5, sc2tog) x 8 (48)
Round 29 – 30
1sc x 48 (48)
Round 31
(1sc x 4, sc2tog) x 8 (40)
Round 32
1sc x 32 (40)
Round 33
(1sc x 3, sc2tog) x 8 (32)
Round 34
1sc x 32 (32)
Round 35
(1sc x 2, sc2tog) x 8 (24)
Round 36
(1sc, sc2tog) x 8 (16)
Stuff very lightly
Round 37
sc2tog to close.
Using your finger tips indent at the sides where the legs will be attached later.
Leave a long tail of yarn when you close, and attach your yarn needle. Bring the needle to one of the indented sides of the crochet scorpion’s body, and working back and forth using lengths of yarn add the suggestions of plating to the back.
The Legs
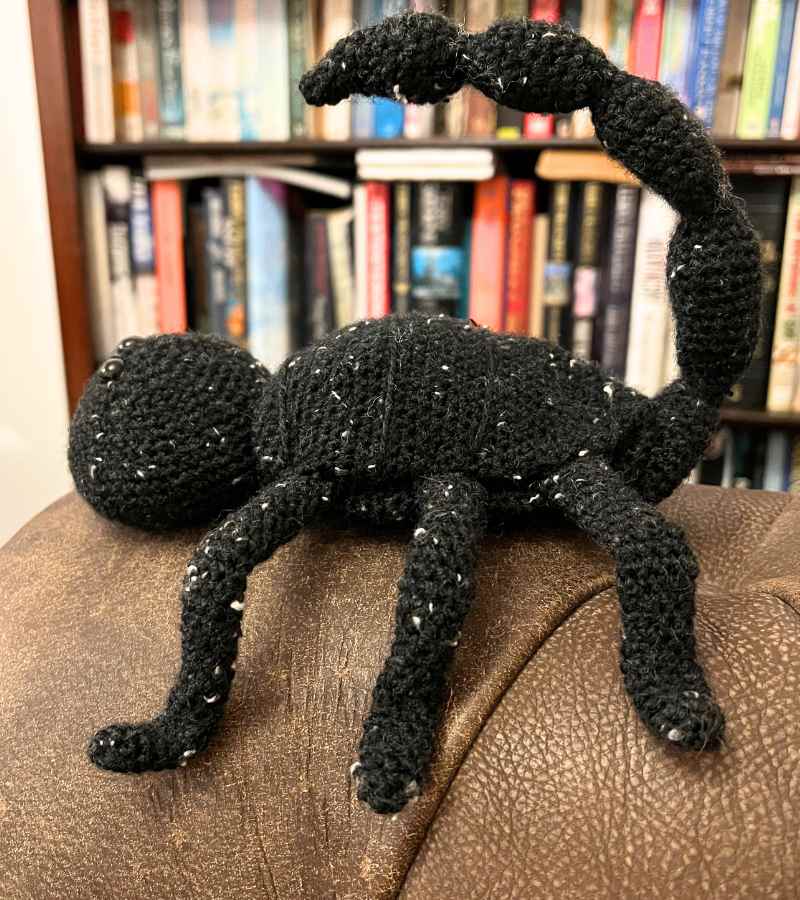
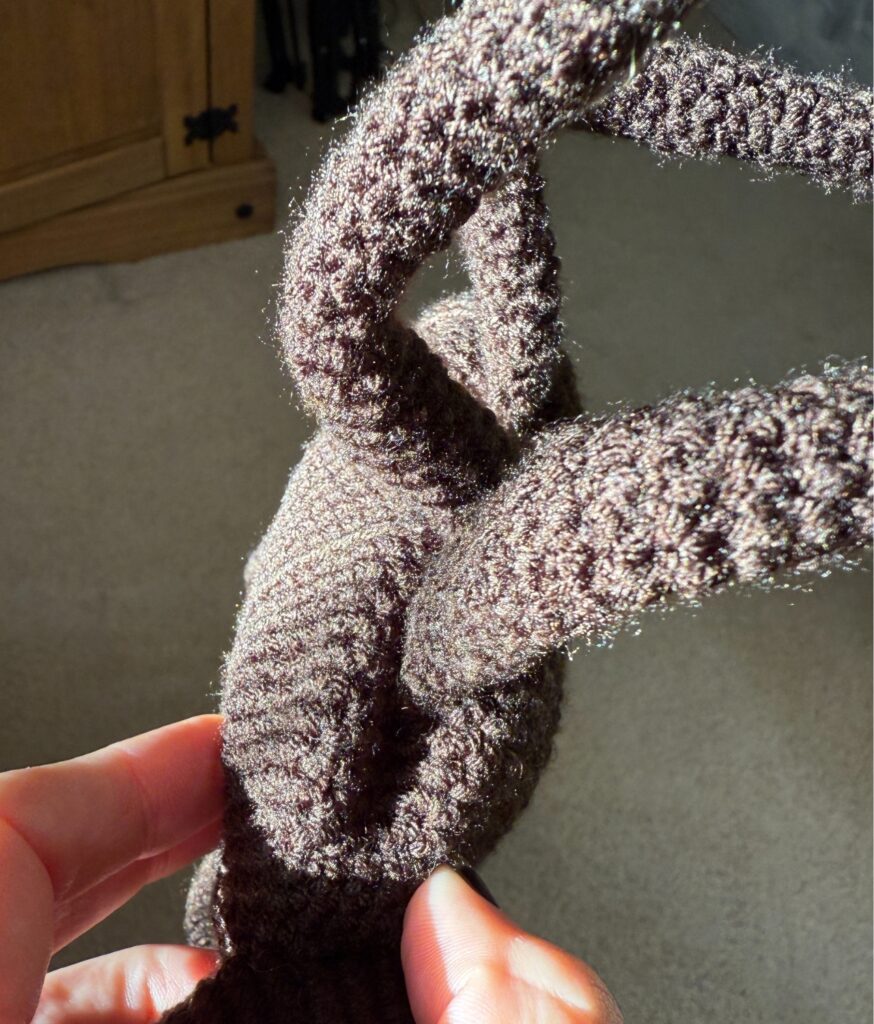
Your crochet scorpion will need six legs, and I used a pipe cleaner in each to give them that characteristic shape. Be sure to bend and twist the ends so they don’t have a spike to them.
Round 1
Crochet a magic circle of four stitches (4)
Round 2
2sc x 4 (8)
Round 3 – 33
sc x 8 (8)
Insert a pipe cleaner and bend into shape. Using a yarn needle sew closed, and attach three to each side of the crochet scorpion’s body.
Your Crochet Scorpion’s Tail
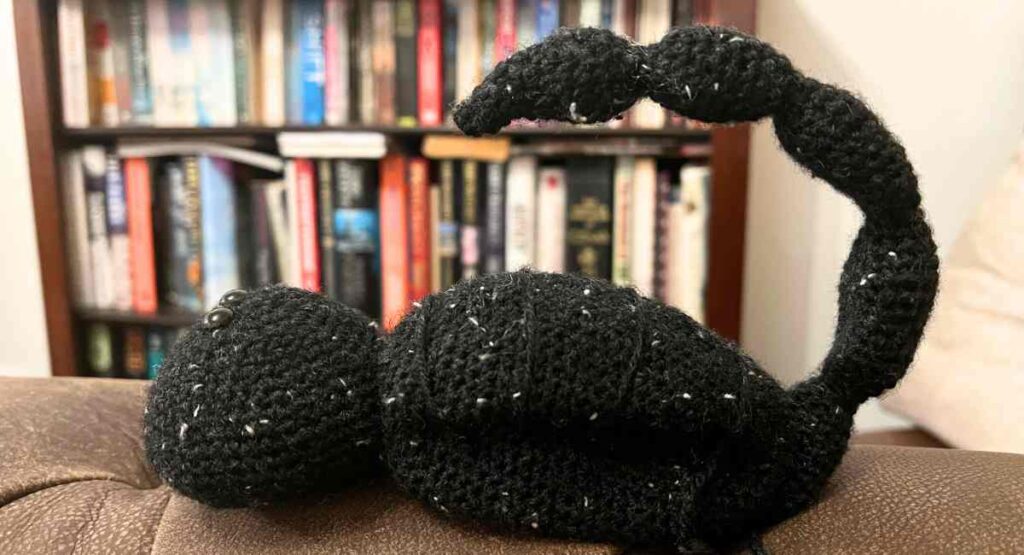
Your crochet scorpion’s tail is going to be a little bit fiddly to construct from the magic circle, due to the limited number of stitches. Leave the first stitch of the magic circle a little lose, and it’ll be easier to work into.
Round 1
Crochet a magic circle of three stitches (3)
Round 2
2sc x 3 (6)
Round 3 – 5
sc x 6 (6)
Round 6
(1sc, 2sc) x 3 (9)
Round 6
sc x 9 (9)
Round 7
(1sc x 2, 2sc) x 3 (12)
Round 8 – 9
sc x 12 (12)
Round 10
(1sc x 2, sc2tog) x 3 (9)
Round 11
(1sc, sc2tog) x 3 (6)
Round 12
(1sc, 2sc) x 3 (9)
Round 13
(1sc x 2, 2sc) x 3 (12)
Round 14
(1sc x 3, 2sc) x 3 (15)
Round 15 – 20
sc x 12 (15)
Round 21
(1sc x 3, sc2tog) x 3 (12)
Round 22
(1sc x 2, sc2tog) x 3 (9)
Round 23
(1sc, sc2tog) x 3 (6)
Round 24
(1sc, 2sc) x 3 (9)
Round 25
(1sc x 2, 2sc) x 3 (12)
Round 26
(1sc x 3, 2sc) x 3 (15)
Round 27 – 32
sc x 12 (15)
Round 33
(1sc x 3, sc2tog) x 3 (12)
Round 34
(1sc x 2, sc2tog) x 3 (9)
Round 35
(1sc, sc2tog) x 3 (6)
Round 36
(1sc, 2sc) x 3 (9)
Round 37
(1sc x 2, 2sc) x 3 (12)
Round 38
(1sc x 3, 2sc) x 3 (15)
Round 39 – 44
sc x 12 (15)
Round 45
(1sc x 3, sc2tog) x 3 (12)
Round 46
(1sc x 2, sc2tog) x 3 (9)
Round 47
(1sc, sc2tog) x 3 (6)
Round 48
(1sc, 2sc) x 3 (9)
Round 49
(1sc x 2, 2sc) x 3 (12)
Round 50
(1sc x 3, 2sc) x 3 (15)
Round 51 – 56
sc x 12 (15)
Round 57
(1sc x 3, sc2tog) x 3 (12)
Round 58
(1sc x 2, sc2tog) x 3 (9)
Round 59
(1sc, sc2tog) x 3 (6)
Round 60
sc2tog x 3 (3)
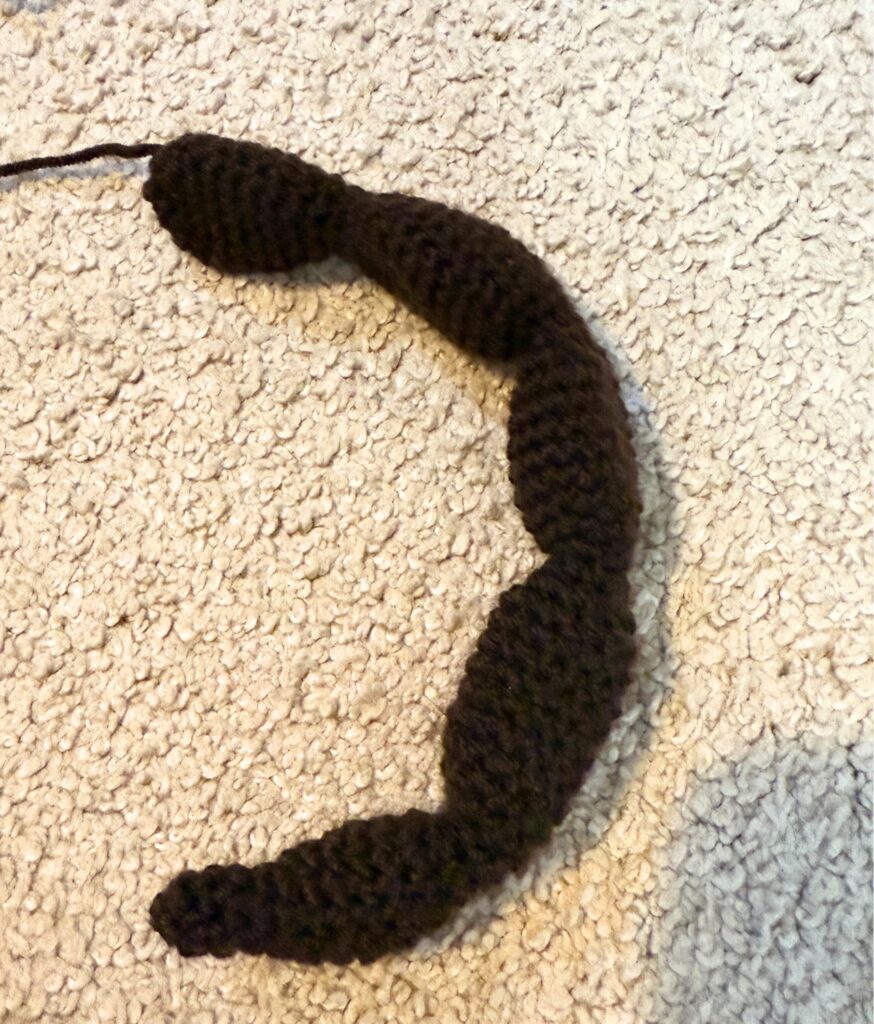
Insert a small amount of toy stuffing, using the handle end of your hook to insert it into the tail. Then push a pipe cleaner through the tail, to allow you to bend it into shape.
Crocheting Scorpion Pincers
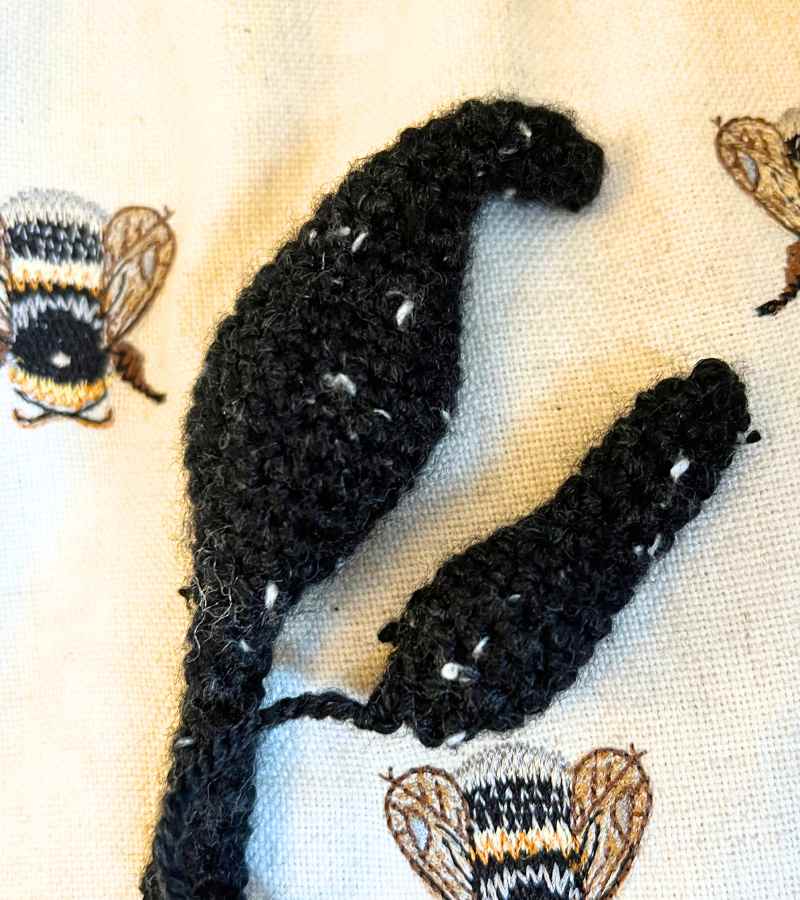
You’ll make each of your scorpion’s claws in two separate pieces, and sew them together upon completion.
Small Pincer
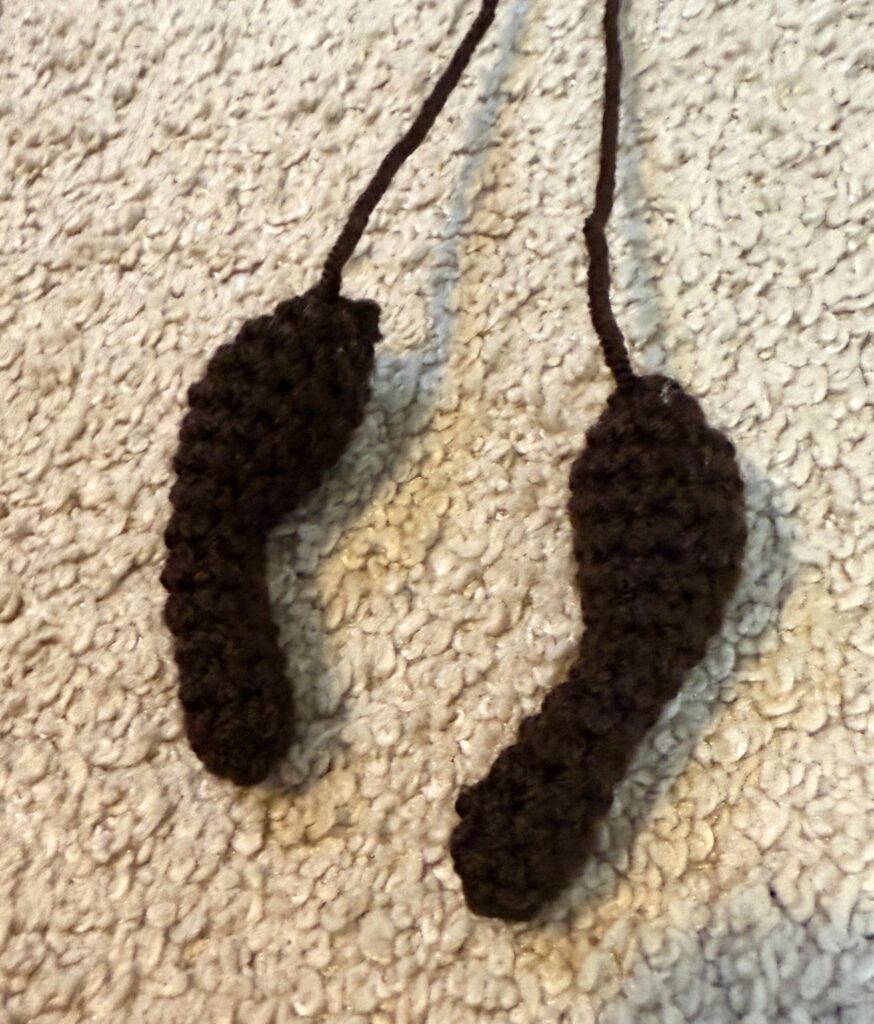
Round 1
Crochet a magic circle of three stitches (3)
Round 2
2sc x 3 (6)
Round 3 – 8
sc x 6 (6)
Round 9
(1sc, 2sc) x 3 (9)
Round 10
sc x 9 (9)
Round 11
(1sc x 2, 2sc) x 3 (12)
Round 12 – 13
sc x 12 (12)
Insert small amount of toy stuffing
Round 14
(1sc x 2, sc2tog) x 3 (9)
Round 15
(1sc, sc2tog) x 3 (6)
Sew closed and set to one side, ready to be attached to the other side of the pincer.
Large Pincer Round 1
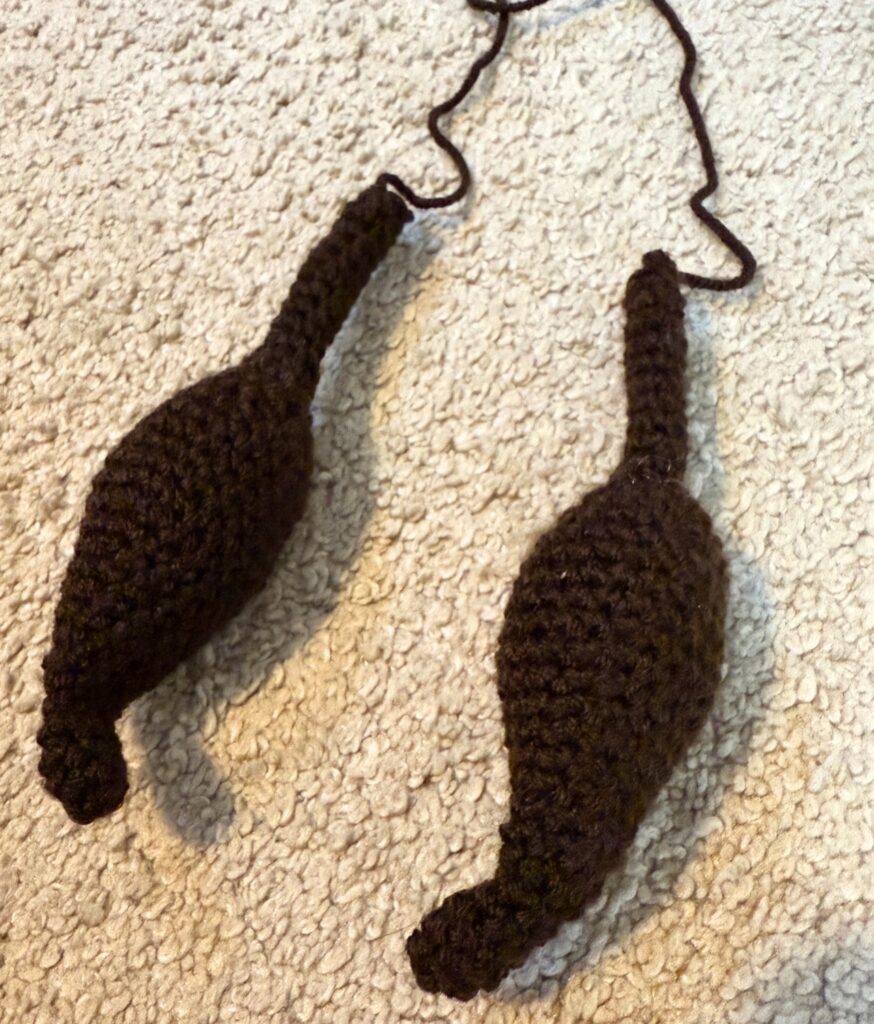
Crochet a magic circle of three stitches (3)
Round 2
2sc x 3 (6)
Round 3 – 5
sc x 6 (6)
Round 6
(1sc, 2sc) x 3 (9)
Round 6
sc x 9 (9)
Round 7
(1sc x 2, 2sc) x 3 (12)
Round 8 – 9
sc x 12 (12)
Round 10
(1sc x 3, 2sc) x 3 (15)
Round 11
sc x 15 (15)
Round 12
(1sc x 4, 2sc) x 3 (18)
Round 13
(1sc x 5, 2sc) x 3 (21)
Round 14 – 18
sc x 21 (21)
Round 19
(1sc x 5, sc2tog) x 3 (18)
Round 20
(1sc x 4, sc2tog) x 3 (15)
Round 21
(1sc x 3, sc2tog) x 3 (12)
Stuff the claw lightly
Round 22
(1sc x 2, sc2tog) x 3 (9)
Insert pipe cleaner.
Round 23
(1sc, sc2tog) x 3 (6)
Round 24 – 34
sc x 6 (6)
Slip stitch to tie off and then attach onto the other pincer, then onto the side of your crochet scorpion’s face.
Crocheting Invertebrates
I love designing crochet toys, but this latest series are something a bit special to me. Because as much as I like traditional fluffy pets, I also adore invertebrates, reptiles, amphibians and crustaceans. Making crochet toys that give something that a few people find creepy a cute and cuddly look, I hope goes some way to changing a few minds when it comes to these less traditional creatures.
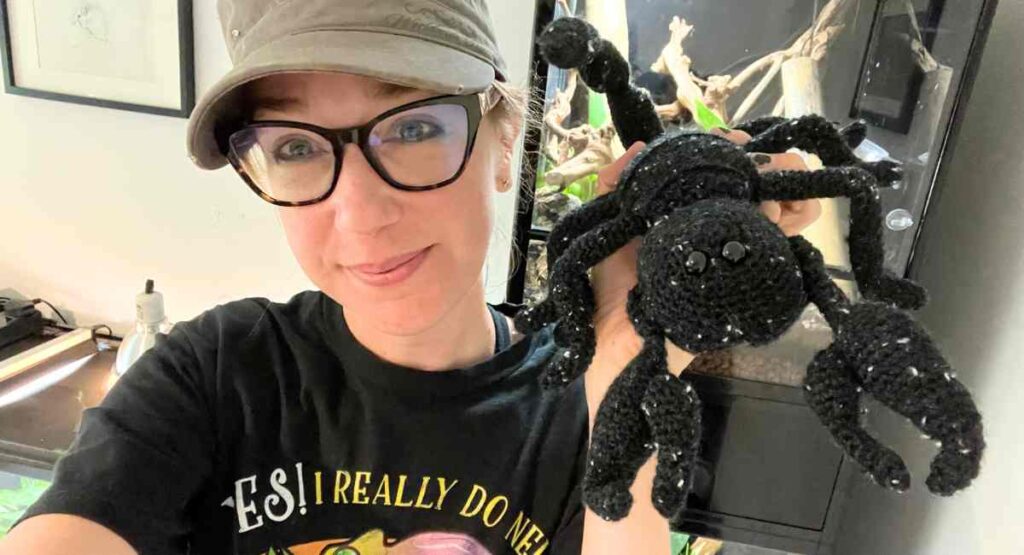
Please do share your finished crochet toys with me on Facebook or Instagram!
Happy Crocheting,
Lucy Kate, x
*The products linked in this pattern were carefully selected by Lucy Kate Crochet. If you decide to purchase using the links provided, we may earn a small commission on that sale. This is at no extra cost to you.
